
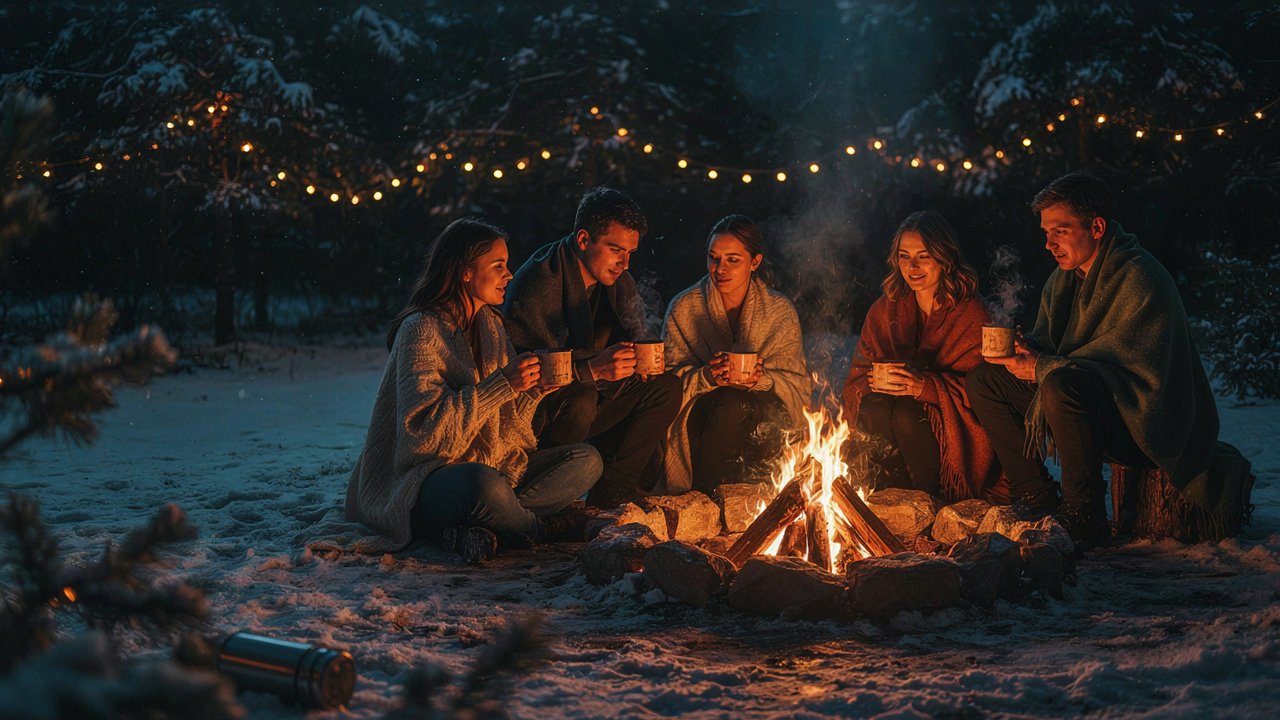
The Thermodynamics Of Not Freezing Your Ass Off
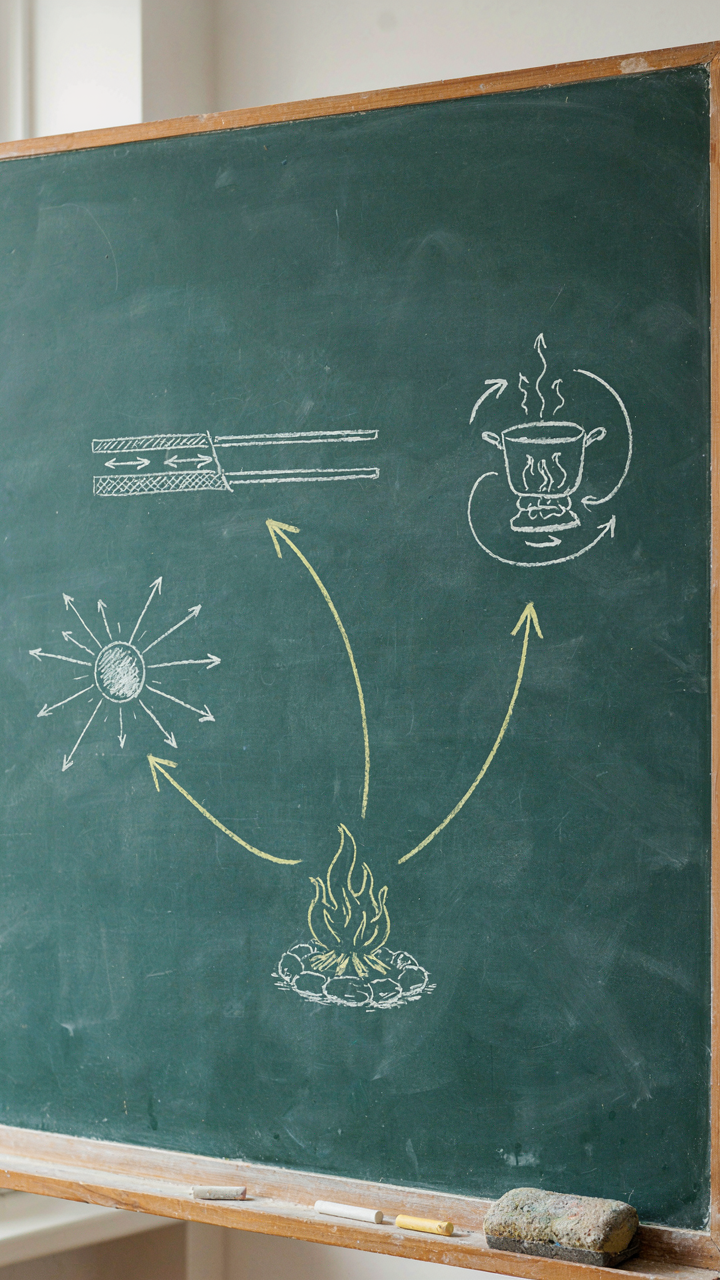
Radiant Vs. Convective Heat: The True Battle
You want to know this because you’re tired of shivering through gatherings while pretending you’re fine. Here’s the mechanism: physics divides heat transfer into two competing systems, and your fire pit operates on only one of them. Radiant heat travels in straight lines from the fire source to your body, no medium required. Convective heat relies on air movement to carry warmth, which winter wind destroys instantly. Most people stack blankets expecting passive insulation to matter. It doesn’t. The fire must do the work.
Your position relative to the pit determines survival. Sit perpendicular to wind direction, within twelve feet of the flames, facing the heat source directly. A fire that looks far enough away is already too far. Radiant heat diminishes with distance and angle, so poor positioning leaves you absorbing almost nothing while wind strips away whatever warmth reaches you. The blanket becomes decoration, not tool. Sit close enough that your face feels warm, or don’t bother sitting down.
Engineered Pockets Of Survivability
Microclimates aren’t accidents in winter fire settings, they’re design outcomes. A microclimate is a localized atmospheric condition that differs from the surrounding area, and around your fire pit you construct them by blocking wind and concentrating radiant heat. Most people arrange seating in a circle around the pit, which exposes everyone equally to every direction of wind. Wrong. You need a wall.
Build a wind barrier on the upwind side using panels, dense brush, or a structure that blocks movement but doesn’t block radiant heat from the fire. Position seating in a tight arc on the leeward side, no more than ten feet from the pit center. This creates a pocket where radiant heat concentrates and wind velocity drops significantly. Your blankets now trap residual warmth against your body instead of fighting the elements. The gap between comfort and misery is this one tactical arrangement.
Fuel Mastery: The Bonfire Party’s Unsung Hero
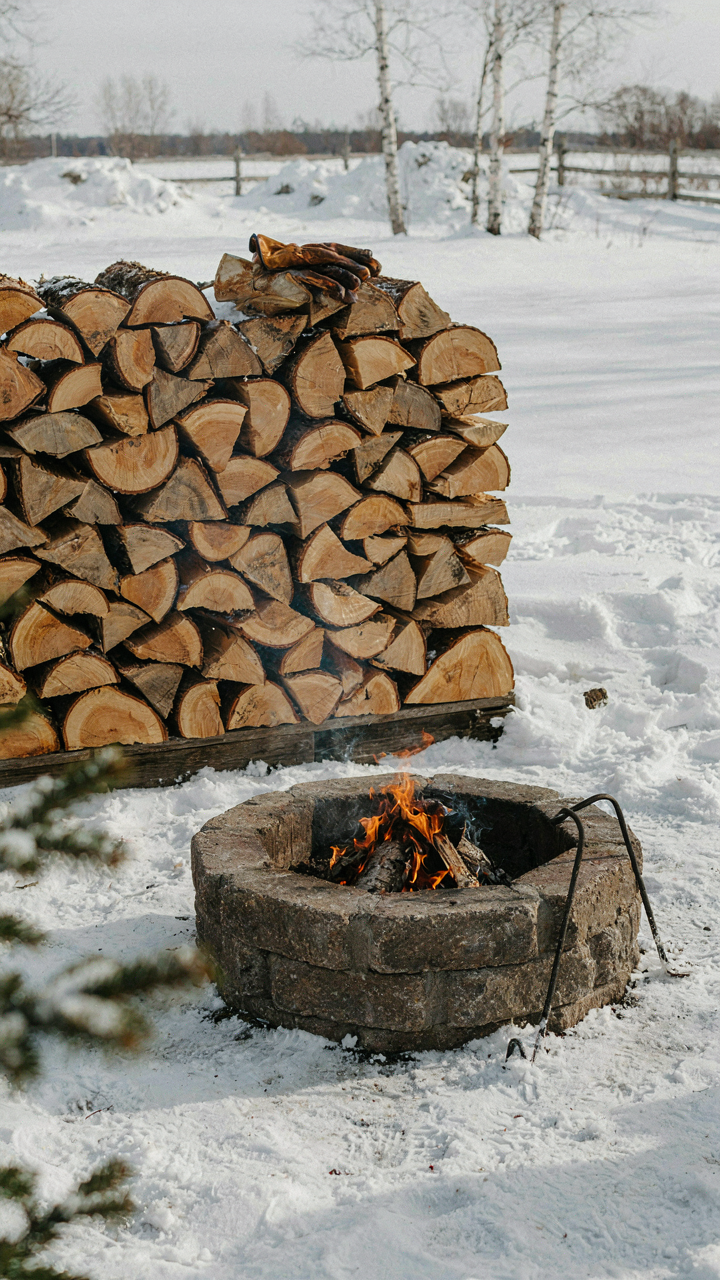
Wood Selection: BTU Output Over Aesthetic Appeal

You want to look like you know what you’re doing without actually studying combustion science. Here’s the real mechanism: wood burns based on density and moisture content, not romance. Hardwoods like oak and maple contain 8,000 to 9,500 BTU per pound. Softwoods like pine deliver 5,000 to 6,000 BTU per pound. Moisture kills heat output faster than any other variable. Wet wood wastes energy vaporizing water instead of generating usable heat.
Forget the advice about “seasoned firewood.” Most people buy wood that’s been stacked for six months and call it dry. True seasoning takes 12 to 18 months. Target wood with moisture content below 20 percent, measured with a moisture meter you can buy for thirty dollars. Split wood dries faster than rounds. Store it in a covered space with airflow. When you arrive at the party, bring wood that’s genuinely ready to burn, not a gamble.
Ignition Principles: Fire Starting, Not Fiddling
The common approach is backwards: people stack big wood, add kindling, light it, then panic when nothing catches. This is physics talking about cascade failure. You need three stages in strict order. Stage one is tinder: dry material with high surface area that ignites at low temperature. Newspaper, dryer lint, or commercial fire starters work. Stage two is kindling: pencil-thin to thumb-thin wood that catches from tinder and burns long enough to ignite stage three. Stage three is fuel wood: the actual logs that sustain the fire.
Build the tinder bundle tight but not dense. Add kindling in a loose teepee shape around it, leaving gaps for airflow. Light the tinder at the base. Once the kindling is burning steady for three minutes, add your first fuel wood piece. Don’t overload. Your only job is feeding the fire small-to-medium pieces until the coals build enough mass to accept larger logs. Rushing this process kills fires.
The “Winter BBQ Party” Protocol: Feed The Beast, Not Just The Guests
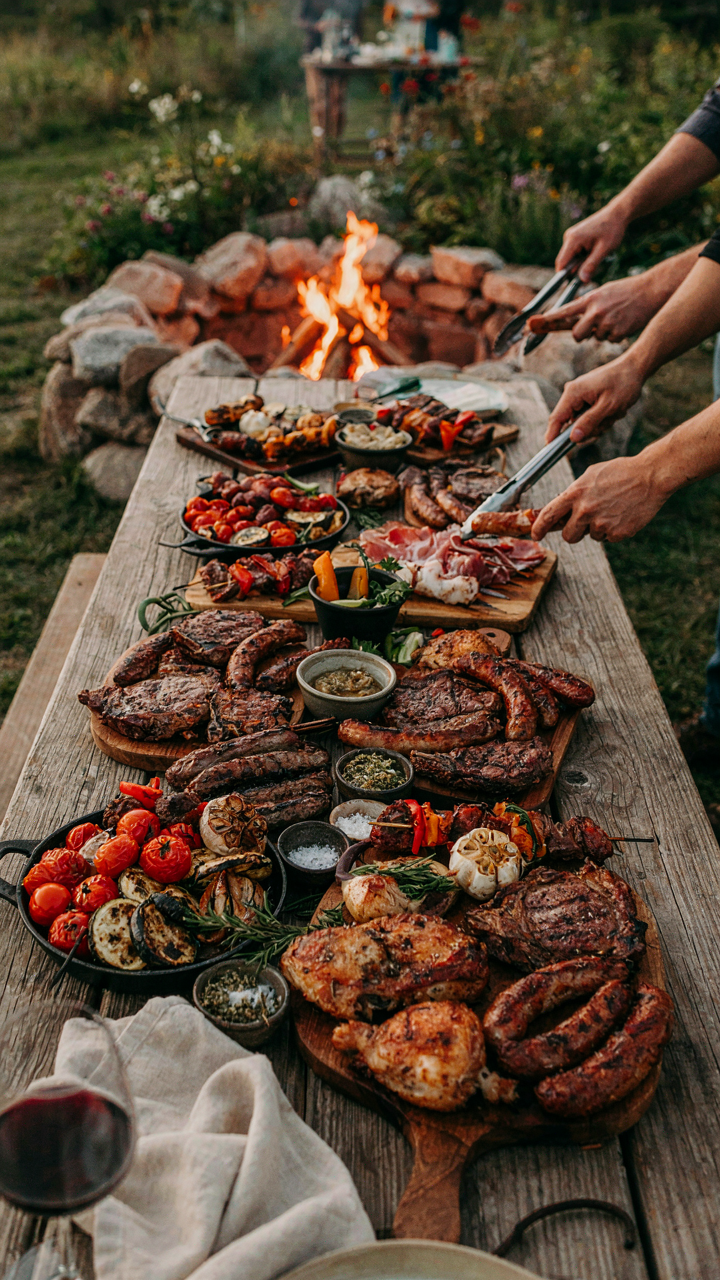
Calorie Density: Fueling Internal Furnaces

You want people to stay outside longer without complaining about cold. That’s the real reason you’re reading this. The mechanism is thermogenesis: your body burns calories to generate heat, and high-fat, protein-heavy foods accelerate that process. Winter fire pit parties fail when hosts treat food like summer cookouts. You’re not feeding appetites. You’re fueling internal furnaces.
Serve foods with caloric density that sticks: fatty meats, cheese, nuts, carbs with butter. Avoid salads and light fare entirely. A person eating grilled chicken breast alone will feel cold within thirty minutes. Someone eating beef brisket with a roll and compound butter will generate sustained body heat for hours. The fire pit becomes secondary to food strategy.
Hot Drink As Thermal Weapon: Strategy, Not Comfort
The conventional take is wrong: hot drinks don’t warm you from the inside in any meaningful way. Body temperature is regulated by your core, not your stomach. The real value is behavioral and mechanical. Hot drinks force people to pause, hold the cup close to their face, and inhale steam that warms the nasal passages and throat directly. The cup becomes a hand warmer they hold continuously.
Supply hot drinks with high sugar and fat content. Coffee with cream and sugar works. Spiked hot chocolate works better. Eggnog works best. The sugar provides quick energy your body converts to heat. The fat slows digestion and extends the thermogenic effect. Set up a drink station people can refill without asking. Refilling creates a natural pause cycle that prevents the cold from registering as discomfort.
The Anti Blanket Manifesto: Strategic Layering Over Decorative Fluff

Apparel As Personal Climate Control

You want the blanket to do the work so you don’t have to think about what you’re wearing. That’s the real sell. But here’s the mechanism: your body is a heat engine, and thermodynamics doesn’t care about your blanket’s thread count. The blanket traps radiant heat only if your base layers aren’t already failing. Cotton absorbs moisture and loses insulation value when damp. Merino wool and synthetic base layers maintain performance even when wet from sweat or ambient humidity. Start there, not with the blanket.
The blanket becomes a secondary reflector only after your apparel system handles vapor transport and core temperature stability. Wear a moisture-wicking base layer, an insulating mid layer like fleece, and a wind-blocking outer shell. Your core temperature stays regulated. The blanket then extends comfort duration instead of fighting a losing battle against conduction loss. Most people reverse this. They wear jeans and a hoodie, wrap themselves in a blanket, and wonder why they’re still cold after two hours. The failure happened before the blanket was ever deployed.
Insulation Gaps: Where Heat Actually Escapes
Everyone mentions layering, but nobody names the gap problem. Your neck, wrists, and ankles are direct thermal highways. Cold air circulates into these openings and strips heat from your core faster than your blanket can replace it. A blanket draped over you covers surface area, not the mechanisms of heat loss. Seal the gaps first. A neck gaiter, gloves that extend past your wrist, and full coverage socks eliminate the vectors where convection wins.
The blanket’s job shrinks to managing radiant loss from exposed skin on your face and hands, which is a fraction of total heat escape. Position yourself with your back to wind and your front toward the fire. This arrangement uses the fire as active heat source while the blanket handles passive retention. Tuck the blanket under your thighs and wrap it around your shoulders. This eliminates drafts underneath and around your sides. Gaps sealed. Heat retained. Comfort sustained.
Defense Against The Elements: Architecting The Outdoor Winter Party
Wind As A Heat Thief: Barriers And Baffles

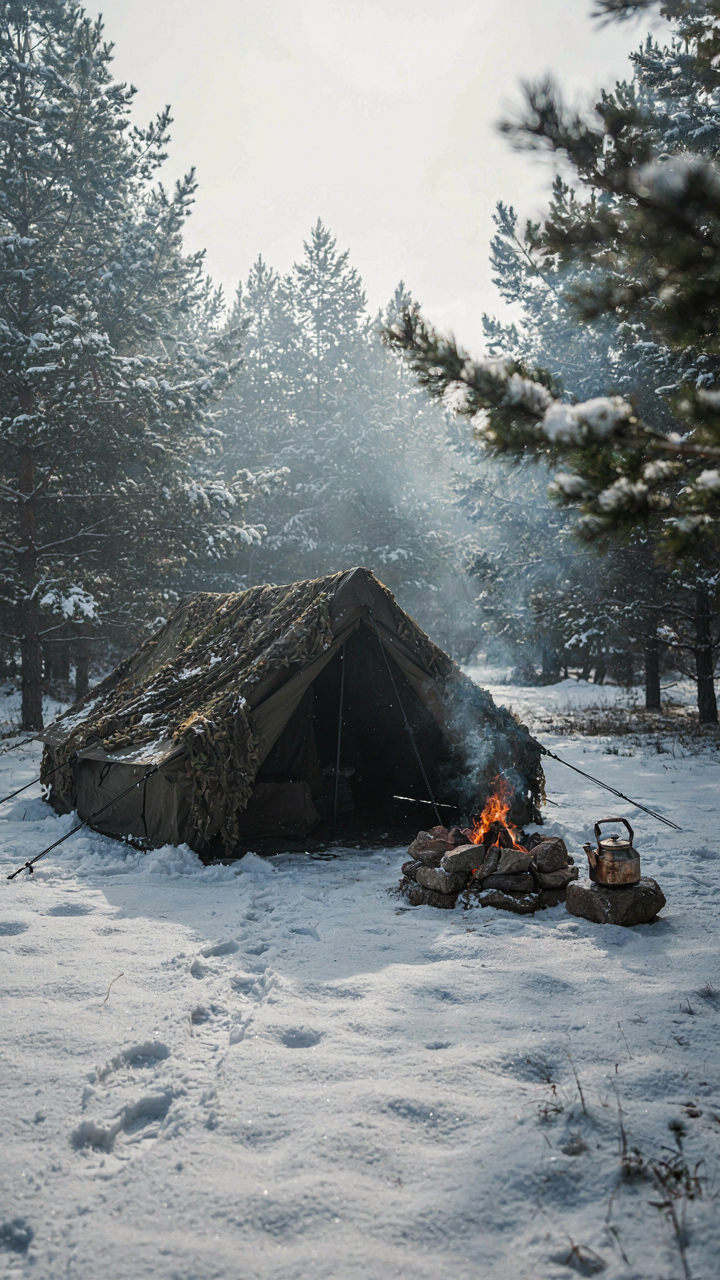
You want people to stay outside instead of retreating inside after twenty minutes. Wind strips heat from exposed skin and disrupts the fire’s radiant zone, making your setup feel colder than the actual temperature. Military fortifications use the same principle: blocking approach vectors to protect held ground. Your fire pit setup works the same way—you’re defending a perimeter against heat loss.
Wind shear happens at ground level where your guests sit. A berm of snow, stacked wood, or fabric barriers on the windward side redirects air flow upward instead of across the gathering. Place barriers three to four feet from the fire pit’s edge, perpendicular to the prevailing wind direction. This creates a pocket where radiant heat concentrates instead of scattering. The fire’s efficiency increases without burning more fuel.
Ground Insulation For Critical Zones
The ground beneath your guests pulls heat away faster than air does. Wet earth and frozen ground act as heat sinks, draining warmth through contact even when the fire burns hot. Blankets alone won’t stop this—you need a physical barrier between people and the cold ground substrate.
Lay down plywood, composite decking, or thick rubber mats before positioning blankets. These materials disrupt thermal conductivity between the ground and seated guests. Place them in the arc facing the fire where people will actually sit. Add the blankets on top of these insulation layers. This two-layer system—solid substrate plus fabric—cuts ground-based heat loss by more than half compared to blankets on bare earth alone.
Lighting Beyond Ambiance: Functional Illumination For Bonfire Christmas Party Logistics
Task Lighting: See What You’re Doing, Not Just The Mood

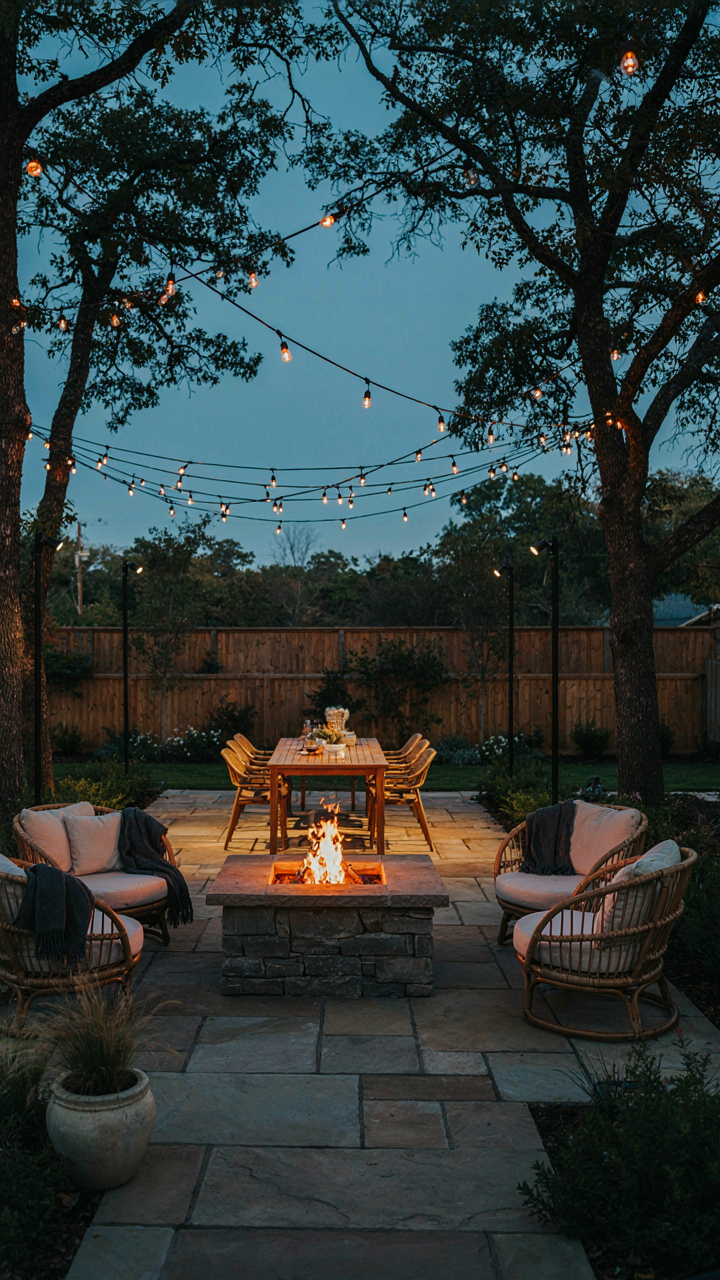
You want the fire pit to look good in photos, but you’re actually terrified someone will trip, spill a drink, or worse in the dark. That’s the real problem most hosts won’t name. The solution comes from stage lighting design: you need key light (the main visibility source) separate from fill light (the atmospheric glow). Your fire provides fill. You need key light positioned to illuminate the ground, seating, and walkways without washing out the fire’s visual impact.
String lights hung 8 to 10 feet overhead work better than ground-level stakes because height keeps the beam off faces and creates even ground coverage. Angle them slightly downward at 45 degrees rather than horizontal. This prevents the glare that makes guests squint and keeps the fire pit itself as the visual anchor. Position your brightest lights on the approach path and around the seating perimeter where people actually move and interact. Test the setup at dusk before guests arrive, not during the party.
Glare Reduction: Eyesight Preservation, Not Decoration
The common advice says use “warm ambient lighting” and call it solved. That’s incomplete. Ophthalmology teaches contrast sensitivity: your eyes struggle when bright light sits directly in your line of sight against dark surroundings. A fire pit at night creates maximum contrast. Place secondary lights behind or beside guests, never in front of where they’re looking. This pushes illumination onto surfaces, not into pupils.
Use diffused bulbs or frosted covers on any overhead lighting. Bare Edison bulbs look intentional but hurt to stare at for three hours. Angle lights to bounce off the ground or nearby surfaces rather than direct emission. Avoid lights that cast sharp shadows on faces, which triggers discomfort even if people can’t articulate why. The goal: guests should never consciously notice the lighting exists. When lighting works, all they notice is that they can see everything and the fire pit remains the focal point.
The Efficient Ash Management System For Winter Backyard Party Cleanup
Ash As A Resource, Not Disposal Problem

You want cleanup to feel effortless so you can host again without dread. The mechanism is this: wood ash has genuine agricultural value, which means treating it as waste is the expensive move. Hardwood ash contains potassium, calcium, and trace minerals that raise soil pH and improve drainage. Winter parties generate concentrated ash piles that, if stored dry, stay viable for spring garden application. This transforms your cleanup from a disposal task into resource capture.
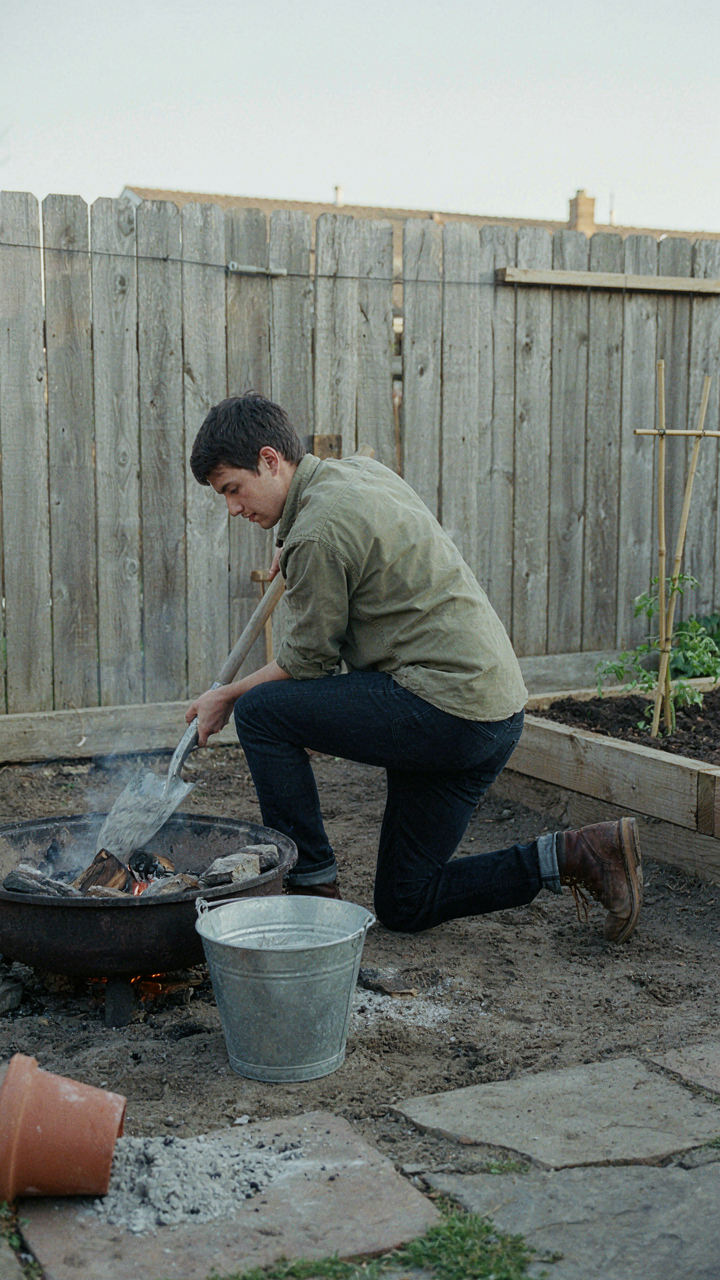
Collect ash only after the fire cools completely, typically 24 hours post-party. Use a metal shovel and bucket to separate ash from charred wood chunks. Store ash in a sealed metal container in a dry location, never in cardboard or exposed areas where moisture ruins its amendment properties. Come spring, spread cooled ash thinly over garden beds or compost piles. This single protocol shift means your cleanup labor generates value instead of just removing debris.
Rapid Extinguishment Without Water Waste
Most people drown fires with water, which creates muddy residue and wastes the resource entirely. The containment principle from industrial safety applies here: controlled suffocation beats flooding. Metal fire pit covers or ash shovels spread over coals stop oxygen flow and extinguish flames in minutes without liquid runoff contaminating your yard. This approach leaves ash intact and concentrated for collection.
Before guests leave, have a metal cover and shovel staged within arm’s reach of the pit. Once the party ends, place the cover over the pit to smother remaining coals. Let it sit undisturbed for two to four hours while ash settles and cools. Remove the cover only when the pit is cool enough to touch safely, then rake ash into your storage container. This protocol eliminates water damage and accelerates your next-morning cleanup.
Managing Guest Expectation: The Unspoken Rules Of An Outdoor Christmas Party
Setting The Bar This Isn’t Your Living Room

You’re worried people will think you’re cheap or unprepared if the setup looks rough. The real mechanism here is anchoring—a behavioral economics term meaning the first information people encounter sets their mental baseline for everything that follows. Your guests arrive with indoor comfort as their reference point. You need to recalibrate that anchor the moment they step outside.
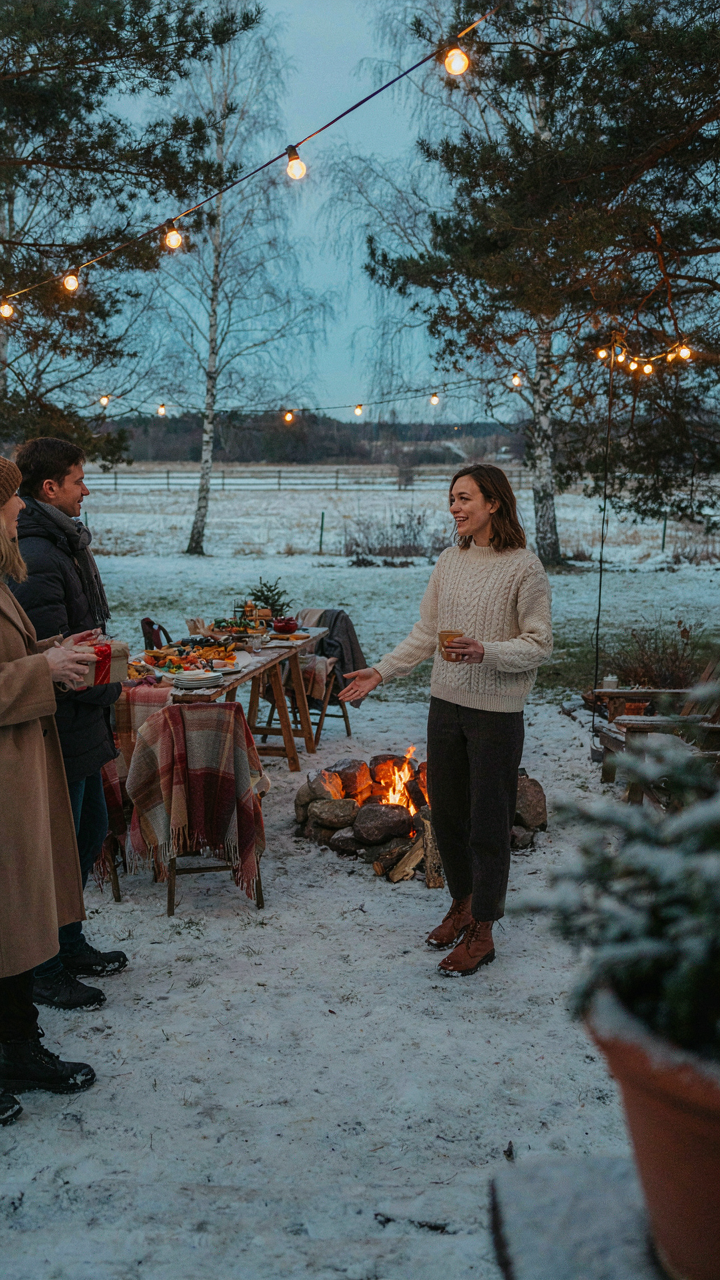
Don’t apologize for the cold or make jokes about roughing it. That signals you’re embarrassed about the environment. Instead, treat the outdoor space as intentional design, not a fallback plan. Set the thermostat expectation before they arrive by mentioning “we’ll be outside by the fire” in your invite. This primes them to dress for it. Once they’re there, move through the space with purpose. Offer blankets and drinks immediately without asking if they need them. Decisive hosting resets their mental model from “this might be uncomfortable” to “the host planned for this.”
Equipping The Unprepared The Host’s Real Burden
Most hosts expect guests to show up dressed for winter. That’s naive. Your job isn’t to judge their clothing choices. Your job is to absorb the friction of their unpreparedness before it becomes visible discomfort.
- Blanket station near seating: Pre-fold 2-3 blankets per person and drape them over the back of chairs or a designated bench. Make grabbing one feel natural, not remedial. Wool retains warmth even when damp from condensation.
- Layering pieces on hand: Keep a basket of clean hoodies, cardigans, or fleece throws sized for different body types. Remove tags so guests don’t feel they’re wearing merchandise. Update seasonally so offerings match current weather severity.
- Insulated seating solutions: Use cushions rated for outdoor use. They trap body heat and protect from cold radiating from metal or wood. Replace annually if they absorb moisture. Test them yourself before the party to confirm comfort threshold.
- Hot drink stations with variety: Offer coffee, tea, hot chocolate, and spiked options. Keep a second batch brewing so drinks stay hot. Provide insulated mugs that guests can hold for warmth independent of sipping.
- Foot warmth options: Provide thick socks or heated foot pads if seating is low to the ground. Feet drop core temperature faster than any other body part. This single addition dramatically increases how long guests stay engaged.
The unspoken rule people follow is reciprocity. You solve their discomfort before they have to ask. They’ll stay longer, relax faster, and actually remember the night as good instead of enduring it. That’s when conversations deepen and the party becomes what you intended instead of an ordeal everyone tolerates.
Post Party Recovery: The Winter War Room Debrief

Thermal Efficiency Assessment: What Worked, What Failed

You’re doing this because you want to look like you have your setup dialed in next time, not because you actually care about incremental improvements. The real mechanism is simple: thermal efficiency in fire pit design operates on the same principle as a heat exchanger in engineering. Your pit either retained radiant energy effectively or it hemorrhaged it. The blankets, the proximity to the fire, the wind blocking, the fuel type—these aren’t decorative choices. They’re variables that determine whether people stayed comfortable or pretended to while their core temperature dropped.
Document what actually happened, not what you expected to happen. Did the fire die after two hours because you used wet wood or because you didn’t stack it correctly? Did people migrate closer to the pit as the night wore on, suggesting the heat radius was smaller than planned? Did blankets bunch up and create air gaps that let cold seep in? Write down the fuel type you burned, the wind conditions, the starting temperature, and how many people stayed engaged versus how many disappeared inside. This data becomes your control group for the next event.
Gear Maintenance: Preparing For The Next Cold Assault
Blankets take damage faster than you think, and you’ll only notice when you’re setting up in the cold next time. Inspect every blanket for stains, tears, or persistent odors that suggest mildew grew during storage. Wool blankets need to be stored dry in a breathable bag, not plastic. Synthetic blends can handle moisture better but still deteriorate if left damp. Fire pit covers and screens collect rust and ash residue. Scrub them down with a wire brush while they’re still cool, then coat metal surfaces with a thin layer of food-grade mineral oil to prevent oxidation during storage.
Your thermal containers matter more than you realize. If you used thermos bottles or insulated carafes, empty them completely after the party and rinse them while still warm. Residual moisture left inside creates mold in the cap and inner seals. Let them air dry completely before storing with lids off. Check weatherstripping on any storage bins you used. Cold cycles cause rubber and foam to harden and crack. Replace degraded weatherstripping now, not when you’re setting up. Create a maintenance checklist before storage so next winter you rebuild from a known baseline instead of discovering failures mid-setup.
The Only Real Failure Is Pretending Discomfort Isn’t The Point. Stop Optimizing For Warmth; Optimize For Resilience
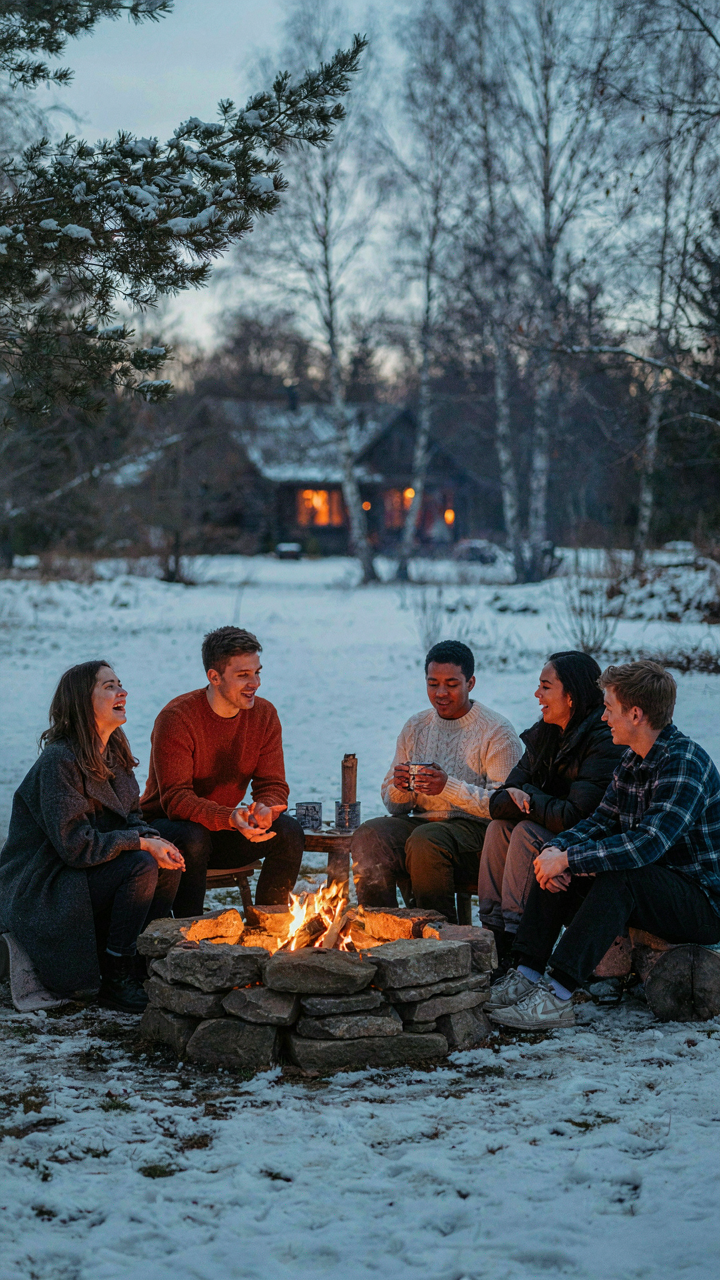
Most people skip winter fire pit parties because they chase comfort instead of connection. The cold isn’t a bug you fix with blankets. It’s the feature that makes you actually show up. Stop buying more insulation. Buy one quality blanket, invite people you actually respect, and sit there long enough to feel something shift. The moment you stop fighting the cold is the moment you start building real memories. Your body adapts faster than your mind thinks it will.



