Introduction
Long table centerpieces play a vital role in the atmosphere of any event. Whether you’re decorating for a wedding, a holiday meal, or a special party, an elegant centerpiece can transform the entire setting. Designing beautiful centerpieces doesn’t require a large budget. It is possible to create stunning arrangements while watching your expenses closely.
This article shows you how to design long table centerpieces that look elegant on any budget. You’ll learn about choosing materials, arranging items, and tips for maintaining style and practicality. The following chapters explore each step in detail to help you confidently enhance your table’s look without overspending.
Materials to Consider for Long Tables
When choosing materials for long table centerpieces, you’ll find plenty of options that balance cost, availability, and style. Natural materials like fresh flowers, greenery, branches, and even fruit can bring warmth and life to the table. They tend to be seasonal, so their availability may vary depending on when you’re decorating. On the flip side, artificial materials like silk flowers, paper decorations, or even glass beads offer consistency and longer-lasting use.
Wood, stones, and metals work too, if you lean toward a more rustic or modern vibe. These might cost more upfront but can be reused or combined in different ways to stretch your budget. Think of simple branches from your backyard paired with candles or fabric runners for a low-cost yet visually appealing effect.
Natural or artificial—each has its quirks. Fresh flowers look great but need water and some TLC throughout the event. Artificial blooms don’t wilt but sometimes feel less genuine, though high-quality options can be surprisingly convincing.
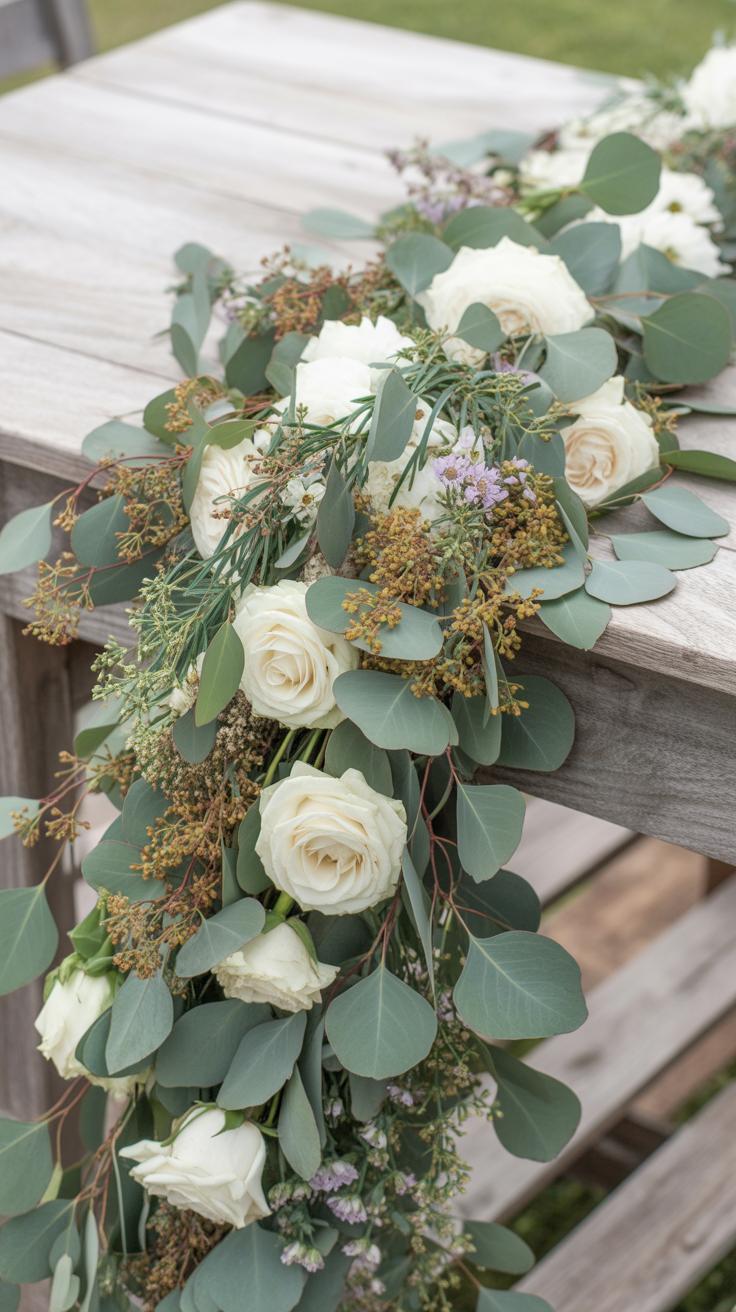
If you’re on a tight budget, focus on fewer statement pieces rather than crowding the table. Using natural elements like eucalyptus leaves scattered along the table or clustering a few well-chosen artificial flowers can make a strong impression without overspending. Would you rather spend a bit more on quality or save by using simpler materials? It’s something to weigh as you plan.
Design Ideas for Different Occasions
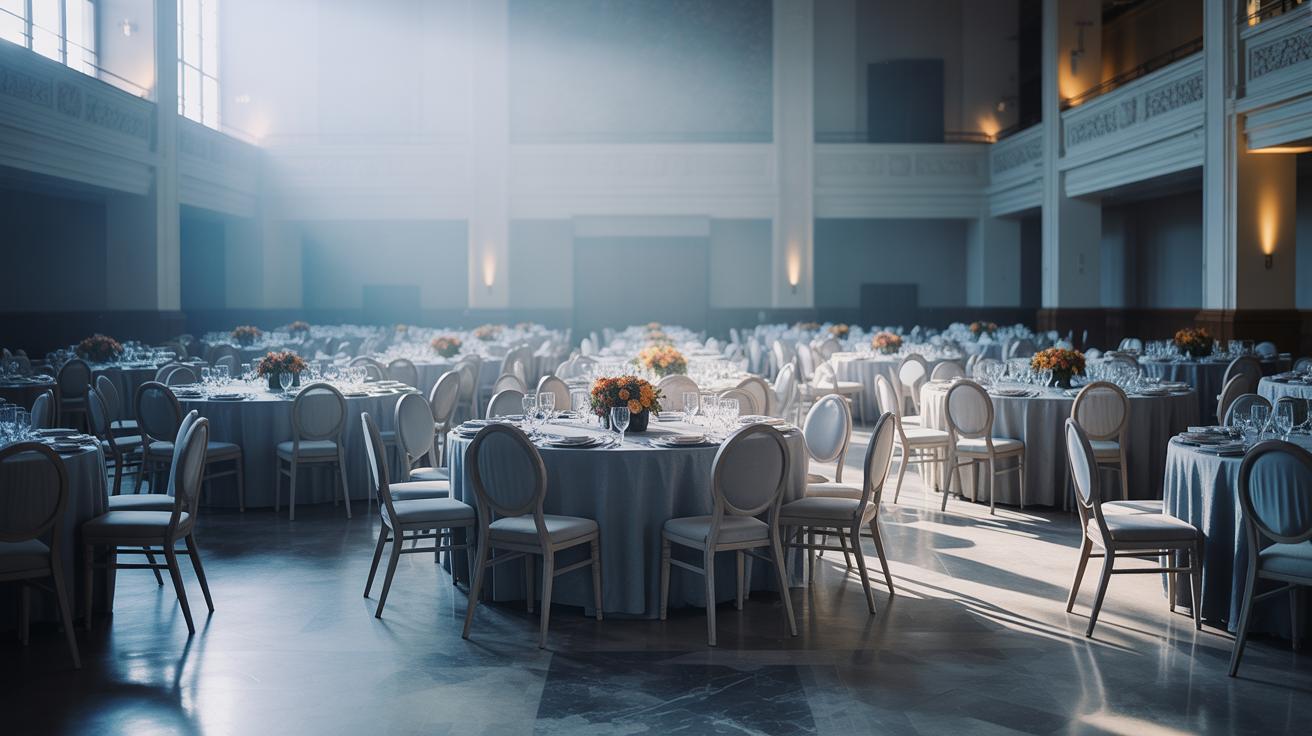
Examples for Weddings and Formal Events
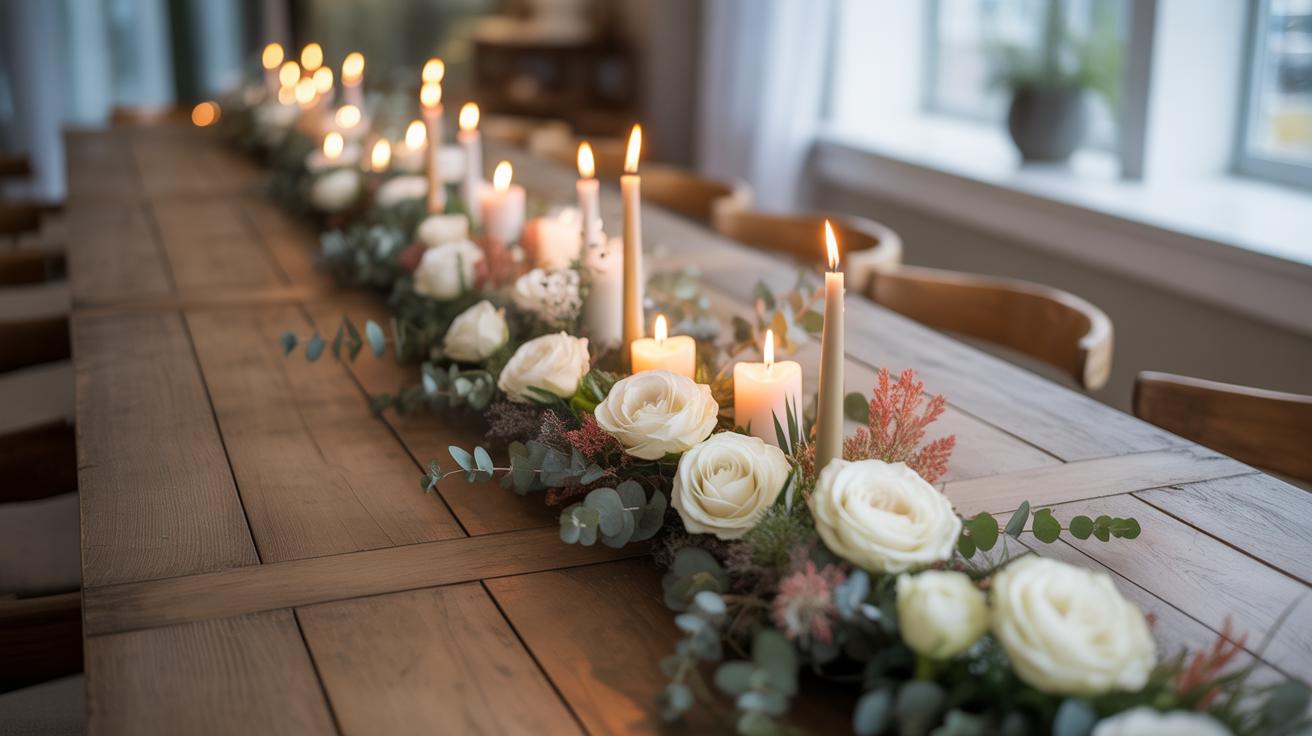
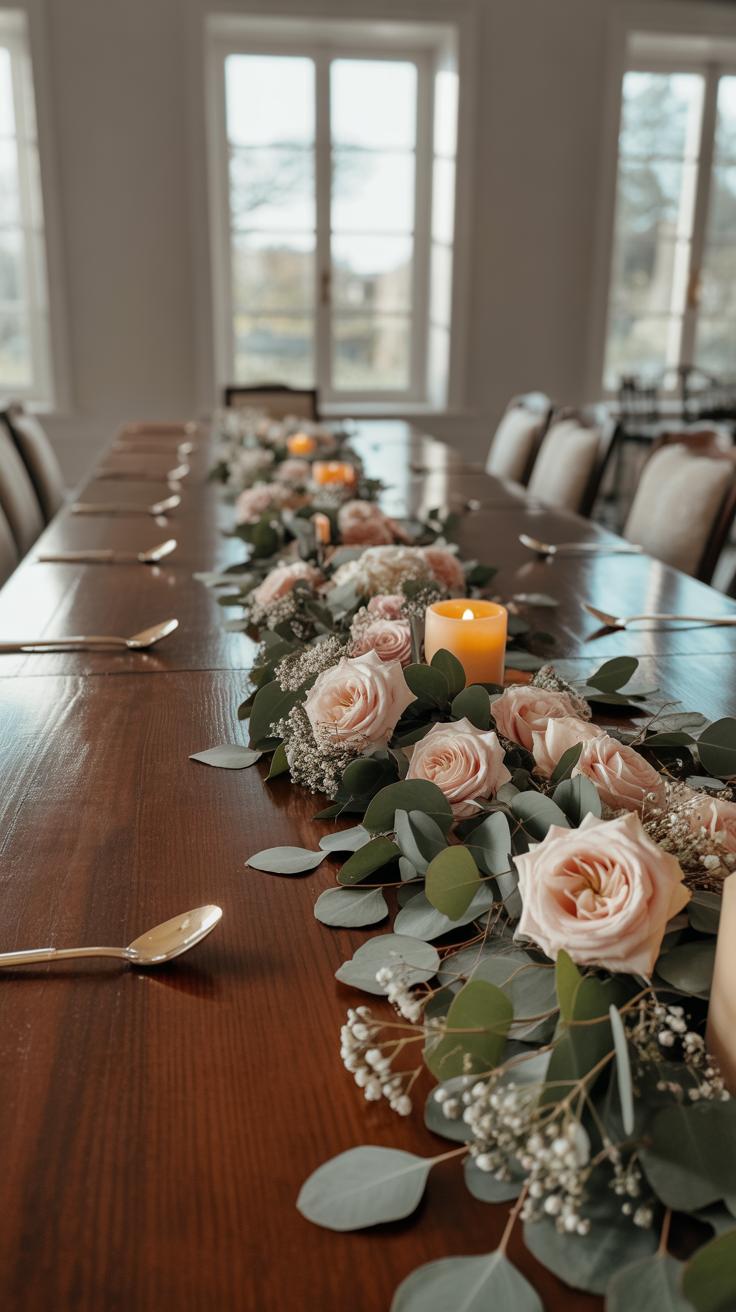
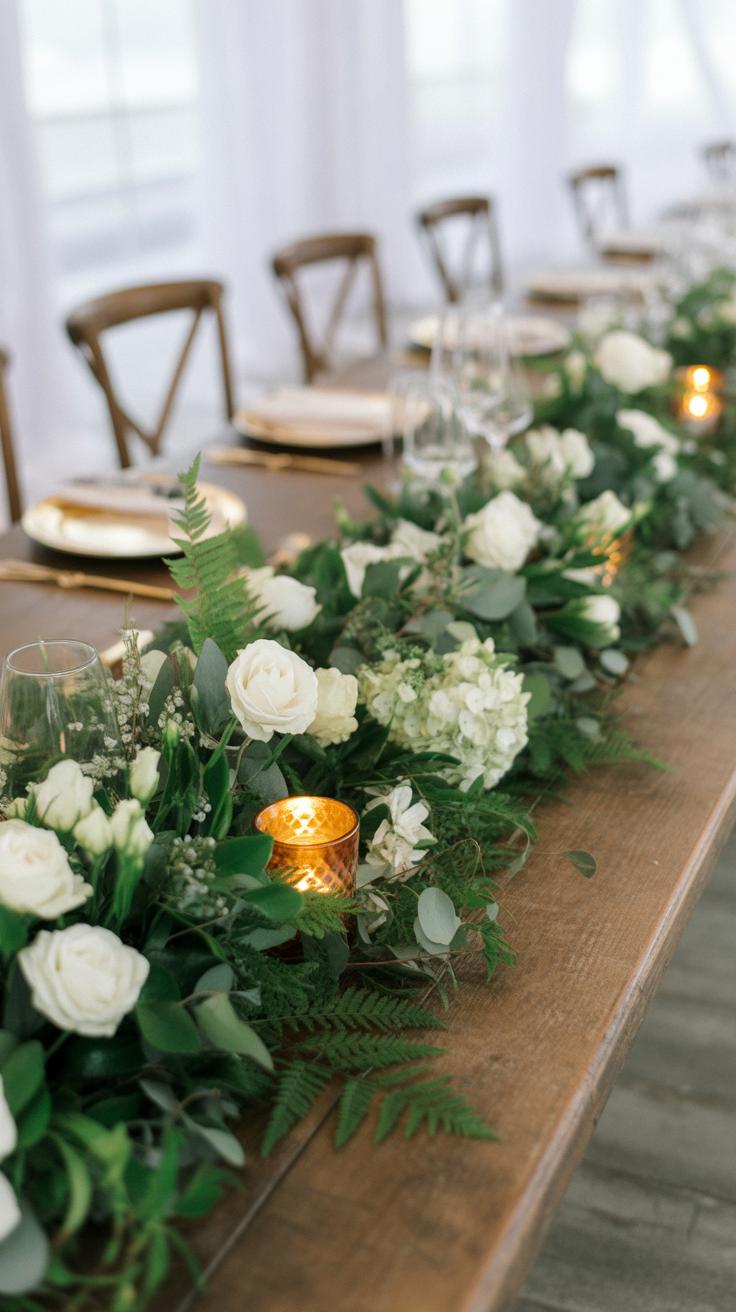
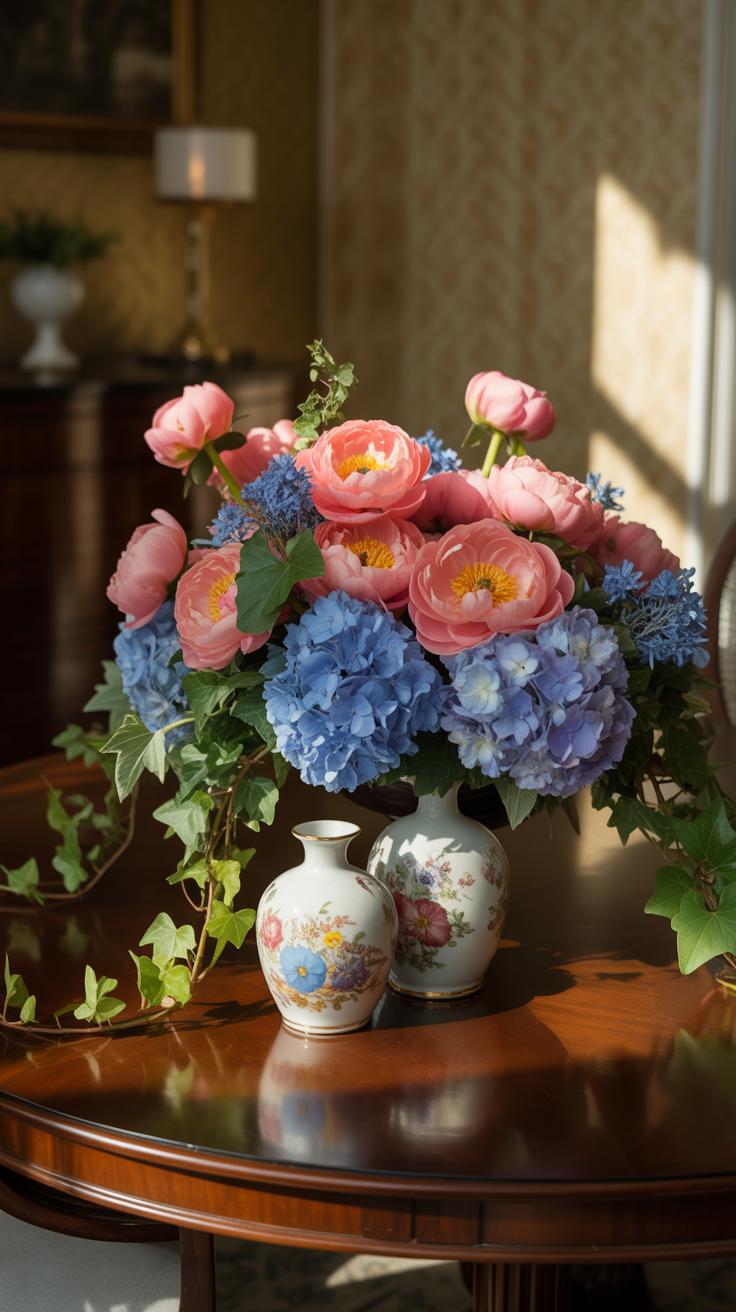
When planning long table centerpieces for weddings, you might want to think beyond the usual bouquets. Soft, pastel flowers—like peonies, garden roses, and ranunculus—work well here. They bring a gentle elegance without overwhelming the space. Colors often stick to whites, blushes, and muted greens, which create a calm, romantic mood.
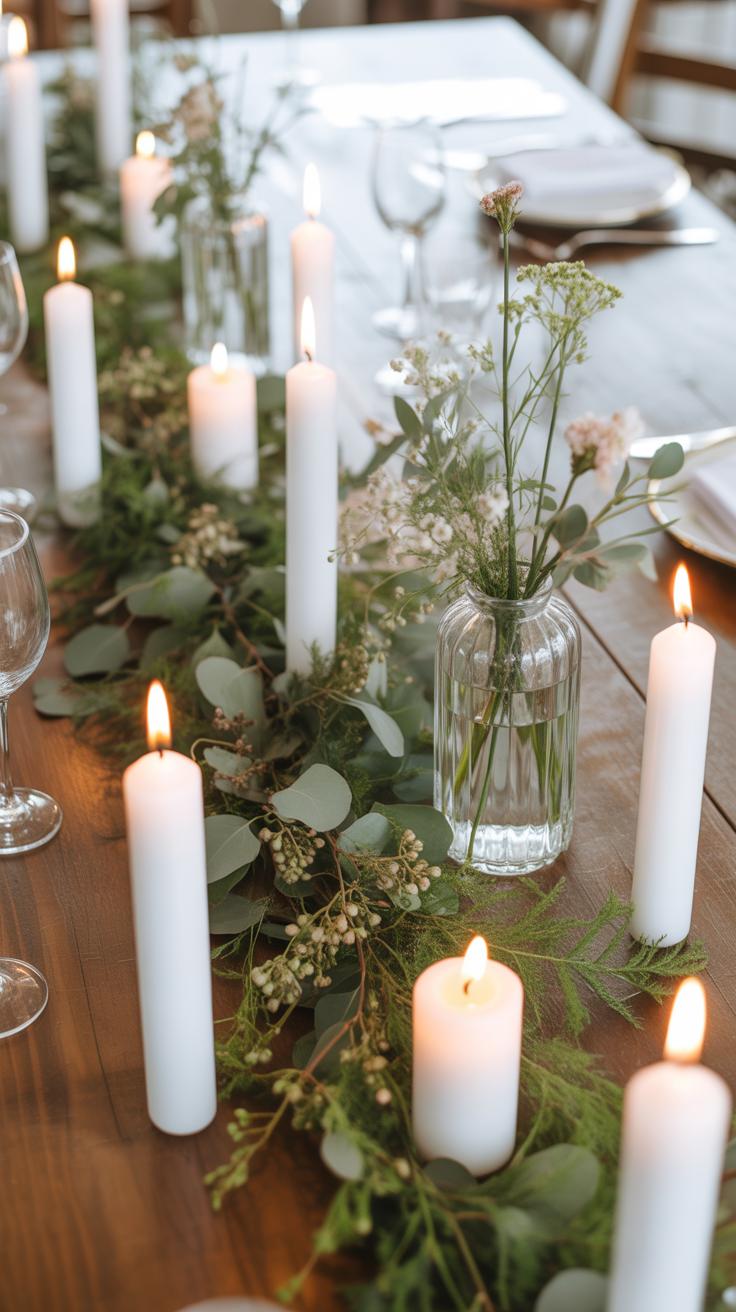
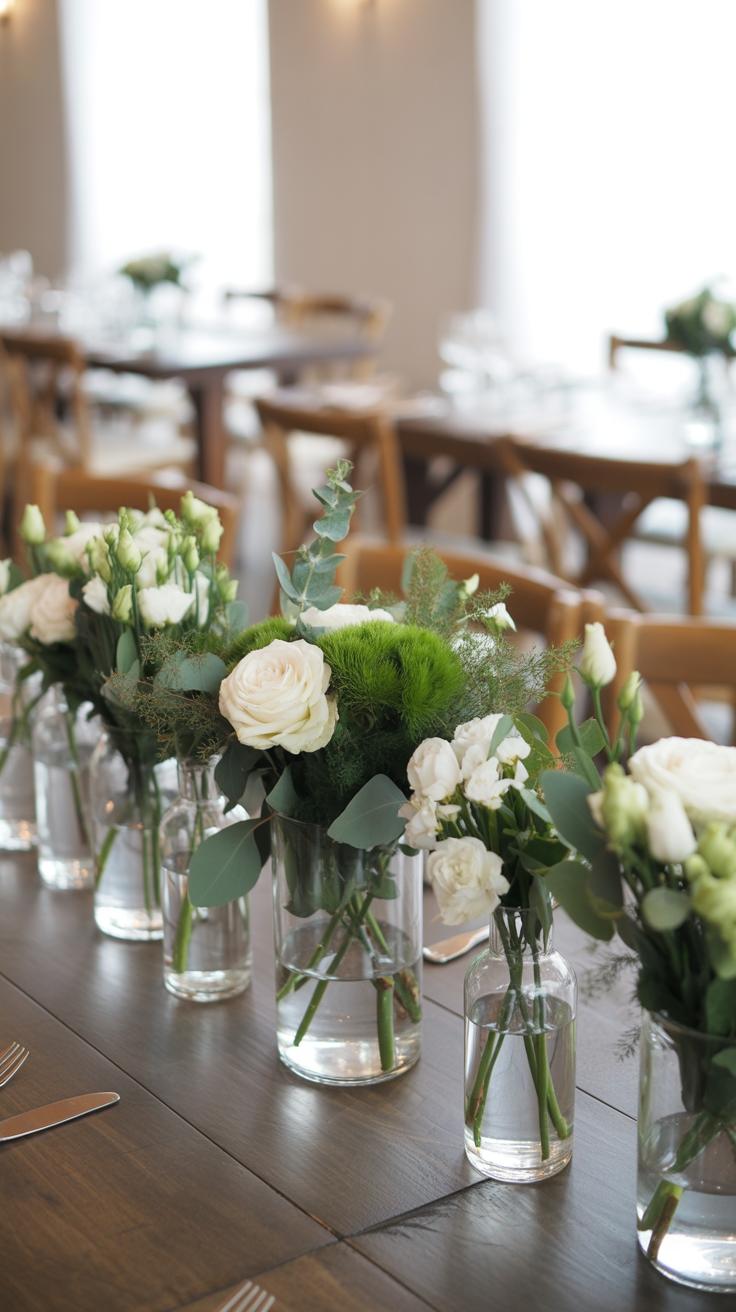
Try arranging flowers in low, elongated vessels to keep conversations flowing across the table. Mixing candles of varying heights adds depth without clutter. Sometimes, olive branches or eucalyptus can fill gaps nicely, giving a natural, understated look.
One thing I found helpful is to place small, repeating clusters rather than one huge centerpiece. It keeps the whole table cohesive and guests can enjoy the view without feeling boxed in. Formal doesn’t mean rigid—think of loose, flowing arrangements that feel inviting rather than stiff.
Casual and Holiday Decoration Ideas
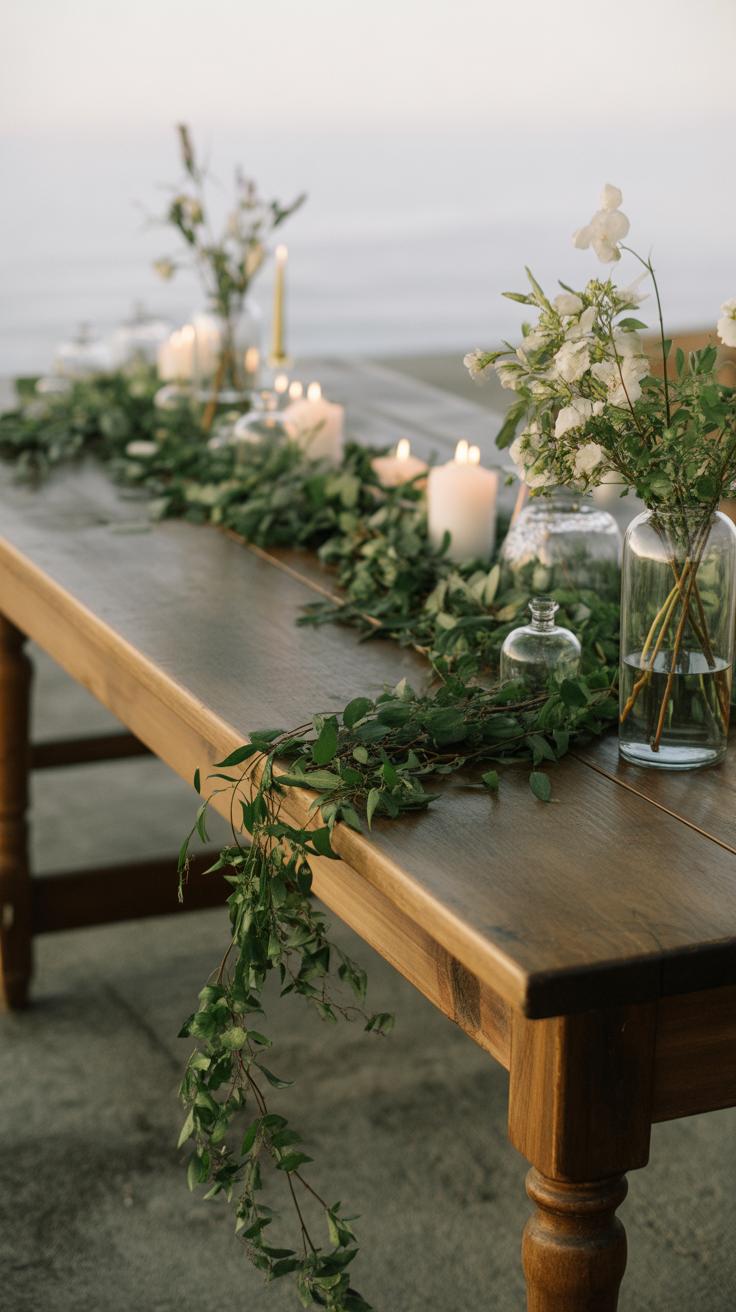
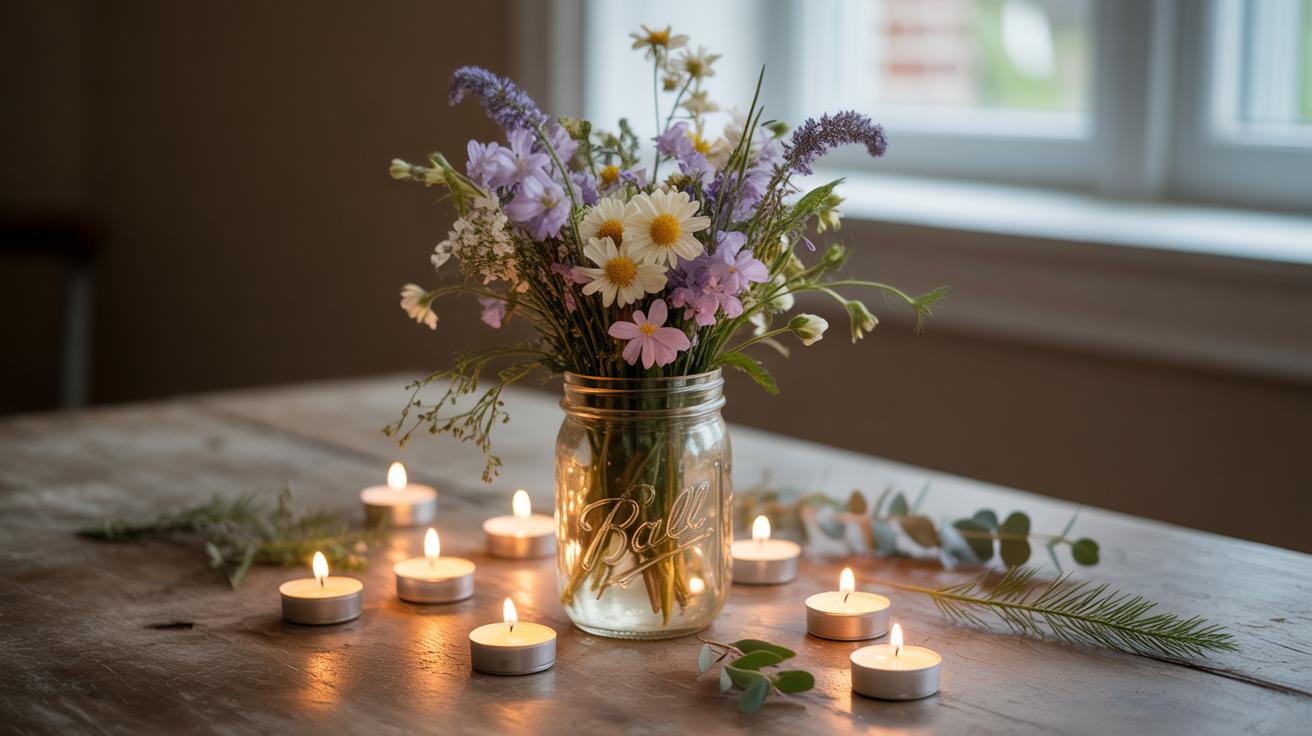
For casual dinners or holiday gatherings, simplicity often wins—both in style and cost. You can repurpose everyday items like mason jars or simple glass bottles, filling them with seasonal greens or fresh herbs. No need for perfect blooms; sprigs of pine, cinnamon sticks, or dried oranges add festive flair at nearly no cost.
Using natural elements like pinecones or cranberries scattered along the table offers texture without demanding too much time or money. String lights or fairy lights wound along the centerpiece can bring a warm, relaxed glow. If you’re thinking of treats on the table, small bowls of nuts or candies double as decor and snacks.
Honestly, sometimes less is more. A simple runner with a few well-placed accents feels just right for laid-back settings. What’s your take? Do you prefer full-on decorations, or would you lean toward minimal touches that still set the mood?
Step by Step Assembly Process
Preparation Checklist for Materials
Before you start, gather everything you’ll need to avoid interruptions. Here’s what usually works well:
- Base containers or trays—something long and shallow fits best.
- Floral foam or oasis for fresh flowers, or weighted bases if you’re using dry elements.
- Flowers, greenery, or any centerpiece components like candles, stones, or fruit.
- Scissors or floral shears for trimming.
- Floral tape or wire for securing elements.
- A protective tablecloth or runner to keep the surface clean.
- Water source or spray bottle if you’re working with fresh plants.
- Trash container nearby for discarding scraps.
Also, arrange your workspace with enough light and room to spread out materials. It helps to set things in order before assembling so you don’t get overwhelmed halfway through. I’ve found that a cluttered space makes the process feel longer, but a clear one kind of nudges you to finish quicker.
Arranging the Centerpiece Elements
Start by thinking about balance along the length of the table. You want a display that feels steady but not too predictable. One way is to divide the table visually into thirds and work through each section sequentially. Place larger or taller items first; these act as anchors.
Spacing is key. Don’t cluster everything too tightly—give pieces room to breathe. But don’t leave awkward gaps, either. For example, a series of small candles spaced evenly can counterbalance a group of floral bunches on the opposite side.
Try mixing heights but avoid blocking sight lines across the table. Low greenery works well between taller flowers and candles. Keep some repeated elements to unify the look, like color themes or matching containers, but feel free to break patterns slightly. That unpredictable touch might make your centerpiece more interesting, even if it’s a bit uneven.
As you go along, step back frequently. Sometimes what looks good up close feels different when viewed as a whole. Trust your eye, but don’t be afraid to move items around until it feels right—sometimes it takes a bit of trial and error.
Measuring Your Space Before Designing
How to Measure for Long Tables
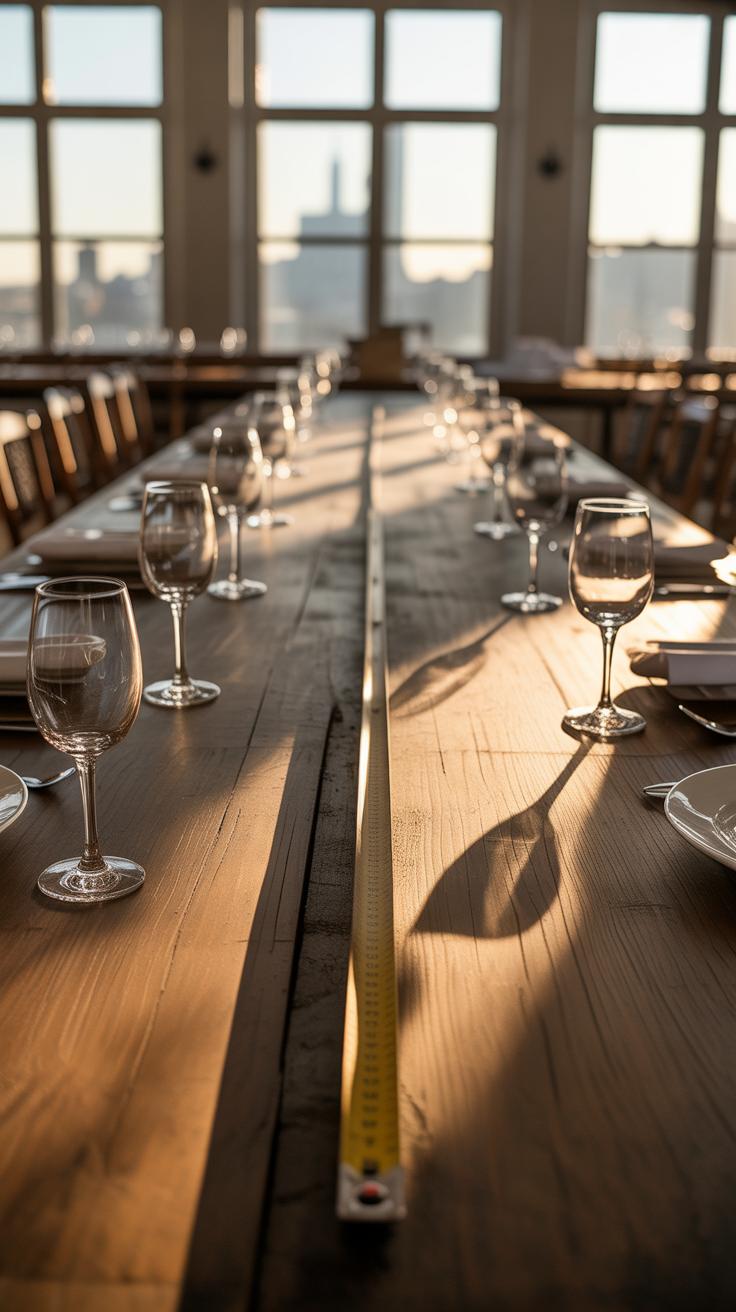
Start by finding a tape measure or a yardstick—whatever you have on hand. Measure the table’s length from one end to the other, trying to stay as close to the edge as possible. Write it down. Then, measure the width across. Long tables can vary quite a bit, so don’t assume standard sizes. Sometimes they’re narrower or wider than you expect.
Don’t forget to think about the seating. How many guests will be at the table? Are chairs pushed in, or will people lean back? Knowing this helps you imagine how much room you truly have. For example, a 10-foot table might seem generous, but with lots of guests and place settings, your centerpiece space shrinks.
Fitting Your Centerpiece Within the Space
Once you have the dimensions, consider how your centerpiece will fit without overcrowding. You want it to be visible and add appeal, but not get in the way. Centerpieces that are too wide can feel intrusive or force guests to shift awkwardly when reaching across.
Remember, communication matters. Ask yourself: will the centerpiece block sightlines? Could it make conversation harder? Sometimes a narrow runner with spaced-out elements works better than one bulky piece.
At the end of the day, your centerpiece should complement the setting, not dominate it. In my experience, leaving a bit more breathing room feels less cluttered—even if it means the arrangement is a little simpler than you imagined.
Choosing Colors for Your Centerpiece

Picking colors for your long table centerpiece can feel tricky. You want something that fits the overall vibe of your event but doesn’t clash with the table setting. Sometimes, I find it’s easiest to start by thinking about the mood you want to create—do you want calm and serene, bold and lively, or maybe something more understated?
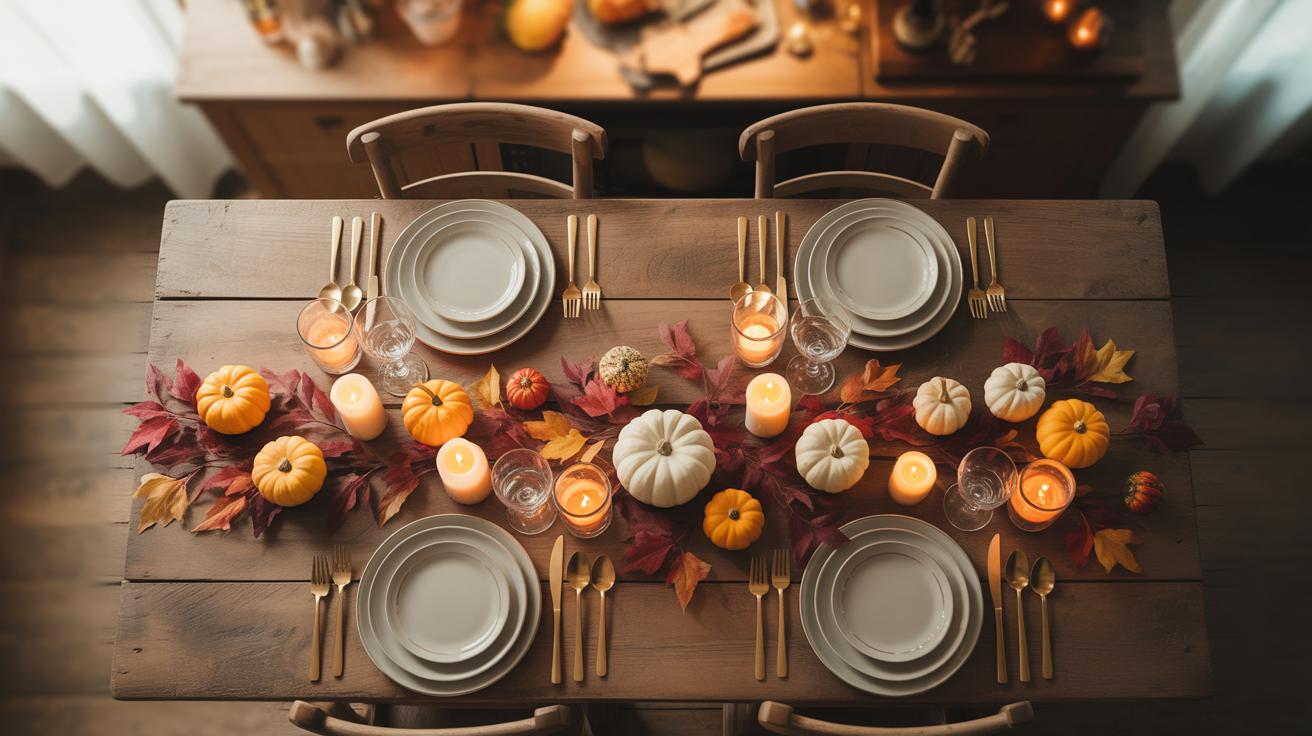
Matching colors to the event’s theme can guide you, but don’t feel boxed in. For example, a fall wedding often leans toward oranges, deep reds, and earthy tones. But mixing in unexpected shades like soft pink or dusty blue can add interest if done sparingly.
Here are some ideas to help:
- Look at your venue’s existing colors—walls, linens, lighting—and find hues that echo those elements.
- For seasonal touches, spring might bring fresh greens and pastel blooms; winter could call for white, silver, and dark greens.
- Think about contrasting colors carefully; a pop of something bright can jazz things up, but too many competing shades might overwhelm your centerpiece.
When mixing colors, less is often more. I’ve tried more complex palettes before and sometimes it just confuses the eye. Stick to two or three main colors, then let different tones or textures bring depth.
Do you want your centerpiece to stand out or gently blend in? That answer changes your approach to color drastically. Some events benefit from subtlety, where soft, matching hues build a quiet harmony. Others call for bolder contrasts — something that catches the eye as guests look down the table.
At the end of the day, let your chosen colors feel right to you. Sometimes, stepping back and seeing how the colors work in the actual space helps more than any rule.
Common Mistakes to Avoid
Overcrowding the Table

One of the most frequent mistakes I see is trying to pack too much onto the table. It’s tempting to fill every inch with flowers, candles, or decor, thinking more equals better. But really, large or numerous elements just crowd the space, making the centerpiece chaotic rather than elegant. When the table looks cluttered, guests can feel distracted or even cramped. Their plates, glasses, and conversations get lost in the jumble.
Think about how people sit and interact. You want a centerpiece that invites engagement, not one that blocks sightlines or takes over the whole table. Sometimes, less truly is more — a few well-placed details can create a better flow and allow the table to breathe. Ask yourself: is this piece adding charm or noise? If it leans toward noise, leave it out.
Ignoring Lighting and Visibility
Lighting often gets overlooked, yet it changes everything. A centerpiece without thoughtful lighting can look flat or unremarkable, losing its potential to enhance the space. On the other hand, harsh or poorly placed lights can be distracting or even unflattering.
Also, keep sightlines in mind. Guests need to see one another, so tall designs or bright spots right in the middle can block or glare. Low, soft lighting, perhaps from small candles or subtle fairy lights, can highlight details without overwhelming. Sometimes, subtle lighting helps the centerpiece work with the room rather than fight it. Have you noticed how a dim glow can transform a simple table into something special? It’s subtle but makes a difference. Think about where people’s eyes naturally fall and position your lighting accordingly. Your goal is balance — enough light to appreciate the centerpiece, but not so much that it dominates or distracts.
Cost Breakdown of Centerpieces

Working with long table centerpieces means juggling both length and detail, and the budget can stretch quite differently depending on how elaborate you want to get. For starters, keeping costs under $50 isn’t impossible, but it does require a little creativity.
Cheap materials like greenery clippings, candles, and simple glass jars can come together nicely if arranged thoughtfully. For example:
- Buy bulk greenery from local markets or even harvest from your garden.
- Use thrifted or dollar store vases and paint them if you want a unique look.
- Combine pillar candles with inexpensive decorative stones or sand.
Don’t overlook the power of repetition too—multiple smaller pieces spaced evenly can feel just as impressive as one long runner. Just be prepared to put in some time assembling.
Now, if your budget is a bit more flexible, say in the mid-range of $100 to $300, you can start thinking about real flowers, custom runners, and even handcrafted elements. Here, florists can offer mixed arrangements with seasonal blooms, which might raise costs but add richness.
Expect labor costs to creep in when you want something custom or more detailed—sometimes the design itself becomes the pricey part. Do you want varied heights and textures? That will cost more than a simple linear arrangement. Honestly, sometimes mid-range budgets still require compromises, especially on long tables.
So, the cost largely depends on whether you’re prioritizing materials, complexity, or the time spent designing. What matters most to you? A simple but elegant vibe or a lush, layered centerpiece that makes heads turn?
Maintaining Your Centerpiece During Events
Keeping a long table centerpiece looking fresh and intact throughout an event can be trickier than it seems. You probably noticed how even well-prepared arrangements start to falter after a few hours, right? So, a little ongoing attention helps more than you might expect.
When your centerpiece features fresh flowers, spritzing them lightly with water every hour or so can make a surprising difference. Just avoid soaking the petals; a gentle mist is enough to keep them lively. Also, keep a small spray bottle handy — it’s easier than running off to grab water. If you have foliage, make sure the stems rest in floral foam or water tubes to prolong freshness. It might sound obvious, but double-check these mid-event, especially in warmer venues.
With artificial elements, dust and slight movement can dull the look as well. A quick once-over with a soft cloth or a tiny brush can remove dust without disturbing the arrangement. To keep things stable, use discreet weights or adhesive putty under heavier pieces — you don’t want an accidental nudge turning your centerpiece into a mess just as guests arrive.
If you’re juggling both fresh and artificial items, don’t forget they have different needs. It’s a bit of a balancing act to care for both simultaneously, but staying alert pays off. It might feel like a lot, but these small efforts keep your centerpiece inviting throughout the evening. Have you tried any tricks that worked for long events? They might just surprise you in how effective simple maintenance can be.
DIY Centerpiece Projects to Try
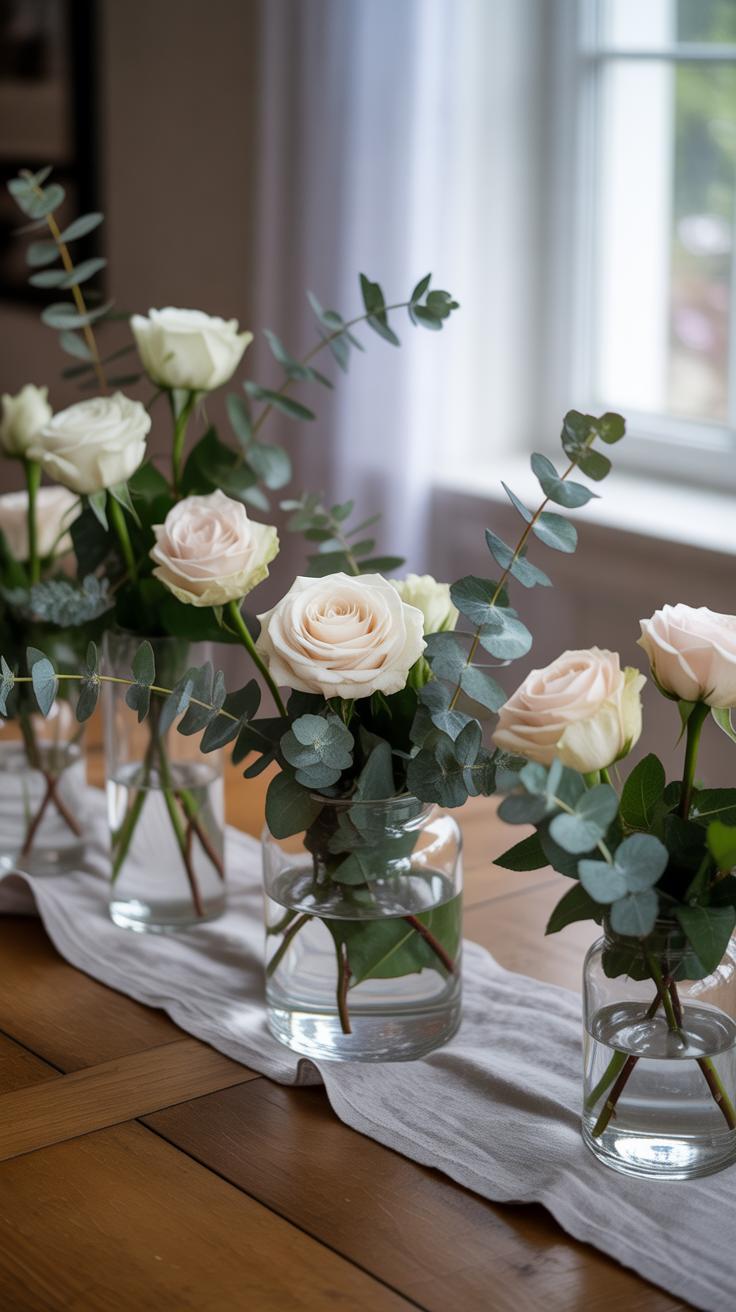
You don’t have to be a florist or a crafts expert to create charming long table centerpieces. Sometimes, the simplest projects can bring a surprisingly good look to your table. For example, assembling a line of small glass jars or bottles filled with single stems can be both affordable and visually appealing. It breaks up the length without overwhelming the space. You might find this feels easier than wrestling with one huge arrangement that risks looking cluttered.
Or think about layering candles at varying heights along the table. Use tea lights, pillar candles, or even battery-operated ones if you want to skip the flames. It’s a gentle way to add warmth and interest without requiring much setup or cleanup. You might not expect these common items to transform your table, but they often do.
Here’s a short checklist to get started:
- Collect different shaped glass containers—old jam jars, wine bottles, and so on.
- Pick a simple theme, like just greenery or just a single flower type.
- Incorporate inexpensive elements like stones, twine, or small branches.
- Try grouping items in odd numbers for a more natural feel.
While it’s easy to want to fill every inch of a long table, sometimes leaving space between small, repeated pieces brings a cleaner, fresher look you might prefer.
Simple Floral Arrangements Anyone Can Make
Starting with just a few flowers and some greenery can surprise you. For instance, assembling loose bunches and placing them in several small vases offers a light, casual vibe that suits informal meals well. You don’t need fancy tools or floral foam—just snip and arrange.
Try to keep it simple. Focus on one or two flower types, maybe added greenery, and cut to different heights. It’s okay to let some stems lean outward naturally; this can look less forced and more inviting. Honestly, I’ve found that slightly imperfect arrangements often feel the most welcoming.
Besides the flowers, remember that the vase matters as much as the contents. Experiment with jars, teacups, or even repurposed containers—the goal is to match the centerpiece to your setting, not just the flowers.
Upcycling Household Items for Decor
Household items have untapped potential. Think about old candle holders, mason jars, or even teapots as vessels for your centerpiece. Often, these things are sturdier and more interesting than plain store-bought vases.
I once turned a chipped ceramic mug into a succulent planter that became a conversation starter. You can fill old tins with flowers or add paint to worn wooden boxes for a rustic touch. Sometimes a simple coat of something like white chalk paint makes a world of difference.
Try to look around your home with fresh eyes. What might seem out of place could serve as a unique focal point. Using what you already have can save money and also make your table feel more personal, which is always nice.
Evaluating Your Centerpiece Impact
Once your long table centerpiece is in place, the real test begins. Does it catch the eye without overwhelming the space? Are guests able to engage comfortably across it? You might have thought your arrangement was perfect, yet seeing it in action often reveals things you didn’t anticipate.
Take a moment to stand back and watch how your centerpiece fits within the room. Notice if it blocks sightlines or distracts from conversations. Sometimes, what seems elegant on paper feels bulky or too sparse when set. A subtle detail, like a vase height or color balance, might suddenly feel off.
Don’t rush this assessment. Small shifts in placement or layering can change the whole vibe. Think about whether your centerpiece invites curiosity or feels like an afterthought. This kind of quick reflection, even if informal, often guides better choices next time.
Gathering Feedback from Guests
Guests might be your best—and sometimes harshest—critics. But asking directly can feel awkward, right? Instead, try casual approaches: questions like “What do you think of our table setup?” or simply observing where people look or linger. Do they comment on the flowers, reach to touch something, or avoid the centerpiece altogether?
Try to catch their first impressions too—these often reveal more than later, polite answers. Sometimes people won’t speak up unless prompted but will show their feelings through body language: leaning in, smiling, or even rearranging something discreetly. These clues matter.
Also, consider asking a few trusted friends or family for honest opinions. They might notice aspects you missed. Just be ready for unexpected feedback—it’s rarely all praise or all criticism.
Adjusting Future Designs Based on Results
After gathering impressions and watching interactions, you’ll probably spot patterns. Maybe guests found the centerpiece too tall, or the colors too bold. Perhaps the elements sparked conversations or seemed irrelevant. These insights are like little road signs for your next design.
Don’t be afraid to tweak your approach bit by bit. For example, if many found the centerpiece blocking views, try shorter arrangements next time, or divide one large piece into several smaller clusters. If certain colors weren’t well received, consider dialing them down or mixing in softer tones.
Keep track of what works and what doesn’t—whether it’s textures, materials, or scale. Over time, these adjustments will help you refine a style that fits your space and audience better than any perfectionist plan could on its own.
Conclusions
Designing elegant long table centerpieces is achievable regardless of your budget. By selecting the right materials and planning your arrangement carefully, you create a centerpiece that adds beauty and charm to any occasion. A balanced approach helps maintain both style and functionality.
Remember to focus on your event’s theme and your space to make your centerpiece truly fit. With the practical ideas shared, you can confidently craft long table centerpieces that impress your guests and make your event memorable without overspending.