The Physical Challenge Of One Legged Crocheting
Balance And Focus
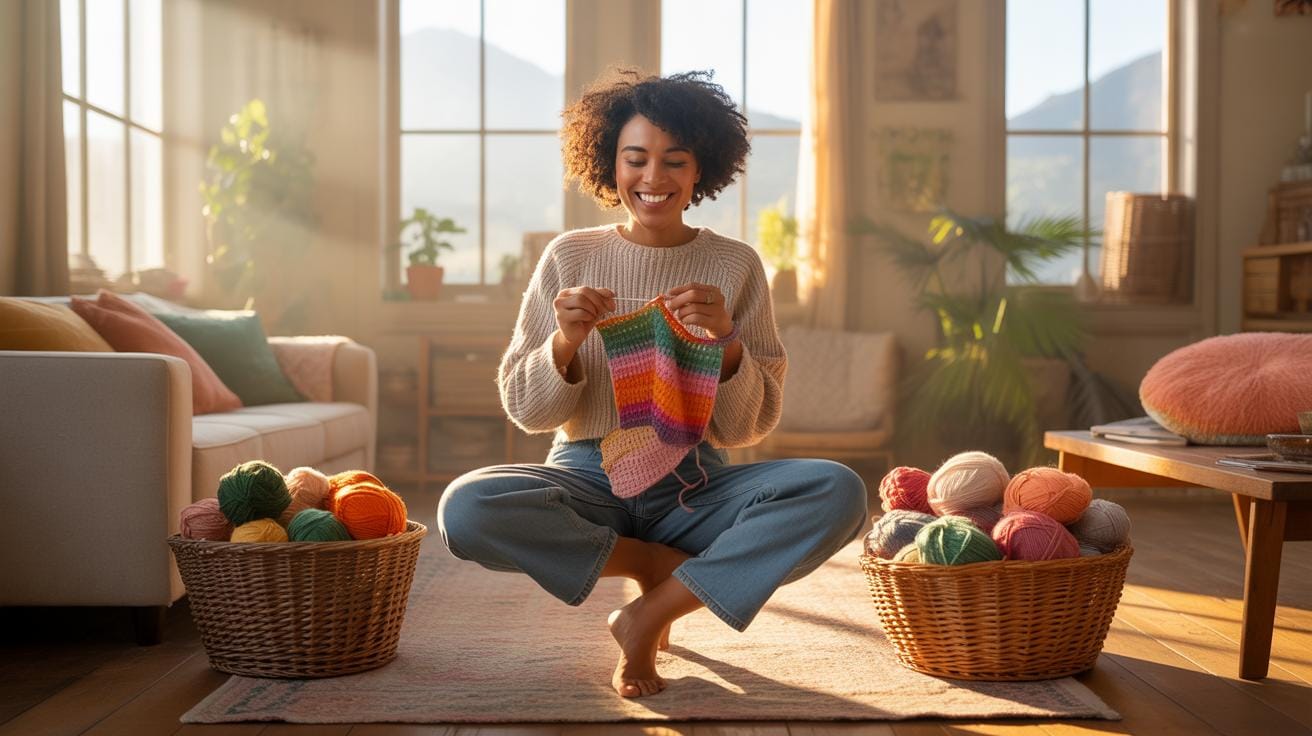
Standing on one foot creates a unique rhythm for every stitch. You must coordinate your hook movements with your body weight to stay upright. This stance changes how you handle a Crochet Legs Pattern because your core muscles stay tight. Maintaining this posture helps you visualize Crochet Animal Legs with better precision. You learn to control your tension while gravity tests your physical stability and your creative patience during every row.
Mastering this stance improves your craft when working on complex shapes. Beginners often ask How To Crochet Legs while sitting but standing provides a different view. You can see the work dangle and check the symmetry of Crochet Leggy Animals more easily. This position forces you to keep your hands steady while your leg grows tired. You gain better control over your small tools and yarn while building physical strength and coordination.
Mental Clarity
Balancing on one limb clears your mind of daily distractions. The physical effort makes you focus entirely on the yarn in your hands. You find that learning How To Connect Legs Crochet becomes simpler when your brain shuts out noise. This intense concentration helps you understand a Beginner Crochet Tutorial much faster. Your mind stays sharp because you must manage your body position and your stitch count simultaneously.
The strain of standing actually helps you solve problems like How To Crochet Legs Together. You become very aware of each motion as you join the pieces. Many makers wonder about Crochet 4 Legs Together Amigurumi and how to keep them even. This methods forces you to slow down and look closely at the stitches. You learn the best way for How To Crochet Legs Together while your senses stay alert and your focus remains narrow.
A Beginner Crochet Tutorial For Amigurumi Basics
Essential Supplies
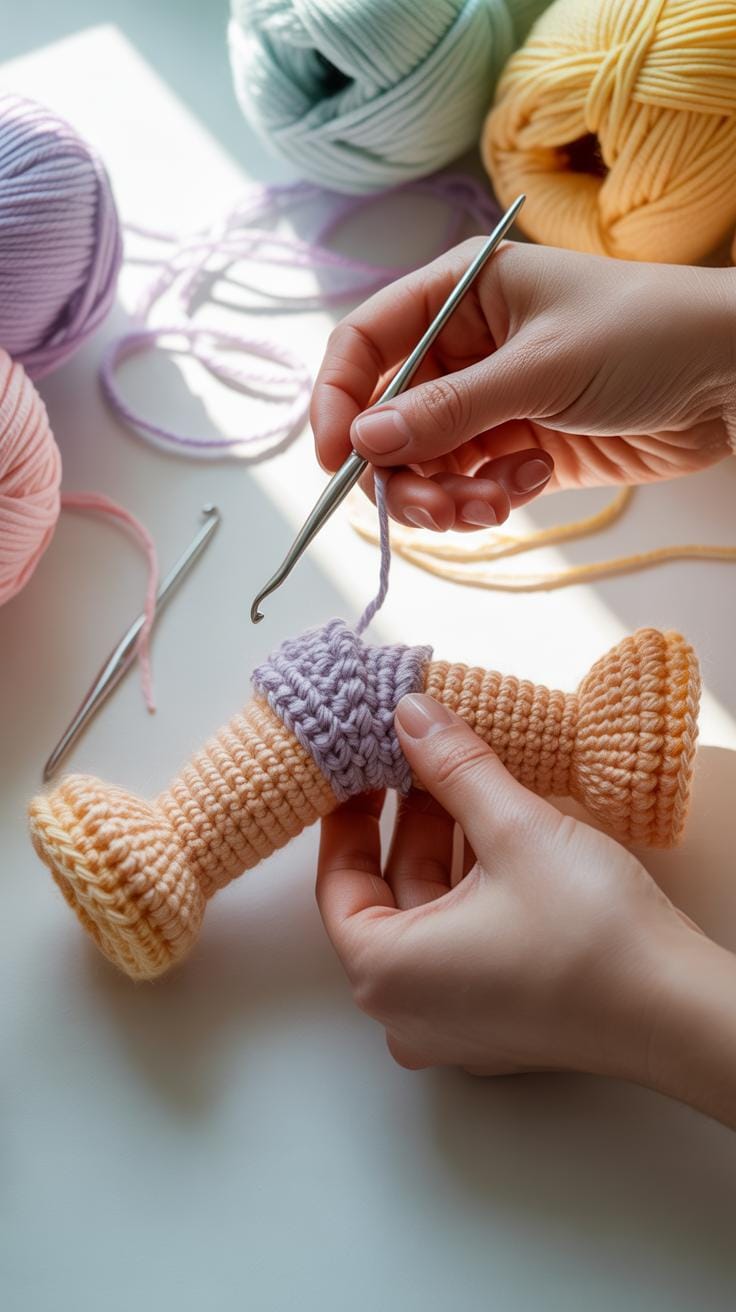
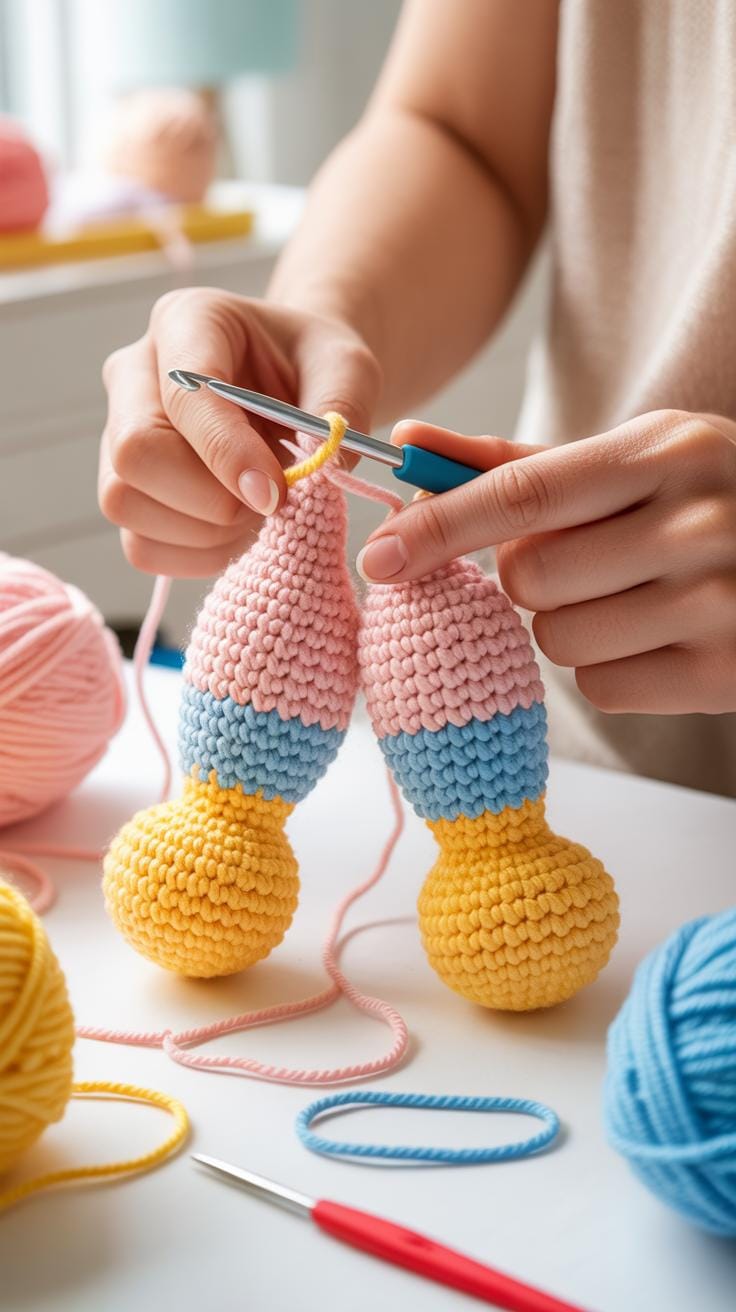
Gathering the right tools makes a big difference when you start your first project. You need simple items to learn how to crochet legs for your small toys. Cotton yarn works best because it shows your stitches clearly. A small hook keeps the tension tight so stuffing does not peek through the gaps. These basics help you master one legged crocheting while you balance and create.
- Ergonomic Crochet Hook: A size 3.25mm or 3.5mm hook works perfectly for most cotton yarns. Choose a handle with a soft grip to reduce hand fatigue during long sessions. This tool helps you maintain steady tension which is vital for small shapes.
- Worsted Weight Cotton Yarn: Cotton provides excellent stitch definition and does not stretch out of shape easily. It allows you to see every loop when following a crochet legs pattern. Natural fibers feel sturdy and hold up well over years of display.
- Polyester Fiberfill: This light stuffing gives your creations their round and bouncy shape. Pull it apart into small tufts before inserting it into your pieces. Use enough to make the limbs firm so they support the weight of the body.
- Stitch Markers: These small clips track the start of every round in continuous spirals. They prevent you from losing your place when you move to connect legs crochet pieces. Plastic locking markers are the most reliable choice for beginners.
- Large Eye Blunt Needle: You will use this tool to weave in ends and sew different parts together. It slides between stitches without splitting the delicate yarn fibers. A bent tip often makes the assembly process much faster and easier.
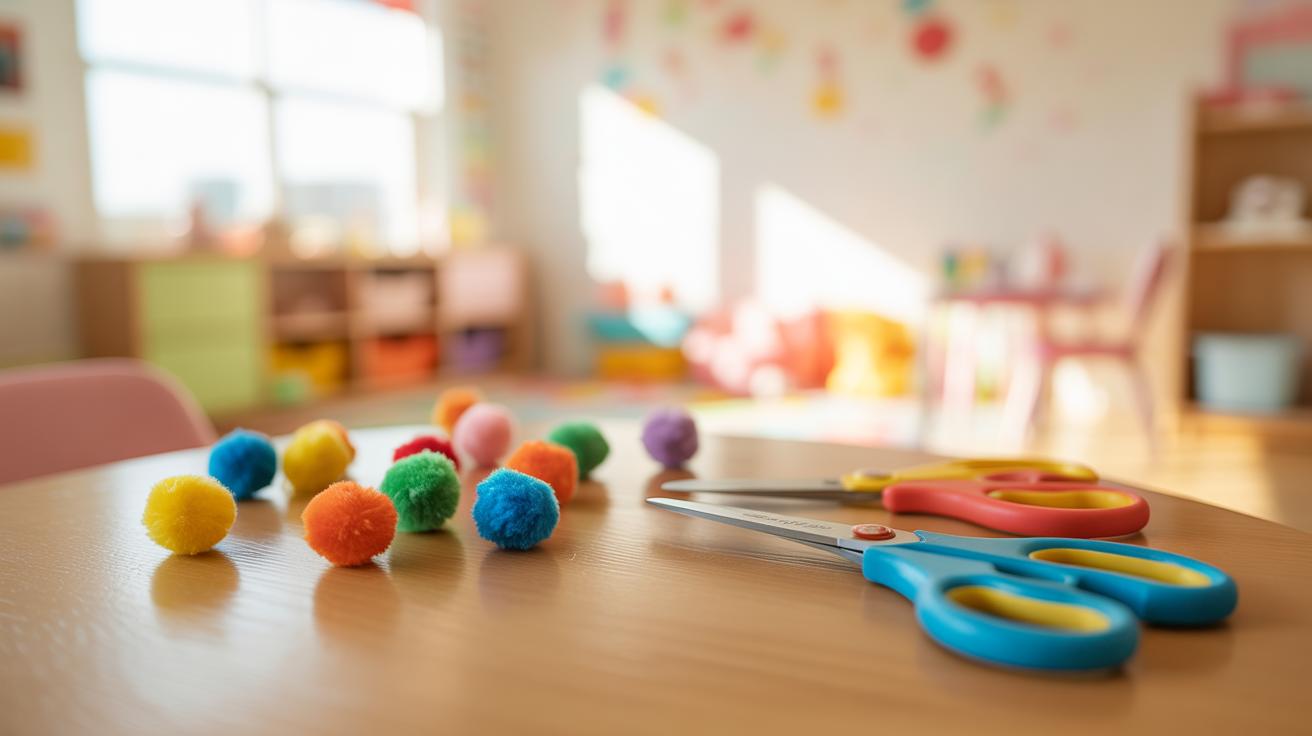
Keep your workspace tidy to focus on the rhythm of your hands. Having your scissors and tapestry needle nearby saves time during the assembly phase. You will feel more confident as you learn how to connect legs crochet parts into a single body. Good supplies lead to professional results even on your very first try. This beginner crochet tutorial ensures you have everything ready for success.
Basic Stitches
The single crochet stitch forms the foundation of almost every crochet legs pattern you will find. This stitch creates a dense and sturdy fabric that holds its shape perfectly for crochet leggy animals. You insert the hook into a loop and pull the yarn through to create a solid wall. Mastering this movement allows you to build strength and stability as you work.
The single crochet also helps you learn how to crochet legs together seamlessly. You will use it to bridge the gap between two separate pieces to create a larger form. When you crochet 4 legs together amigurumi projects, consistent tension keeps the base flat and balanced. Practice this stitch often to make your crochet animal legs look neat and uniform for your collection.
Understanding How To Crochet Legs For Stability
Foundation Rounds Legs Text
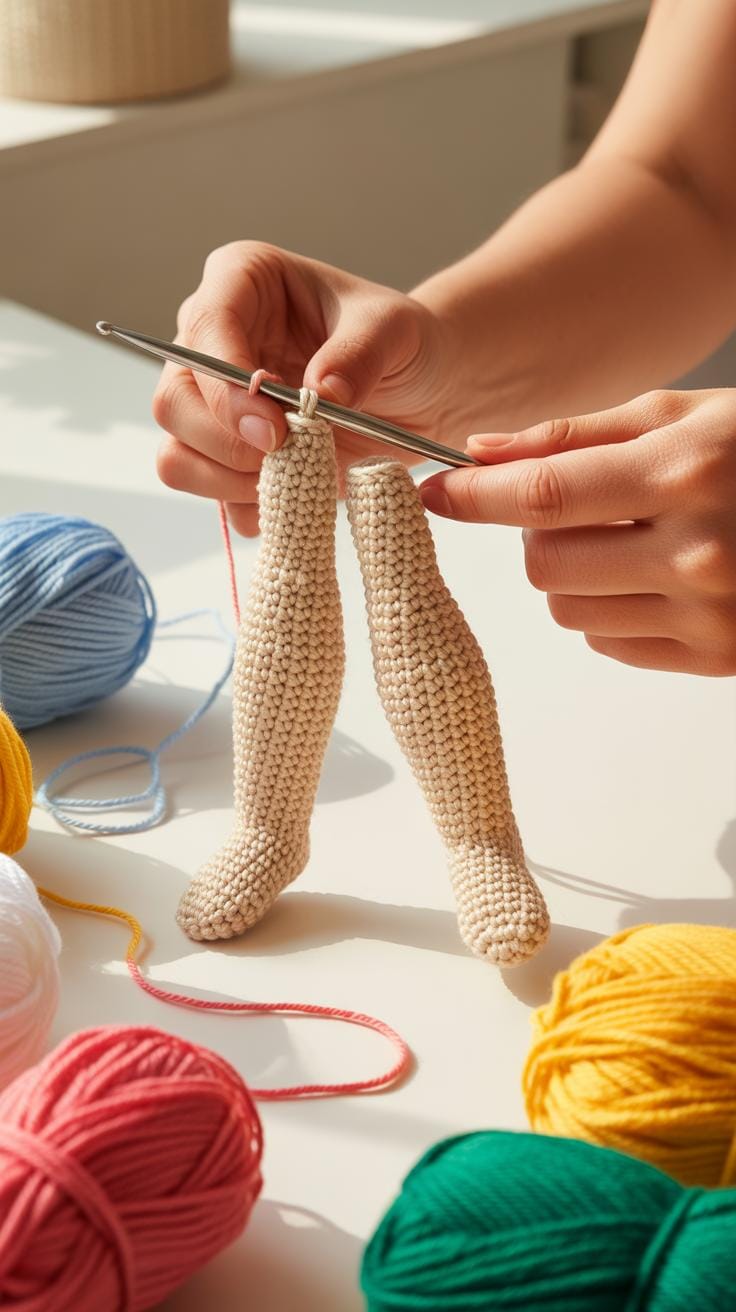
Creating sturdy limbs begins with a magic ring or a small chain loop. This tight circle prevents stuffing from leaking out later. Many makers use a Crochet Legs Pattern to ensure both limbs match perfectly in diameter. You must count your stitches carefully during these first steps. Consistent tension helps you understand How To Crochet Legs that support the weight of the entire toy.
Beginners often find that working in continuous rounds makes the process smoother. Use a stitch marker to track the start of each row. This method is vital for Crochet Animal Legs because it creates a seamless fabric. Learning How To Connect Legs Crochet starts with these clean foundations. Strong base rounds provide the balance needed for your Crochet Leggy Animals to stand upright without wobbling.
Shaping The Foot

Adding a heel or a curved toe requires specific increases and decreases in certain spots. You can follow a Beginner Crochet Tutorial to master the timing of these stitches. Shaping the foot gives character to your project and improves its posture. Proper shaping is the first step toward a successful Crochet 4 Legs Together Amigurumi project. It ensures the weight sits evenly across all points of contact.
Once the feet are the correct size, you will move up to the ankles. This transition involves working even rounds to build height. Expert crafters focus on How To Crochet Legs Together by keeping the final round of each leg open. This preparation allows you to join the pieces into a single body later. Clear shaping makes it easier to align the limbs when you finally Crochet Legs together.
Mastering The Crochet Legs Pattern For Unique Dolls
Pattern Variations
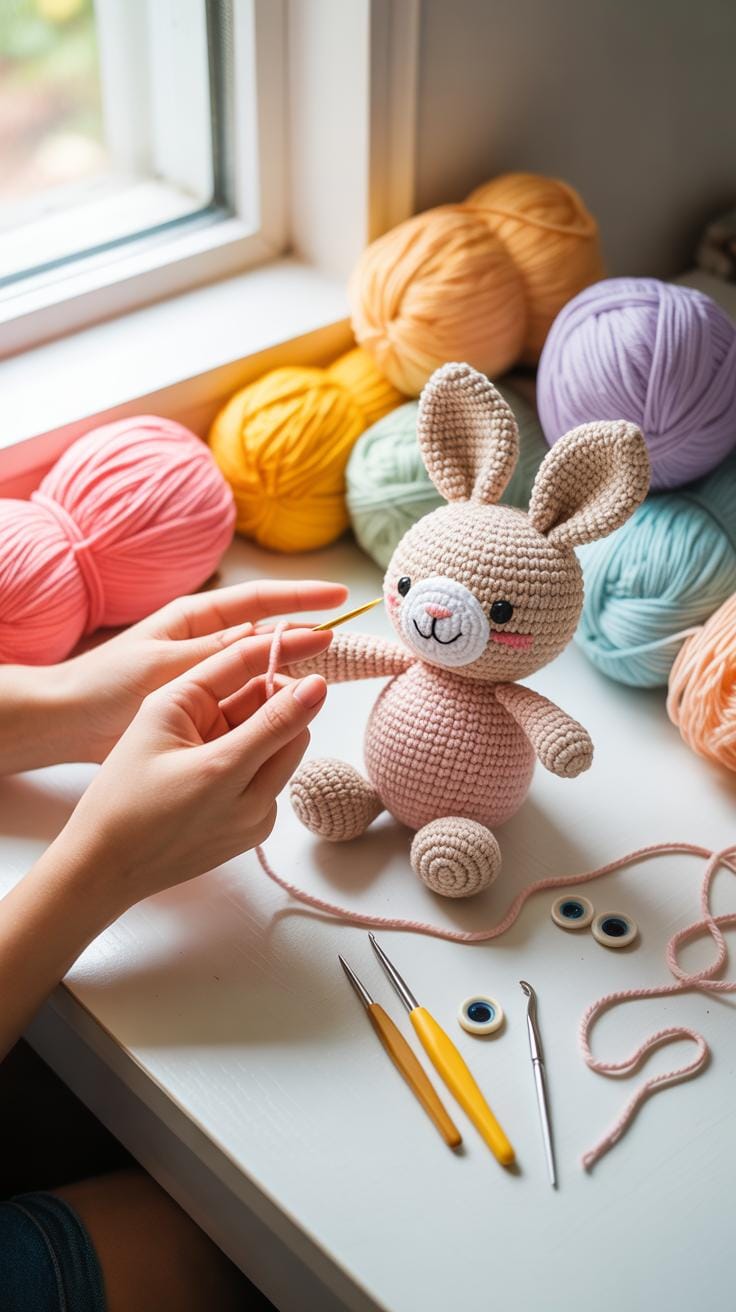
Creating different shapes for Crochet Animal Legs requires simple changes to your stitch counts. For wide elephant feet, you must increase stitches quickly in the first few rounds to build a flat base. To make skinny human doll limbs, keep your stitch count low and consistent for several rows. This Beginner Crochet Tutorial helps you master the basic cylinder before you try more complex shapes for your toys.
You can learn How To Crochet Legs that taper by using decreases near the top of the limb. This technique creates a natural look for many stuffed animals. When you Crochet Legs Pattern designs for bigger toys, use thicker yarn to maintain structural integrity. Understanding these small adjustments allows you to swap styles between any project. You will soon feel confident changing girth for any character you imagine.
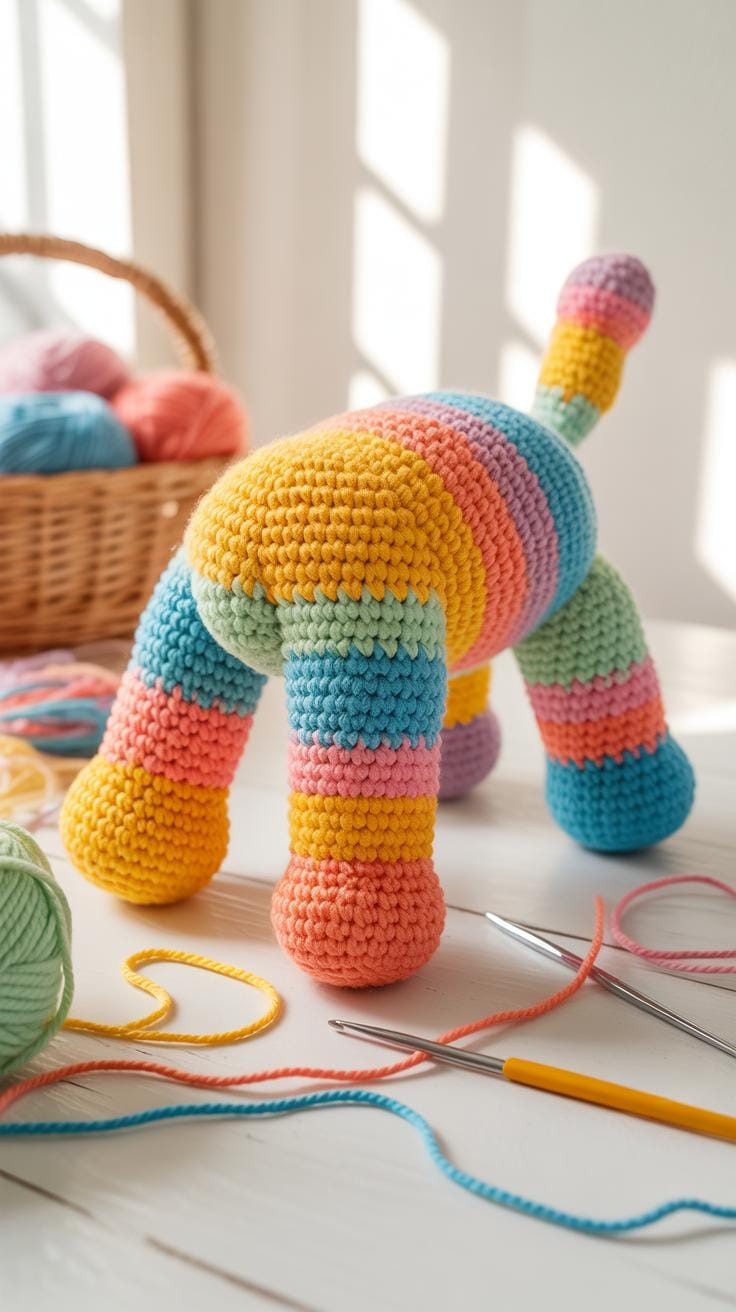
Long Leg Design
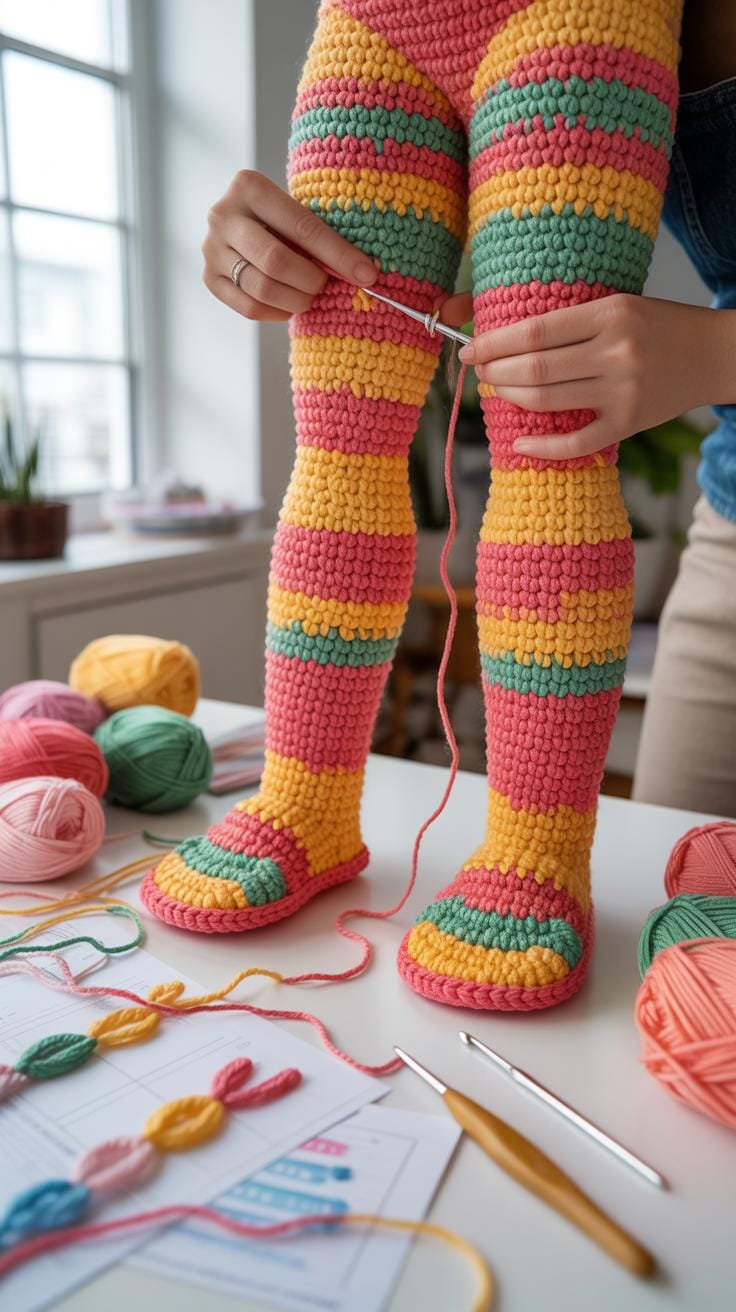
Long limbs add a playful personality to Crochet Leggy Animals like frogs or spiders. You start these by making many single crochet rounds without any increases. This creates a tall tube that remains flexible for posing. If you want to Crochet 4 Legs Together Amigurumi, make sure all four limbs have the exact same round count. This ensures your stuffed toy stands straight without wobbling or leaning over.
Learning How To Connect Legs Crochet style involves joining the limbs directly to the body. You often use a series of chains to link the tops together before continuing the torso. This method shows you How To Crochet Legs Together into one solid piece. It removes the need for sewing later on. These elongated designs give your creations a distinct look that stands out on any shelf or display area.
The Art Of Creating Crochet Leggy Animals

Proportional Design
Creating realistic Crochet Animal Legs starts with picking the right hook size for your yarn. You want a tight fabric so the stuffing does not peak through the stitches. Every Crochet Leggy Animals project needs a balanced look to stand properly on its own height. Most makers use a Crochet Legs Pattern that matches the body width to ensure the finished toy looks stable and cute.
Many people search for a Beginner Crochet Tutorial to learn the basics of shaping. You must count your rounds carefully to keep the limbs identical in length and thickness. If you want to Crochet 4 Legs Together Amigurumi, make sure each limb has the same stitch count. This consistency helps the weight stay even while you practice your balance during the crafting process.
Joint Placement
Learning How To Connect Legs Crochet requires patience and a steady hand. You can use pins to mark the exact spot where each limb should attach to the torso. Many crafters prefer to Crochet Legs Together to create a seamless transition from the base to the belly. This method makes the finished toy stronger and helps it handle more play without falling apart.
If you want your doll to sit or pose, you need to understand How To Crochet Legs for flexibility. Position the joints slightly forward on the body to allow for movement. Use the How To Crochet Legs Together technique to join the pieces while you work in the round. This approach avoids messy sewing later and results in a professional finish for your plush friends.
How To Connect Legs Crochet For A Seamless Look
Surface Slip Stitch
The surface slip stitch provides a smooth transition when you learn how to connect legs crochet. This method creates a flat joint that hides bulky bumps between the body and the limb. You should use a matching yarn color to keep the stitches hidden. This beginner crochet tutorial often helps crafters create professional results. It ensures your crochet animal legs stay aligned correctly during the assembly process.
Mastering the invisible join makes your crochet leggy animals look polished and store-bought. You can apply this technique to any crochet legs pattern to improve the final texture. This method works well when you work on projects like how to crochet legs together for dolls. It keeps the surface even and prevents the yarn from pulling tight. Proper tension while slip stitching ensures the connection remains flexible yet very sturdy.
Finding your center is the only way to weave a masterpiece from a single thread. Balancing captures the delicate tension of life, turning every stitch into a dance of grace.
— Isadora Duncan
Weaving Ends Strength
Securing yarn tails prevents your hard work from falling apart during heavy use. You must weave the ends through the stuffing and the inner stitches of crochet legs. This step is vital when you crochet 4 legs together amigurumi projects for children. Using a blunt needle helps you guide the yarn without splitting the fibers. Strong knots tucked inside the body keep the limbs attached firmly for years.
Good tension control provides the best results for crochet legs. You guide the needle through the stitches several times to increase the friction. This habit makes a big difference in how to crochet legs for long-lasting toys. Every beginner crochet tutorial stresses the need for careful finishing to ensure safety. Reliable weaving techniques keep the shape of your project consistent. Your crochet animal legs will withstand pulling and stretching during play.
Techniques Of How To Crochet Legs Together For Body Shaping
Step By Step Join
Mastering how to crochet legs together transforms separate pieces into a sturdy base for your stuffed creations. Most makers begin with a crochet legs pattern that requires finishing the first limb and fastening off. You then work the second limb but keep your yarn attached to continue the round. This method creates a seamless transition that supports the weight of your finished project effectively.
- Chain Stitches: Work several chain stitches from the second leg to create space between the limbs. This creates a natural gap for the hips and ensures the body looks realistic. The number of chains determines the final width of the animal torso.
- Slip Stitch Attachment: Insert your hook into the designated stitch on the first leg to lock them together. Ensure the feet point in the correct direction before pulling your yarn through. This step is vital for a straight and balanced standing posture.
- Working Around Limbs: Crochet around the entire perimeter of the first leg using single crochet stitches. Move across the bridging chains and continue around the second leg to complete one full circuit. This single round establishes the new foundation for the body.
- Marker Placement: Place a stitch marker at the start of the new round to track your progress. Counting stitches precisely prevents lopsided bodies or uneven shaping as you move upward. Accurate counts help you maintain the right proportion for the remaining torso height.
- Crochet 4 Legs Together Amigurumi: Align all four limbs in a square or rectangular pattern for quadruped animals. Connect them using a series of bridge chains and rounds that encircle all pieces. This advanced beginner crochet tutorial step builds a stable frame for dogs or cats.
Learning how to connect legs crochet style saves time on sewing later. Experts often use this technique for crochet leggy animals to ensure the limbs remain securely attached during play. Once you bridge the gap, you can spiral upward to form the belly and chest. This continuous motion creates a clean finish that mimics professional toy making standards found in traditional design.
Avoiding Gaps
Eliminating small holes at the junction point is a common challenge when learning how to crochet legs. These gaps appear because the tension changes where the rounds meet the bridge chains. To fix this, you can pick up an extra loop from the side of the stitch before moving to the next section. Decreasing these extra loops in the next round keeps the stitch count perfect.
Experienced makers often use a smaller hook for the joining round to tighten the fabric. This approach secures the stuffing inside crochet animal legs so it does not peek through the stitches. If you still see a tiny opening, use the yarn tail from the first leg to sew the hole shut from the inside. This simple fix ensures your crochet legs look tidy and remain durable over time.
Crafting Crochet 4 Legs Together Amigurumi Quadruped Secrets
Quadruped Alignment
Creating Crochet Animal Legs requires careful placement to ensure your toy stands straight. Most makers start with a Beginner Crochet Tutorial to master basic cylinders. You must finish four identical pieces before joining them. Check the height of each piece against a ruler. Even one extra round can make your animal wobble. Proper tension keeps each leg firm enough to support weight.
Standard Crochet Leggy Animals depend on perfect symmetry. Use stitch markers to identify the exact inner point of each limb. You will align these points to create a square base. This method is the best way for How To Crochet Legs that look professional. Once you line them up, you are ready to build the belly. Accurate alignment prevents your stuffed elephant or cow from tilting sideways.
Central Joining Round
The Crochet 4 Legs Together Amigurumi technique connects all limbs in one continuous circle. You will work across the tops of each piece using chain stitches to bridge the gaps. This step shows you How To Connect Legs Crochet for heavy animals like hippos or mammoths. The chains create the floor of the torso. Most patterns for Crochet Legs involve working into the back loops of these chains first.
Learning How To Crochet Legs Together is a vital skill for complex projects. You must count your stitches carefully during this first merging round. One missed stitch will skew the entire body shape. A clear Crochet Legs Pattern will guide you through the corners. Following these steps helps you master many Crochet Leggy Animals. This central join provides a sturdy foundation for the rest of your heavy-set fiber creature.
Styling Crochet Animal Legs For Character Depth
Color Changes Paws
Changing yarn colors creates clear boundaries for Crochet Animal Legs and mimics natural markings. You can start with a white or tan yarn to represent small paws before switching to the main body color. This technique adds visual interest to any Crochet Leggy Animals you create. Beginners often use this method to practice how to crochet legs that look realistic without needing complex shaping or extra pieces.
Mastering the clean color change is vital for every Beginner Crochet Tutorial involving stuffed toys. To keep the transition smooth, pull through the new color on the final loop of the last stitch. This step ensures your Crochet Legs Pattern looks professional and polished. Using contrasting colors helps define where the feet end and the limbs begin especially when you prepare for how to connect legs crochet.
Adding Toes Claws
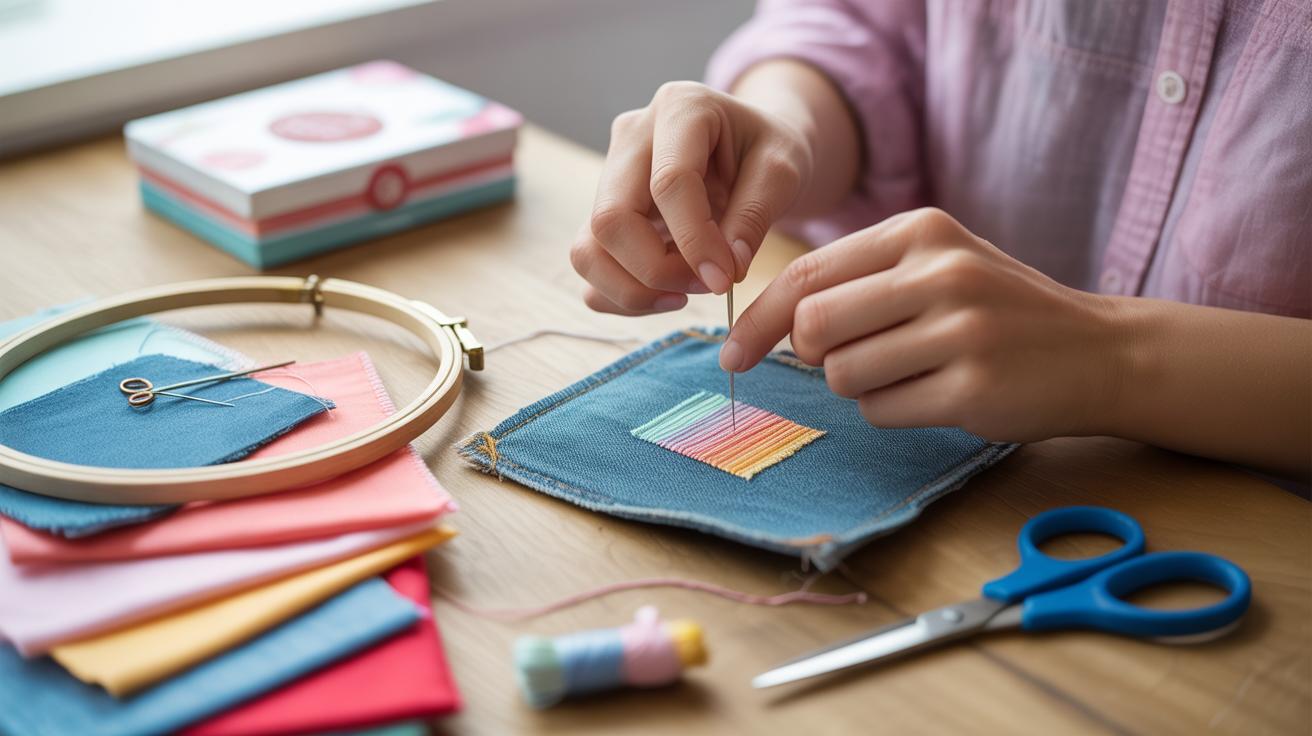
Adding small details like toes or claws brings personality to your Crochet 4 Legs Together Amigurumi projects. For a feline look, use a needle and embroidery floss to stitch vertical lines across the tip of the limb. This simple step defines individual toes on the Crochet Legs without extra stuffing. It makes your handmade animal look more lifelike and gives it a finished appearance for high quality display.
Pachyderm limbs require broader stitches to represent thick elephant nails or heavy hooves. You can try how to crochet legs together first then add these tiny accents afterward for the best results. These small additions improve any standard Crochet Legs Pattern by adding texture and depth. Seeing the claws helps people identify the creature and shows your skill in how to crochet legs with unique character traits.
The Final Touches On Your Crochet Legs Masterpiece
Stuffing Limbs Evenly Text
Proper filling makes your crochet legs sturdy and attractive. Small pieces of polyester fiberfill work best for narrow spaces. Push small clumps into the toe area first. Use a wooden dowel or the back of a crochet hook to reach the bottom. Fill the limb firmly but do not stretch the stitches. This step helps anyone learning how to crochet legs produce a professional look.
Consistent tension ensures your crochet animal legs hold their shape over time. Soft stuffing allows for posable movement while firm stuffing creates a solid stand. If you use a crochet legs pattern for a tall creature, leave a little space at the top. This gap makes it easier when you learn how to connect legs crochet to a body. Balance the weight so your project stands tall.
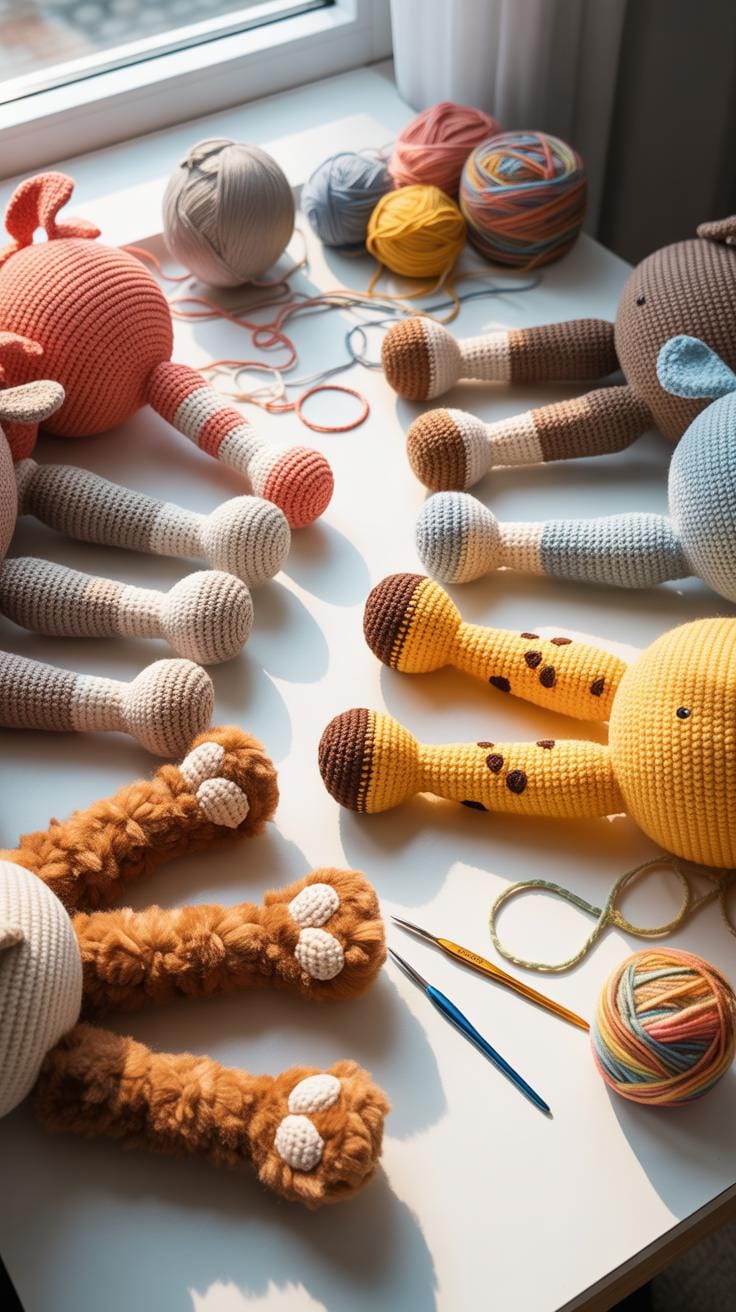
Quality Control Legs
Checking your work ensures your crochet leggy animals look symmetrical and balanced. Place your finished limbs side by side on a flat surface. Compare the stitch count and length of each piece carefully. If one limb appears longer, adjust your tension or row count. Every beginner crochet tutorial emphasizes that even pairs create a much better final result for your handmade stuffed toys.
Planning the assembly is the next vital step for your project. You might need to learn how to crochet legs together for a seamless join. This technique is common when you crochet 4 legs together amigurumi projects. Align the limbs precisely before you start joining the rounds. Matching the placement creates a stable base. High quality control turns a simple project into a lasting treasure for your home.
Frequently Asked Questions

Is one legged crocheting suitable for beginners who are just starting their crafting journey?
Absolutely! While it might seem daunting at first, one legged crocheting is a fantastic way for beginners to build core strength while learning basic stitches. Starting with a simple scarf allows you to focus on your tension and balance simultaneously. As you become more comfortable holding your hook, you will find that the physical engagement actually helps improve your concentration, making those initial rows much more mindful and rewarding for new crafters.
How can I maintain my balance and posture while practicing one legged crocheting for long periods?
To master one legged crocheting safely, start by standing near a sturdy piece of furniture, like a heavy sofa, for quick support. Keep a slight bend in your standing knee to absorb tension and switch legs every fifteen minutes to prevent fatigue. Proper alignment is key; ensure your shoulders are relaxed and your gaze remains level. This balanced approach ensures your stitches stay even while providing a great low-impact workout.
Do I need to purchase any special ergonomic equipment to begin this unique crafting method?
One of the best things about this hobby is that it requires no extra investment beyond your standard yarn and hooks. You do not need expensive standing desks or specialized stools to succeed. Simply clear a small space on a flat, non-slip floor in your living room. Because it utilizes items you already own, it remains a highly accessible way to add a healthy, active element to your daily creative routine.