
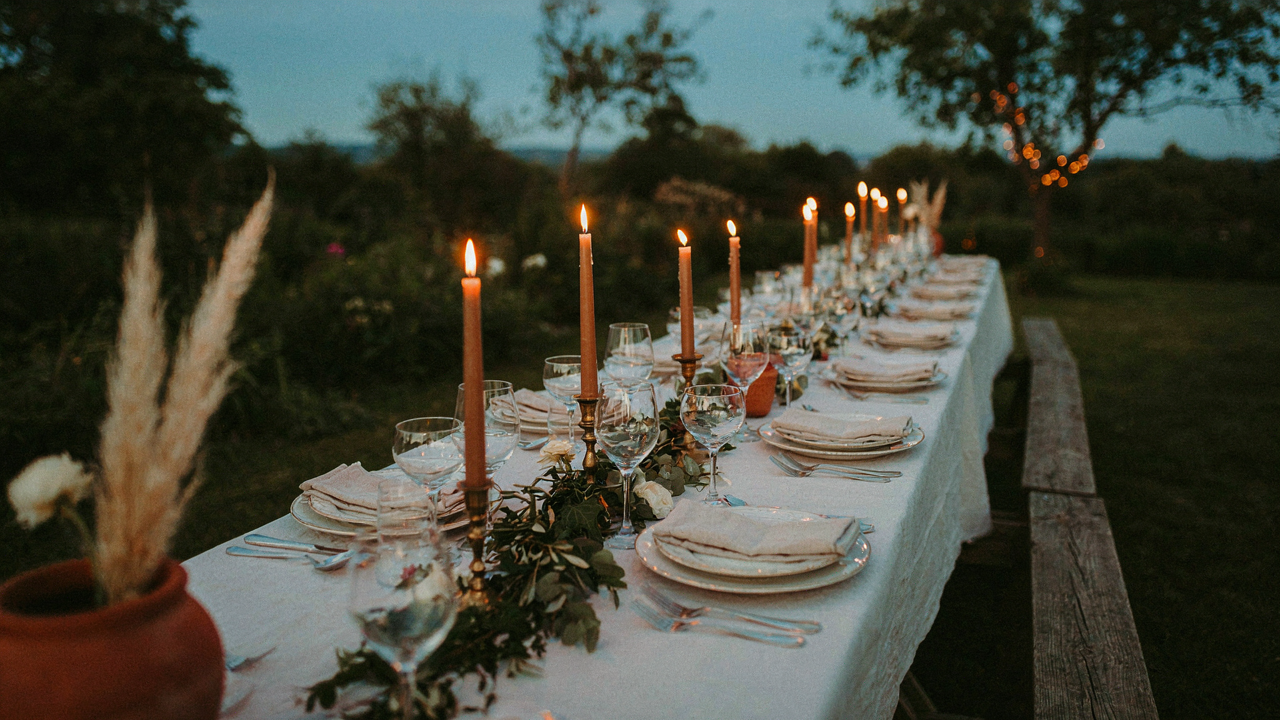
The Unseen Psychology Of Picnic Tables
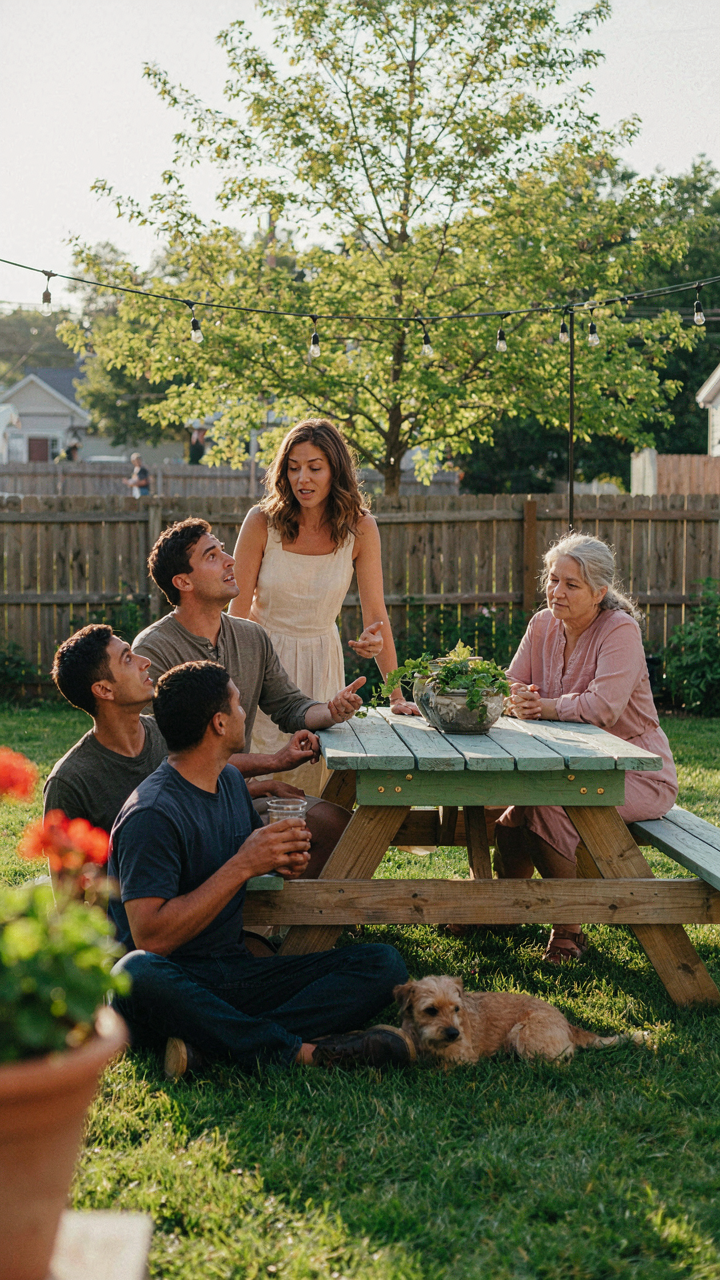
Basic Design Sabotages Sophisticated Gatherings
You want people to think you have taste. That’s the real reason you care about this section. Most advice tells you to just add a tablecloth and call it elegant. That’s wrong. Picnic tables trigger a psychological anchor in guests before they sit down. The mechanism is priming. A bare wood table, even freshly stained, broadcasts “casual outdoor eating” to the brain. Your guests process this signal in milliseconds and calibrate their behavior accordingly before you speak a word.
The standard picnic table design was engineered for parks and camps in the 1950s. It prioritizes function over perception. The bench seating, the wood grain, the industrial bolt patterns all send a specific message about the occasion’s formality level. You cannot override this through decoration alone. You must change the structural perception. The table’s visual weight, leg design, and surface material determine whether guests mentally frame the event as a cookout or a curated experience. Tablecloths hide the problem temporarily. Refinishing the base structure solves it.
Guest Comfort The True Measure Of Elegance
Comfort is not about softness. It’s about predictability. Picnic table benches create tension because guests cannot control their position. Standard benches force a fixed distance from the table edge and a fixed angle to the surface. Your knees hit the support beam. Your back has no support. Guests spend mental energy managing their body instead of engaging with the meal and conversation. This cognitive load reads as poor hosting.
The makeover solves this through three mechanical changes. First, replace benches with individual chairs that guests can adjust. Second, increase the clearance under the table by raising the eating surface or installing legs that slope outward. Third, ensure the table height sits between 28 and 30 inches, matching standard dining tables. These changes eliminate the physical friction that makes guests treat the event as temporary. They relax. They stay longer. They remember the experience as refined instead of roughing it.
The “Update Picnic Table” Functional Audit
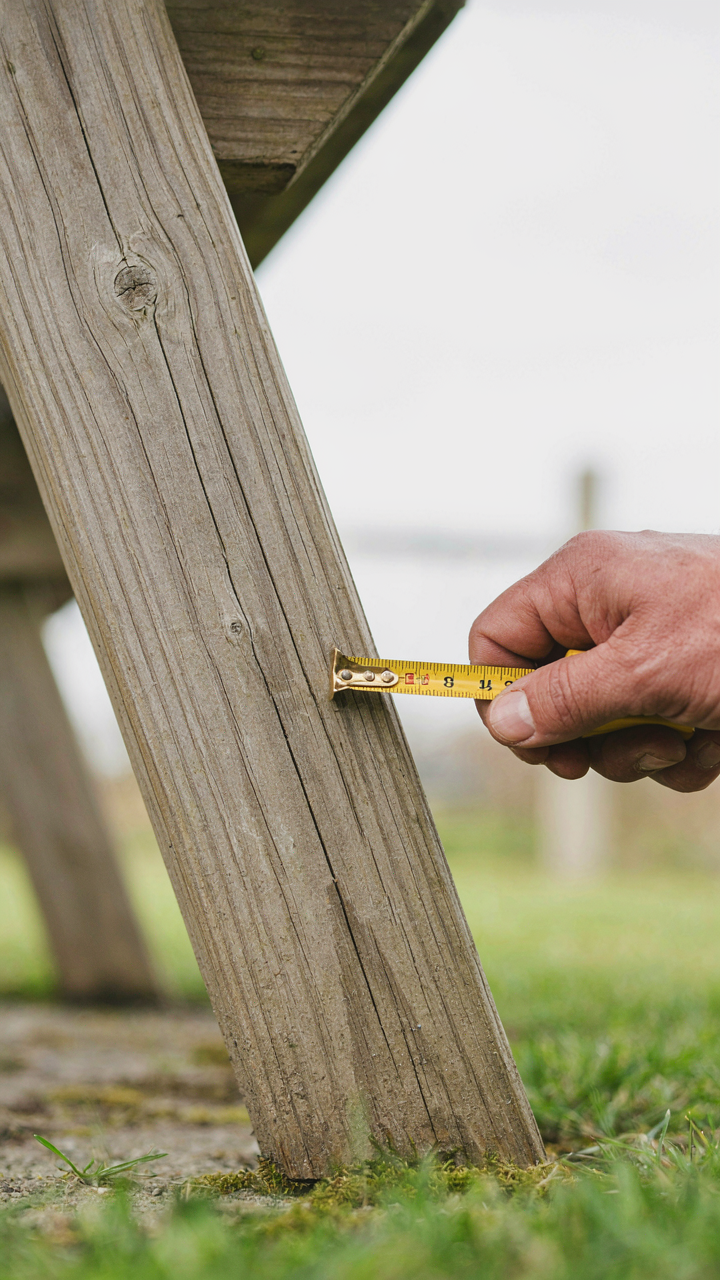
Check Load Capacity Before Paint

You want your table to look like it belongs at a dinner party instead of a backyard campsite. That’s status anxiety, and it’s fine. But here’s what kills the whole project: you refinish a table that’s structurally compromised, then it fails under weight mid-meal. Structural integrity works like load-bearing capacity in engineering. The table’s frame, joints, and fasteners form a system. You cannot upgrade the surface until the foundation holds.
Inspect the legs for cracks, splits, or soft spots from water damage and rot. Check where the legs meet the tabletop. Bolt connections should be tight, no wobble or flex. Wood that feels spongy when you press it has absorbed moisture and lost density. If the frame fails these checks, no amount of stain or sealant fixes it. Replace or reinforce compromised sections before moving forward.
Seat Comfort And Table Height Matter
Most people skip this because they think a picnic table is generic and fixed. It’s not. Standard picnic tables sit 30 inches high with bench seats 17 to 18 inches high. This ratio feels awkward for formal dining because your knees press into the table base and armspace collapses. Measure your actual table and seating arrangement against how guests will use it.
If the table runs 30 inches high, benches should sit lower to create proper legroom. Add removable cushions or back supports to existing benches, raising hip position and improving posture. Test the setup with actual guests before your dinner party. Measure clearance between bench and table underside. Inadequate legroom makes people leave early.
Painted Picnic Table: Strategic Material Selection
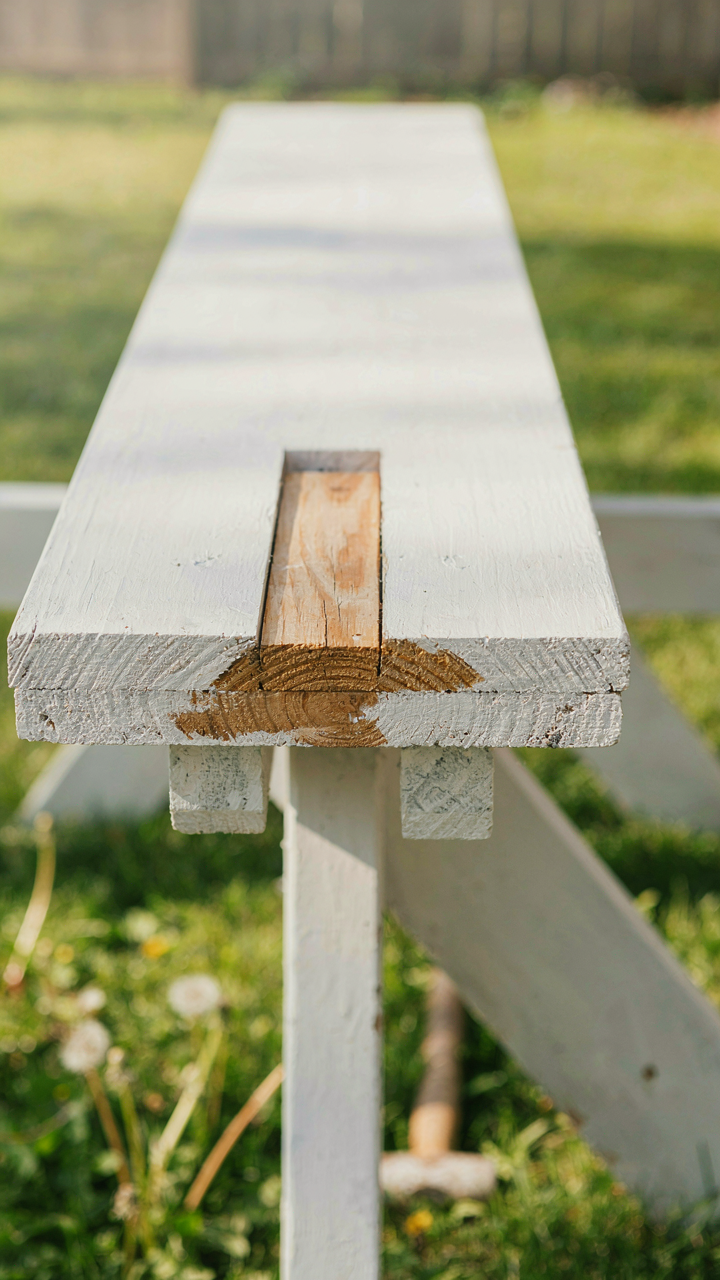
Durability Versus Aesthetics: Choose Your Battles

You want the table to look pristine at your dinner party and still function two years from now. That tension is real, and most guides skip it entirely. The mechanism here borrows from engineering: every material exists on a tradeoff curve between protection and appearance. Move toward maximum durability and you get industrial coatings that yellow or flatten the grain. Move toward maximum aesthetics and you sacrifice scratch resistance and water penetration. The dinner party win requires you to name which failure mode you can tolerate.
Most people default to whatever finish looks best in a showroom, then watch it degrade into a mottled mess by July. The real choice is deciding whether your table serves status or function first. A polyurethane finish protects against spills but can show dust more visibly. A matte latex paint hides imperfections but requires recoating every two to three years outdoors. Pick the failure mode you’ll actually live with, then select the finish that owns it rather than pretending a middle ground exists.
Finish Types: Resistance To Spills And Scratches
Water-based polyurethane dominates outdoor wood finishing for a reason: it hardens faster than oil-based variants and doesn’t yellow as aggressively over time. Understand the resistance hierarchy upfront.
- Oil-based polyurethane: Deepest amber tone, highest scratch resistance, but yellows within two to three years under UV exposure and requires mineral spirits cleanup.
- Water-based polyurethane: Clearer finish, faster dry time (4-6 hours), lower VOC content, but slightly less scratch resistance than oil variants and costs 20-30 percent more.
- Exterior latex paint: Budget option, easy cleanup, matte finish hides dust, but requires recoating every 2-3 years and offers minimal scratch protection on high-traffic surfaces.
- Spar polyurethane: Marine-grade formulation, flexible enough to move with wood expansion, best water shedding, costs 40 percent more than standard polyurethane.
- Epoxy resin: Maximum protection and gloss, serves as topcoat over primer, extremely durable for five-plus years, but requires two-part mixing and temperature control during application.
The spill resistance ranking runs epoxy, then spar poly, then oil-based poly. Scratch resistance peaks with oil-based poly but degrades faster than water-based under sun exposure. For a dinner party table that needs to survive outdoor use, apply primer first, then two coats of water-based polyurethane or one coat of epoxy if you’re willing to spend the setup time. Sand between coats with 220-grit paper to ensure adhesion.
The Picnic Table Painting Behavioral Economics Protocol
How Environment Shapes Where Guests Sit

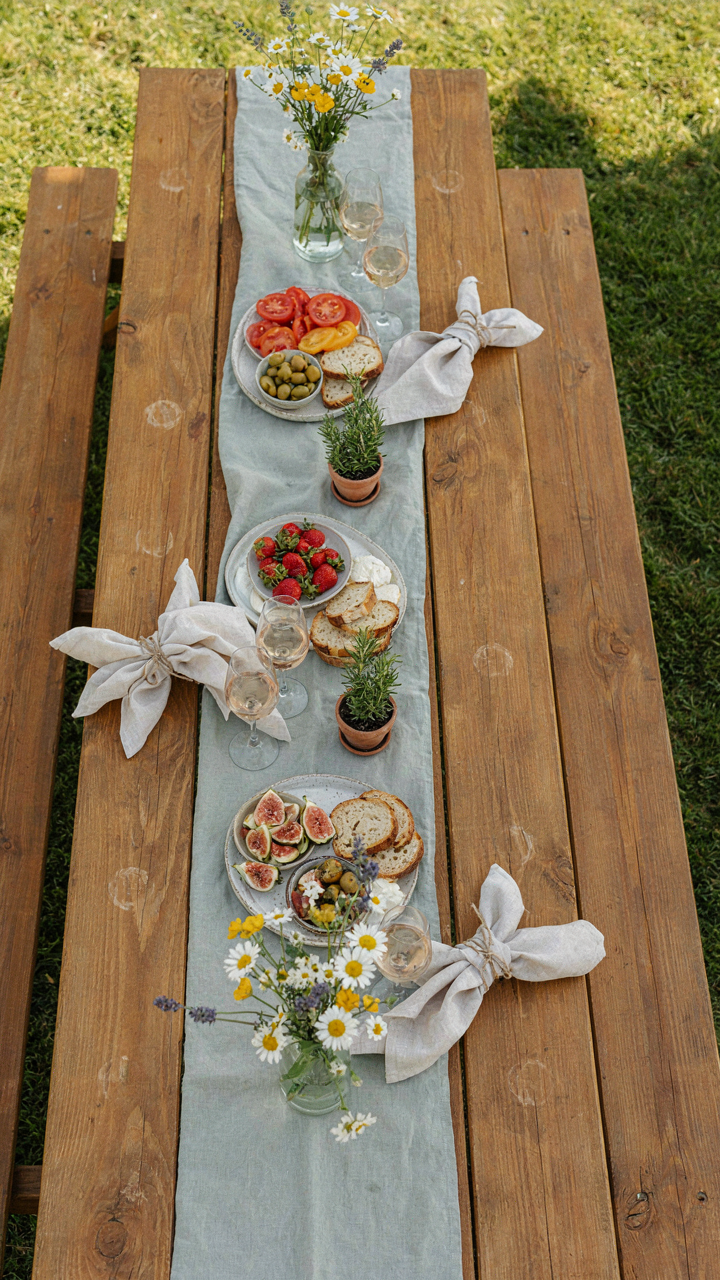
You want people to mingle, but you’re actually afraid they’ll cluster in one corner and leave the rest of your table dead. That’s the real anxiety. Behavioral economics calls this the “choice architecture” problem: your physical setup predetermines social outcomes before anyone arrives. A freshly painted picnic table with intentional color blocks, uneven seating depth, and visual breaks forces guests to distribute themselves. Dark stain on one end, lighter on the other, creates psychological zones that feel distinct. Guests naturally spread out to occupy different territories rather than gravitating toward sameness.
The mechanism works through visual contrast, not suggestion. When a picnic table reads as one uniform surface, clustering happens automatically. Strategic painting creates anchor points. A sage green section reads as “different” from a charcoal section, so people seat themselves accordingly. Paint two-thirds of your table one shade and the final third a complementary tone. This isn’t decoration. This is spatial psychology at work, and it changes traffic flow before the first guest sits down.
Abundance Reads Through Visual Weight Distribution
Everyone says “set out plenty of food.” Wrong frame. The problem is abundance that looks like abundance creates waste perception, which triggers scarcity anxiety in guests. Economics teaches us that perceived scarcity drives consumption behavior. On a picnic table, this translates directly: how you arrange food determines how much guests actually eat and enjoy. A painted table with defined zones makes food placement look intentional rather than excessive. A single painted stripe down the center creates two serving lanes that guide placement without crowding.
Distribute dishes across the full painted surface instead of clustering them center-table. Use the color blocks you created as natural placement guides. Food on a charcoal section reads as premium and contained. The same dishes crowded on bare wood read as overflow. Your guests subconsciously register the difference and eat with more presence. Light paint under serving utensils, dark paint under the main proteins. The contrast forces visual hierarchy that a bare table cannot achieve.
Picnic Table Stain Ideas: The Illusion Of Sophistication
Texture And Depth Over Color Choice

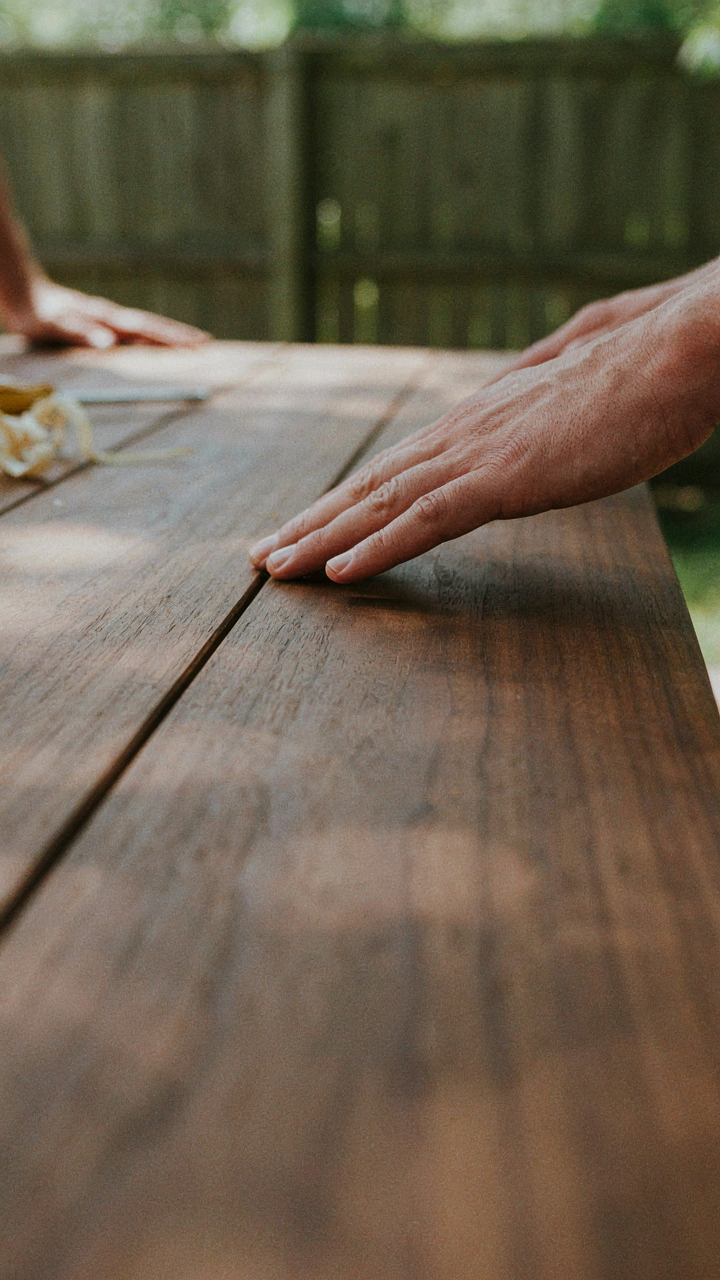
You care about this section because stain color feels like the lever that controls whether your table looks cheap or expensive. It’s not. Borrow from material science: perceived value comes from surface finish properties, not the hue itself. A flat stain on rough wood reads as unfinished. A stain with intentional depth and sheen variation reads as considered.
The common advice is wrong. Most people treat stain as a pure aesthetic choice, picking colors they “like.” The mechanism is visual complexity. Your eye processes multiple depths and light interactions as evidence of quality. A single-tone stain flattens the wood grain and kills sophistication. Strategic layering—lighter stain in recesses, deeper tone on high points—triggers the perception of craftsmanship without requiring additional labor.
Matching The Existing Landscape, Not Fighting It
Your table doesn’t exist in isolation. Most stain failures happen because people choose colors that contrast with their yard rather than integrate with it. Integration isn’t about matching exactly. It’s about creating a visual bridge between materials and hardscapes already present.
Analyze what surrounds your table: lawn color, house siding, fence stain, stone or mulch beds. The stain should echo one of these elements’ undertones, not stand apart from them. If your yard runs warm (red clay soil, weathered brown fence), cool-toned stains make the table look imported. Warm stains anchor it as part of the property. Apply stain in sections over two days rather than all at once. Uneven absorption creates the depth effect you’re after and prevents the plastic appearance of uniform coverage.
Kids Picnic Table Ideas: Designing For Multi Generational Use
One Table Or Two

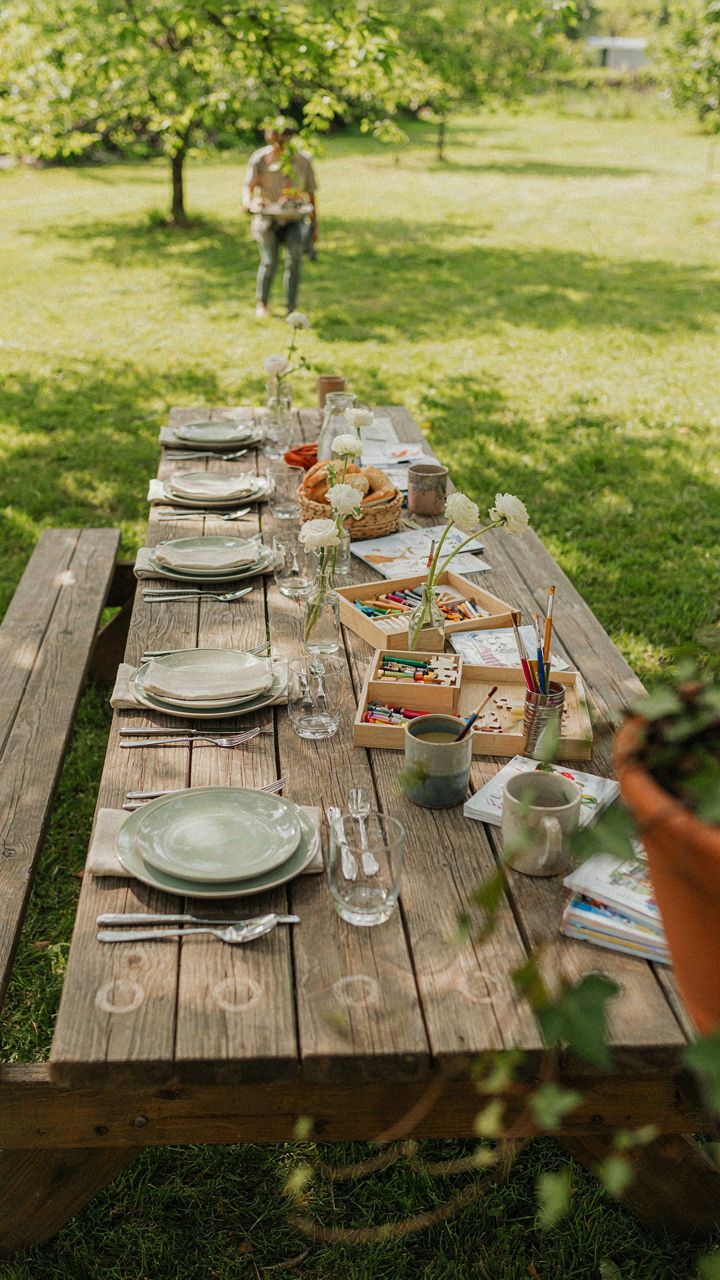
You want one table that impresses adults and keeps kids contained without looking like a daycare setup. That’s the real tension here, and it won’t resolve itself through compromise design. Think in terms of territorial economics: you’re allocating finite surface space to competing user groups with opposite needs. Adults need an uncluttered perimeter for plates and drinks. Kids need defined zones where spills don’t cascade onto laps. The mechanism is zoning, not averaging.
Build this by anchoring the table’s center strip as the kid zone, recessed slightly or bordered by a lip that contains liquids. Use marine-grade epoxy or polyurethane coating to seal the center wood deeply, then seal the outer 12 inches less aggressively so it’s easier to refinish when adult dinner parties demand it. This isn’t one table pretending to serve everyone equally. It’s one table with internal architecture that protects adult function from child chaos.
Materials That Survive Actual Use
Everyone says “just use treated wood and stain it.” That advice ignores the mechanism of wear: kids don’t spill once. They spill repeatedly across months, grinding salt and sugar into grain while sun cycles wood through expansion and contraction. The damage accumulates in places you can’t easily refinish mid-season.
Use marine-grade teak or cumaru for high-traffic zones where kids sit. These woods are naturally rot-resistant and handle moisture without swelling unpredictably. Seal everything with two-part epoxy, not polyurethane. Epoxy cures harder and resists abrasion from repeated fork scratches and chair scraping. Paint the understructure with exterior enamel rated for high-traffic commercial use, not standard deck paint. When something wears through faster than you expected, you can isolate and re-coat that section without stripping the whole table.
Painted Picnic Table Ideas Diy Projects: Beyond The Pinterest Trap
Stop Chasing Viral Aesthetics

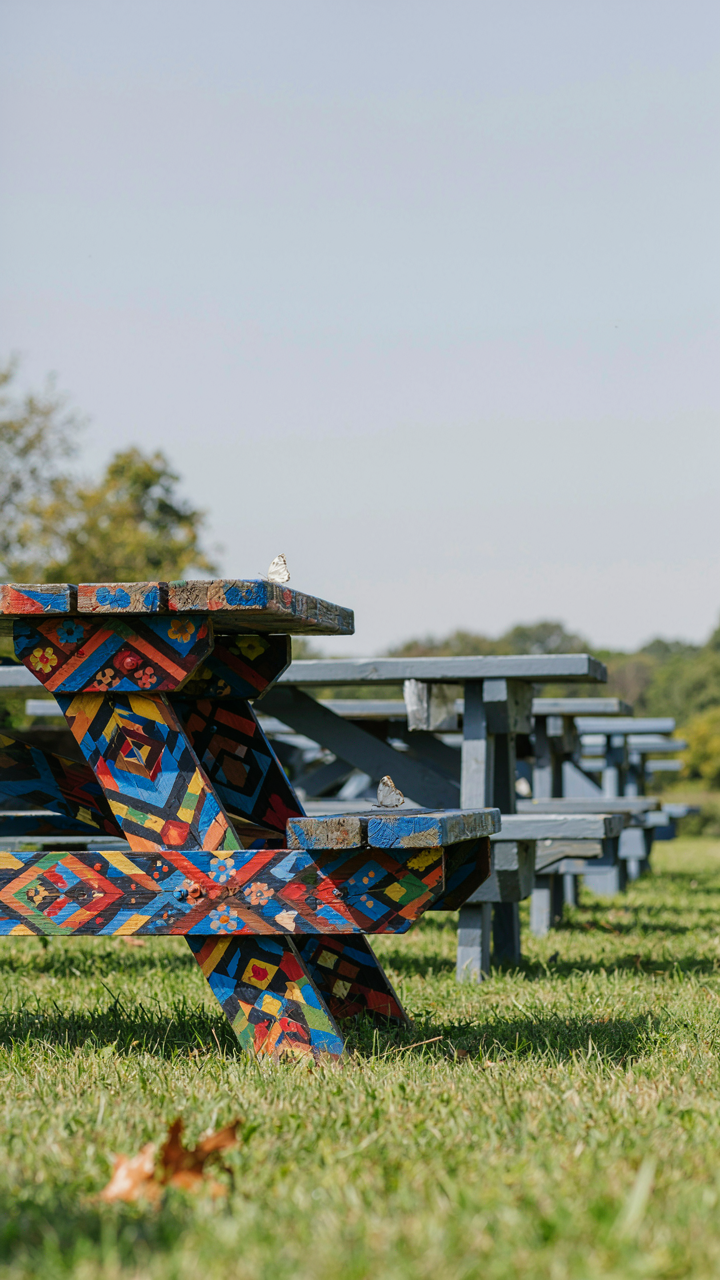
You want the table to signal that you have taste without admitting you bought a makeover template from the internet. Here’s the mechanism: trends die because they scale. When everyone paints their table the same gray-blue or whitewashes the wood, the signal breaks. The table stops communicating status and starts communicating conformity. Design that lasts doesn’t follow the cycle. It solves a real constraint of your space, your climate, your actual use pattern. A painted picnic table in 2024 looks dated in three years if the color choice came from a mood board instead of your specific light conditions and existing palette. Pick colors that match what’s already working in your yard. Neutral doesn’t mean boring. It means the table doesn’t fight everything around it.
Paint selection matters more than paint application. Most people reverse this. They obsess over technique—distressing, glazing, multiple coats—when the real failure is a color that looked good on a phone screen but clashes with your deck stain or your house trim. Choose a single paint color that appears in at least two other permanent fixtures in your yard. If your deck is warm cedar, your trim is cream, and your grill is black, the table should echo one of those exactly. This creates visual continuity that reads as intentional, not accidental. Apply two coats of exterior-grade paint. Don’t distress it. Distressing makes the table look like you’re trying too hard to hide imperfection.
The Durability Math That Actually Works
Furniture economics says you’re choosing between low capital cost with high replacement frequency versus high capital cost with low replacement frequency. A picnic table treated with bottom-tier outdoor paint needs repainting every two to three years. Mid-tier paint extends that to four to five years. Exterior-grade deck paint, properly sealed, runs seven to ten years depending on climate exposure. Most people paint with whatever is cheapest and call the result a win. They’re not accounting for labor time. If you spend four hours on a makeover using cheap paint, you’re back in four hours of work in two years. High-quality exterior paint costs thirty to fifty percent more per gallon but cuts your repainting frequency in half. The break-even point hits after one refresh cycle.
Wood preparation determines how long any finish holds. Sanding to bare wood, filling gaps with exterior-grade filler, and priming with a bonding primer adds eight to twelve hours of work upfront. Skip this and your paint peels in eighteen months regardless of brand. The mechanism is adhesion. Paint grips bare wood differently than it grips weathered surfaces. Do the preparation once, correctly, and your refresh schedule extends by years. Pressure wash the table, let it dry for forty-eight hours minimum, sand all flat surfaces with 120-grit paper, fill any visible gaps, apply primer to bare wood only, then paint with two full coats of exterior paint. This protocol takes longer than most people want to invest, which is why most tables look bad within two years.
Picnic Table Paint Ideas: The Hidden Costs Of Compromise
Time And Effort Versus Actual Value Return

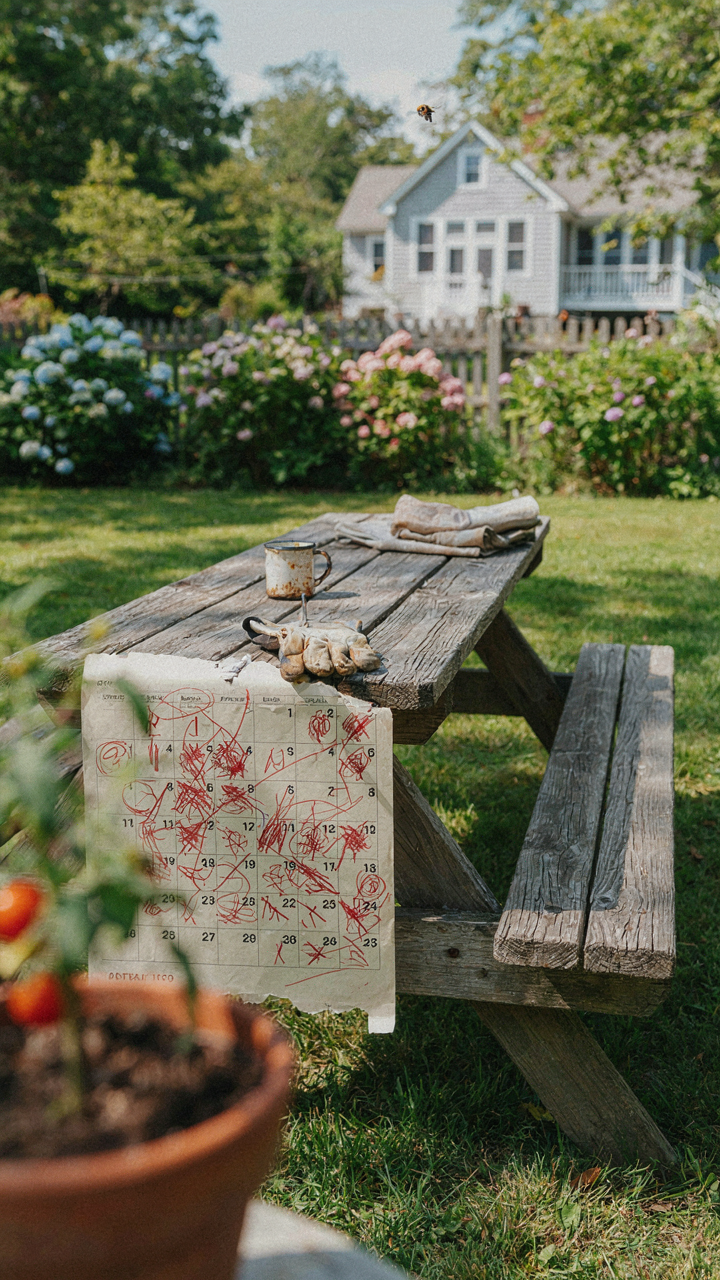
You want to believe a weekend project will transform your table into something worthy of Instagram. That’s the real motive here. But here’s the mechanism: time compounds like debt, not like interest. Economics calls this “opportunity cost”—the real price isn’t what you spend on paint, it’s what you stop doing while you’re sanding, priming, and applying three coats in summer heat. A picnic table makeover takes 12 to 20 hours minimum if you do it right. Most people underestimate by half.
The ROI question cuts deeper than aesthetics. Professional exterior paint on wood costs money upfront. Labor costs more. A compromised approach—using indoor paint or skipping primer—saves six hours but costs you two years of finish durability. You’re moving the expense, not eliminating it. The smarter calculation: pay once with quality materials and proper technique, or pay twice with replacement work and repainting inside 18 months. Calculate your hourly rate. Multiply it by the hours you’ll spend repainting when the first job fails.
Maintenance: Mitigating Future Headaches
Exterior wood surfaces demand a protocol most people ignore until the paint peels. Weather doesn’t compromise—it exploits gaps in your system. UV exposure, moisture cycling, and temperature swings create stress that no paint survives without a foundation layer. The real cost arrives in year two, when you realize you skipped primer or used paint rated for interior use only.
Prevention requires one non-negotiable step: sealed wood with primer rated for exterior use, then finish coat paint designed for outdoor furniture. Recoat every three to four years, not when damage appears. This isn’t preference. This is the difference between a table that lasts a decade and one that forces you to redo the work. Check your paint can label. If it doesn’t explicitly say exterior wood furniture, stop and buy the right product.
Your Picnic Table Isn’t Lacking Charm; You’re Lacking A Strategy
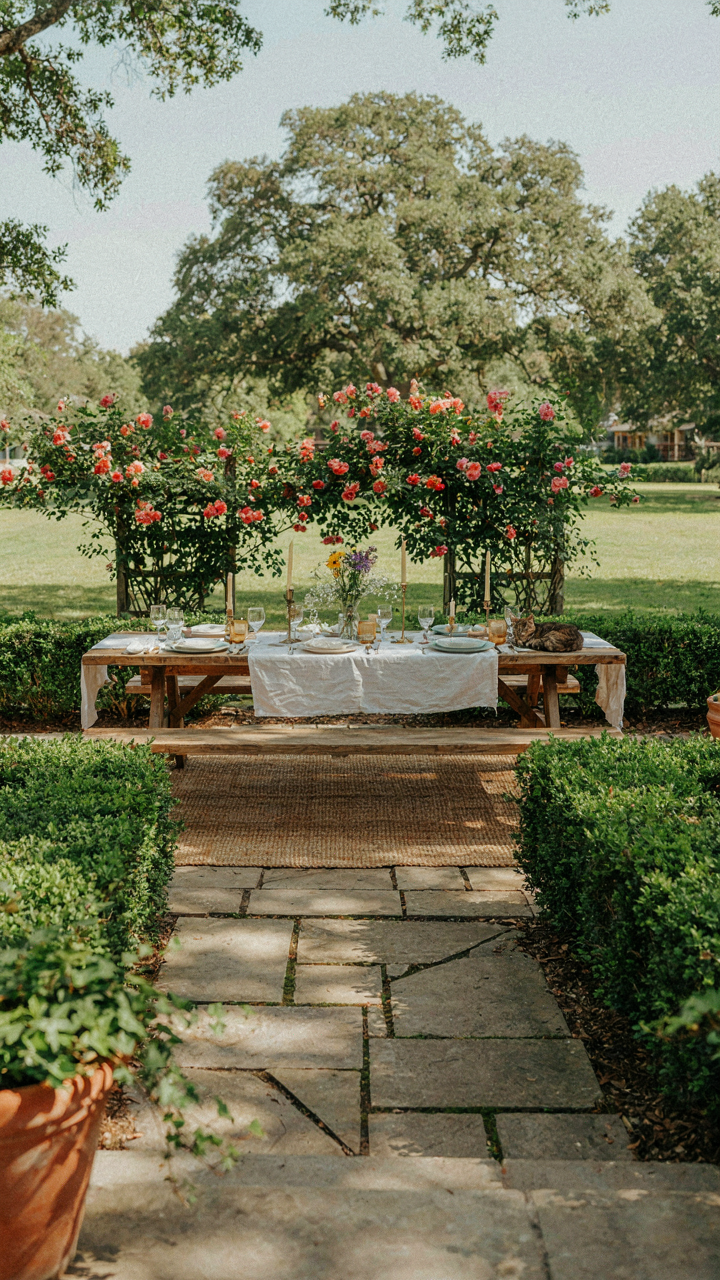

Most people treat picnic tables like furniture that happens to exist outside. You’re going to treat yours like a design asset you control. The difference between a forgettable backyard and one people actually want to visit comes down to intentionality. Stop waiting for the table to look better and start designing the experience around it. Pick one element today—stain, lighting, or linens—and execute it completely. Your dinner party doesn’t need a perfect table; it needs a table that proves you cared enough to plan it.



