
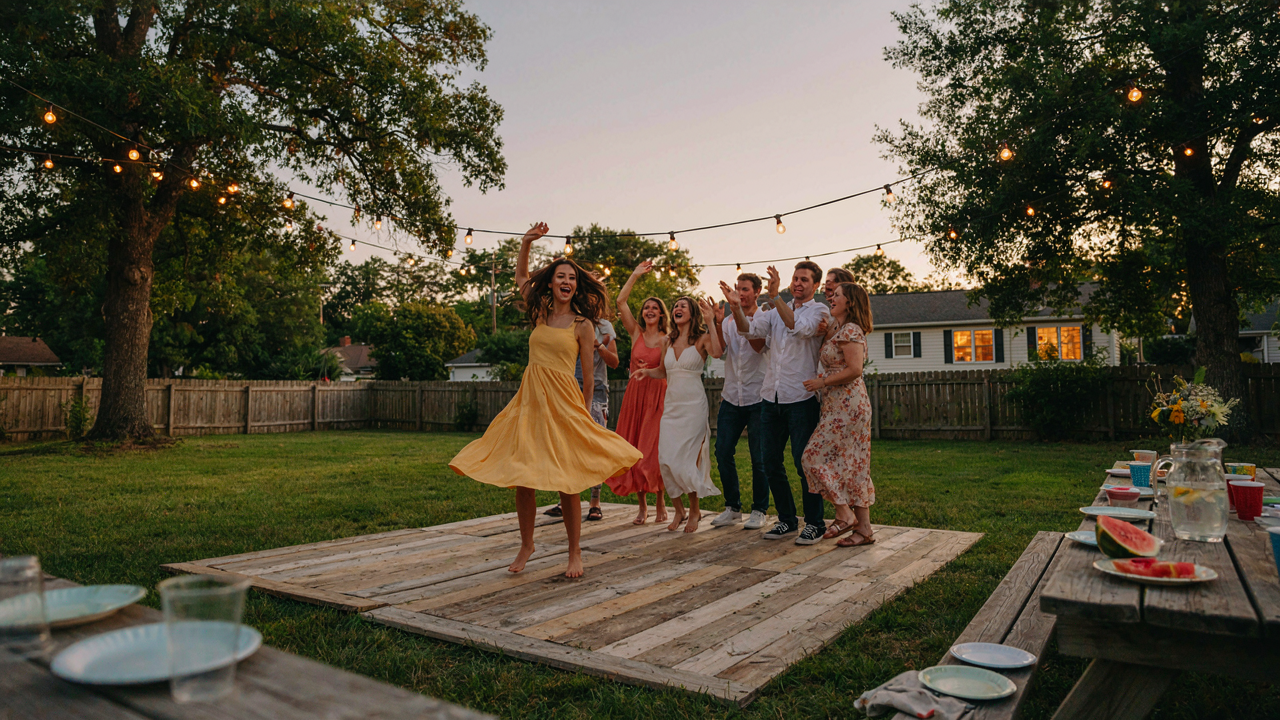
Why Your “Cheap DIY Dance Floor” Is A Lie (and A Liability)
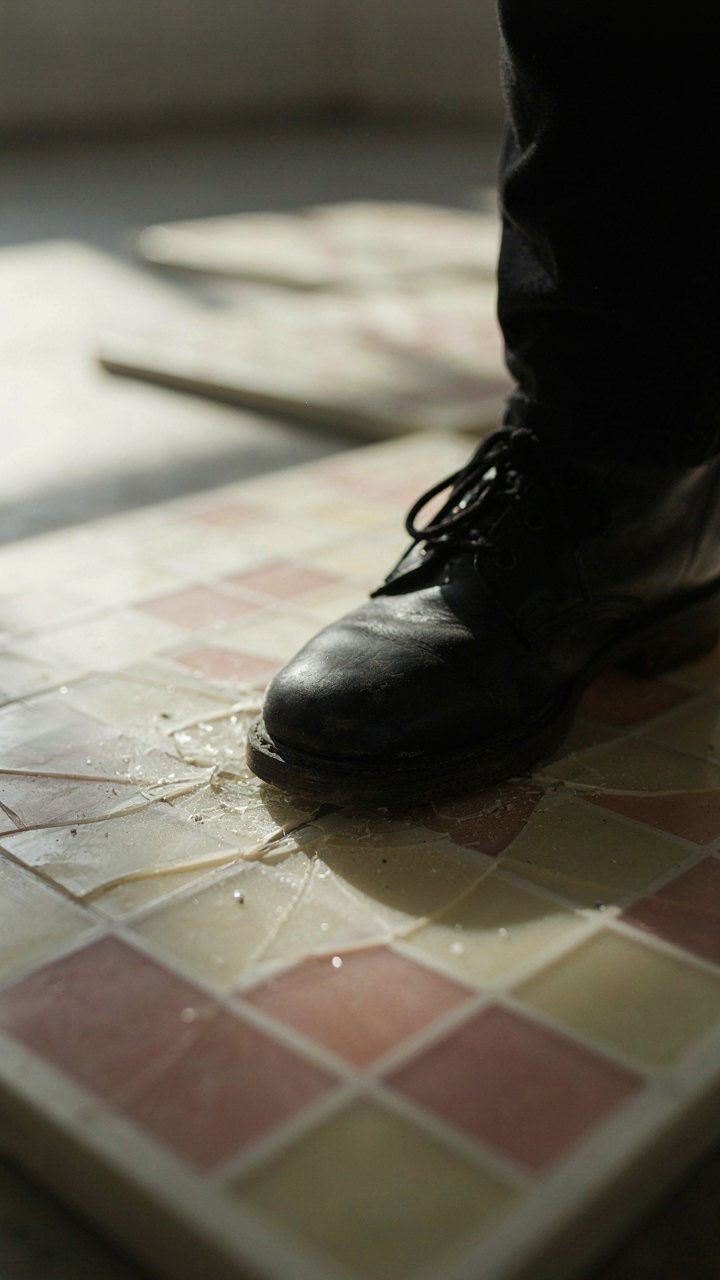
The Real Cost Of Cutting Corners On Materials
You want the lowest price because you’re convinced a dance floor is temporary and replaceable. Here’s the mechanism: cheap materials don’t distribute weight. A standard 2×2 foot dance tile under $20 uses hollow plastic or thin plywood. When 150 pounds lands on it during a jump, the force concentrates instead of spreading. That’s not thriftiness. That’s deferred liability. The floor fails faster, guests get hurt, and you end up replacing it anyway while managing injury conversations.
Professional dance floors use load-bearing engineering. Sprung subflooring absorbs impact. Quality tiles lock together without gaps that catch heels. The material cost difference between failing and functional is rarely more than 40 percent, yet most builders skip it because the number looks better on a spreadsheet. Buy materials rated for dance loads: hardwood with moisture barriers underneath, proper interlocking tiles rated for 300+ pounds per square foot, or modular systems designed for repeated impact. Skipping this step turns your party into an insurance claim.
Structural Integrity Prevents The Obvious Injuries
Physics governs dance floors the same way it governs bridges. Load capacity is the term. Your floor can handle either the weight it’s designed for or it can’t. Twisted ankles happen when the surface shifts under pressure. Broken bones happen when sections separate and create trip hazards. A guest stepping between two misaligned tiles on a poorly anchored floor experiences a sudden drop that destabilizes their ankle joint. This isn’t rare or theoretical.
Prevention requires three things: a level foundation, proper anchoring between tiles, and edge reinforcement. Concrete or compacted gravel works as a base. Never build on grass or uneven ground. Lock your tiles together mechanically, not adhesive. Add perimeter rails or beveled edging to eliminate the gap where feet catch. Test the floor yourself before the party. Walk, then dance, then jump on every section. If any tile shifts more than a quarter inch, fix it before guests arrive. Movement on the floor is immediate feedback. Use it as your inspection protocol.
The Substrate Strategy: Foundation For Unforgettable Footwork
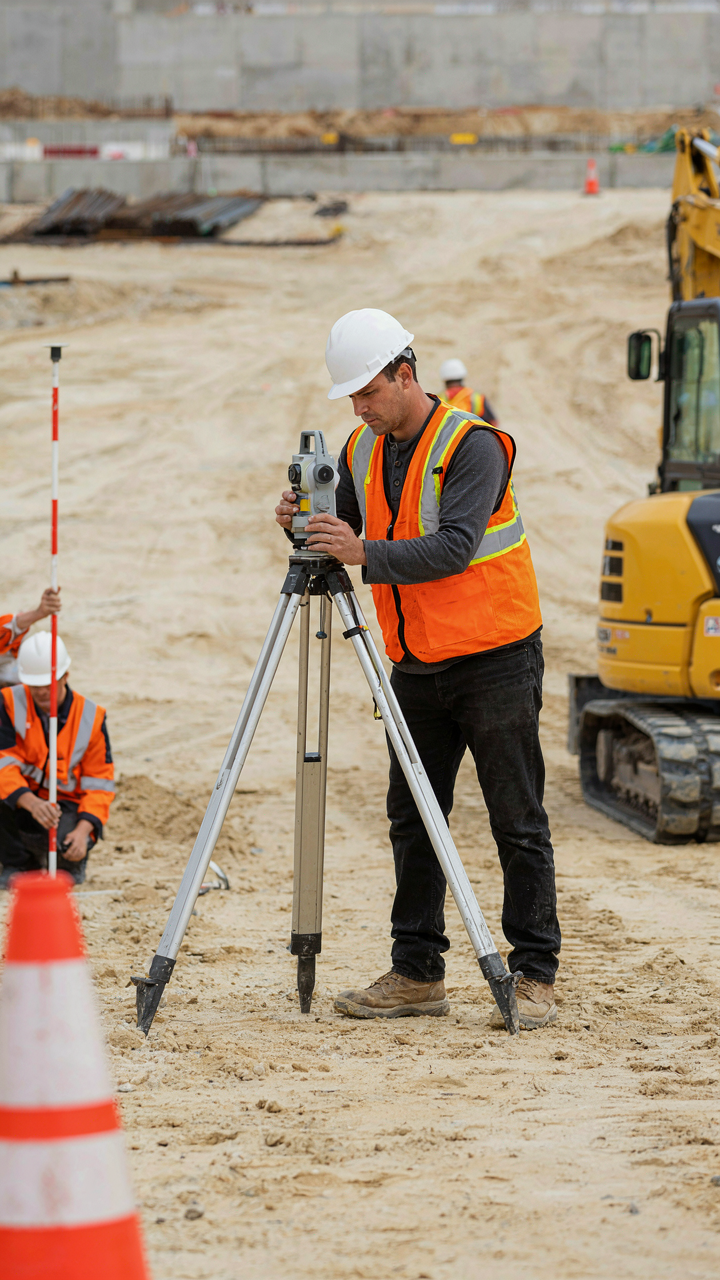
Ground Leveling Demands Precision, Not Guesswork

You want the floor to look intentional so guests assume you know what you’re doing. The real mechanism is this: a slope of just one inch per eight feet becomes noticeable under foot traffic within minutes. Eyeballing level doesn’t work because your brain adjusts for minor inconsistencies. A two-foot level catches what your eye misses. Use a transit level or string line stretched corner to corner, measuring drop at intervals. Mark high spots and low spots. Remove soil from highs, fill lows with compacted base material. Compact means tamping with a plate compactor or hand tamper until the ground doesn’t shift under pressure.
Uneven surfaces destroy dance floor longevity before the party starts. They cause localized stress on support posts, create water pooling points, and make the entire structure unstable. Every dancing couple will find the dip you didn’t see. Spend three hours getting the grade right instead of spending it defending a warped floor. Level ground is the only foundation that accepts everything built on top of it without complaint.
Water Management Prevents Structural Sabotage
Physics governs drainage the way gravity governs falling objects. Water moves downhill and sits in depressions. A dance floor sitting on damp ground rots support beams and promotes mold in platform materials within weeks of repeated moisture exposure. The common advice to “just leave gaps for drainage” ignores the real problem: standing water collects beneath the structure, not around it. You need an active drainage strategy, not passive gaps. Install a perimeter French drain around the floor’s footprint, or slope the ground away at two percent grade minimum. Gravel or sand base under the floor allows water to move through it rather than pool on top.
Deploy a moisture barrier between ground and structural materials. Six-mil polyethylene sheeting blocks capillary action that pulls water up into wood framing. Overlap sheets by six inches and secure them with landscape staples. This single protocol extends the life of your platform by years. Water finds every weakness in a structure. Block its path before the season starts.
The Resilience Protocol For Outdoor Dance Floors Diy
Material Selection Engineered For Impact

You want this floor to look good in photos so your guests think you’re competent. That’s the real motive here. But a dance floor is a load-bearing surface under dynamic stress, and aesthetics rot faster than structural integrity does. Wood movement under repeated foot traffic follows the same physics as bridge deflection: the material absorbs energy, flexes, and either returns to form or delaminates. Choose pressure-treated lumber rated for ground contact. Avoid composite decking for the primary dance surface because it lacks the necessary rigidity under point loads.
Plywood thickness matters more than brand reputation. Use 3/4-inch exterior-grade plywood as your base layer, never thinner. The material costs less than half of what a bad rebuild costs. Pressure-treated 2×6 joists spaced 16 inches apart handle the load distribution without excessive bounce. Sand the top surface with 80-grit paper to reduce slip hazard and create tooth for finish adhesion. This setup works because it separates structural function from aesthetic choice, giving you resilience without compromise.
Construction Engineered For Repeated Heavy Use
Most DIY builders frame a dance floor like a deck and wonder why it moves under group dancing. The difference is load pattern. A deck sees distributed weight. A dance floor concentrates force at heel strike, which demands different joist spacing and fastening strategy. Use 12-inch spacing instead of 16-inch on high-traffic builds. Fasten joists to the rim board with galvanized lag bolts, not nails. Nail-pop creates creaking and surface movement after the third party.
Install a moisture barrier beneath your plywood to prevent rot from ground seepage. Six-mil polyethylene works if your base is relatively dry, but in wet climates, invest in a proper vapor retarder. This single decision determines whether your floor lasts five years or fifteen. Screw the plywood down with 2.5-inch exterior wood screws spaced 8 inches apart. Screws hold fasteners better than nails under repeated flex cycles. Budget an extra 15 percent labor time for this step. When the dancing starts and your floor doesn’t move, that extra attention becomes the only thing anyone remembers.
How To Build A Dance Floor: The Unseen Engineering

Weight Distribution Beats Aesthetics

You want the floor to look finished, not feel unsafe. That’s the real concern hiding under “surface selection.” Civil engineering teaches load distribution as the mechanism that keeps structures from failing. A dance floor transfers concentrated weight from moving bodies into a base system. Ignore this and you get soft spots, bouncing, or collapse.
The ground beneath matters more than the deck on top. Compact soil unevenly and weight pools in low spots, creating flex and failure points. Spread the load across a larger footprint using a gravel base layer, then sand, then joists spaced to handle point loads. A 200-pound dancer creates a concentrated force roughly the size of their shoe. Space joists 16 inches apart minimum. Skip this math and your floor becomes a liability.
Plug And Play Assembly Wins
Biological systems scale through cellular repetition, not monolithic design. A dance floor needs the same principle: identical modules that connect without custom fitting. This isn’t trendy thinking. It’s structural economy. Standard 4×8 plywood panels, identical frame sections, and repeatable fastening systems let you build, adjust, or expand without measuring twice.
Pre-assemble modules on flat ground, then connect them on-site. Use bolts or lag screws at junction points, never nails alone. Nails shear under lateral movement from dancing. Bolts distribute stress across a wider area and allow disassembly for storage or relocation. Build three identical 4×8 sections and you’ve locked in a 12×8 floor. Add two more and you scale without redesigning. The floor becomes a system, not a one-off build that traps you.
Diy Outdoor Dance Floor Wedding: The “Set It And Forget It” Build
Weather Resistance Starts With Material Selection

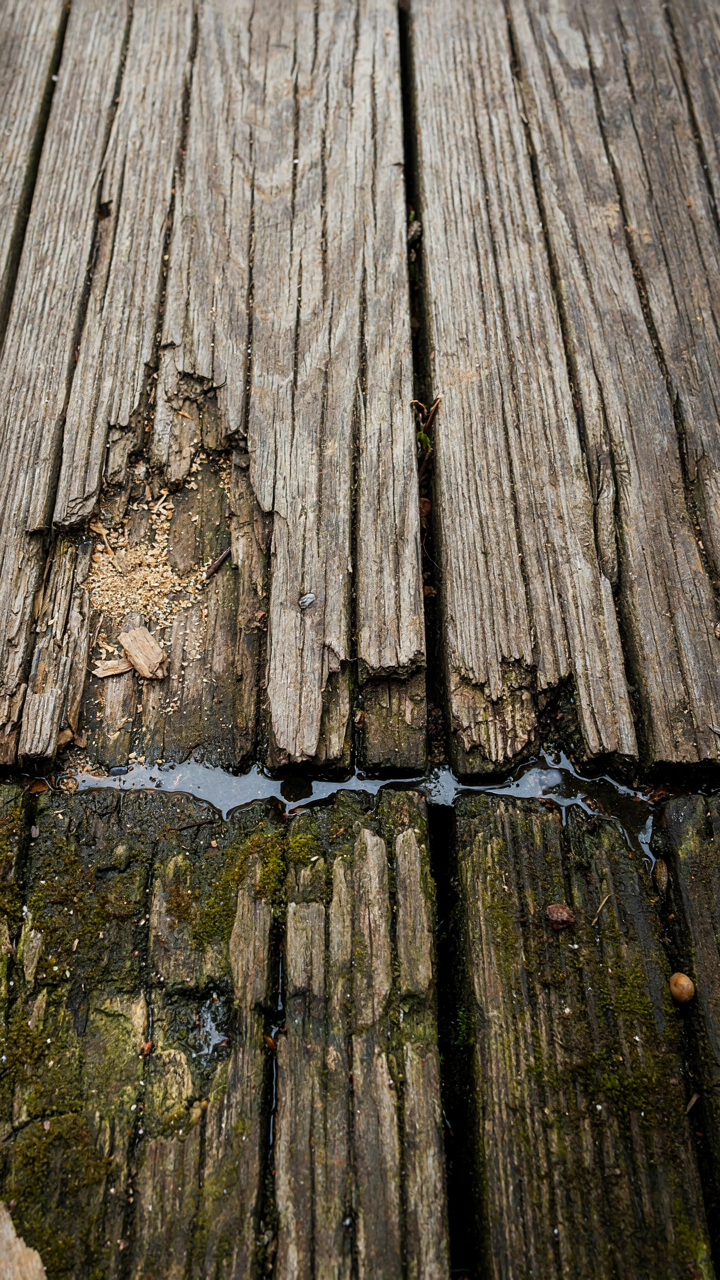
You want this floor to survive the event without becoming your obsession. Here’s the mechanism: UV degradation and moisture absorption aren’t inevitable consequences of outdoor exposure—they’re the direct result of choosing materials that have no business being outside. Plywood swells. Particle board delaminates. Budget vinyl warps under heat cycles. The real protection isn’t what you apply after building; it’s what you choose before you cut the first board.
Pressure-treated lumber or composite decking resists rot. Marine-grade plywood handles moisture better than standard stock. Sealed hardwood, if you’re using that route, needs a polyurethane rated for exterior UV exposure—not interior floor finish. The coating matters more than the substrate when sun is involved. One coat won’t hold for multiple seasons. Two coats minimum, applied according to the manufacturer’s cure time, gives you the durability that lets you actually use the floor instead of maintaining it.
Anchoring Prevents The Mid Party Collapse
A dance floor that shifts under weight isn’t rustic charm—it’s a liability. This is a friction and load-distribution problem borrowed from civil engineering: you need enough contact area between the floor and ground to prevent uplift, and enough mechanical resistance to prevent lateral movement. Sand settling unevenly causes one edge to lift. Dancers moving laterally create torque. Weather expands and contracts materials unpredictably.
Ground anchors or concrete footings stop vertical movement. Heavy-duty metal brackets lag-bolted to joists prevent lateral racking. Adjustable feet level the entire assembly before you lock it down. The protocol is straightforward: measure and level the substructure using a transit level or laser level before fastening anything permanent. Then verify again after thirty minutes of foot traffic. Movement after that point means your anchor strategy failed and needs redesign before the actual event.
Beyond The Boards: Essential Outdoor Dance Floor Ideas

Lighting Integration Sets Mood Without Blinding Anyone

You want people to feel like they’re somewhere special, not squinting like they’re under interrogation. The real mechanism here is contrast. Your eye adapts to whatever ambient light dominates the space, so if you blast the dance floor with 500 lumens while the surrounding yard sits dark, dancers lose depth perception and peripheral awareness. They can’t see the floor edge or other bodies moving. Install lighting that pulls the entire zone into visibility, not just the boards themselves.
Uplighting works better than downlighting for dance floors. Position LED strips or low-wattage fixtures around the perimeter and underneath the deck frame to cast light upward and outward. This illuminates faces and bodies without creating harsh shadows or glare on the surface. Warm color temperatures (2700K to 3000K) keep the space inviting. String lights overhead serve atmosphere but don’t carry the load for dance floor illumination. Your primary job is making the floor and its boundaries legible at night, not creating Instagram content.
Defining The Dance Zone Corrals Movement Efficiently
Perimeter control borrows from traffic flow design: you establish boundaries so people navigate the space without thinking about it. A backyard dance floor needs visual and physical edges. Railing, rope, planters, or grade changes tell dancers where the zone starts and ends. Without definition, people drift onto surrounding grass, creating mud zones and confusion about what space is designated for dancing versus standing.
Build a border that’s noticeable but not intrusive. A 6 to 12 inch raised edge or a simple rope strung 18 inches outside the deck accomplishes this. If your floor sits on ground level, paint or tape the perimeter or lay landscape edging. People respect boundaries they can see. This single move reduces foot traffic on surrounding areas, prevents tripping hazards at the deck’s edge, and keeps the dance floor functional throughout the event. Install perimeter markers before your first guest arrives.
Diy Backyard Dance Floor: The “Minimalist Max Impact” Approach
Leverage Over Muscle

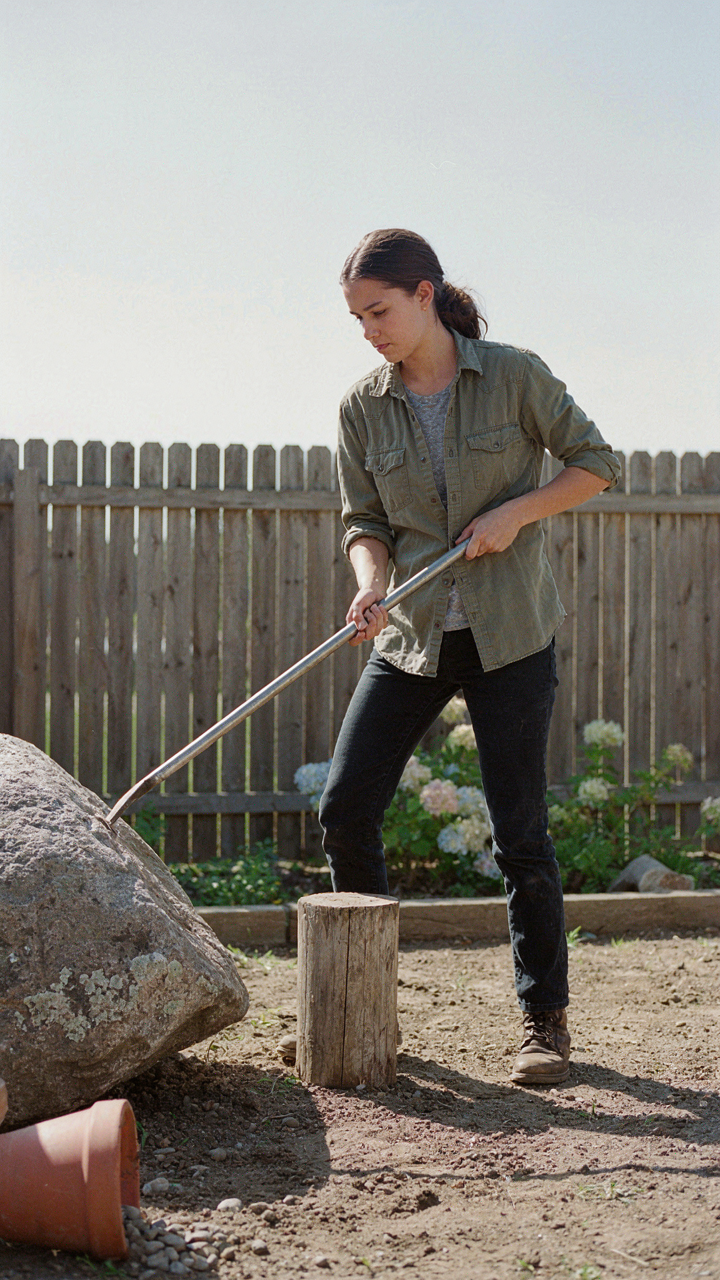
You want to feel like you built something without actually spending your weekend sweating through a shirt. Here’s the mechanism: leverage is physics applied to labor. A pry bar moves a two-ton pallet with ten pounds of force. A hand truck eliminates fifty trips. Most DIY advice skips this and tells you to “get some friends and push.” That’s just admitting you don’t understand the work.
The real move is identifying which part of your build requires actual force versus which parts require positioning. Framing a dance floor means leveling ground, moving materials, and securing base layers. A power level saves you three hours of slope-checking. A four-wheel dolly cuts material transport time by 80 percent. Pneumatic nailers replace manual hammering. You’re not being lazy. You’re being efficient. The tool does the leverage work so your body doesn’t.
Found Materials Beat New Purchases
The common advice is to buy treated plywood and composite decking. That’s marketing dressed as guidance. Real builders source reclaimed materials from demolition sites, pallet yards, and estate sales. A reclaimed hardwood dance floor ages better than new particle board anyway because the wood is already stable and seasoned.
Pallets provide free or cheap subfloor framing. Salvaged deck boards become the top layer. Old aluminum scaffolding becomes a base frame. The constraint of using what exists forces better design because you work backward from materials instead of forward from preference. This approach actually produces sturdier floors because you’re forced to engineer around real limitations rather than assuming standard dimensions will work. Source your floor first. Then build around what you have.
Maintenance: The True Cost Of Neglecting Your DIY Dance Floor
Cleaning Regimen Extends Lifespan
You want to believe a dance floor stays good through use alone. It doesn’t. The mechanism is material degradation from trapped moisture and accumulated debris. Wood absorbs water from sweat, spilled drinks, and rain. Composite materials trap dirt in surface texture. Both fail faster under this load.
Sweep or vacuum weekly during the season. Use a damp microfiber mop, not wet water. Address spills within hours, not days. Moisture sitting on plywood or composite creates rot and structural compromise at the substrate level. A three-minute weekly clean beats a damaged floor replacement costing hundreds.
Repair Strategies Prevent Cascading Failure
The common advice is to patch damage as you see it. That’s incomplete. In structural terms, a dance floor operates like a load-bearing surface where localized weakness spreads outward. One soft spot under the plywood invites adjacent sections to sag.
Inspect corners and high-traffic zones monthly. Press firmly on the surface. Any give signals water penetration below. Replace affected plywood sections immediately rather than waiting for visible splits. Sand surface scratches and splinters before they catch and peel. The protocol is: detect, isolate, replace. Patch nothing.
How To Build A Dance Floor For Wedding: The Post Party Deconstruction
Disassembly Without Destroying What You Built

You want to believe your floor will last forever because admitting it won’t means confronting the real cost of your investment. Here’s the mechanism: wood panels expand and contract with humidity and temperature swings, so disassembly protocol mirrors thermal stress management in materials science. Start breakdown within 48 hours of the last song, before moisture settles into joints and fasteners lock permanently.
Work systematically from one corner outward rather than random removal. This prevents warping caused by uneven weight distribution on remaining panels. Remove fasteners—screws or bolts—first, then carefully lift each section at opposing corners to distribute force evenly. Document your panel arrangement with photos before you start; reassembly takes half the time when you know exactly where each piece belongs.
Storing Panels To Avoid Permanent Warping
Most people stack their dance floor flat on concrete, which is how you guarantee cupping and warping within a season. Use vertical or angled storage instead. Lean panels against a wall at a slight angle, never flat, and insert spacers between each panel to allow airflow. This mimics how manufacturers store plywood before shipment, preventing the moisture concentration that causes permanent dimensional change.
Store in a temperature-stable location, preferably indoors or under a roof overhang where ground moisture can’t wick upward. Cover the stack loosely with a breathable tarp, not plastic wrap, which traps condensation and defeats the purpose. Check stored panels every two months during high-humidity seasons, rotating them slightly to ensure even settling and preventing flat spots where weight compresses the wood grain.
The Real Obstacle Isn’t The Build, It’s Your Fear Of Committing To Genuine, Unfussy Celebration
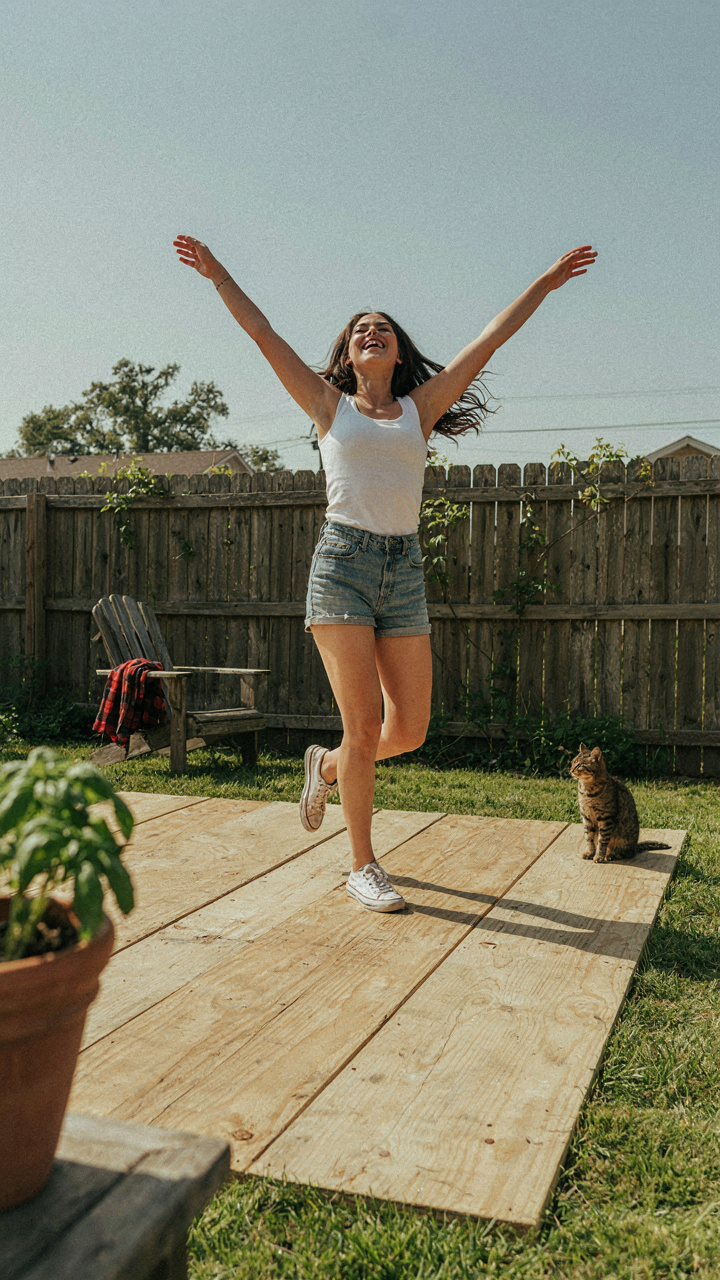
You already know how to build a diy backyard dance floor. The real problem is you’re waiting for permission to stop overthinking it. Stop researching. Buy plywood today, measure your space, and nail it down this weekend. Every hour you spend scrolling for the “perfect” floor design is an hour you’re not hosting the party that reminds you why you wanted one in the first place. The best dance floor is the one you actually built, not the one you planned to build someday.



