
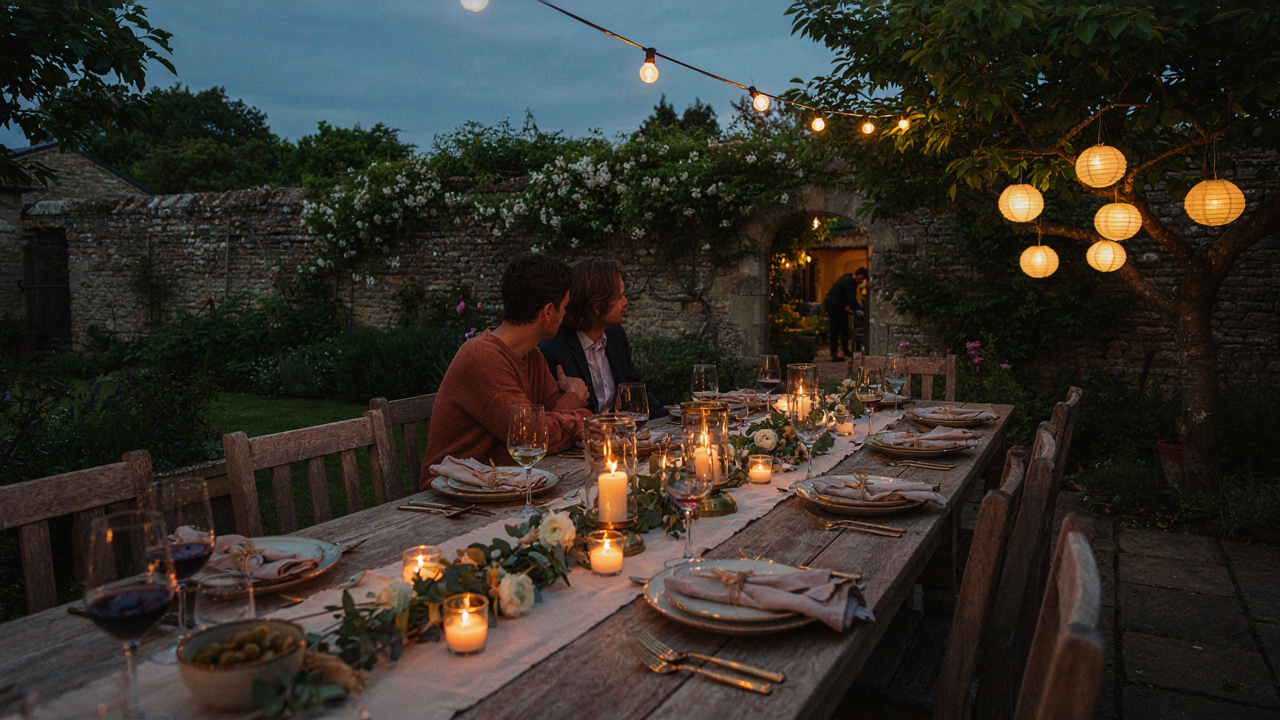
The Ambient Light Fallacy: Why More Light Isn’t Better For Outdoor Night Dinner Party
Your Eyes Adjust Faster Than Your Lighting Setup
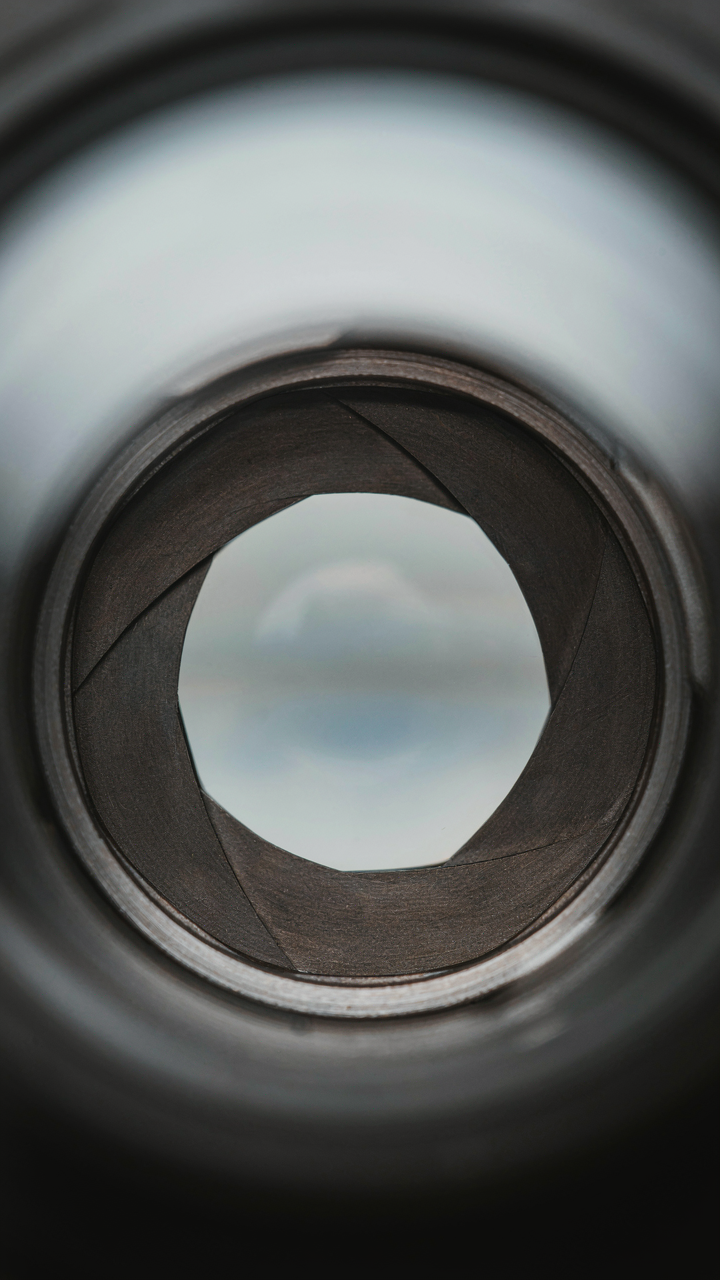
You want people to see your food and each other clearly so they think you have taste. That’s not the real problem. Your visual system works like a camera aperture—it dilates in darkness and contracts in light. When you blast uneven ambient light across a dinner table, you force your guests’ pupils to constantly readjust as their eyes move between bright zones and shadows. This biological reality, called pupil adaptation in vision science, is what causes the squinting. More light doesn’t solve this. It amplifies it.
The mechanism is simple: pupil muscles can’t track rapid transitions between brightness levels. A guest glances at their plate under a bright overhead fixture, then looks up at your face in shadow, then back down. Each shift triggers a lag in pupil response. Their eyes compensate by squinting to reduce the light entering the retina. You’ve created optical friction. The solution isn’t brighter fixtures. It’s eliminating the contrast that forces constant readjustment. Consistent, moderate light across the entire dining zone keeps pupils stable.
Shadows Create The Illusion Of Darkness
Generic advice says “add more light to eliminate shadows.” This is incomplete and expensive. Shadows form because light sources create zones of direct illumination and zones of blocked light. When you use a single overhead fixture or concentrated uplighting, you generate harsh contrasts—bright surfaces adjacent to deep shadows. These transitions are what register as darkness to your visual system, not the absolute absence of light. A shadow under a nose or across a cheekbone doesn’t just look unpleasant. It resets your pupil adaptation and triggers squinting.
Strategic light distribution eliminates shadows by approaching them from multiple angles at lower intensity. Two or three well-placed fixtures at 40 to 60 percent brightness, positioned to cross-light the table, fill shadow zones without creating new ones. The goal is redundant coverage, not intensity. Every surface should receive illumination from at least two separate light sources. This erases the contrast gradient that forces pupil compensation. Test your setup by sitting at the table at night and noting where your eyes feel tension when looking at faces or food.
The “String Lights Everywhere” Syndrome For Outdoor Party Lighting
Where You Actually Need Light, Not Just Vibes

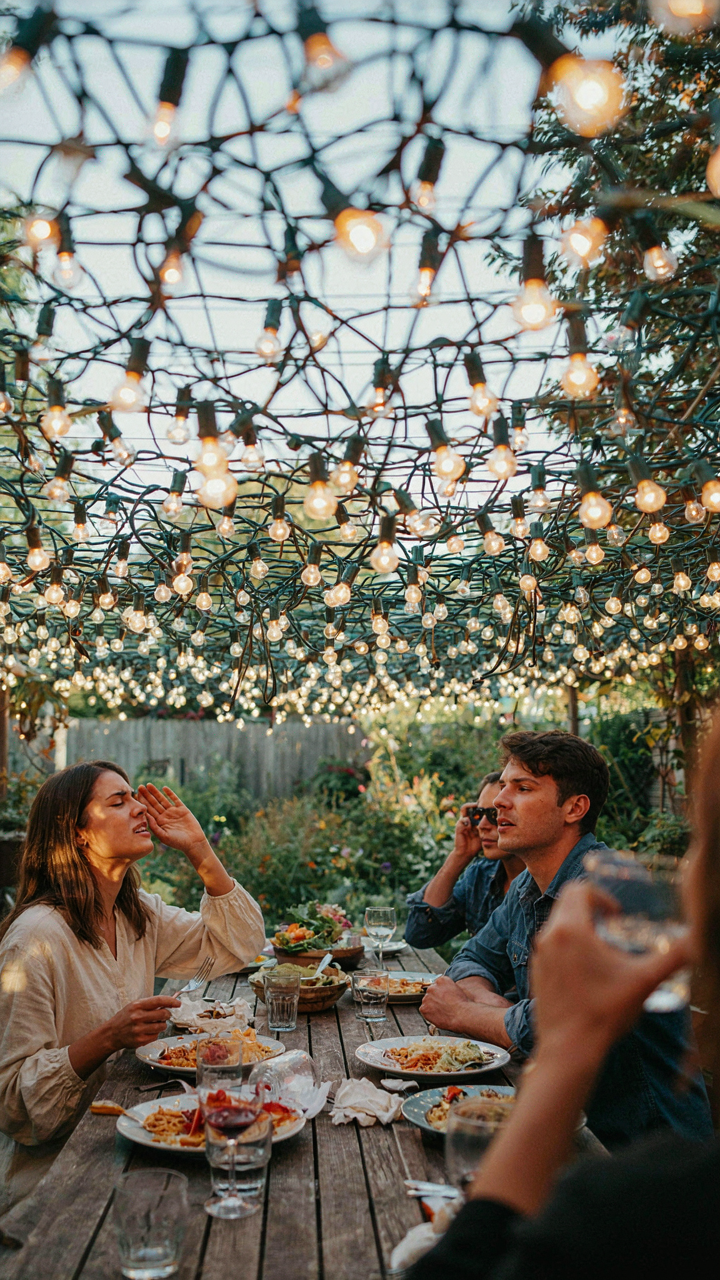
You want guests to think you have taste without spending money or effort on real lighting design. Here’s the mechanism: string lights create ambient glow but solve zero functional problems, which means people end up squinting at food, faces, and each other while sitting in pockets of shadow. The issue isn’t the lights themselves—it’s treating them like decoration instead of a tool with a specific job.
Think in terms of light distribution, a concept borrowed from physics. Most hosts drape lights overhead in uniform patterns, which spreads illumination equally everywhere and nowhere. That means critical zones like the dining table, bar area, or walkways get the same treatment as empty space, wasting lumens where they don’t matter and underdelivering where people actually need to see.
Killing Glare Without Killing The Moment
The common advice says “use warm bulbs and soften shadows.” That’s incomplete. Glare happens when light sources sit in your direct line of sight, not because the color temperature is wrong. String lights strung at eye level or mounted on structures behind seating create direct glare. Position them above head height at least eight feet up, angled slightly downward toward table surfaces. This keeps the light source out of the sightline while directing illumination where it functions.
Light pollution—the spillover that makes neighboring yards brighter and ruins night vision—gets ignored in residential outdoor lighting. You control this by using directional fixtures instead of omnidirectional bulbs, keeping light focused downward and inward toward your dining space rather than spreading sideways and upward into the sky and neighbors’ windows. Shield your string light sockets or use fixtures with built-in barn doors to contain the beam.
Color Temperature Confusion: The Unseen Guest At Your Outdoor Dinner
How Light Temperature Controls Perceived Atmosphere
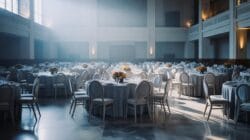
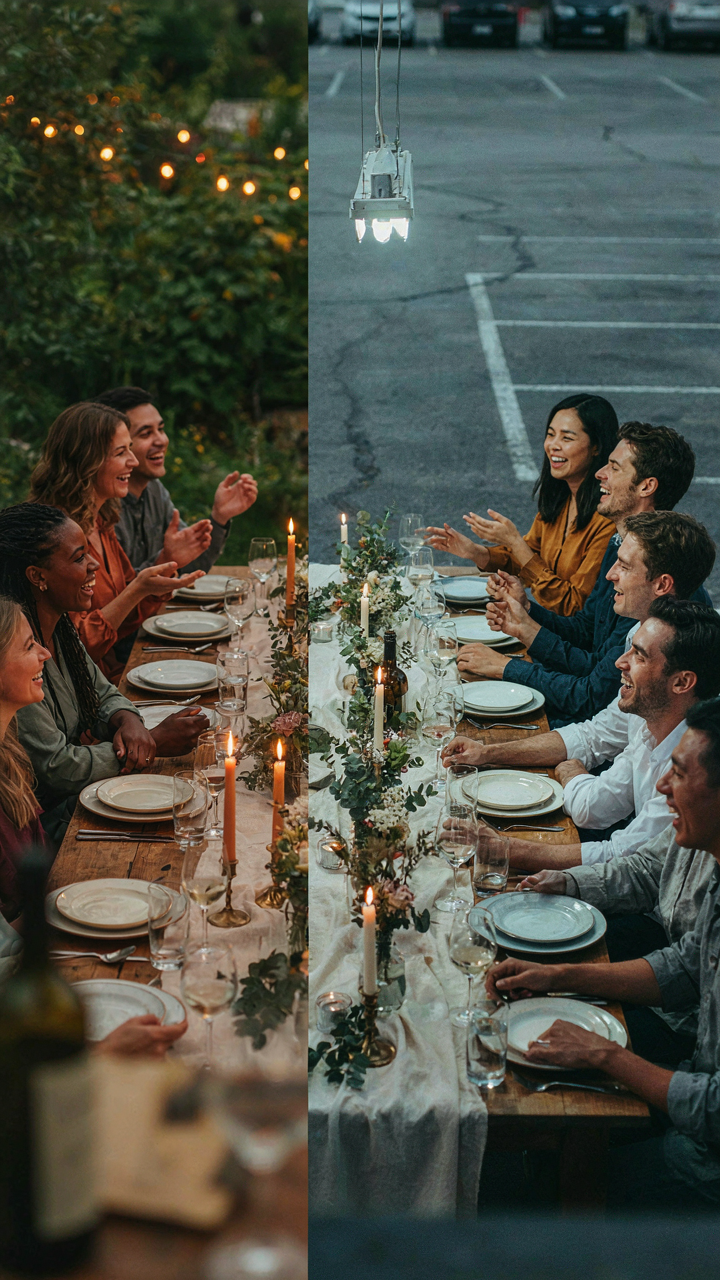
You care about this because you’ve noticed other people’s outdoor dinners feel effortlessly luxe while yours feels like a parking lot, and you can’t name why. The mechanism is color temperature, measured in Kelvin, which your brain reads as time of day and emotional context before you process anything else. Warm light (2700K-3000K) signals sunset and safety. Cool light (5000K and above) signals midday exposure and alertness. Most people install whatever came in the box, defaulting to a temperature that fights their actual goal.
Hospitality design borrowed this from circadian biology: your nervous system doesn’t distinguish between natural and artificial light when evaluating threat level. A dinner under 5500K lighting relaxes the facial muscles and dilates pupils slightly, making guests look softer and less guarded. Install the wrong temperature and you’ve chemically signaled “this is temporary” instead of “this is intentional.” The fix is brutally simple: choose 2700K for dining, full stop. Anything cooler than 3000K at a dinner table broadcasts mistake.
What Food Actually Looks Like Under Different Temperatures
Food appearance under cool light is the dirty secret of outdoor entertaining nobody states plainly. A steak under 4000K-plus lighting looks gray and unappetizing because you’re seeing wavelengths that emphasize the absence of red. Under 2700K, the same steak glows with depth and warmth, triggering appetite signals. Restaurants don’t use cool light by accident. They engineer 2700K specifically because it makes food sell itself, and that principle doesn’t change in your backyard.
The practical protocol: measure your existing fixtures before buying. Most standard outdoor LED bulbs ship at 4000K or 5000K because they’re cheap to manufacture. You need to replace them with warm-white 2700K equivalents, or install new fixtures rated for that temperature from the start. Don’t assume “dimmable” solves this, because dimming a cool-temperature light still keeps it cool, just darker. The food stays gray. Buy the right temperature first, then adjust brightness separately.
The “One Light Source” Delusion For Your Backyard Dinner Party
Layering Light For Depth And Interest

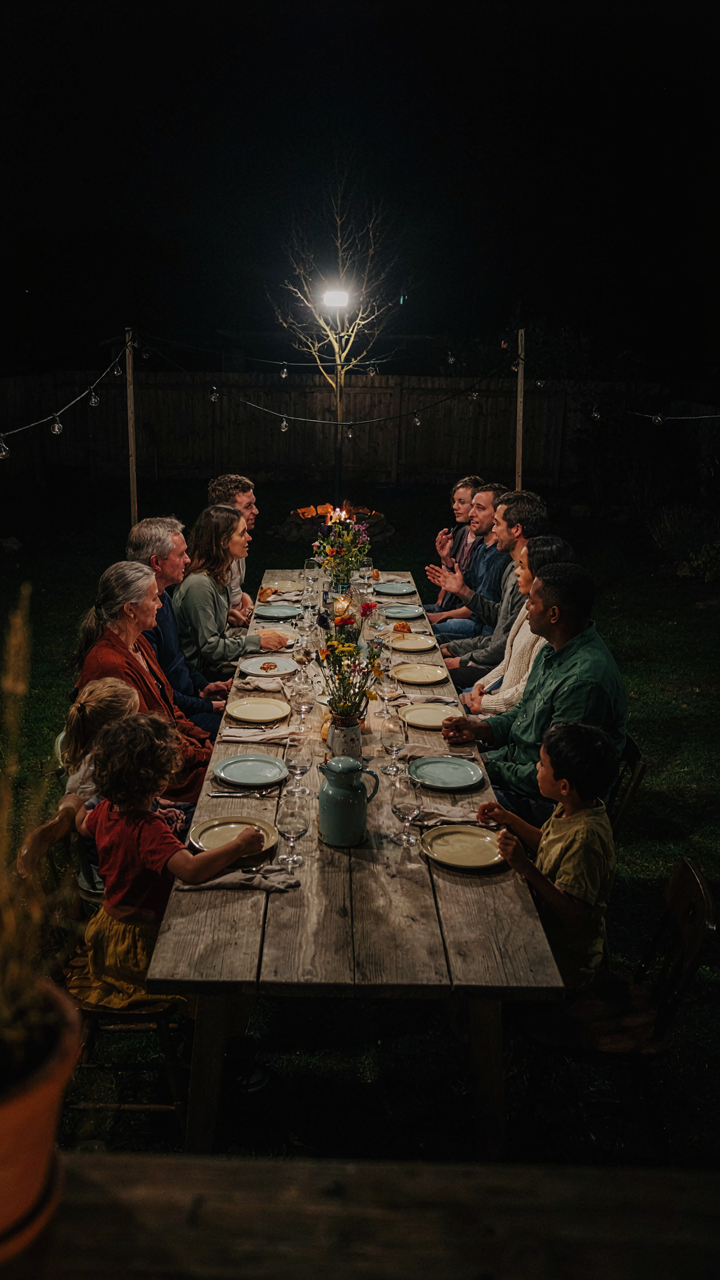
You want guests to think your backyard looks intentional, not like you plugged in whatever was closest to the outlet. The real mechanism here comes from architecture and spatial design: contrast. Architects use layering to create visual depth and guide attention. One light source flattens your dinner space into a single plane. It washes everything equally, which makes nothing stand out and makes shadows fall in harsh, unflattering places across faces and food.
Layering means positioning lights at different heights and distances from your dining area. A fixture overhead creates base illumination. Uplighting on trees or structures adds dimension. Candles or low ambient lights near the table itself create intimacy without competing with overhead sources. This hierarchy of light sources gives your eye something to land on, makes the space feel larger, and keeps guests focused on the table rather than squinting into the primary light beam. The contrast between lit and slightly dimmer zones is what makes a space feel designed.
Task Lighting Versus Accent Lighting Needs
Most people treat all light as the same thing, which is why their dinner spaces feel either sterile or chaotic. Task lighting has one job: illuminate the surface where people eat. Accent lighting has a different job: create visual interest and mood in the surrounding area. Conflating them wastes power and creates glare.
Task lighting over your dining table should be bright enough to see food clearly, but positioned to avoid direct eye contact with the bulb. String lights, pendant fixtures, or well-shielded overhead lights work here. Aim for 300-500 lux on the table surface itself. Accent lighting lives elsewhere: uplighting on foliage, downlighting on architectural features, or low-level pathway lights that guide the eye without demanding attention. The separation forces you to choose the right tool for each zone instead of hoping one bright source solves everything. Begin with a light meter app on your phone to measure table brightness, then add accent sources only after task lighting is locked in.
The Set And Forget Lighting Protocol For Outdoor Dining Spaces
Dimmers And Smart Controls Work Only When You Actually Use Them

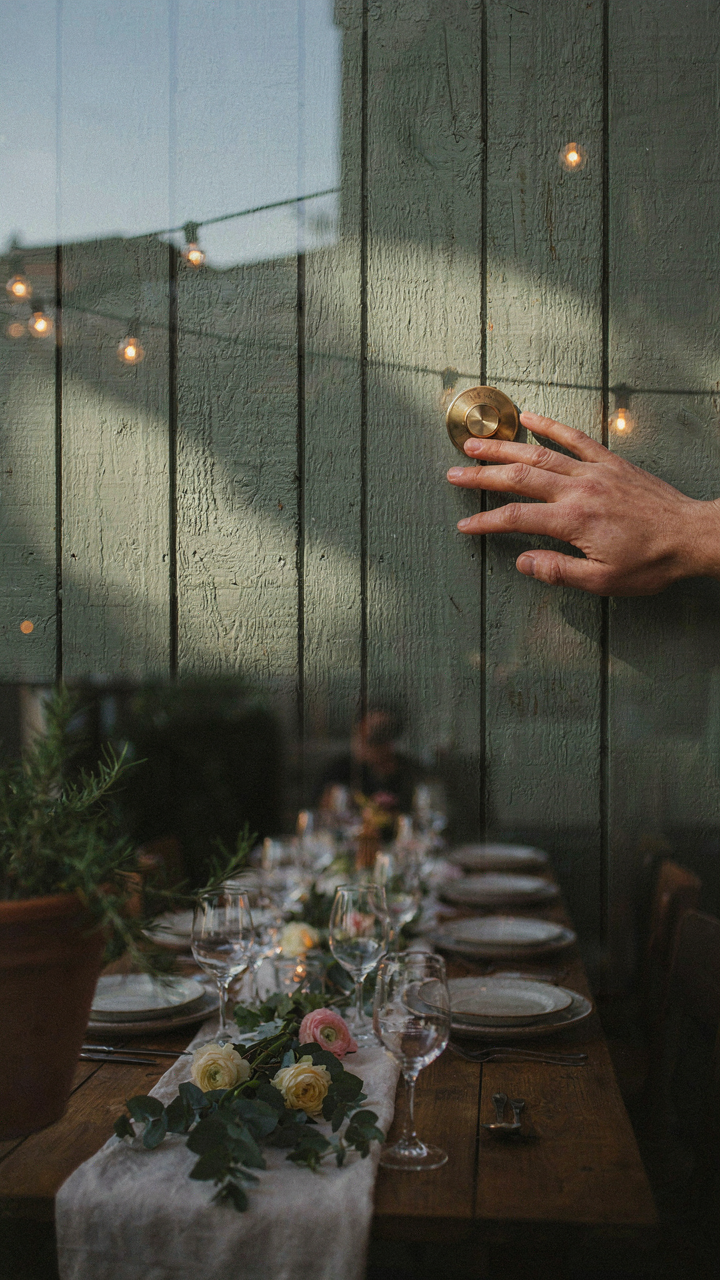
You want the option to dim lights so you feel in control, but you’ll never touch the controls once guests arrive. That’s the real problem. The mechanism is simple: fixed brightness at dinner start becomes your entire evening, because stopping mid-meal to adjust feels awkward. Dimmers and smart controls aren’t solutions by themselves. They’re only useful if you establish a baseline before people sit down and then commit to one or two intentional adjustments as conditions shift.
The mistake everyone makes is installing dimmer capability and assuming the problem solves itself. It doesn’t. You need a protocol: set your lights to 60 percent brightness 15 minutes before guests arrive, then increase to 75 percent once everyone’s seated and eating. This prevents the common trap of lights being too bright during cocktail hour, then remaining too bright through dinner. Most dimmer systems use standard forward-phase dimmers that work with incandescent and some LED bulbs. Check your bulb compatibility before purchasing. Smart controls add convenience but introduce dependency on apps and WiFi, which fails when you need it most.
Twilight And Cloud Cover Change How Lights Read
Lighting design borrowed a term from photography called “exposure compensation.” Your eyes constantly compensate for ambient light, which means the same fixture brightness reads completely different at 7 PM versus 8:30 PM. At 7 PM, residual daylight makes your lights seem dimmer than they actually are. By 8:30 PM, when ambient light drops, those same fixtures suddenly feel harsh because your pupils dilated. Most people ignore this and set one brightness level for the entire evening.
Environmental changes demand active response, not static setup. Clouds thicken. The sun moves lower. Your guests’ pupils adjust. On clear evenings, increase fixture brightness by 20-30 percent around 30 minutes after sunset to compensate for lost sky glow. On overcast evenings, you’ll need less adjustment because cloud cover diffuses remaining light longer. Check your outdoor space at the exact dinner time you’re hosting, not at a different hour, because twilight intensity varies significantly across just 30 minutes. Your baseline setting must account for the specific date and weather forecast, then you adjust in real time as the meal progresses.
The Unconsidered Power Of Downlighting For Your Outdoor Dinner Table
Directing Light Where Faces Actually Need It

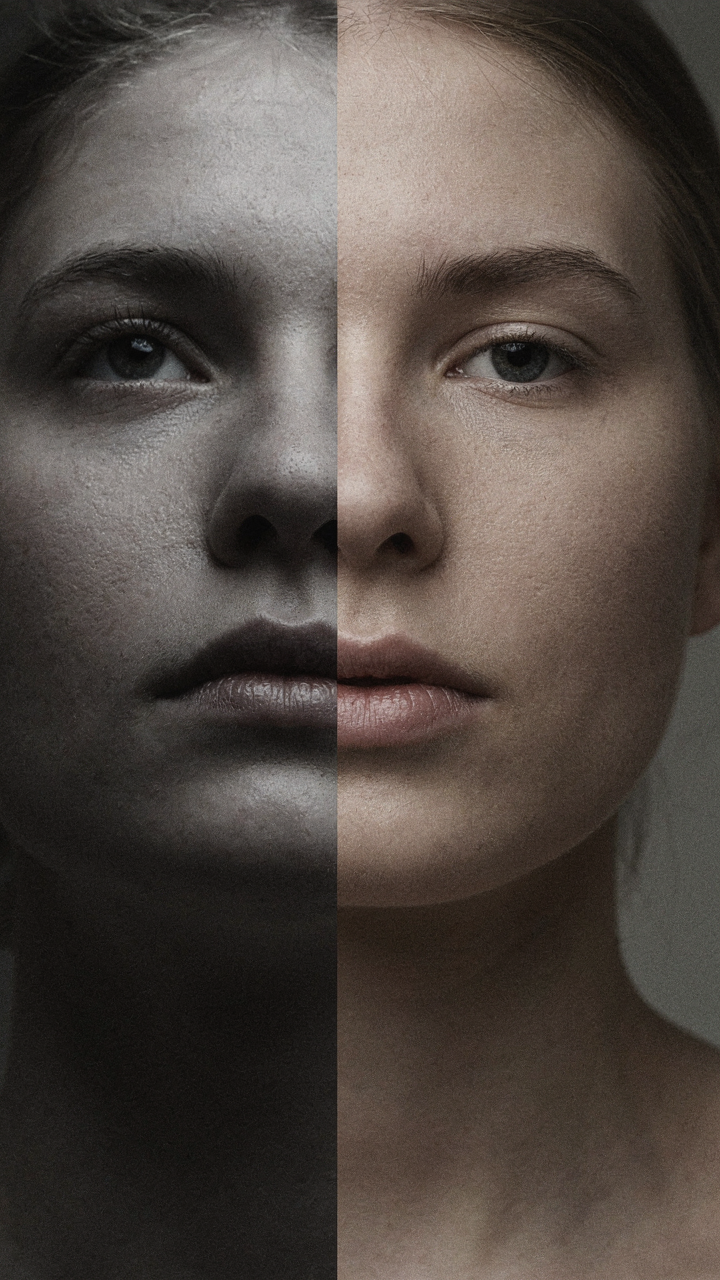
You want your guests to look good because you know how people judge environments through how they appear in them. The mechanism is simple: light direction determines where shadows fall, and shadows on faces create the squinting, aged, uncomfortable look that kills conversation. Downlighting places the source above the table, casting light down onto plates and faces from a controlled angle. This is opposite to upward-facing lights, which bounce off surfaces unpredictably and land in eyes.
Position your fixture 7 to 9 feet above table height for a standard dining setup. This height lets light spread across the table surface and faces without creating harsh shadows under cheekbones or eye sockets. The key is angle: light traveling downward hits horizontal surfaces first, then diffuses naturally across vertical planes like faces. Lower fixtures create steep angles that darken eye sockets. Higher fixtures spread light too thin and require more wattage to reach the table.
Keep Glare From Killing The Experience
Most outdoor lighting guidance says to hide the bulb, and that’s correct but incomplete. The real problem is that direct line-of-sight between the bulb and a guest’s eye creates discomfort regardless of whether the bulb is technically “hidden” by a shade. Physics calls this the inverse square law: brightness intensity drops exponentially with distance from the source. A bare bulb at 8 feet still floods the eye if positioned at head height or above it.
Use a fixture with a recessed trim ring or baffle that blocks direct view of the bulb from all sitting positions around the table. Test this by sitting down and looking up from each seat. If you see the filament or glow directly, guests will too. Diffusion materials like frosted glass or fabric shades reduce perceived brightness but don’t eliminate glare from poor positioning. The fix is mounting angle first, shade second. Place fixtures on a dimmer set to 60 to 70 percent output for evening dinners to further reduce eye strain without sacrificing visibility.
The “Brightness Brute Force” Method For Outdoor Dinner Party
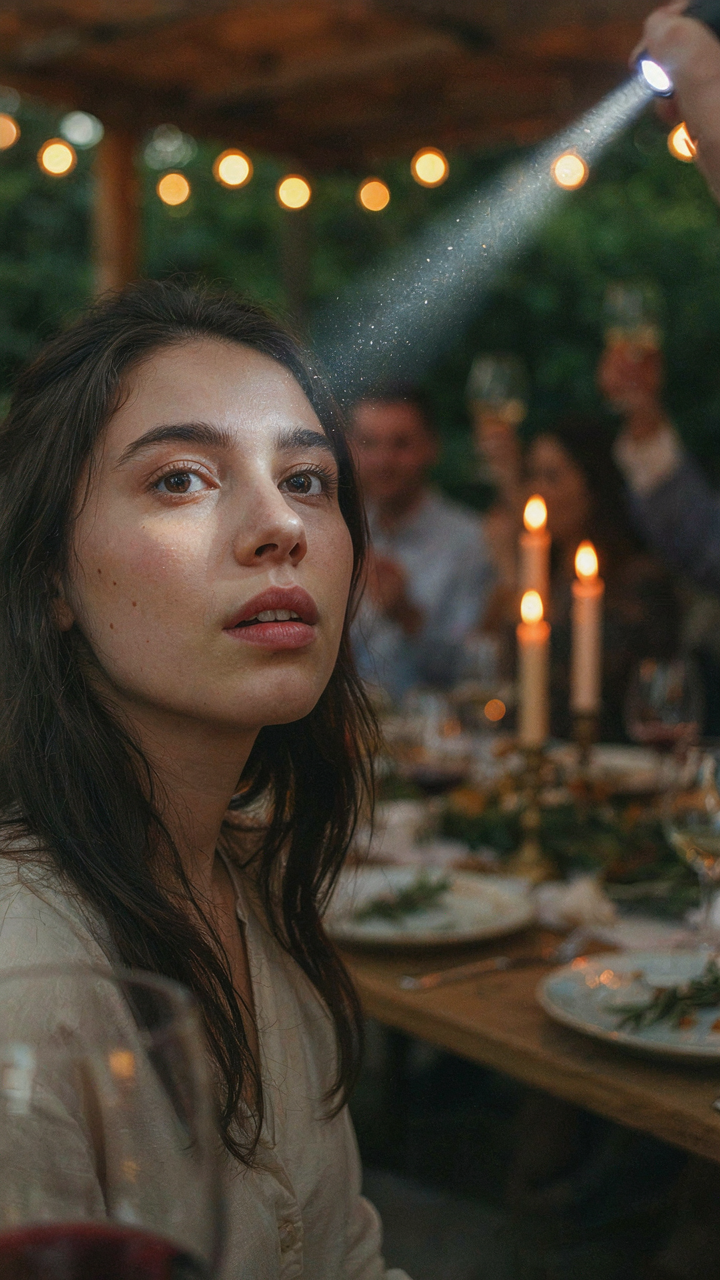
How Your Eyes Actually Fail In Bright Light

You think more light means guests see better. It doesn’t. Borrowed from biology: your pupils function like apertures on a camera. When you blast outdoor dinner lighting at high lumens, your pupils constrict to protect the retina. This forces your rod cells, which handle low-light vision and peripheral awareness, into dormancy. Your cone cells take over but they’re slow to adapt and terrible at detecting motion or faces across a table.
The mechanism is simple. High brightness triggers pupil closure. Closed pupils reduce the light reaching your retina. Fewer photons mean less total information, not more. Your guests’ eyes work harder to extract detail from a narrower beam of available light. They squint because their visual system is rationing information, not because they need illumination.
Visibility Drops When You Ignore Light Distribution
The common advice is wrong: brighter is not better. What actually matters is how light spreads across the dinner space. Even distribution at moderate brightness preserves pupil dilation and keeps rod cells engaged. Your guests maintain better peripheral vision, detect facial expressions faster, and experience less eye strain. Dim light distributed evenly beats bright light concentrated in hot spots every single time.
The protocol is specific. Aim for 50 to 100 lux at table surface, distributed from multiple angles without direct sightlines to any fixture. Place uplighting on trees or structures behind the dining area. Use warm sources at 2700K or lower to maintain melatonin production and natural comfort. This setup keeps pupils open, maximizes cone and rod collaboration, and eliminates the squinting reflex entirely.
Ignoring The Guest Experience: Your Outdoor Dinner’s True North
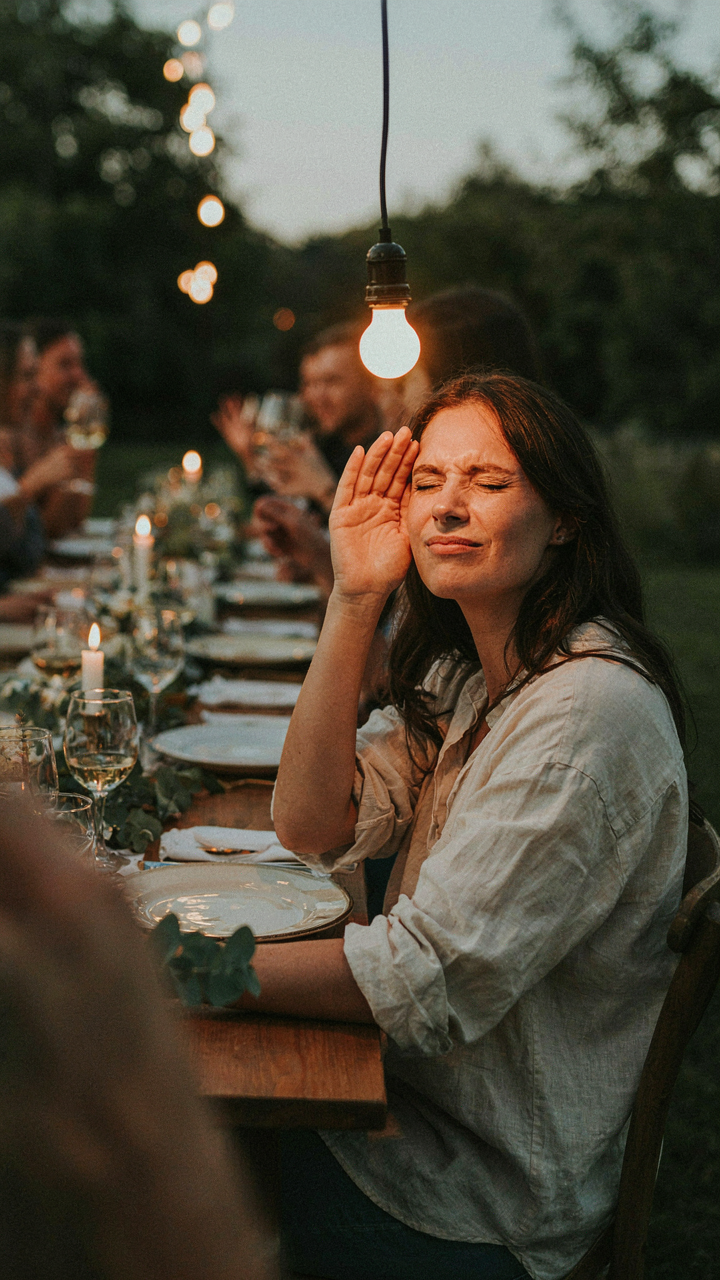
Eliminating Glare For Conversational Comfort
You want people to look at you, not squint at your lights. That’s the real reason this matters. Glare is physics applied to social failure: direct light hitting the eye’s lens creates scatter, forcing the pupil to contract and the brain to work harder. Your guests stop talking and start defending their vision. This isn’t ambiance—it’s assault.
The common advice says “use warm bulbs” or “dim the lights.” Wrong framing. Those are outputs, not solutions. The actual mechanism is source concealment. If a light source sits above eye level but visible from seated position, it creates glare regardless of color temperature or wattage. Position fixtures at least 8 feet high and angle them downward, or hide the bulb behind a baffle, shade, or architectural element. The light hits the table and food, not the face. Conversation stays intact.
Creating Intimate Zones With Light
Intimate lighting requires isolation, not brightness. Zoning works like military tactical positioning: you separate zones by distance and terrain so each operates independently. Place fixtures at 12 to 16 feet apart around your dining area. This creates pools of light rather than one washed-out field. Each pool should illuminate the table surface while leaving peripheral space darker. The human eye registers contrast, not lumens. Where light meets shadow, you get depth and boundary.
One pool of light centered on a dinner table is a stage. Multiple pools create conversation islands. Use path lights or uplighting on trees to define edges without flooding the space. Add a dimmer on at least one fixture so you can dial intensity down as dusk deepens. The moment darkness arrives, your outdoor space stops fighting nature and starts working with it. Adjust output after sunset, not before.
The Overlooked Impact Of Fixture Aesthetics On Party Decorations
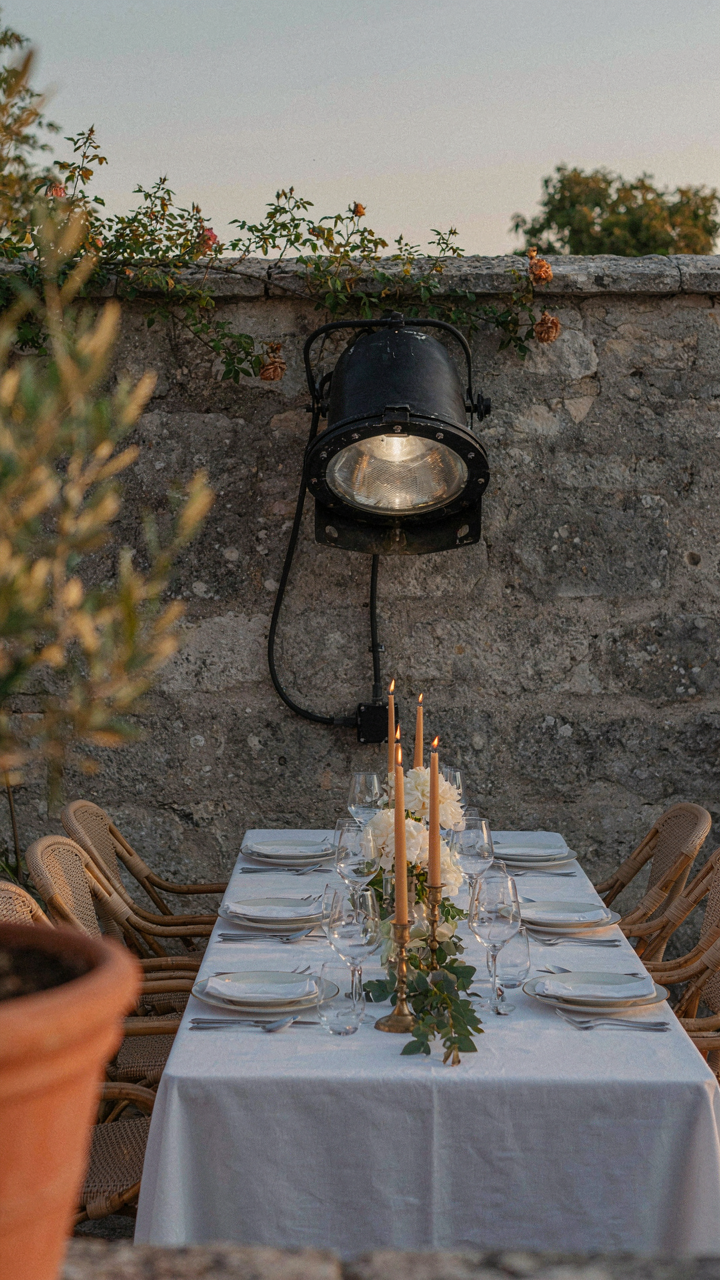
Seamless Lighting Into Your Decor Strategy

You care about this because a mismatched fixture signals poor taste to people whose opinions matter to you. The real mechanism is visual hierarchy: your eye processes the fixture before the light it produces. A clunky Amazon-special lantern hanging over your table dominates the guest’s visual field the moment they sit down. That object competes with faces, food, and conversation for attention. When the fixture disappears into the environment instead, the light becomes the feature, not the hardware holding it.
Designers borrowed this concept from graphic design: negative space. In lighting terms, negative space means the fixture occupies visual real estate without demanding recognition. This happens when material, scale, and finish match the surrounding environment. A matte black fixture against dark foliage vanishes. A polished brass one against weathered wood demands explanation. The fixture should feel like it belongs to the architecture or landscape, not like you bought it and bolted it up.
- Metal Finish Matching: Use fixtures in finishes that echo existing materials on your property, like house trim, railings, or pergola framing to create visual continuity.
- Scale Proportionality: Choose fixture size relative to the table and surrounding structures so it doesn’t visually dominate the seating area.
- Mounting Height Calculation: Position fixtures 8 to 10 feet above seating for dinner setups to keep them in peripheral vision, not direct sight line.
- Material Texture Alignment: Select fixtures with surface finishes matching nearby elements, whether that’s rope, wood, stone, or plant material.
- Minimal Visual Geometry: Prefer simple geometric forms over ornate designs that create competing focal points across the table.
The fixture that works is the one guests stop noticing after the first fifteen seconds. Spend your fixture budget on finish and material quality, not on trendy shape. A plain steel frame painted to match your home’s exterior trim disappears entirely while delivering consistent light output.
Fixtures That Reinforce The Occasion
Matching aesthetics to theme isn’t about decoration in the ornamental sense. It’s about removing cognitive friction: guests should feel the lighting belongs to the meal type, not clash with it. A black-tie dinner under carnival string lights creates dissonance. A casual backyard lunch under rustic wood-frame fixtures makes sense. The fixture validates the event’s tone before anyone tastes food.
The mistake most people make is treating fixtures as interchangeable. They’re not. A mid-century modern fixture telegraphs a different message than a coastal-style one. Your guests decode these signals subconsciously. Formal settings demand restraint in fixture design, minimal ornamentation, precision in geometry. Casual gatherings tolerate more personality. The fixture should amplify the event’s stated purpose, not work against it. Choose materials and styles already present in your home’s architecture as your template, then find fixtures that echo those qualities rather than contradict them.
The Only Thing Dimming Your Outdoor Dinner Party Is Your Reliance On Convention
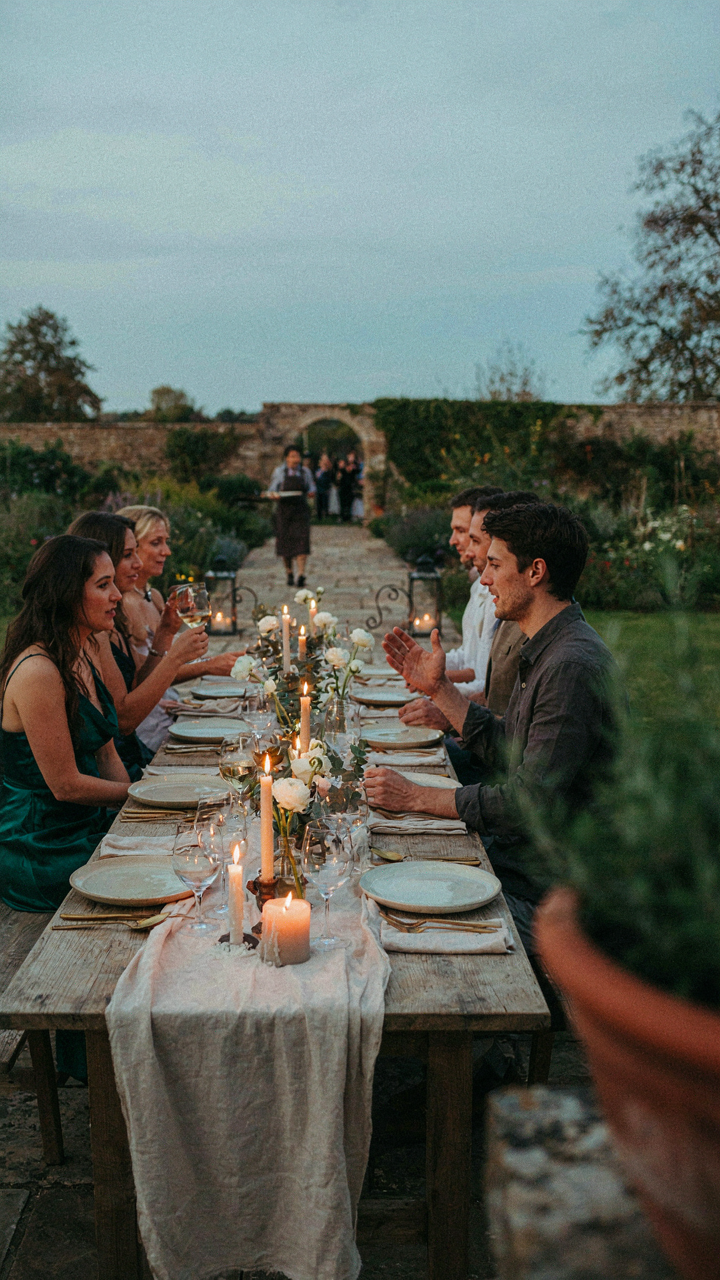
You’ve been taught that outdoor dinner lighting means stringing lights overhead and calling it done. Wrong. The real shift happens when you stop lighting the space and start lighting the experience. Your guests don’t need brightness. They need direction, depth, and intentionality. Pull up a lighting supplier’s website today and price uplighting for your trees instead of another string light set. That single change turns a backyard into a venue, and venues don’t feel like accidents.



