
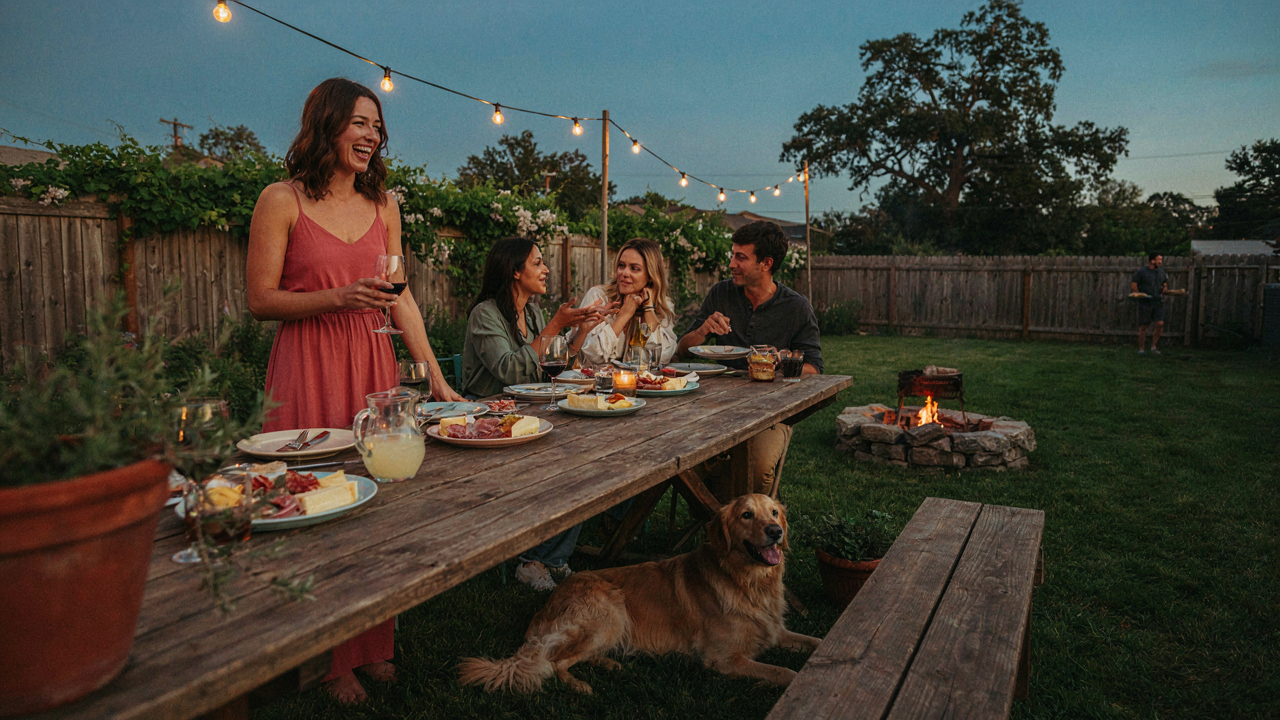
The “Less Is More” Party Lighting Protocol
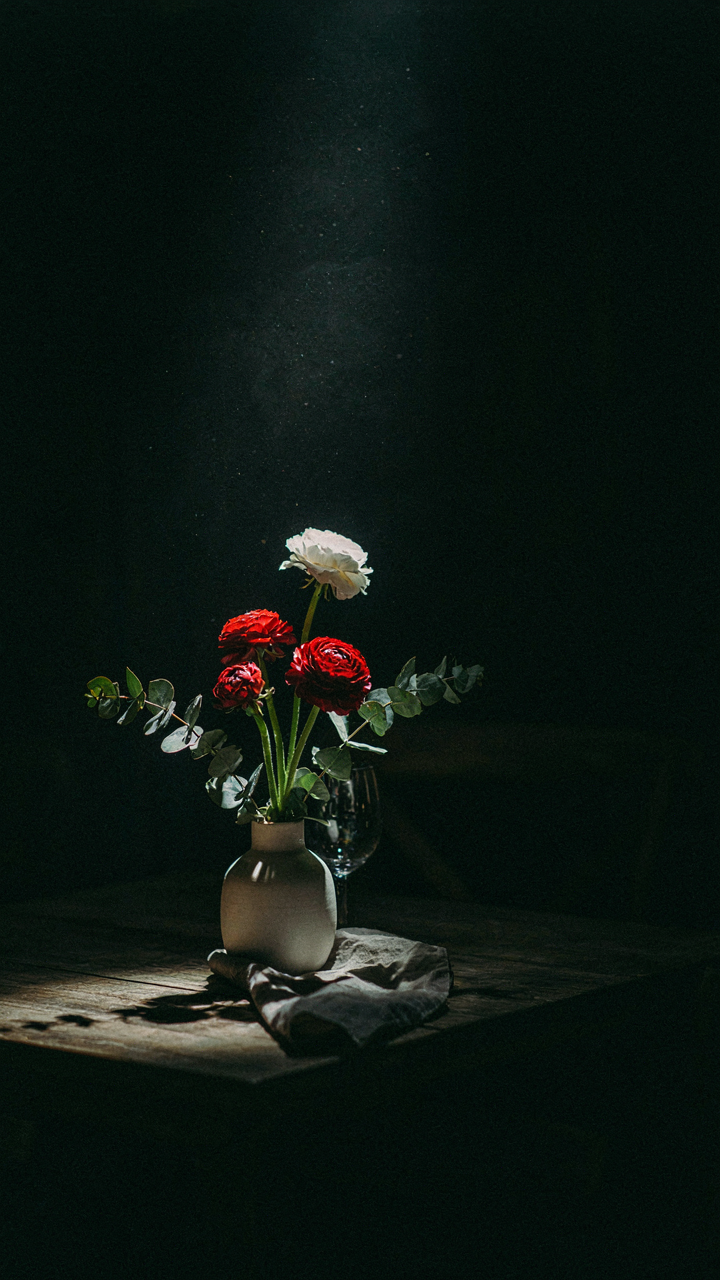
Where You Actually Need Light
You want people to think your backyard setup cost more than it did. That’s the real reason you’re reading this. The mechanism is simple: contrast creates perceived value. Your eye registers darkness and light, not the dollar amount you spent. Lighting design borrowed from theater uses the same principle—focus illumination on specific zones and let the rest fall dark. This creates depth and drama without requiring expensive full coverage.
Most people flood their entire yard with uniform brightness. It wastes money, flattens the space, and looks cheap. Instead, identify the three to four zones where people actually gather: the seating area, the food table, the entry point. Light those deliberately. Leave the perimeter dark. Your guests won’t notice the unlit fence line. They’ll notice the sharp contrast between where they sit and the darkness beyond it.
Spotlighting Without Spotlights
The common advice says to accent your landscape features or architectural details. That’s incomplete. You’re not decorating for a magazine. You’re solving a problem: hiding what’s broken or ugly while drawing eyes to what works. A string light highlighting a cracked wall is a waste. That same string light angled toward a tree or a clean section of fence becomes a focal point your guests assume cost serious money.
Use affordable uplighting or angled placement to direct attention away from problem areas. A $15 clip light aimed upward at foliage creates shadow and dimension that expensive fixtures claim to deliver. Position string lights to frame the good parts of your yard and let the damaged sections disappear into shadow. The mechanism: darkness conceals. Light reveals. Control both, and you control the entire perception of the space.
Beyond String Lights: Unexpected Outdoor Party Lighting Sources
Reclaimed Household Items As Fixtures

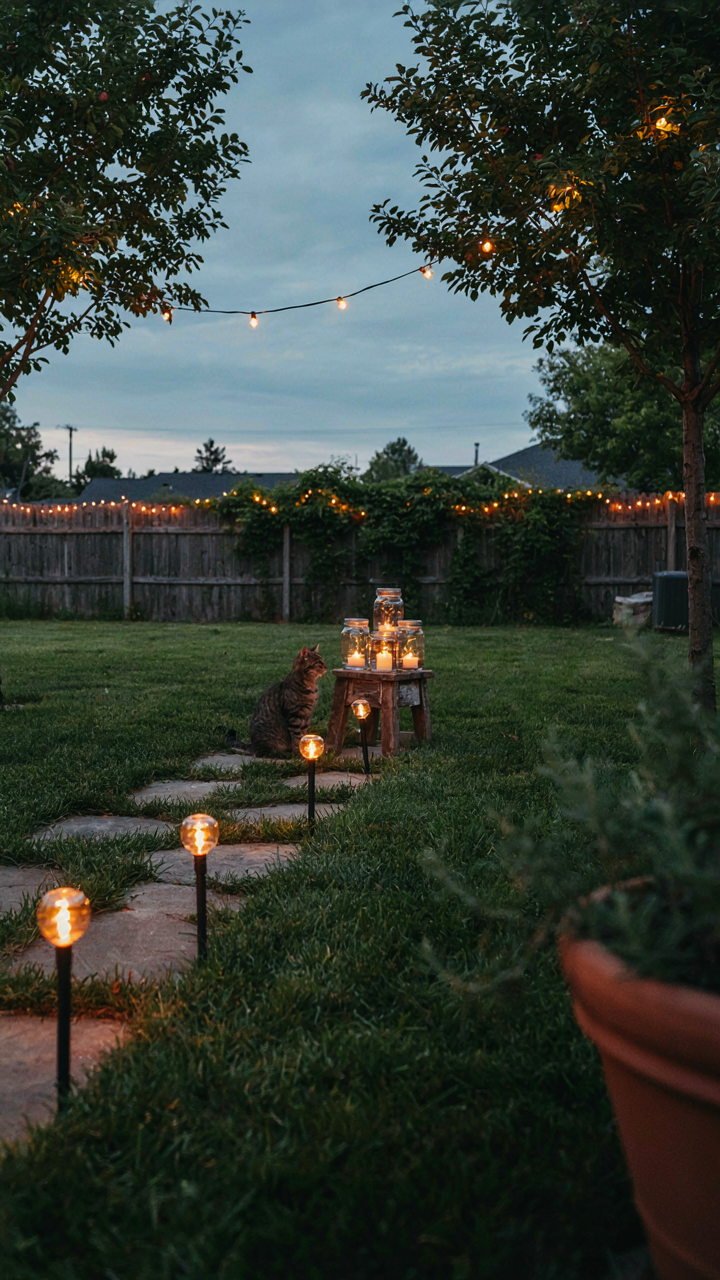
You want to feel resourceful without looking broke. The real mechanism is that light sources don’t care about their origin—a Mason jar with a candle produces the same lumens whether it cost three dollars or thirty. The constraint forces better design decisions than unlimited budget ever will.
- Mason jars with tea lights: Stack them on tables or hang from branches using wire. The glass diffuses light evenly and costs under a dollar per jar at bulk retailers.
- Old lanterns from garage sales: These cast patterned shadows when lit and require zero electrical work. Check thrift stores for metal or glass versions that still seal properly.
- Repurposed glass bottles: Fill with water and submerge battery-operated tea lights inside for waterproof ambient lighting. Clear or colored glass changes the light temperature without additional cost.
- Tin cans with holes punched through: Drill or nail patterns into sides, insert a candle, and hang from overhead structures. The holes act as natural spotlighting that draws eyes upward.
- Old picture frames or mirrors: Position mirrors behind light sources to amplify and redirect light across the yard. Frames add visual structure while reflecting what’s already there.
The payoff isn’t novelty. It’s that you control exactly where light lands and how it behaves. Household items force you to think about placement as your primary tool instead of buying more watts.
Natural Light Amplification Techniques
Reflectivity is borrowed from physics—the principle that light bounces predictably off surfaces. A white wall reflects roughly eighty percent of light; concrete reflects about thirty-five percent. Your yard already has reflective surfaces you’re not using.
Position light sources near walls, fences, or ground surfaces that bounce illumination back into the party zone. A single uplighter aimed at a white fence or light-colored house wall lights an entire area without additional fixtures. Mirrors work fastest but aren’t always practical outdoors. White tarps, bedsheets, or even sand-colored ground cover serve the same function without looking staged. The goal is to make light work twice instead of buying twice the light.
Timing amplifies natural light too. Schedule gatherings during the blue hour—the window after sunset when residual sky light still provides ambient visibility. This cuts your lighting load by half because you’re layering natural dimness with strategic fixtures rather than fighting total darkness. Start your event earlier than you think necessary and adjust artificial lighting as the sky actually darkens instead of assuming you need full power from dusk onward.
The Psychology Of Backyard Lighting: Setting The Mood
Warm Light Shifts Brain State, Cold Light Doesn’t
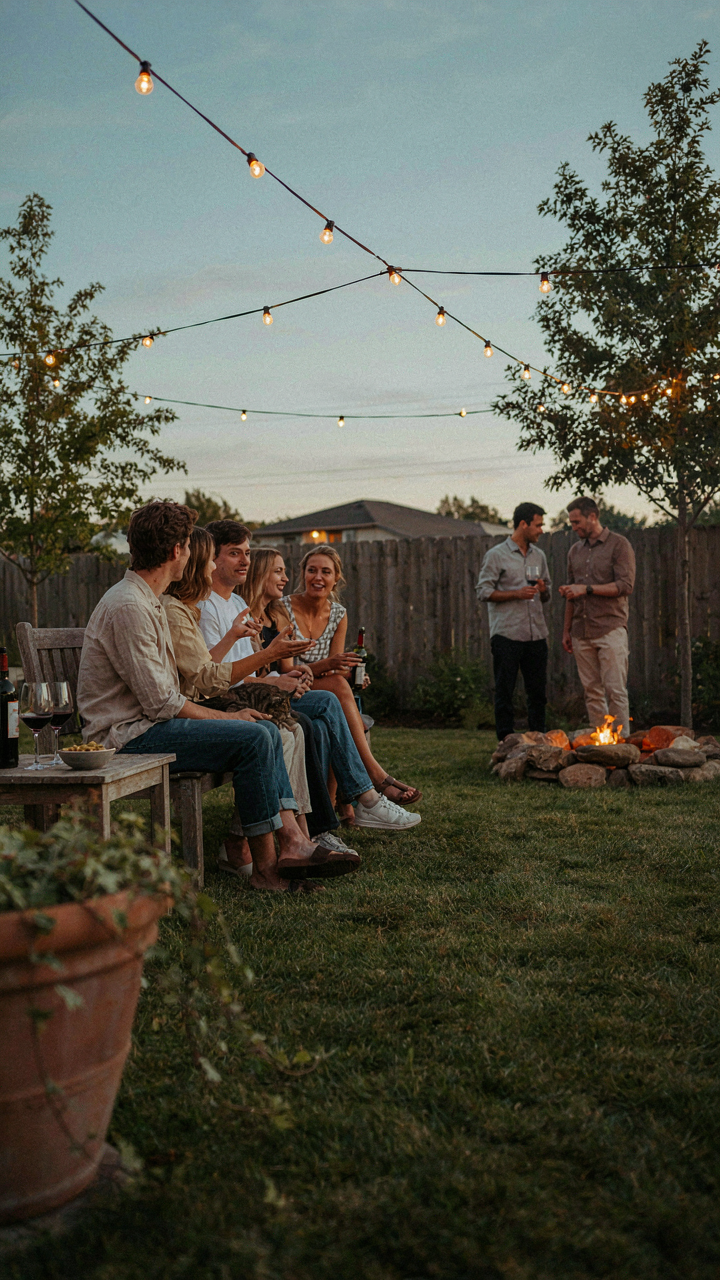
You want people to stay longer and feel like they’re part of something. The mechanism is color temperature, borrowed straight from circadian biology. Your brain treats light wavelengths as time signals. Warm light (2700K to 3000K) mimics sunset and triggers relaxation. Cool light (5000K and above) signals alertness and noon energy. Most budget party setups ignore this entirely and throw whatever bulbs are cheapest at the problem.
The real move: warm light keeps people anchored in a social space. Cool light makes them scan for exits. If you run string lights or LED strips under 3000K, people naturally linger, talk longer, and feel the gathering matters. This isn’t psychology theater. This is your nervous system responding to actual light data. Buy warm-toned bulbs first. Everything else is decoration.
Layering Brightness Creates Depth And Comfort
People misunderstand light intensity by treating the backyard as one zone that needs uniform brightness. Wrong. Restaurants, bars, and event spaces use brightness hierarchy. Bright zones pull attention. Dim zones feel safe. Your budget forces you to be strategic, which is actually an advantage.
Overhead or high-mounted lights should run at 50 to 60 percent of max brightness. Table and accent lights stay lower, around 30 to 40 percent. Dark corners matter as much as lit ones. They give the eye rest and make lit areas feel intentional. Use this protocol: install one central brightness level, then reduce it by half for accent layers. The contrast creates perceived sophistication without spending more money.

Maximizing Impact: The Visual Weight Of Lights Decor

Composition Rules From Photography
You want your setup to look intentional, not like you just plugged in whatever was cheap. The real mechanism: your eye reads light placement the same way it reads a photograph’s rule of thirds. In photography, the rule of thirds divides space into nine sections. Apply this to your yard. Cluster lights at intersection points rather than spreading them evenly. A single string of budget LED lights positioned at one corner creates visual weight. Spreading identical lights across the entire perimeter dilutes impact and wastes your budget’s power.
Most people treat yard lighting like coverage, not composition. They want brightness everywhere. That’s backward. Strategic placement beats wattage. Position your main light source off-center. Use secondary lights to frame zones, not fill empty space. A focal point light draws attention and makes the whole setup feel designed. Budget lights in concentrated spots outperform expensive lights scattered without purpose.
Layering Depth Through Distance
Light loses intensity over distance according to the inverse square law from physics. This means a light ten feet away is four times dimmer than the same light at five feet. Use this fact deliberately on a budget. Place cheaper, lower-wattage lights close to seating areas and walkways where people actually are. Reserve your brightest lights for distant perimeter zones or as accent pieces. The human eye perceives layered light at different distances as intentional design.
Depth perception relies on visual separation. Lights planted near the ground read differently than lights overhead. Overhead lights flatten the space. Ground-level lights create shadow and dimension. String budget LEDs at eye level or lower. Add cheap uplighting from ground sources to highlight trees or structures. This layering makes a modest lighting budget feel abundant. The setup works because it respects how your brain actually processes three-dimensional space, not because lights are expensive.

DIY Party Lights Decoration: When To Build, When To Buy

The Real Trade Off Between Labor And Cash
You want to feel like you saved money, but what you’re really asking is whether your time is worth less than the markup on premade solutions. Here’s the mechanism: DIY wins only when the gap between material cost and retail price exceeds your hourly rate multiplied by actual build time. Most people skip this math entirely and chase the ego boost of building something. Buy premade string lights, solar stakes, and projection systems if you earn above 50 dollars per hour and have less than eight free hours. DIY makes sense for custom mounting solutions, rewiring existing fixtures to new specifications, or building frames when you already own tools and the retail alternative costs over 300 dollars.
The second layer is material availability versus labor scarcity. A standard bistro string light costs 15 to 40 dollars retail depending on quality and length. Sourcing individual bulbs, sockets, weatherproof wire, and connectors to build the equivalent takes 6 to 12 hours of research, procurement, and assembly. You pay less per unit in materials but you absorb supply chain friction. Buy when you need the setup in under two weeks. Build only when you have a specific functional requirement retail products don’t solve, like integrating lights into an existing wooden structure or creating a dimmable circuit your standard plugged-in lights can’t do.
What You Actually Need To Own
Skip the Pinterest mythology about tools you’ll use once. You need a voltage tester, wire strippers, a soldering iron, a heat gun, and a drill with a small bit set. Everything else is waste. Most people think they need a full workshop; they don’t. A voltage tester prevents electrocution when rewiring or troubleshooting. Wire strippers save your hands and wires when you’re prepping connections. A soldering iron is non-negotiable if you’re building any custom electrical connections that matter. A heat gun shrinks tubing over joints faster than tape alone and creates weatherproof seals. A drill handles mounting hardware into wood or concrete, the actual skeleton of any outdoor lighting setup.
The hidden cost nobody names is knowledge accumulation time. Learning to solder takes three to five hours of active practice before you stop creating cold joints. Understanding electrical load and circuit capacity takes reading one manual, maybe two hours. Diagnosing why a string of LEDs cuts out halfway requires troubleshooting skills nobody teaches. If you’re building more than one project or plan to modify lights annually, this knowledge compounds and makes DIY cheaper over time. If this is a one-off party, buy finished products and invest your energy into placement and angling instead.

The String Light Canopy Myth: Simpler, Stronger Alternatives
Why Sagging Happens Before You Hang Anything
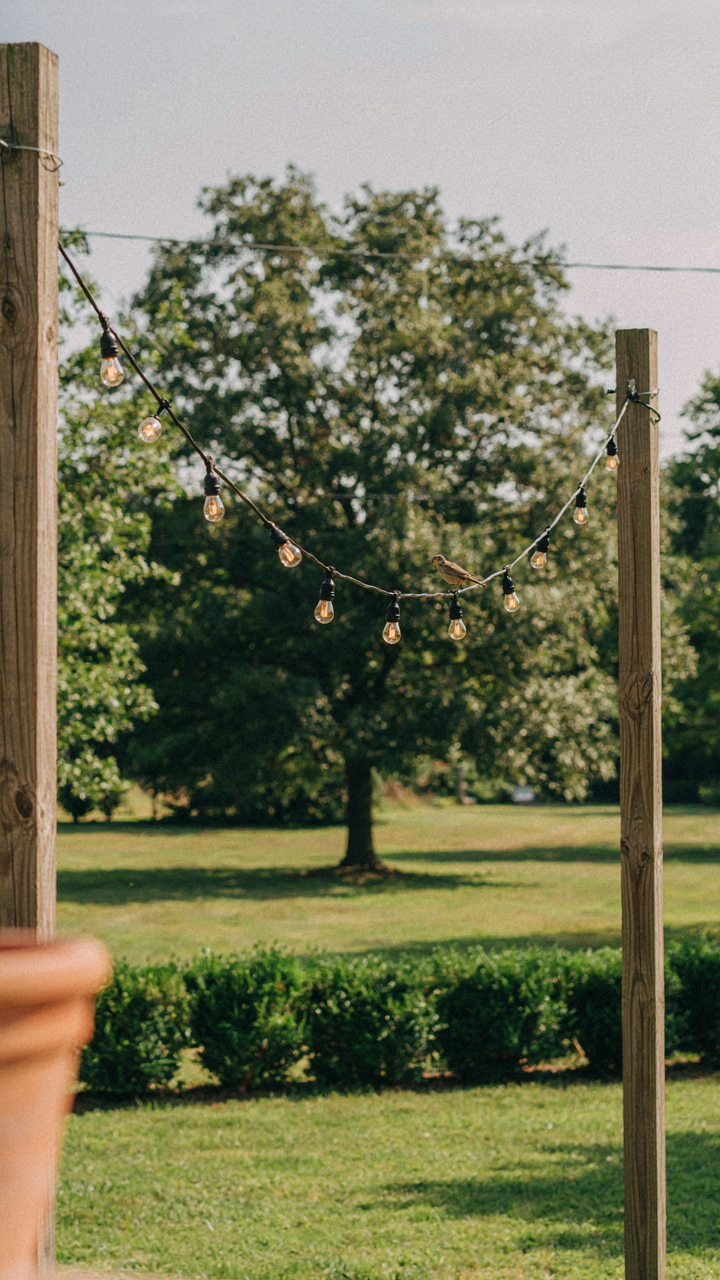
You want string lights to look effortless. That’s the real reason you’re here. The mechanism everyone skips: tension and support points follow physics, not aesthetics. Think of it like load distribution in structural engineering. Every string light run has a load point (the cable weight plus bulbs) and anchor points (where you attach). The distance between anchors determines sag. Longer spans mean deeper sag. Most people space anchors too far apart, then blame cheap lights when the problem is geometry.
The sag isn’t fixable with stronger wire. It’s fixable with more anchor points. Place supports every 6 to 8 feet maximum on any string run. This is non-negotiable. At 10 feet between anchors, even quality commercial cable sags noticeably. At 15 feet, sag becomes the dominant visual element. You either add more anchor points or accept the droop as a design choice. Most backyard setups fail because people treat sagging as a material problem when it’s a math problem.
Anchoring For Wind, Not Just Weight
Tension creates resistance to horizontal force. That’s the physics term from civil engineering applied directly here. Wind doesn’t pull straight down on lights. It pushes sideways. Most anchoring fails sideways, not vertically. You see this when a string run shifts or twists after a breeze. The anchor point itself holds, but the angle changes. This angle change creates new sag patterns or causes lights to swing.
Use lag bolts into solid wood or concrete anchors into masonry. Both resist lateral movement because they’re threaded into material, not just screwed onto surfaces. Avoid relying on hooks screwed into painted wood or nails driven into siding. These pull free sideways. Install each anchor point with a slight upward angle toward the cable, not perfectly horizontal. This angle multiplies the holding power against wind force without requiring stronger hardware. Test every anchor by pulling the cable hard before hanging lights. If the anchor moves at all, relocate it or reinforce it first.

Hanging Paper Lanterns: Elevating Basic Party Lights
Making Lanterns Last Outside
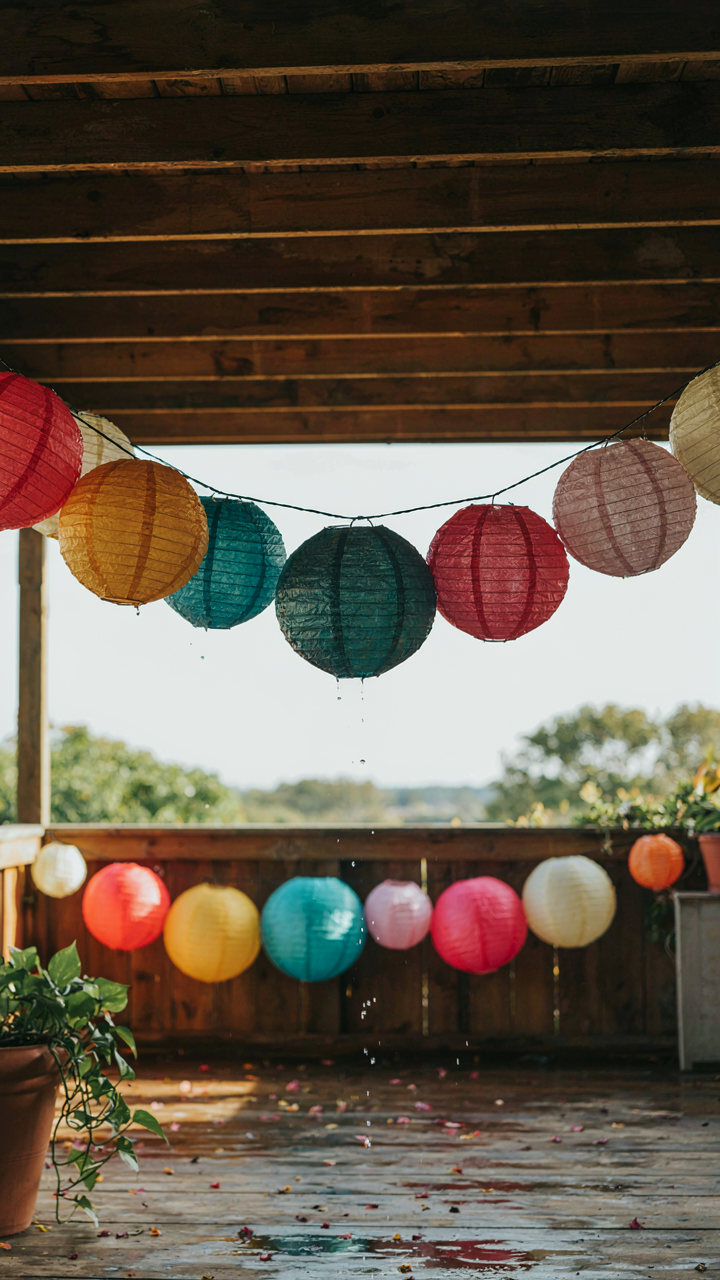
You want paper lanterns because they look intentional without demanding a lighting degree. Here’s what everyone skips: paper lanterns fail outdoors not because of rain, but because moisture wicks into the paper structure and the adhesive joint fails first. The mechanism is simple capillary action, the same physics that moves water up a plant stem. Once the seam weakens, the whole thing collapses.
Seal the paper before hanging. Use a clear acrylic spray sealant in two coats, letting each dry fully. Focus the spray on seams, the bottom edge, and anywhere folds meet. Skip fabric lanterns in humid climates entirely. For wind, anchor lanterns with fishing line tied to fixed points, not just the frame hook. This prevents the rotation that tears the paper over hours.
Stacking Depth Without Clutter
Visual depth in lighting design comes from layering planes at different distances, a principle borrowed from film cinematography where foreground, middle ground, and background create perception of space. Paper lanterns excel here because they’re cheap enough to deploy in multiples without budget collapse. One lantern reads as decoration. Three lanterns at staggered heights and distances read as intentional design.
Hang lanterns at three distinct depths: some at 7 feet, others at 5 feet, a few at 9 feet. Vary the spacing so no two are aligned vertically. Use warm white bulbs inside all of them, not mixed colors. The color consistency lets the eye track depth instead of chasing contrast. Position lanterns so at least one sits between the viewer and the party space, at least one behind the main seating area, and one to the side. This creates the illusion of light moving through space rather than sitting on top of it.
Wedding Table Lighting Ideas: Principles For Backyard Events
Steal From Theater, Not Pinterest
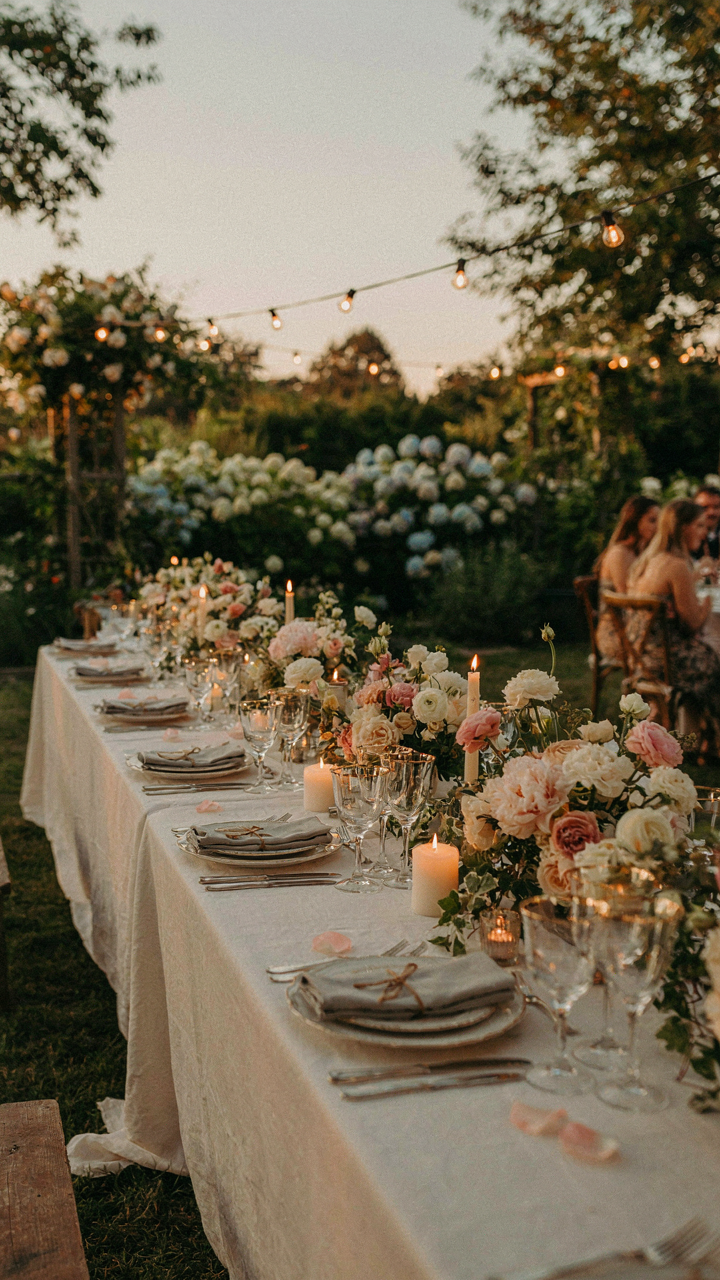
You want your backyard to feel intentional, not thrown together. Theater lighting borrows a concept from optics called “key and fill”—one dominant light source creates shape and drama, while secondary sources fill shadows without erasing them. Most backyard setups do the opposite: they scatter lights evenly and kill all dimension. The mechanism is contrast. Without it, everything reads as flat and cheap, regardless of budget.
Theater designers spend nothing on fixtures. They spend everything on placement and angle. A single LED work light positioned low and to the side of a table creates shadow and depth. A second light at half intensity fills that shadow just enough so faces aren’t dark. This isn’t about buying theatrical gear. It’s about stealing the principle: dominant light plus fill light, positioned to sculpt rather than wash.
Mismatched Vessels Beat Matching Sets
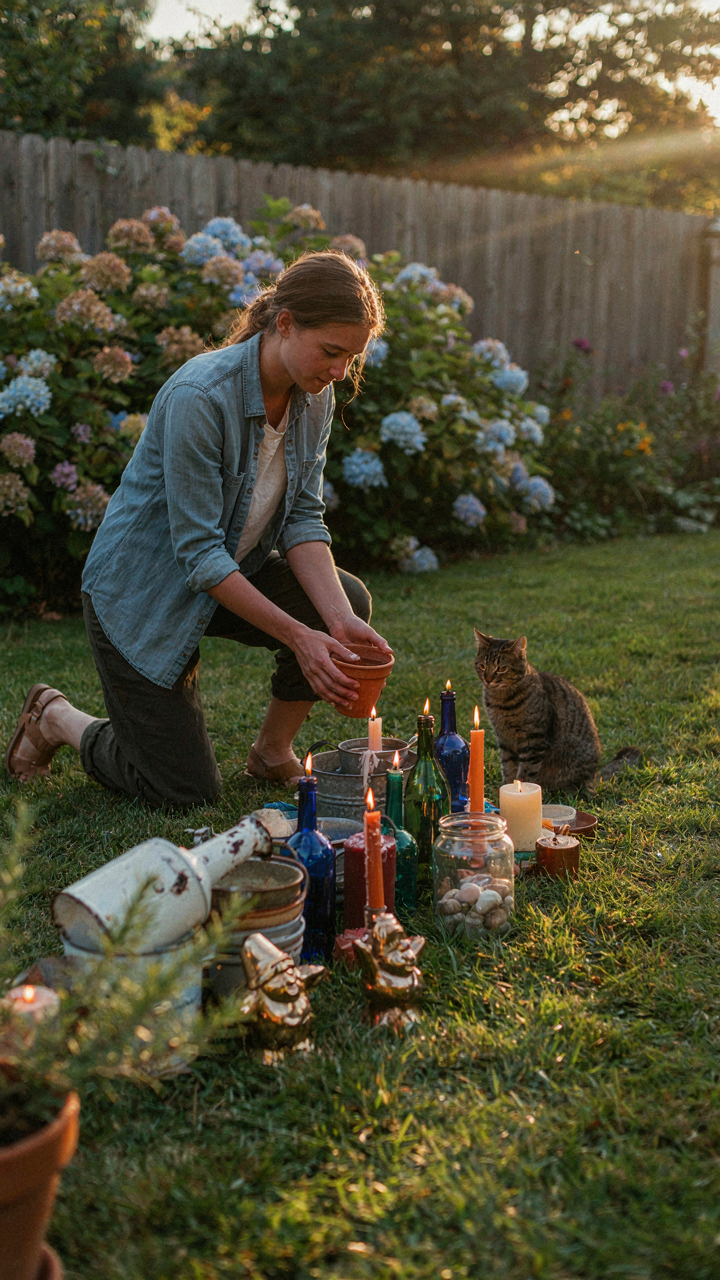
Everyone defaults to buying a lighting “collection”—sets designed to coordinate. This is the wrong move. Theaters use whatever they have. Jam jars, wine bottles with battery lights inside, old brass oil lamps, small terracotta pots—each object scatters light differently based on material and shape. Glass transmits light cleanly. Ceramic diffuses it. Metal reflects at angles. Your table gains visual interest because light behaves in multiple ways.
The protocol is simple. Collect five to ten vessels of varying heights and materials over time. Fill them with battery-powered fairy lights or small LED bulbs rated for indoor use. Place them at different heights across the table surface—not centered, not symmetrical. Vary brightness by using different wattages or by nesting lights deeper in opaque vessels. Light should read as found, not designed.

The “Light Ecology” Method For Backyard Lighting
Symbiotic Light Source Relationships
You want this to look intentional, not like you’re just throwing lights everywhere and hoping something sticks. The mechanism here comes from ecology: symbiosis is when two organisms benefit each other, and light sources work the same way. A single bright point creates harsh shadows and dead zones. Two sources at different angles and color temperatures amplify each other, making the whole space feel designed while using less total wattage.
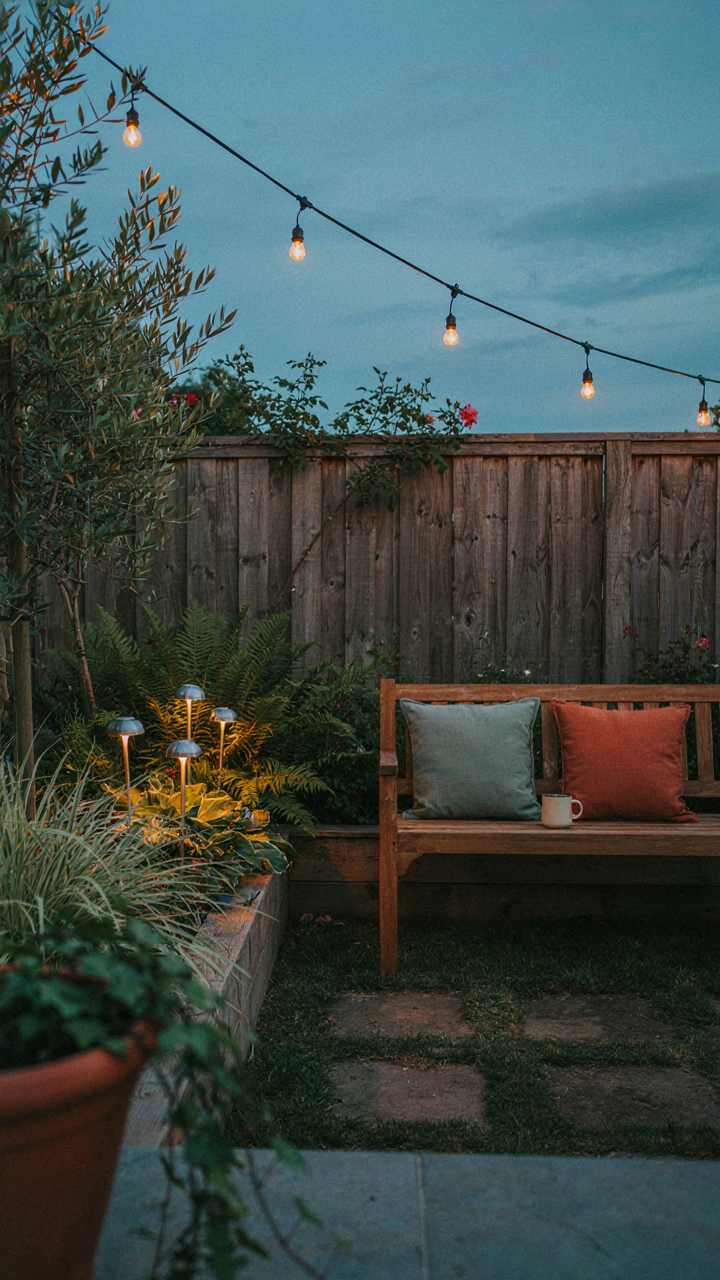
The real play is layering. String lights provide ambient wash. A focused spot or two handles task work. Uplighting on trees or walls adds depth without competing for attention. Each source does one job and stays in its lane. The sum reads as coherent. You stop needing more power because the lights are working in relationship, not in isolation. This cuts your electricity draw and makes cheap fixtures look expensive through strategic placement.
Directional Light Minimizes Wasted Output
Everyone says “use warm color temperature” and calls it a day. That’s incomplete. The actual constraint is that 60 percent of light from most cheap party fixtures spills upward into the sky or sideways into neighboring yards. That’s wasted output and wasted money. Directional control is the real variable.
Focus your light downward and inward toward the gathering space. Use shades, reflectors, or fixtures with built-in hoods to contain the beam. A fifteen-dollar clip light with a reflector directs output better than a forty-dollar decorative fixture that spreads light everywhere. This approach respects property lines, keeps your neighbors from resenting you, and ensures every lumen serves your party, not the atmosphere. Aim lights at surfaces that reflect back into the zone you occupy, not at empty sky.
Seasonal Adaptations: Party Lighting Ideas Beyond Summer
Keep Lights Working When Weather Turns
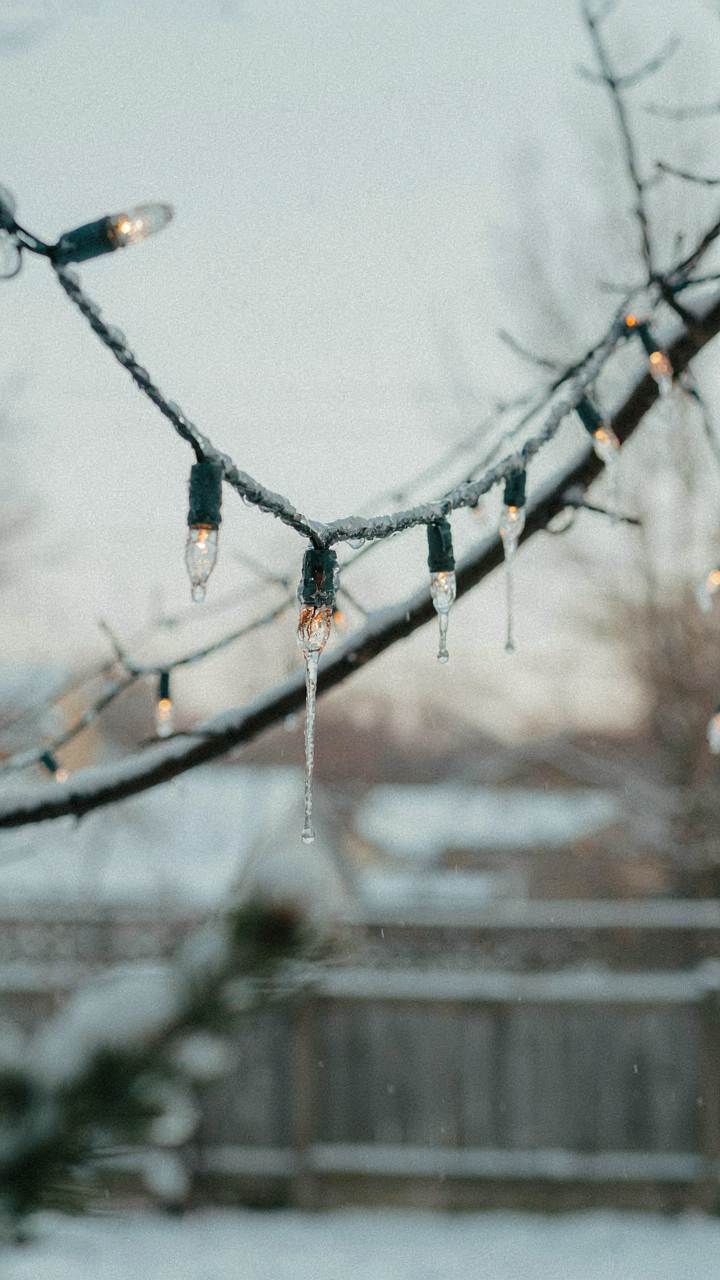
You want to believe your cheap LED string lights will survive winter untouched. They won’t. Water degrades connections faster than time does, and cold makes plastic brittle. The mechanism is simple: moisture finds its way into sockets and corrodes the metal contacts. Corrosion breaks the circuit.
Weatherproofing starts with materials, not hope. Use silicone-sealed connector boxes instead of exposed wire joins. Wrap any exposed splices with self-fusing silicone tape, not electrical tape. Store lights indoors during heavy rain or snow. If you leave them up year-round, inspect connections every two weeks and replace any that show green oxidation immediately.
Holidays Without The Tacky Takeover
Most people think seasonal lighting means swapping out every fixture for themed versions. That’s wasteful and defeats the budget premise. Use color temperature as your control variable instead. Warm white 2700K lights feel festive in December without screaming Christmas. Cool white 5000K reads modern and clean in January.
Overlay one affordable string of warm white lights over your existing setup during holiday weeks, then remove it. This adds visual depth without replacing infrastructure. Keep your base system neutral, and you spend thirty dollars annually instead of hundreds cycling inventory. The discipline saves money and keeps your yard from looking abandoned the moment holidays pass.
The Real Obstacle Isn’t Your Budget; It’s Your Imagination’s Scarcity
Most people think they need to spend money to solve lighting problems. They don’t. They need to think differently. The constraint forces creativity. String lights, reflective surfaces, and colored bulbs from any hardware store cost almost nothing when you stop treating lighting as decoration and start treating it as mood design. Your next backyard party doesn’t need a bigger budget. It needs you to stop copying what you’ve seen before. Go buy one thing today that breaks your normal pattern. Your guests will remember the atmosphere you created, not the price tag you paid.



