
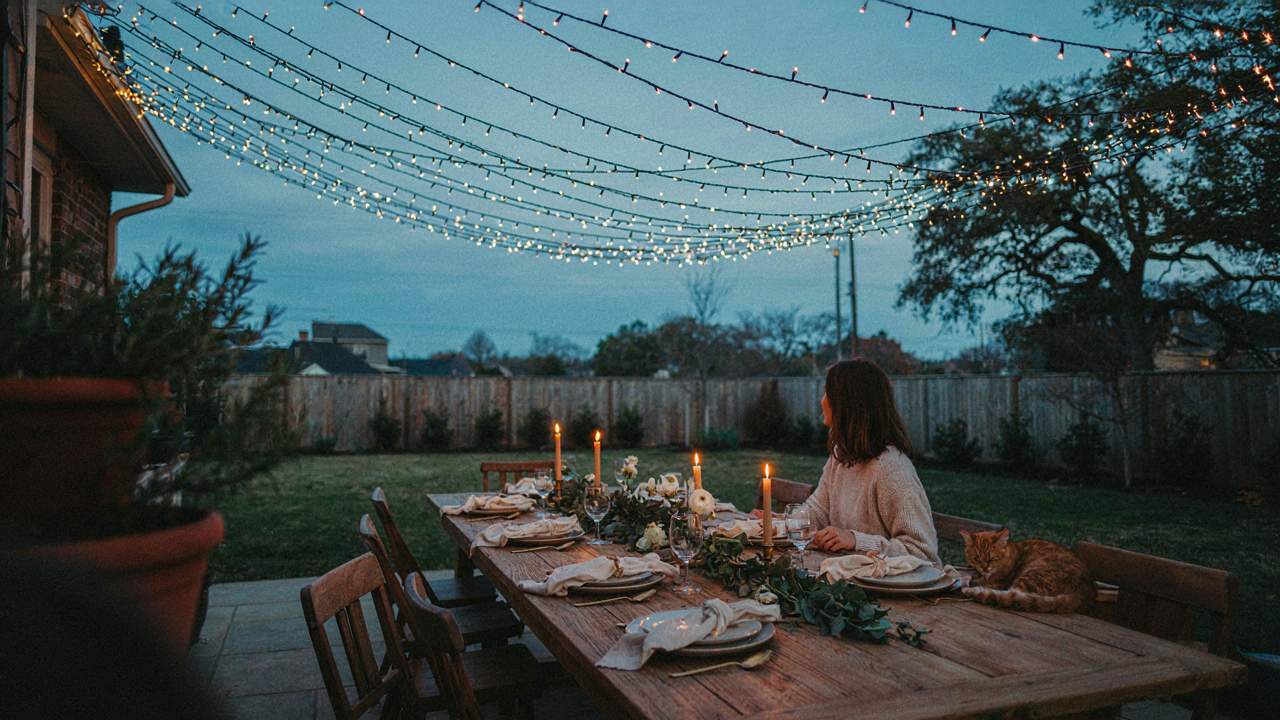
The Illusion Of Easy Twinkle Light Canopy Installation
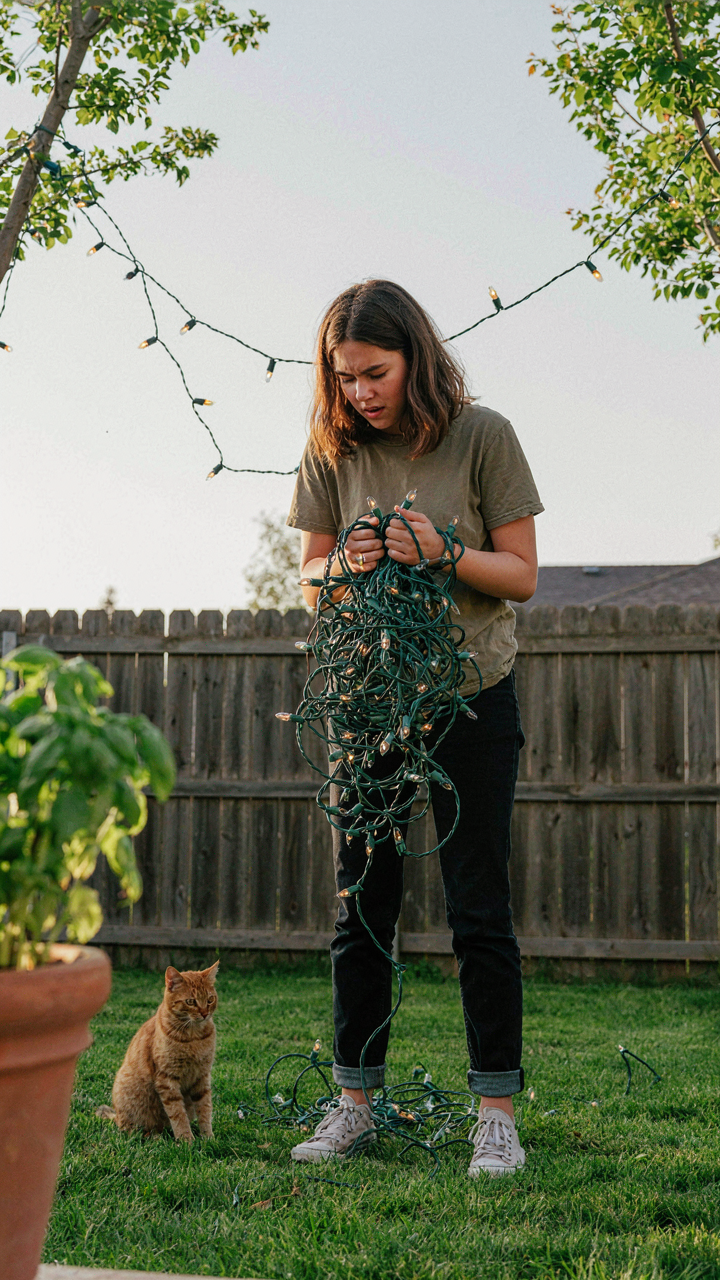
Speed Kills Your Setup
You want this done this weekend because you’re hosting people and the backyard looks bare without it. Here’s the mechanism: rushing a twinkle light canopy installation creates cascading failures that compound. You skip measurements, ignore load calculations, and mount fixtures to surfaces that can’t hold them. The lights fail mid-season or worse, create a safety hazard. Every shortcut multiplies the problem downstream.
The common advice says “just string lights and relax.” That’s incomplete. Twinkle light canopies require anchor points engineered for sustained tension and weather exposure. Improper installation forces you to redo the entire system within weeks. You waste money, time, and credibility with guests when half the lights fail mid-evening.
The Hidden Costs Of Skipping Planning
Economics calls this the “cost of rework.” Apply it here: a twinkle light canopy installed without site assessment costs you triple. You buy the wrong gauge wire, undersized hardware, or materials that rust in your climate. Then you tear it down and start over.
Proper planning means auditing your yard once, buying right the first time, and having a system that lasts multiple seasons. You measure distances between anchor points, calculate total weight load, check for wind exposure, and verify your mounting surfaces can handle stress. This takes two hours upfront and saves you twenty hours of reinstallation and replacement purchases.
The “Architectural” Approach To String Light Canopy Design
Treating Your Yard Like A Load Bearing System

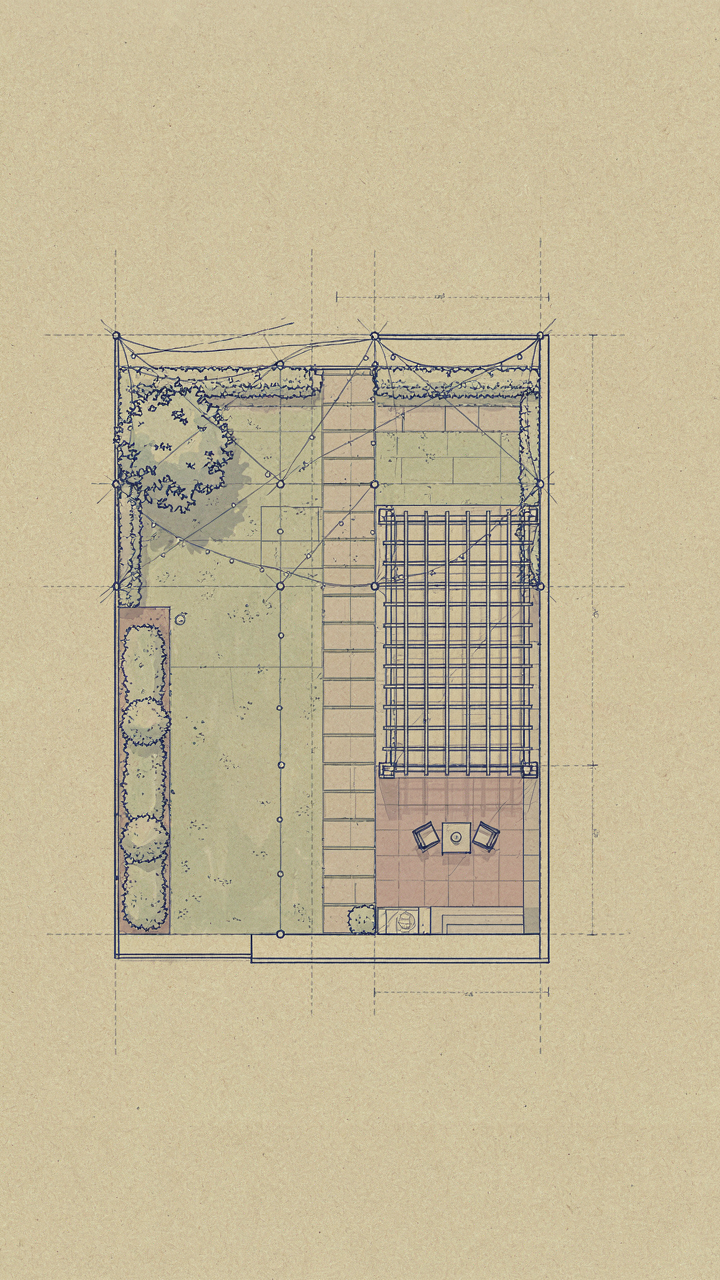
You want this to look intentional, not like you threw lights up and hoped. Structural engineering teaches us about load paths: the way force travels from a point of stress to the ground. Your twinkle light canopy follows the same principle. The weight of the cable, the lights, and wind pressure must travel predictably from fixture to anchor point to the structure itself. Most people hang lights and ignore this entirely, then wonder why sagging appears after three weeks or why everything fails in wind. The mechanism is simple: every point where your cable connects is either absorbing force or transferring it. You need to know which is which before you install anything.
Start by identifying what you’re actually anchoring to. Post foundations, roof rafters, tree limbs, and pergola frames all have different weight capacities. A tree limb rated for 50 pounds of even load will fail unevenly if you attach a 40-pound cable at a single point. A deck post designed to handle vertical weight will bend under lateral pull from cable tension. Measure or research the actual capacity of each anchor point, then divide your total load by the number of anchor points you’re using. This is not optional if you want the installation to last beyond one season.
Tension And Spacing Create The Architecture
Cable sag matters because it changes the angle of force at every anchor point. A perfectly horizontal cable creates different stress than one that slopes, and slope angle determines whether your anchor holds or fails. If you space anchor points too far apart, the cable sags deeper, increasing the downward force on each point. If you space them too close, you waste materials and anchor points. The real mechanism: optimal spacing depends on cable weight, light fixture weight, and how much sag you’re willing to accept.
Calculate your spacing by knowing your cable’s rated breaking strength and your total load weight. Most commercial outdoor cable rated for 250 pounds can handle roughly 20 feet of span with minimal sag and reasonable safety margin. Tighter spacing (12 to 15 feet) gives you flatter lines and more visual control. Larger spacing (20 to 25 feet) requires heavier cable or acceptance of visible sag. Whatever you choose, apply the same spacing consistently across your canopy so tension remains predictable at every anchor point.
Weatherproofing Your Twinkle Light Canopy: The Inevitable Battle
Choosing Lights And Hardware For Outdoor Resilience
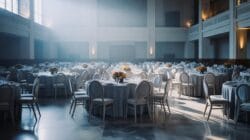
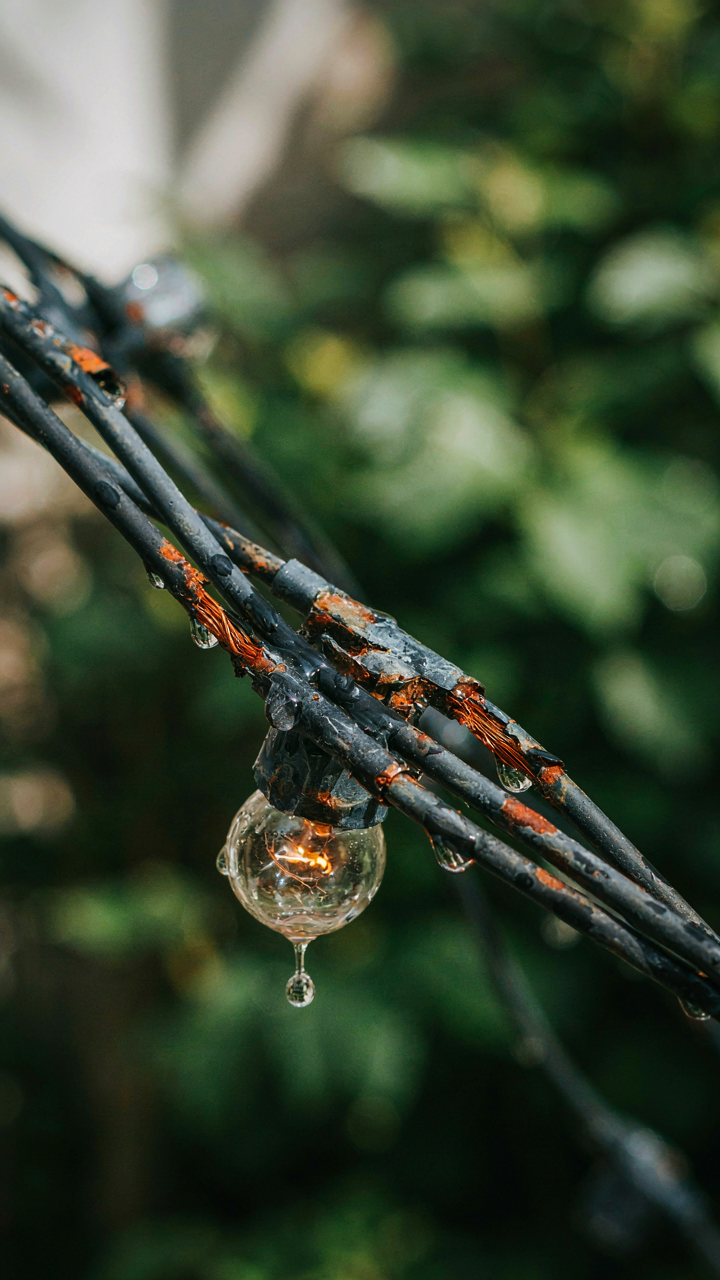
You want this to look effortless, which is why you’re here instead of accepting that your setup will fail without real material choices. The mechanism is simple: voltage drop and corrosion kill outdoor lighting faster than actual weather does. Buy LED string lights rated for wet locations, not just “outdoor.” The rating difference matters because wet-location lights have sealed connections and potted transformers. Copper wire oxidizes; tinned copper resists it. Hardware matters more than the lights themselves because a corroded socket kills the entire run.
Stainless steel hardware costs more upfront and solves the problem permanently. Use stainless steel lag bolts, turnbuckles, and carabiners instead of galvanized versions. Galvanized zinc coating flakes off within two seasons in humid climates. Your canopy frame should be powder-coated steel or aluminum, never bare metal. Weatherproofing your twinkle light canopy starts with material selection, not setup technique.
Wind, Rain, And UV Resistance Through Structure
Think of tensioning like ballistic trajectory control: the angle and force distribution determine whether your system holds or fails under load. Most people hang canopies loose, then blame weather. Wind doesn’t knock over well-anchored structures; it exploits slack. Use guy-lines rated for at least 200 pounds of tension on every corner and midpoint. Angle them at 45 degrees from the frame to ground anchors. This distributes force across multiple planes instead of concentrating stress on attachment points.
Fabric canopy covers block UV and rain but trap moisture underneath. Use breathable outdoor fabric with UV protection, not solid tarps. Solid covers create standing water and prevent air circulation, accelerating corrosion on the frame and fixtures. Install the cover with slight slope toward drainage points so water runs off rather than pooling. Check hardware connections monthly during wet seasons because expansion and contraction cycles loosen bolts faster than static conditions do.
The Connoisseur’s Guide To String Light Canopy Materials
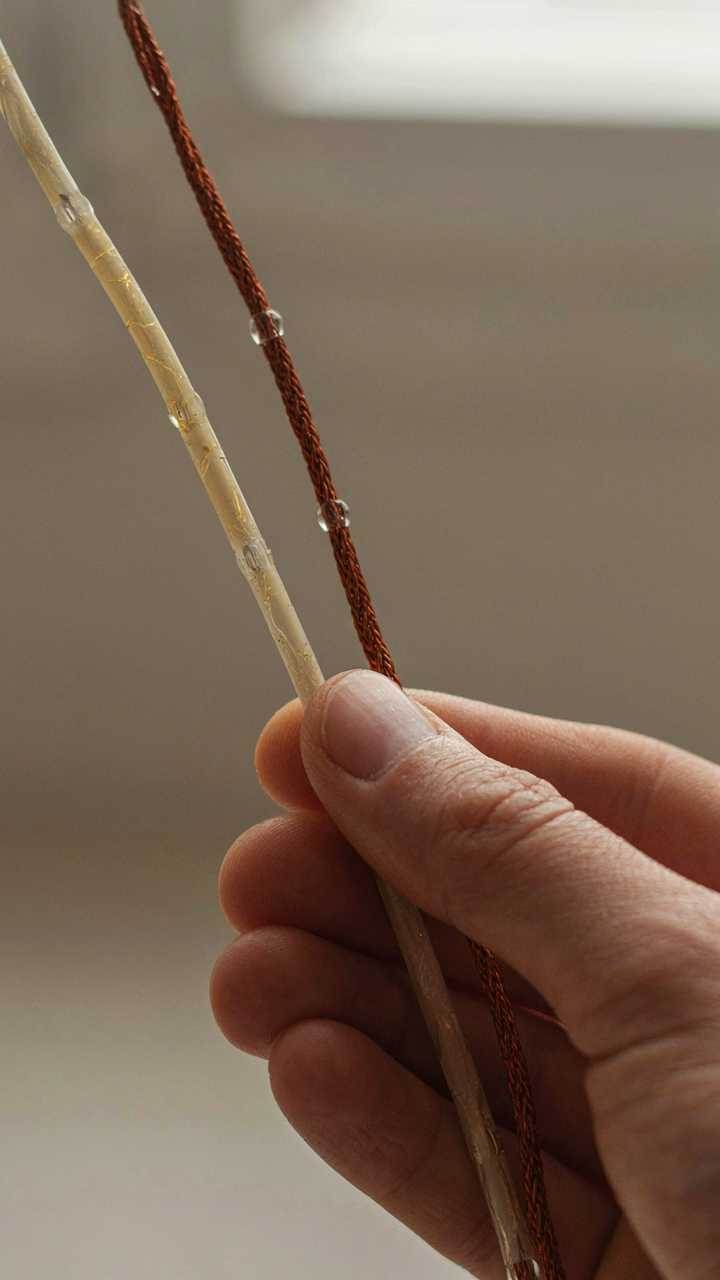
Cable And Fastener Quality Over Price

You want your setup to look intentional, not like you grabbed whatever was on sale. Here’s the mechanism: cheap plastic degrades under UV exposure and temperature swings. Within one season, the insulation cracks. Copper oxidizes. Your lights flicker or fail in sections. The real cost isn’t the upfront price—it’s replacing the whole rig annually.
Use outdoor-rated 12 or 14-gauge stranded copper wire with SOOW jacket, which handles temperature extremes and moisture. For fasteners, stainless steel hardware resists corrosion far longer than galvanized alternatives. You’ll spend more initially but replace components every five to seven years instead of every twelve months.
Bulb Selection For Sustained Light Output
The bulb matters more than frame durability because it’s what actually fails first. LED dominates now, but not all LEDs perform equally. Incandescent generates more ambient warmth but dies faster and draws heavy current. The trade-off is simple: LEDs last 15,000 to 25,000 hours. Incandescent lasts 1,000 to 2,000 hours. Choose based on your actual replacement tolerance, not aesthetic preference.
For longevity, select bulbs rated IP65 or higher and sourced from manufacturers with published lumen depreciation data. Cheap LED bulbs claim 25,000 hours but lose 30 percent brightness after 8,000. Invest in bulbs where the manufacturer guarantees brightness retention above 90 percent through rated life. Check the spec sheet before buying.
The “Perpetual Glow” Protocol: Powering Your Twinkle Light Canopy
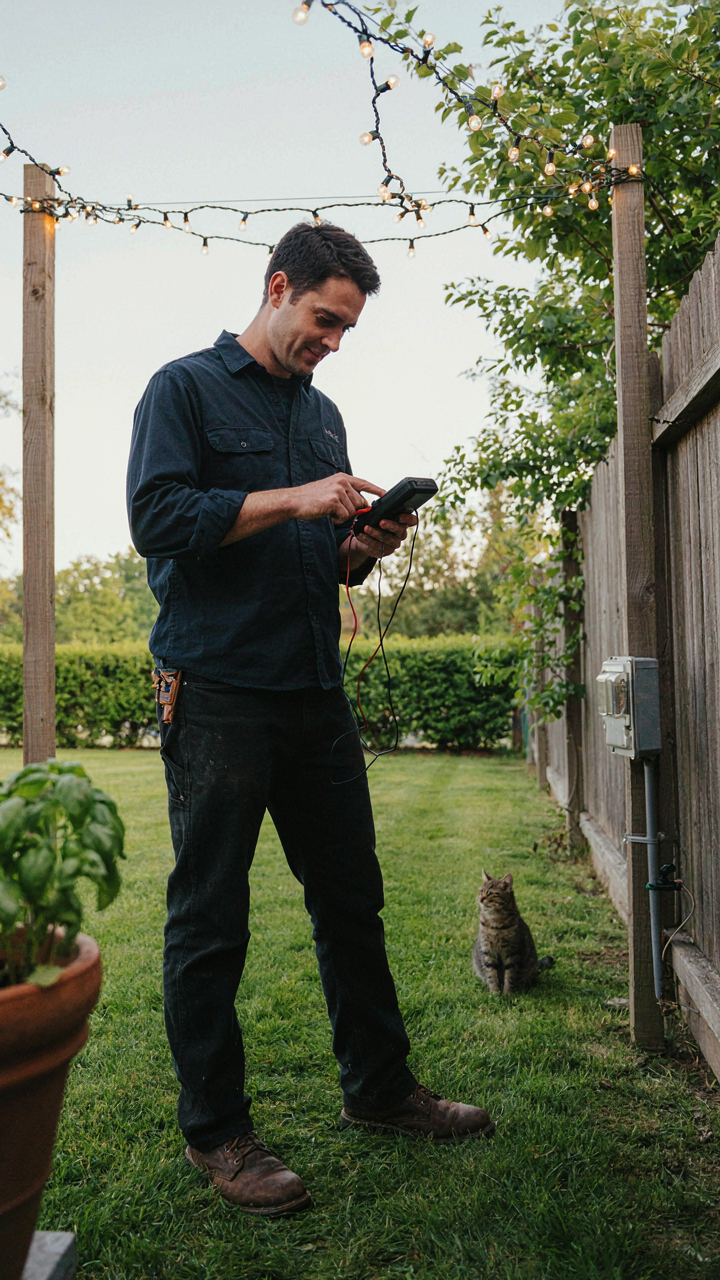
Wiring Your Canopy Without Burning It Down

You want this to work without thinking about it, which means you’re terrified of either electrocution or a house fire. The real mechanism here is voltage drop—borrowed from electrical engineering—and understanding it prevents both. Voltage drop means power degrades over distance, so a 100-foot run of cheap wire loses power before reaching the far end of your canopy, dimming lights and straining the circuit.
Start with outdoor-rated wire rated for wet conditions. Standard indoor extension cords fail outdoors because UV and temperature swings degrade insulation. Run 12-gauge wire for distances under 50 feet. Beyond 50 feet, step up to 10-gauge. Wire gauge matters because thinner wire increases resistance, which converts electricity to heat instead of light. Plug directly into a GFCI-protected outlet—one designed to cut power instantly if water touches the circuit. This is non-negotiable for any outdoor electrical setup.
Automation Without Complexity
Most people buy timers and never set them correctly, which defeats the entire purpose. A mechanical timer or a smart outlet does one job: turn power on and off at set times. Pick one system and stick with it. Mechanical timers work anywhere and don’t need Wi-Fi. Smart outlets require internet but let you control from your phone, useful if your schedule shifts.
Set your canopy to power on 30 minutes before sunset and cut off 2 hours after you typically leave the space. This matches human behavior instead of fighting against it. If you use a smart outlet, test the automation for one full week before assuming it works. Most automation failures happen because people set the schedule once and never verify it actually runs. The protocol is simple: set it, photograph the settings for reference, then check it runs correctly for seven consecutive days.
Beyond Weddings: The All Season Light Canopy Wedding Strategy
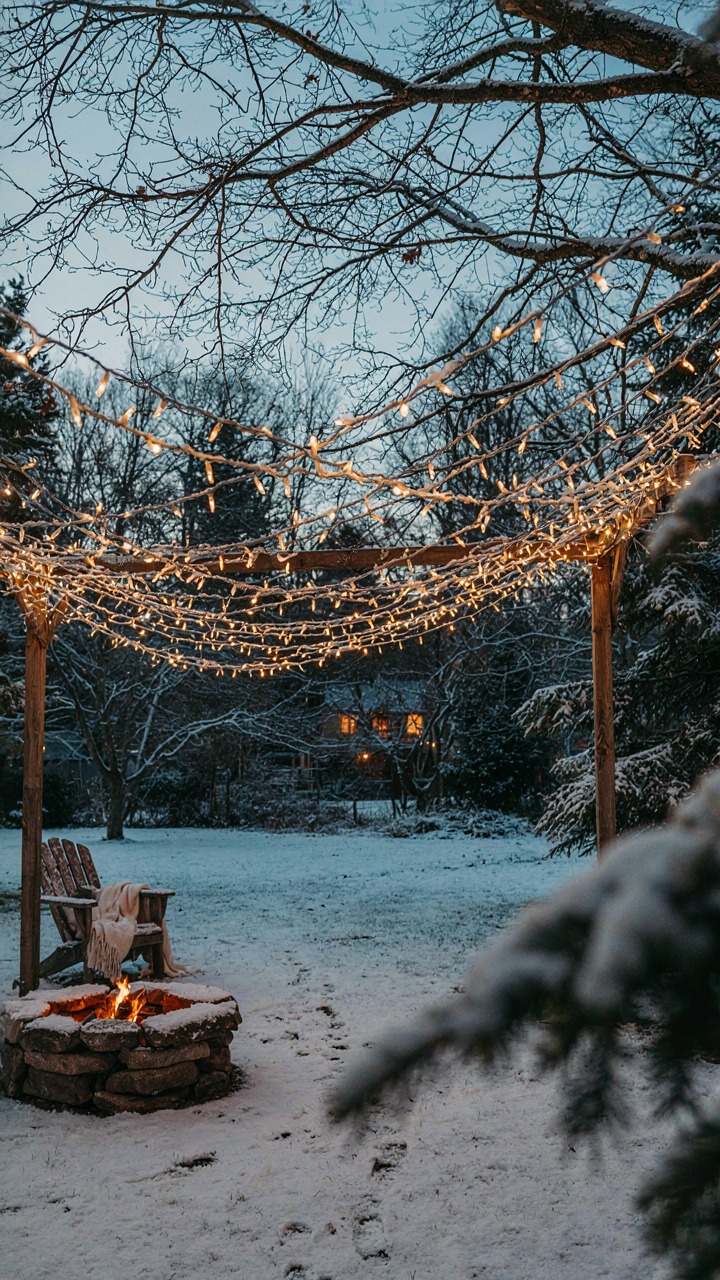
Design For Year Round Versatility

You want a setup that works in summer, fall, and winter so you don’t feel like you wasted money on something seasonal. The real mechanism is material degradation. Twinkle light canopies fail in cold because wire brittleness increases, solder joints crack under contraction, and LED components lose efficiency below freezing. This isn’t about “durability” in the abstract. It’s about choosing materials that handle thermal cycling without failure.
Start with copper wire instead of aluminum. Copper maintains flexibility at lower temperatures while aluminum becomes rigid and develops micro fractures. Use outdoor-rated LED strings with potted connectors, not exposed solder joints. The potting compound creates a thermal buffer. For frame structure, galvanized steel or powder-coated aluminum withstands seasonal temperature swings better than bare metal that corrodes. Install the canopy in late spring and plan removal before hard freeze cycles begin, or accept annual replacement of compromised components as your cost of year-round use.
Integrate Existing Landscape Elements
Most advice here is generic nonsense about “blending aesthetics.” What actually matters is load distribution and electrical path efficiency. Think in terms of structural engineering, not decoration. Trees, pergolas, or fence lines aren’t just visual anchors—they’re load-bearing integration points that determine whether your canopy stays level and functional.
Run your twinkle light wire along existing fence posts or pergola beams instead of installing new anchors. This reduces both installation cost and wind load stress on isolated mounting hardware. Where trees exist, use them as guy-line anchor points rather than fighting against them. Bury or secure excess cord through existing landscaping to eliminate trip hazards and UV damage to exposed wire. When integrating with mature plantings, run your power source from an existing outdoor outlet rather than extending new circuits, which cuts installation time and reduces electrical failure points. Mount canopy strings at a height that clears head traffic but aligns with existing structure sightlines for visual coherence.
The “Redundancy Principle” For Canopy Lights Wedding
When One String Fails, Everything Doesn’t

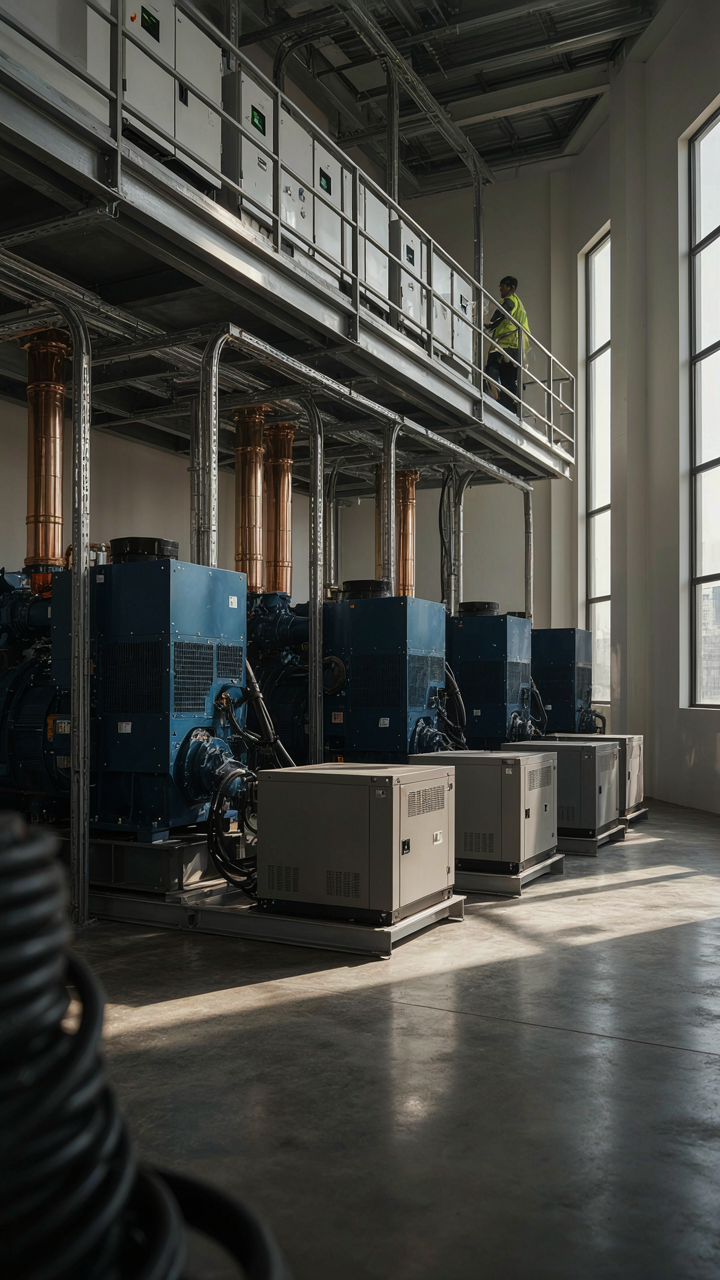
You want the setup to work when it matters most because a dead canopy kills the entire evening. Cybernetics calls this “fail-safe architecture”—the system absorbs local failures without cascading collapse. Your twinkle light canopy needs the same design. One blown transformer or severed wire shouldn’t black out the whole frame. Build your electrical runs so individual sections operate independently, each with its own power source or circuit. This is not decorative thinking. It’s structural.
Most people run one continuous string across the entire canopy frame. When the first light fails or a connection corrodes, the entire circuit breaks. The fix sounds obvious but people skip it: run multiple independent circuits instead of one. Use separate power supplies for different zones. If you’re wiring fifty feet of lights, split them into zones of ten to fifteen feet each. Each zone gets its own outlet or extension cord routed back to the main power source. This costs minimal extra investment. The result is zones that operate while others fail.
Sections That Survive Individual Damage
The modular approach treats your canopy like a building with load-bearing walls instead of one giant span. Design sections of eight to twelve feet, each on dedicated wire. Use weatherproof connectors between sections so you can disconnect a damaged run without affecting the rest. Professional lighting installers call this “sectional isolation.” It means you replace or repair one part while the canopy remains functional.
Run backup lines along different routes than your primary lines. If your main power feed runs along the north edge, run a secondary feed along the south edge. This prevents a single damaged wire from killing everything. Keep spare bulbs, connectors, and short extension cords stored in a weatherproof box near the canopy. Document which sections pull from which outlets. When failure happens, you identify and isolate the problem in minutes instead of troubleshooting blind. Execution determines survival, not luck.
Avoiding The Christmas Light Canopy Catastrophe
Where Most People Fail First

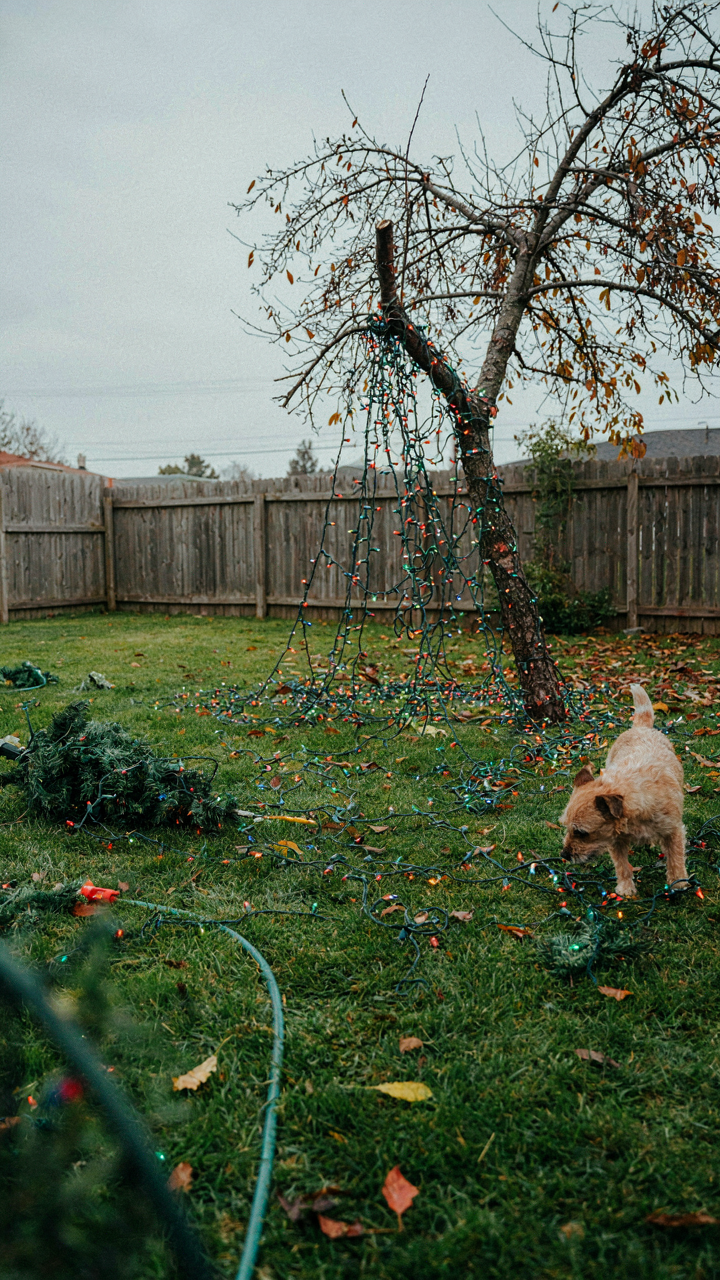
You want this to work so badly you’ll ignore the warning signs. That’s the real problem here. The mechanism is simple: twinkle light canopies fail because people treat installation like a one-time event instead of a load-bearing engineering problem. The structure must support wire weight, wind load, and the cumulative stress of seasonal temperature swings. Most failures happen at connection points, not in the lights themselves.
Oversized canopies with undersized support frames collapse under their own wire mass. People buy 100 feet of lights and stretch them across a frame designed for 40. The frame sags. The connections loosen. Water pools in the sag and adds dead weight. Within weeks, the whole thing fails. The fix is brutal: match wire length to frame capacity, period. Don’t improvise.
Keep It Working Year After Year
Storage determines whether your canopy functions next season or becomes scrap. Think of your twinkle light canopy like a marine vessel that needs dry dock maintenance between voyages. Water infiltration is the primary killer. Moisture corrodes connections and degrades insulation faster than anything else.
- Drain all water immediately after rain: Check for pooling in frame low points and remove standing water within hours to prevent corrosion at solder joints and connection terminals.
- Inspect wire insulation monthly during use: Run your hand along the entire wire length feeling for cracks, splits, or soft spots that signal degradation and potential shorts.
- Clean connection points before winter storage: Use a dry cloth to remove debris, pollen, and oxidation from every junction where wires meet frame or plug into sockets.
- Store lights indoors in low-humidity conditions: Keep the entire canopy disassembled in a climate-controlled space, never in sheds, garages, or basements where moisture accumulates.
- Test the full circuit before reinstalling each season: Plug in the complete string on the ground to catch failed bulbs or damaged wires before they become reinstallation problems.
The real maintenance ritual is preventive, not reactive. You catch small problems during inspection so they never become frame failures. This means checking your canopy every two weeks during use, not just at the start of the season.
The Art Of Subtle Illumination: Twinkle Light Canopy Placement

Where Your Lights Actually Work

You want this to look effortless, which is why you’re reading about placement instead of just hanging lights randomly. Here’s the mechanism: twinkle light canopy effectiveness follows the same inverse square law that governs all point light sources in physics. Light intensity drops proportionally to the square of the distance from the source, meaning a canopy positioned eight feet overhead delivers four times less illumination per square foot than one at four feet. Position your canopy between six and eight feet high, centered over your gathering area, not pushed to the perimeter where it becomes decoration masquerading as function. The goal is ambient coverage, not decorative scatter.
The placement error most people make is hanging lights too high to maximize square footage, which trades usable illumination for the appearance of scale. Your eyes need to register the individual light source enough to create the “twinkle” effect, which vanishes beyond fifteen feet. Mount the canopy directly above seating or the main social zone. Test the sight line by standing in your intended position and confirming you can see individual bulbs without tilting your head back past forty-five degrees. This positioning determines whether people gather there or drift to the porch where actual light exists.
Brightness Without The Wash
Most advice about avoiding light pollution misses the real problem: mixing warm and cool-toned lights, or running too many watts per square foot, creates a washed-out effect that kills the intimate quality you’re after. The mechanism is simple color temperature collision, where conflicting kelvin ratings flatten depth perception and eliminate shadow definition. Use consistent warm white only, 2700K or lower, across all fixtures. This mimics incandescent bulbs people remember from their childhoods and maintains visual hierarchy without competing wavelengths destroying contrast.
Glare comes from line-of-sight exposure to bare bulbs, not from light quantity. Shield your main sitting areas so direct bulb view stays blocked by the canopy structure itself or adjacent foliage. Place the canopy perimeter about two feet beyond where people’s eyes naturally rest when seated. If you’re using Edison-style bulbs, orient them downward at twenty-degree angles rather than horizontal to bounce light off surfaces instead of beaming it straight into retinas. This single adjustment eliminates the harsh glare that makes spaces feel like parking lots while maintaining ambient brightness.
When To Call A Professional: Knowing Your Limits With Outdoor Night Lighting
When The Setup Exceeds Your Electrical Knowledge
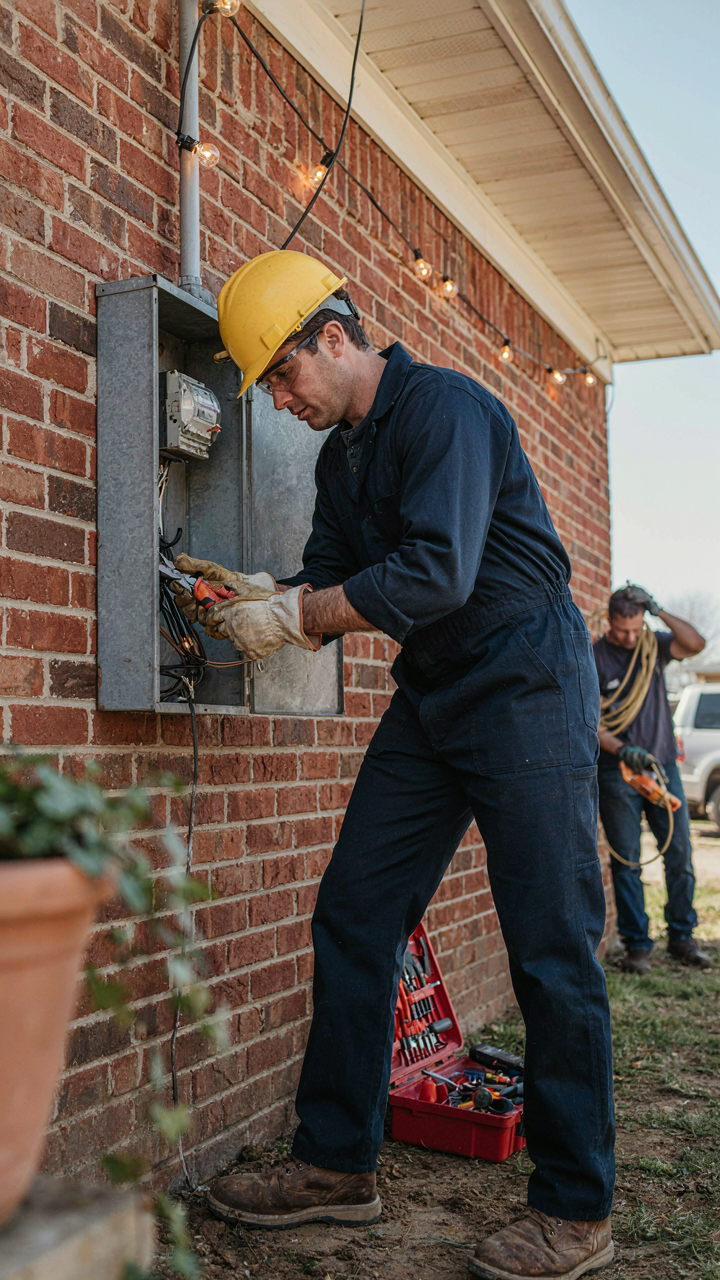
You want to believe you can handle this yourself because asking for help feels like admitting you don’t know what you’re doing. Here’s the mechanism: electricity doesn’t care about your confidence. A twinkle light canopy draws power from your home’s circuit, and improper installation creates a fire hazard that insurance won’t cover. The real question isn’t whether you can string lights. It’s whether you understand load capacity, circuit breaker ratings, and weatherproof connection standards.
Most homeowners treat electrical work like assembly instructions, but electrical systems operate on hard physical laws. Overloading a 15-amp circuit with high-wattage LED strings, using indoor-rated wire outdoors, or failing to ground properly creates conditions for failure months later. You don’t need a license to run lights across your yard, but you do need to know what kills someone. If you can’t articulate why a GFCI outlet matters or what voltage drop means over distance, you’ve found your limit.
Structural Installation Requires Someone With Liability
Your deck, pergola, or fence wasn’t engineered to hold weight you’re adding to it. A full twinkle light canopy strung under tension exerts lateral and vertical force on attachment points, and most residential structures have zero margin for unexpected load. The mechanism here comes from structural engineering: distributed load spreads force across a surface, but point loads concentrate it. Your eye hooks are point loads.
A professional installer runs liability insurance and understands building codes specific to your region. They know whether your structure can handle the tension, where to attach without compromising integrity, and how to account for ice load in winter climates. If your pergola wasn’t designed for additional lateral forces, adding a canopy of lights creates a failure condition that happens suddenly. Get a structural assessment before installation if you’re attaching to anything you didn’t build yourself, or if you’re uncertain about the material’s age and condition. A professional charges upfront. Deck repair costs ten times more.
The Real Problem Isn’t Your Lights; It’s Your Flimsy Commitment To Robust Design
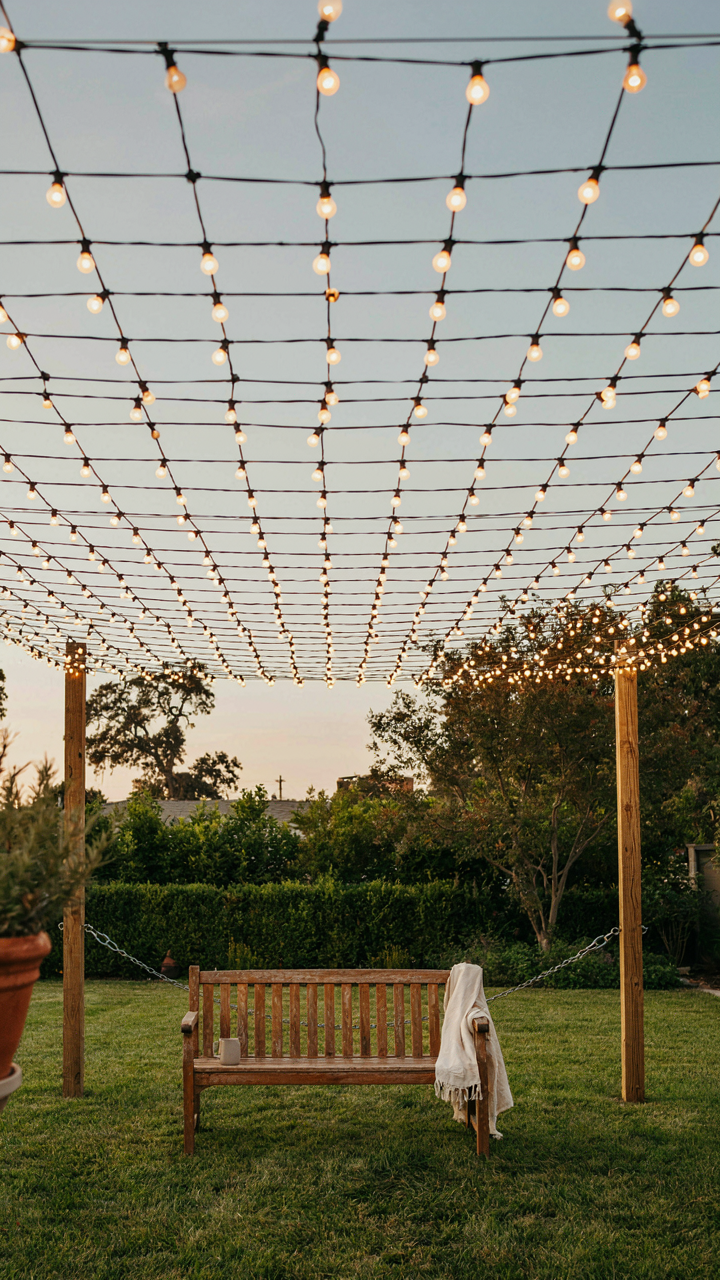
Most people buy a twinkle light canopy and treat it like seasonal decoration. They don’t. A real canopy setup demands you choose materials that survive weather, plan your installation like it matters, and accept that cheap wire breaks. Stop shopping for deals and start shopping for durability. Your backyard deserves structure, not excuses. Build something that lasts, or don’t build at all.



