
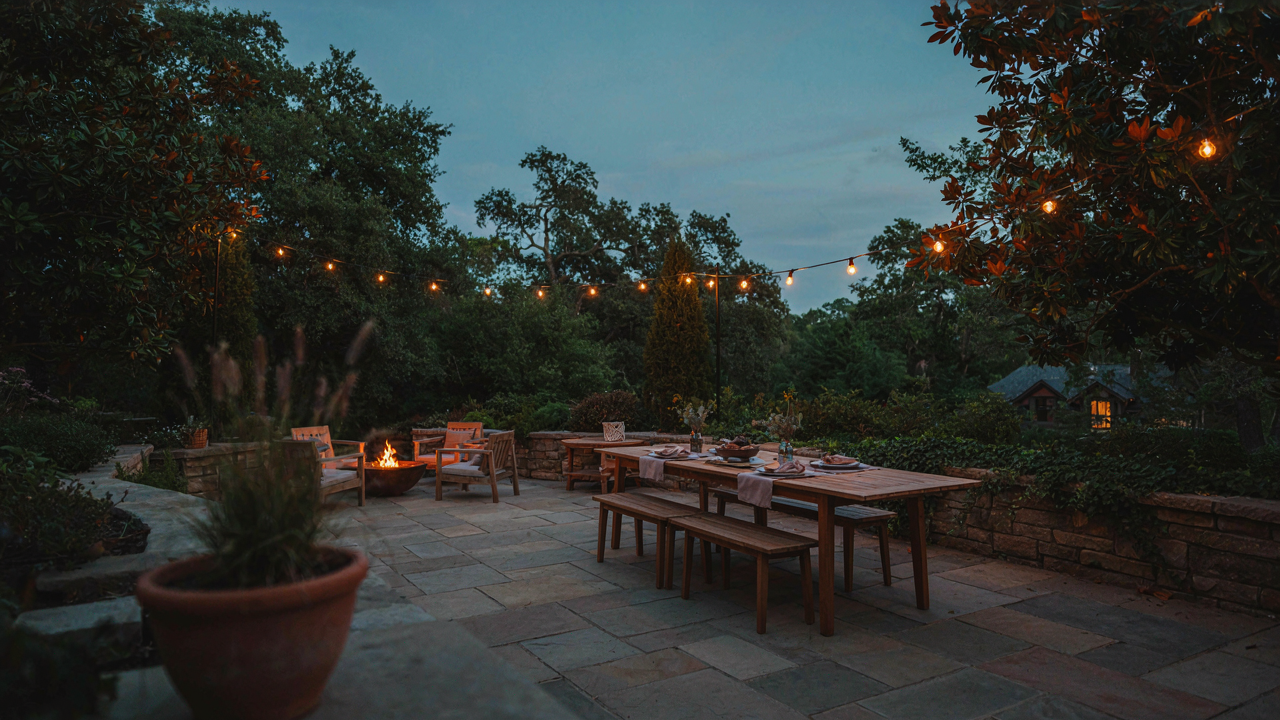
The Illumination Fallacy: More Lights, Less Impact
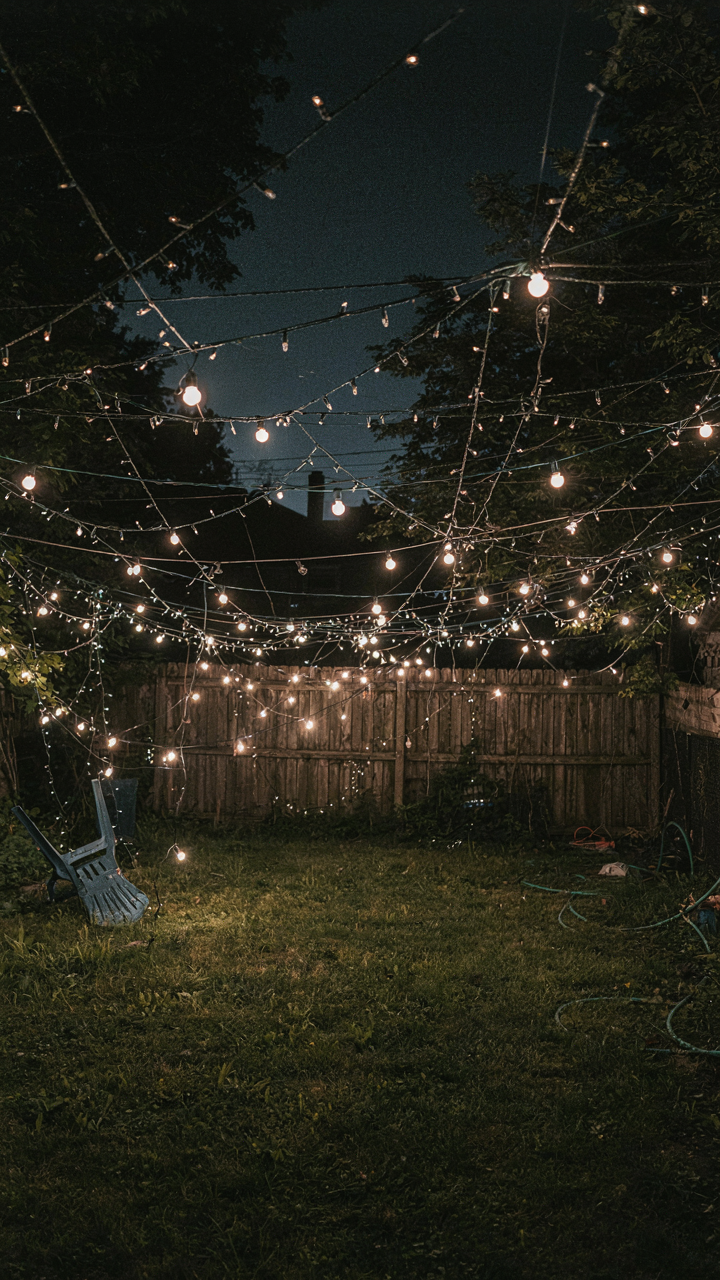
Why Overlighting Creates Visual Noise
You want your backyard to look intentional, not like you’re compensating for poor design decisions with more hardware. Here’s the mechanism: overlighting kills contrast, and contrast is what your eye actually reads as quality. When every surface gets equal brightness, nothing stands out. Your brain stops processing the space as designed and starts processing it as “lit.” Ambient light that floods everywhere creates visual flatness. Professional layouts work because they use darkness strategically, not light abundantly.
The physics term is signal-to-noise ratio. In lighting design, signal is the warm glow you want people to notice. Noise is the ambient wash that drowns it out. Most backyard setups fail because they treat every bulb as additive value. Thirty lights strung carelessly across a yard don’t read as thirty times better than ten lights placed with intent. They read as clutter. The moment you add a light without a specific reason—to highlight a pathway, frame a seating area, define a structure—you’ve crossed into decorative distraction. That’s the point most advice misses entirely.
The Psychology Of Scarcity In Light Design
Restraint in string light placement works because limitation creates focus. When you restrict bulbs to key zones, your eye knows exactly where to land. The human visual system evolved to detect contrast and change, not uniformity. A single line of lights along a pergola draws attention and creates definition. The same lights scattered across open space read as noise. This isn’t preference. It’s how human perception operates under ambient conditions.
Start by identifying the single area you want illuminated most: the seating zone, the pathway, the focal point. Light that area completely. Leave the surrounding space darker. That darkness isn’t empty—it’s strategic. It amplifies the perceived brightness and polish of the lit area by creating visual separation. The spaces you don’t light become part of your design the moment you deliberately exclude them from light. Install one continuous run of bulbs with consistent spacing, then stop. Measure the lit zone before adding anything else.
The Strategic Lighting Grid Protocol

Where Light Actually Needs To Live

You want your backyard to look intentional, not like you bought whatever was on sale at the hardware store. The real mechanism: most people scatter lights everywhere, hoping density masks poor placement. Military strategy calls this “concentration of force”—you apply maximum effort where it matters, not spread thin across the entire perimeter. The same principle applies here. You identify zones that carry the visual weight of your space, then deploy fixtures there with precision.
A zone is any area where people gather, eat, move through, or where your eye naturally lands. Your patio table is a zone. The transition from house to yard is a zone. The far corner where guests actually sit is a zone. Not every square foot of your backyard needs light. You’re not lighting a runway. You’re creating visibility and atmosphere in places that matter functionally and visually. Map these zones first. Everything else follows from this decision.
Fewer Fixtures, Stronger Effect
The common advice says “more string lights equal more ambiance.” That’s wrong. More lights equal more visual clutter and wasted money. You get a stronger effect by spacing fixtures strategically, letting negative space work for you. A single line of lights running 20 feet across your patio hits differently than twelve scattered fixtures trying to illuminate everything. Constraint forces intention.
Calculate fixture placement by starting with your longest sightline—the view people have when standing at your house looking out. Space lights along that line first, roughly 8 to 10 feet apart for standard Edison or globe bulbs. This creates a clear visual anchor. Then add secondary lines perpendicular or diagonal to this primary axis. You’re building a grid, not a carpet. This approach gives you control over where attention goes and where shadow lives, which is what actually creates the professional look you’re after.
Beyond The Swag: Anchoring Your Patio String Lights With Purpose
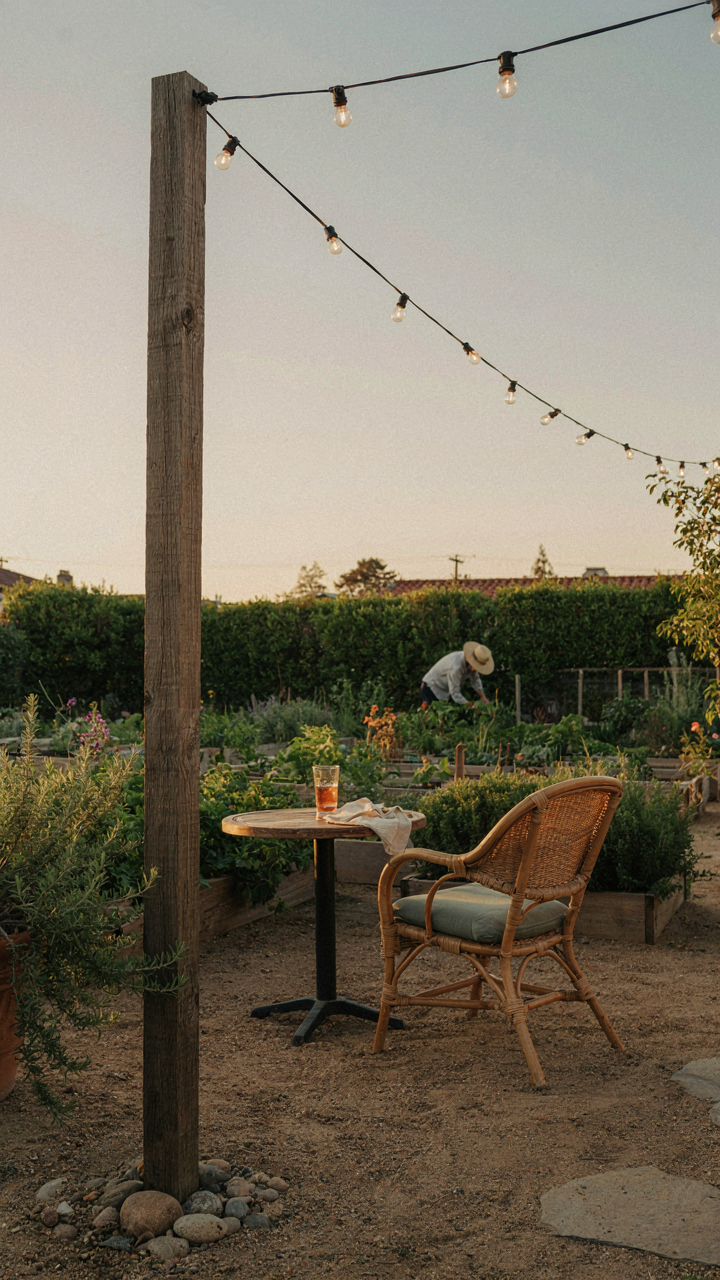
Where Your Lights Attach Matters More Than How They Look

You care about this because sagging lights broadcast neglect. Most people treat anchoring as decoration problem when it’s actually a physics problem. String lights experience lateral and vertical load. Wind creates lateral force. The weight of the cable itself creates vertical sag. Your anchor points function as force multipliers, not just attachment spots. A poorly positioned anchor multiplies stress on the fixture it connects to, accelerating failure.
The real move is distributing load across multiple anchor points rather than concentrating it. A single anchor point at each end creates a catenary curve that pulls downward with compounding force across the span. Two intermediate anchor points on a twenty-foot run cut peak tension roughly in half. Space your anchors based on cable weight and expected wind exposure, not aesthetics. For typical patio strings over fifteen feet, anchor every ten to twelve feet maximum.
Hardware Doesn’t Disappear, It Gets Subordinated
Everyone says hide your hardware. What they mean is make it invisible in context. Most people fail at this because they treat hardware as the enemy instead of treating poor placement as the enemy. Visible lag bolts, u-bolts, and cable clamps don’t destroy professionalism on their own. Poor proportioning and contrast do.
Match your hardware finish to your anchor surface, not your lights. If you’re anchoring into a wood beam, use stainless steel hardware that sits flush or recessed, not chrome that reflects light and draws the eye. Install all attachment hardware on the underside or interior face of your structure. If anchoring to a post, place bolts on the back-facing side. Use cable clamps rated for your cable diameter and tighten them symmetrically to prevent slipping and visible twisting. Hardware subordinates itself when the observer sees the lights first and the structure second.
The Power Equation: Voltage Drop And Light Consistency
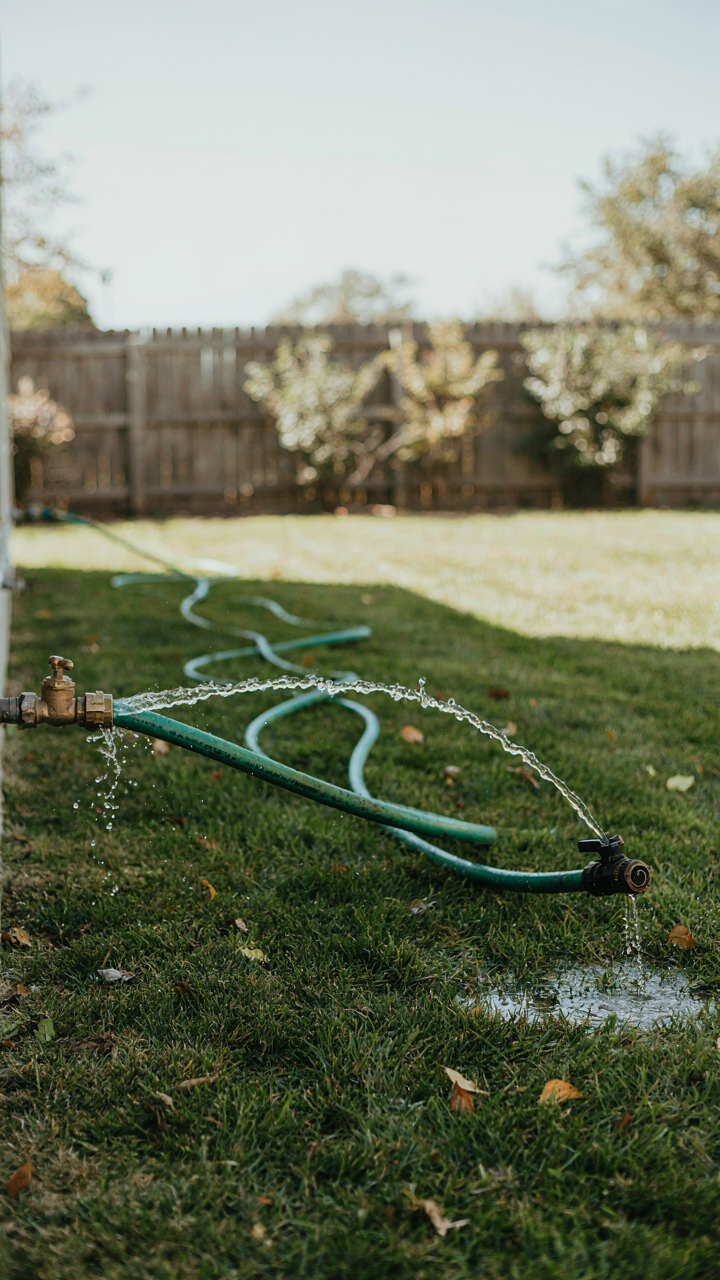
Why Your Lights Dim At The Far End

You want them all the same brightness because uneven lighting looks cheap, and you’ll blame yourself for the mistake. Here’s the mechanism: electricity loses power as it travels through wire, just like water pressure drops through a long pipe. This is voltage drop, and it’s not theoretical. Run 100 feet of standard wire to your last bulb and it gets noticeably dimmer than the first one.
The math is straightforward. Voltage drop equals current multiplied by resistance. Longer wire equals more resistance. More resistance equals dimmer lights at distance. You can’t bypass physics. The common advice to just buy longer strings misses the point entirely. You’re stacking the problem instead of solving it. The fix requires matching wire thickness to both the distance you’re running and the total wattage you’re pulling through it.
Wire Gauge Selection For Distance And Load
Thicker wire conducts electricity better and loses less power over distance, which means consistent brightness across your entire layout. Most store-bought string lights use 18 gauge wire because it’s cheap to manufacture. That works fine for short runs under 50 feet and light loads. Beyond that, you need 16 gauge minimum, and 14 gauge if you’re pushing 75 feet or more with multiple strands.
Calculate your total wattage first by multiplying the number of bulbs by the wattage per bulb. Then cross-reference that load against distance using a voltage drop calculator or chart, which every electrical supply site provides for free. Don’t estimate. Run the actual math. If your setup requires wire heavier than what comes on the string light itself, buy bulk wire separately and wire them in series or parallel depending on your power source. This is the protocol that separates a professional-looking layout from one that fails halfway through the season.
The Impermanence Principle: Designing For Adaptability
When Permanence Becomes A Liability

You want your setup to look intentional and built-to-last because permanence signals investment and taste. The problem: fixed installations trap you. Once you bolt fixtures to fascia or bury conduit, your patio becomes locked into one layout forever. Life changes. Trees grow. You buy new furniture. Entertaining patterns shift. A permanent string light grid that worked three years ago now blocks sightlines or frames the wrong focal point. You’re stuck.
Think of this in terms borrowed from systems design: your backyard has high volatility but your current installation has zero redundancy. Every load-bearing decision gets made once and paid for repeatedly. Fixed mounts to house or posts create single points of failure in your design. When circumstances demand change, you can’t adapt without removing hardware, patching holes, or rewiring. That’s the tax you pay for permanence.
Adaptable Systems That Scale With Your Space
Most advice treats string lights as permanent infrastructure. That’s incomplete. The real move is treating them as systems with modular components that lock together without damage to surfaces.
- Quick-disconnect cable assemblies: Pre-terminated lines with weatherproof connectors let you swap runs or extend circuits without rewiring. Standards like male-female waterproof connectors take seconds to separate.
- Temporary anchor points: Eye bolts with backing plates on detachable posts or weighted bases replace permanent fascia mounting. They hold tension identically but come down in minutes.
- Daisy-chain sockets with standardized spacing: Commercial-grade string lights use uniform 12-foot or 24-foot segments that connect end-to-end. You reconfigure the pattern without replacing cables.
- Adjustable tension cables: Rigging systems with turnbuckles let you tighten or loosen lines without reinstalling, adapting to sagging or shifting needs over seasons.
- Magnetic mounts for metal surfaces: Garaged patios or metal pergolas accept magnetic fixture bases, removing the need for screws or adhesive on permanent structures.
The mechanism that separates professional layouts from amateur ones isn’t complexity—it’s reversibility. Your backyard adapts faster than you redesign it. Build for that rhythm. When you need to shift your layout, you adjust fasteners and swap cable runs, not excavate holes or call an electrician.
The Unseen Threat: Weatherproofing For Longevity
IP Ratings: Decoding The True Weather Resistance

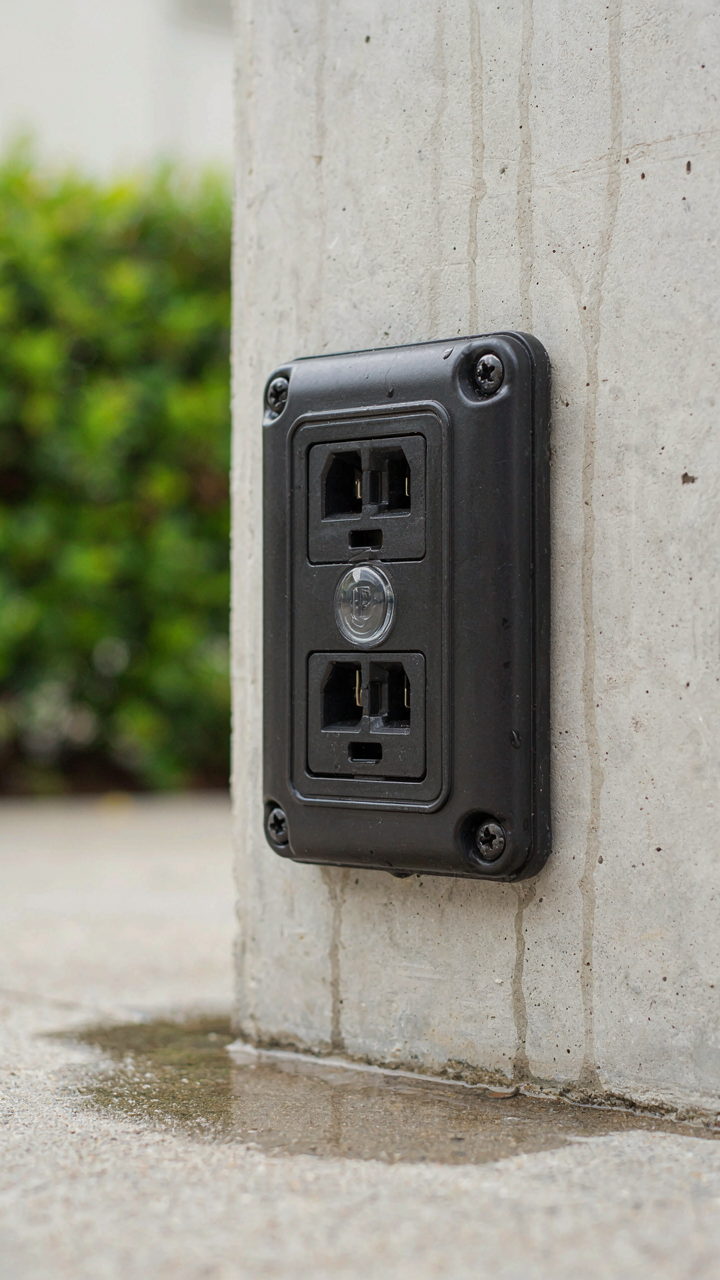
You care about this section because you’re terrified of buying expensive lights that die in one season. Here’s what matters: IP ratings come from electrical engineering, and you need to understand the parallel to circuit protection. An IP rating has two digits. The first measures solid particle protection, the second measures liquid protection. Most backyard string lights claim IP44 or IP65. IP44 means dust can enter but won’t damage the fixture, and water spray from any direction won’t harm it. IP65 means dust cannot enter and water jets won’t penetrate. The second digit is what actually stops rain and humidity from killing your setup.
Manufacturers routinely lie about ratings because third-party testing costs money and adds liability. They slap IP65 on packaging without certification. Demand spec sheets that cite actual testing, not promises. The real mechanism: water doesn’t need to flood a socket to cause failure. Moisture creeping into connections over weeks creates corrosion that increases resistance, generating heat, triggering failure. Buy lights with sealed connectors and rubberized strain relief at every junction. This isn’t optional if you want your lights working past October.
Cable Management To Prevent Water Damage And Short Circuits
Most people run cables any direction that’s convenient, then act shocked when they corrode. Cable routing determines whether water pools at connection points or drains away. Run cables downward from fixtures whenever possible, not horizontally where water can settle. Use cable clips rated for outdoor use to secure wires away from surfaces where moisture collects. Coil excess cable loosely on a shelf or rack, never in tight loops that trap condensation inside the coil itself.
Strain relief is the mechanism everyone skips and then regrets. Every connection point where a cable enters a fixture experiences micro-movement from wind and temperature changes. This flexing cracks solder joints inside the connector. Reinforce every connection with a right-angle strain relief boot or grommet that absorbs movement before it reaches the joint. Store lights indoors when not in use for extended periods. When you pack them away wet, they corrode in storage faster than they would outdoors in open air.
Color Temperature: The Psychological Impact Of Your Lighting
Warm Versus Cool: Matching Color Temperature To Mood

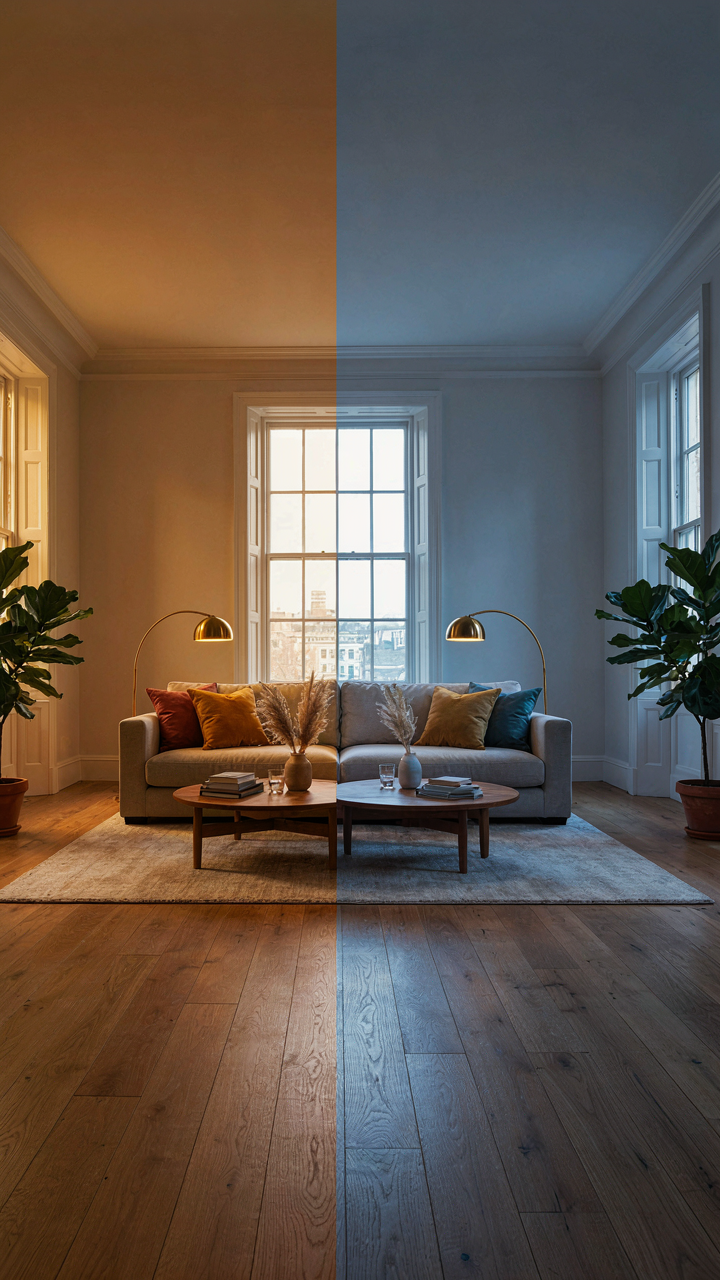
You want people to feel something specific when they’re in your space, and you’re hoping the right lights do the work for you. Here’s the mechanism: color temperature is measured in Kelvin, and your brain responds to it before you consciously register it. Warm light (2700K to 3000K) triggers relaxation because it mimics sunset. Cool light (4000K and above) mimics daylight and signals alertness. Your guests don’t think about this. They just feel it.
Warm string lights create intimacy because they compress perceived distance and make spaces feel enclosed. This is why restaurants and bars use 2700K exclusively. Cool lights expand space perceptually and work for task-oriented settings like dining tables where you need visibility. Most people default to warm for backyards because the consensus says “ambient and cozy.” That’s incomplete. A 3000K warm light on perimeter strands combined with 4000K task lighting over seating creates actual depth and prevents the flat, one-note feeling that kills professional-looking layouts.
Layering Temperatures For Depth And Visual Interest
Borrowed from architectural lighting design, the principle of “layering” means you’re using multiple light sources at different intensities and temperatures to create visual hierarchy. In backyard string lights, this means combining warm and cool sources intentionally, not by accident. Most people string one color temperature across the entire yard and call it done. That’s lazy and it shows.
Start with 2700K as your base layer on perimeter strings that define the space boundary. Add 3000K or 4000K accent lights where you want focus: above the seating area, along pathways, or highlighting architectural features. The warm base keeps the overall mood intimate. The cooler accent pulls the eye to functional zones and prevents visual monotony. This layering trick works because your brain registers temperature contrast before brightness contrast. Install your base layer first, then add a separate circuit for accent lights so you can adjust temperature balance without rewiring.
The Maintenance Reality: Preventing The Professional Decline

Check Your Lights Before They Fail You

You want to avoid looking negligent. That’s the real fear driving this section. The mechanism is simple: voltage drop and loose connections compound over time, turning a clean layout into a flickering liability. Think of your string circuit like electrical load distribution—each connection point is a potential failure node. One corroded socket doesn’t kill the whole string, but it stresses every bulb downstream.
Schedule inspections every two weeks during the season, and after any weather event. Walk the entire line at dusk with the lights on. Look for dimming patterns, dead sections, or sockets that sit loose in their sockets. This catches problems when they’re cheap to fix, not when guests are standing under dead zones. Document what you find in a simple note so you catch recurring issues.
Clean Regularly, Replace Strategically
Dust and oxidation degrade output more than most people admit. Bulbs dim not because they’re dying but because dirt scatters light before it leaves the fixture. Use a soft microfiber cloth monthly on bulbs and fixtures. For outdoor strings, rain and humidity accelerate corrosion on metal components. Wipe down connector points where two cables meet.
Replace bulbs only when they stop producing light or when you notice one noticeably dimmer than neighbors. Rotate out entire strings every three years if they’re in direct weather exposure. Store them indoors in winter to prevent freeze-thaw cycles that crack sockets. Keep spare bulbs in the same wattage and voltage as your main string to avoid mismatches that strain the circuit.
Automated Ambience: Smart Controls For Effortless Impact
Timers And Dimmers Setting Dynamic Scenes

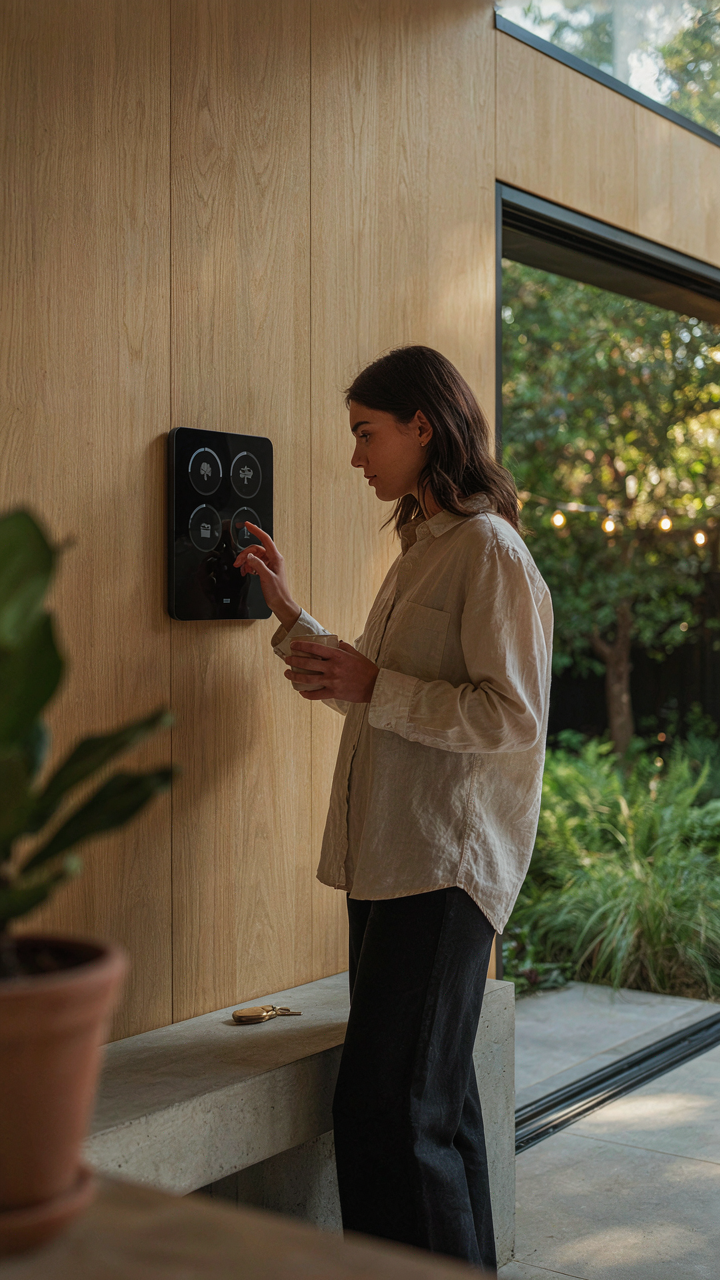
You want the backyard to feel intentional without you standing there adjusting things every night. That’s the real reason you care about this section. Timers and dimmers operate on a principle from theater lighting: intensity modulation. Just as a stage director controls viewer attention through light intensity, you control mood through graduated brightness levels. Start with a basic timer that powers your entire string circuit at sunset and kills it at a set time. This alone removes the mental load of remembering to flip a switch.
Dimmers add the layer that separates amateur setups from designed ones. Install a dimmer switch at your main breaker or use dimmable smart bulbs if your strings support them. Lowering brightness to 60 percent in early evening creates a different psychological space than full brightness. The mechanism is simple: less light reads as more intentional, more curated. Dimming also extends bulb lifespan and reduces your electricity draw. Set your timer to activate at dusk and dim to 70 percent for the first two hours, then step down to 40 percent after 9 PM.
Smart Home Integration For Seamless Control
The common advice here is to just buy any smart bulbs and plug them into your existing app ecosystem. That’s incomplete. Smart integration only works if your strings use the right protocol and your hub talks to it without lag. Most WiFi-based systems add a 2 to 3 second delay between command and light response, which breaks the feeling of control. Zigbee and Z-Wave protocols are faster and use less bandwidth. Your integration is only as smooth as the slowest component in the chain.
Smart home integration lets you layer conditions instead of running static routines. You can program your strings to dim when outdoor temperature drops below 65 degrees, or brighten when motion sensors detect activity on the patio. Connect your lighting to your security system so patio lights activate when someone approaches the gate. The protocol step: audit your existing smart home hub’s compatibility list before buying bulbs, confirm latency specs, then test the response time in real conditions before committing the full setup.
The Real Obstacle: Your Inability To See Beyond Instagram

You’re scrolling photos of other people’s backyards instead of building your own. That’s the real problem. Professional layouts don’t happen because you studied them. They happen because you grabbed a tape measure, made one decision about your space, and stopped waiting for permission. Measure your backyard today. Just the length and width. That single move breaks the paralysis most people never escape. The difference between a backyard that looks like something and one that looks like nothing isn’t taste or money. It’s someone who finally stopped comparing and started building.



