
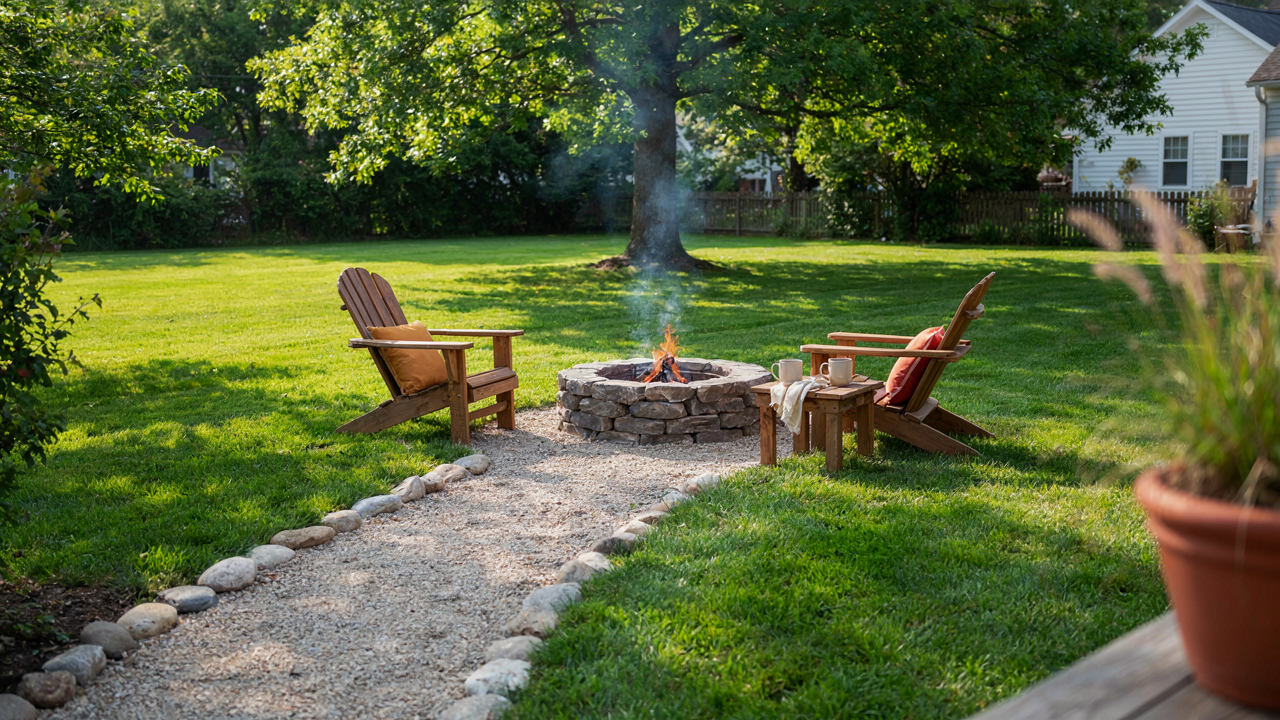
The Myth Of The Luxury Fire Pit Area

Why Most DIYs Fail Before They Start
You want to feel like you made something impressive without actually spending money or time figuring out what works. That’s the real reason this section matters to you. Here’s the mechanism: most people treat a fire pit area like an interior design project when it’s actually a resource allocation problem. They buy the wrong materials first, realize halfway through that gravel settles unevenly or stone cracks from heat, then abandon the project or throw money at it to fix mistakes. The cost isn’t the initial purchase. The cost is the correction.
The common advice says “buy cheap and upgrade later.” That’s backwards. Cheap materials that fail force you to buy twice. A fire pit built on compacted base material and properly sorted stone costs less total money than one built on whatever was convenient. You skip the rework phase entirely. Most DIYs fail because they treat material selection as a cosmetic choice rather than a functional one. Pick wrong the first time and you’re not upgrading later. You’re starting over.
The Hidden Cost Of Cheap Kits
Economics calls this the “total cost of ownership,” and most fire pit builders ignore it completely. A pre-fab kit that costs less than loose materials seems smart until you factor in labor, delivery, replacement when it rusts or cracks, and the time spent troubleshooting why your setup looks unfinished. You’re paying for someone else’s design inefficiency packaged as convenience.
Cheap kits also lock you into specific dimensions and aesthetics. You can’t adjust the size if your space changes. You can’t expand it without buying another kit. Gravel and stone give you flexibility. You modify as you need. The kit feels cheaper until you realize you’ve spent more money, invested more time, and ended up with less functionality than a custom layout built from raw materials. Start with materials, not solutions.
Gravel: The Unsung Hero Of The Cheap Fire Pit
Drainage And Fire Safety Work Together

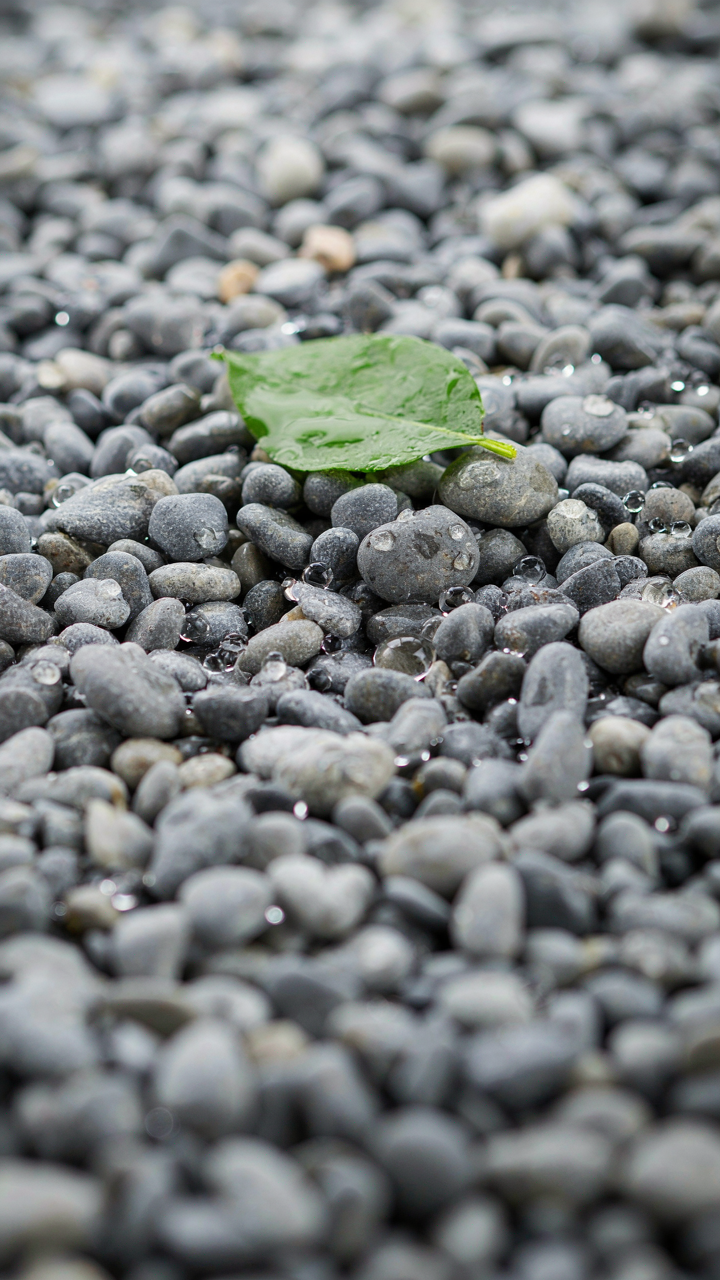
You want gravel because it looks intentional and costs nothing. But the real reason gravel matters is hydrology. Water moves through gravel instead of pooling under your fire pit, which prevents rot in wood seating, extends the life of your fire ring, and stops mud from forming where feet land. The same principle applies to fire safety: gravel creates a defined perimeter that contains sparks and embers, stopping them from igniting grass or mulch beyond your pit zone.
Most people treat gravel as decoration and miss the mechanism. Gravel forces you to create slope and drainage patterns that actually function. A fire pit sitting on flat, bare ground collects moisture underneath and becomes a hazard. Gravel forces a base layer, which forces drainage, which solves two problems nobody talks about simultaneously. Lay your gravel at least six inches deep and slope it gently away from the fire ring’s center. This single step prevents water accumulation and defines your burn zone clearly.
Choose Gravel By Load And Size
Ignore the aesthetic categories people push online. You need gravel based on what it does under load and heat, not what it photographs well. Pea gravel is rounded and comfortable underfoot but shifts under weight and offers no fire safety benefit beyond cosmetics. Crushed stone or angular crushed granite compacts tight, stays in place, and reflects heat efficiently. Angular gravel locks together through friction, while rounded gravel rolls.
Buy crushed stone or crushed granite in the 3/4-inch to 1-inch size range. This size won’t crush under foot traffic or compact into concrete over time, and it provides the friction you need for a stable surface around your fire ring. Order enough to cover your pit zone three times deeper than you think—settling and displacement happen faster than most people estimate. A 12-foot-diameter pit area needs roughly 1.5 to 2 tons of gravel to reach six inches deep and survive a season of use.
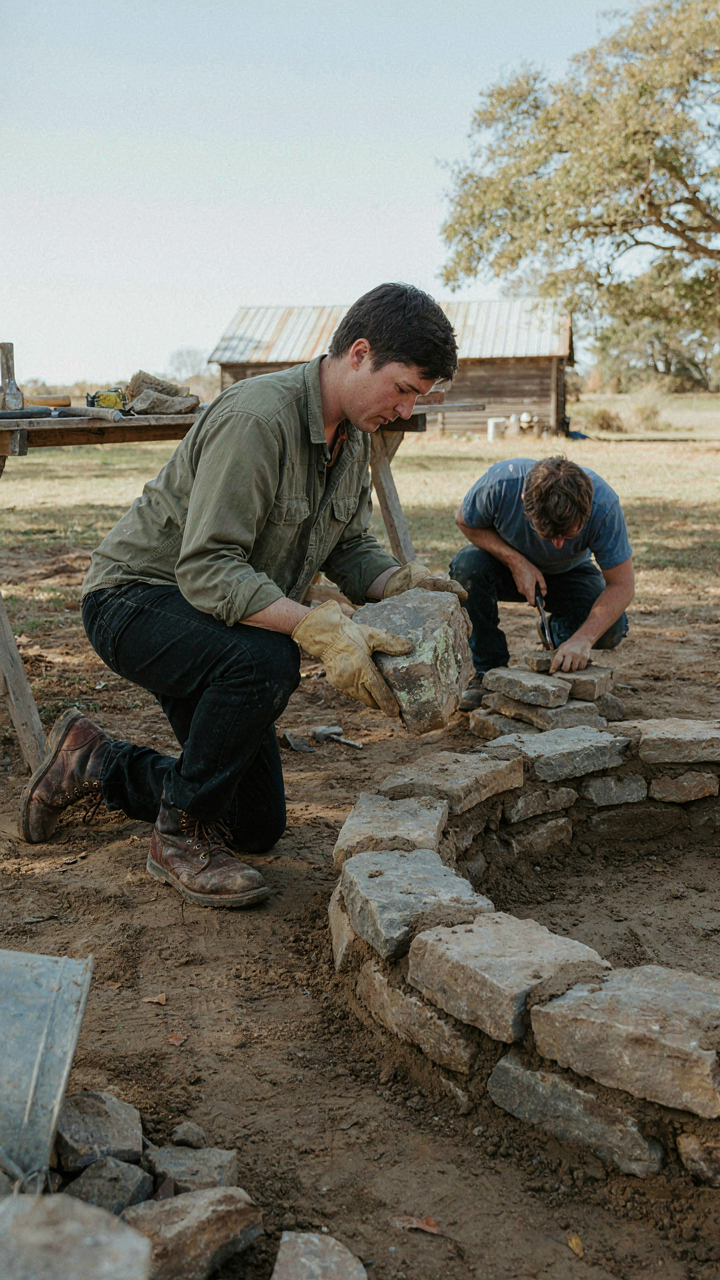
Stone Stacking Protocol: Building Your DIY Fire Pit
Foundation First: The Base That Holds

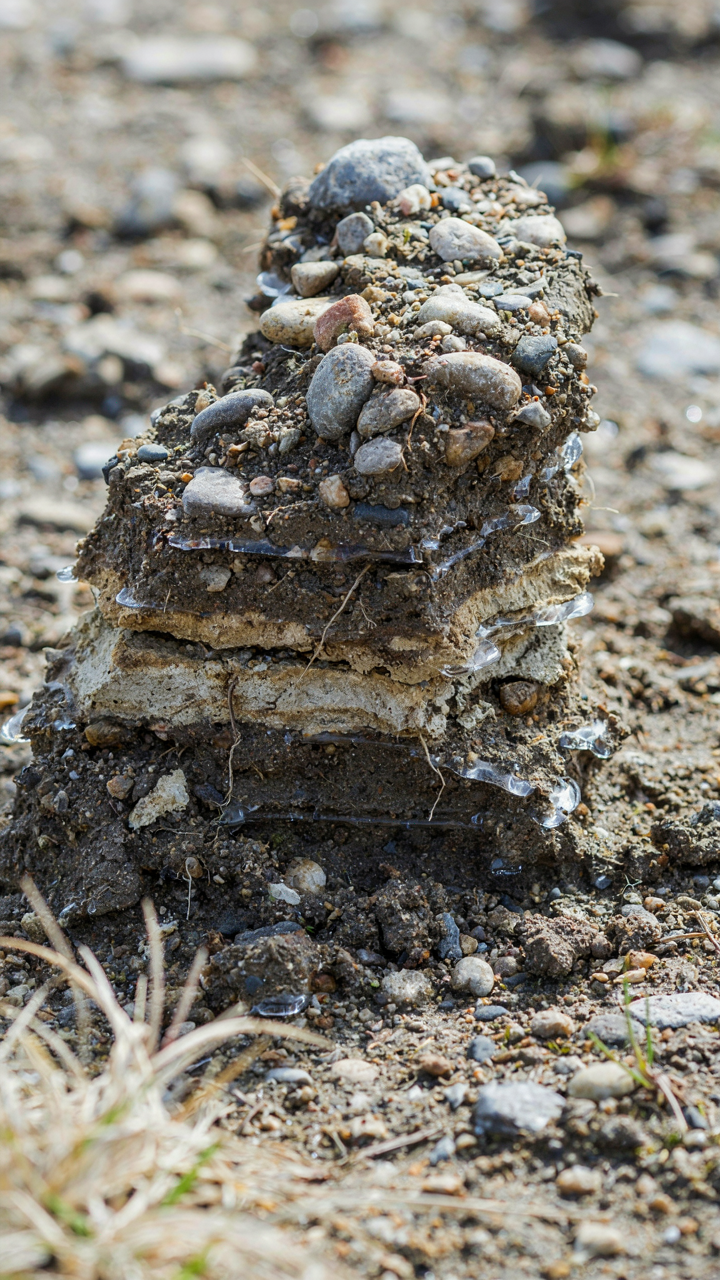
You want this to look intentional, not like something that fell apart after the first season. Here’s the mechanism: soil shifts with freeze-thaw cycles and water drainage. Physics calls this frost heave. Your fire pit sits on ground that moves, so the foundation absorbs that movement before it cracks your stones.
Dig down six inches minimum. Remove topsoil entirely, which holds moisture and decays. Replace it with crushed stone or compacted sand. Tamp it flat. This isn’t ceremonial. The base layer carries all vertical load from the stones above, so compress it in two-inch lifts with a hand tamper or plate compactor. Stones stacked on loose ground will shift and separate within months.
Mortar Versus Dry Stack: Pick Your Permanence
Most budget advice skips the real trade-off: dry stack is faster and reversible, mortar is permanent and weatherproof. Dry stacking means stones sit on each other with no binding agent. They shift slightly and shed water between joints. Mortar seals those gaps and locks the structure together. One requires maintenance. The other requires skill.
For a fire pit on a budget, dry stack works if you accept that stones will settle and gaps will open. Use stones with flat faces, stack them level, and accept the seasonal shifting as normal. Mortar requires you to build forms, mix batches, and tool joints properly. Mortar also accelerates freeze damage if water penetrates and refreezes inside the joints. Both work. Dry stack costs less in materials and labor. Pick based on whether you’ll rebuild it in five years or want it standing in ten.
The “Scarcity Mindset” Vs. Resourceful Fire Pit Designs
Optimizing What Your Land Already Has

You want to feel smart about spending less, but the real fear is that a budget fire pit looks cheap. That anxiety drives you to overthink the design instead of seeing what’s actually available. Economics calls this “comparative advantage”—the principle that you win by leveraging what costs you the least to obtain. For fire pit areas, this means your local materials are your actual advantage, not your constraint.
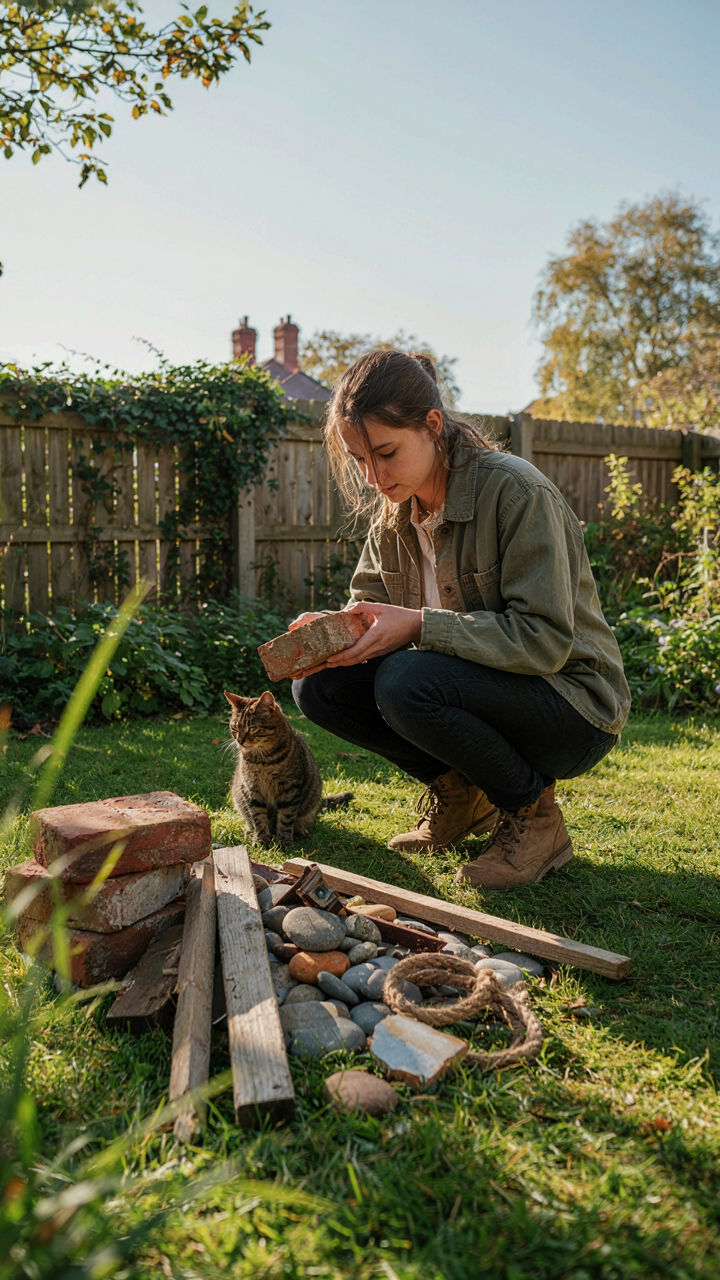
Most builders treat gravel and stone as filler. They’re wrong. The material closest to your property—whether that’s river rock, slate fragments, or compacted clay—already contains the thermal mass and drainage properties you need. You don’t optimize by importing; you optimize by recognizing what you have performs the job without markup. Start by walking your property and identifying what’s underfoot or in nearby creek beds. This single move eliminates 60 percent of material costs before you place a single stone.
The Real Cost Of Buying New Vs. Reclaiming
Scrap material has a hidden advantage most people never calculate. When you buy new gravel from a landscape supplier, you’re paying for extraction, transport, and retail margin. When you reclaim stone from your land, a fence line, or a demolition project, you’re paying for labor to move it. Labor costs less than supply chain friction. The opportunity cost flips completely once you measure the actual cash difference.
Reclaiming stone takes time. Buying new takes money. If your time is genuinely worthless, buy new. If you have weekends and a trailer, reclaim. The mechanism is simple: every dollar you don’t spend on material delivery is a dollar that stays in your project for better fire pit construction—thicker base gravel, better drainage slope, or proper compaction. Calculate your hourly rate, multiply by reclaim hours, then compare to the material invoice. Most reclaim projects win by a factor of three to five.
DIY Fire Pits Outdoor: Site Selection Strategy
Wind Patterns And Smoke Direction

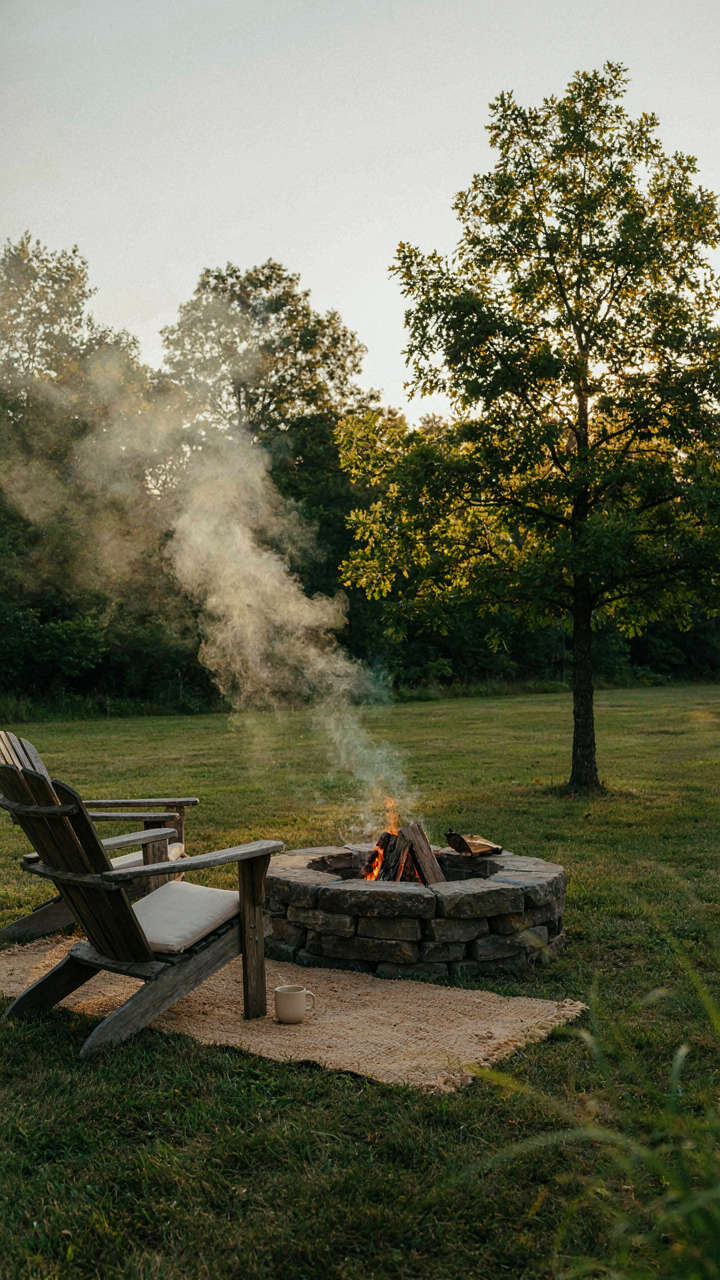
You want this spot to feel intentional, not like you lost a bet with smoke. The mechanism is simple: wind moves smoke, and smoke moves toward people. Meteorology teaches us about pressure gradients, but for your fire pit, think of prevailing wind as the primary mover of your comfort zone. Most regions have a dominant wind direction. Find it by observing tree lean, flag behavior, or asking neighbors who’ve lived there five years. Position your pit so prevailing winds push smoke away from where you actually sit and away from your house.
Seasonal wind shifts matter more than most people admit. Summer winds often differ from spring or fall patterns. If you’re building a permanent pit, choose a location that works for your primary use season, not an imaginary year-round average. Test the site by standing downwind of a neighbor’s fire or lighting a test fire with minimal fuel. Watch where smoke travels before you commit to gravel layout and stone placement.
Setback Requirements And Clear Zones
The real constraint is not aesthetics but code and liability. Most jurisdictions require fire pits to sit ten feet from structures like decks, sheds, and fences, and fifteen feet from tree branches that overhang. These aren’t suggestions. They’re legal minimums that insurers enforce and fire marshals cite. Check your local ordinances before selecting your site, not after. Most county or city websites list these rules. If you can’t find them, call the fire department’s non-emergency line. A five-minute call saves legal exposure later.
Vegetation proximity creates a second layer of risk. Low branches ignite faster than you’d expect, and dead needles or leaves near ground level become fuel. Clear a twelve-foot radius of all dead wood and branches below eight feet. This zone costs nothing but attention and an afternoon with a saw. Mark your pit location on the ground with paint or stakes, then measure outward. Once you’ve confirmed clearance from structures and vegetation, begin your gravel and stone layout from that verified point.
Beyond The Flames: Fire Pit Backyard Seating
Angles And Sight Lines Matter Most

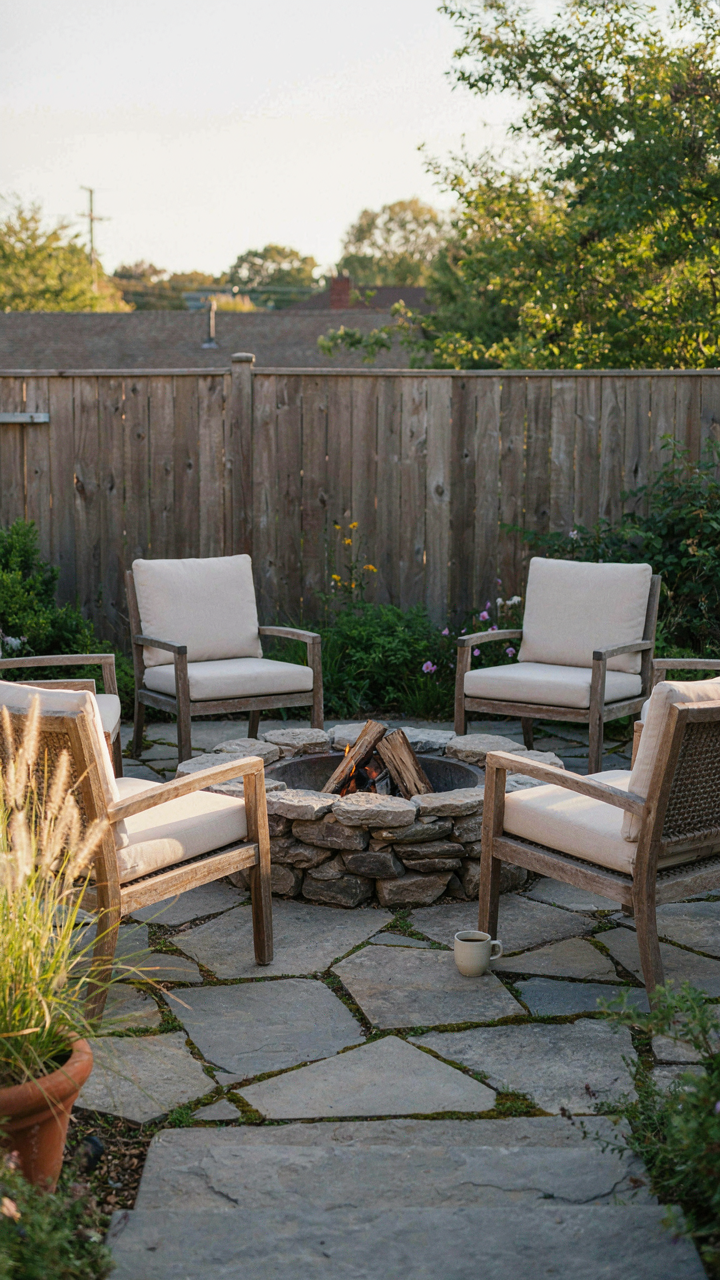
You want people to stay longer because empty seating feels like failure. The real mechanism is borrowed from theater design: sightlines determine whether people actually use a space. Arrange seating so everyone faces the fire without craning necks or sitting in smoke drift. This isn’t about aesthetics. It’s about comfort friction. When people sit down and immediately feel awkward, they leave.
Use gravel to define the perimeter where seating should go. Rake it into a rough circle around the fire pit, leaving two to three feet between the gravel edge and where flames reach. Seat people on that gravel ring, not closer. The gravel layer itself becomes the boundary marker. No one needs signs or rope. They see the material change and understand where to sit.
Salvaged Wood Beats New Benches Every Time
The advice to “build permanent benches” wastes money on wood that rots within five years in fire pit moisture. Instead, source used pallets, reclaimed deck boards, or fallen logs from tree removal services. These materials cost nothing to fifty dollars total. Prop them on stacked cinder blocks or large stones for elevation. Rotate or replace individual boards as they degrade. You’re not building furniture. You’re creating a system that fails gracefully.
Calculate weight distribution like this: one person per linear foot of seating. A six-foot pallet handles six adults comfortably without tipping. Stack two cinder blocks at each end, then place the pallet on top. Add a simple backrest by leaning a second pallet against the first at seventy degrees. Use metal L-brackets or rope to lock them together. This setup costs under thirty dollars and lasts three to four seasons with zero maintenance beyond occasional board replacement.
The “Entropy Effect”: Maintaining Your Outdoor Living Space
Why Your Fire Pit Area Falls Apart Over Time

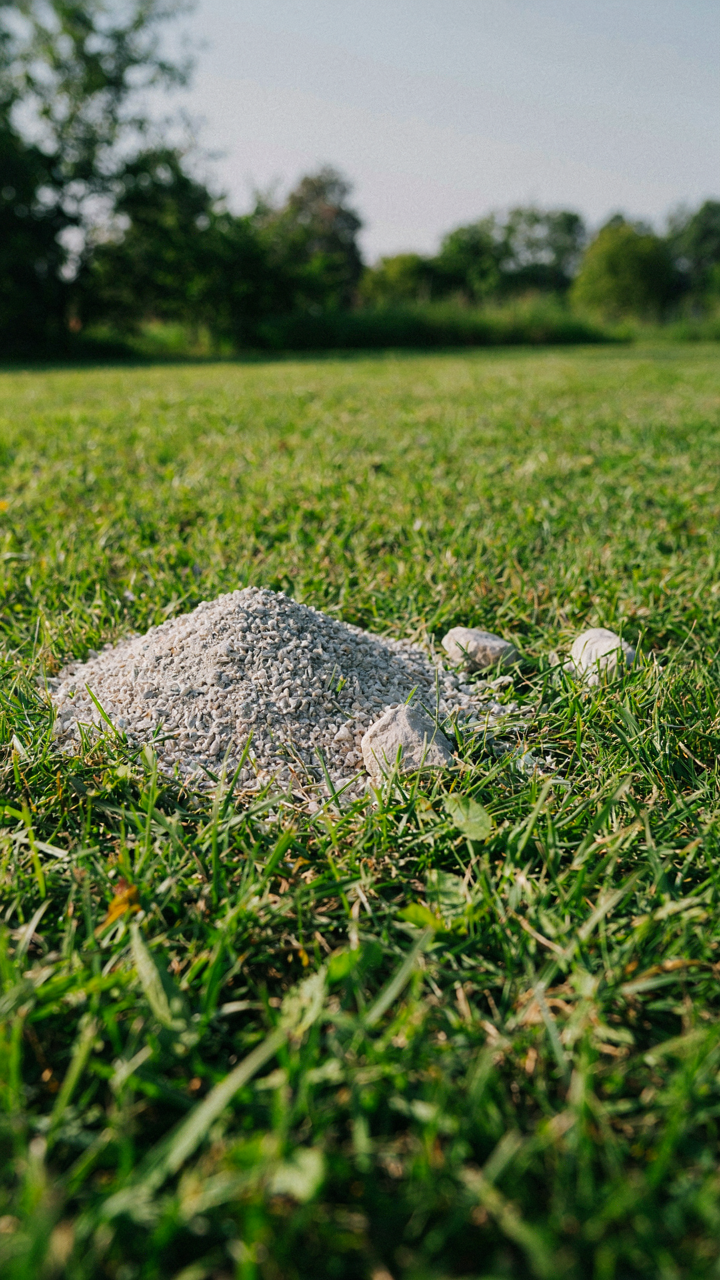
You want this to look intentional next year, not abandoned. Here’s the real mechanism: gravel and stone don’t stay put because gravity and water work against you constantly. Physics calls this entropy, the tendency toward disorder. Your fire pit area experiences the same force. Gravel migrates downhill, settles into compacted layers, and stone shifts as the ground beneath it shifts. The common advice to “just rake it occasionally” ignores the root problem. You need to understand what’s actually moving and why, then address it structurally rather than cosmetically.
The gap between your intention and reality widens every season. Winter freeze-thaw cycles crack stone. Rain compacts gravel into a dense, muddy base. Foot traffic creates divots. Most people treat this as a maintenance surprise when it’s actually predictable physics. The gravel wants to leave. The stone wants to settle. Your only leverage is working with these forces, not against them. A properly prepared base layer stops ninety percent of the decay before it starts.
Prepare The Base Like It Matters
Start beneath the surface, not on top of it. Dig down eight to ten inches where foot traffic happens most. Remove all organic matter, roots, and compacted soil. Lay landscape fabric directly on bare earth, then add a two-inch layer of crushed stone or river rock that won’t migrate. This base layer becomes your anchor. The gravel you see sits on top of this stable foundation. Without it, gravel sinks into the soil each season and you’re back to square one. The fabric prevents mud from pushing up through your stone, which extends everything’s lifespan by years.
Compact this base layer before adding decorative stone. Use a hand tamper or plate compactor if you’re doing a large area. You’re not trying to make concrete, just enough pressure to settle the base so it won’t move under your weight. This single step separates fire pit areas that hold up for five years from ones that look destroyed in two. When your base is solid, your gravel stays put and your stones don’t shift with seasonal changes.
Smokeless Fire Pit DIY: Achieving The Clean Burn
Fuel Choice And Airflow Control

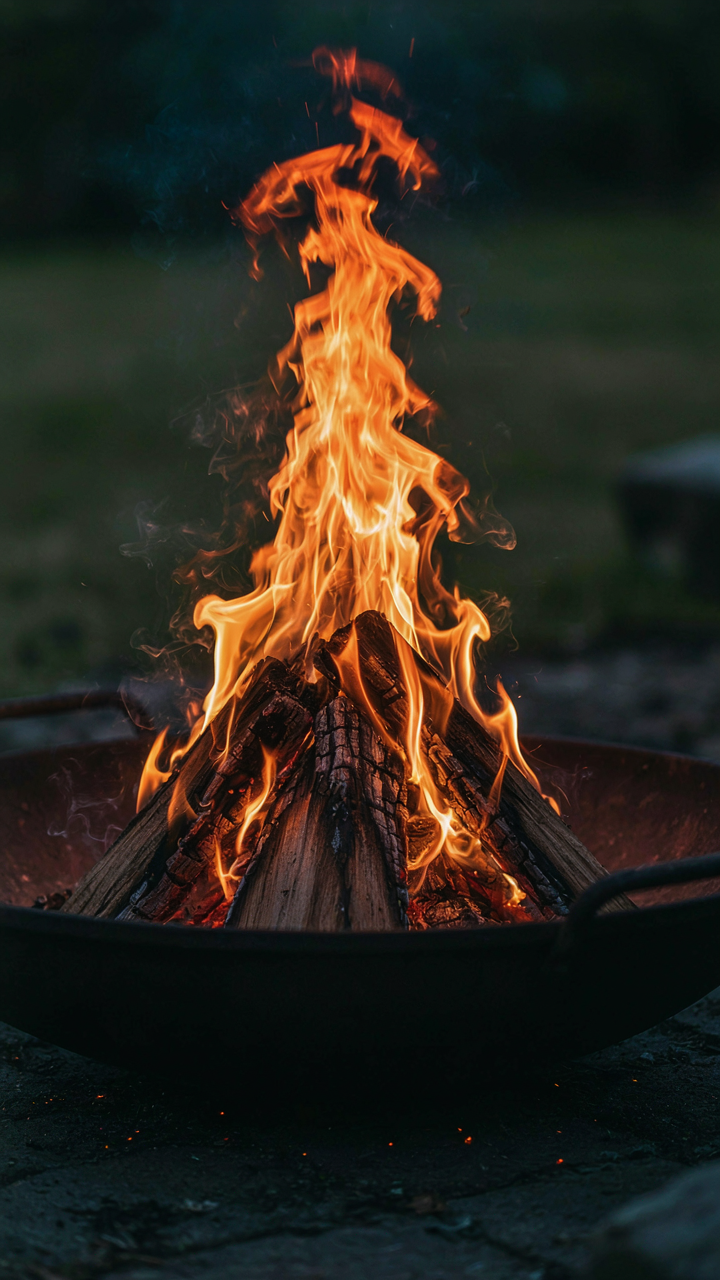
You want smokeless because you think it signals you’ve figured something out. The real mechanism is thermodynamics. A smokeless fire pit works by introducing secondary combustion, which physics defines as burning gases already released from the fuel. You need two things: the right fuel and forced air that reaches the flame zone, not just the base.
Hardwoods like oak and maple burn hotter and cleaner than softwoods because they contain less resin and moisture. Moisture is the enemy. Wet wood generates smoke by forcing the fire to waste energy evaporating water instead of burning volatiles completely. Store wood under cover for at least six months. Kiln-dried firewood reaches 15-20 percent moisture content. That’s your target. The airflow component isn’t optional. Without it, you get a regular fire that smokes. You need holes or vents positioned to push air up through the combustion zone, not around it.
Design Principles For Minimizing Smoke
The common advice is wrong here. People say “build it wider” or “use better stones.” Neither addresses the actual problem. Smoke persists because incomplete combustion happens at the flame interface, and you can’t fix that with geometry alone. You fix it with thermodynamic efficiency.
Stack your gravel and stone structure to create a natural draft effect. The pit walls should funnel rising heat upward while side vents pull cooler air inward and upward through the fire. Elevation matters. A pit dug two to three feet deep with vents positioned at the base creates a venturi effect that pulls oxygen to where combustion happens. Build or dig your pit to accommodate this simple physics principle. Add perforated metal grates at mid-height inside the pit. This separates fresh fuel from burning coals below and forces air through both layers. The result is consistent, near-complete combustion on minimal fuel.
The “Builder’s Mentality”: Your Fire Pit, Your Legacy
What You Actually Need To Buy

You want permission to stop overthinking this. Here’s the mechanism: constraint breeds execution. Budget forces you to prioritize materials by actual function, not marketing. The difference between a fire pit area that holds together and one that crumbles in two seasons comes down to selecting tools and materials that match the real stress they’ll face.
- Shovel and wheelbarrow: Move gravel and stone efficiently. A round-point shovel cuts through compacted earth; a square-point loads loose material faster. Skip both and you waste hours of labor you’ll regret.
- Landscape fabric: Prevents weeds from pushing through gravel. Lay it before the stone goes down. Without it, you’re maintaining constantly instead of enjoying the space.
- Circular saw with masonry blade: Cuts stone and pavers to fit irregular spaces. Renting costs 20 to 40 dollars per day. Cheaper than replacing poorly fitted materials next year.
- Level and tape measure: Ensures gravel base slopes slightly for drainage. Standing water kills the fire pit area’s longevity. Precision here costs nothing and prevents rot.
- Work gloves and dust mask: Gravel cuts hands. Stone dust damages lungs. Protection isn’t optional when you’re doing physical work solo.
The temptation is to skip tools and “make do.” This creates a different problem: poor execution that forces rework. You end up buying materials twice because the first installation didn’t account for drainage or settling. Buy or rent the right tools upfront. The cost compounds your savings, not against them.
Where Most People Derail Themselves
Common advice says “just compact your gravel and you’re done.” That’s incomplete. Compaction matters, but it’s one variable in a system that also requires slope, subsurface prep, and material selection based on local climate. Skip any one and your fire pit area becomes a mud pit by spring.
The real failure point is underestimating the base layer. People lay gravel directly on topsoil without removing it or adding landscape fabric. Topsoil settles unevenly. Weeds grow through. Water pools instead of draining. You’re not building a fire pit area, you’re building a maintenance job. Remove the top three inches of existing soil, compact the subsurface, add landscape fabric, then layer your gravel. This single protocol prevents ninety percent of deterioration. Skip it and you’ll excavate and rebuild within two years.
The Real Budget Isn’t Your Wallet; It’s Your Willingness To Do The Work
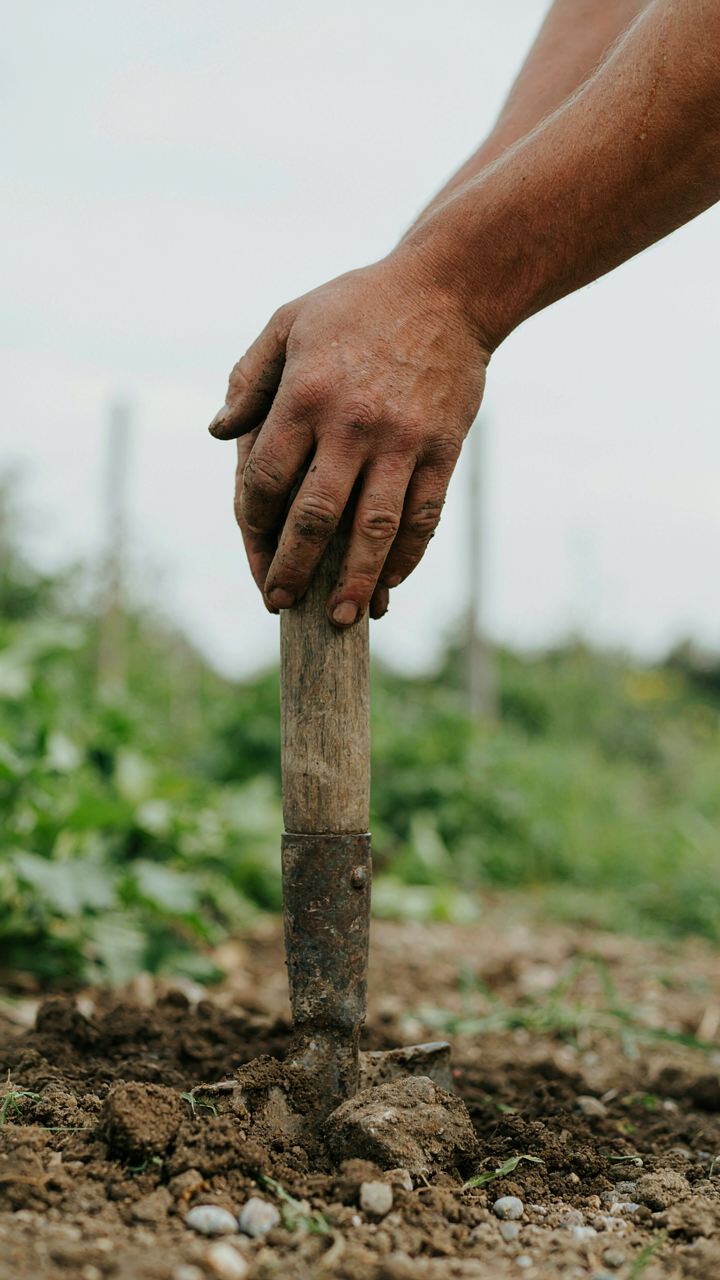
Most people don’t build a fire pit area on a budget because they won’t move rocks. They want the finished thing without the friction. You already know gravel costs nothing and stone does the job. The gap between you and a built fire pit isn’t money. It’s Saturday morning. Pick up a shovel today and move ten loads of stone. Your future self either thanks you or finds another excuse. The difference between broke and resourceful is one afternoon of actual work.



