
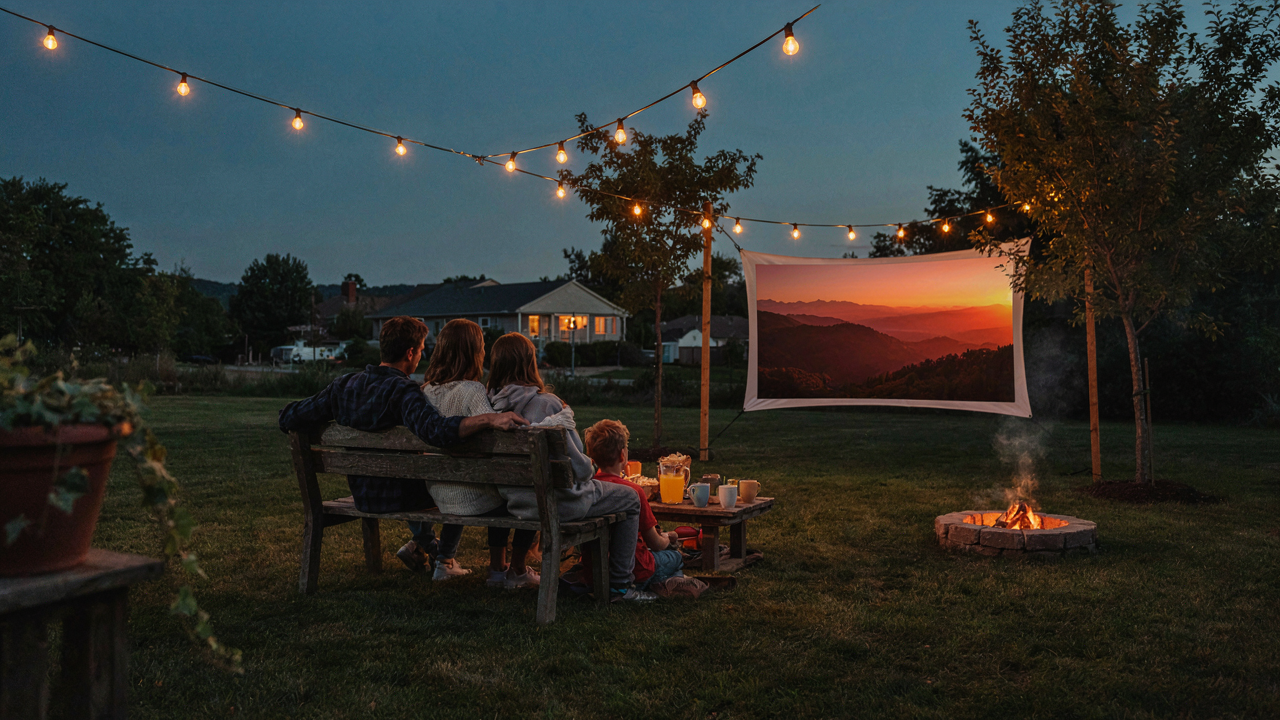
The “Good Enough” Material Fallacy
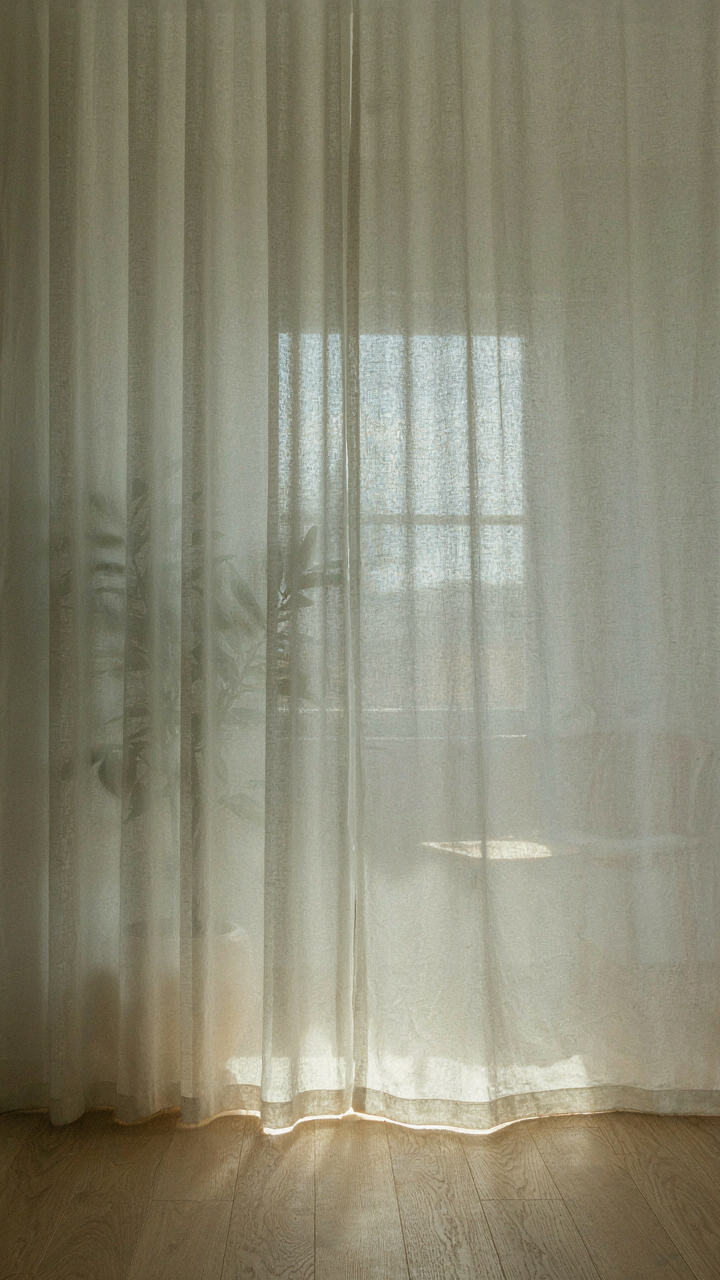
What Everyone Gets Wrong About Fabric
You want to believe cheap white fabric works because admitting otherwise means you wasted money or effort already. Here’s the mechanism: projection screens function through light diffusion, not reflection. Fabric density and weave pattern determine how light scatters back to viewers. Most budget materials fail because they either absorb too much light or scatter it unevenly, killing contrast and color accuracy before the projector ever matters.
Standard recommendation is bedsheet, canvas, or painter’s drop cloth. This advice is incomplete. These materials weren’t engineered for projection. They lack the tight weave structure needed to diffuse light uniformly across the viewing plane. White paint on plywood performs better than most fabric because it creates predictable scatter behavior. The real cost isn’t the material—it’s the image quality you surrender by choosing wrong.
The Weave Density Problem Nobody Names
Projection optics operate like signal transmission in communications engineering: the medium shapes the message. A loose weave acts like a noisy channel, introducing image degradation before it reaches your eyes. Tight weaves preserve contrast and color saturation because they control photon scatter direction. Fabric with inconsistent density creates hot spots and dead zones across the screen surface, making the center brighter than edges or vice versa.
Vinyl projection fabric and actual screen material cost more because manufacturers control fiber diameter and spacing to specification. You can replicate this with tight-weave cotton sailcloth or event backdrop fabric, but you must verify weave count before buying. Hold it to light and count threads per inch. Anything under 120 threads per inch loses image detail and blacks become gray. Test your actual material with your actual projector before mounting it permanently.
Beyond The White Sheet: Optimizing Reflectivity
Why Contrast Actually Matters

You want people to think your screen looks expensive. That’s fine. But here’s what you’re actually solving: light physics doesn’t care about your budget. Contrast is everything. Borrowed from optics, gain measures how much light reflects backward toward viewers versus scattering sideways into the night. A white sheet reflects maybe 80 percent of light uniformly in all directions. Your screen needs directionality. The brighter your projector, the more you can afford sloppy reflection. The dimmer it is, every photon counts.
The real issue most people miss is that reflectivity alone doesn’t drive image quality. A mirror reflects nearly 100 percent of light but destroys the image. You need reflection that’s both high and diffuse enough to spread light across a viewing area without hotspots or wash-out zones. This is where material choice becomes tactical rather than aesthetic. The surface texture determines whether people in the center see brilliant color while edge viewers get a dim, washed-out disaster.
Paint Choices For Image Fidelity
Most recommendations suggest “outdoor white paint” or “projection screen paint.” That’s lazy. Outdoor paints prioritize weather resistance, not reflection characteristics. Projection screen paint typically contains micro-beads or high-quality titanium dioxide that scatter light at specific angles. The difference matters: standard exterior paint reflects around 75 to 80 percent. Purpose-built screen paint hits 85 to 95 percent depending on the formula.
Your actual decision tree is simpler than it sounds. Flat or matte latex paints cost less and deliver acceptable results for small screens in dark yards. They reflect light diffusely without gloss-related hotspots. If your space gets ambient light or your projector is underpowered, acrylic-based projection screen paint pays for itself through usable brightness. Apply three thin coats rather than two thick ones. Thin coats dry faster, cure more evenly, and prevent the uneven gloss that kills contrast across the screen surface.
The Structural Integrity Protocol For Your Diy Backyard Movie Screen
Wind Resistance Engineering For Stability
You want this thing to not collapse on your guests because you cheaped out on the frame. Here’s the actual mechanism: wind doesn’t push equally. It creates pressure zones. Physics borrowed the term “drag coefficient” from aerodynamics, and your screen has one whether you acknowledge it or not. A flat surface perpendicular to wind catches maximum force. The wider your screen and the less bracing you install, the higher the coefficient. This determines whether your frame bends or snaps.
PVC frame alone fails because it has zero lateral rigidity. Wind hits the screen fabric, transfers force through the joints, and PVC flexes. You need diagonal bracing on both the front and back faces. Steel cable run corner-to-corner, tensioned with turnbuckles, kills the wobble. Anchor points matter more than material. Four guy-lines at forty-five-degree angles driven into ground anchors outperform a frame twice as thick without them. Test your setup by pushing on the screen hard with your hand. If it moves more than half an inch, your bracing is insufficient.
Frame Materials Beyond Pvc
The common advice says PVC is cheap, so use PVC. That’s incomplete. PVC works for small screens under six feet wide, but it sags under its own weight and degrades in UV exposure within two years. The real problem nobody states plainly: you’re choosing between low upfront cost now and structural failure later.
Pressure-treated wood two-by-fours cost slightly more than PVC and outlast it by five years minimum. Wood doesn’t UV degrade. It handles lateral loads better because joints are solid. Aluminum extrusion costs double PVC but requires no bracing and weighs half as much. Pick wood if you’re building once and keeping it. Pick aluminum if you move or rebuild yearly. Steel pipe costs the most but handles any screen size without doubt. Bolted connections matter more than the material itself. Test your frame with a twenty-pound weight hung at the center span. It should deflect less than a quarter inch.
Acoustic Dominance: Sound, Not Just Volume
Where Your Speakers Actually Go

You want people to feel like they’re inside the movie, not watching it from a parking lot. That’s the real driver here. Speaker placement is borrowed directly from acoustic engineering, where the concept of “critical distance” determines how far sound travels before room reflections overwhelm the direct signal. Outdoor environments have no walls to fight, so you’re competing against open air dispersal instead. Place your main speakers at screen height, angled slightly downward toward ear level of seated viewers. Flanking speakers go at 45-degree angles from screen center, never behind the audience.
Distance matters more than power. Sound drops 6 decibels for every doubling of distance from the source. A speaker 10 feet away delivers twice the perceived volume of one 20 feet away, regardless of wattage. Position your left and right channels so the nearest viewer sits within 15 feet of both speakers simultaneously. This creates an acoustic sweet spot where dialogue stays centered and effects wrap around without phase cancellation. Subwoofers belong on the ground, front-left or front-right of the screen, not buried in grass where soil dampens low frequencies before they reach ears.
Killing Reflections Before They Start
Most outdoor screen setups fail because people obsess over speaker quality and ignore what the sound actually bounces off. Reflective surfaces destroy immersion faster than bad audio. Concrete patios, wooden decks, and vinyl fencing all act as mirrors for sound waves. The mechanism is simple: direct sound reaches you first, reflected sound arrives 20-50 milliseconds later, and your brain perceives this delay as echo or muddiness. Break reflection patterns by placing soft materials strategically around your viewing area, not by trying to deaden the entire yard.
Heavy fabric absorbs mid and high frequencies where dialogue lives. Hang moving blankets or weatherproof tarps on frames behind the audience seating, angled to catch sound bouncing off hard surfaces behind them. Position them 6-8 feet back, slightly elevated. For ground reflections off patios, lay down outdoor rugs or tarps in the listening zone itself. Bass frequencies need mass to absorb, so burying a subwoofer partially in mulch or placing it against a dense shrub reduces boomy reflections. Test by clapping sharply and listening for echo. If you hear a distinct repeat, that surface needs treatment. Position dense landscaping or fabric barriers between that surface and your seating area.
The Light Leak Doctrine: Eradicating Ambient Interference For Your Diy Projector Screen Outdoor

Blocking Stray Light With Physics Principles

You want this to work because you’ve already spent money and time, and failure means admitting the whole thing was pointless. Here’s what actually matters: ambient light doesn’t scatter randomly—it obeys the inverse square law, meaning intensity drops with distance from the source. Your screen fights this by absorbing stray photons before they reach the fabric. A projector outputs 2,000 to 5,000 lumens in a home theater. Outdoor ambient light—from streetlamps, moon, nearby buildings—competes directly. You need material that absorbs, not reflects. White fabric fails because it bounces light back.
Paint or fabric with high absorption coefficients work. Matte black paint absorbs 95-99% of visible light wavelengths. Blackout fabric does the same. The mechanism: surface texture breaks up incoming rays so they trap energy as heat instead of bouncing back to your eye. Don’t use glossy white paint or vinyl. That’s the common advice that fails. You want a surface that murders light, not one that plays nicely with it.
Strategic Positioning For Peak Darkness
Placement beats material quality nine times out of ten. You can’t build a screen that defeats physics, but you can build one where physics works for you instead of against it. Position your screen perpendicular to your primary light source—streetlamps, the setting sun, porch lights. Not at an angle. Perpendicular means incoming light hits the surface head-on, maximizing absorption instead of glancing off at angles where your eye catches reflections. Distance matters more than you think. A screen fifty feet from a streetlamp performs better than one twenty feet away, even with identical material.
Timing compounds positioning. Late summer and fall offer longer twilight windows where ambient light drops faster. Screen height changes trajectory too. Elevating your screen reduces ground bounce and light reflecting off grass or concrete beneath it. Build the frame so the screen sits four to five feet above ground level minimum. Lower positions catch reflected ambient light off earth surfaces. Measure your site’s light output in foot-candles at showtime using a basic light meter app on your phone, then position your screen in the darkest zone of your yard.
Powering Your DIY Backyard Theater: Off Grid Ingenuity
Solar Solutions For True Independence

You want this because grid dependency feels like a trap. Here’s what nobody says plainly: solar power for outdoor screens operates on the same load-matching principle that electrical engineers call impedance matching. Your projector and audio system draw specific wattage at specific voltages, and solar panels must be sized to meet that demand in real time, not wishfully. A 300-watt projector running for four hours needs roughly 1,200 watt-hours of generation capacity, assuming decent sunlight. This isn’t negotiable physics.
Polycrystalline solar panels are the practical choice for budget builds. They’re cheaper than monocrystalline variants and handle diffuse light reasonably well during afternoon cloud cover. Mount panels on a south-facing roof or ground rack at your site’s latitude angle for peak seasonal output. Size your array 25 percent larger than peak load requirements to account for weather variance and panel degradation over time. Direct DC wiring from panels to an inverter eliminates conversion losses and keeps setup simple.
Battery Backup Considerations
The common advice here is wrong: bigger batteries aren’t always better. Batteries serve one purpose in this setup: they bridge the gap between insufficient real-time solar generation and your equipment’s power demands. A lithium iron phosphate battery bank rated for 2,400 to 3,600 watt-hours handles a typical four-hour movie session with comfortable margin. This isn’t excessive capacity. It’s calibrated to the actual runtime you need.
Charge controller selection determines whether your battery bank survives beyond one season. Use a maximum power point tracking controller, not a basic PWM regulator. MPPT controllers extract 15 to 25 percent more energy from solar panels by continuously adjusting the voltage-current relationship. Pair this with a pure sine wave inverter rated at 150 percent of your peak equipment draw to handle startup surge from projector lamps. Wire battery terminals with properly sized cable and include a disconnect switch for maintenance and safety.
The “Ephemeral Experience” Blueprint For Your Backyard Movie Screen
Assembly Without The Friction

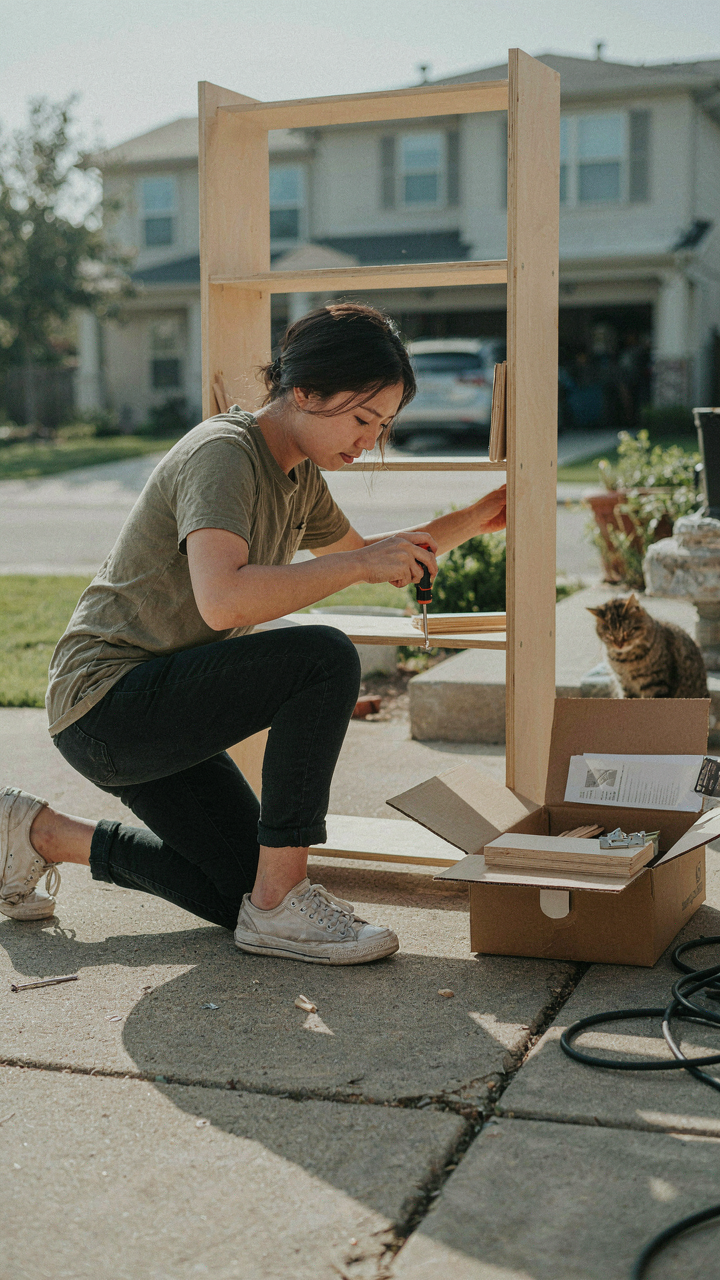
You want this to feel easy so you actually do it instead of letting it sit in the garage for two years. That’s the real reason you care about setup speed. The mechanism is borrowed from logistics: minimize touchpoints. Every time your hands move to a different task, you lose momentum and introduce failure points.
- PVC frame with slip fittings: Pre-cut lengths connected via push-fit connectors eliminate the need for glue, tools, or measuring. Disassemble by hand in under three minutes.
- Velcro attachment system: Sew or glue industrial-strength Velcro strips to screen fabric and frame edges. Removes guesswork and keeps fabric tight without hardware.
- Premeasured stake kit: Bundle tent stakes with labeled cord lengths so you grab the right anchor without thinking. Reduces setup from ten minutes to four.
- Color-coded connectors: Paint frame joints in matching pairs. Your brain recognizes patterns faster than reading labels, cutting assembly confusion by half.
- Foldable transport cart: Wheels make moving assembled sections from storage to yard a single trip instead of four. Reduces back strain and setup resistance.
The math is simple: fewer decisions equal faster execution. Once you’ve assembled the frame twice, your hands memorize the pattern. Takedown follows the reverse sequence. Store components in labeled bins the moment you disassemble, not days later when you’ve forgotten where everything goes. This friction point kills most DIY projects.
Climate Control For Fabric Life
Storage determines whether your screen lasts three years or turns brittle in one. This isn’t about wrapping it carefully. It’s about managing the three environmental killers: UV exposure, moisture, and temperature swings.
Store your screen indoors in a cool, dry space away from direct sunlight. A basement or climate-controlled garage works. If you must use a shed, line it with a vapor barrier to prevent condensation. Roll the fabric rather than fold it to avoid permanent creases that weaken fibers. Moisture is the actual enemy here, not dust. Mold grows in damp fabric and accelerates deterioration. Before storing, let the screen dry completely after any outdoor use. Never store fabric that’s still wet from dew or cleaning. Inspect annually for spots or discoloration. Early intervention prevents total compromise.
Projector Selection: The Hidden Specs That Matter
Lumens Versus Contrast: The Real Battle
You want to buy the projector that looks best in reviews because you’re afraid you’ll buy wrong and waste money. Here’s the mechanism: lumens and contrast are competing priorities, not collaborative ones. More lumens demand a brighter lamp, which generates heat and reduces the lamp’s lifespan. Higher contrast requires darker blacks, which means less ambient light tolerance. You cannot maximize both simultaneously. Outdoor screens demand lumens because ambient light erases dim images. Indoors, contrast wins because you control darkness.
For outdoor movie screens, lumens matter more than contrast ratios because no blackout curtain exists. Most outdoor setups need a minimum of 3000 lumens to produce a watchable image in twilight conditions. A projector rated at 5000 lumens with 2000:1 contrast will outperform a 2000 lumen projector with 5000:1 contrast in your backyard. Choose lumens first, then accept the contrast ratio the manufacturer paired with it. Stop chasing specs that sound premium but underperform in actual conditions.
Throw Ratio Myths Exposed
The throw ratio is distance divided by screen width, borrowed from optical physics where magnification determines focal length. Everyone says “check your throw ratio to match your space,” which is incomplete advice that wastes your setup time. The real issue: throw ratio determines whether your projector fits physically in your yard, not whether the image looks good. A short throw ratio (0.5 to 1.5) lets you place the projector close to the screen. A long throw ratio (2.0 and above) requires significant distance behind or beside the screen.
Most outdoor setups fail because people measure their yard once, buy a projector, then discover it cannot focus properly at the angle they need. Measure the exact distance from your proposed projector location to the screen position. Calculate the required throw ratio by dividing distance by desired screen width. Buy a projector within that throw ratio range, then verify focus quality at actual viewing distance before finalizing purchase. The throw ratio is a constraint, not a preference.
The “User Experience” Funnel: Beyond The Image For Your DIY Outdoor Theater

Comfort Considerations For Guests

You want people to remember your event, not your cheap seating. The mechanism is simple: discomfort breaks attention. Your brain can’t process a movie and a numb tailbone simultaneously. Most budget setups ignore this entirely, treating seating as an afterthought. You’re competing against their living room couch. If your outdoor setup punishes them physically, they’re mentally checking out by minute twenty.
Ground temperature matters more than people admit. Concrete and packed earth pull heat from your body fast. Grass absorbs moisture and transfers it upward. Cheap folding chairs create pressure points that activate pain receptors within ninety minutes. Your screen quality becomes irrelevant if guests are shifting positions constantly. Test your seating arrangement solo for two full hours before inviting anyone.
Peripheral Distractions: The Cybernetic Approach
Cybernetics teaches us that any system responds to feedback loops. Your outdoor movie screen isn’t just catching light, it’s managing signal-to-noise ratio in your guests’ visual field. Remove distractions, and attention locks in. Leave them present, and you’re fighting your own environment. Porch lights, phone screens, movement in the yard, trees rustling in wind—these aren’t minor annoyances. They’re interrupts that reset focus repeatedly.
Darkness is the only real controller here. You can’t eliminate all peripheral stimulus, but you can starve it of light. Position the screen so the yard behind it is completely black. Use only amber or red task lighting for pathways before the movie starts. Kill that light once the film rolls. Sound becomes your secondary controller—volume should mask ambient noise without fatiguing listeners. Test the setup with three people sitting in different zones before the actual event.
Weatherproofing: The Unsexy Necessity For Your Diy Backyard Projector Screen
Material Resilience To Elements
You care about this because a destroyed screen means wasted money and wasted weekends. Here’s the mechanism: outdoor materials fail through UV degradation and thermal cycling, not because they’re inherently weak. Think of it like material fatigue in structural engineering—repeated stress cycles break bonds faster than one catastrophic event.
Vinyl and polyester degrade at different rates depending on coating quality. Uncoated polyester loses tensile strength within two seasons in direct sun. White vinyl with UV inhibitors lasts four to six years if you buy commercial grade, not the thin stuff from big-box stores. The difference is the stabilizer package mixed into the resin. Cheap vinyl skips this step to hit a price point.
Drainage And Moisture Mitigation
People think moisture damage happens only from rain. Wrong. Condensation kills screens faster because it traps water against the material surface. When warm air hits a cool screen at night, water pools in the frame joints and weep holes you never installed.
Build a slight downward slope into your frame so water runs off instead of pooling. Drill quarter-inch drainage holes at the lowest points of your frame corners and along the bottom rail. Use stainless steel hardware because galvanized rust bleeds onto the screen and stains it permanently. Cover the screen completely when rain is forecast, or accept that you’ll need to replace it every three to four years instead of every five to six.
The Real Obstacle Isn’t Your Budget; It’s Your Imagination Shackled By Retail Solutions
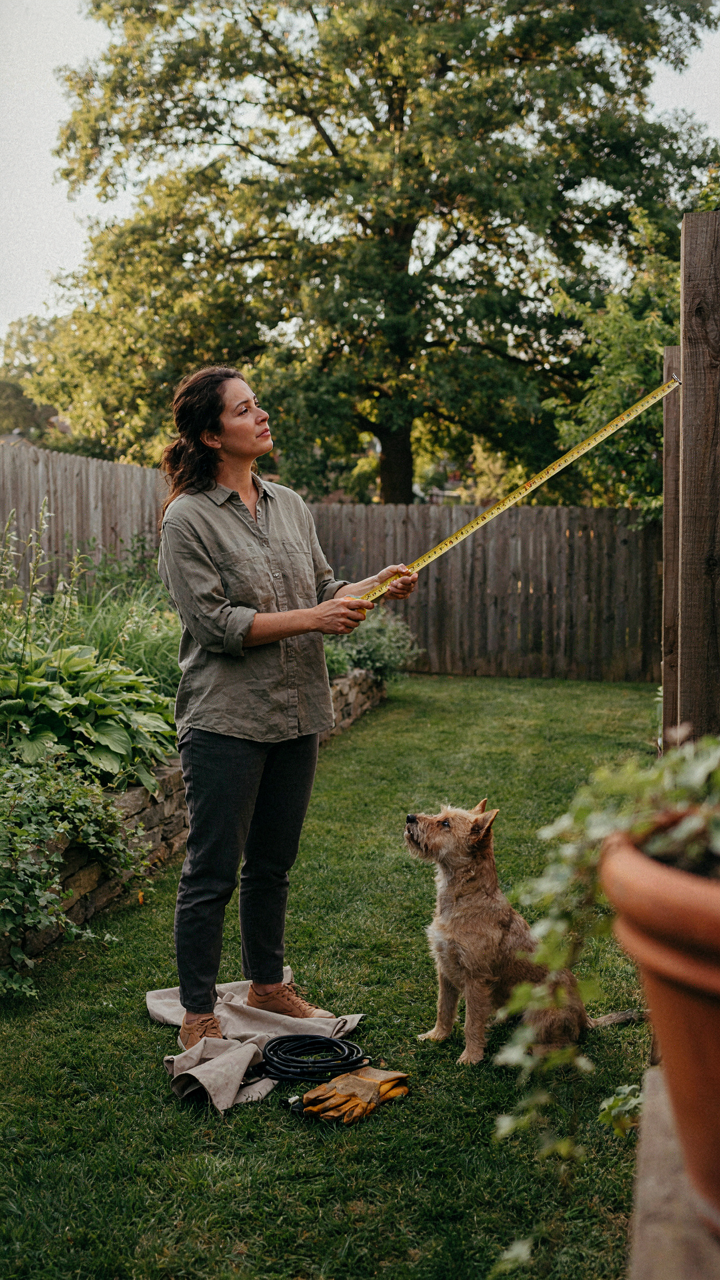
You’ve been conditioned to believe outdoor entertainment requires buying the thing. A DIY outdoor movie screen breaks that spell. Stop scrolling product pages today. Instead, grab a tape measure and walk your backyard. Find your wall, your trees, your angle. Sketch it rough. The screen you build from scratch costs less and works better because you designed it for your specific space, not some generic suburban yard. Stop consuming solutions. Start building them.



