
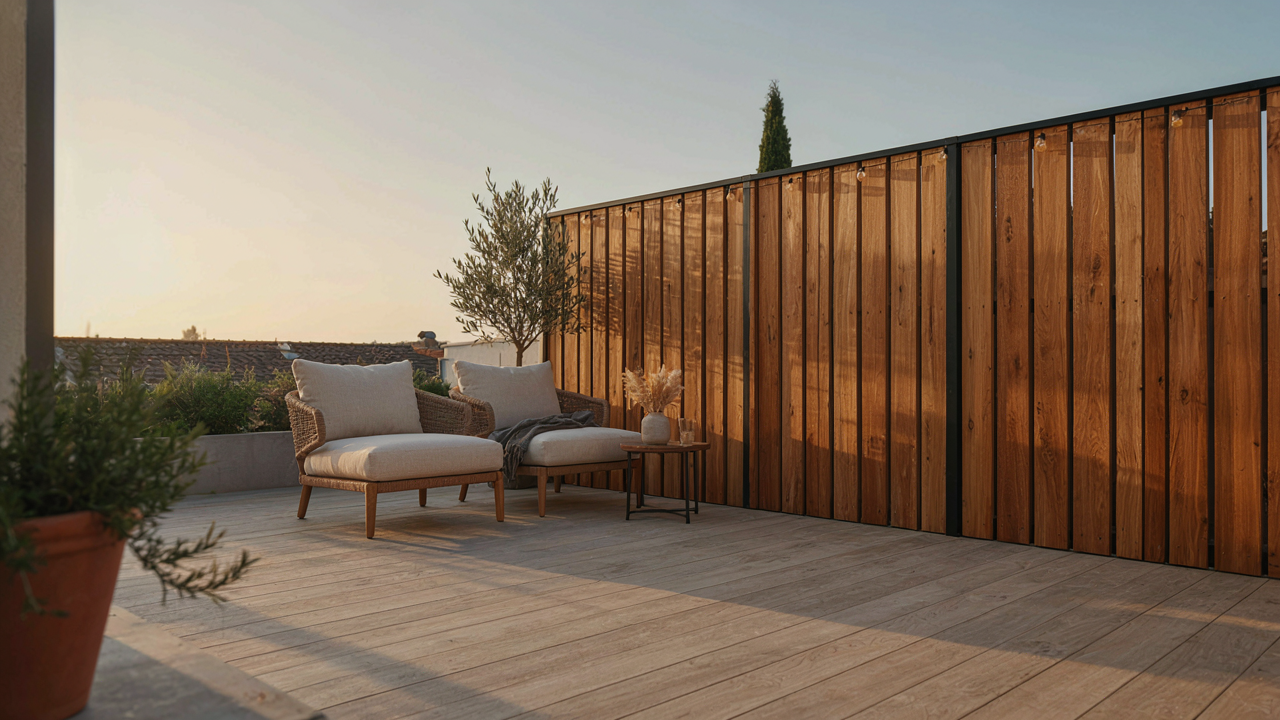
The Myth Of The Quick Fix Diy Privacy Screen
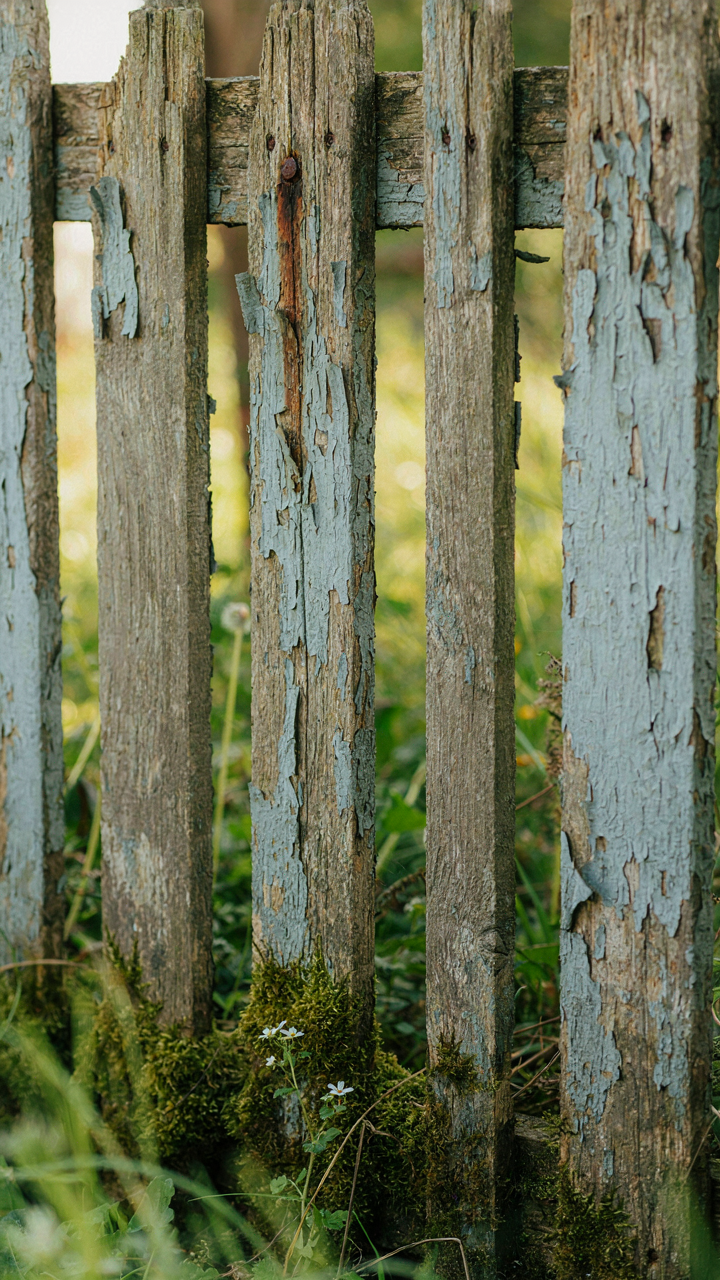
Why Conventional Screens Fail Long Term
You want to believe a privacy screen solves your problem in a weekend. The mechanism at work here is simple: wood rots, metal rusts, and fabric degrades when exposed to moisture and UV light cycles. Most DIY screens fail because builders ignore material durability as a design constraint rather than treating it like economics treats scarcity. You can’t escape thermodynamics. Water infiltrates joints, freeze-thaw cycles crack connections, and sun exposure breaks down polymer bonds in synthetic materials within three to five years.
The conventional advice says “just stain it every year.” That’s incomplete. The real failure point isn’t the surface coating. It’s the connection details where materials meet. Bolted joints collect water. Butt joints without flashing invite rot at the grain. Untreated lumber absorbs moisture like a sponge, expanding and contracting seasonally until fasteners loosen and panels shift. A screen that looked solid in month six starts visibly sagging by year three. The structure didn’t fail because you picked the wrong paint. It failed because the assembly method accelerated water penetration into stress points.
The Hidden Costs Of Cheap Solutions
Buying pressure-treated lumber or vinyl panels costs less upfront, so you skip the structural redundancy that extends lifespan. Budget constraints create false economy. A fifty-dollar privacy screen panel from a big box store uses fasteners rated for indoor use and joinery designed for temporary installation. Replace that hardware with stainless steel and increase your connection spacing by half, and you’ve tripled your material cost but cut your five-year replacement cycle to fifteen years. Most builders don’t do this math because they’re optimizing for initial spend, not cost per year of service.
The hidden cost emerges when you factor in replacement labor. Removing a failed screen takes as long as building one. You’re not saving money by going cheap on materials. You’re distributing the same cost across more installation cycles. A screen built with galvanized fasteners, sealed joints, and treated wood costs forty percent more initially but doesn’t need replacement for a decade. The screen built with standard fasteners and untreated lumber needs rebuilding in five years. Pay once or pay twice. The mechanism is simple: cheap materials compress your ownership timeline into shorter intervals, creating compounding labor and disposal costs that dwarf the initial savings.
Defining Your Secluded Entertaining Zone
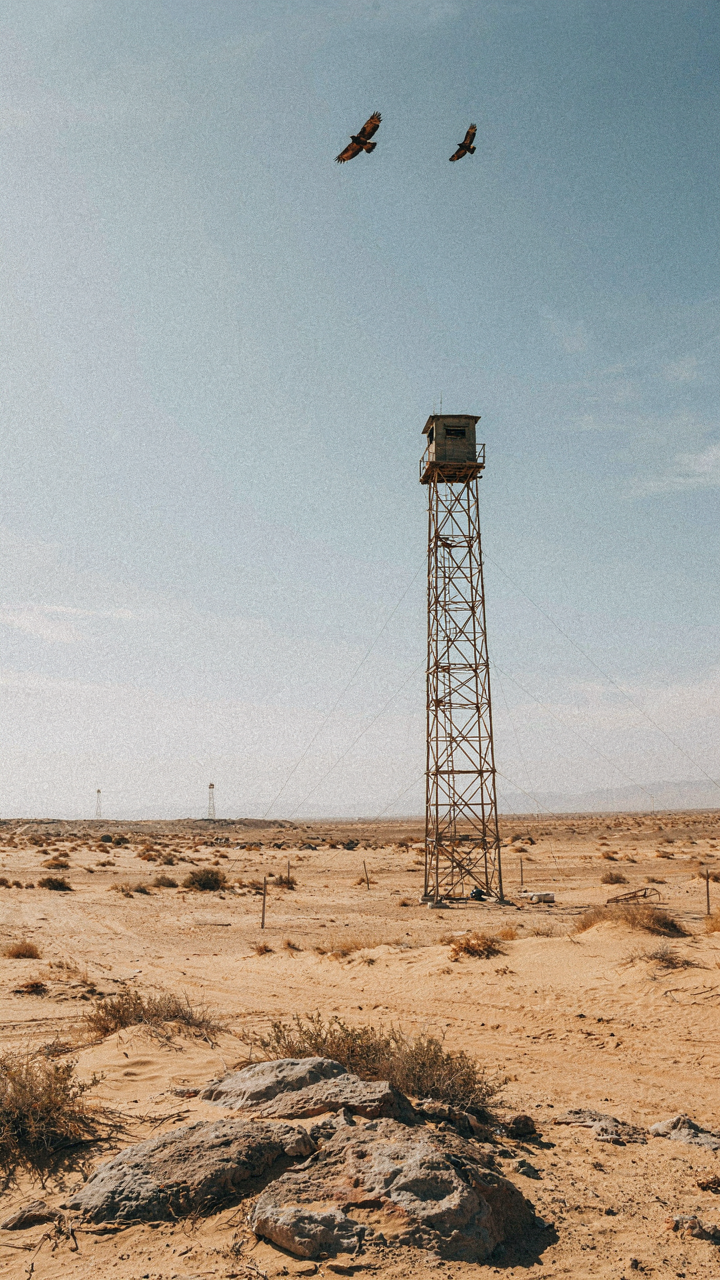
Where Your Neighbors’ Eyes Actually Land

You’re building this screen because you want to feel unwatched, not because you need one. That distinction matters. The real mechanism here is borrowed from military doctrine: a defensible perimeter depends on knowing where threat vectors originate, not where you think they do. Most people sketch sightlines from eye level standing in their yard. That’s incomplete. You need to map intrusion points: the second-story window across the street, the slight elevation of the neighbor’s deck, the gap between their fence and garage where they walk their dog.
Stand in your yard at different times of day. Sunlight changes angles. Morning light from the east exposes you differently than evening light from the west. Mark on paper where actual sight vectors enter your space, not theoretical ones. The neighbor’s roof view matters more than ground level. The delivery driver’s perspective from the driveway matters. You’re not building a barrier for cameras. You’re blocking human vision cones from specific, identifiable vantage points around your property perimeter.
How You’ll Actually Use The Space
Don’t map the screen first. Map the activity. Where do you entertain: near the house or at the far end of the yard? Do you need privacy for a seated dinner table, a standing cocktail area, or movement paths between zones? The screen placement solves nothing if it’s positioned for the space you think you should use instead of the space you will use.
Measure the frequency and duration of your actual yard time. A screen blocking the 3 PM sightline serves you only if you’re entertaining between 1 and 4 PM. Year-round use demands different coverage than seasonal use. Winter deciduous trees create exposure gaps neighbors exploit in cold months. Position your high-value activity zones where screen coverage aligns with your actual schedule and the neighbor’s actual viewing windows. This determines material height, density, and placement angle.
Beyond Blocking: The Seclusion Protocol For Yard Privacy
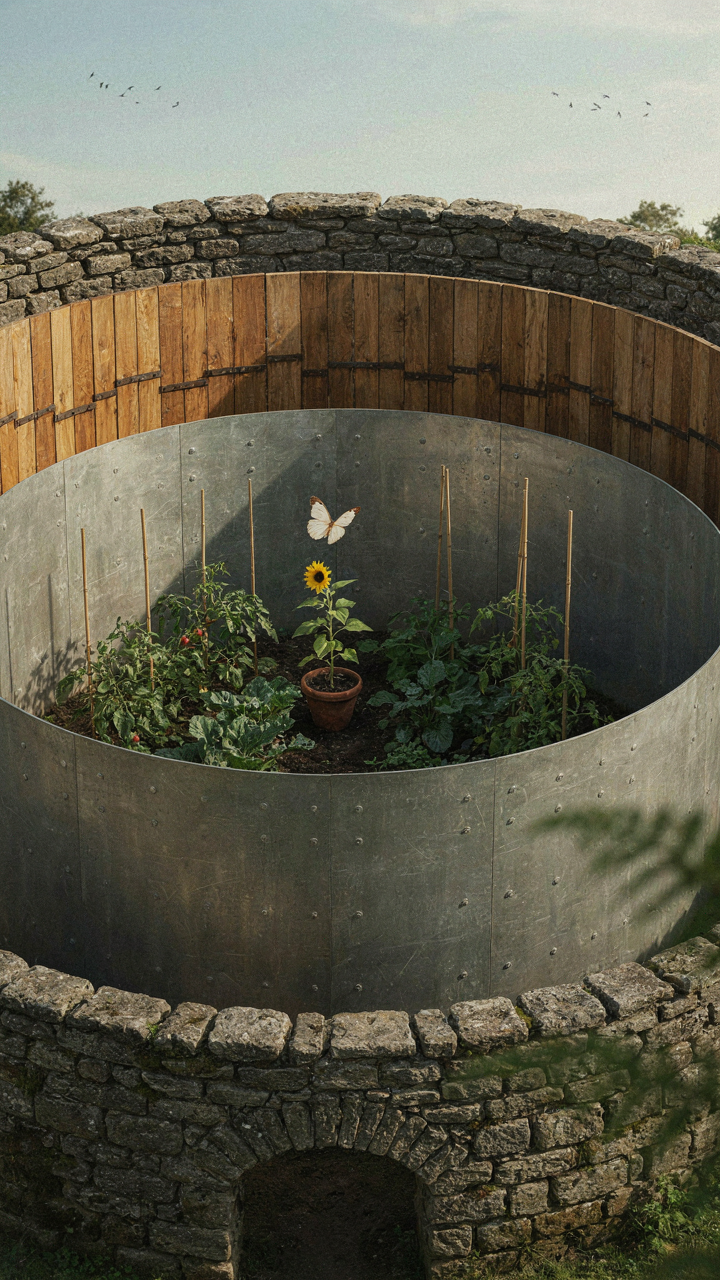
Layered Barriers Stop Sight Lines
You want privacy because you’re tired of performing for neighbors. The real mechanism comes from military strategy’s “defense in depth” principle: stack independent barriers so that penetrating one doesn’t expose you. A single fence fails when someone moves. Multiple offsets, heights, and materials force an observer to move three times just to see your space.
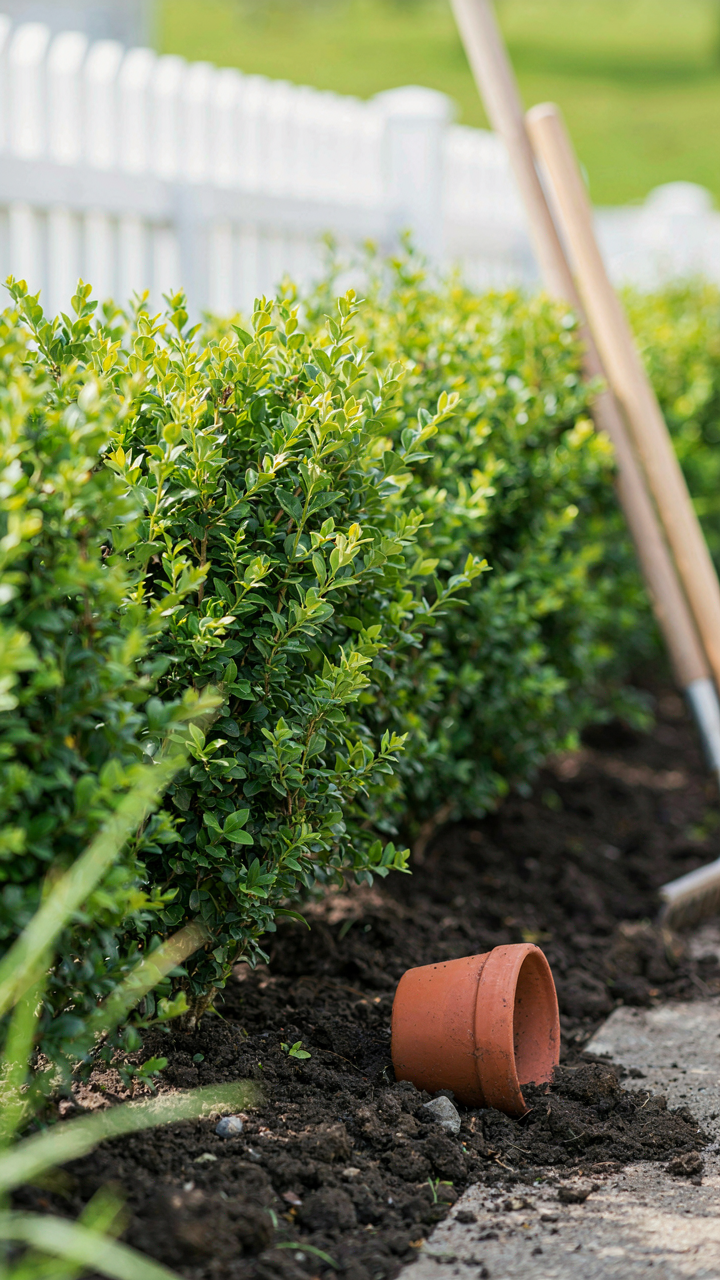
Most DIY privacy builds rely on one element. A fence alone gets defeated by sight angles. Vegetation alone thins in winter. Combine them in sequence and you’ve stopped the problem at entry, mid-distance, and close range. Each layer absorbs line-of-sight from a different vantage point. The fence blocks ground-level angles. Shrubs block mid-height views from ten feet out. Climbing vines on a trellis block sight from directly adjacent. You don’t need them all, but stacking them means failure of one doesn’t expose you completely.
Distance Breaks The Observation Chain
Concentric zones of diminishing visibility operate on basic physics: sight lines weaken with distance and obstruction density. Start at your entertaining area and work outward in rings. The innermost ring is what you want private, surrounded by dense plantings or structures. The next ring out is semi-private, using medium-height screens. The outermost ring uses distance itself as the buffer, relying on sight line angles flattening as they extend.
People assume taller always works. It doesn’t. A six-foot fence thirty feet from your patio leaves you exposed to views from elevated positions. A four-foot fence eight feet out, layered with shrubs, stops most ground-level observation immediately. Your build order matters: start from where you entertain and work backward. Each zone needs its own height and density logic, not uniform coverage. The protocol is to map your neighbor sightlines first, then place barriers specifically to interrupt them.
Architectural Elements For A Backyard Privacy Screen

Where Your Screen Actually Goes

You want people to think you’re private because you have good taste, but what you really need is a screen that stops sight lines before they start. This isn’t about decoration. Strategic placement is geometry. You measure sightlines the way a military strategist maps approach routes—the goal is disruption, not beauty.
Most people put screens where they look good. Wrong move. Put them where eyes actually enter your space. Identify the exact points where neighbors’ windows, street views, and adjacent properties create exposure. A six-foot fence placed three feet from your property line blocks differently than one placed ten feet back. Depth matters more than height because it forces sight angles to become oblique. Draw this on paper before you build.
Function Builds The Form
Everyone separates aesthetics from purpose, then acts shocked when their screen fails both. The real design principle is integration—your privacy structure must also handle wind load, water drainage, and thermal mass if you’re entertaining in winter. A wall that only blocks sight but channels wind gusts into your seating area solves nothing.
Composite screening materials like vinyl lattice or composite fencing deliver both functions simultaneously. They stop view penetration while allowing air movement that prevents wind tunneling. Solid walls need strategic gaps or angled tops to redirect wind rather than resist it. Establish what you actually use your backyard for—entertaining, meditation, noise reduction—then design the structure to solve all three at once, not just one.
Living Walls: Organic Garden Privacy Screens
Plants That Actually Grow Fast
You want a living screen because it looks intentional, not because you actually believe a hedge will solve your problem in a year. Here’s the mechanism: growth rate depends on three things—species genetics, water availability, and soil nitrogen. Pick the wrong plant and you’re waiting five years while your neighbors watch your entertaining.
Bamboo grows three feet per month in its active season because it’s essentially a grass with a structural engineering problem. Clumping varieties like Fargesia robusta won’t invade your neighbor’s yard. Privet grows two to three feet annually and tolerates poor soil. Photinia, arborvitae, and leyland cypress all hit two to three feet yearly in temperate zones. Willow varieties grow even faster but need consistent moisture and pruning discipline or they become leggy disasters.
Trellising And Layered Coverage
The common advice says to just plant things and let them grow. That’s incomplete. Layered screening works on the principle of depth interruption—you’re not blocking line of sight with one thing, you’re breaking it across multiple planes. A trellis plus climbing vines plus low shrubs creates functional privacy faster than density alone.
Install sturdy frames first—wire, wood lattice, or steel cable systems that support weight. Climbing vines like clematis, climbing hydrangea, or ivy establish on these structures while slower background plants mature. Train vines horizontally across wires to fill gaps faster than vertical growth. The trellis becomes the skeleton; the plants fill it in. This staggered approach gives you usable privacy in year two instead of year four while permanent plantings take root beneath.
Sound Management: The Unsung Hero Of Seclusion
Water Features And Plantings Create Acoustic Layers

You want people to think your backyard is isolated because isolation signals status and control. But isolation requires solving a mechanical problem: sound travels in straight lines until it hits something that bends, absorbs, or scatters it. Water and plants are acoustic baffles that interrupt these pathways instead of just blocking them. Moving water disrupts neighbor noise with competing frequencies. Dense plantings scatter sound waves before they reach your entertaining space.
Water features work because the turbulence creates broadband noise that masks specific sounds from adjacent properties. A fountain or small pond doesn’t need to be loud to be effective. The randomness of splashing breaks up the coherence of traffic noise and conversation. Plantings amplify this effect by adding a second baffle layer. Trees and shrubs with dense foliage slow sound propagation and reduce its intensity as it travels through branches and leaves.
Material Choices Determine What Sound Does
Most people think privacy screening is visual only. That’s incomplete. Hard surfaces like vinyl fence panels and metal reflect sound back toward the source. Soft, porous materials absorb it. Brick, dense wood, and composite panels absorb more sound than aluminum or thin plastic. The material choice determines whether you’re creating an acoustic dead zone or just redirecting noise back across the property line.
Sound absorption happens when waves enter a porous material and lose energy as friction. Thick wood fencing absorbs mid to high frequency noise. Lattice panels stuffed with fabric or filled with plants work better than open frameworks. Hybrid screens combining rigid backing with sound-dampening fill outperform single-material designs. Install dense material facing the noise source, not your entertaining area. The baffle only works when positioned correctly relative to where sound originates.
Illumination And Ambiance: Controlling The Outdoor Privacy Screen View
Light Placement For Mood And Concealment

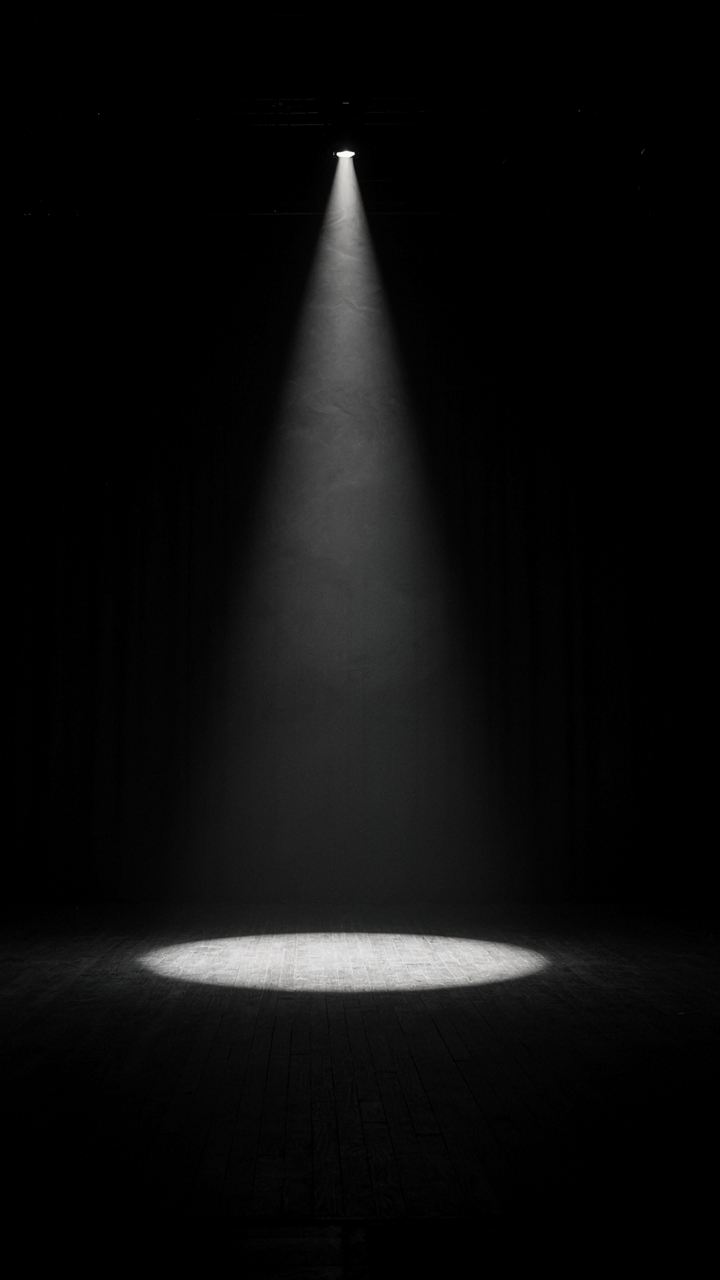
You want people to see you’re entertaining without seeing what you’re actually doing in there. The mechanism is simple: light placement determines what’s visible from outside, not the screen itself. Borrowed from theatrical lighting design, you’re creating a contrast ratio problem for the observer’s eye. Place lights inside the screened area pointing inward or upward, not outward. This makes the interior glow without illuminating the screen as a transparent barrier. Low-angle uplighting on plants or structures bounces ambient light around the space without creating spotlights that silhouette you against the screen.
String lights mounted 6-8 feet high on the frame interior work better than ground-level fixtures because they cast light downward and sideways, not toward the boundary. Warm color temperature (2700K) keeps the space feeling intentional rather than industrial. The screen itself becomes a backdrop, not a problem, because viewers see the glow, not through it. Dimmers on circuits let you adjust intensity based on what’s happening that night. Your guests stay visible to each other, but people outside see only what you want them to see.
External Light Sources And Boundary Control
Most people try to block light pollution by adding more barriers. That’s backwards. The real work happens before light even reaches your screen by controlling what emits outward in the first place. Don’t rely on the screen to stop exterior lights from washing your space. Instead, position outdoor fixtures away from the privacy screen entirely, or angle them downward and inward toward seating areas and pathways. This creates a lit interior without light spray hitting your boundary.
If street or neighbor lights hit your screen, the screen glows and becomes visible for miles. The fix: plant dense evergreens or lattice extensions on the outside perimeter at points where external light sources aim. This intercepts light before it reaches the screen surface. For your own fixtures, use shielded or recessed lighting that restricts beam direction. Install pathway lights on the interior side of the screen frame, not exterior. This lights your guests while keeping the screen itself dark and opaque from outside.
Tools And Materials For Your Diy Privacy Screen Outdoor Cheap
What You Actually Need To Build
You want this section because you’re afraid you’ll buy the wrong thing and waste money. Here’s the real mechanism: most people confuse “having tools” with “being prepared.” They’re not the same. You need tools that do one job well, not a garage full of equipment you’ll use once. The difference between a failed project and a finished one is owning exactly what the work demands.
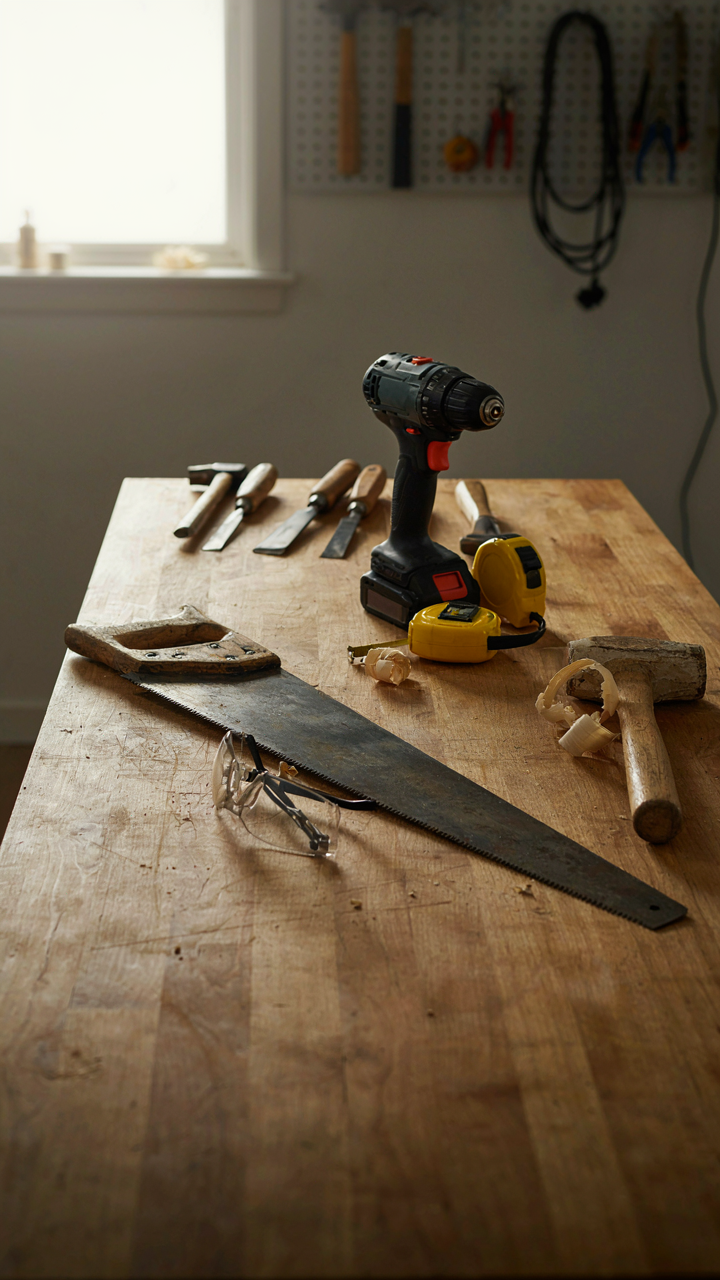
- Circular Saw Or Miter Saw: Cuts lumber straight and fast. A circular saw works for rough framing. A miter saw handles angled cuts if your design needs them. Either one beats a handsaw for privacy screens.
- Power Drill: Drives screws and pilot holes into wood and soil anchors. Cordless models work fine. You’ll use this more than any other tool on this project.
- Level: Ensures posts stand vertical and horizontal runs stay true. A two-foot level catches most mistakes. Crooked screens look unfinished and fail structurally faster.
- Measuring Tape: Accuracy prevents material waste and frame misalignment. Get 25 feet minimum. Measure twice, cut once isn’t cliché, it’s arithmetic.
- Socket Set And Wrenches: Tightens hardware and bolts on metal privacy screens or metal post anchors. Saves time versus hand tools and prevents stripped bolts from weak torque.
Rental options exist for tools you’ll never use again. A circular saw rents for eight to fifteen dollars daily. A miter saw runs ten to twenty. Buying makes sense only if you build multiple screens or plan future projects. Calculate: three screens at rental cost versus purchase price tells you the break-even point.
Where To Find Materials That Won’t Rot In Two Years
Most advice tells you to “shop around.” That’s useless. The real constraint is material selection, not price hunting. A privacy screen fails because the wood species can’t handle moisture cycles, not because you paid two dollars more per board. Pressure-treated lumber dominates consumer builds because it resists rot through chemical saturation. Western red cedar and composite materials cost more upfront but last longer with zero maintenance.
Pressure-treated wood costs thirty to fifty percent less than cedar. It handles ground contact and seasonal moisture swings that kill untreated lumber within three years. The trade-off: it requires annual inspection and will eventually splinter. Cedar resists rot naturally, never needs treatment, and weathers to silver-gray. Composite materials mimic wood but use plastic-wood fiber blends. They cost double to triple but won’t rot, splinter, or need stain. Your choice depends on the entertainment timeline you’re targeting. If you’re selling the house in five years, pressure-treated wins. If you’re building permanent infrastructure, cedar or composite justify the expense. Sourcing happens at big box stores, specialty lumber yards, or online. Local lumber yards often beat box stores on cedar quality and pricing because they source regionally and move faster inventory.
Maintenance: Sustaining Your Private Oasis
Keeping Living Screens Alive

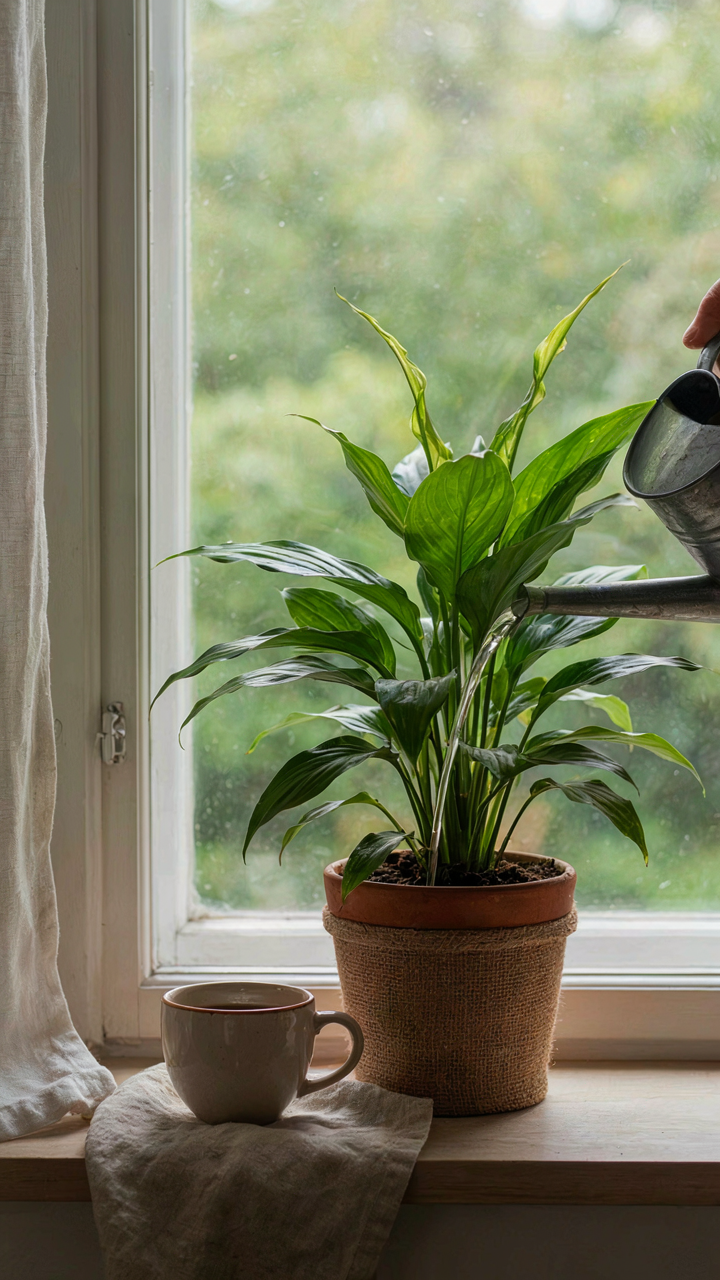
You’re worried the screen will die on you and look worse than no screen at all. Here’s what actually matters: living screens follow the same biology as any plant—they need consistent water, light, and nutrient cycling, but the specific demands depend entirely on what you planted. Most people water erratically and wonder why hedges thin out or vines stop climbing. Frequency beats volume. Shallow daily watering beats weekly drowning.
Feed the soil before you feed the plant. A privacy screen’s roots compete for nutrients with established landscape plants and lawn, so they start depleted. Apply compost or granular fertilizer at the base in spring and mid-summer, not randomly when you remember. Prune hard in early spring before growth explodes—this forces density and prevents leggy, sparse sections that kill the illusion of privacy.
Metal And Wood: Preventing Collapse
Structural failure isn’t dramatic usually. It’s rust spreading under paint, wood rot creeping from the base up, and fasteners loosening year after year until the whole assembly shudders in wind. Use economics thinking here: your screen’s lifespan is determined by the single weakest component, not the strongest. That one untreated bolt matters more than ten treated ones.
Inspect fasteners twice yearly and re-tighten anything loose. Wood that touches soil rots fastest, so keep lattice and posts elevated on concrete piers or hardware cloth barriers. Paint or stain exposed wood every three to four years, catching early splits before moisture penetrates. For metal frames, spray hinges and joints with a thin penetrating oil annually to halt rust before it starts taking material away.
The Only Barrier To Your Backyard Sanctuary Isn’t The Outside World, But Your Own Unwillingness To Engineer It
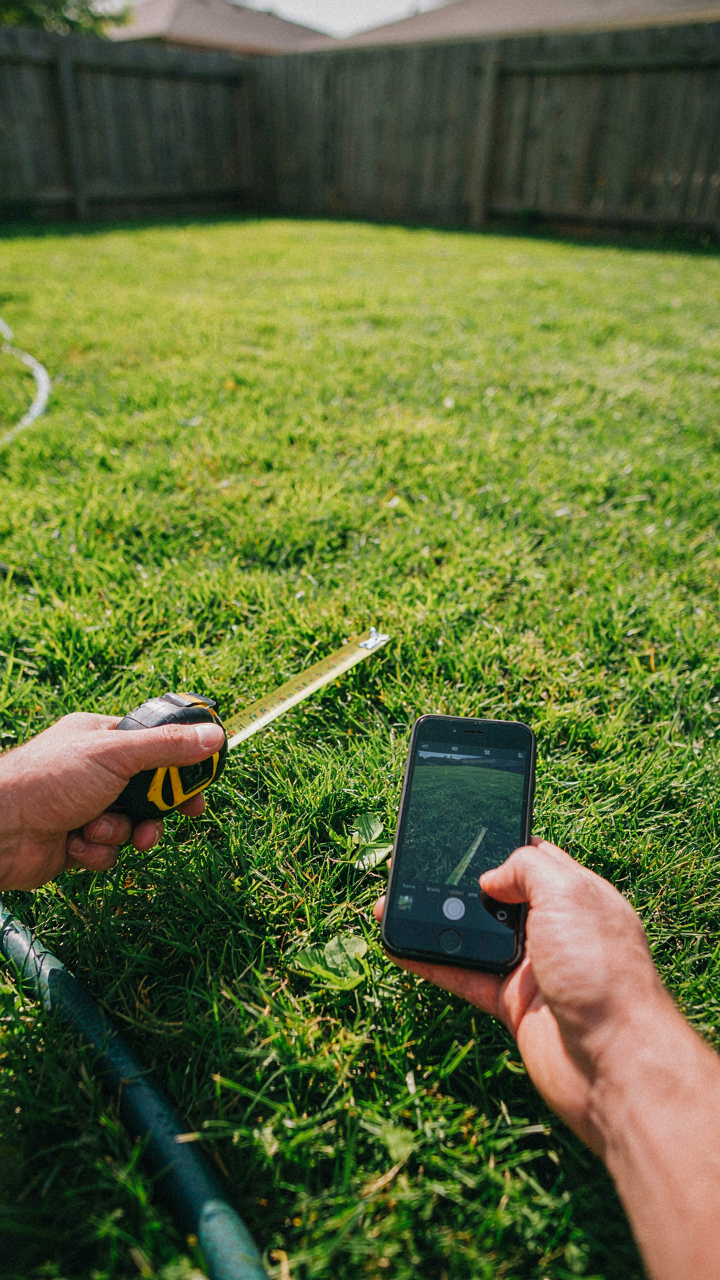
Most people treat their backyard like a waiting room instead of real estate they own. You’re different now. Stop scrolling privacy screen designs and measure your space today. Grab a tape measure, snap three photos from different angles, and pick one material. Cedar, composite, or metal. That’s it. The barrier between you and an actual sanctuary isn’t complexity or cost. It’s the gap between knowing what to build and actually building it.



