Introduction
Creating eye-catching table decor doesn’t have to drain your wallet. Easy centerpiece ideas for stunning DIY table decor on a budget are becoming popular for personalizing any table without spending much. You can give your dining space a fresh and inviting look using simple materials and smart design choices.
This article will show you how to select affordable supplies, plan your decor, and create beautiful pieces that suit different occasions. You will learn step-by-step methods, get cost-saving tips, and explore examples that encourage you to start your table decor project today.
Choosing Affordable DIY Table Decor
When you’re working on DIY table decor, the materials you pick can make or break your project—and your budget too. I’ve found that choosing cost-effective supplies not only saves money but also encourages more creativity. Think about the occasion first. For casual gatherings, simple items like candles, small plants, or fabric runners work well. For formal dinners, maybe glass jars or elegant but inexpensive frames could do the trick. Seasonal themes? Go for natural elements like pinecones or colorful leaves that don’t cost a thing.
Budget means prioritizing what matters most. It’s tempting to splurge on fancy finishes, but often the centerpiece’s overall impact comes from how you arrange simple items together. Ask yourself: Should you invest a bit more in a sturdy base or spend less on decorative accents? Sometimes, a modest centerpiece built with a few well-chosen pieces beats a pricey, cluttered one.
How to Pick Materials for DIY Table Decor
Choosing your materials means balancing durability, look, and price. You want something that lasts through an event, looks good up close, and doesn’t drain your wallet. Recycled items like glass jars or scrap wood are great starters—they add character and often cost nearly nothing. Natural elements such as stones, branches, or dried flowers bring texture and depth without pricey tags.
Craft supplies like twine, paint, or paper are versatile but check quality first. A quick test could be bending paper to see if it tears easily or feeling a wood piece for splinters. Sometimes cheaper materials can work better shaped or painted cleverly, so don’t dismiss them outright if appearance is off initially. It’s a bit of trial and error, but that’s part of the charm.
Best Places to Buy Budget Supplies
Finding supplies doesn’t have to mean expensive craft stores. Dollar stores often surprise me with decent candle holders, ribbons, or small containers. Thrift shops? They’re gold mines for unique pieces like vases or bowls that just need a good clean or fresh coat of paint.
Craft stores can be pricey but watch for clearance sections or off-season sales. Online marketplaces like eBay or Etsy sometimes have bulk options or secondhand materials, which stretch your dollars further. Combining sources usually works best—grab basics at dollar stores, then hunt for statement pieces at thrift shops. Patience pays off here; rushing usually means overspending.
Planning Your DIY Table Decor Setup
When it comes to planning your DIY table decor, starting with a clear idea really helps avoid confusion later on. Picking a theme first gives you a foundation—whether it’s rustic charm, clean modern lines, or something seasonal like fall harvest or spring blooms. The theme guides your choices and keeps things cohesive, so everything feels intentional rather than just thrown together.
Once you have a theme in mind, deciding on a color palette is next. Sticking to two or three main colors usually works best. It’s tempting to add all your favorite shades, but that can get overwhelming fast. Think about matching flowers, candle holders, and even table linens. Coordinating these elements, rather than matching them exactly, gives a natural flow.
Measuring your table is often overlooked, but it can make or break the layout. You want your centerpiece to steal the show without overpowering the space or getting lost. I like to use a tape measure and jot down exact dimensions; then, I sketch rough layouts to see how items fit. Trying out a few arrangements on paper or even creating a mood board with photos and fabric swatches helps visualize everything before the actual setup.
Balancing the centerpiece with plates, cutlery, and glassware is key. Too much decor leaves no elbow room, while too little can feel bare. Keep in mind how guests will interact with the space—is there room for serving dishes? Will tall elements block views? Thinking through these details early saves frustration later.
Simple DIY Centerpiece Ideas
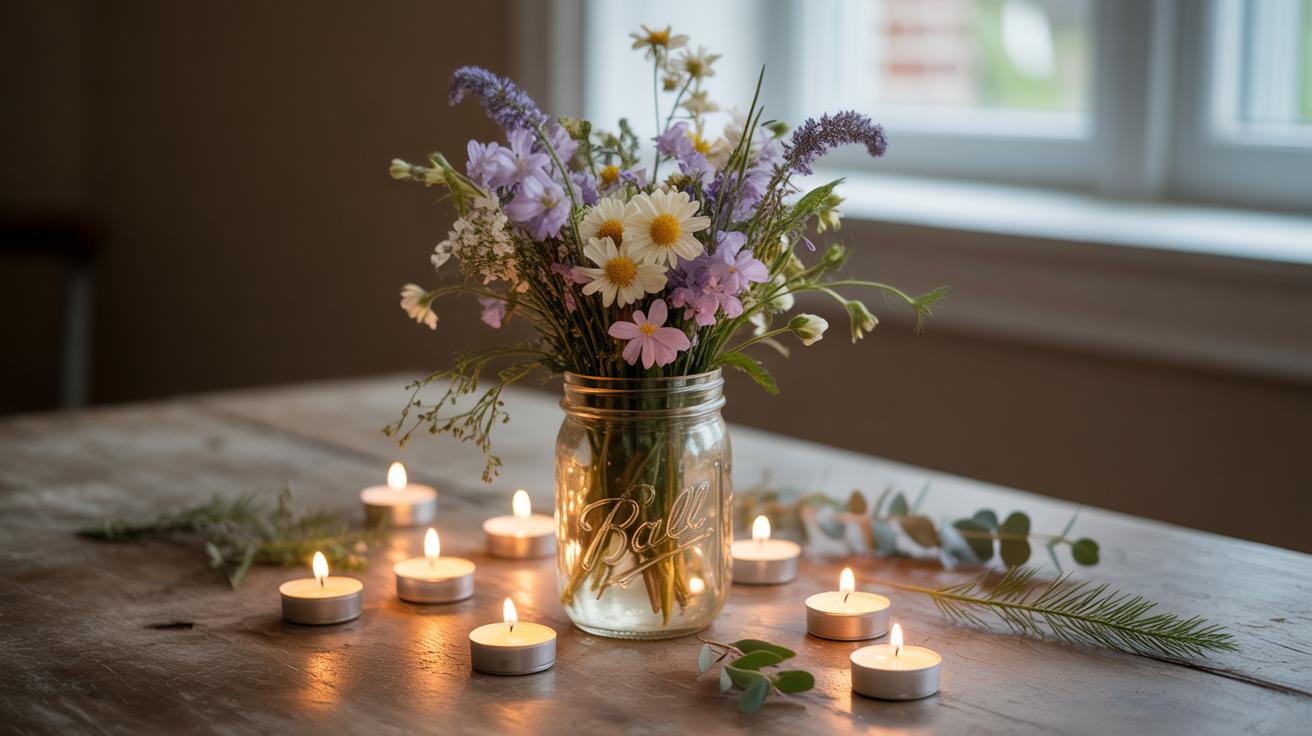
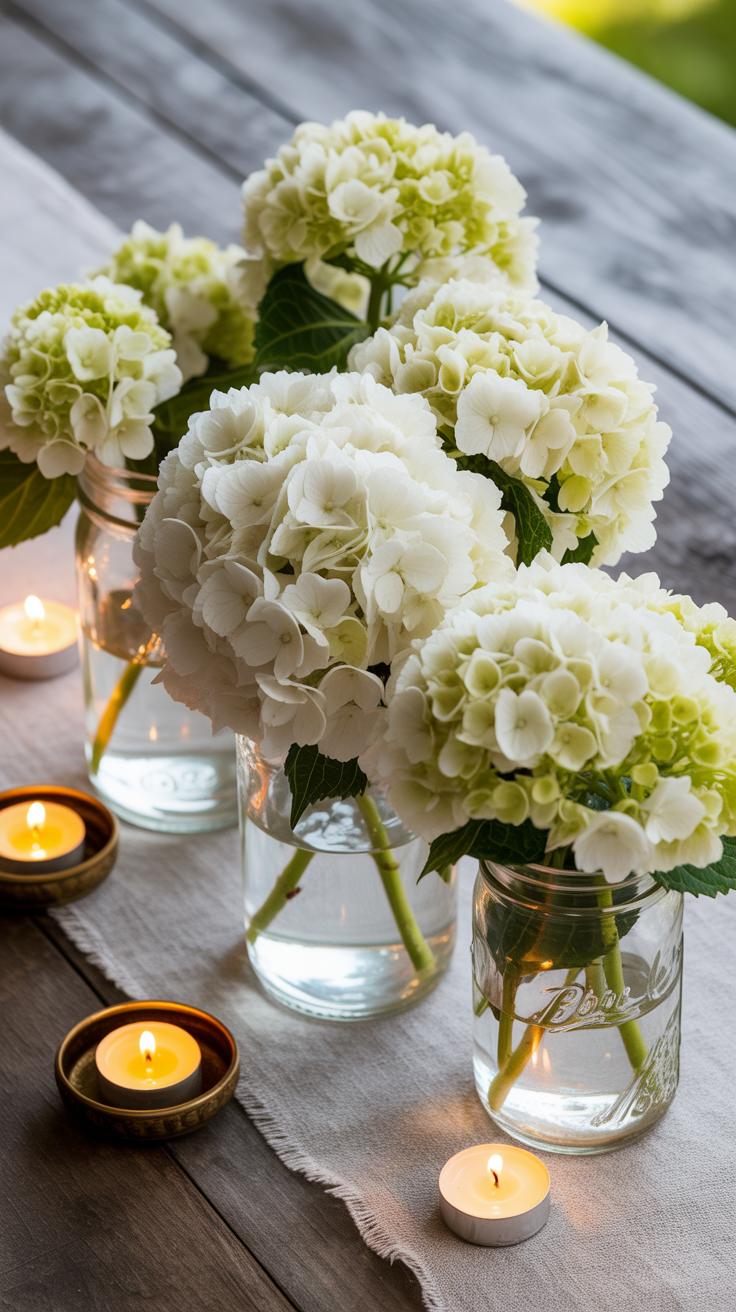
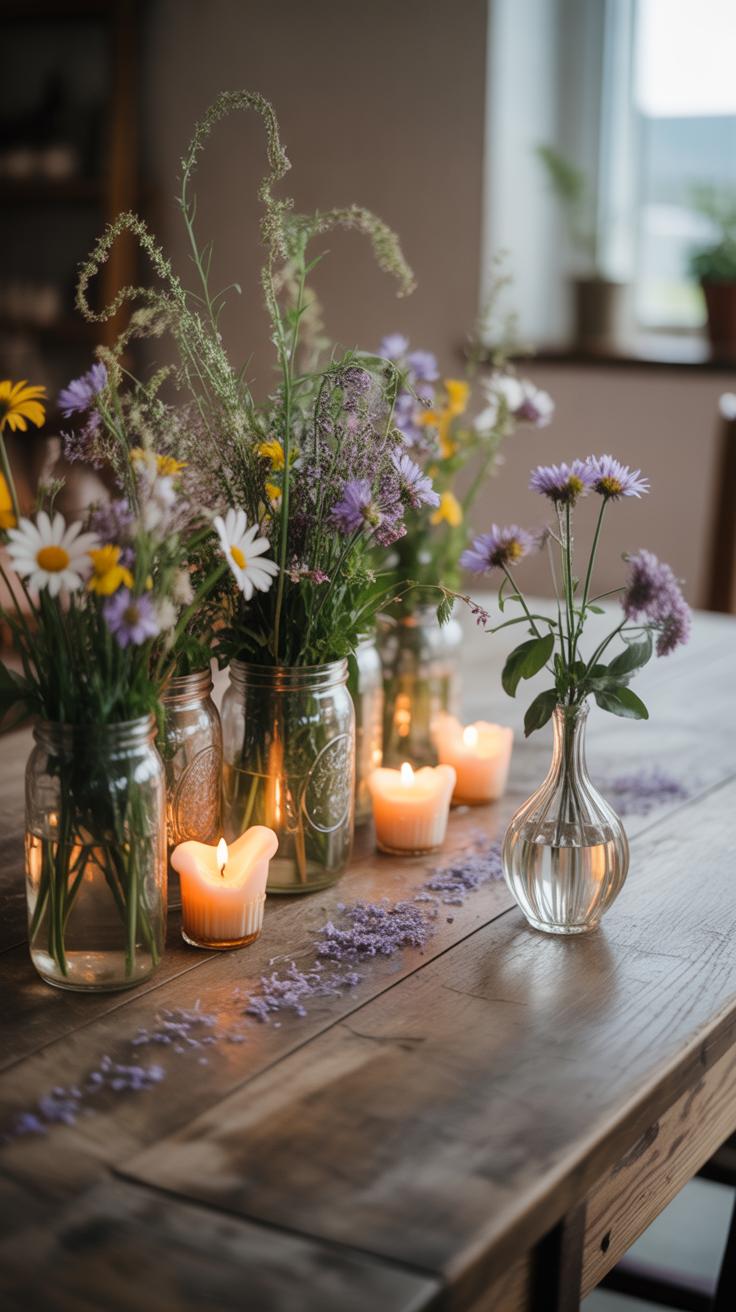
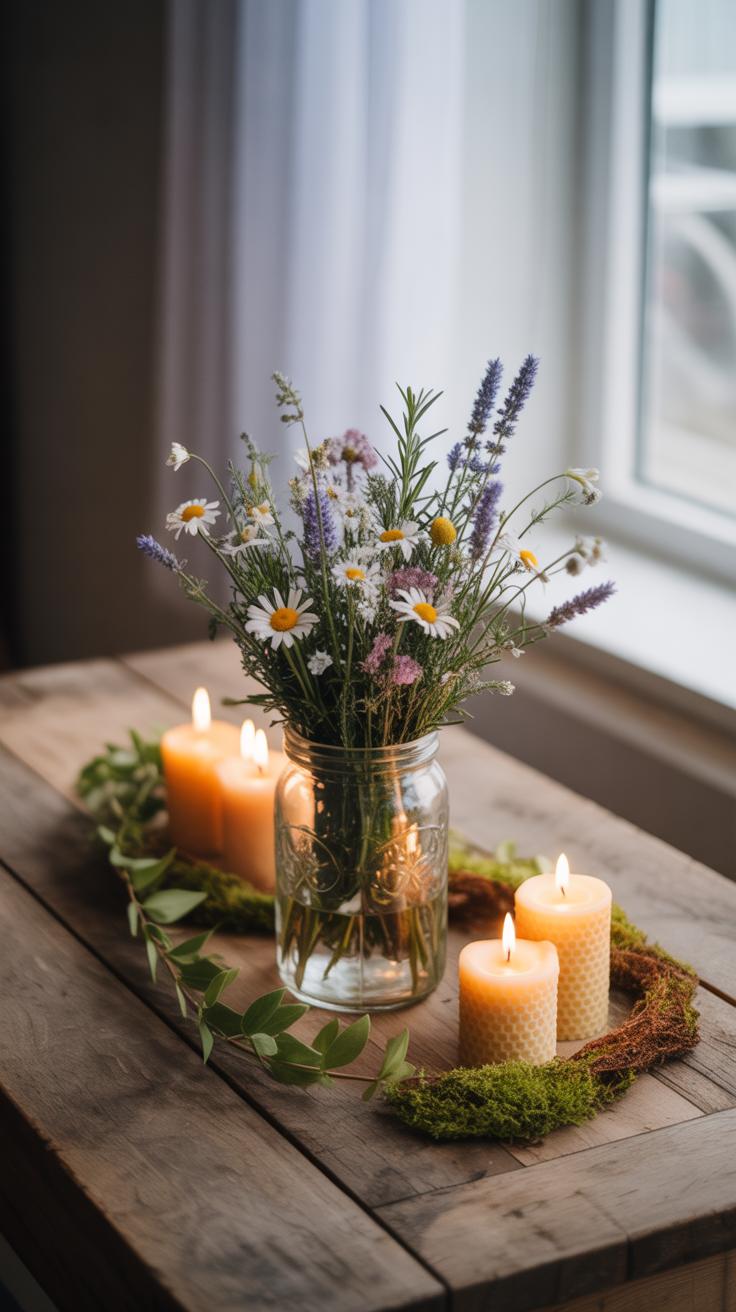
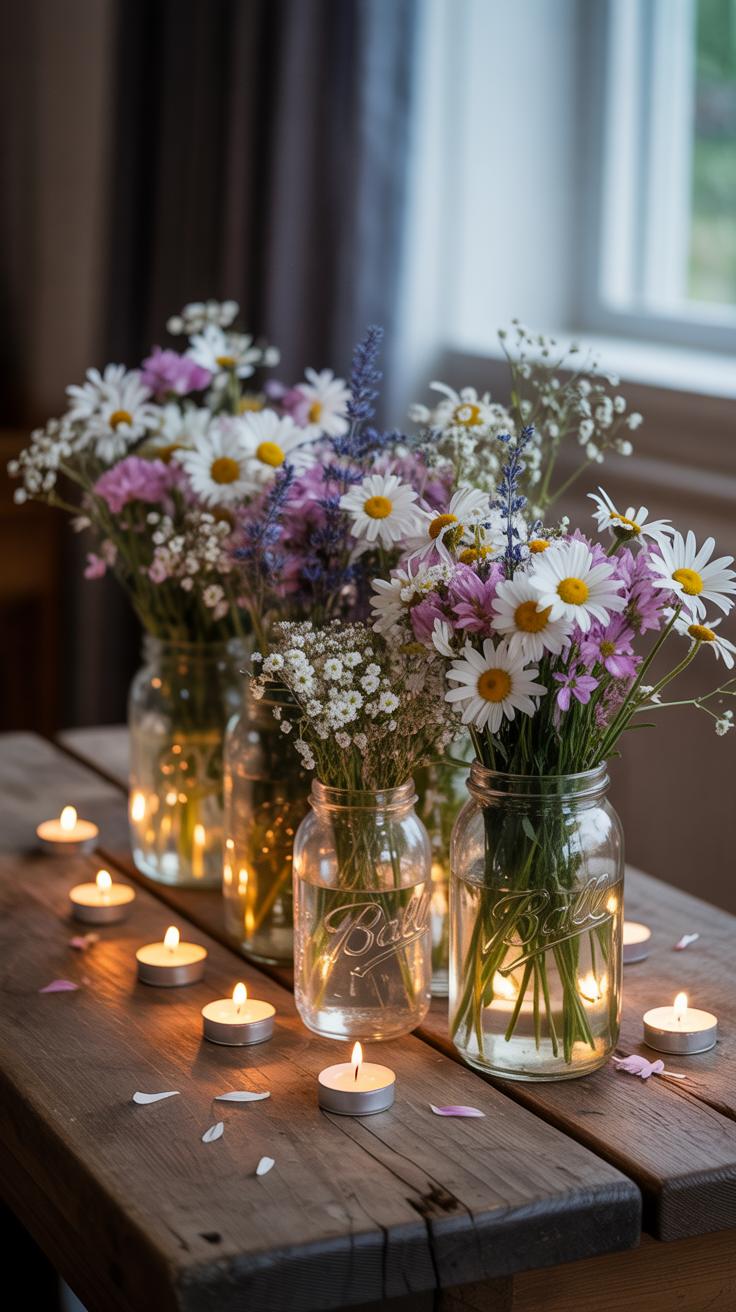
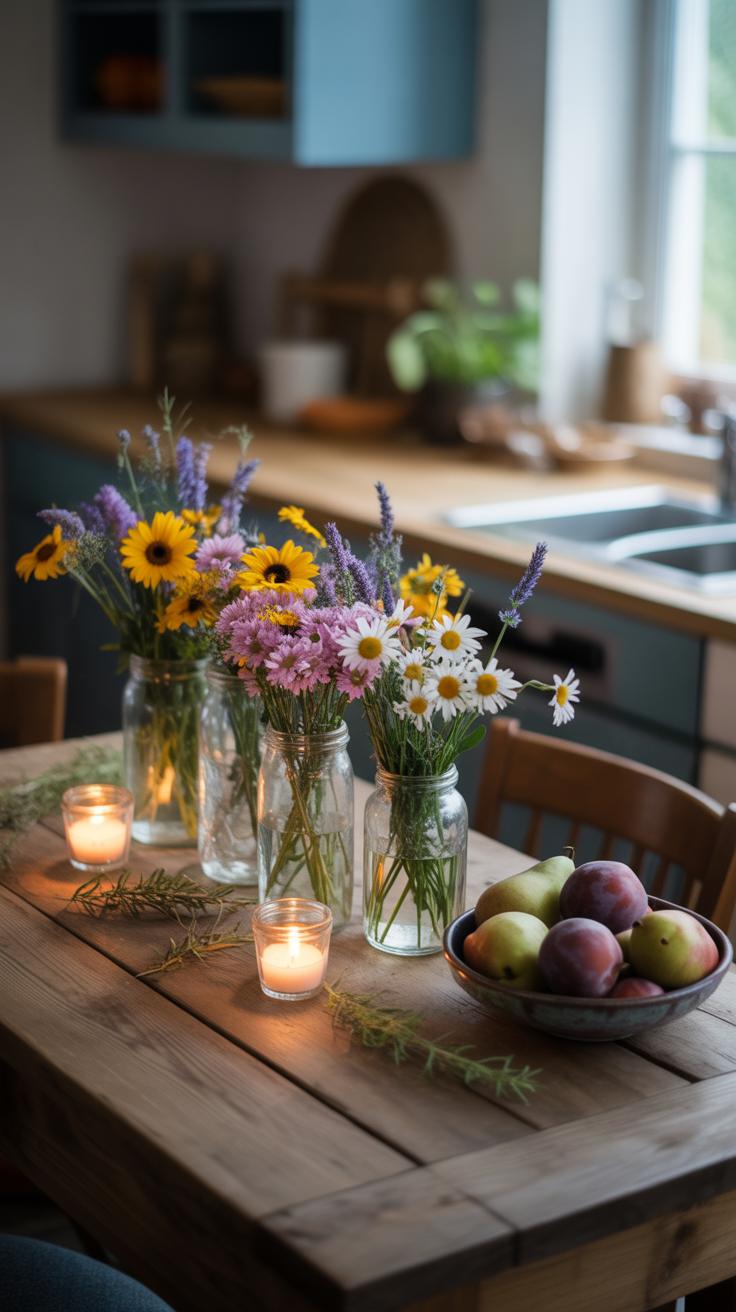
Creating table centerpieces doesn’t have to be complicated or costly. Some of the easiest ideas rely on items you can find at home or pick up cheaply. For example, mason jars filled with flowers work well and don’t need fancy floral arrangements to look good. You just need jars, water, and whatever flowers you have—or even artificial ones. Try trimming stems evenly and arranging flowers so they spread out naturally. A ribbon tied around the jar’s neck adds a subtle touch that feels intentional without much effort.
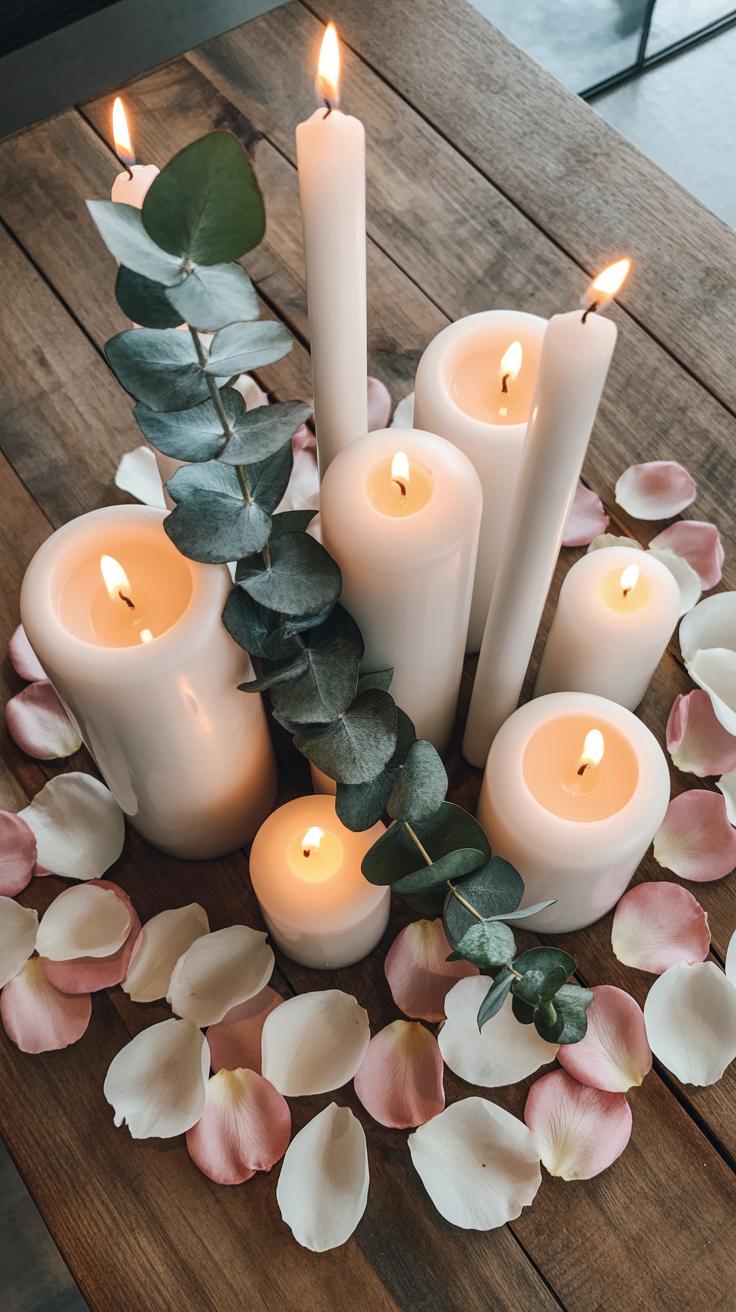
Candle holders paired with natural objects offer a straightforward way to bring life to a table. Simple glass jars filled with small stones or pinecones make a base for candles. Drop in a tealight or pillar candle, and you get gentle flickering light plus texture from the natural elements. Leaves scattered around or inside the jar can enhance the look, but be careful about fire hazards. Keeping candles in sturdy holders and never leaving them unattended is crucial. These setups often feel warm and inviting, even if the styling isn’t perfect.
Other options include themed arrangements using natural objects. Think smooth stones arranged in a shallow bowl or acorns mixed with dried flowers. These arrangements invite you to combine what’s seasonal or easy to find with simple containers like trays or wooden boxes. With minimal skills, you still create something that catches the eye because of its genuine, unpretentious character. Sometimes the charm lies in the calm simplicity—perhaps that’s what’s most appealing after all.
Comparing DIY vs StoreBought Table Decor
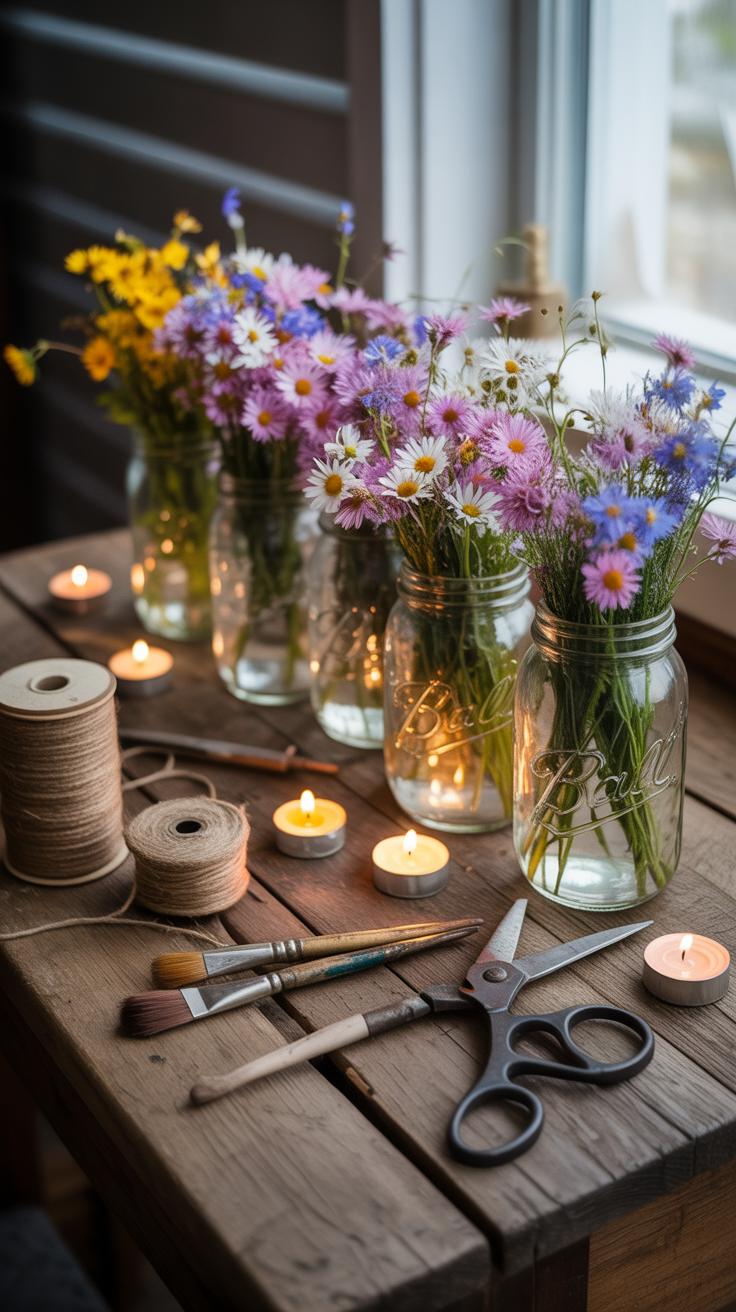
Making your own table decor often means investing more time but spending less money. It’s not just about the dollars saved, though that’s a big part. A simple floral centerpiece from a craft store might cost you $30 or more, but gathering some wildflowers, repurposed jars, and a bit of ribbon could bring that under $10. That’s a huge difference and it adds up if you’re doing multiple tables.
On the flip side, DIY demands patience. It’s easy to underestimate how long a project actually takes—from hunting down materials to assembling everything. Sometimes, you might find yourself halfway through thinking, “Was this worth it?” Especially if you’re juggling other event preparations.
One strong appeal of making your own decor is customization. You control every detail, so your centerpiece matches your style and theme exactly. Store-bought pieces can feel generic or just miss that perfect vibe you want. Making something yourself means you get a unique piece that no one else has, which often feels more personal and meaningful.
But let’s be honest, not every DIY attempt turns out flawless. There’s always a chance things look a little amateurish or don’t quite match your vision. That’s part of the charm for some, but others might prefer the polish of professionally made items. At the same time, ready-made decor can save time and avoid stress—something you might appreciate if the clock is against you.
So, do you want to save money and customize every little thing, or would you rather invest a bit more for convenience and consistency? It’s a choice that depends on your priorities and how much effort you’re willing to put in.
Tools Needed for DIY Table Decor
When you dive into making your own table centerpieces, there are a few tools you’ll find yourself reaching for over and over. Scissors are a basic must-have, of course. Not just any scissors, though—sturdy ones that can cut through floral stems, ribbons, or even thin wire. Using dull scissors can frustrate you and ruin materials, so investing in a sharp pair pays off. Always cut away from your body, and keep fingers clear to stay safe.
Glue guns come next. They’re super handy for attaching all sorts of elements—fabric, wood, dried flowers. The hot glue sets quickly, but that means you need to be alert. I remember once burning a finger because I wasn’t paying attention. Use a low-temp glue gun if you’re new or working with delicate materials, and always keep a silicone mat or scrap paper under your project.
Floral foam might sound fancy, but it’s simply a sponge that holds stems in place. It lets you build height and shape easily. When cutting floral foam, a serrated knife works better than scissors. Soak the foam in water first if you want fresh flowers to last longer. Be careful not to inhale dust from dry foam; a quick rinse helps reduce that.
Don’t forget paint supplies. Brushes in various sizes, acrylic or spray paint, and even paint pens can add personality to your pieces. When painting, work in a ventilated space and cover your work surface to avoid mess. If you’re like me and get impatient waiting for layers to dry, a hairdryer set on low helps speed things up without ruining the finish.
Brands? You don’t need something fancy to get started. For glue guns, Wagner offers affordable models that last. Fiskars scissors often strike a good balance between price and durability. Basic floral foam from craft stores will do, just avoid the super cheap, crumbly types. For paints, craft store house brands are fine, especially if you only want a couple of colors.
An easy thing to overlook is multi-use tools—like a craft knife with replaceable blades or a ruler that doubles as a straight edge and cutting guide. Those save space and money.
Thinking about safety, especially if kids will help? Keep glue guns on a stand when not in use and explain scissor handling clearly. Gloves can protect little hands, though they might feel clumsy at first. Watching out for quick movements with sharp tools might seem obvious, but it’s worth repeating.
What tools do you already have at home that might work for centerpieces? Sometimes you don’t need to buy anything new—just some creativity and a careful hand.
Avoiding Common DIY Table Decor Mistakes
When diving into DIY table decor, it’s easy to run into a few pitfalls without realizing it. Overcrowding the table is a frequent misstep—sometimes less really is more. You might think filling every inch looks festive, but it quickly becomes a nuisance, making it hard for guests to eat or chat comfortably. Keeping the centerpiece simple can open up the space and feel more inviting.

Color choices often trip people up, too. Clashing hues or random shades chosen on a whim can create a distracting vibe. A quick way to test your color mix is to hold swatches or sample items together in the lighting where the table will be. Look for tones that feel balanced, not competing.
Another common error is unstable arrangements. DIY projects can get wobbly if you’re not mindful of materials or balance. Trying to salvage a top-heavy vase that keeps tipping doesn’t work well. Using heavier bases or anchoring pieces with double-sided tape can help keep things steady without fuss.
Balancing Size and Space
Figure out the right size of your centerpiece by relating it directly to your table’s dimensions. For small tables, large arrangements can feel oppressive; for large tables, tiny decor can get lost. Ideally, the centerpiece should take up about one-third of the table’s length—enough to be noticed, but not so much that it dominates. I once set up a pretty arrangement on a narrow table and realized halfway through that guests literally didn’t have room to place their plates. That was a lesson.
Also consider the centerpiece’s height. Taller items can block views and interrupt conversation. Try to keep things at or below eye level, or experiment with clear vases or low bowls to maintain openness.
Choosing Coordinated Colors
When picking colors, stick to a basic palette. Trying to use every shade in the rainbow quickly becomes chaotic. A good start is selecting one or two main colors and then adding neutral tones for balance. For example, pairing soft greens with cream or beige usually works well. Test combinations by gathering small decor pieces—like candles, flowers, or fabrics—and putting them together in one spot.

If you hesitate about color clashes, try stepping away and returning after some time or snapping a quick photo to view them on screen. Sometimes what looks okay in person can feel off digitally, and vice versa. Don’t be afraid to tweak things until the palette feels right to you. Your table’s vibe depends on a few thoughtful color choices, not a complex rainbow.
Steps to Create Your DIY Table Decor
Preparation and Setup Checklist
Start by gathering all your materials—think containers, flowers, candles, ribbons, and any decorative accents you’ve planned to use. Lay them out clearly so you can see everything at once. It’s surprising how much easier it is to work when you don’t have to hunt for things mid-project.
Clear your workspace. Whether that’s your dining table, kitchen counter, or a craft table, an uncluttered area helps you focus and reduces the chance of damaging anything. I once tried assembling a centerpiece on a crowded surface, and let’s just say it wasn’t the smoothest experience.
Next, review your design plan. Even if you just have a rough idea, this step helps keep you on track. Maybe sketch it out or jot down a quick list of steps. This prevents last-minute changes that could leave you feeling rushed or frustrated.
Don’t forget to have basic tools nearby—scissors, glue, floral tape, or wire cutters, depending on your project. Missing these can really slow you down, so double check before you start.
Final Assembly and Placement
When you begin assembling, take your time to build in layers. Start with the base—vase or container first, then add greenery or filler pieces, and finally the focal elements like flowers or candles. It helps avoid a cluttered look and ensures the design feels balanced.
Place the finished centerpiece on your table and step back to observe it from different angles. Does it catch the eye? Is it easily viewable to everyone around the table? Sometimes something that looks good up close might feel a bit off from a distance.
Check stability. If the piece feels wobbly, add weight to the base or adjust your arrangement to sit more securely. Nothing ruins a centerpiece quicker than a toppled arrangement just as guests arrive.
Finally, adjust height and spacing—these subtle tweaks make a big difference. You might find that moving a candle closer or spreading flowers wider changes the entire vibe.
Remember, your centerpiece doesn’t have to be perfect. Often, a bit of imperfection brings character and charm that store-bought pieces just can’t match.
Examples of Budget DIY Table Decor
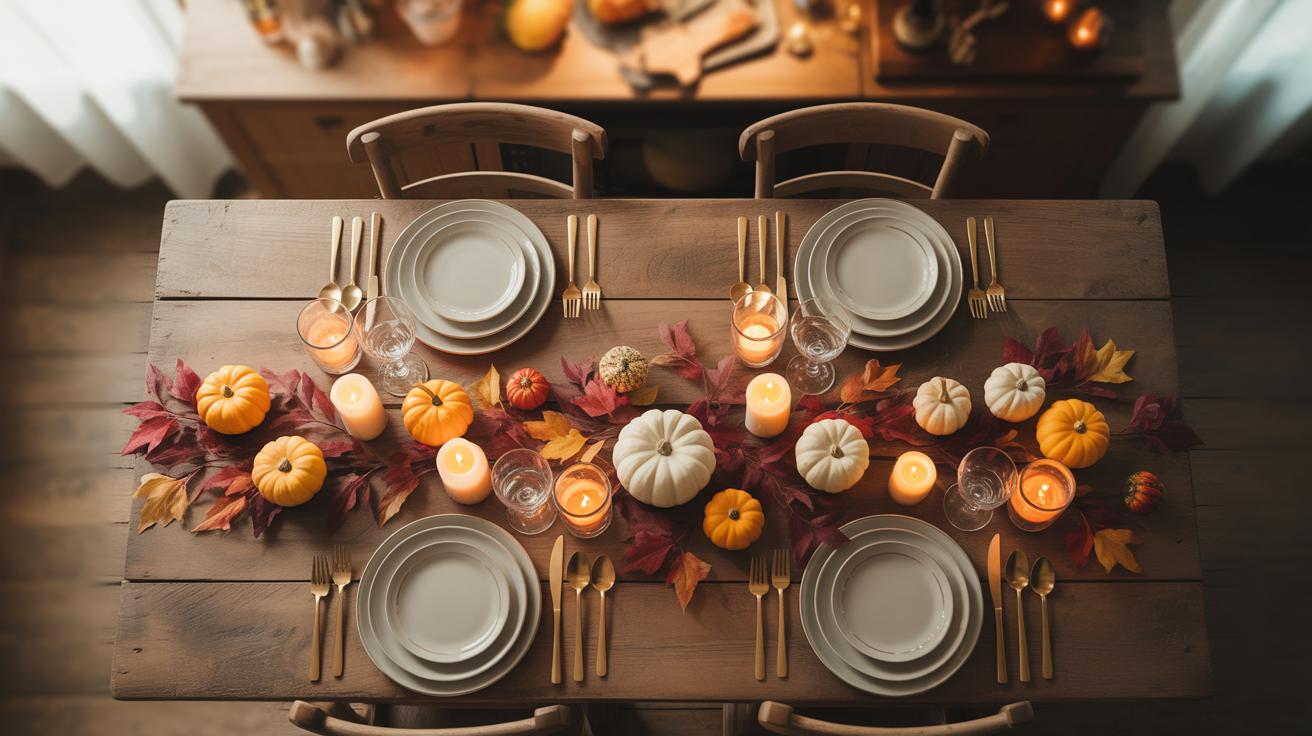
Seasonal Centerpiece Example
For a simple autumn-themed centerpiece, imagine using things you can gather outdoors or pick up cheaply at a farmers’ market. A shallow wooden tray, some pinecones, a few small pumpkins or gourds, and a handful of dried leaves can come together nicely. The pinecones and leaves add texture without needing much fuss. I once saw someone fill a glass jar with cinnamon sticks and place a candle inside—subtle, natural, and low-cost. It’s interesting how certain colors and textures instantly evoke the season without extra spending. You might wonder if something this plain can look striking—well, the contrast between the warm tones and the rough natural materials tends to draw the eye more than you’d expect.
Event-Specific Decoration
For a casual birthday dinner, one friend crafted a centerpiece using recycled glass bottles, each painted with leftover acrylic paint she had. Some got solid pastel coats; others got simple patterns. She arranged them in a cluster, then inserted wildflowers from her garden. It wasn’t perfect—there were drips and uneven spots—but the overall vibe was cheerful and personal. The bottles cost nothing, and the flowers just a few minutes of snipping. This setup got compliments, probably because it felt intimate and handmade. It makes you think—does table decor really need to be flawless to work? Sometimes, the charm lies in its imperfections and stories behind the making.
Conclusions
Using budget-friendly materials and straightforward methods, you can design DIY table decor that looks great and fits your style. This approach helps you refresh your space often without extra costs. You get beautiful results that impress guests and make your meals feel more special.
Remember, your effort and creativity matter more than expensive products. Follow the planning, sourcing, and creating steps shared here to achieve easy and stunning table decor. These ideas provide a good foundation for your own personalized centerpiece projects that save money and add charm.