
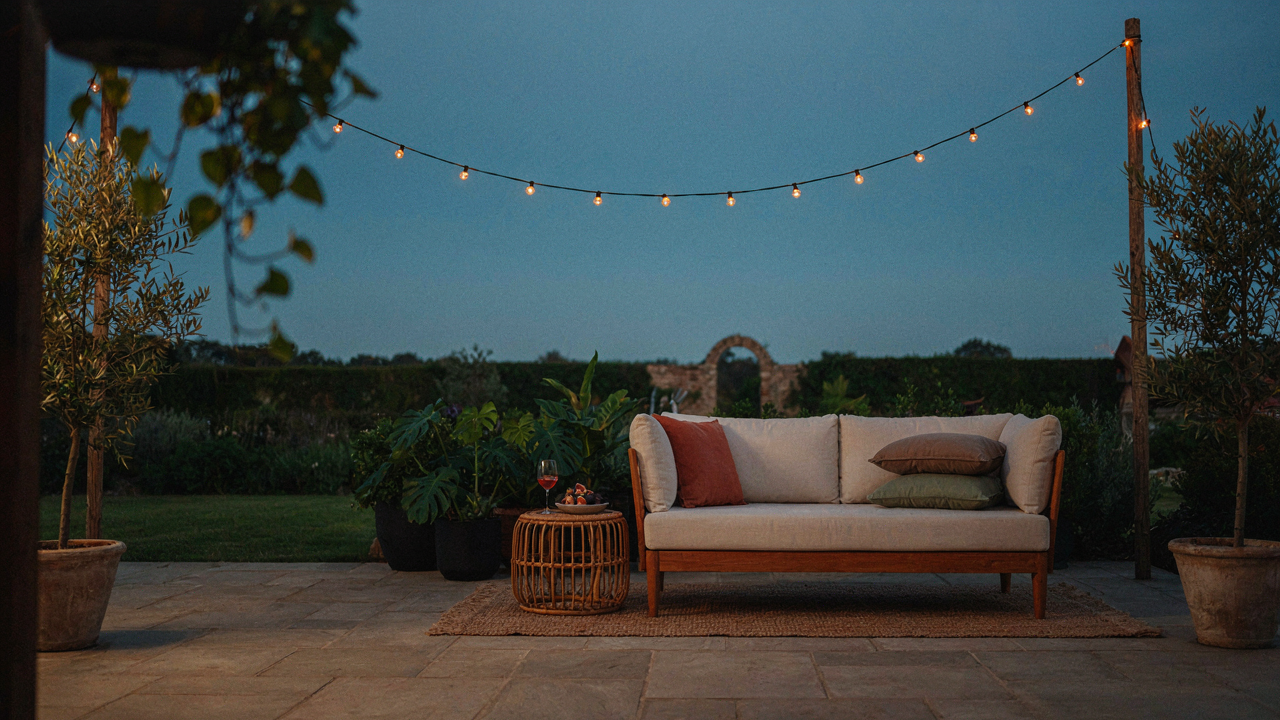
The Lumens Fallacy: Why More Brightness Doesn’t Mean Better Backyard Lighting
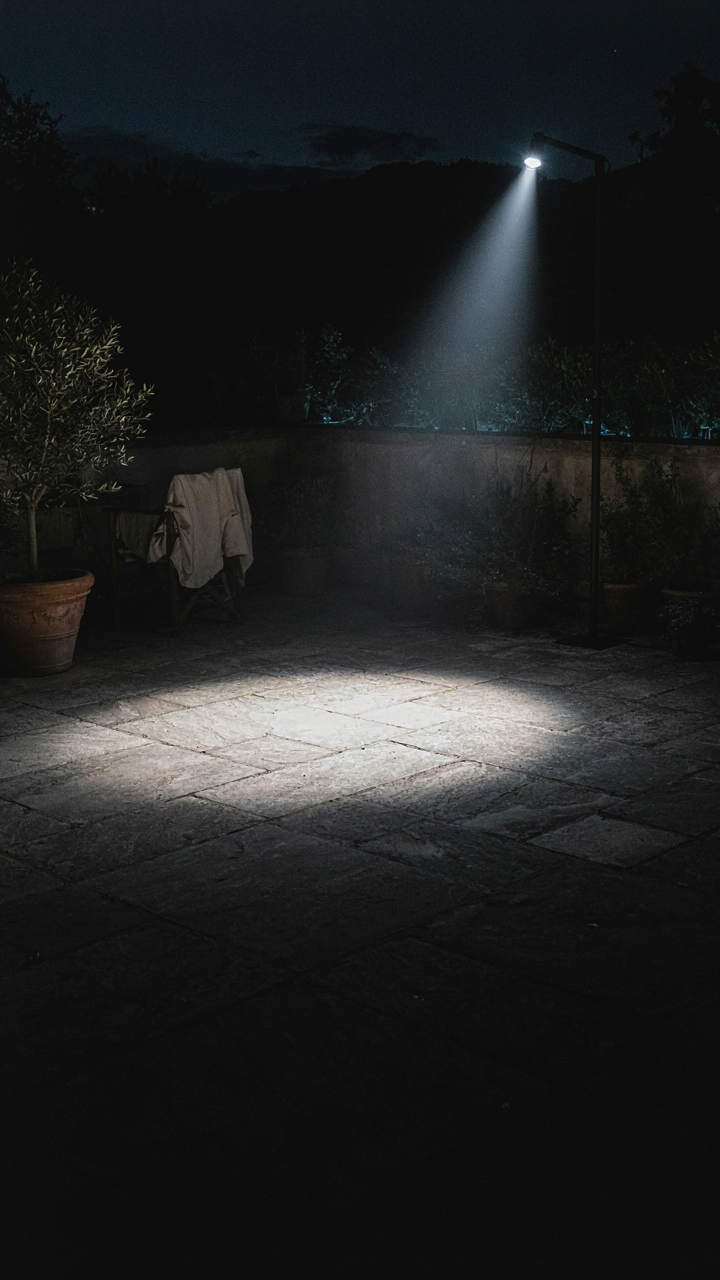
Wattage Tells You Nothing About Your Space
You want proof your patio is worth the investment, and brightness feels like the easiest metric to buy. Here’s the mechanism: wattage measures energy consumption, not light output. Two fixtures with identical wattage produce wildly different results depending on bulb type, reflector design, and fixture age. A 60-watt incandescent string light outputs roughly 800 lumens. A 9-watt LED in the same socket outputs 800 lumens too. Chasing wattage numbers guarantees overspending and undershooting actual brightness.
Context determines what “bright enough” means. A patio surrounded by trees needs more light than one open to the street. A dinner space requires different lux levels than a reading area. Most people buy lights based on what’s available at the hardware store, not what their specific environment demands. Measure your space first: note the square footage, existing ambient light from nearby sources, and what activity you’re lighting for. Then spec lumens and color temperature, not wattage.
Contrast Kills Your Perceived Brightness
Light physics demands one hard rule: brightness is relative, not absolute. Your eye perceives brightness against surrounding darkness, not in isolation. A patio flooded with uniform light reads dimmer than one with strategic pools and shadows because the eye has no reference point for comparison. This is the contrast principle applied to outdoor lighting, and it’s why even 1,000 lumens can feel inadequate if deployed wrong.
Most people hang strings evenly across the deck and wonder why it feels flat and dark. The fix: create intentional shadows and bright zones. Concentrate light over seating areas and the table. Leave pathways dimmer. Let tree canopies stay dark. The eye perceives the bright zones as brighter when they contrast with surrounding shadow, even though total lumens remain the same. This is not aesthetic preference. This is visual physiology. Measure illumination at your seating area before and after adding contrast. You’ll hit adequate brightness at lower total wattage.
The “Haphazard Hang” Protocol: How Intentional Placement Elevates Your Patio

Anchor Points Create Zones, Not Decorations

You want people to notice the lights work harder than you do. The real mechanism here borrows from military strategy: concentration of force. Instead of spreading bulbs thin across open space, you anchor them to defined perimeters—pergolas, fence lines, tree trunks, posts. This creates visual corridors. The eye tracks the line, and the light follows intent rather than accident. Random draping reads as afterthought.
Identify three anchor points minimum per zone. Attach string to sturdy structures that won’t sag under weather or tension. Calculate the distance between points before buying. Undersized distances trap light in shadows; oversized distances spread voltage thin, dimming output. The anchor protocol works because it forces you to think in sections, not sprawl.
Weight Distribution Prevents The Sag Collapse
People skip this step and end up staring at lights that dip toward the ground mid-span. That dip isn’t aesthetic—it’s physics telling you the load exceeds support. Sagging strings reflect light downward and sideways instead of outward, killing visibility. The string itself becomes an obstacle to brightness rather than a delivery system.
Space anchors closer on longer runs to maintain tension. For spans over twelve feet, add a midpoint support or use thicker gauge cable rated for the bulb weight. Tension should be firm without straining the anchor structure itself. Check sag monthly after installation, especially during rain season when water weight accumulates. Correct sag immediately—it compounds and accelerates material failure.
Ignoring The Environmental Canvas: Why Your Landscape Fights Your String Lights
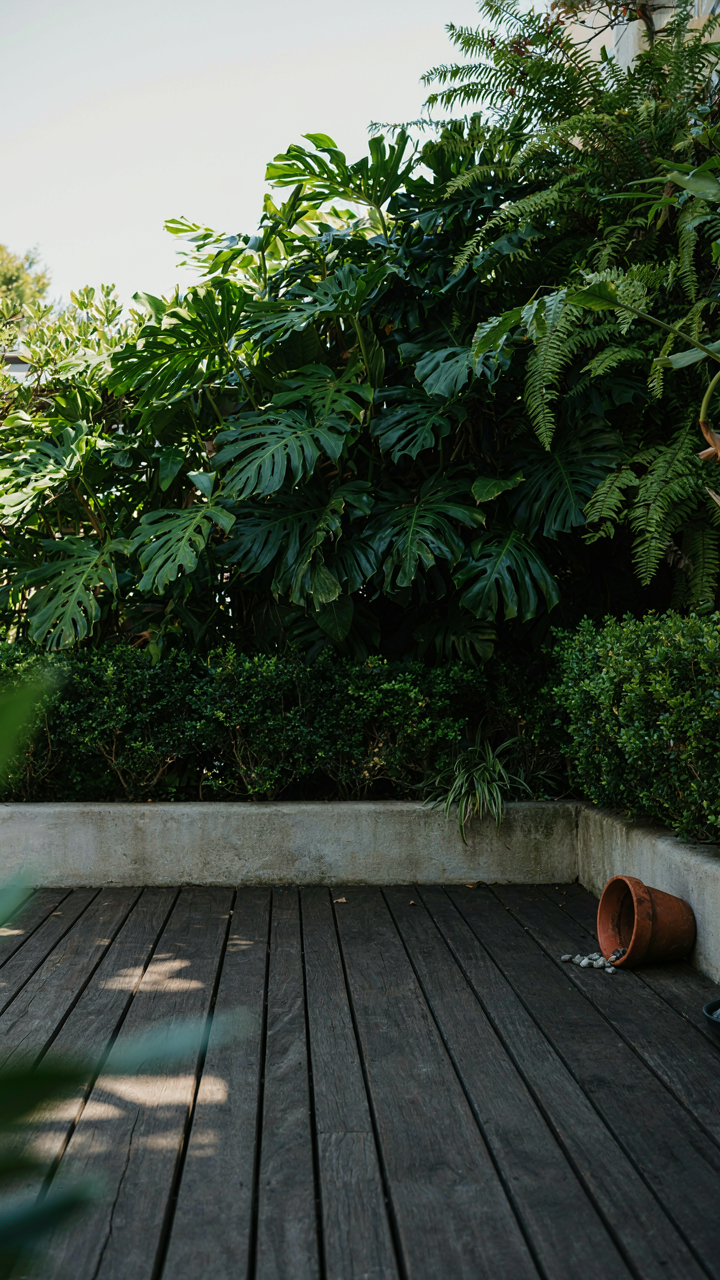
How Your Backdrop Absorbs Light Instead Of Amplifying It
You want your patio to look intentional, not abandoned at dusk. Here’s what nobody tells you: your landscape is either a reflector or a light sink, and most people build sinks without knowing it. Think in terms of albedo from physics—the measure of how much light a surface bounces back. Dark tree canopies, deep green walls, and shadowed corners have low albedo. They swallow light. String lights strung above them disappear into visual dead zones because the surrounding environment refuses to echo the glow back toward the viewer’s eye.
A standard mistake is treating string lights as standalone objects. They’re not. They’re only visible because light bounces off nearby surfaces back to your retina. If those surfaces are dark, absorb wavelengths, or sit in shadow themselves, your bulbs become ambient noise. The canopy overhead kills upward reflection. A dark fence behind the lights kills backdrop contrast. You can run premium Edison bulbs through dead landscape and they’ll still look dim because the environment doesn’t cooperate with the light you’ve installed.
Positioning Lights Where Existing Elements Amplify Them
Stop assuming all patio real estate is equal. Some spots multiply perceived brightness; others divide it. Existing hardscape—concrete, stone, light-colored deck boards—acts as secondary reflectors. String lights hung five feet above a light gray concrete patio bounce and scatter. The same lights above dark mulch or lawn barely register beyond the bulb itself. The mechanism is straightforward: lower-albedo surfaces (soil, plants, dark wood) convert light energy to heat. Higher-albedo surfaces (stone, concrete, pale wood) reflect it back into the visual field where it counts.
Position your string lines parallel to light-colored walls or hardscape whenever possible, not perpendicular to them. A horizontal run above a pale patio edge creates a light reflection zone. The same run above dense shrubs creates a void. If your patio has existing lighting fixtures, stake your string lights to reinforce their coverage zones, not fight against them. This transforms your whole setup from isolated bulbs into a coordinated system. The bulbs themselves don’t change. The perceived output does because you’ve engineered the canvas to participate instead of resist.
The Single Source Trap: Layering Light For True Depth And Ambiance
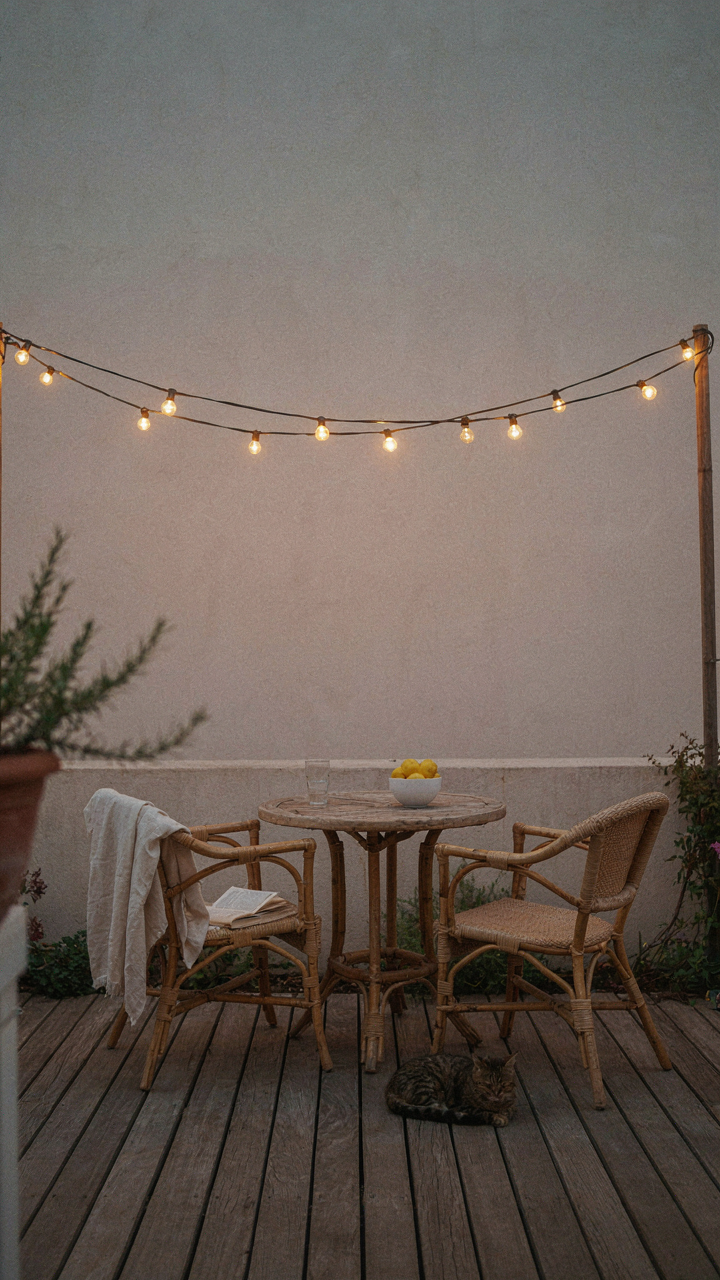
Combining String Lights With Accent And Task Lighting

You want your patio to look intentional, not like you forgot to finish decorating. The mechanism most people miss: a single string light source creates uniform flat light. Your eye registers this as “incomplete.” String lights alone can’t do three jobs at once—they can’t fill space, create visual hierarchy, and serve function simultaneously.
Add a second light source at a different height and angle. Wall sconces or uplighting force the eye to move through the space. Task lighting near seating areas (low-voltage deck lights, for example) tells viewers the space is designed for use, not just display. The combination signals completion because layering light is how professionals communicate intentionality.
Creating Focal Points With Varied Light Intensity
Think of light intensity like contrast in graphic design: without it, nothing stands out. String lights strung at uniform brightness across a patio create visual boredom. You need intensity variance. Brighter zones draw attention. Dimmer zones recede. This layering creates depth without moving a single fixture.
Position your brightest accent light on an architectural feature—a planter, tree trunk, or wall detail. Keep your string lights one brightness tier lower. Add a dim uplighter in the far corner. The eye moves from bright to medium to dim, creating a path. This hierarchy makes the space feel larger and more sophisticated than uniform coverage ever could. Intensity variance is the control mechanism that transforms flatness into dimension.
The “Set It And Forget It” Blunder: Dynamic Control For Mood And Function
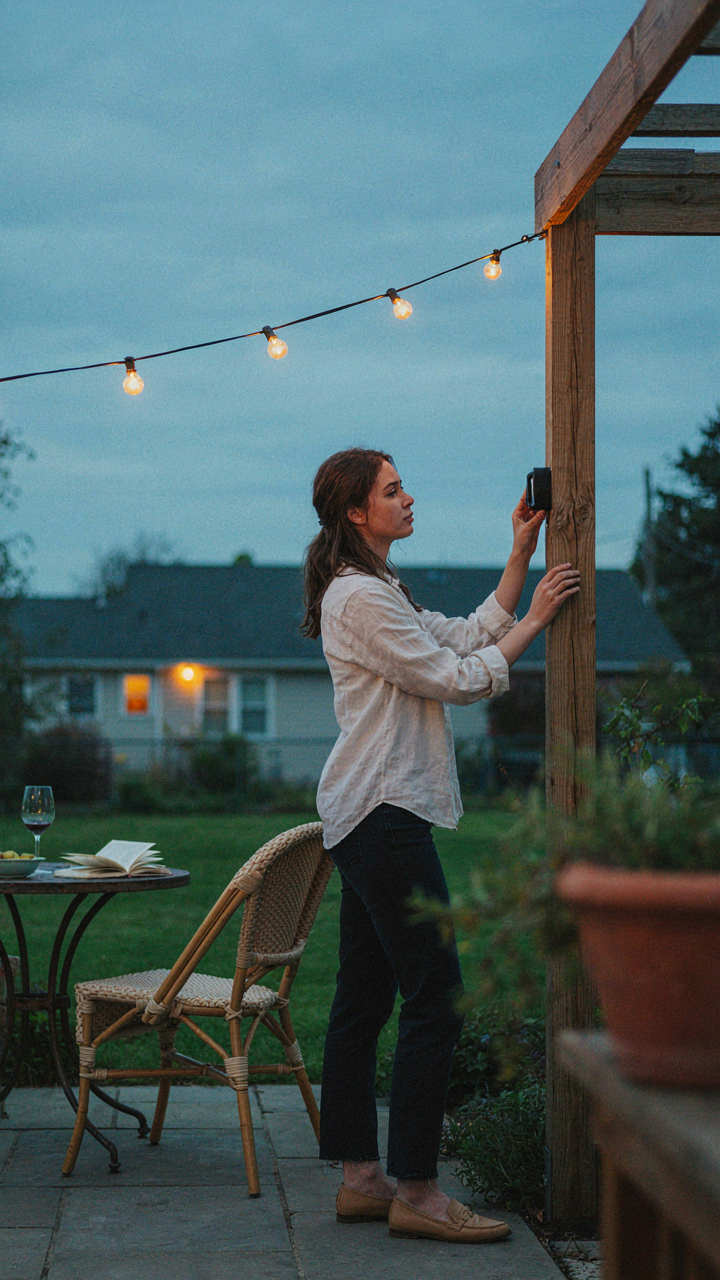
Why Your Lights Need A Switch

You installed string lights to solve a problem that changes every four hours. That’s the real reason you care about this section—you don’t want to feel stuck with one static mood you chose at installation. The mechanism here borrows from electrical engineering: impedance matching means your light output must match the resistance of your environment. At dusk, your patio needs aggressive brightness. At 10 PM, your guests need half that. A fixed installation treats these as identical conditions.
Most people buy string lights and wire them directly to a single outlet or breaker. They accept whatever brightness the manufacturer set as default and then resent the purchase when the mood doesn’t fit the moment. This is a setup failure, not a product failure. Your lights need variable input, not fixed delivery.
Dimmer Switches And Smart Control
Install a dimmer switch between your power source and your string light circuit. This is the simplest move: it costs thirty to sixty dollars and takes twenty minutes. A standard incandescent or filament bulb string light will dim smoothly across a full range. LED string lights require a dimmer rated for LED loads—check your bulb type before purchasing, because mismatched dimmers flicker or don’t dim at all.
Smart home integration adds responsiveness without manual adjustment. A smart plug or in-line controller lets you set brightness rules tied to time of day or trigger them from your phone. You don’t need elaborate automation. You need the ability to shift from 100 percent brightness at 6 PM to 40 percent at 9 PM without walking outside to adjust anything. This removes friction between the mood you want and the mood your lights deliver.
Brightness Shifts Across The Evening
Your patio’s ambient light changes constantly as the sun sets and the sky darkens. Outdoor string lights that worked perfectly at 7 PM look dim by 8:30 because your eyes adapted to lower light levels overall. Brightness that felt aggressive at 6 PM feels appropriate by 9 PM without any change to the lights themselves. Adjust downward as evening progresses, not upward.

Different activities demand different illumination. Dining requires enough light to see food and faces—typically sixty to seventy percent brightness. Background ambiance for conversation needs only thirty to forty percent. If you’re hosting a small gathering that shifts from eating to loitering, you need to shift your lights twice. Control over brightness is control over how long your patio stays usable and how the space actually feels throughout the evening. Build dimming capability into your initial installation, not as an afterthought.
The Material Mismatch: Why Your Bulbs Are Losing The Battle Against The Elements
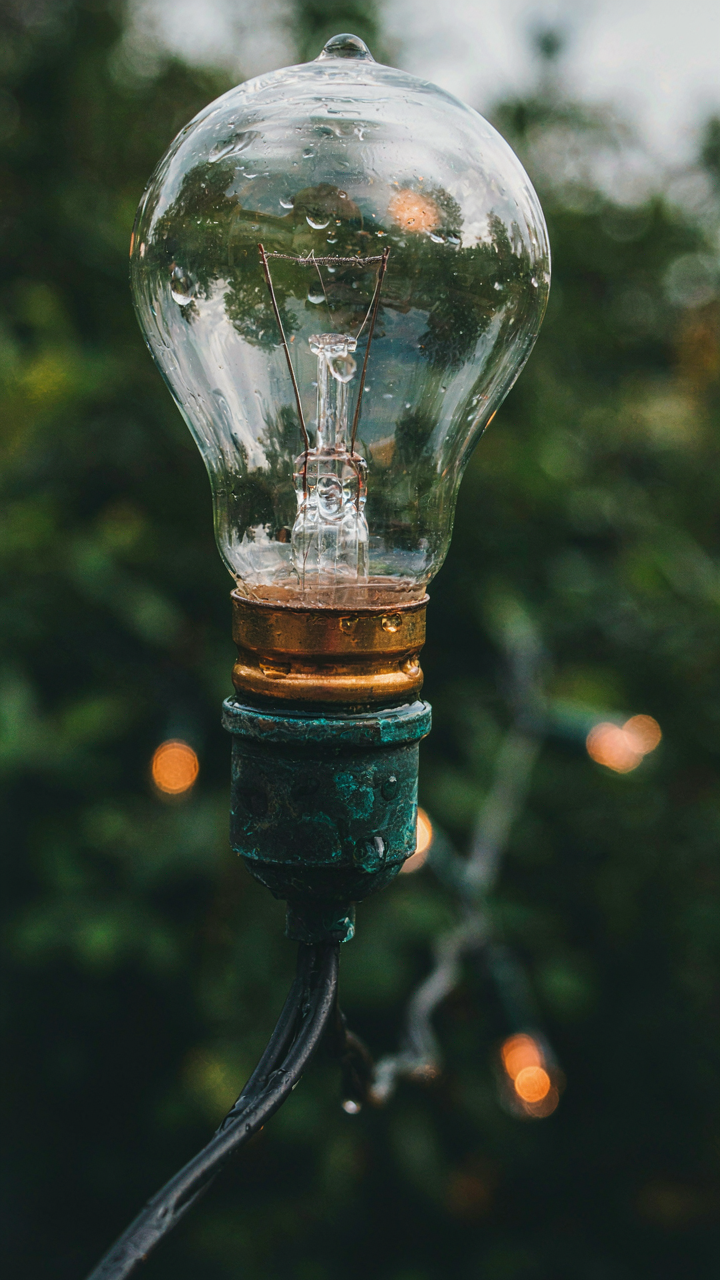
How Moisture Breaks Down Your Bulbs From Inside
You care because you’ve already spent money and don’t want to admit the setup failed in six months. Here’s the mechanism: moisture enters bulb housings through micro-gaps at connection points, then corrodes the filament and internal contacts. This isn’t random degradation. It’s electrochemistry. When water reaches metal components inside a sealed cavity, oxidation accelerates exponentially under voltage. Most budget string lights use aluminum sockets with minimal sealing, creating pathways for condensation to collect and destroy conductivity. The bulb dims because resistance increases as corrosion spreads, not because the light output changes.
IP ratings measure ingress protection, but most people misread them. The first digit rates solid particle protection, the second rates liquid protection. A bulb rated IP44 resists water splash but fails against direct spray or submersion. IP65 withstands low-pressure jets. IP67 handles brief immersion. What matters for outdoor strings: the socket, not the glass. Glass doesn’t corrode. Sockets do. A bulb in a poorly sealed socket deteriorates within one season regardless of its own construction. Check the socket rating, not just the bulb rating, before assuming weather resistance.
Materials That Actually Last Through Cycles
Stainless steel sockets cost more upfront because they resist oxidation where aluminum fails. Aluminum oxidizes within weeks when exposed to temperature swings and humidity, creating a white powder that breaks electrical contact. Stainless steel maintains conductivity through years of freeze-thaw cycles. The trade-off is real: stainless fixtures run 40 to 60 percent higher than aluminum. Most people choose aluminum, complain about dimming, then blame the design instead of the material choice.

Silicone gaskets and heat-shrink tubing seal connection points where moisture enters. Rubber gaskets absorb water and expand, pushing sockets loose over time. Silicone repels water and maintains flexibility through temperature ranges from freezing to 150 degrees Fahrenheit. When selecting strings, inspect the socket base for visible gasket material and the wire entry point for heat-shrink coverage. If you see bare wire entering a socket with no seal, the dimming starts immediately after the first rain. Replace corroded strings with stainless steel construction and sealed gaskets before rewiring.
The Proximity Paradox: Light’s Relationship To The Eye
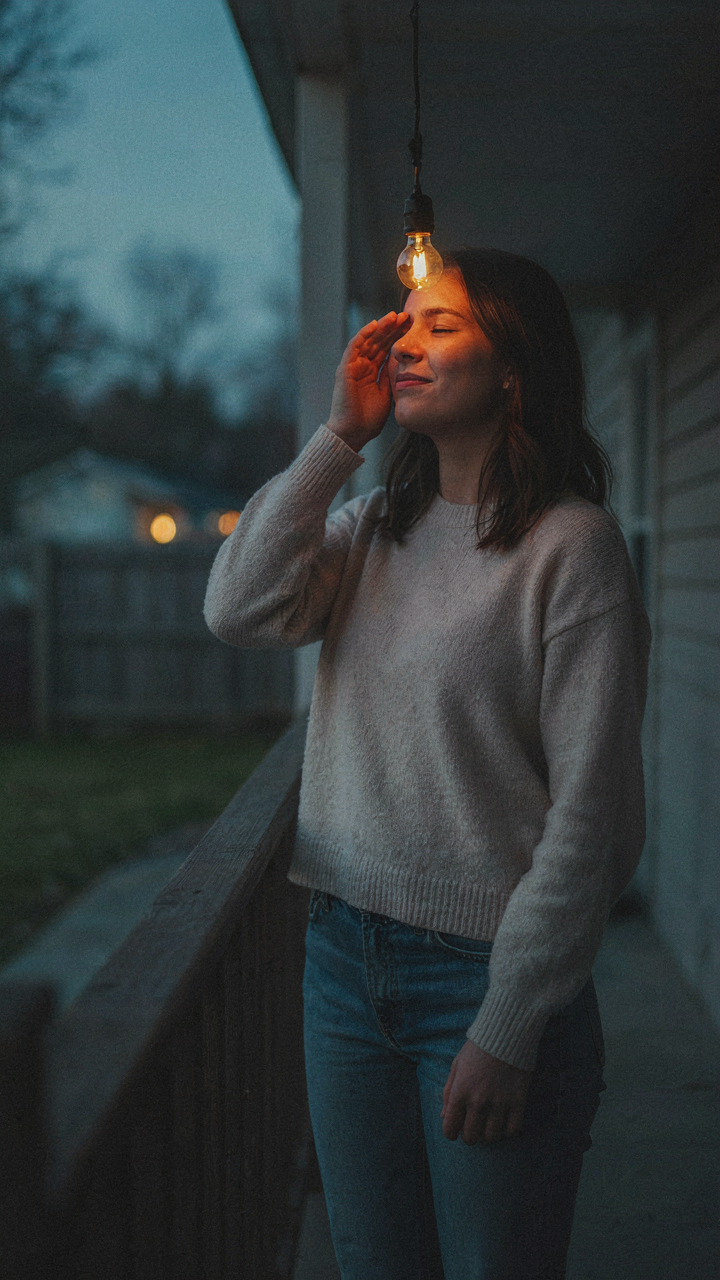
How Distance And Obstruction Shape What You Actually See
You want your patio to look intentional, not like you ran out of money mid-project. The mechanism nobody mentions: your eye doesn’t measure absolute light output. It measures contrast and light falloff relative to distance. Physics calls this the inverse square law. Apply it to string lights and the math is brutal. Double your distance from a bulb, and perceived brightness drops to one quarter. Most people space lights assuming uniform coverage. They don’t account for how the human visual system actually processes light in three-dimensional space.
Obstruction compounds the problem faster than distance alone. A single tree branch between you and a bulb doesn’t just block one light source. It forces your eye to hunt for the next visible bulb, creating dead zones your brain registers as dimness. The common advice says “just add more lights.” Wrong. Adding more lights in poor positions wastes money and creates glare without solving the real issue. The pathway from your eye to the light determines everything. Eliminate obstructions first. Spacing follows after.
Placing Lights Where Your Eyes Actually Focus
String lights fail because people treat them like decorative objects instead of sight lines. Your visual system prioritizes horizontal and vertical planes where you actually move and rest your gaze. Most patios get lights strung too high or at uneven heights, forcing your eye to work harder to register brightness. Position lights at or slightly below eye level when seated. This aligns with where human attention naturally settles. The effect is counterintuitive. Lower light placement often feels brighter because your visual field encounters it without strain.
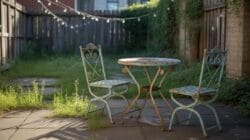
Arrange lights in predictable intervals that create rhythm without gaps. Your brain compensates for small spacing irregularities, but large ones break the continuity and trigger a perception of dimness. Install bulbs roughly eight to ten feet apart on a single line, or create a grid pattern that maintains equal distance between fixtures. Test spacing before permanent installation. Walk the patio at sunset when ambient light drops. If you spot dark stretches between bulbs, decrease spacing. The anchor point for this decision is simple: can you read a menu without squinting.
Ignoring The “Flow State” Of Light: Guiding The Eye Through Your Backyard
Creating Visual Pathways With Light Placement
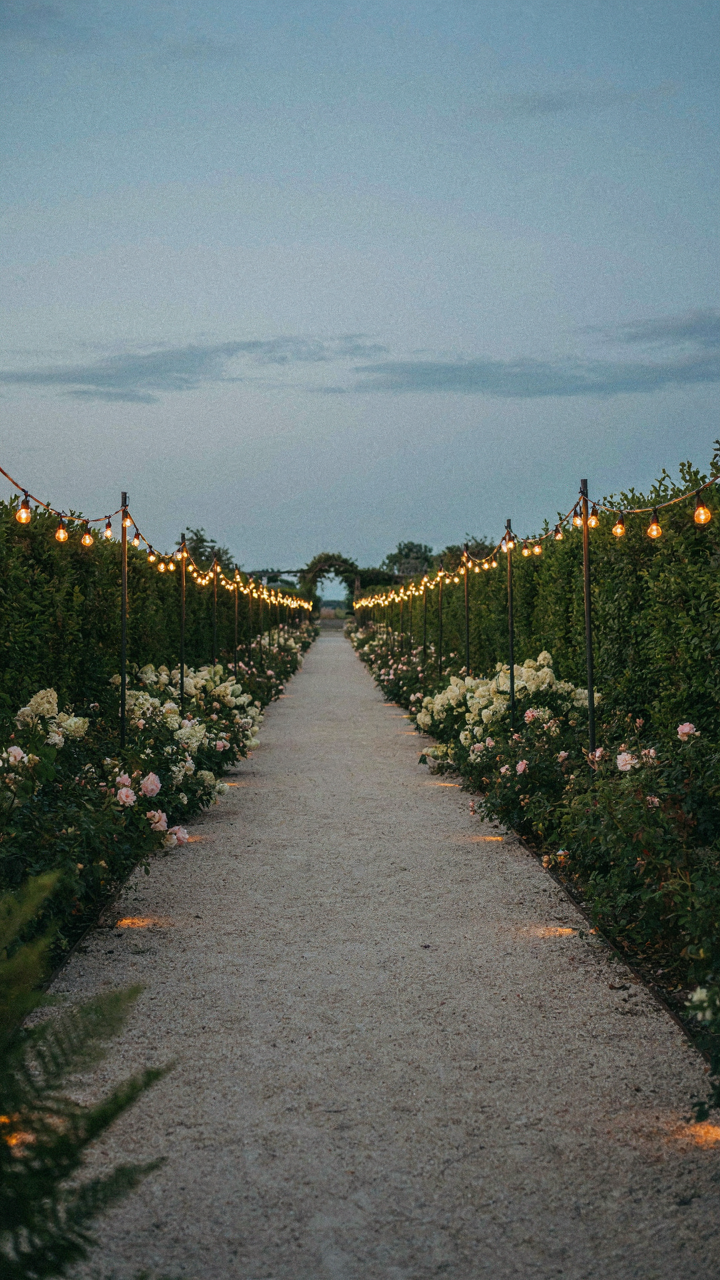
You want people to think your space is bigger and more intentional than it actually is. That’s the real reason this matters. Light placement works like an optical flow field in physics: it creates perceived movement and direction even when nothing moves. Most people string lights in a straight line or scattered randomly. That’s why the space feels flat and the light feels dim—your eye has nowhere to travel, so it stops looking.
Strategic placement uses lights to lead the viewer’s gaze along a specific route through your yard. Hang lights along a pergola edge or fence line to create a visual corridor. Space them at consistent intervals so the eye follows the pattern naturally. This forces attention to move through the space instead of settling on one dead spot. The cumulative brightness appears stronger because the eye activates more of the visual field.
Highlighting Architectural Features With Light
Your patio probably has structure you’ve never actually lit. A pergola post, the edge of a raised planter, or a fence corner holds the same attention as a blank wall when darkness covers it. Direct string lights to graze these surfaces instead of spreading evenly overhead. Light at a low angle across texture creates shadow and dimension, which reads as depth and sophistication.

Focus half your string lights on architectural elements and half on the general space. Mount lights to aim at vertical surfaces, not down at the ground or straight across at face height. This approach multiplies perceived brightness because lit surfaces reflect and bounce light instead of absorbing it into darkness. Install lights on two planes—some at 8 feet, some at 5 feet—angled toward your yard’s actual structure.
The DIY Trap: When “Good Enough” Means Bad Backyard String Lights
Spacing And Sag Kill The Effect
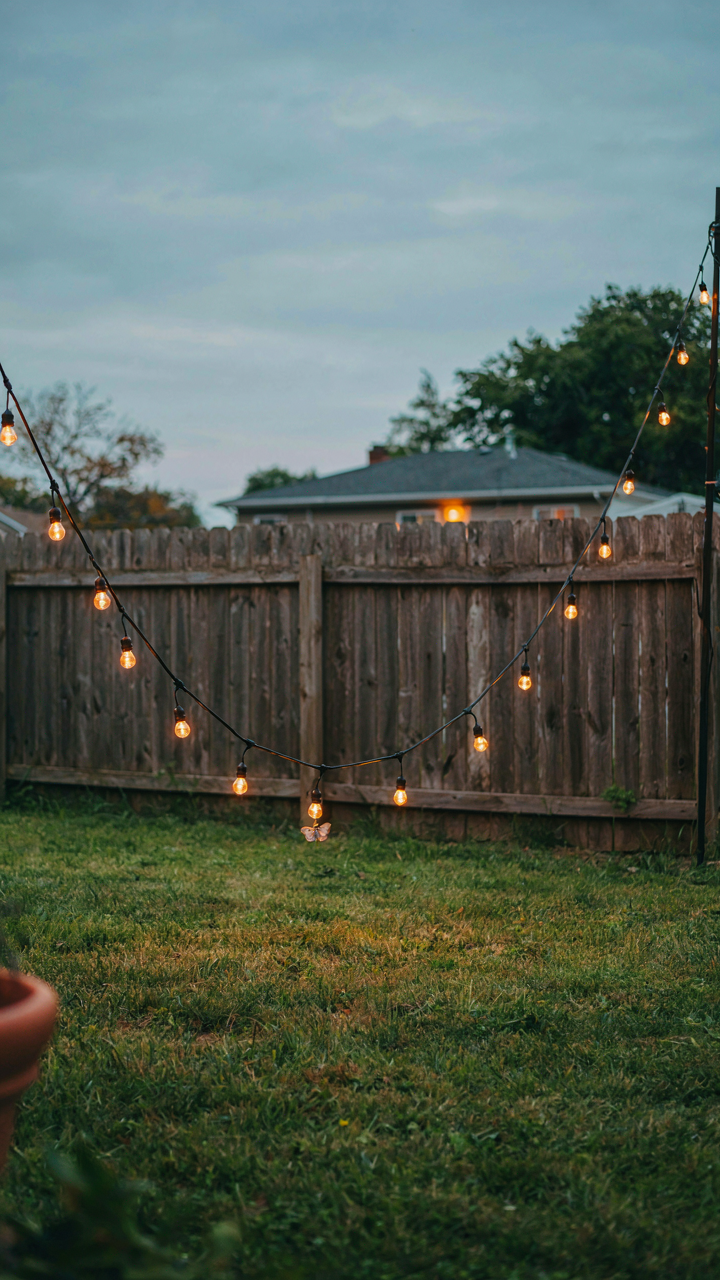
You think hanging string lights is about making them look pretty, but you’re actually worried they’ll look cheap. That fear kills the setup before you plug them in. String lights follow the physics of tension and load—the longer the span between anchor points, the deeper the sag, and the lower the light sits relative to your sightline. Most people space anchors 10 to 15 feet apart and accept whatever sag results. That’s the mistake.
Here are the core spacing errors that tank your installation:
- Anchors spaced over 12 feet apart: Creates visible sag that drops lights below eye level and makes them disappear into the darkness below the fixture line.
- Uneven anchor heights: One end higher than the other forces lights to hang at a diagonal, creating dead zones where some bulbs sit too low to cast useful light.
- No mid-span support on long runs: A 25-foot straight run with only two anchor points will sag 2 to 3 feet at center, making the middle section functionally dim.
- Anchors too close to the ground: Lights positioned lower than 7 feet throw light downward instead of across your seating area, wasting the coverage zone.
- Ignoring cable weight accumulation: Multiple heavy-duty strings on one support structure create compound sag that pulls each line lower than planned.
Add a mid-span anchor every 8 to 10 feet on longer runs and keep all anchor points level with each other. This keeps your lights at consistent height and actually visible from seated position. Tension, not wishful thinking, determines whether your patio glows or fades into the yard.
Hanging Without Anchoring Points
You don’t need clips to hang outdoor string lights—you need a clear plan for where lights actually attach. The problem isn’t the absence of clips; it’s the absence of decision about load distribution. Most people look at their patio and see empty space, then decide to “just string lights across it” without identifying which structures can handle sustained tension. That vagueness is where everything falls apart.
Solid anchor points are posts, beams, and rafters rated for outdoor load—typically wood at least four inches in diameter or metal studs bolted into structure. If you’re tying to vinyl fence, brick veneer, or thin aluminum trim, you don’t have an anchor point. You have a liability. Use eye bolts or lag bolts drilled directly into structural members, not surface-mounted hooks on facing material. Tighten hardware fully; sagging comes from loose connections that migrate over weeks of wind and temperature change. Run your cable in a straight line from anchor to anchor, not in loose loops. Measure twice, drill once.
The Color Temperature Illusion: Warmth Vs. Brightness In String Lights
How Kelvin Ratings Actually Control Perception
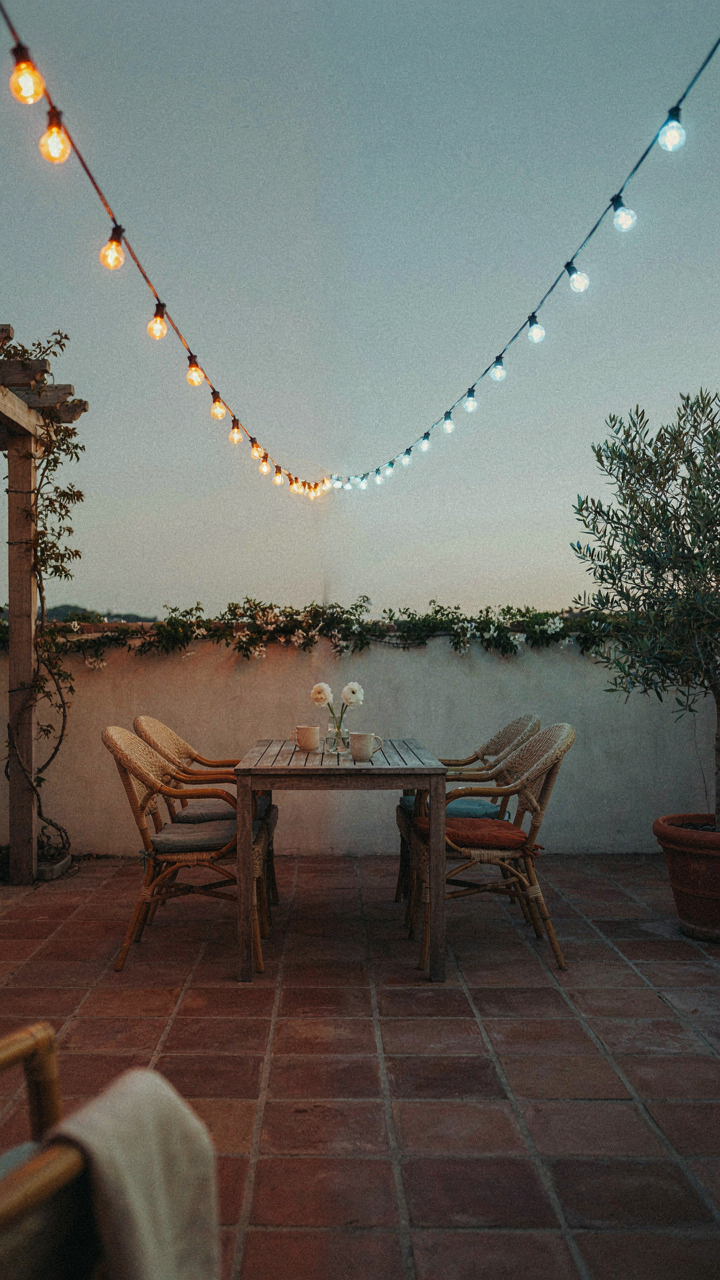
You think warmer light makes a space feel better. That’s half true, and it’s costing you visibility. Kelvin ratings measure color temperature on a scale where lower numbers mean more orange, higher numbers mean more blue. This is a physics concept called color rendering, and the mistake most people make is confusing warmth with output. A 2700K bulb feels cozier than a 5000K bulb, but it also delivers fewer lumens to your eye, making your patio objectively dimmer.
Bulbs rated 2700K to 3000K dominate consumer string lights because they photograph well and signal “relaxation.” But here’s what nobody says plainly: that warm glow obscures detail and depth. Your brain interprets warm light as sunset, which triggers a psychological association with dimness. The bulb might be fine technically. Your perception has already decided the space is dark. Matching Kelvin to actual brightness output requires knowing both numbers, not just picking whichever feels right.
Mood And Setting Demand Different Kelvin Values
Don’t waste time with generic advice about warm being cozy and cool being energetic. That framework ignores function. A dining area benefits from 3000K because it flatters food and faces without creating harsh shadows. A reading nook needs 4000K minimum or text becomes a strain. A dance floor or game area demands 5000K or higher for the visual stimulation that keeps attention active.
The mechanism is straightforward: lower Kelvin ratings compress contrast and reduce the visible spectrum your eye can parse, making it harder to track movement or read expressions. Higher Kelvin spreads that spectrum, increasing visual information density. Pick your Kelvin by the primary activity happening under those lights, then verify the lumen output is high enough for that task. If you’re hanging 2700K bulbs over a games table, you’ve chosen mood over usability. The patio looks dim because it functionally is.
The True Dimmer: Your Unexamined Assumptions About Outdoor Lighting
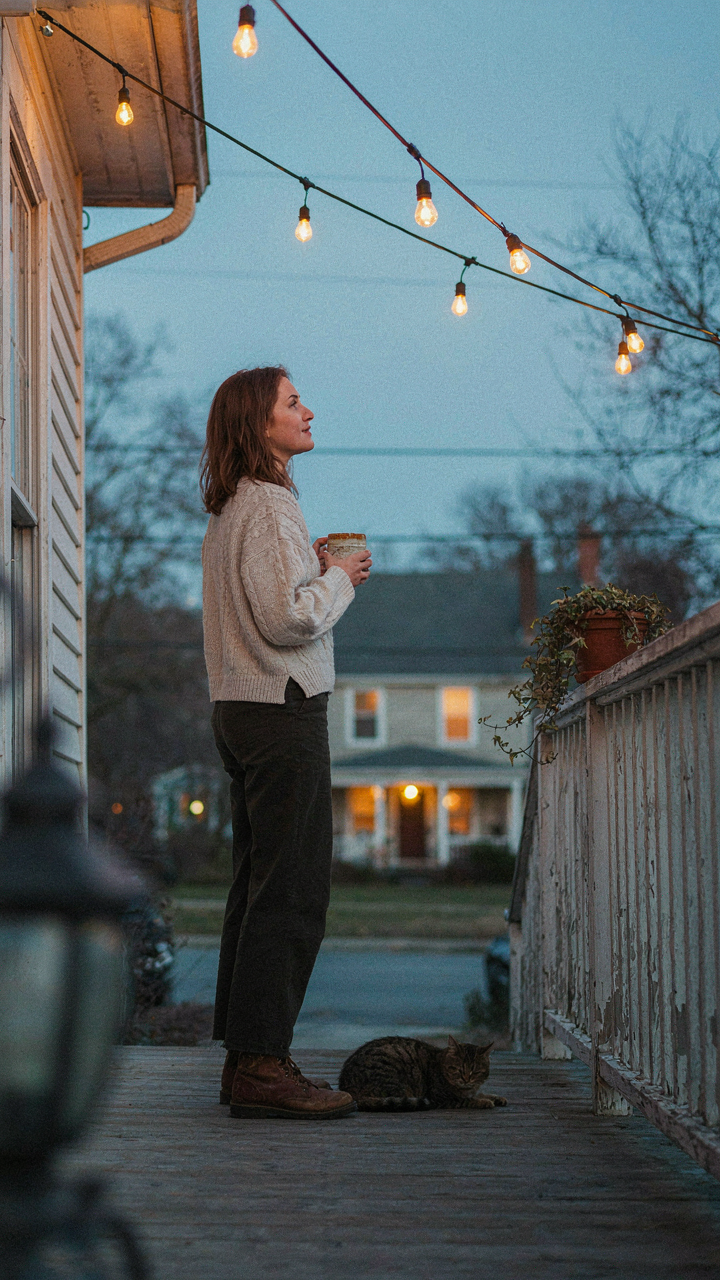
You think your patio looks dim because you bought cheap bulbs. Wrong. You look dim because you never questioned why string lights exist in the first place. Most people hang them for decoration and accept whatever light falls where. Real outdoor lighting solves a problem: it guides movement, creates depth, eliminates dead zones. Stop decorating and start strategizing. Walk your patio at dusk today and mark where shadows kill the space. Light follows intention, not hope.



