
The Thermal Envelope Protocol: Sealing Your Skoolie
What Insulation Actually Does
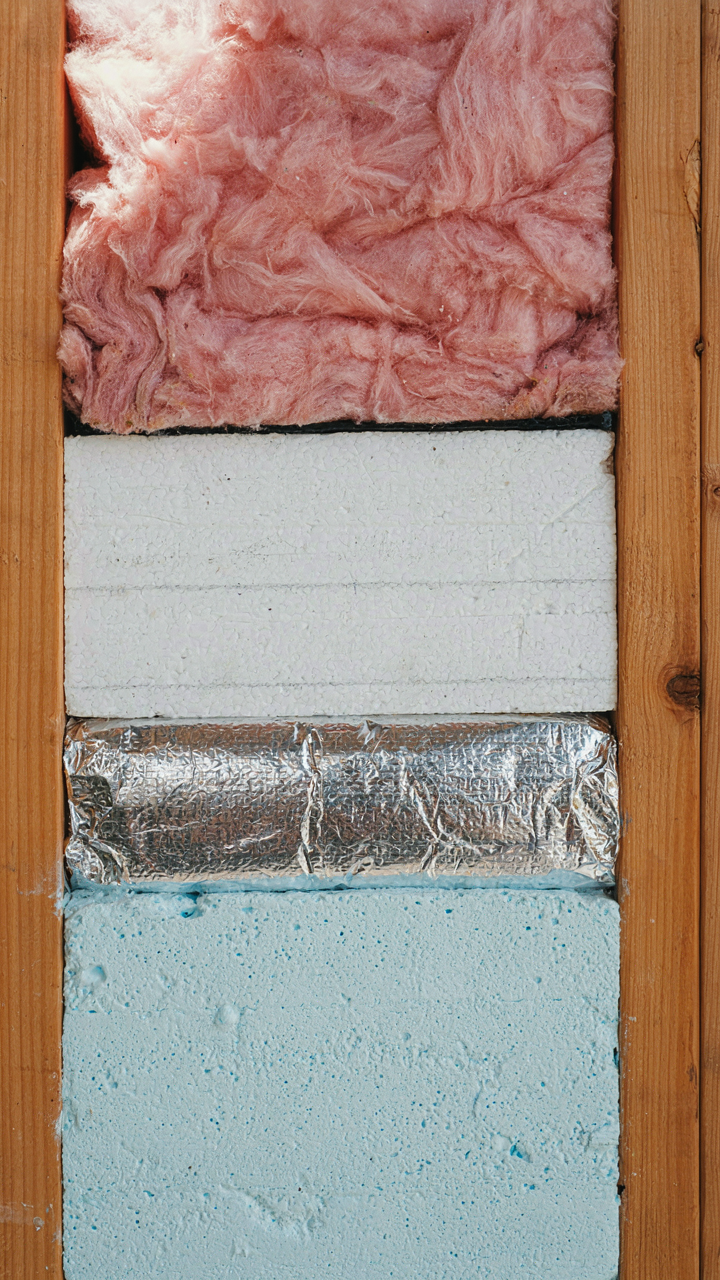
You care about this because staying warm in a metal box sounds impossible, and you’re right to be skeptical. Insulation works like a thermal resistor in a circuit: it slows the rate at which heat energy transfers from inside to outside. R-value measures this resistance per inch of thickness. A skoolie’s metal skin conducts heat ruthlessly, so insulation becomes your only defense against a temperature gradient that never stops trying to equalize.
Common advice says “just use spray foam.” That’s incomplete. Spray foam delivers high R-value per inch, roughly R-6 to R-7, but it seals air leaks and resists moisture better than rigid foam. Fiberglass batts sit around R-3.5 per inch and absorb water like a sponge, rendering themselves useless in a humid metal environment. For a skoolie floor, walls, and ceiling combined, you need R-30 to R-40 total to hold interior temperature through extreme exterior swings. Do the math: spray foam reaches this faster, but costs more. Rigid foam boards (R-4.5 to R-5.5 per inch) cost less and work if layered and sealed correctly, though the labor multiplies.
Moisture Control Stops You From Living In Mold
Vapor barriers aren’t optional once you understand the physics. When warm interior air hits cold metal, condensation forms immediately. A vapor barrier is a material layer that resists water vapor transmission, measured in perms. Standard polyethylene film works but creates a trap if you get the direction wrong. Interior vapor barriers must face the warm side of your envelope and have low perm ratings (below 1 perm). Install it before insulation, not after.
The real mechanism: you’re managing a humidity gradient, not just blocking water. Breath, cooking, and showers load your skoolie with moisture. That vapor seeks the coldest surface (the metal skin) and condenses there, rotting wood framing and feeding mold behind your insulation. If your vapor barrier sits on the wrong side, trapped moisture migrates into insulation and stays there. Use closed-cell spray foam or pair rigid foam with taped seams and a dedicated poly barrier. Seal every penetration. Test your seal quality with an incense stick held near joints and seams.
Skoolie Airflow Dynamics: Beyond Open Windows
The Window Trap You Don’t See Coming

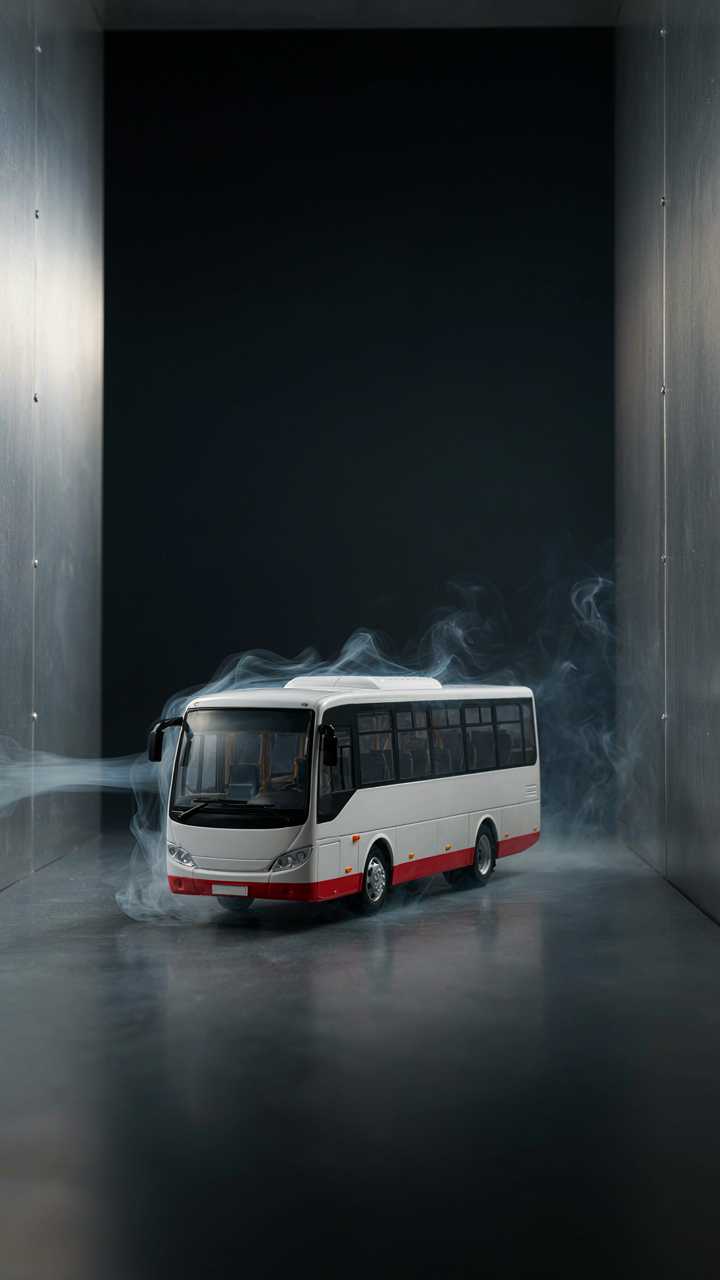
You think open windows solve heat because that’s what works in a stationary house. They don’t work in a bus. The real mechanism is pressure differential, borrowed straight from fluid dynamics: you need intentional intake and exhaust points creating a pressure gradient, not random air movement. A bus sits low to the ground, traps heat at the ceiling, and stagnates air in dead zones where windows can’t reach. Opening two windows creates turbulence, not flow.
Cross-ventilation in a skoolie requires strategic placement of intake on the shaded side and exhaust on the heated side, forcing air through the cabin as a system. The bus length gives you leverage here: position low intake vents toward the front or shaded side, and high exhaust vents at the rear or roof. Temperature differential drives the flow naturally when you don’t fight physics. This works because hot air rises and seeks escape points. Stack your vents vertically when possible to amplify the stack effect.
Strategic Fan Placement Beats Random Air Movement
Fans in a skoolie don’t cool. They move air, and moving air feels cooler because it accelerates evaporation on skin. That’s the only mechanism at work. Most people install one fan and expect results. That’s lazy. You need intake fans pulling outside air through low entry points and exhaust fans pushing heat out high exit points, creating a complete circuit.
Position intake fans near the floor at the front third of the bus, pulling from the shaded side during heat hours. Install exhaust fans at the roof or rear upper wall, creating that pressure gradient that forces hot air out. The size gap matters: your exhaust capacity should slightly exceed intake to create mild negative pressure that pulls cooler air in constantly. Wire them to a thermostat or manual switch so you control when they run. This stops you from fighting your own cooling system when outside air is cooler than inside air at night.
Power Management Mastery For Bus House Living
Solar Panels And Battery Sizing

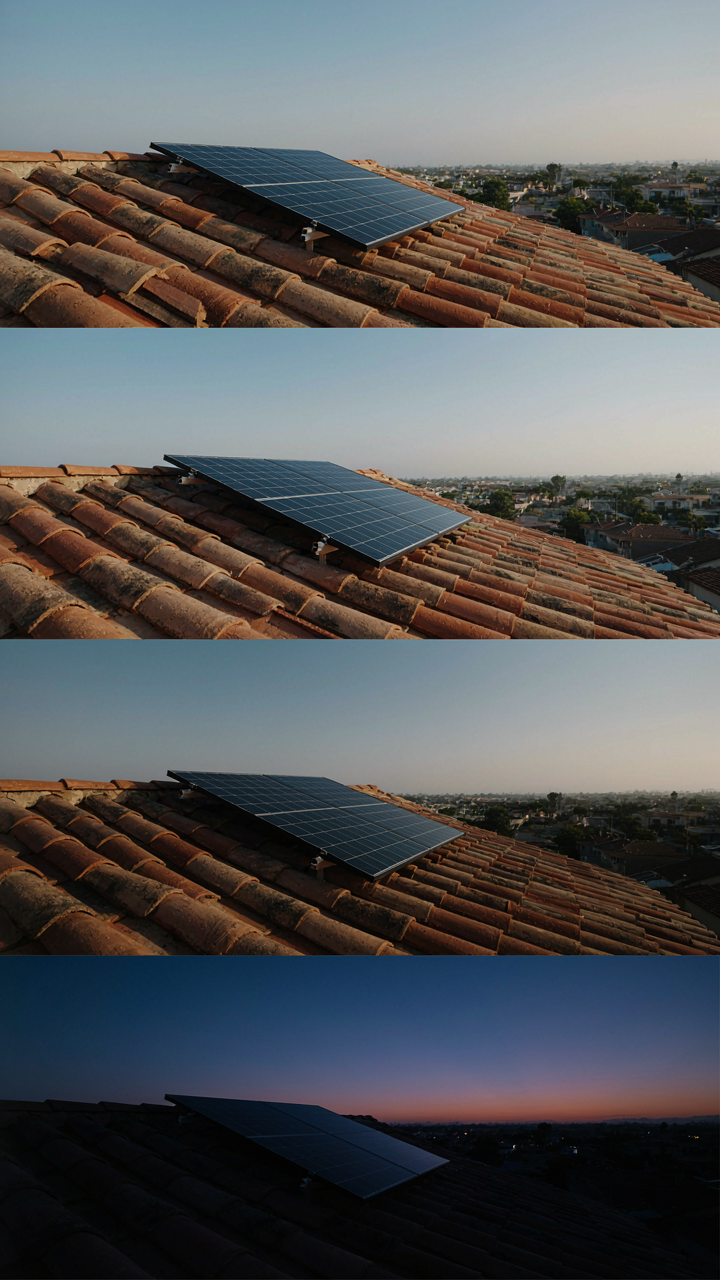
You want to believe one solar panel and a battery will solve everything because the alternative is admitting you need to do real math. Here’s the mechanism: solar output is a function of panel wattage, angle, season, and latitude. A 400-watt panel in winter at 45 degrees north generates half what it does in summer. Your battery bank must cover the gap between what you generate and what you consume on cloudy days.
Size your battery capacity by calculating daily consumption in watt-hours, then multiply by your worst-case weather window. Most skoolie dwellers need 10 to 20 kilowatt-hours of usable storage to avoid running a generator every three days. This means 200 to 400 amp-hours at 48 volts, or 400 to 800 amp-hours at 24 volts. Lithium batteries provide more usable capacity in the same physical footprint as lead-acid, but cost three times more upfront.
Inverters And Load Matching
The common advice says “just get a big inverter.” Wrong. Inverter sizing is about peak load, not total load. Your 3000-watt microwave demands 3000 watts the moment you press start. Your coffee maker plus microwave plus water heater simultaneous equals system failure if your inverter maxes at 3500 watts. Devices don’t announce themselves politely.
Pure sine wave inverters cost more but run sensitive electronics without noise or component damage. Modified sine wave inverters work fine for lights and resistive loads but will degrade or destroy phone chargers and laptop power supplies over time. DC appliances bypass the inverter entirely and pull energy straight from the battery bank. A DC fridge uses 30 to 50 percent less energy than an AC fridge because you eliminate the conversion loss. Install DC circuits for your most-used loads first: refrigeration, lighting, and water pump.
The Minimalist’s Advantage: Functional School Bus Renovation Ideas
Furniture That Earns Its Weight

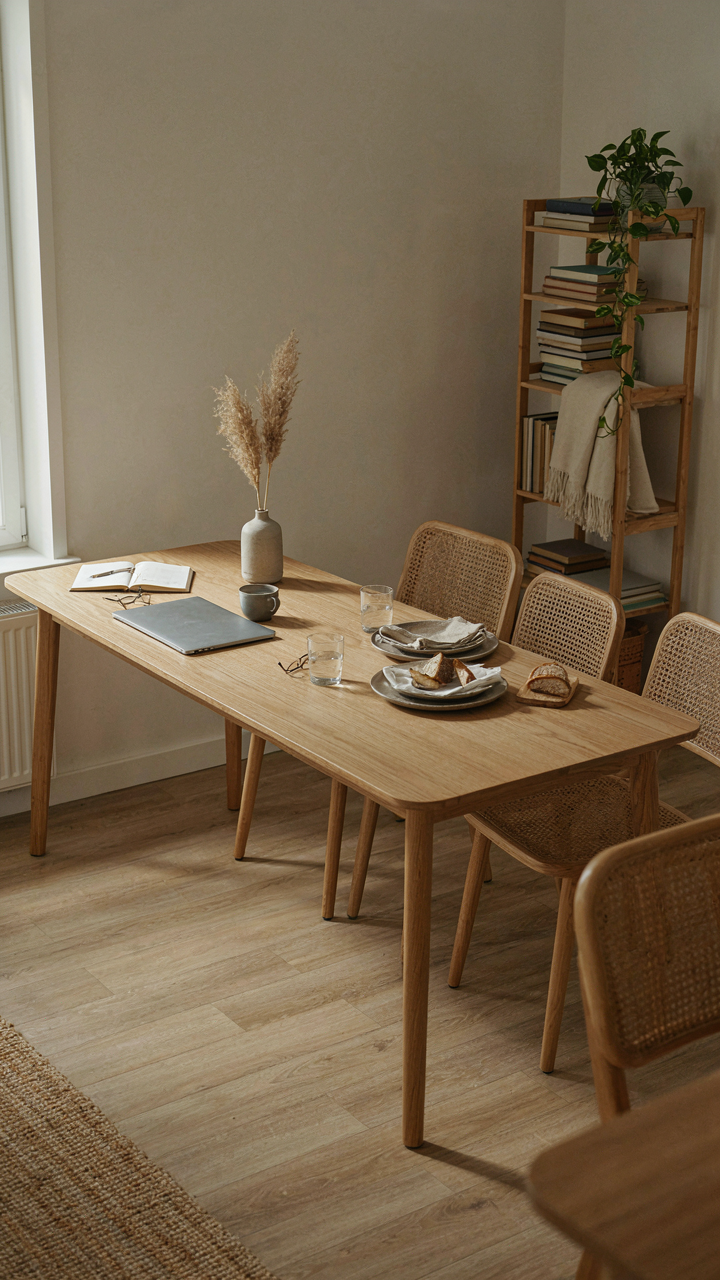
You want minimalism to feel intentional, not like you’re broke. The real mechanism is constraint-based design from industrial engineering: you’re not removing things, you’re eliminating redundancy. Every piece must solve two problems simultaneously or it doesn’t board the bus.
A murphy bed with integrated desk underneath doesn’t save space—it creates two functional zones from one footprint. A dining table that converts to storage or becomes a work surface means you’re not buying four separate items. Bench seating with hollow bases replaces chairs and adds capacity. The skoolie interior gets denser without feeling cramped because each object has multiple purposes built in, not bolted on as an afterthought.
Storage That Doesn’t Kill Your Layout
Most skoolie advice tells you to “use vertical space.” That’s incomplete. The real problem is dead air flow and visual congestion. If your storage blocks sightlines or creates obstacles, you’ve just built a shed that moves.
Strategic placement means cabinets above windows and along the driver’s side where they don’t obstruct movement paths. Under-floor storage accessed from outside keeps daily clutter invisible. Sliding drawers beat stacked shelves—they let you extract items without dismantling everything above. The goal is: your living area stays open enough to move through without thinking about it, while everything you own has a specific location you know without searching.
Lighting As A Psychological Tool In Your School Bus Tiny House
Windows: Where Light Becomes Real Estate

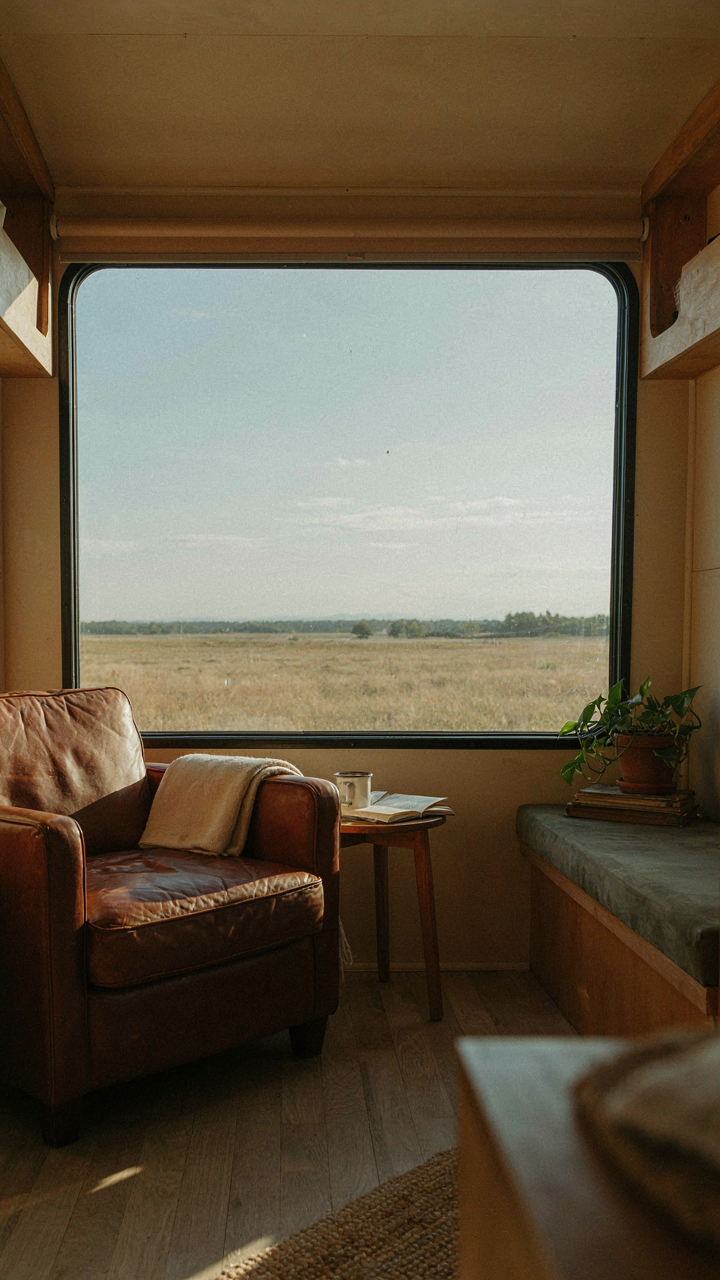
You want natural light because it feels good, but you’re actually solving a space problem. In architecture, this principle is called “borrowed space”—using external resources to expand perceived dimensions. A skoolie with poor window placement feels cramped regardless of actual square footage. Skylights above the driver’s cabin and side windows positioned low force the eye outward, making twelve hundred square feet register as larger than it is.
Window placement strategy matters more than quantity. East-facing windows deliver morning light without afternoon heat gain. Avoid positioning windows directly above bed areas or seating where glare and UV damage upholstery. Install operable windows over fixed ones—cross-ventilation during shoulder seasons reduces AC dependency and lets you modulate light intensity without blocking views. This gives you control, which is what you actually need in a confined space.
Layered Lighting Defeats Mood Fatigue
Most skoolie builders install one ceiling fixture and call it done. That’s how you end up depressed in your own home. Task lighting handles function, ambient lighting handles atmosphere, and accent lighting handles that third dimension your brain needs to not feel boxed in. Mount dimmable LED strips along upper cabinetry for ambient glow. Add focused reading lights at the dinette and bed. Install small accent lights pointing at a dark wall or textured surface to create depth.
Color temperature matters mechanically, not aesthetically. Warm white (2700K) triggers parasympathetic response and belongs in sleeping areas and evening spaces. Cool white (4000K) supports focus and works for kitchen prep zones and work areas. Switching between them throughout the day mirrors natural circadian rhythm and prevents the flattened affect that comes from monochromatic lighting. Wire these on separate switches so you control the shift consciously, not by accident.
Water Systems: The Unseen Lifeblood Of Skoolie Plans

Storage And Movement: The Real Constraint

You care about this section because you’re afraid of running out of water mid-trip and looking unprepared. The actual mechanism is simple: water weighs 8.3 pounds per gallon, and every gallon you store reduces your payload capacity and fuel efficiency. This isn’t optional complexity—it’s physics pressing down on your design decisions.
Most skoolie builds start with 50 to 100 gallons of freshwater storage, distributed low and toward the center of the bus to maintain weight balance. Tanks mount under the floor or integrated into wheel wells. The placement matters more than the size. A single tank creates a sloshing problem that destabilizes handling; split your capacity into two or three smaller tanks mounted separately so weight stays distributed even as you consume water.
Gravity feeds the system downward from a roof-mounted tank or pressurized tank at height. Pump systems pull from low-mounted storage and push water upward to fixtures. Most builds use a 12V demand pump tied to a freshwater tank—it activates when you open a tap and shuts off when pressure builds. Run half-inch PEX tubing through insulated channels, not copper. Copper corrodes from road vibration; PEX flexes and survives bumps. Drain all lines before freezing weather or they split.
Greywater: Separate The Problem Into Stages
Greywater systems fail because people treat them as single containers instead of staged drainage. Sinks and shower drain into one tank; blackwater (toilet) stays separate. Most skoolie operators empty greywater every 3 to 7 days depending on usage. Install a three-inch drain line with a slope of at least one-quarter inch per foot—if the pitch drops too shallow, waste pools; too steep and water separates from solids.
Tank capacity ranges from 30 to 50 gallons for typical two-person builds. Position the greywater tank lower than your drain fixtures so gravity moves waste down. Add an access port for cleaning clogs. Install a valve at the tank outlet so you control when to empty it. Most operators use gravity dump into a container, then haul it to a dump station. The filter between sink and tank catches hair and large debris—clean this filter every two weeks or drainage slows dramatically.
Filtration: Where Most Builds Cut Corners

Standard advice says a basic carbon filter handles everything. It doesn’t. Carbon filters capture chlorine and odors but fail on sediment, bacteria, and minerals. Multi-stage filtration works: sediment pre-filter first, then carbon, then a fine particulate stage if you’re pulling from questionable sources. Replace the sediment filter every 100 to 200 gallons; carbon every 300 to 500 gallons depending on source water quality.
Most skoolie water comes from hookups at RV parks and campgrounds, which reduces filtration demands. If you boondock and fill from streams or tanks, add a gravity filter as backup. Mount your filter housing under a sink cabinet where you can swap cartridges without crawling into tight spaces. Install a bypass valve so if a filter clogs, water still flows—you lose filtration but keep pressure. This prevents a frozen or clogged line from collapsing your system mid-trip.
Toilet Choice: The Unspoken Trade
Composting toilets and blackwater tanks each fail in different ways, and nobody admits which failure matches their actual use pattern. A composting toilet requires active management: you add sawdust or peat after each use, you monitor moisture, you empty it every 200 to 400 uses depending on volume. Most people stop doing this after two weeks. A blackwater tank sits passive until full, then you haul it to a dump station. The tank smells worse but demands less daily attention.
Composting toilets work best if you’re a solo traveler or couple with moderate use and genuine commitment to maintenance. They’re light, they need no plumbing, they produce a byproduct you can compost. Blackwater tanks suit higher usage, multiple occupants, or people who forget routines. A typical 20-gallon blackwater tank serves two people for 5 to 7 days before requiring a dump. The tank adds weight and takes up floor space. Choose based on your actual behavior, not your aspirational behavior.
The System Integration Protocol
Freshwater, greywater, and waste streams run through a single bus using separate plumbing routes. Freshwater enters from an external fill port, branches to kitchen and shower, then drains into greywater. The toilet drains into blackwater independently. Install isolation valves at each tank so you can close one line without shutting down the whole system. Label every valve and tank in permanent marker. When temperatures drop below freezing, drain all three systems before parking for the night or lines burst and you pay for repairs that wouldn’t exist if you’d spent thirty seconds on drainage.

The Biomimicry Blueprint: Resilient Bus Living

Copying Nature’s Efficiency Code
You want this section to feel sophisticated, like you’re making some evolved design choice. The mechanism is simpler: nature solves for constraints, and your bus is nothing but constraints. Biomimicry borrows from ecology, where organisms maximize output while minimizing input. Apply that directly to your thermal envelope. A skoolie interior that mirrors how trees regulate temperature and moisture—through material layering and air stratification—doesn’t need aggressive HVAC. Bark protects. Cork insulates. Root systems manage water. Your bus walls should work the same way.
The practical move is choosing materials that earn their weight. Sheep’s wool insulation doesn’t just trap air like fiberglass—it regulates humidity by absorbing and releasing moisture without degrading. Cork flooring handles temperature swings without cracking because it’s inherently flexible. These materials don’t fight your environment. They negotiate with it. That’s the biological principle embedded in skoolie design that most people skip straight past, opting instead for whatever Home Depot sells in bulk.
Waste Becomes Your Operating System
The closed-loop economy is not a buzzword here—it’s your only path to sustainable bus living. Every gallon of water, every kilowatt, every scrap of material either cycles back into use or becomes a problem you can’t escape in 300 square feet. Greywater systems aren’t luxury upgrades. They’re infrastructure. Your shower and sink water filters into a separate tank for toilet flushing or garden watering at camp. Food scraps compost in a sealed bin outside the bus, eliminating waste storage and smell. This isn’t aspirational living. It’s mathematical necessity.
The mechanism that separates functional bus living from failing attempts is treating your interior as a material loop, not a linear pipeline. Install a simple three-tank water system: fresh, greywater, blackwater. Use natural fibers for upholstery and soft goods so they decompose if you need to replace them. Store bulk staples and refill containers instead of generating packaging waste. Establish one rule: nothing enters the bus that doesn’t have a clear exit or reuse path. Document your waste stream for one month. You’ll find the leaks immediately.

Exterior Design: Protecting Your Camper Bus Conversion

Roof Integrity And Water Defense
You care about this section because water damage is silent and expensive, and you’re hoping someone will tell you the one trick that makes it painless. There isn’t one. Roof integrity works like a ship’s hull—one breach doesn’t sink you, but repeated micro-failures do. Most skoolie owners treat the roof as a set-it-and-forget-it surface. They’re wrong. A school bus roof is flat, which means water pools instead of running off. Pooling water finds cracks you can’t see yet.
The actual mechanism is thermal cycling. Metal expands and contracts with temperature swings, opening gaps in sealant joints. These gaps widen over months, not years. Address this before you hit the road, not after water stains appear on your ceiling.
- EPDM Rubber Membrane: Applied over the entire roof deck, creates a unified barrier. Thermally stable and rated for 20 to 30 years. Installation requires proper substrate prep and adhesive compatibility checks.
- Liquid Applied Elastomer: Spray or roll application that conforms to any surface irregularity. Useful for patching around vents and edges. Breathability varies by product, affecting condensation risk.
- Silicone Sealant: One-part, low-cost option for joints and seams. Requires annual inspection and reapplication in high-stress areas. Not a complete solution on its own.
- Polyurethane Adhesive: Bonds EPDM to substrate with moisture-resistant properties. Must cure fully before roof exposure to rain. Application requires precision to avoid voids.
- Flashing and Transition Details: Metal or rubber boots around roof penetrations prevent water migration under membranes. The weak point on most roofs. Inspect and reseal every 12 months.
Install the barrier first, then seal all transitions. Vent boots, roof vents, and antenna mounts are where water enters. Use compatible sealant types—mixing products creates chemical incompatibility that accelerates failure. Check the roof every season. Water damage compounds faster than you think.
Undercoating And Rust Prevention
You need to protect the chassis because rust spreads from the frame inward, and a corroded structural member can’t be fixed without rebuilding. The bus frame bears your weight and your occupants’ safety. Rust is corrosion in action—an electrochemical process accelerated by salt, moisture, and time. Most skoolie owners apply undercoating once and assume it holds for years. It doesn’t. Undercoating degrades, cracks, and separates from the metal surface.
Start with a clean surface. Pressure wash the entire undercarriage to remove dirt, road salt, and loose rust. If existing rust exists, wire wheel or grind it down to bare metal. Half-measures here waste time and product. Apply undercoating in thin, even layers. One thick coat traps moisture underneath and fails faster than multiple thin applications. Focus on high-impact zones: fuel tank, battery compartment, frame welds, and suspension attachment points. These corrode first.
The real action happens after application. Inspect the undercarriage annually, especially after winter or coastal driving. Cracks in undercoating expose the metal beneath and become entry points for new corrosion. Touch up problem areas immediately. Small bubbles in the coating mean moisture has trapped underneath—remove that section and reapply. A rust-free frame extends your bus’s operational life by years, but only if you treat it as an ongoing process, not a one-time task.
Stop Chasing Pinterest Dreams. Real Comfort Isn’t Decorated; It’s Designed. The Only Aesthetic That Matters Is Survival

You don’t need another mood board. You need a floor plan that lets you move without hitting your head. Stop buying vintage signs and start measuring your sleeping area. Draw your layout on paper today, then walk through it in your mind for a week. Every choice you make solves a real problem or creates one. The bus doesn’t care how it looks. You do.



