

The Illusion Of “Cozy”: Why Wood Panels Alone Fail

Wood’s Real Cost In Temperature Control
You want wood because it looks intentional, like you’ve thought about your space instead of just throwing up fiberglass. But thermodynamics doesn’t care about your aesthetic. Wood is a poor insulator—it has an R-value between 0.7 and 1.4 per inch, meaning half-inch pine panels contribute almost nothing to thermal resistance in a metal box that hemorrhages heat. Metal conducts temperature like a wire, and wood mounted directly to it becomes a thermal bridge. Your panels look warm while your van sheds degrees into the night.
The real problem: wood absorbs and releases moisture based on ambient humidity, then transfers that moisture into the framing cavity behind it. This cycle weakens glue joints, promotes rot in the substrate, and creates pockets where condensation forms. Standard van builds slap wood over metal with minimal air gap and no protective layer underneath. The wood becomes window dressing for a moisture problem you won’t see until it’s structural damage. Thermal comfort requires a complete assembly—not a material swap.
Vapor Barriers Are Physics, Not Options
Thermodynamics applies here: a vapor barrier is the mechanical principle of pressure differential in practice. Warm air inside the van holds more moisture than cold air outside. When warm interior air hits a cold metal ceiling, moisture condenses on that cold surface. A proper vapor barrier blocks moisture migration before it reaches the condensation point. Without one, wood panels sit directly over saturated metal and framing, absorbing water constantly. The barrier must be on the warm side of the insulation layer, closest to the interior air.
Common advice says “use a vapor barrier somewhere in the assembly.” That’s incomplete. Placement determines whether the barrier works or traps moisture in the cavity. Install the barrier between the van ceiling and your insulation layer, then add wood panels afterward. This order keeps moisture out of the wood entirely. Seal all seams with tape rated for vapor barrier use, not general-purpose duct tape. Test the installation by running the van heater on a cold morning and checking the wood panels for condensation within two hours. If moisture appears, your barrier has a breach.
Soft Lighting Deconstructed: Beyond Mood, Into Utility

Color Temperature And Circadian Function

You want soft lighting to feel luxurious, but what you actually need is a ceiling that doesn’t wreck your sleep schedule. Circadian rhythm operates as a biological clock—borrowing the term from chronobiology, your van ceiling becomes a time-keeper that either syncs or desynchronizes your body’s core functions. Warm light (2700K or lower) signals evening to your nervous system. Cool light (5000K and above) triggers alertness. The mistake most people make: they install one fixed color temperature and wonder why they sleep poorly despite “mood lighting.”
Your body doesn’t care about aesthetics. It responds to spectral power distribution. Install dimmable warm lights (2700K) for evening hours and reserve cooler tones for morning prep or work hours. This isn’t decoration—it’s a protocol that prevents the physiological cost of disrupted melatonin production. If your van ceiling uses only one static temperature, you’re trading short-term comfort for long-term sleep dysfunction.
Task Light Versus Ambient Light Separation
Common advice says “just add more lights” and expects the problem to solve itself. Wrong. Task lighting and ambient lighting serve opposing functions and demand different placements. Task light concentrates on a specific surface—your stove, workbench, or desk—and requires direct position above or beside the work zone. Ambient light fills the entire ceiling volume and creates baseline visibility without harsh shadows.
Mixing these two categories into one fixture creates glare, reduces actual usability, and forces your eyes into constant adaptation strain. Mount task lights as linear LED strips directly above work surfaces. Position ambient lighting along perimeter edges or as diffused panels recessed into wood frames. This separation lets you control intensity independently: task light can run at 100 percent brightness without flooding your sleeping area, and ambient light can stay low without hindering function when you need it. Placement determines whether your ceiling lighting works or merely exists.
The “Silent Killer” Of Van Ceilings: Condensation Management
Insulation As The Humidity Battleground

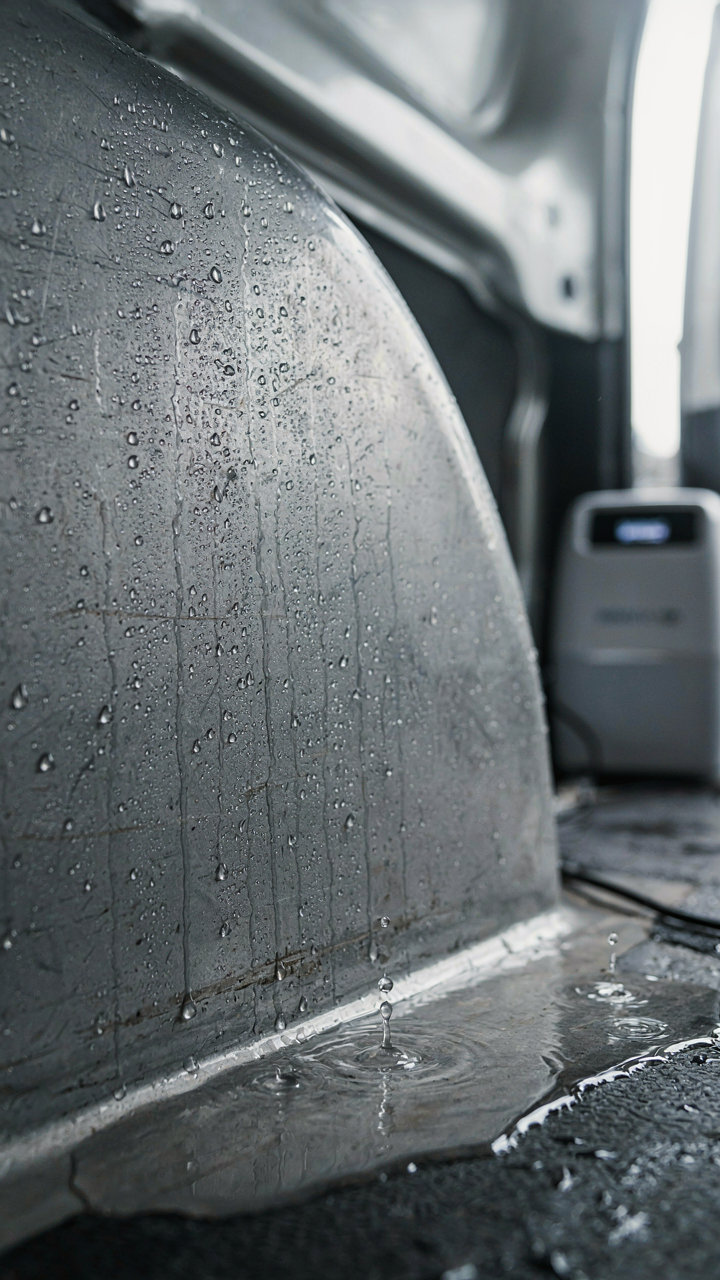
You’re worried about looking cheap, and condensation makes your van look ruined. Here’s the mechanism: insulation doesn’t stop moisture, it just moves where the problem appears. Thermal dynamics says heat transfer creates temperature gradients. In a van, your ceiling insulation creates a cold surface layer where warm interior air meets the barrier. Water vapor condenses at that boundary. Wood panels and soft lighting hide nothing when moisture damage starts. The insulation material itself becomes a reservoir for trapped water.
Most van builders treat insulation as a thermal problem alone. That’s incomplete. Your ceiling insulation must break the dew point zone, not just reduce heat loss. Closed-cell spray foam works differently than fiberglass batts because it resists vapor diffusion. Fiberglass lets moisture pass through, which pushes the problem deeper into your van structure. Vapor barrier placement matters more than R-value. Install the barrier on the warm side of insulation, not the cold side, or you guarantee condensation buildup against your wood panels.
Passive Versus Active Ventilation Systems
Passive ventilation is the comfort lie most van owners believe until their ceiling rots. Thermodynamic equilibrium between inside and outside air happens naturally only in specific climate windows, not year-round. Roof vents alone cannot remove the moisture load from cooking, breathing, and wet gear drying. You need measurable airflow velocity to expel humidity before it settles. Active ventilation forces air movement at scale. A single roof-mounted fan rated for continuous operation creates negative pressure that pulls humid air out before it reaches your ceiling.
The hybrid approach works because it accounts for the van’s actual moisture production. Run your active ventilation system during high-humidity periods: after showers, cooking, wet weather. Passive vents handle baseline air exchange when the van sits during the day. Stack effect principles apply here: hot air rises and escapes through top vents, but you control the rate with a fan. Install your active system with ducting that draws from the lowest point in your sleeping area where moisture concentrates, then exhausts through the roof. Monitor your wood panels for darkening or soft spots. If you see either, your ventilation protocol failed.
The Build To Fail Trap: Structural Integrity Of Camper Van Ceiling
Where Your Fasteners Actually Live

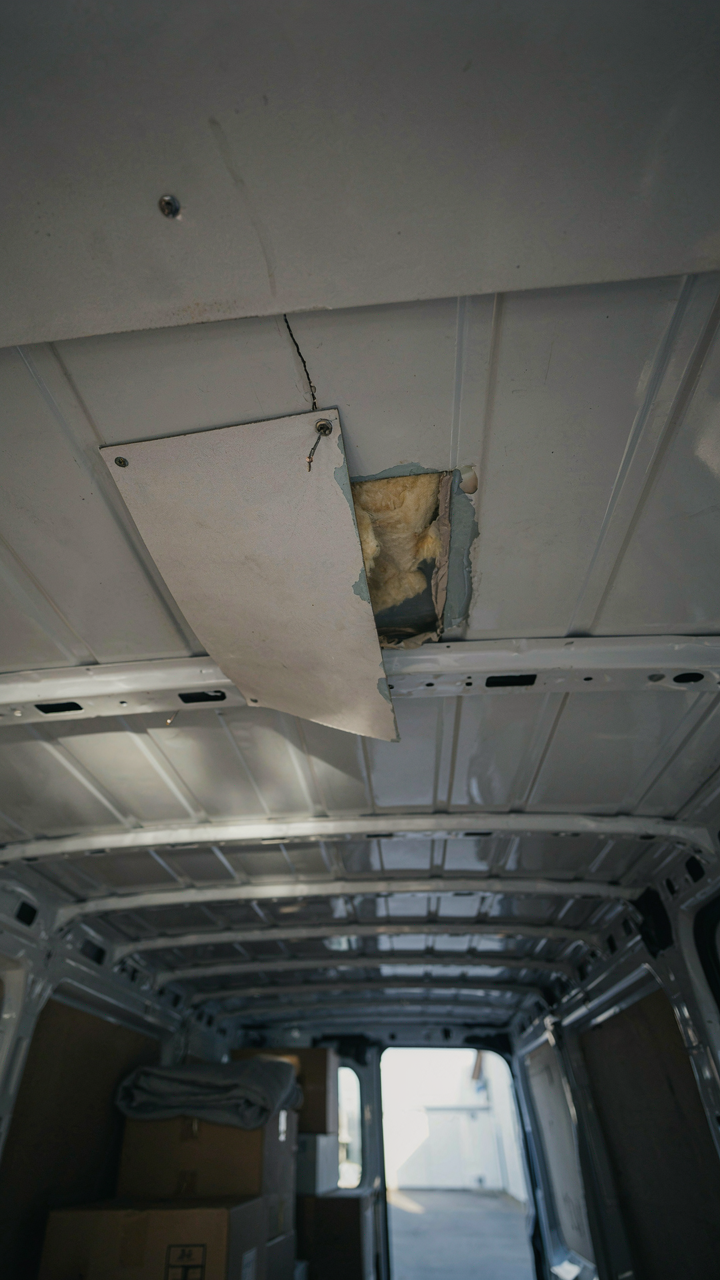
You want your wood panels to look finished and permanent, but you’re terrified they’ll rip out mid-drive. That fear is rational. The real mechanism at play is load distribution through anchor points, not the panels themselves. In structural engineering terms, you need to understand “stress concentration”—the phenomenon where force clusters at a single point instead of spreading. Your van ceiling panels become a failure vector the moment you treat them as standalone objects instead of load-bearing nodes in a continuous system.
Most van builders anchor panels directly to ribs or cross-beams without calculating actual weight distribution. They use self-tapping screws into aluminum or fiberglass, which fails under vibration because the fastener carries all load instead of the structure. The correct approach requires identifying load paths before installation. Mount panels through backing plates or furring strips that span multiple ribs. This spreads pressure across a wider footprint. Use sealed fasteners (with washers rated for your specific material), and space them no more than 12 inches apart on any edge. The van frame absorbs force gradually instead of punching through at isolated points.
Isolation Before Everything Else
Vibration dampening isn’t optional if you want panels lasting beyond the first season. Mechanical vibration from the engine and suspension transfers directly into your ceiling structure, creating micro-movements that fatigue fasteners and degrade adhesive bonds. Every cycle of expansion and contraction from engine heat and road vibration compounds the problem. You stop this transfer by inserting a decoupling layer between the van’s metal structure and your finished ceiling.
Rubber isolation strips or closed-cell foam between mounting points absorb vibration before it reaches fasteners. This is the protocol: install a half-inch dampening material on any surface touching metal frame, use floating mounts that don’t rigidly bolt panels to structure, and seal all gaps between panels with flexible caulk instead of rigid materials. The goal is to let your ceiling system move independently from frame movement. Check fastener torque every 6 months during the first year, then annually. Loose fasteners indicate isolation failure and require immediate remounting.
The Unseen Energy Drain: How To Upgrade Camper Van Ceiling Wiring

Wire Gauge Selection For Voltage Stability

You want the lights to stay bright when you need them most because dimming means your system is failing under load, and that’s a sign of poor planning. Voltage drop is physics, not preference: current flowing through resistance generates heat, and that wasted energy never reaches your fixture. The industry treats this as optional math. It isn’t.
Standard automotive wire gauge charts assume short runs under 15 feet. Van ceiling runs span 20 to 40 feet from battery to ceiling fixtures, and every foot costs voltage. For a 30-foot run at 20 amps through 12-gauge wire, you lose roughly 2 volts. That’s enough to dim LED panels noticeably or kill efficiency on ceiling heaters. Drop 4 volts and many lithium chargers shut down. Use 8-gauge minimum for ceiling circuits that pull sustained current, and 10-gauge only if the run stays under 20 feet and draws under 15 amps. Measure your actual distances before buying wire.
Access Points For Diagnostics And Future Runs
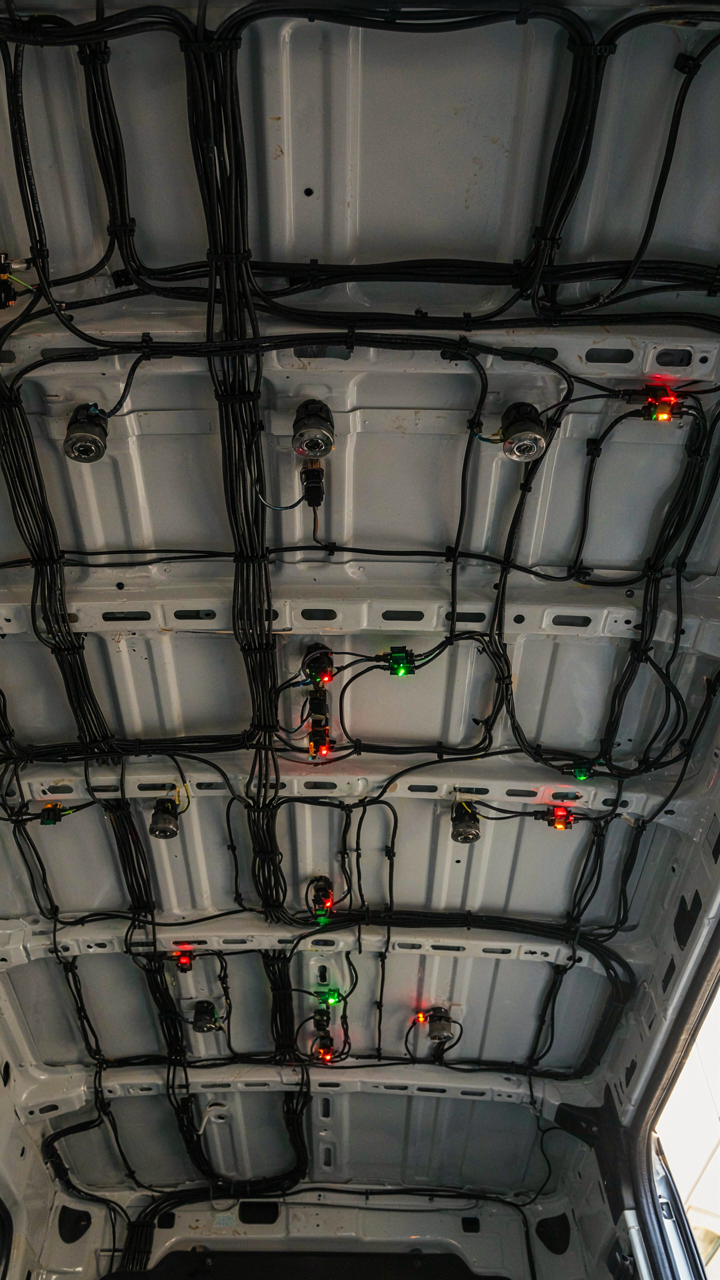
Your ceiling panel is permanent until it isn’t, and then you face ripping it apart. Plan for failure now. Run conduit or split loom tubing alongside your permanent ceiling wires during initial installation, leaving empty channels for future circuits. This costs nothing during build and saves days of labor later.
Install junction boxes at logical transition points: where the ceiling meets the cab, at mid-cabin, and where fixtures cluster. Label every wire at both ends with adhesive tags before closing walls. When you need to troubleshoot a short or add USB outlets, you access the junction box instead of dismantling wood. The mechanism is simple: confined wire routing plus accessible termination points equals future upgrades that don’t become demolition projects.
The Kinetic Grid Protocol: Remapping Your Van Ceiling Ideas
Feedback Loops Control The Environment You Actually Live In

You want your van ceiling to feel intentional because chaos in a small space makes you feel trapped. That’s the real mechanism. Cybernetics teaches us that systems stabilize through feedback loops, and your ceiling operates as one: it collects heat, reflects or absorbs light, and signals comfort or discomfort back to you constantly. Wood panels and soft lighting aren’t decoration. They’re the physical sensors and actuators of your living environment.
Most van builders ignore this and bolt up materials without accounting for the feedback chain. You install wood, hang lights, then suffer through temperature swings and glare you didn’t predict. The correction comes only after weeks of misery. Instead, map your ceiling as a feedback system: thermal response (how fast it heats and cools), light reflection (where shadows fall, where brightness concentrates), and air circulation (how surfaces redirect airflow). Test each variable before finalizing. Wood species, panel density, and lighting placement all feed information back to your nervous system. That’s not metaphor. That’s the actual loop you live inside.
Modularity Beats Permanence In Small Spaces
Adaptive system design from engineering means building components that swap without collapsing the whole structure. Your van ceiling doesn’t need to be fixed. It needs to be reconfigurable. Most builders treat it like a house ceiling: permanent, one-time decision, regret later.
Wood panels work here because they’re stackable, replaceable, and stackable again without structural damage. Soft lighting works because it decouples from the panels. You can upgrade bulbs, reposition fixtures, or switch panel types without tearing down the entire system. The protocol: design ceiling components to attach and detach independently. Use modular tracks instead of permanent fasteners where possible. This creates ceiling redundancy, meaning failures don’t cascade. When one panel warps or one light fails, you replace that single element, not the system. The van ceiling ideas that survive long-term are the ones that anticipate change, not the ones that lock you into a single vision.
Beyond Appearances: The Real Cost Of Faux Tin Tiles And Weight

Weight Penalties Versus Aesthetic Gains

You want the vintage diner look without admitting it kills your van’s efficiency and handling. Here’s the physics: every pound of ceiling material reduces payload capacity and increases fuel consumption. Faux tin tiles weigh 1.5 to 2 pounds per square foot depending on the substrate. A typical van ceiling spans 80 to 120 square feet. That’s 120 to 240 pounds added to the highest point of your vehicle, raising the center of gravity and degrading stability on turns.
Wood panels and soft lighting systems weigh considerably less—around 0.5 to 0.8 pounds per square foot for thin plywood with integrated LED strips. The math changes the equation entirely. You gain the aesthetic without the performance penalty. If you’re converting a van to live, work, or travel in it, that weight difference directly impacts how long your suspension lasts, how your engine performs on hills, and whether you can actually carry gear and people safely. Choose materials based on what you’ll actually load into the van, not on Instagram aesthetics.
Installation Complexity And Long Term Durability
The common advice is wrong: faux tin is not easier to install than wood. Faux tin requires precise alignment, additional adhesive layers, and trim work that takes longer than it appears. The material also develops gaps as the van flexes over rough roads. Humidity and temperature swings cause expansion and contraction that eventually separates seams. Wood panels, by contrast, move with the van’s frame instead of against it. Thin plywood actually absorbs vibration better than rigid plastic or composite tiles.
Durability favors wood because it’s forgiving. A dented wood panel gets sanded and refinished. A cracked faux tile requires replacement of the entire piece or visible patching. Installation matters more than material choice here. You bolt wood panels directly to the van’s ribs using stainless fasteners on a 12-inch grid. Adhesive-only faux tin installations fail within two to three years of regular use. The protocol: anchor everything mechanically, use no adhesive as a primary fastener, and inspect seams every six months for separation.
How To Customize Van Ceiling: The “Zero Regret” Planning Method

Sketch Before You Buy Materials
You’re worried about wasting money on the wrong materials and ending up with a ceiling that looks half-finished. Here’s the mechanism: people skip the visualization step and jump straight to purchasing because they think they already know what they want. They don’t. Your brain cannot predict how wood grain, panel spacing, and light temperature interact in a 6-foot-tall box until you see it.
Use a basic 2D sketch tool like Figma or even graph paper to map your panel layout, light placement, and seams. Draw your van from above and from the side. Mark where your head will be, where your fixtures go, and where wires run. This single pass catches 80 percent of spacing problems before installation. You’ll catch conflicts between a light fixture and a structural rib, or realize your panel width doesn’t divide evenly across your roof width.
Design For Movement, Then Aesthetics
The standard advice treats van ceilings as static art installations. That’s wrong. Your ceiling must survive vibration, temperature swings, and you moving around inside. Borrowing from structural engineering, the principle of “load path” applies here: every panel, fastener, and light must have a clear mechanical path that resists motion without relying on adhesive alone.
Start by deciding how your materials will actually attach. Will you use aluminum channels and stainless fasteners? Then test that system with samples before committing. Will you rely on a specific adhesive? Verify it holds under van vibration by mounting a test panel to your roof and driving rough roads. Only after your fastening system proves reliable should you layer in the aesthetic choices like panel finish or light color temperature. The design that regrets you avoid now prevents the ceiling from sagging into your face later.
The Over Engineered Fallacy: Smart Simplicity For Camper Ceiling
What Actually Matters In Your Ceiling

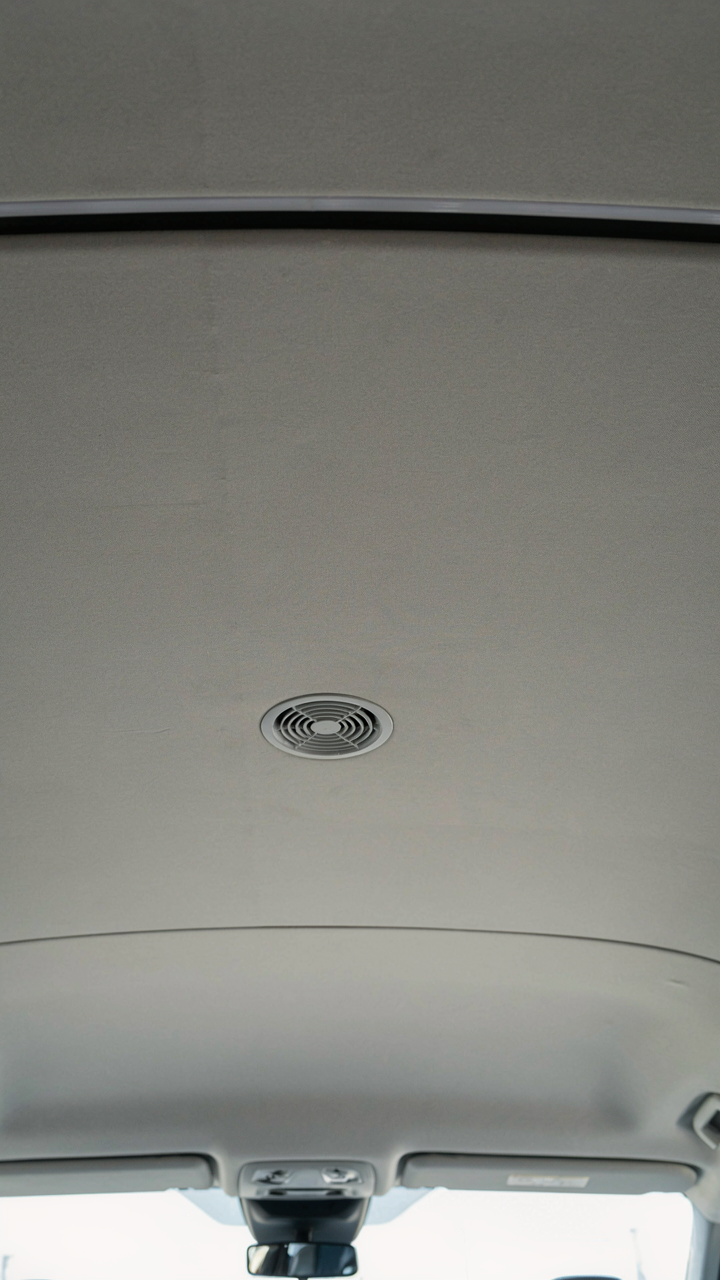
You want to feel smart about your van ceiling. That’s the real driver here. So you research ventilation systems, integrated lighting circuits, and acoustic dampening. Then you buy things that sound competent. The mechanism is simple: more features feel safer than fewer features, even when fewer features work better. Your ceiling needs to control temperature, shed water, and provide light. Everything else is noise.
Temperature moves through physics like a system seeking equilibrium. In van ceilings, you’re fighting two forces: heat rising in summer and cold radiating down in winter. Insulation handles this. Ventilation handles moisture. Lighting handles visibility. Add anything beyond those three, and you’re paying for complexity that doesn’t move the needle on livability. Most van builders add LED systems, vents, and insulation separately, then integrate them with fasteners and wiring. The better approach isolates each function so they don’t fail together.
Fewer Connections, Fewer Failures
- Adhesive vs. Fastener Hybrid: Use adhesive for wood panels to the substrate, fasteners only at stress points like edges and corners. One failure mode eliminated.
- Single Lighting Circuit: Run one power line from your battery to one dimmer switch, then branch to fixtures. Fewer connection points mean fewer shorts and voltage drops.
- Passive Ventilation First: Install a roof vent with a manual cover before adding powered fans. Gravity and thermal draft handle moisture most of the time.
- Insulation Without Vapor Barriers: Use closed-cell foam or rigid board that breathes naturally instead of layering materials that trap moisture between layers.
- Direct Mounting to Frame: Attach ceiling substrate directly to van ribs, not to a separate grid system that adds weight and connection points.
Every junction in your ceiling is a point where water leaks, fasteners corrode, or wiring fails. The van ceiling that lasts longest isn’t the one with the most features. It’s the one where each component does one job, attaches cleanly, and stays put. Test this: can you remove or replace one element without disturbing the others? If not, you’ve over-engineered it.
How To Build Camper Van Ceiling: The Master Checklist For Execution
Measuring And Framing The Structure
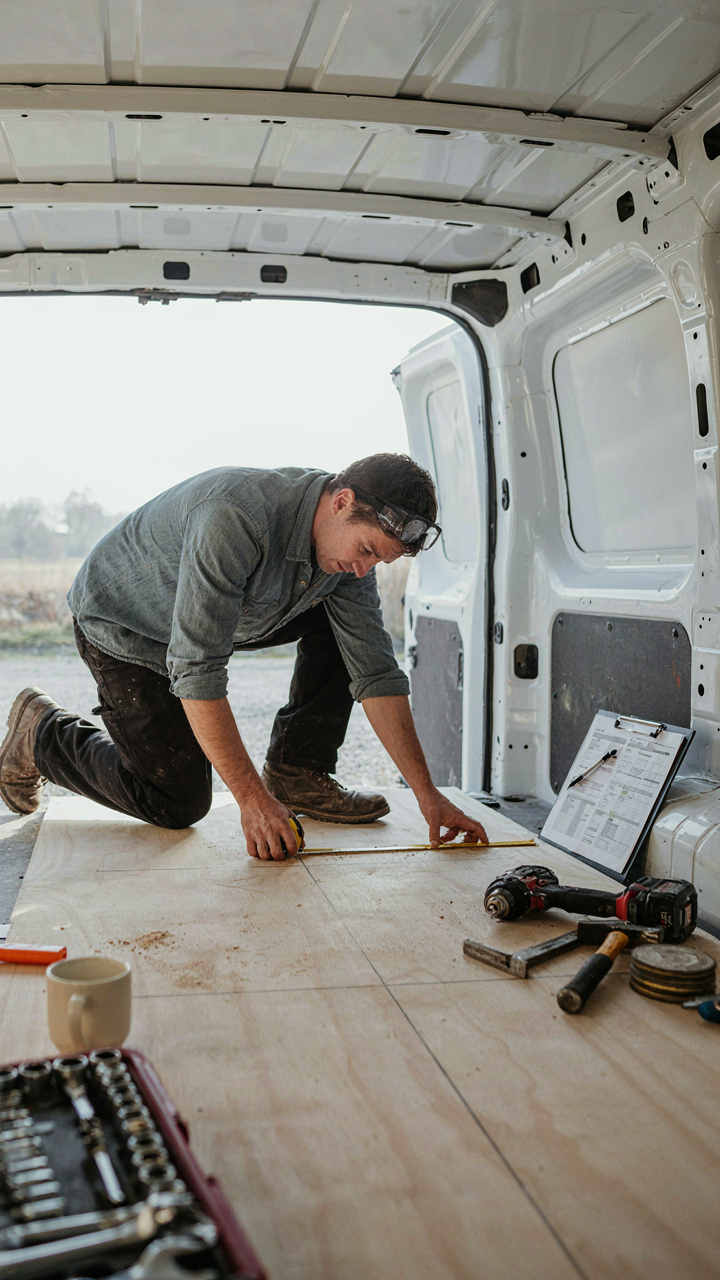
You want this section because you’re terrified of cutting wrong and wasting material—which means you’ll rush through measuring and pay for it twice. The mechanism is simple: framing a van ceiling operates like load-bearing architecture. Your structure must transfer weight downward to the van walls, not rest as dead weight. Measure twice at each end of the van, the center, and every two feet along the length. Wood framing twists over time and temperature changes, so you’re measuring for deviation, not just dimensions.
Start with the longest, straightest reference line. Use a laser level or chalk line from the driver’s side to the rear doors. Mark your desired height from the van floor—typically 6 to 8 inches below the van’s roof skin to allow space for insulation and wiring. Run perpendicular measurements across the width every two feet. Record every variance. This data drives your frame design. Uneven ceilings demand shimming during installation, not guessing.
Installing Battens And Cross Beams
The common advice is to just screw battens to the van roof and move on. That misses the critical point: battens must attach to the van’s metal frame ribs, not the thin roof skin. Roof skin alone won’t hold weight. Locate the roof ribs by running your hand along the interior roof—you’ll feel the corrugated pattern. These ribs typically run perpendicular to the van’s length at fixed intervals, usually every 16 to 24 inches depending on manufacturer.
Use self-tapping metal screws rated for that load, not drywall anchors or nails. Pre-drill holes to prevent metal deformation, which compromises the seal and creates water entry points. Install cross beams perpendicular to ribs, securing them every rib intersection. Before securing the final beam, verify the frame sits level using your laser level at multiple points. Shimming now prevents soft spots in the finished ceiling later.
Your Van Ceiling Isn’t A Canvas; It’s An Unoptimized System Waiting For Intelligent Design
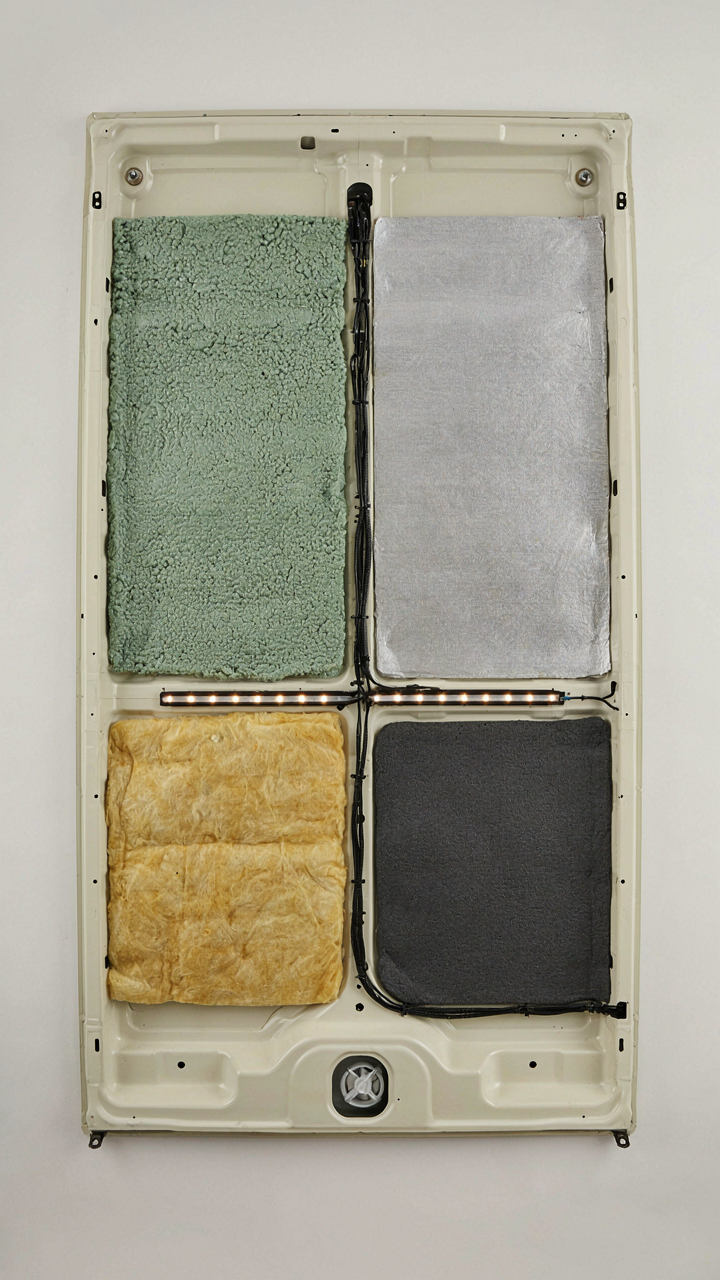
Most people slap wood panels and lights into their van ceiling without asking why. They copy what looks good on Instagram. The real move is treating your ceiling like a problem to solve: What do you actually need up there? Mood or function? Durability or aesthetics? Pick one, design around it, execute with intention. Stop decorating and start building. Your ceiling becomes either a liability or an asset depending on whether you thought it through first.



