

The Airflow Fallacy: Why Your DIY Van Insulation Guide Is Wrong
How Heat Actually Moves Through Air
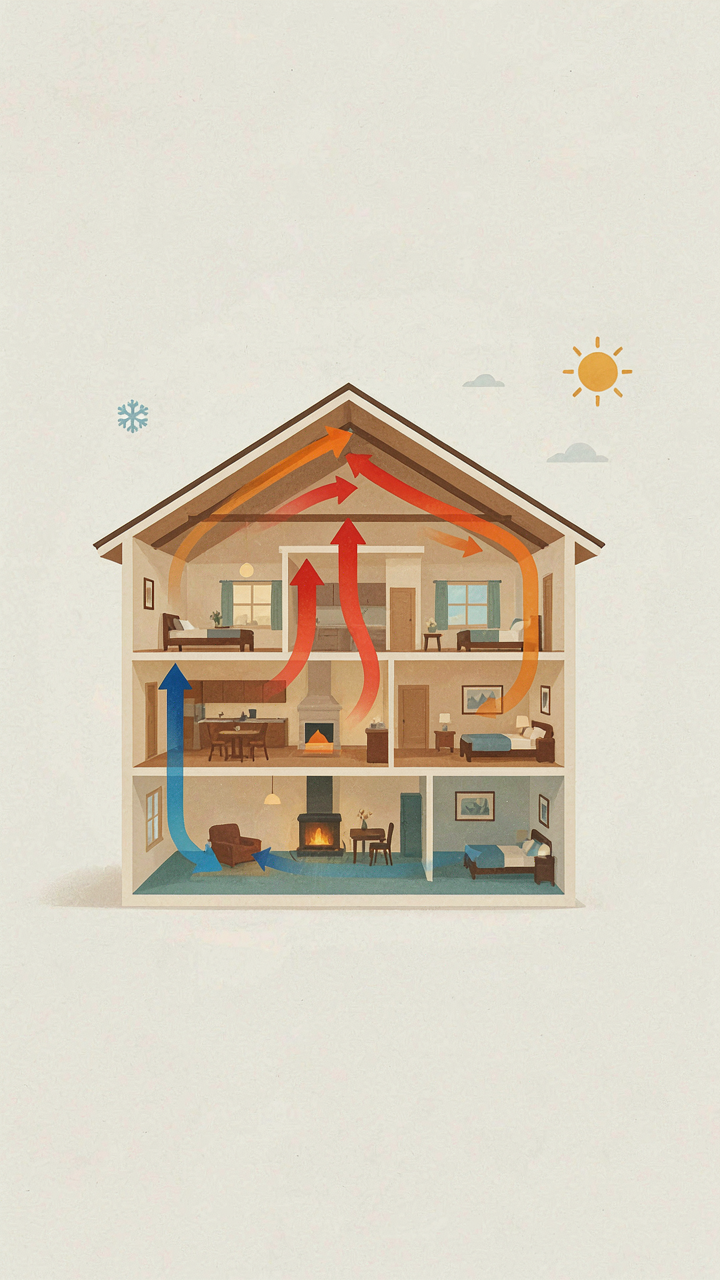
You think ventilation solves your temperature problem because it feels like it does. It doesn’t. Physics calls this convection: warm air rises, cool air sinks, and the cycle repeats. In a van, convection is the mechanism that moves heat through dead air spaces faster than conduction through solid materials. Most guides ignore this entirely, focusing only on blocking wind instead of understanding what wind actually does thermally.
A moving air current transfers energy through forced convection, which operates independently of material R-value. Your foam insulation stops conductive heat transfer, but it cannot stop convection if air flows through gaps, seams, or cavities behind the installation. The real failure point in most van builds isn’t the insulation itself. It’s the air layer behind it that convects heat directly to the wall or floor structure, bypassing your R-value entirely.
Sealing Gaps Beats Thicker Batts
The conventional wisdom says more insulation wins. Wrong. A half-inch gap sealed properly outperforms two inches of loose material with air movement behind it. When air moves through the cavity between your insulation and the van wall, it transfers thermal energy at rates that render R-value calculations meaningless on paper.
Blocking drafts means eliminating convection loops, not just keeping wind out. This requires sealing the perimeter of every insulation section with caulk or tape, creating a thermal barrier that stops air circulation entirely. Without this step, your insulation acts as a spacer that holds warm air against cold metal. The protocol: install insulation, seal all edges with closed-cell foam sealant or acoustic caulk, then install the vapor barrier over the sealed cavity as a secondary convection block.
Moisture Management: The Unspoken Enemy Of Campervan Insulation

Condensation: How It Sabotages Insulation

You care about this section because you’re afraid your van will rot from the inside out, and you should be. Condensation doesn’t just feel wet. It destroys R-value by saturating insulation material, turning fiberglass or foam into a conductor instead of a resistor. Water transfers heat forty times faster than air. A wet wall cavity loses 50% of its thermal resistance.
The mechanism is thermodynamic: warm interior air holds moisture. When that air hits a cold surface (your van’s metal skin in winter, or your roof in summer), the air cools below its dew point and releases water directly onto that surface. The water wicks into your insulation, your framing, and your substructure. This happens passively, every night, in vans without proper vapor control. Condensation is not a ventilation problem you can solve with a fan. It’s a pressure problem you solve with barriers.
Vapor Barriers: Strategic Placement And Material
Most van builders install vapor barriers wrong or in the wrong layer, which defeats the entire system. Placement matters more than material choice. The vapor barrier belongs on the warm side of the insulation, between your interior finish and the insulation itself. In a cold climate, that’s the inside. In a hot climate, that’s also the inside, because your air conditioning creates the pressure gradient. One barrier on one side. Not wrapped around the studs. Not on both sides.
Polyethylene sheeting (6-mil minimum) works. Foil-faced foam works. Closed-cell spray foam works because it blocks vapor inherently. The mistake is thinking you need a “breathing wall” in a van. You don’t. Your van is a sealed box with mechanical ventilation. You control the interior humidity with a fan or dehumidifier, not with wall assemblies that vapor-transmit. Install your barrier continuous, seal all seams with compatible tape, and run your roof vent fan on a humidity sensor set to trigger at 60% RH.
The “Best Insulation For Van Build” Material Myth
R Value Doesn’t Tell The Real Story

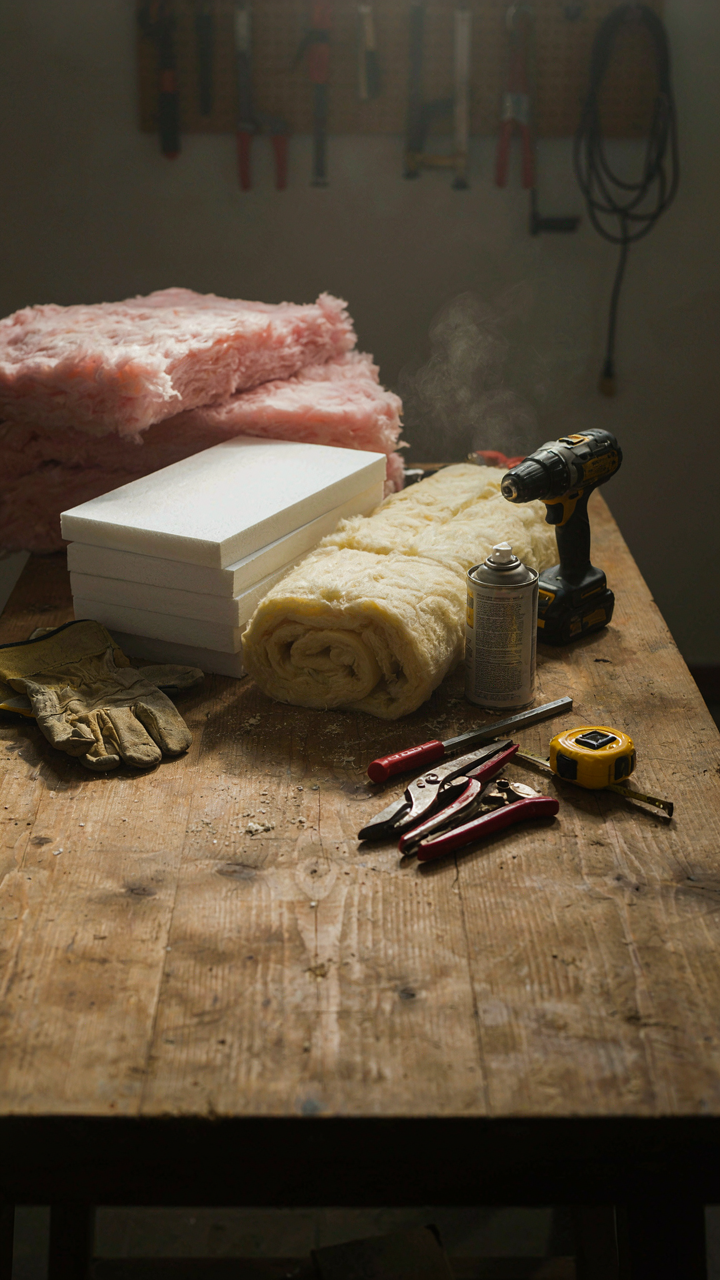
You want a number to make the decision for you because picking the wrong material costs thousands and wastes months. The mechanism: R-value measures steady-state heat transfer in lab conditions that don’t exist inside a van. Manufacturers publish R-value because it’s easy to market and legally defensible. It ignores thermal bridging, moisture behavior, air infiltration, and time-dependent performance in temperature swings.
R-value is a snapshot, not a forecast. A material rated R-5 performs differently at 40 degrees than at minus-20 degrees. Fiberglass R-value drops as temperature falls. Spray foam behaves differently when wet. Mineral wool’s performance shifts with humidity. Van interiors experience rapid cycling, not the static conditions labs create. You need properties beyond the number.
Performance Properties Beyond Single Ratings
Thermal resistance matters, but it’s only one axis in a thermodynamics framework. Think of it like military doctrine: you need offensive capability (R-value), but you also need defensive layers (vapor management), logistics (installation ease), and reconnaissance (long-term durability). Here’s what actually determines survival in hot and cold:
- Thermal mass: Materials that absorb and release heat slowly stabilize interior temperature swings. Denser materials like mineral wool outperform light foams in multi-season vans. Mass delays temperature transfer, buying you time.
- Vapor permeability: Moisture that enters your insulation cavity either dries or rots it. Closed-cell foam blocks vapor; open-cell foam and mineral wool allow drying. Your climate determines which you need—hot-wet demands permeability; cold-dry can tolerate barriers.
- Air sealing capability: Convection through gaps kills insulation performance faster than conduction through material. Spray foam seals; batts don’t. Rigid board needs tape and caulk. The material’s ability to eliminate air movement matters more than its rated R-value in real vans.
- Dimensional stability: Foam contracts and expands with temperature. Mineral wool compresses over time. Rigid boards stay stable. Gaps that open between material and walls defeat insulation. Pick materials that don’t move around your cavity.
- Cost per installed R-value: Spray foam costs more per square foot but seals air. Batts cost less but demand framing, tape, and extra sealing work. Calculate total cost to achieve R-20 in your van’s cavity, not just material cost alone.
Stop treating R-value as the deciding factor. A van with R-30 that leaks air and traps moisture will fail faster than a properly installed R-18 that breathes and seals tight. Your material choice depends on your climate zone, your build timeline, and whether you prioritize upfront cost or long-term performance. Measure your cavity depth, know your humidity risk, and pick the material that actually performs in your conditions, not the one with the highest rating.
The Thermoregulation Protocol: How To Insulate A Van Conversion

Layers Work Better Than Single Solutions

You want one magic material that solves everything. That doesn’t exist. Biology teaches us the stacking principle: animals don’t rely on a single defense against temperature swings. They layer. A caribou doesn’t survive Arctic winters with thick fur alone—it traps dead air between hair shafts, creating insulation depth. Your van works the same way. One inch of foam stops nothing meaningful. Three inches of different material types, spaced strategically, creates resistance that compounds.
Most van builds fail because they treat insulation as a checklist item, not a system. They spray foam the walls, call it done, and wonder why condensation pools in winter or heat bleeds through in summer. The mechanism is simple: each layer targets a different failure mode. The outer vapor barrier blocks moisture intrusion. The middle foam resists conductive heat transfer. The inner radiant barrier reflects thermal radiation back. Remove any layer and the system degrades. Stack them correctly and your interior temperature stabilizes with minimal energy input.
Passive Holds Heat Longer Than Active Burning It
Running a diesel heater or AC compressor costs fuel and battery capacity. Passive insulation doesn’t. The physics distinction matters here: passive systems resist heat flow through material properties alone. Active systems fight temperature by consuming energy to generate or remove heat. In a van, passive is your foundation. Active is your emergency valve.
Most people size their heating and cooling wrong because they underestimate passive performance. They assume a poorly insulated van needs a massive heater to stay warm. Actually, that van wastes every BTU before it matters. Fix the insulation first. A properly layered van with R-value 15+ in walls and R-20+ in roof needs half the active heating capacity of a standard build. That’s not theory. That’s direct resource allocation. Reduce demand, reduce the equipment you must buy, install, power, and maintain. Thermal resistance through material precedes thermal generation through fuel.
Beyond The Walls: Insulating Floors And Ceilings For Van Conversion
Where Heat Actually Escapes

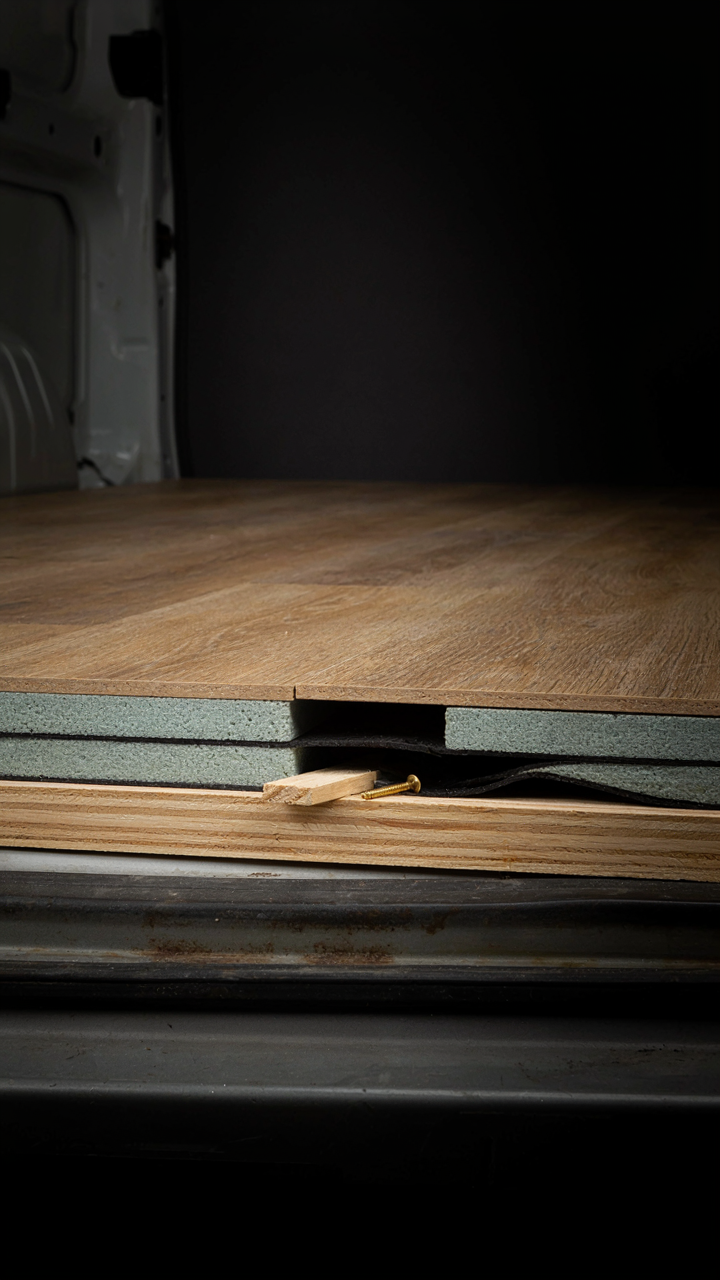
You care about this section because you think insulation is just about thickness, and you’re hoping nobody notices you didn’t insulate your floor properly. Here’s the mechanism: thermal bridging in physics describes how conductive pathways transmit heat across a barrier faster than the barrier itself can resist it. In a van, metal studs, floor joists, and fasteners act as thermal bridges—they’re highways for temperature transfer. A stud that touches both the cold exterior and warm interior is a direct conduit. Fiberglass between studs means nothing if the studs themselves are conducting heat at ten times the rate. You can’t stuff your way out of this problem.
The real elimination strategy requires breaking the path, not just filling the gap. This means either creating a continuous thermal layer that doesn’t touch metal (external insulation), using materials with low thermal conductivity for framing (rare in vans), or combining thin insulation on the cold side with insulation on the warm side, creating an air gap that interrupts the conduction chain. Most van builders miss the cold-side layer entirely and wonder why their floor stays chilled. The floor radiates cold into your sleeping area because they built insulation in the wrong sequence.
Materials That Actually Perform
Forget the generic advice that all insulation is the same if you get the R-value right. Floor and ceiling materials function differently because they face different exposure profiles. Floors need materials that handle moisture from ground contact and don’t compress under weight or vibration. Closed-cell spray foam works here because it resists moisture and doesn’t sag, but it’s expensive and tricky to apply correctly in tight spaces. Rigid foam boards (XPS or polyiso) stack easily, compress minimally, and resist water better than fiberglass, making them the practical choice for most van floors.
Ceilings demand something different: weight matters more because you’re mounting it overhead. Closed-cell foam still works but costs more for the same R-value than lighter options. Sheep’s wool or natural fiber boards give you R-value without the weight penalty, though they require proper vapor barriers to prevent moisture absorption from interior humidity. The mechanism is simple: dense material overhead creates fatigue points and sagging joints. Lighter material rated for ceiling use distributes force better. Pick materials by their placement stress, not just their thermal rating.
Window And Vent Strategy: Crucial For How To Insulate A Campervan

Glass Bleeds Heat Faster Than Walls

You want windows because you think they make the van feel bigger. What actually matters is that glass conducts heat and cold at rates that make your insulation effort pointless if you ignore them. Glass has an R-value around 1 per inch. Your walls might hit R-15 to R-20. This isn’t a minor gap.
Single-pane windows lose roughly three times more heat than insulated walls of equivalent thickness. Condensation forms first at glass because it’s the coldest surface in the van. Thermal bridging happens here faster than anywhere else. Minimize window area on the north side in cold climates. Use window coverings that actually seal—magnetic panels, thermal curtains, or cellular shades that trap dead air. The mechanism is simple: reduce the exposed glass perimeter, then reduce heat transfer through what remains.
Airflow Prevents The Moisture Trap
Ventilation doesn’t cool a van in the conventional sense. It removes moisture and temperature stratification that make insulation perform worse than its rated value. Think of this through thermodynamic equilibrium: your insulation stops conductive heat transfer, but moisture moves independently through air, creating convection patterns that bypass your barrier entirely.
A single roof vent won’t cut it. Cross-flow matters. Air enters from the front or side, moves across the living space, and exits from the rear. This pattern prevents dead zones where moisture pools against walls and windows. Install operable windows or vents on opposing sides of the van. Size your roof vent to match incoming airflow volume. Run the vent continuously in humid conditions, even if it costs battery power. The alternative is mold, delamination of walls, and insulation that fails three years in. Moisture management directly determines how many seasons your insulation stays effective.
The “DIY Camper Insulation” Cost Benefit Analysis

What Cheap Insulation Actually Costs

You’re hoping insulation is a one-time purchase you can forget about. It isn’t. Poor insulation works like debt in thermodynamics: you pay interest every single day. Underinsulated vans force your heating and cooling systems to run harder, burn more fuel, and fail sooner. A van with R-3 walls versus R-15 walls doesn’t just feel cold in winter—it depletes battery banks faster, stresses alternators, and demands replacement HVAC components years earlier than designed.
The hidden costs compound because they’re spread across multiple systems. You run your diesel heater longer, consuming fuel at higher rates. Your propane tank empties faster. Your AGM batteries cycle deeper and age quicker under constant load. Your alternator works overtime to recover what the insulation should have prevented. One year of running an underinsulated van can cost $1,500 to $3,000 more in fuel and electricity than a properly insulated alternative. Most people never connect these dots because they happen in different budget categories.
The Real Math On Upfront Versus Later
The conventional wisdom says insulation is expensive and you should cheap out. That’s backwards economics. Spray foam, rigid foam board, and mineral wool cost $2,000 to $5,000 installed in a van. This sounds painful until you calculate the alternative: running inadequate insulation for three to five years costs more in fuel, repairs, and battery replacement than the insulation itself. The payback period is typically 18 to 36 months for anyone living in the van full-time or doing cold-climate winter travel.
The real move is separating “insulation cost” from “total operating cost.” A $3,500 insulation job that reduces your annual heating expenses by $1,800 and adds three years to your HVAC lifespan isn’t an expense—it’s an investment with a measurable return. The calculation shifts completely once you track actual fuel consumption before and after retrofit. Most DIYers don’t do this math, so they never know whether their insulation choice worked. Start with a baseline: measure your propane or diesel burn rate for one full season before upgrading, then measure again after. That data tells you exactly what you paid for.
Common Mistakes In Van Insulation: What Everyone Else Misses
The Gaps Nobody Plans For

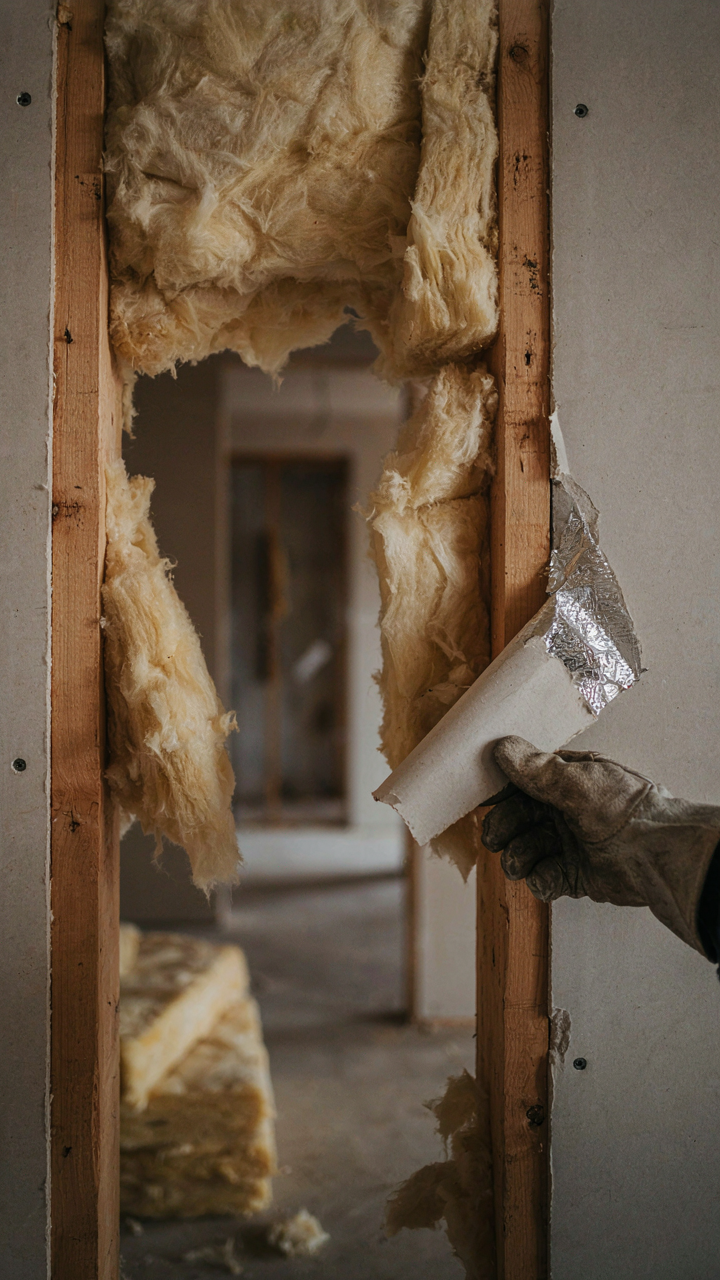
You’re reading this because you want to avoid wasting money on insulation that doesn’t work. Here’s what happens: people install batts or spray foam, think they’re done, then discover cold spots and condensation six months into living in the van. The mechanism is simple. Thermal bridging in construction refers to pathways where heat transfers directly through conductive materials instead of through insulation. In vans, your metal studs, roof rails, and floor joists are thermal bridges. You can stuff insulation everywhere, but if you don’t break the path between inside and outside through those metal structures, you’ve accomplished almost nothing.
Most guides tell you to “fill all cavities.” That’s incomplete. You need to layer your approach. First, identify every metal contact point between the interior and exterior envelope. Studs touching the outer skin. Floor joists connecting to the chassis. Roof bows attached to the metal frame. Then you block those paths with low-conductivity materials before you install your main insulation layer. Closed-cell foam works here because it adheres directly to metal and doesn’t leave voids. Without this step, your R-value calculation on paper means nothing in reality.
Vehicle Specific Geometry Breaks Standard Solutions
Your van isn’t a house. The curved roof, irregular floor plan, and metal structure create installation challenges that generic insulation advice ignores completely. A standard stud cavity doesn’t exist in most van conversions. You’re working around wheel wells, plumbing, electrical runs, and structural members that don’t follow a predictable pattern. This forces you to cut and fit insulation in dozens of irregular spaces, and most people leave gaps because fitting takes time and precision.
The real problem is that cheap insulation materials expand or compress unevenly when they’re forced into non-standard shapes. Batts shift. Spray foam bonds poorly to curved metal. Rigid boards don’t conform. You end up with compression in some areas and voids in others, both of which destroy thermal performance. You need to map your van’s internal structure first, identify the actual cavity dimensions, then choose materials that work for those specific geometries. Closed-cell spray foam adapts to curves. Rigid foam requires careful cutting. Batts require framing to hold them in place. Pick the wrong material for your van’s layout and you’re paying twice.
The Future Of Van Insulation: Smart Climate Control And Beyond

What’s Actually Coming Next

You want to believe van insulation will solve itself through technology so you don’t have to think about it anymore. It won’t. The real mechanism is this: emerging materials reduce thermal bridging and moisture drift, but they only work if you install them with intention. Most van builders chase novelty instead of mastering fundamentals.
Aerogel and vacuum-insulated panels exist, but they’re fragile, expensive, and create new problems like condensation management nobody talks about. Phase-change materials absorb and release heat at specific temperatures, which sounds revolutionary until you realize they require precise thickness calculations most installers skip. The actual trajectory isn’t about miracle materials. It’s about materials that eliminate excuses for lazy thermal design.
Systems That Actually Work Together
Integration means your insulation layer, vapor barrier, ventilation rate, and temperature sensor operate as one feedback loop, not four separate decisions. Buildings use this model through HVAC zoning. Vans rarely do.
Smart controllers now measure interior temperature, humidity, and exterior dew point simultaneously, then adjust vent speeds and heating output without manual input. The catch: they only function when your insulation baseline is solid. A $500 smart system can’t compensate for inadequate R-value or air leaks. The sequence matters. Build insulation first. Layer the controls second. Install a hygrometer, set your ventilation timer based on actual moisture readings in your climate, then let automation refine from there.
The Real Problem Isn’t Your Insulation, It’s Your Inability To Control The Air Within Your Van

You can layer every premium material known to man, but dead air beats dead insulation every time. The shift you need: stop treating your van like a box to fill and start treating it like a system to manage. Measure your interior temperature and humidity today. Know what you’re actually dealing with before you buy anything. Everything else follows from data, not guessing. Your insulation only works if you orchestrate the air moving through it.



