
The Bus Conversion Kitchen Fallacy: Why You’re Doing It Wrong

Miniature Home Kitchen Doesn’t Exist In A Bus
You want the bus kitchen to feel normal because admitting it’s fundamentally different feels like settling. Here’s what actually happens: the miniature home kitchen myth persists because people retrofit residential cooking logic into a space with zero thermal mass, no ventilation infrastructure, and movement that destabilizes everything loose. A house kitchen absorbs heat. A bus kitchen becomes an Easy-Bake Oven. The constraint isn’t size, it’s physics. You’re not working in a small kitchen. You’re working in a mobile box with active temperature swings and weight limits that eliminate half your options before you start.
The real mechanism is constraint-driven design, borrowed from aerospace engineering. Aerospace calls it “mass-critical optimization.” Every component must pull triple duty or die in the space budget. Your stove can’t be a stove. It has to be stove, counter extension, and thermal management device. Your counter isn’t storage plus workspace. It’s workspace that collapses into storage, or it wastes cubic feet you don’t have. Stop comparing your bus kitchen to your old apartment kitchen. That comparison is killing your layout before you cut metal.
Function Demands You Build Backwards
The common advice says start with appliances, then build around them. That’s backwards for bus kitchens. You start with how you actually cook, then choose gear that fits the constraint. Most people don’t cook like they think they cook. They reheat, assemble, and occasionally roast. That’s the real workload. If you’re genuinely roasting three times a week, a full oven makes sense. If you roast twice a year, a compact toaster oven frees up cubic feet and power budget for something that moves the needle on daily life.
A bus kitchen operates under weight distribution and electrical capacity constraints that a house kitchen doesn’t touch. You can’t just stack gear and assume it works. Propane appliances live under the floor or outside the living space. Electric cooktops demand 240V wiring most buses can’t support without serious electrical work. Induction cooktops solve that but cost more and need ferromagnetic cookware. Map your actual weekly cooking workflow first, then backfill the smallest appliance that handles 80 percent of it. The 20 percent edge case gets solved by adaptability, not by forcing everything into a cramped galley.
Deconstructing Your Culinary Chaos: The Workflow First Protocol
What You Actually Cook In Your Bus

You want this section to feel like you’re designing something sophisticated, but the truth is simpler: you’re avoiding the panic of opening your kitchen mid-trip and realizing you can’t make the one meal you actually eat. The mechanism is constraint clarity. Most people design bus kitchens around what they think they should cook, not what they will cook. In a bus, this gap gets expensive.
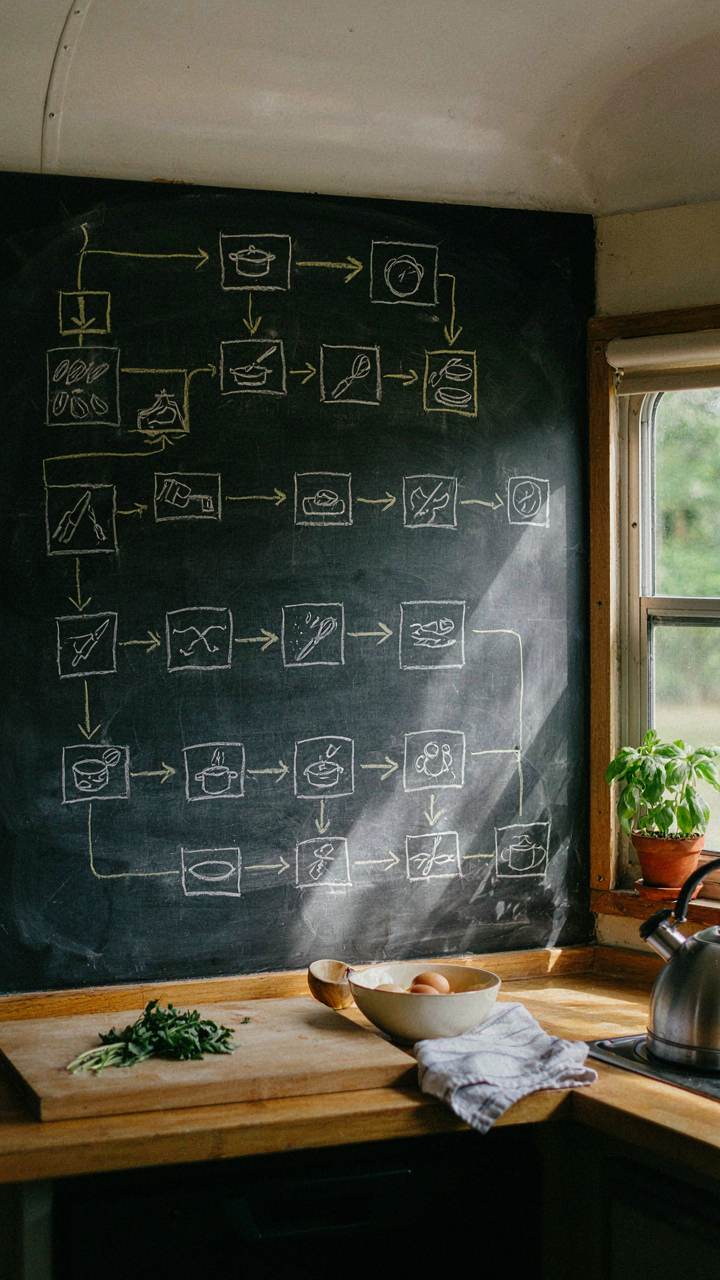
Start by listing the actual meals you prepare more than once a month. Not aspirational meals. Real ones. Pasta. Eggs. Coffee. Sandwiches. One-pot reheats. The bus kitchen layout you need is determined entirely by these tasks, not by Instagram setups or RV showroom displays. Each cooking task has spatial demands. Boiling water needs stove access and counter space for the pot. Prep needs a flat surface and knife storage. Cold storage needs proximity to the fridge. Name these tasks first. Everything else follows from this.
Mapping The Three Zones Without Wasting Inches
Industrial kitchen design borrowed the concept of work triangles from restaurant ergonomics—the theory that efficiency emerges from minimizing distance between sink, stove, and cold storage. Apply this directly to your bus: your triangle is smaller, so adjacency matters more than in a house kitchen. Every inch of wasted transition costs real time and real frustration in 200 square feet.
Your prep zone lives closest to your fridge and your primary counter space. Your cook zone centers on the stove with immediate counter access on one side for plating or holding. Your clean zone anchors at the sink, ideally with drying space adjacent or overhead. The walk path between these three zones should never require you to pivot sideways or squeeze past open cabinet doors. Test this physically before installation. One blocked angle makes cooking feel impossible.
Unconventional Storage: Where Your “Bus Living” Kitchen Hides Its Secrets

Going Vertical When Floor Space Runs Out

You want people to think you solved an impossible problem. The real mechanism is this: vertical storage turns a constraint into an asset. In physics, density describes mass per unit volume. In a bus kitchen, density means usable storage per cubic foot. Most people waste the wall-to-ceiling gap because they think of kitchens as horizontal spaces. They’re not. A standard bus interior is 6.5 to 7.5 feet tall. That’s 300+ square feet of vertical real estate touching three walls. Use it.
Install open shelving or rail systems from counter height to two feet below the ceiling. This forces you to organize by frequency of use: everyday items at eye level, seasonal gear higher. Weight distribution matters. Heavier items go lower on the wall to keep the bus balanced during driving. Lighter containers, vacuum-sealed bags, and lightweight cookware go top. Mount everything to studs or use toggle bolts rated for your bus’s wall material. The goal isn’t pretty. The goal is accessible density that doesn’t shift when you brake.
Underfloor And Under Seat Compartments
Hidden storage isn’t clever. It’s necessary because bus kitchens don’t have cabinets underneath the sink or dishwasher. You need that floor space for movement and appliances. The solution is compartments built directly into the bus frame or sealed under benches. Slide-out drawers under seating access infrequently used items: backup propane bottles, seasonal spices, replacement hoses, extra propane regulator components. Underfloor compartments require waterproofing and ventilation or they become mold generators.
Use marine-grade sealant and ensure air circulation between the compartment and living space. Compartments built into the wheel wells or under the driver’s area create dead zones most people forget exist. Measure twice. Access points need to clear appliances and plumbing when opened. A single sealed, labeled compartment under the galley holds backup supplies without taking up prime real estate. The mechanism is this: storage you don’t see daily shouldn’t compete for prime locations. Bury it below, label it clearly, and create a written inventory so you actually use it.
The “Rustic Bus Conversion” Illusion: Beyond Pinterest Pretty
Materials That Won’t Fail You At 60 Mph

You want your bus conversion kitchen to look intentional, not like you’re running from something. The real mechanism here is vibration tolerance, borrowed from mechanical engineering: a system survives stress cycles only if every component can absorb movement without fatigue failure. Your kitchen sits on a moving platform that hits potholes, accelerates, and brakes constantly. Materials chosen for aesthetics alone will crack, loosen, or separate within months.
Stainless steel and marine-grade aluminum are not trends. They’re practical because they expand and contract predictably under temperature swings and don’t corrode from constant vibration. Wood cabinets fail in bus conversions because wood absorbs moisture inconsistently, warps, and the joinery loosens as the frame flexes. Laminate and plywood delaminate. Grout in tile cracks. Use epoxy-sealed surfaces, stainless fasteners, and materials rated for RV or marine environments. Your countertop choice determines whether you refinish it yearly or every five years.
What Actually Works Against What You’ve Heard
The consensus says go minimal and open. That advice is incomplete because it ignores the physics of a moving box. Minimalism in a stationary home is aesthetic choice. Minimalism in a bus conversion is survival strategy. You cannot run open shelving without everything becoming loose cargo during turns. Shelves need positive retention, not decorative styling.
Close your cabinets. Use magnetic catches or positive latches, not soft-close mechanisms that fail under vibration. Install your stove on gimbals or select a marine-grade unit designed for movement, not a residential model bolted down. Deep drawers with lockable slides beat shallow open storage. Your kitchen’s practicality compounds over years of actual use. Test every hinge, latch, and corner before sealing the build.
The Thermodynamics Of Your School Bus House Galley
Heat And Ventilation Without The Physics Degree

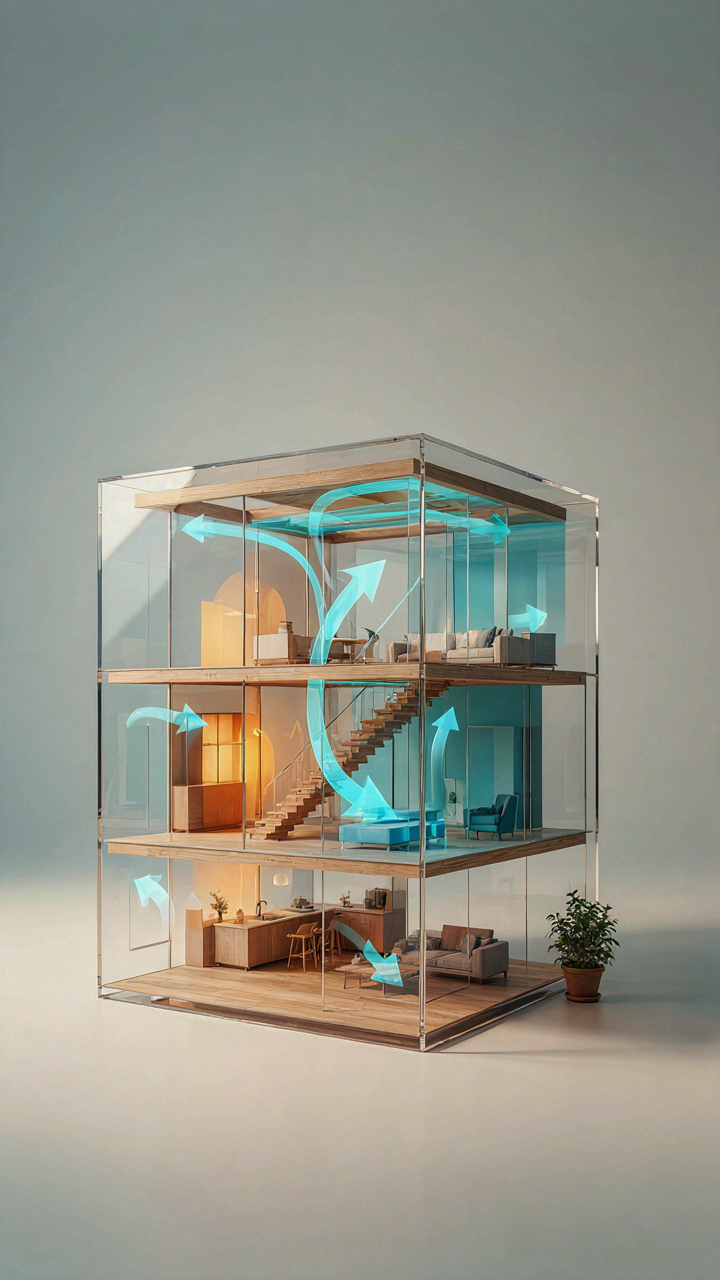
You want to know about this section because you’re terrified your kitchen will either freeze in winter or turn into a sweat box in summer, and you don’t want to admit you’re starting from zero on how air actually moves. Here’s the mechanism: a school bus is a metal tube with minimal insulation. Heat moves three ways—conduction through walls, convection through air circulation, and radiation from appliances—and your galley amplifies all three because it’s a concentrated heat source in an enclosed space. The physics term is thermal mass, and your bus has almost none of it.
Most people think ventilation means opening a window. Wrong. In a bus kitchen, ventilation is pressure management. You need negative pressure in the cooking zone, which means exhaust must pull heat and moisture out faster than it can accumulate. A single roof vent won’t cut it. You need dedicated extractor fans pulling air out while intake vents let replacement air in from the living space. Without this balance, steam and grease redistribute throughout your entire bus, settling on windows and walls.
Energy Efficiency Requires Accepting Constraints
The common advice is “upgrade to efficient appliances.” Incomplete. Energy efficiency in a bus galley isn’t about choosing the right brand—it’s about geometry and load management. Your bus has 50 to 150 amps at maximum draw. Most people don’t know this constraint exists until their inverter shuts down mid-cook. A 1500-watt induction cooktop running full blast while your water heater and refrigerator draw current will spike you past capacity.
Real efficiency means sequencing loads, not running simultaneous high-draw appliances. Use your stove during daylight when solar is generating, not when batteries are depleting. This isn’t an optional preference—it’s the operating protocol. Run your water heater before cooking, not during. Insulate your refrigerator compartment with closed-cell foam so compressor cycles shorten. Every watt you don’t use is a watt you don’t have to store or generate, and that compounds across every day you live in the bus.
Modular “School Bus Conversion Ideas”: The Lego Approach

Interchangeable Components For Maximum Flexibility

You want modularity because you’re afraid of locking yourself into a decision you’ll regret in six months. That fear is rational. The mechanism here borrows from manufacturing: standardized interfaces let you swap parts without redesigning the whole system. In bus kitchens, this means building around fixed mounting points and power rails instead of permanent cabinetry.
Attach everything to aluminum extrusion or marine-grade rails mounted to the floor and walls. This infrastructure becomes your constant. Drawers, cooktops, and storage units slide in and out without tools. You gain the ability to reconfigure based on actual usage patterns instead of guessing at the start.
- Aluminum T-track systems: Mount vertically and horizontally to create a grid. Brackets and shelves lock into any position, eliminating permanent fastening holes.
- Quick-disconnect propane lines: Use bayonet fittings instead of compression fittings. Swap stoves or grills without bleeding off the entire system.
- Magnetic rail power distribution: Install 12V or 120V busses along cabinet backs. Plug in appliances anywhere instead of running individual circuits to fixed locations.
- Modular counter sections: Build countertops as separate modules joined by removable brackets. Replace worn sections or reconfigure the layout without full replacement.
- Hinged access panels: Use magnetic latches on cabinet fronts and sidewalls. You reach plumbing and electrical without tearing into structure.
The payoff arrives when reality diverges from your blueprint. You cook differently than you expected. A second person onboard changes workflow. Your power budget shifted. Modular design lets you adapt without starting over, which is where most bus conversions fail: they’re rigid.
Adaptable Design For Evolving Needs
This isn’t about being inspirational or “leaving room to grow.” Adaptable design means you build systems that physically survive change without degradation. Plumbing that doesn’t freeze when you move climates. Power capacity that handles new appliances you’ll want later. Storage that handles different cargo weights without structural failure.
Size your water tanks and batteries for 40 percent more than your current estimate, not your anticipated future need. You’ll overestimate. Water weight demands reinforced mounts and routing that accounts for sloshing during braking. Electrical systems need headroom because you will add a second fridge, an induction cooktop, or both. Build those margins into foundation specs now or rebuild later.

The real mechanism is this: design for the worst-case scenario in your intended climate and usage pattern, not the average. If you cook during summer heat, your ventilation system handles that load. If you park in salt air, your hardware resists corrosion from day one. If you tow a trailer, your suspension accounts for the combined weight. Adaptability isn’t flexibility. It’s predicting where you’ll break and building past that threshold before the break happens.
Water Systems: The Unsung Hero Of Your Converted Bus Home Kitchen

Fresh Water Storage And Delivery
You care about this because running out of water mid-cook exposes how little control you actually have over your space. The mechanism is simple: storage capacity determines your independence window, and delivery pressure determines whether your kitchen functions at all.
Most conversions fail here because people treat water storage like luggage space instead of operational infrastructure. You need to calculate daily consumption first. Cooking, cleaning, and drinking demand roughly 5-7 gallons per person per day in a bus kitchen. A 100-gallon tank sounds large until you realize it covers ten days for two people, or four days if you’re actively using greywater for rinsing. Underestimate this and you’re refilling every 48 hours.
Delivery requires either gravity feed or a 12V pump system. Gravity works if your tank sits high enough to create pressure. Most bus layouts don’t support this. A demand pump pulls water on demand and maintains consistent pressure for cooking and cleaning. Size it for 2-3 gallons per minute minimum. Undersized pumps create weak flows that make cooking impractical. Wire it directly to your main battery bank with a dedicated breaker and fuse. Install a pressure tank downstream of the pump to reduce cycling and extend pump life.
Greywater Management And Disposal

Greywater is where bus kitchens leak legitimacy, literally and operationally. Think in terms of hydraulic systems: greywater is your waste stream, and the mechanism is containment plus controlled release at designated points.
Most conversions plumb greywater into a single tank under the bus, then rely on gravity dump or manual extraction. This creates problems. A 40-gallon greywater tank fills fast in a compact kitchen. You’re dumping every 2-3 days. More critically, food solids clog the drain lines and promote bacterial growth in standing water. Separate your greywater into two paths: sink drain and shower drain. The sink line needs a strainer basket to catch solids before they enter the tank. Install a clean-out valve at the lowest point of the tank for sediment removal. Shower drains can feed into the same tank but keep them isolated via a separate input port so you can isolate one if needed.
The tank itself needs proper venting to prevent vacuum lock during emptying. Install a 1.5-inch vent line that runs to the exterior and terminates above the roofline. Without this, the tank doesn’t drain and you’ll force air into the system, spraying greywater during emptying. Use schedule 40 PVC for all underground runs where the bus frame can’t protect it. Dump stations exist at most RV parks and campgrounds. Locate them before you need them. Carry the greywater hose in a sealed container separate from fresh water equipment. The final step is running a flush cycle immediately after dumping: 5-10 gallons of fresh water through the sink to clear line sediment before it hardens.
The “Rustic School Bus Conversion” Kitchen: Tools, Not Toys

One Appliance, Multiple Jobs
You want to feel resourceful without admitting you’re terrified of breaking something expensive in a moving box. Here’s the mechanism: constraint forces specialization. In systems theory, this is called “functional density”—one input produces multiple outputs. A cast iron skillet isn’t just a pan. It braises, sears, bakes bread, and stores heat for hours. A single burner with a removable grill grate functions as cooktop, griddle, and heating element. Bus kitchens don’t need versatile appliances. They need appliances that earn their weight by doing five jobs instead of one.

Most people buy a “complete kitchen setup” for a bus. This is wrong. You’ll run out of cabinet space before you finish unpacking. The real move is identifying what you actually cook, then buying one tool that handles it all. A 3-in-1 rice cooker steams, slow cooks, and warms. A Dutch oven cooks stews, bakes, and doubles as storage. This isn’t minimalism for Instagram. This is physics applied to 40 square feet: fewer items means more counter space, lower weight load, and less to maintain on an uneven vehicle.
Essential Kitchen Operations, Stripped Down
Cooking in a bus requires you to abandon the idea that every appliance serves one purpose. A compact induction cooktop with a single burner replaces a full range. A stainless steel mixing bowl functions as a mixing bowl, measuring vessel, and sink insert for washing dishes. A long-handled wooden spoon becomes your primary utensil for stirring, scraping, and reaching the back of pots without burning your forearm on the sides of a cramped space.
The mistake most people make is bringing their home kitchen down to bus size. What you need instead is a kitchen built for the movement and constraints of living in motion. A magnetic knife strip mounted on the wall eliminates a drawer. Collapsible colanders and cutting boards stack flat. A single cutting board that locks into place over your stove becomes prep space when you’re not cooking. This isn’t about deprivation. It’s about matching your tools to the actual physical reality of how you’ll cook.
The “Bus Conversion” Kitchen: Beyond The Build

Keeping Your Mobile Kitchen From Falling Apart
You want to know how to maintain your bus kitchen because you’re terrified it will fail when you’re two states away from a mechanic. Here’s the mechanism: a bus conversion kitchen lives inside a sealed metal box that moves constantly. Every vibration, temperature swing, and humidity shift works against your appliances and connections. You’re not fighting normal wear. You’re fighting the physics of a moving environment.
Propane systems corrode faster in mobile applications because vibration loosens connections incrementally. Water lines freeze or burst from temperature extremes you wouldn’t experience in a stationary RV. Electrical connections develop micro-arcs from constant movement. You can’t ignore these because they compound. A loose propane line doesn’t announce itself until carbon monoxide fills your sleeping area. Check propane fittings monthly using soapy water, not annual inspection schedules. Replace water line fittings every two years regardless of visible damage. Test your carbon monoxide and propane detectors monthly, not when you remember.
Building A Kitchen That Outlasts Your Bus
Common advice says to buy marine-grade everything and call it future-proofed. That’s incomplete. Marine-grade handles saltwater and humidity. Bus conversion kitchens face rapid temperature cycling, constant vibration, and the specific corrosion pattern of propane exposure in moving metal boxes. The real lever is redundancy in systems that fail silently.
Install two propane regulators on independent lines so one fails and you still have cooking capability. Use reinforced hoses rated for mobile applications, not standard RV hoses rated for stationary use. Build your water system with a secondary hand pump that works without electricity. These aren’t upgrades for comfort. They’re the difference between a working kitchen and a trapped vehicle. Your bus kitchen must function even when the power dies or a single component fails.
Your Bus Kitchen Isn’t Small; Your Imagination Is

Stop designing around limitations. Start designing around what you actually cook. Most people waste half their bus kitchen on gadgets they’ll never touch. Map your real cooking routine first. Then build backward from there. Sketch your three most-made meals and size your counters, storage, and appliances around those alone. Everything else is decoration pretending to be function. Your bus kitchen works when it disappears and you just cook.



