

The Myth Of Instant Gratification In School Bus Homes Ideas
Where The Fantasy Collapses
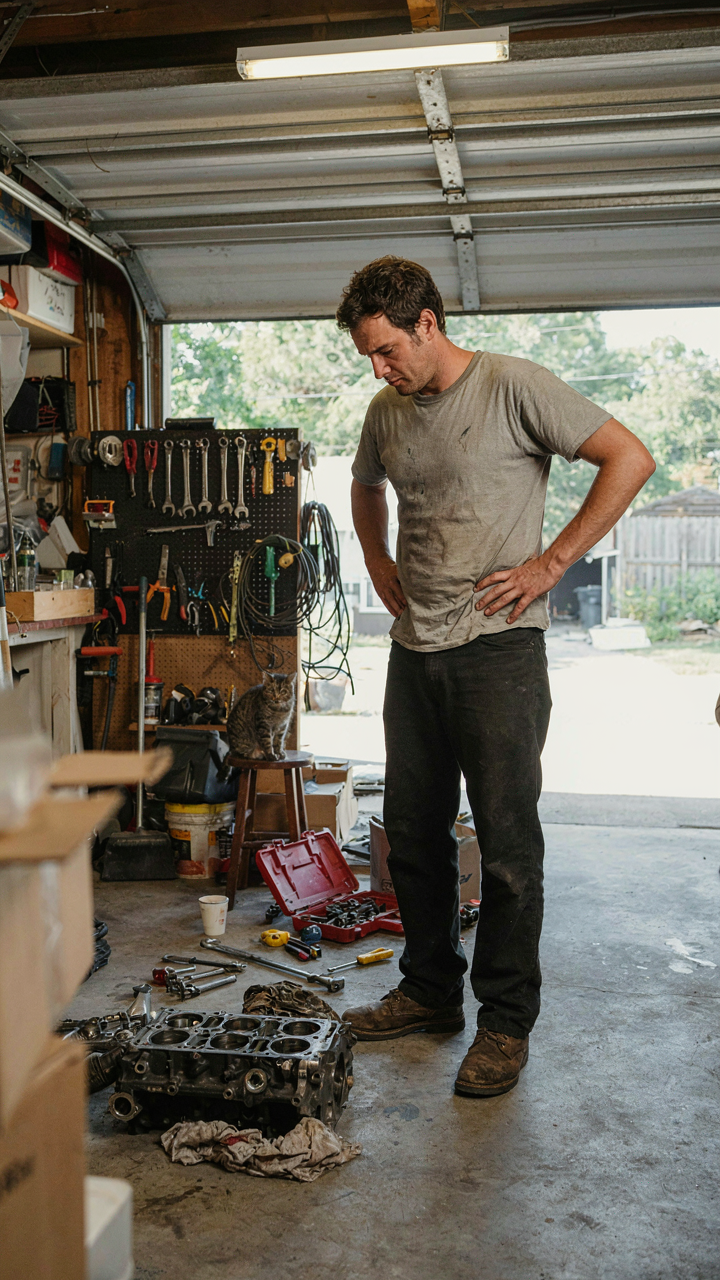
You want to believe a bus conversion is a shortcut to freedom. It isn’t. Most people quit before they buy the bus because they discover the real cost: not money, but the relentless grind of problem-solving with no off switch. School buses are commercial vehicles designed for one job—moving children safely on fixed routes. Converting one into a living space means fighting against its original architecture at every step. The frame, electrical systems, plumbing integration, and weight distribution all resist your vision. People romanticize the outcome and ignore the mechanism: systematic, unglamorous labor over months or years.
The data supports this. Most conversions stall between months three and six, when the initial excitement collides with structural discovery—hidden rust, inadequate water systems, diesel engine complexity that requires real expertise. The people who finish aren’t special. They’re the ones who expected this grind before they started. They built timelines that accounted for mistakes. They didn’t treat the conversion as a weekend project or a shortcut to Instagram content. The conversion reveals character because it forces you to choose between comfort and completion every single day.
The Real Cost Of Doing It Yourself
Common advice tells you DIY saves money. It doesn’t always. What it does is transfer cost from contractors to your time, your mistakes, and your education. You’ll buy tools you use once. You’ll tear out work and redo it when you learn better technique. You’ll discover mid-build that code requirements for living spaces differ from commercial vehicle standards. A professional builder absorbs these costs into their hourly rate. You absorb them into your timeline and your mistake budget.
The grind isn’t romantic because it’s constant friction. Electrical work requires permit compliance. Plumbing integration demands both knowledge and access to specialist parts. Structural modifications need load calculations. You can learn these things, but learning them while under a bus in July creates pressure that clouds judgment. The protocol that works: decide first whether you want to learn a trade or finish a vehicle. If you want both, triple your timeline. If you want the vehicle done, hire specialists for structural and electrical work. Your time has value. The sooner you stop treating the build as a character-building exercise and start treating it as a project with a deadline, the sooner you actually move in.
The Due Diligence Protocol: Buying Your School Bus To Rv
Rust And Mechanical Reality

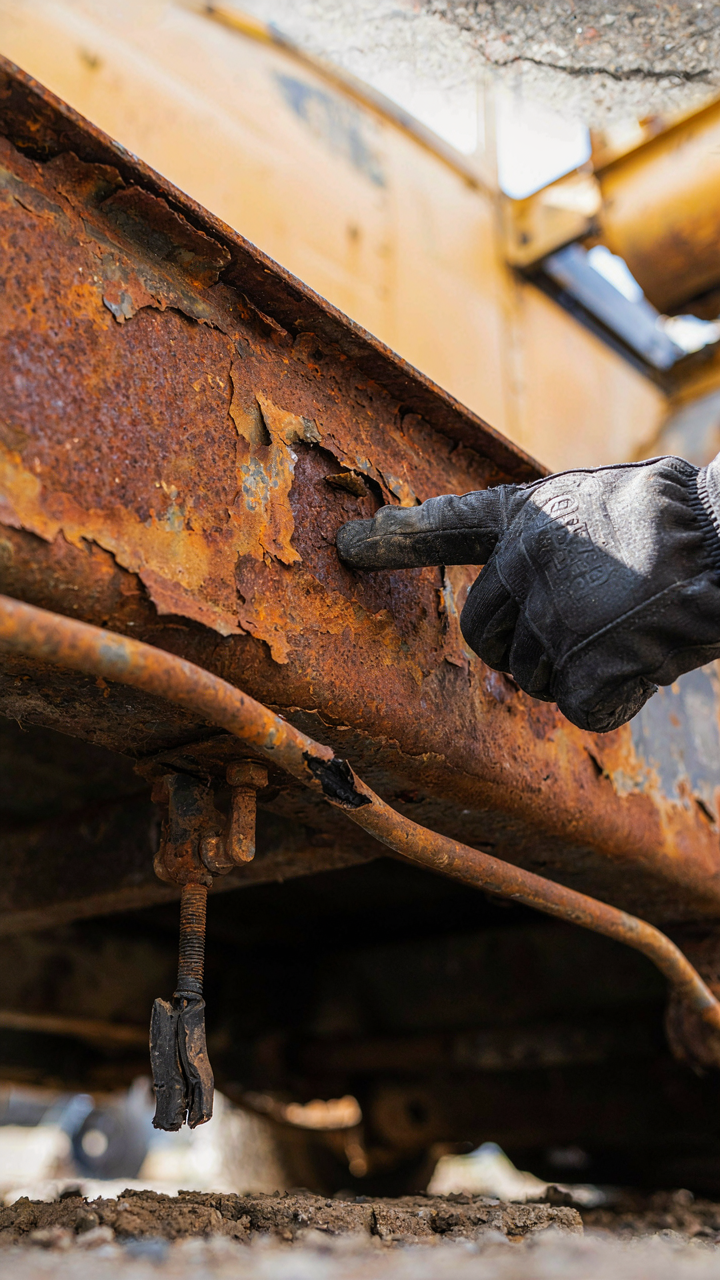
You’re afraid of buying a money pit. That’s the real reason this matters. School buses weren’t built to last thirty years in climates where salt and moisture do their work. Rust is the decay mechanism that kills conversions before they start, and most buyers miss it because they inspect the visible surfaces and stop.
Get under the bus with a flashlight and a screwdriver. Poke the frame rails, the floor pan, and the undercarriage where water collects. Rust that looks surface-level often penetrates deeper. If the metal crumbles or separates when you apply pressure, the structural integrity is compromised. Floors fail catastrophically when rust reaches the load-bearing points. Don’t negotiate down from asking price to cover rust repair. Walk away instead.
Title Transfer And The Insurance Trap
Most states title school buses as commercial vehicles, not RVs. This creates a registration problem you can’t solve with enthusiasm. When you convert the bus to residential use, insurance companies either won’t cover it or charge rates that make the whole project economically absurd.
Before you buy, contact your state’s DMV and your insurance agent. Ask specifically whether they’ll reclassify the bus to recreational or residential status post-conversion. Some states allow this, others don’t. A bus that’s titled commercial but living as an RV creates liability exposure and potential registration violations. Get written confirmation from your insurance provider that they’ll cover the converted bus at a defensible rate before money changes hands.
Deconstruction As Design: Stripping Your Schoolie Conversion
Seat Removal: More Than Just Unbolting

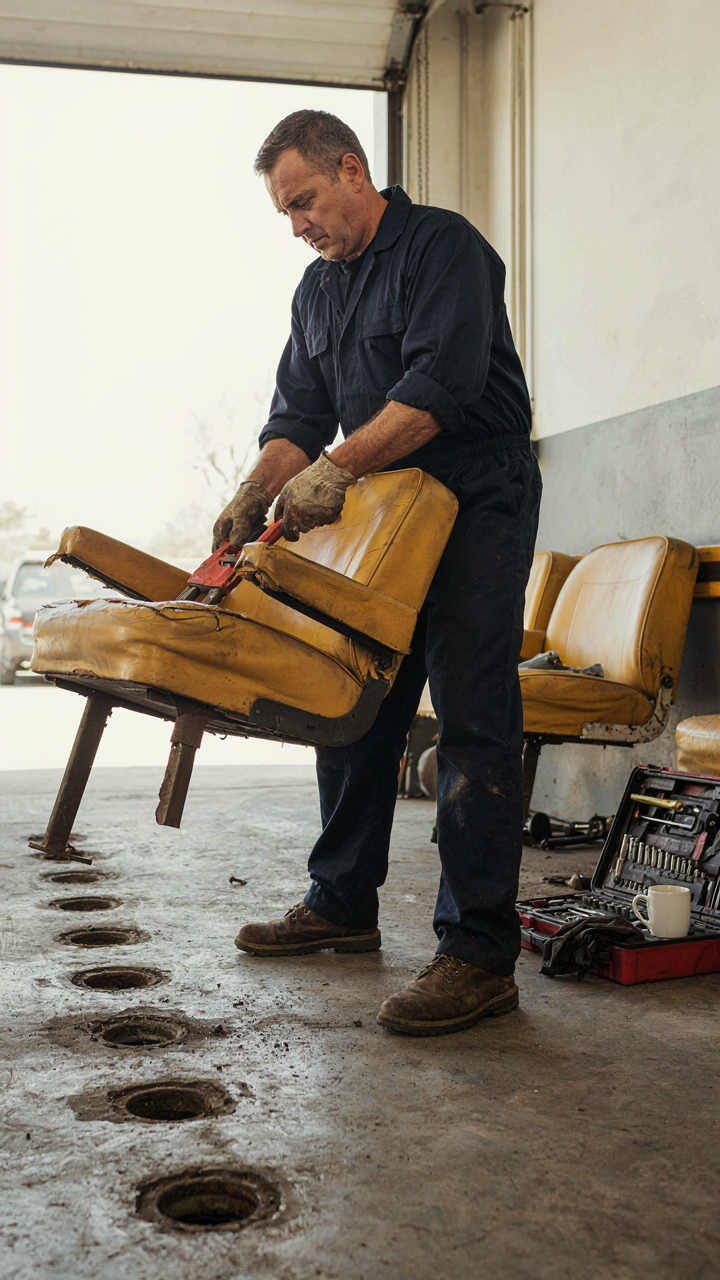
You want to believe ripping out seats is simple so you can skip to the fun part and feel like you’re making progress. It isn’t. School bus seats bolt through the floor into the frame itself, and the floor underneath holds decades of rust, corrosion, and structural integrity you can’t afford to lose. Every bolt removal is a structural decision, not a cleanup task.
Most seats anchor at four points minimum. You’ll find bolts corroded beyond standard wrench grip, often fused by salt and time. Spray penetrating oil 24 hours before extraction. Use a breaker bar, not a ratchet. Document bolt locations and sizes before removal because the bus frame is your load-bearing system now, and patching holes carelessly means water intrusion, rust acceleration, and eventual frame weakness where you need it most.
Interior Gutting: Revealing The True Canvas
Gutting follows a hierarchy, not chaos. Start with what’s bolted and movable, then move to what’s glued and permanent. The common advice says strip everything to bare metal. That’s incomplete. You’re not starting fresh, you’re inheriting a steel box with engineered void spaces, insulation cavities, and wiring channels that serve your build if you map them first instead of destroying them.
Remove seats, then interior panels and trim. Photograph and label every wire before disconnecting anything from the original electrical system. Strip adhesive, old insulation, and flooring down to the subfloor. The bus floor is typically plywood over steel joists, not solid metal. Check for rot, especially around the rear wheel wells and bathroom area if it’s a transit model. Structural damage here means reinforcement before any weight distribution goes on top.
The Physics Of Comfort: Insulation And Ventilation In Your Bus Tiny House

Where Heat Actually Goes

You care about this section because you’re afraid of being cold and broke at the same time. Heat transfer operates on three mechanisms: conduction, convection, and radiation. Most bus converters obsess over one and ignore the other two, which is why they end up with either frozen pipes or mold blooms by February. Conduction is the direct transfer through material. Your bus’s metal skin conducts cold straight into your living space unless you block it. Convection is moving air carrying heat away. Radiation is the heat your body loses to cold surfaces around you. You need to address all three or you’ll waste insulation money.
The reality most guides skip: R-value alone doesn’t win. A bus has thermal bridges everywhere—metal studs, window frames, floor joists. You can pack fiberglass into walls and still lose heat through these pathways faster than insulation slows it down. The mechanism that matters is continuous insulation with zero gaps. Closed-cell spray foam does this better than batts because it seals penetrations and adheres to irregular surfaces. Fiberglass leaves air pockets that convection currents exploit. If you go the cheaper route with rigid foam boards, you must tape every seam with foil tape or you’re just creating expensive insulation with air channels running through it.
Breath, Not Just Blankets
Ventilation fails because people treat it as separate from insulation when it’s the same system. Your bus’s envelope must manage moisture or everything inside rots. Think of ventilation in architectural terms: a building envelope requires vapor diffusion and air exchange to prevent interior moisture from condensing on cold surfaces. When warm moist air hits cold metal, water forms. This happens inside your walls before you notice it. The wrong approach is passive venting through roof fans. The right approach is controlled mechanical ventilation that exchanges stale air while managing humidity actively.
Install a through-wall ventilation system like an ERV or HRV unit, not just a roof vent that opens randomly. These systems exchange stale indoor air for fresh outdoor air while transferring heat or cool between them. You also need to identify cold spots—typically around windows, the floor, and corners—and either add secondary insulation or place a dehumidifier nearby. The concrete mechanism: measure interior humidity weekly. If it exceeds 55 percent, your ventilation strategy isn’t working and condensation will follow within days.
The Electrical System: Powering Your Camper Bus Conversion
12V Versus 120V Understanding Your Energy Needs

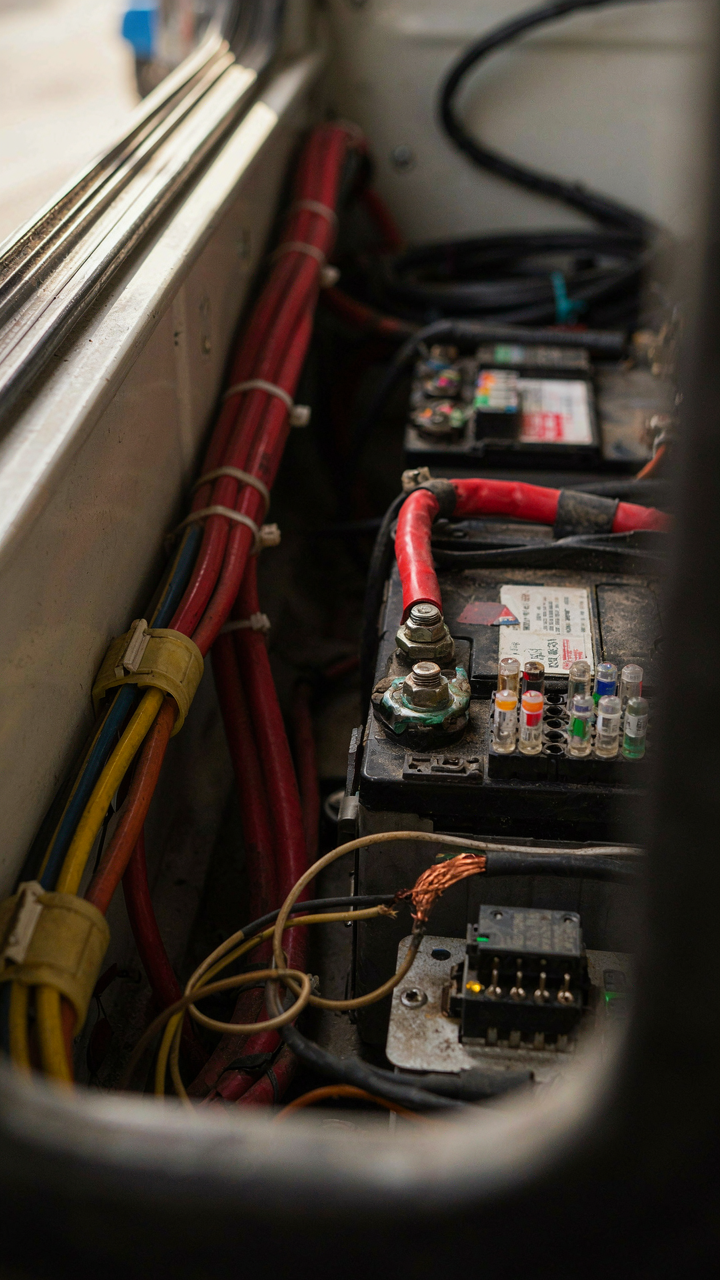
You want this system to work without thinking about it, which means you need to stop pretending both voltages serve the same purpose. 12V is your engine’s language—it powers lights, water pumps, and fans through direct battery draw. 120V is what your appliances demand, the voltage your microwave and air conditioning unit require, and it only exists when you generate it. Most converters fail because they treat these as interchangeable rather than as a load hierarchy.
Your actual power budget determines which voltage you prioritize. Run the math: calculate total watts for everything you want running simultaneously, multiply by hours per day, then divide by 24. A 100-amp 12V battery bank stores roughly 1.2 kilowatt-hours. If you draw 500 watts for four hours daily, you need either more battery capacity or a generator to top up that 120V inverter. The decision between prioritizing 12V or 120V isn’t philosophical—it’s arithmetic.
Solar Panels Batteries And Inverters The Real Setup
The common advice treats these as modular components you just wire together, which ignores the actual constraint: your roof space and weather patterns determine what’s physically possible. A 400-watt solar array sounds powerful until you realize it generates that only in direct midday sun at latitude-specific angles. In winter or cloudy regions, expect 40 to 60 percent of rated capacity, and plan your system around worst-case production, not the marketing spec.
Battery chemistry matters mechanically. Lithium iron phosphate (LiFePO4) batteries handle repeated charge cycles without degradation the way lead-acid does, but they cost three times as much upfront. An inverter converts that stored DC power to 120V AC, but its efficiency drops under partial loads—a 3000-watt inverter running a 300-watt load wastes energy as heat. Size your inverter to your actual peak draw, not your theoretical maximum, then match battery capacity to sustain that load long enough to recharge via solar or generator during low-sun periods.
Plumbing For The Practical: Water Systems In A Remodeled School Bus

Tank Separation: Fresh, Grey, And Black Water

You want plumbing to feel simple because you’re afraid it isn’t, and that fear makes you skip the actual design work that prevents catastrophe later. The system works through gravity and pressure differential, the same principle that makes a toilet flush or a sink drain. Get this wrong and you’re living with raw sewage smell in an enclosed metal box.
A school bus needs three separate tanks. Fresh water holds drinking and utility water, typically mounted low and forward to use gravity for distribution. Grey water collects from sinks and showers, requiring a tank that drains to the lowest point of your bus floor. Black water comes from the toilet only and needs its own sealed tank with a vent line that runs above roof level to prevent siphoning and pressure buildup that splits seams.
Most converters fail here by undersizing their black water tank or placing grey water tanks where they can’t gravity drain. Size your black tank for actual usage: a 30-gallon tank handles roughly three days for two people before needing a dump. Grey and fresh water can share space through separate chambers in one tank, but black water must be isolated. Isolation prevents cross-contamination and keeps your whole system from smelling like failure.
Water Delivery: Pumps, Heat, And The Flow Path
Pressurized water systems in RVs use a demand pump, not plumbing’s traditional municipal pressure. When you open a faucet, the pump activates, pressurizes the line, and stops when you close it. Most converters oversize their pump, wasting power and creating aggressive water spikes that damage cheap fixtures.
A 3 to 5 gallon per minute pump paired with a 20 to 40 amp circuit runs efficiently in a bus conversion. Mount the pump between your fresh water tank and an inline accumulator tank, which absorbs pressure spikes and reduces pump cycling. This step alone extends pump life by years. For heating, a point-of-use electric heater mounted under your sink costs less to install than a full tankless system and provides instant hot water without heating water you won’t use. Alternatively, a small heat exchanger tied to your diesel engine recovers waste heat during driving. Choose based on how much you drive versus park stationary.

Fixture selection determines your entire system’s efficiency. Install low-flow showerheads rated 1.5 to 2.0 gallons per minute and faucets with shut-off valves at each fixture. This cuts fresh water consumption in half, extending your tank range and reducing dump frequency. Run all supply lines in insulated copper or PEX tubing to prevent freezing in cold climates and heat loss in warm ones. Cold supply lines sweat in humid conditions, so insulation prevents condensation damage to your floor and walls.
Interior Construction: Framing Your Mini Bus Conversion Interiors
The Steel Box And Why It Matters
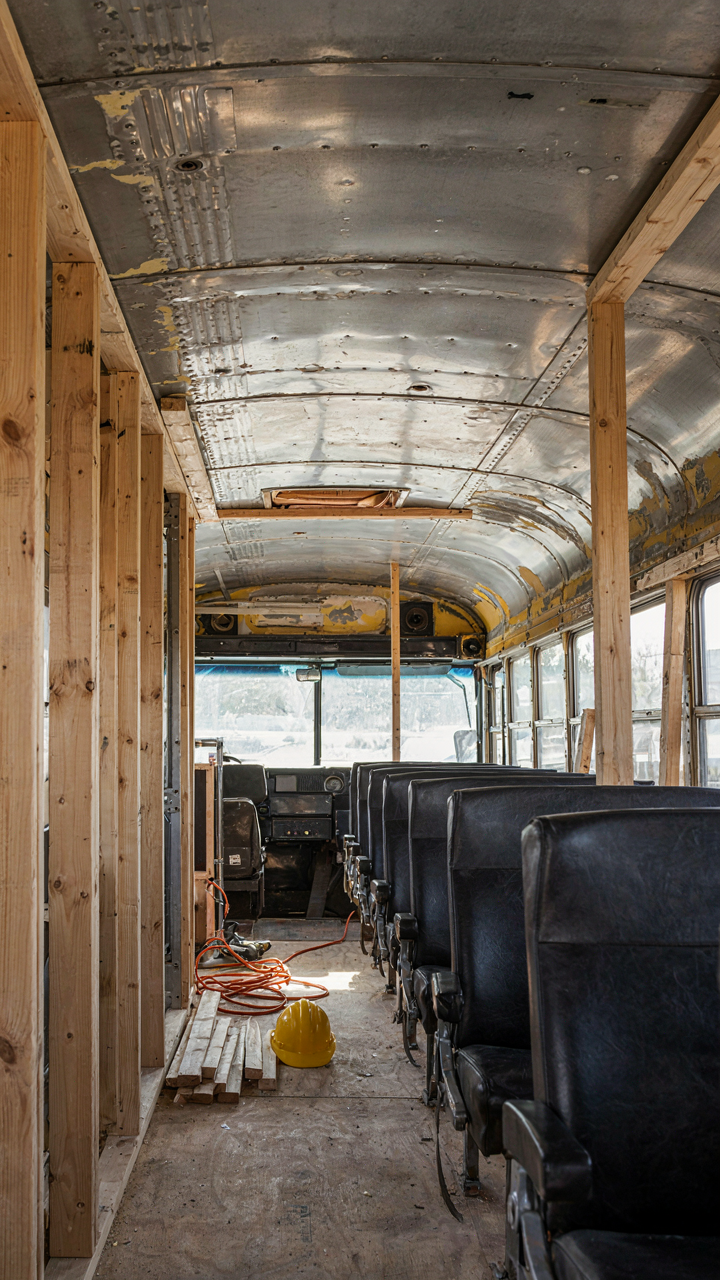
You want your conversion to feel permanent and safe because you’re betting your money and comfort on it. The mechanism is simple: a school bus shell is a hollow metal pressure vessel that flexes when you load weight unevenly. That flex transfers stress to anything bolted inside. Treating the frame as load-bearing is the first mistake most builders make. Your interior framing distributes weight across the entire structure, not just attachment points.
Steel bus frames were designed to carry children in seats bolted directly to the metal. That’s different from your living space. You’re adding concentrated loads—a bed, water tank, diesel heater, kitchen—in spots the original design never anticipated. Reinforce the floor with cross-beams under heavy fixtures. Bolt framing to multiple points across the frame rails, not single attachment points. This spreads stress laterally instead of creating pivot points that accelerate structural fatigue.
Material Selection: Weight Versus Longevity
Plywood is the consensus choice. It’s wrong for a bus that moves. Plywood absorbs moisture through its edges, swells, and delaminates inside a metal shell where humidity never fully escapes. The better material is marine-grade plywood or, more durable, hardwood like ash or birch for framing and structural panels. Weight matters here because every pound affects fuel economy and handling. Aluminum extrusion framing reduces weight compared to wood but costs more and requires different fastening techniques.

Your aesthetic preference is secondary to failure modes. Water intrusion, vibration from the engine, and thermal cycling all work against cheap materials. Hardwood framing resists moisture better and tolerates fastener movement without stripping holes. Marine sealant between all wood joints prevents capillary wicking. Secure every frame connection with through-bolts, never nails or screws alone. The framing you build today either outlasts the bus or becomes expensive repair work within three years.
The Permaculture Principle: Designing Your School Bus Renovation Layout

Zone Planning: Efficiency And Flow
You want this section to feel intentional so people think you’ve planned something sophisticated. What actually matters is reducing wasted steps and dead space. Permaculture uses zones based on frequency of use and energy cost, and your bus layout mirrors this exactly. Zone 1 is your daily living hub. Zone 2 is storage and utilities. Zone 3 is the buffer you never touch. This cuts unnecessary movement in 320 square feet where every step compounds fatigue.
Most converters throw a bed wherever there’s room and regret it for years. Place your sleeping area furthest from engine heat and road noise, typically the rear. Put your kitchen and water systems mid-bus where you access them multiple times daily. Situate your entry and power systems forward. This stacking reduces the time you spend moving between functions and makes the space feel larger because you’re not constantly rotating through tight zones.
Resource Cycling: Minimizing Waste, Maximizing Utility
The common advice treats water, electrical, and waste as separate systems. They’re not. They’re one cycle that either closes or bleeds money and creates problems. Grey water from your sink goes to your plants or toilet tank, not the dump. Electrical draws from solar or auxiliary power to charge tools and devices that support the same ecosystem. Waste heat from cooking or engine vibration serves insulation or drying.

Layout your tanks, conduits, and fixtures so water flows downhill from source to reuse point without siphoning back. Run electrical lines in conduits that protect them from moisture and rodents, bundled with plumbing in the center spine of the bus to minimize redundant penetrations through walls. This isn’t aesthetic. This is preventing failures that strand you mid-journey. Map every utility run on paper before cutting into the frame, because routing changes cost hours and create weak points in your living system.
Finishing Touches: Making Your School Bus Remodel A Home

Flooring, Walls, Ceilings Beyond Basic Aesthetics
You want your bus to look like someone intentional lives there, not like you’re camping in a metal box. The real mechanism is thermal mass and vapor control, which dictate everything else. School buses have thin steel walls that sweat. Moisture migrates through those walls constantly. Standard drywall absorbs that moisture and fails. You need materials that manage water without degrading. Plywood alone doesn’t solve this. You need a vapor barrier first, then your finished surface. The barrier stops interior humidity from destroying your structure from inside out.
Flooring anchors the entire aesthetic because you walk on it every day. Vinyl plank flooring over rigid foam insulation works because it resists moisture, doesn’t rot, and handles temperature swings. Glue it down properly or it separates from the substrate. Walls take two approaches: fabric-wrapped frames over insulation, or tongue-and-groove wood. Both need ventilation channels built in. Ceilings should use lightweight aluminum or vinyl trim to avoid crushing the bus with weight. The goal isn’t decoration. The goal is a material system that stays intact for years while managing the physics of a metal box in varying climates.
Storage Solutions Decluttering In Compact Space
You think the problem is finding places to put things. The actual problem is owning things that don’t justify their space cost. Economics taught me opportunity cost, and in a school bus, every cubic foot costs real money. A bus has roughly 250 cubic feet of interior volume if you’re lucky. Your bed takes 60 to 80. Your galley takes 40. Your bathroom takes 30. You have maybe 100 cubic feet left for everything else. Vertical storage isn’t a nice idea. It’s mandatory. You either build up or you suffocate.
Built-in storage integrates into the structure instead of floating in the space. Wall-mounted shelves above seating, under-bed drawers, overhead cabinets near the front, fold-down desks that store flat. The key is dual-purpose furniture. Your bed frame becomes storage underneath. Your dinette becomes storage with bench seats that open. You don’t add storage to the bus. You redesign the bus as storage that you live in. Measure twice before building anything. Wrong dimensions waste space you can’t reclaim.
Road Readiness: The Final Inspection For Your School Bus Conversion
Brakes, Tires, And Electrical Systems
You’re doing this inspection to avoid being liable when your conversion fails at 60 mph on a highway. The mechanism is simple: a school bus was engineered for 60,000-pound loads with air brakes designed for predictable stopping distances. Your conversion adds interior weight you probably underestimated, and most people skip the math on how that changes stopping power.
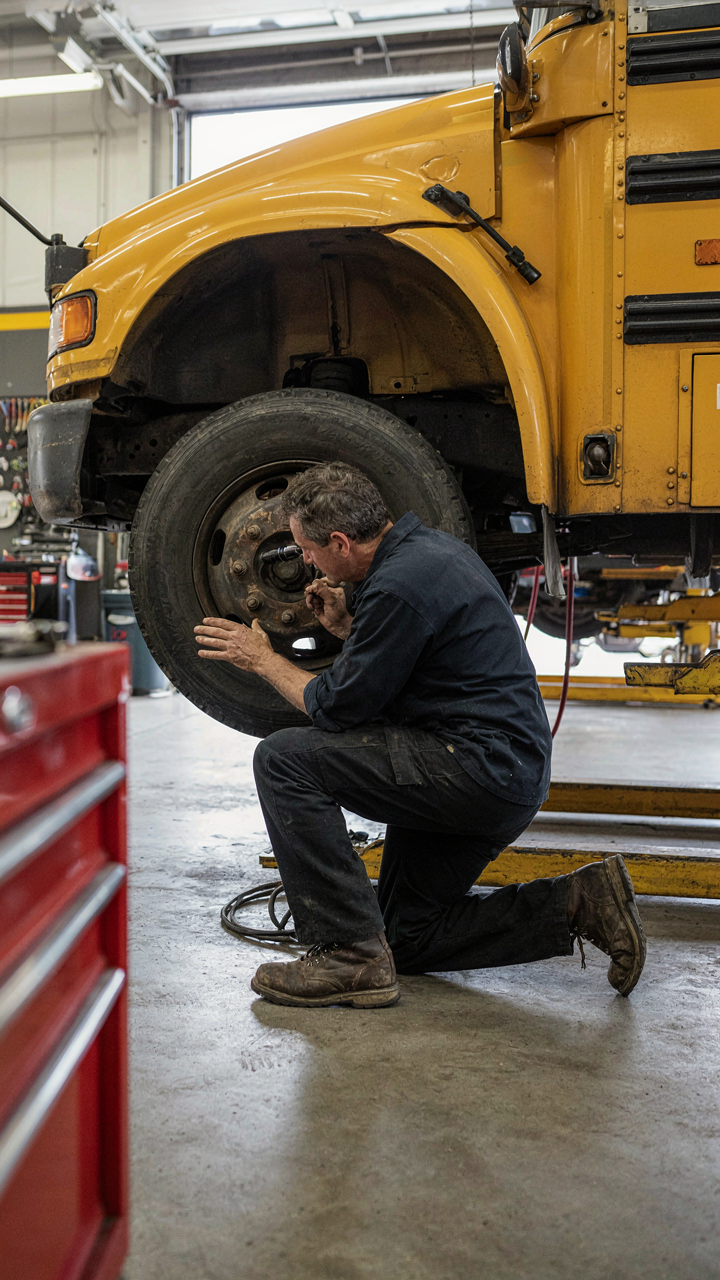
Start with the braking system. School buses use air brakes or hydraulic systems depending on model year. Air brakes require a functioning compressor, clean lines, and proper pressure gauges. A failed brake line kills your ability to stop predictably. Get a commercial mechanic to pressure test the system and verify compressor performance. Do not rely on the bus’s age or previous service records.
Tires carry the load unevenly now. A standard school bus distributes weight according to seating capacity and fuel. Your conversion concentrates weight toward the rear with living spaces, appliances, and water tanks. That changes tire pressure requirements and wear patterns. Check manufacturer specifications for your bus model, then adjust pressure based on actual loaded weight. Replace tires showing uneven wear or sidewall cracks before hitting the road.
Electrical systems fail silently. School buses have basic 12-volt systems for lights and wipers. You added solar panels, battery banks, inverters, and auxiliary charging systems. That’s a compound electrical architecture most owner-builders don’t spec correctly. Have the entire system load tested, including alternator output under full auxiliary draw. Verify the battery isolation system engages during engine start to prevent voltage spikes from destroying your converters.
Weight Distribution And Vehicle Dynamics
Physics doesn’t negotiate. A school bus’s center of gravity shifts with every gallon of water you add and every cabinet you mount. The driver’s seat becomes decoupled from the vehicle’s actual mass distribution, meaning your instincts for braking distance and turn dynamics are already wrong.
Load your conversion fully with water, propane, and gear. Measure how the suspension sits on each wheel using a load scale or by having it weighed at a truck stop. The rear axle carries more weight than the front now. That changes how the bus pitches under acceleration and braking. If rear weight exceeds 40 percent of total, you’ll experience reduced steering responsiveness and extended stopping distance. Redistribute water tanks or living space forward if measurements confirm rear bias.
Drive it in an empty parking lot before highways. A loaded bus doesn’t handle like the lighter vehicles you’re used to. The steering wheel requires more input. Braking feels mushy if your pressure settings favor front wheels. Turns demand wider arcs. Spend two hours making hard stops, sharp turns, and lane changes until your body recalibrates for the vehicle’s actual weight and inertia. Stop immediately if you feel instability during any maneuver. The problem compounds at speed.
Verify tire pressure one final time after this test drive. Heat from friction changes pressure, and you need a true baseline before highway miles. Check all mirror angles and ensure blind spots are mapped. You’ll have more blind spots now because of internal weight distribution. If you installed aftermarket mirrors, verify they show the road behind both rear corners and the driver’s side when turning. This becomes your protocol before every trip over 100 miles: full weight check, tire pressure, mirror alignment.
The Real Obstacle: Your Addiction To Certainty, Not The Bus

You’re waiting for the perfect plan before you touch a wrench. You’re not. You’re hiding from failure behind research. Every successful bus conversion started with someone who chose imperfect action over perfect paralysis. Stop reading about electrical systems. Buy a cheap multimeter today and test something on an actual bus. Your fear doesn’t care about knowledge. It cares about movement. The conversion doesn’t require certainty. It requires you to be willing to look stupid while learning.



