

The Illusion Of The Perfect View: Why Most Skoolie Roof Decks Fail

You Want People To See You Up There
You’re building a roof deck because you imagine yourself visible, relaxed, commanding attention. That fantasy drives most decisions before physics and weather do. The mechanism is simple: aesthetic appeal and functional durability operate on opposite vectors. You pick materials and designs that photograph well, then they fail under load, UV exposure, or wind because you never asked whether they’d actually hold up for years.
Most skoolie roof decks are built with the same priorities as a Instagram set, not a structure that lives outdoors year-round. Composite decking, light-colored furniture, minimal railings—these read as premium until rain pools on poorly pitched surfaces or wind gusts tear loose unsecured components. The real cost isn’t paid during construction. It’s paid when you’re replacing rotten wood, sealing leaks that migrated into your walls, or rewiring electrical that corroded faster than you expected.
Weather Does The Damage Before You Notice It
Wind load calculations are borrowed from structural engineering, and most roof decks ignore them entirely. Your deck sits at the highest point of your vehicle, fully exposed to lateral forces that increase exponentially with height and surface area. A poorly anchored railing doesn’t just look sketchy—it becomes a lever that peels sections of your roof open when storms hit.
Water intrusion follows next. Penetrations for railings, electrical boxes, or deck attachment points create pathways for moisture to enter framing and insulation. Sealant fails faster on a roof that moves—skoolies flex under load and temperature swings—so you’re fighting a losing battle with caulk alone. The solution isn’t better aesthetics. It’s redundant barriers, proper pitch for drainage, and metal flashing installed before decking goes down, not after problems appear.
Skoolie Roof Deck Design: The Structural Integrity Imperative
Weight Distribution And Load Bearing Reality

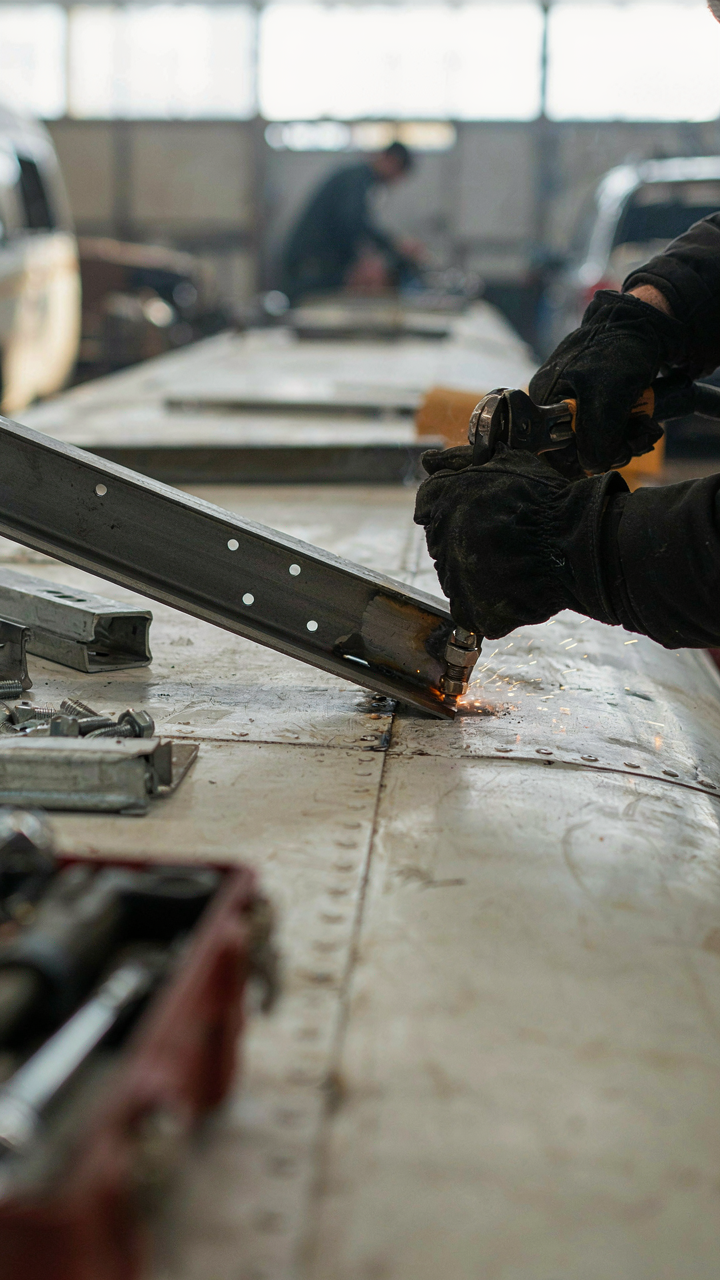
You’re imagining yourself up there with a drink in hand, and you’re not thinking about whether the bus can actually hold you. Most skoolie builds fail because owners treat roof decks like an afterthought instead of a load problem that demands engineering rigor. Think of it through physics: distributed load is force spread across area, and your bus chassis has finite capacity. A full-size school bus frame handles its intended payload—students and equipment, roughly 10,000 to 14,000 pounds total. Adding a deck with multiple people concentrates new stress on metal that’s already aged.
The real mechanism is point load versus distributed load. A roof deck must spread weight evenly or you’ll see metal fatigue at attachment points first, then sagging at mid-span. Calculate total deck weight including materials, then add live load (people standing, furniture, water if you’re wet-proofing). Most builds assume 50 pounds per square foot for live load, but that’s conservative. Get actual chassis specs from the manufacturer or a heavy-truck engineer, then size your deck frame accordingly. Undersizing the support structure to save money is a decision that compounds damage every season.
Chassis Integration And Long Term Structural Failure
Don’t bolt a deck to the roof and expect the bus to survive it unchanged. The chassis wasn’t designed for roof-mounted concentrated loads, and adding them after manufacture creates new stress paths that degrade the frame’s structural integrity over time. Attachment points matter more than materials because they’re where force transfers from the new weight into the existing structure. Most builders drill through the roof skin and bolt to whatever’s underneath, which often isn’t a structural member at all.
Proper integration means identifying and using the actual frame rails or roof bow supports, not the thin steel skin. Distribute fasteners across multiple structural points rather than clustering them in one zone. Use Grade 8 bolts with lock washers and threadlocker to prevent vibration-induced loosening, which accelerates micro-movement at the joint. Check bolts monthly for the first three months after installation, then seasonally. The cost of reinforcing your attachment points correctly pays for itself in one season of trouble-free use. If bolts are loosening, the connection is failing, and the frame damage accelerates exponentially from there.
The “Utility First” Protocol For Your Bus Roof Deck
Define Your Actual Load Before You Buy Anything

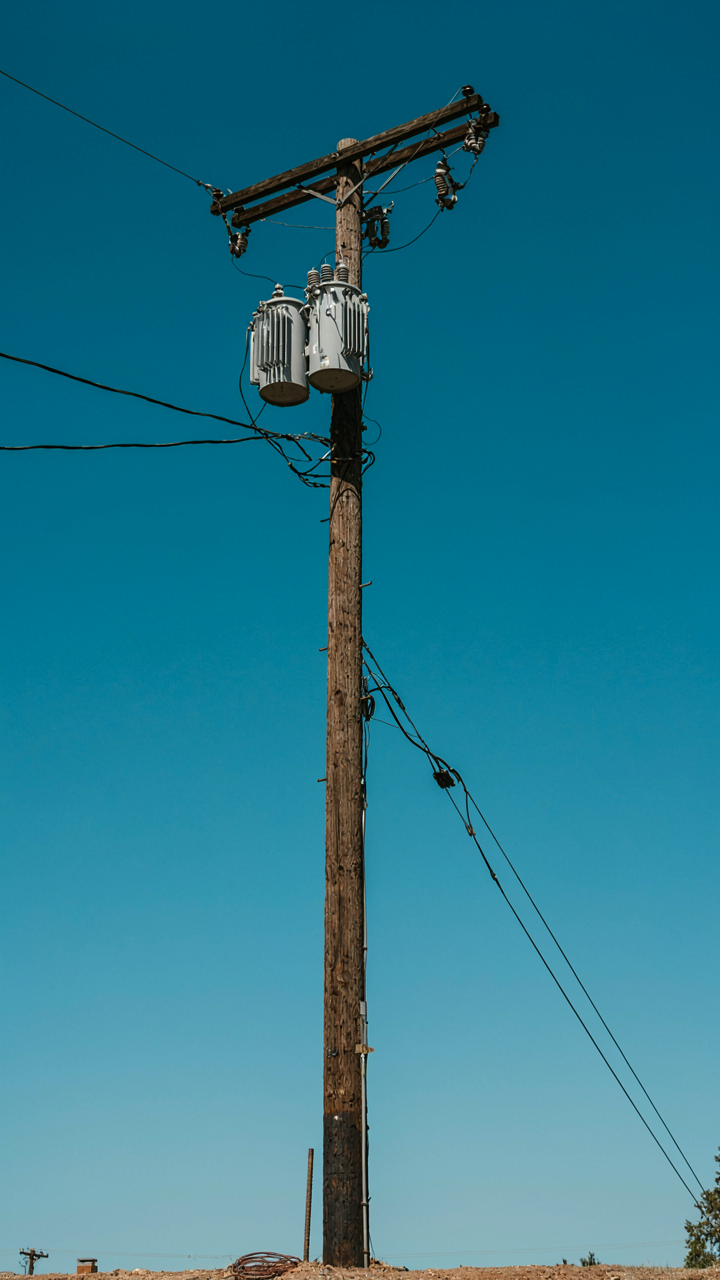
You want your roof deck to look intentional and Instagram-ready, but that desire will trap you into building something that fails under real conditions. The mechanism is simple: a roof deck is load-bearing infrastructure first, aesthetic statement second. Your bus has a weight capacity. Every component you add—solar panels, water tanks, deck boards, railings, people standing on it—subtracts from that capacity. Most people skip this calculation entirely and discover the problem when their roof starts sagging or their bus handles like it’s drunk.
Start by knowing your bus’s GVWR and curb weight. Subtract curb weight from GVWR to find your actual payload capacity. Now subtract the weight of your roof deck structure itself, the mounting hardware, and any permanent fixtures. What remains is your real budget for people, solar, storage, and everything else combined. This single number should drive every decision you make about what goes on top of your bus. Write it down. Reference it before you purchase anything.
Solar, Storage, And Access Must Work Together
Most roof deck designs treat these three systems as separate problems, then wonder why the finished product feels cramped and poorly thought through. In structural engineering terms, you’re building for constraint optimization—maximizing function within fixed space and weight limits. Your solar panels need southern exposure and airflow underneath. Your storage needs accessibility without requiring you to walk across equipment or climb over railings. Your access points need to not interfere with either. Choose one problem to solve first, then build the others around it.
Start with access. Your roof ladder or stairs should hit the roof at a spot that doesn’t interfere with where solar panels sit best or where you need storage space. Then mount solar panels on the clearest, most south-facing section of roof available. Storage containers should fill the remaining perimeter without blocking emergency egress or making maintenance harder. This order prevents the trap of realizing halfway through that your deck is functionally cluttered and inefficient.
Optimizing Access: The Skoolie Deck Entry/Exit Systems
Getting Up There Without Breaking Your Neck

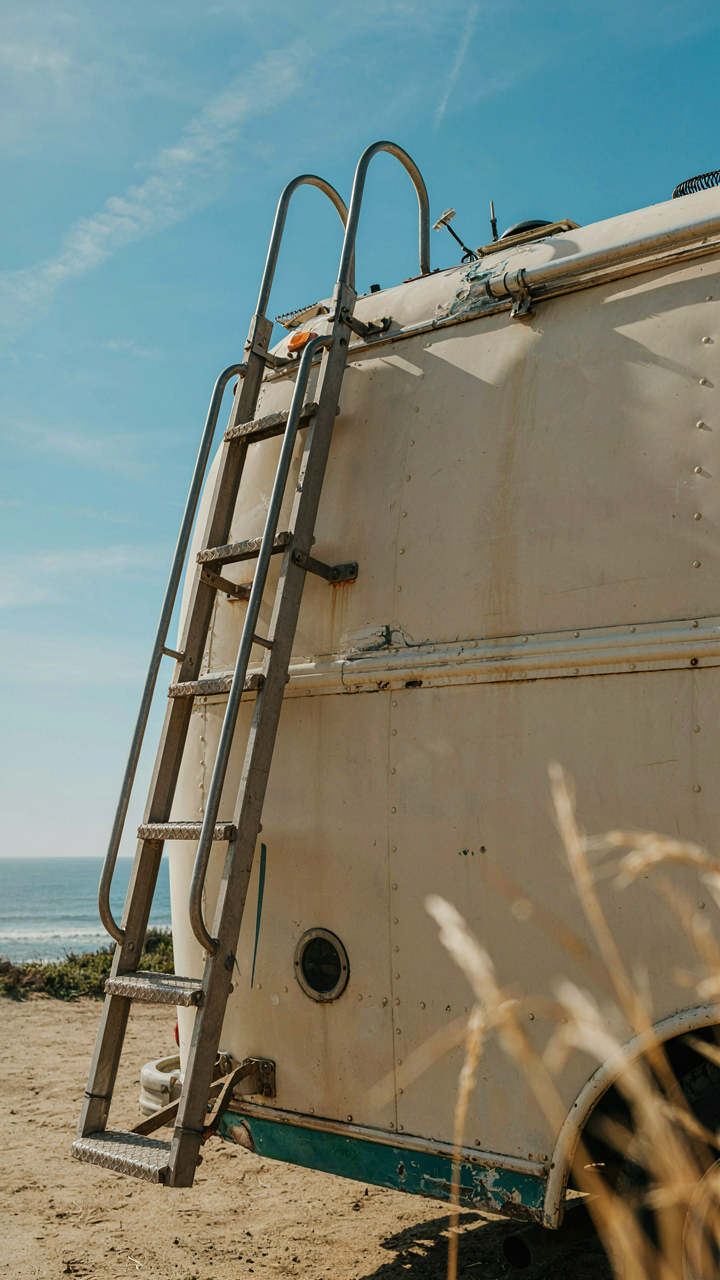
You want the roof access to feel effortless, which means you’re actually terrified of the climb or the fall. The mechanism that matters here is friction and angle. A ladder’s job is pure physics: it creates a stable incline between two points. Most skoolie owners overthink this and bolt down permanent fixed ladders that rust, take up interior space they can’t afford to lose, and feel industrial in a way that kills the whole vibe. The real play is matching the ladder type to actual use frequency and your rig’s layout constraints.
Fixed ladders make sense if you’re accessing the roof multiple times a week and have exterior wall real estate to spare. Collapsible ladders fold flat when not in use and free up hallway or bedroom square footage. Internal ladders routed through a hatch cut the exterior profile clean and protect the mechanism from weather, but they eat usable interior height and require better framing. Pick one based on how often you’ll actually climb, not on what looks best in Instagram photos.
Preventing The Moment You Regret Everything
Fall prevention isn’t about installing more handholds. It’s about designing the entry point so the highest-risk moment, the transition from vertical ladder to horizontal roof surface, forces you into a stable position before you can move forward. Engineered systems use this principle: the moment you step off the ladder, your body weight shifts to the roof surface, and your center of gravity is already over stable ground.
Install a roof hatch threshold or grab rail positioned so your hands reach it before your feet clear the ladder. The rail doesn’t stop a fall; it anchors your entry sequence. Height matters too: a ladder angle between 65 and 75 degrees from horizontal gives you the best grip and foothold before fatigue sets in. Anti-slip tape on ladder rungs works, but worn tape fails silently. Sand the rungs instead and check them quarterly. Your access system either guides you toward safety or it doesn’t.
Material Science Of Your Camper Roof Deck: Beyond Lumber
Weight, Durability, And The Maintenance Tax

You want a roof deck that looks solid and demands nothing from you. That’s the real constraint—not aesthetics, but your future labor. Material selection is an engineering problem with a time cost, and most people underestimate how that cost compounds.
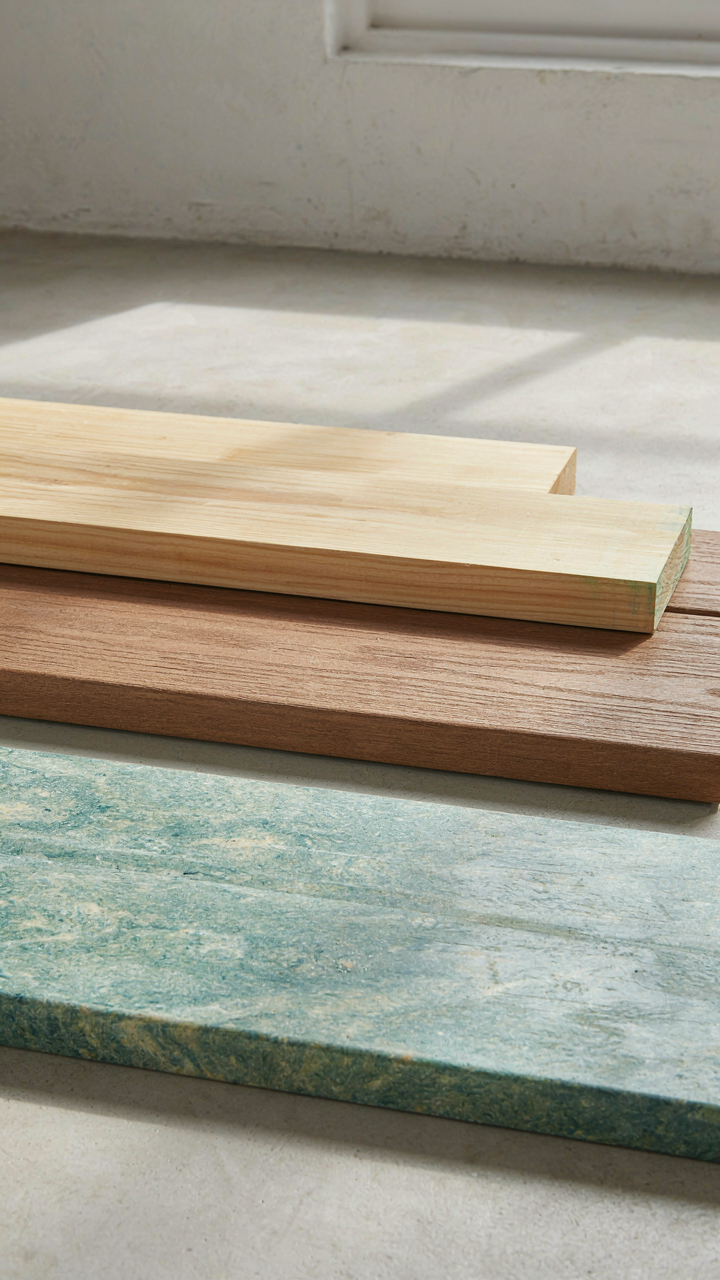
Lumber rots. Treated lumber slows rot but doesn’t stop it. Steel rusts unless sealed. Composite materials degrade under UV and thermal cycling. Every material trades upfront cost against maintenance frequency and replacement timeline.
- Pressure-treated lumber: Affordable initially, requires refinishing every 2-3 years, and fails at fastener points where moisture penetrates untreated wood grain.
- Tropical hardwoods (Cumaru, Ipe): Naturally rot-resistant, heavy (40+ lbs per cubic foot), difficult to work, and expensive—overkill for most builds.
- Composite decking: No rot or splinters, but thermal expansion is severe in a mobile environment, and UV fading accelerates color loss within years.
- Aluminum extrusions: Lightweight and corrosion-free, expensive upfront, and require insulators to prevent thermal bridging that creates condensation underneath.
- Steel grating with powder coat: Durable and low-maintenance, but galvanic corrosion begins where fasteners meet the coating, and adds substantial weight to roof load capacity.
The mechanism is simple: your roof deck experiences thermal stress your house never does. Day-to-night temperature swings of 40+ degrees are routine. Moisture accumulates on the underside. UV hammers the topside. Materials fail faster on a moving platform than stationary ground. Choose based on replacement interval tolerance, not on what looks best in renderings.
Corrosion Resistance And Weatherproofing Strategy
The weatherproofing conversation everyone has is broken. People treat sealing as a one-time application. It isn’t. Weatherproofing is a maintenance protocol with predictable failure points—the gaps between materials, the fastener penetrations, and the junction where your deck meets the roof surface.
Fasteners are where most builds fail. Stainless steel resists corrosion but costs 3-4x standard hardware. Galvanized fasteners fail within 18-24 months if fastened through dissimilar metals (aluminum hardware on steel substrate creates a corrosion cell). Flashing—the membrane between your deck structure and the roof skin—must overlap in the direction water flows, not the other way around. One reversed flashing piece channels water straight into your interior. You inspect every fastener and flashing edge annually, apply marine-grade sealant at year two, and plan replacement by year five to avoid catastrophic water intrusion into wall cavities.

The Skoolie Raised Roof Advantage: Space And Integration

When Height Actually Matters
You want a roof deck because you’re tired of feeling boxed in. The real mechanism is this: a raised roof isn’t decoration. It’s load redistribution. By extending the roof line upward six to twelve inches, you create usable deck space without sacrificing interior headroom or structural integrity. A stock school bus roof sits at 10.5 feet interior. A raise pushes usable deck area above the existing roofline and spreads weight across additional support posts down to the frame.
The difference between a raised deck and a mounted deck is practical. Mounted decks bolt to existing roof ribs and create stress concentration points. Raised roofs integrate the deck structure into the vehicle’s frame geometry. You’re not bolting extras onto something it wasn’t designed for. You’re expanding what was already there.
Power And Water Don’t Stop At Walls
Interior utilities don’t have to dead-end where the interior walls stop. Routing fresh water lines, electrical conduit, and propane runs through the raised roof cavity lets you serve the deck from inside without visible clutter. Think of it like an electrical conduit system in commercial buildings: the infrastructure runs through the structure itself, not attached to the surface.
This integration saves money and time during buildout. You roughin lines during framing, not after. Tank feeds, breaker runs, and water heaters all terminate at the deck through planned penetrations before you seal the roof. The mechanism is simple: vertical routing prevents horizontal runs across finished surfaces, which either look sloppy or require expensive custom cabinetry to conceal. Plan the utilities in the raised cavity first, then build around them.

Thermal Dynamics Of Your Van Life Roof Deck
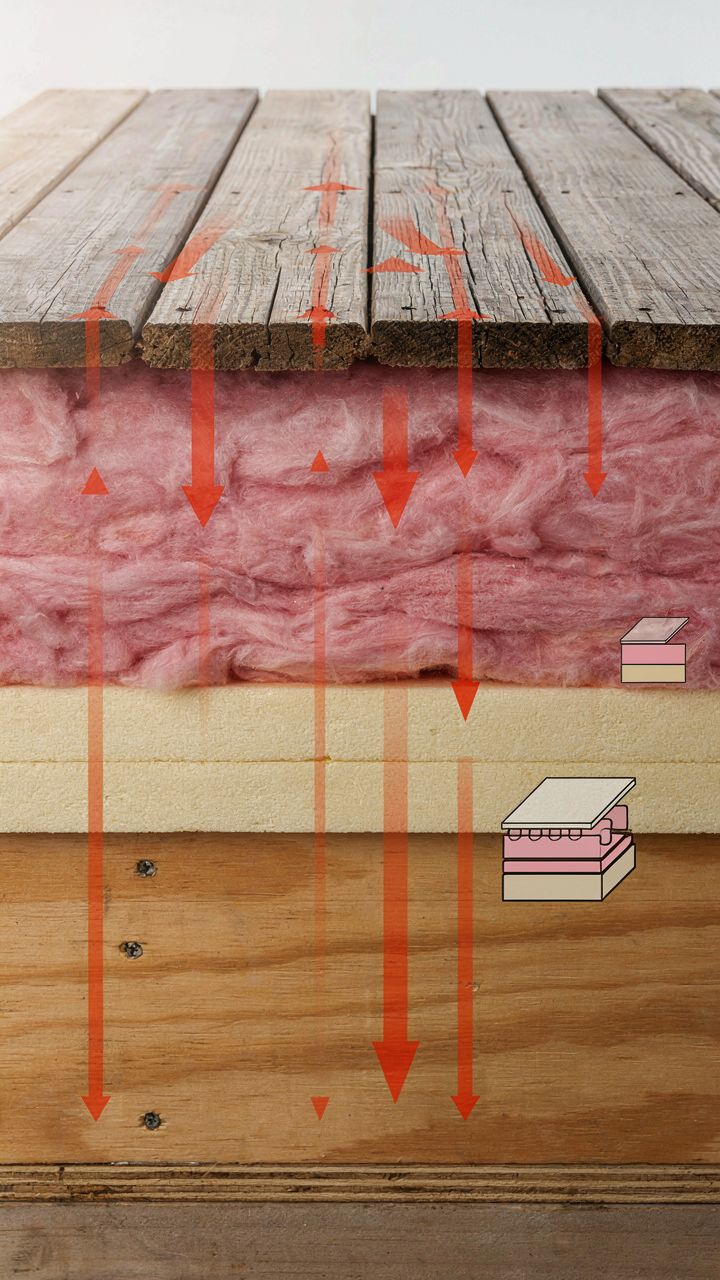
Where Heat Actually Goes
You want a roof deck that doesn’t turn your living space into an oven or a sweat lodge, but you’re afraid of spending money on insulation that won’t work. Here’s the mechanism: thermodynamics tells us heat always moves from high to low temperature zones, and on a roof deck, you’re fighting a three-directional battle. Solar radiation hits the deck surface and converts to infrared heat. That heat radiates downward into your living space. The deck material itself becomes a conductor, transferring warmth directly through the structure.
The conventional advice says “add more insulation.” That’s incomplete. Insulation only slows transfer. You need to stop the radiation before it enters the deck. Reflective coatings on the roof surface bounce solar energy away instead of absorbing it. Beneath the deck, dead air space creates a thermal break. Metal decks conduct heat aggressively, so they need more intervention than composite materials. The real control lever is reducing the temperature differential between deck surface and interior air, and you do that by reflecting energy first, insulating second.
Air Movement And Condensation Control
Moisture doesn’t just appear in skoolies. It migrates where temperature drops. When warm interior air contacts a cold roof deck surface, water condenses into liquid. Most people focus on sealing gaps. They’re missing the primary mechanism: you need continuous air circulation that prevents any single surface from dropping below the dew point temperature.
Install ducting that routes cabin air across the underside of the deck structure during cold months. This keeps the deck warm relative to indoor humidity levels. In hot months, open ventilation channels that run air between the deck and the living space, pulling moisture out before it settles. The goal is never a static air pocket. Stagnant air creates the temperature gradient where condensation forms. Mechanical circulation, even passive thermosiphoning through roof vents, breaks that pattern. Your deck stays dry because moving air equalizes temperature, not because you sealed everything tight.

Maintenance Realities: Keeping Your Bus House Deck Functional
Inspection Schedules That Actually Work
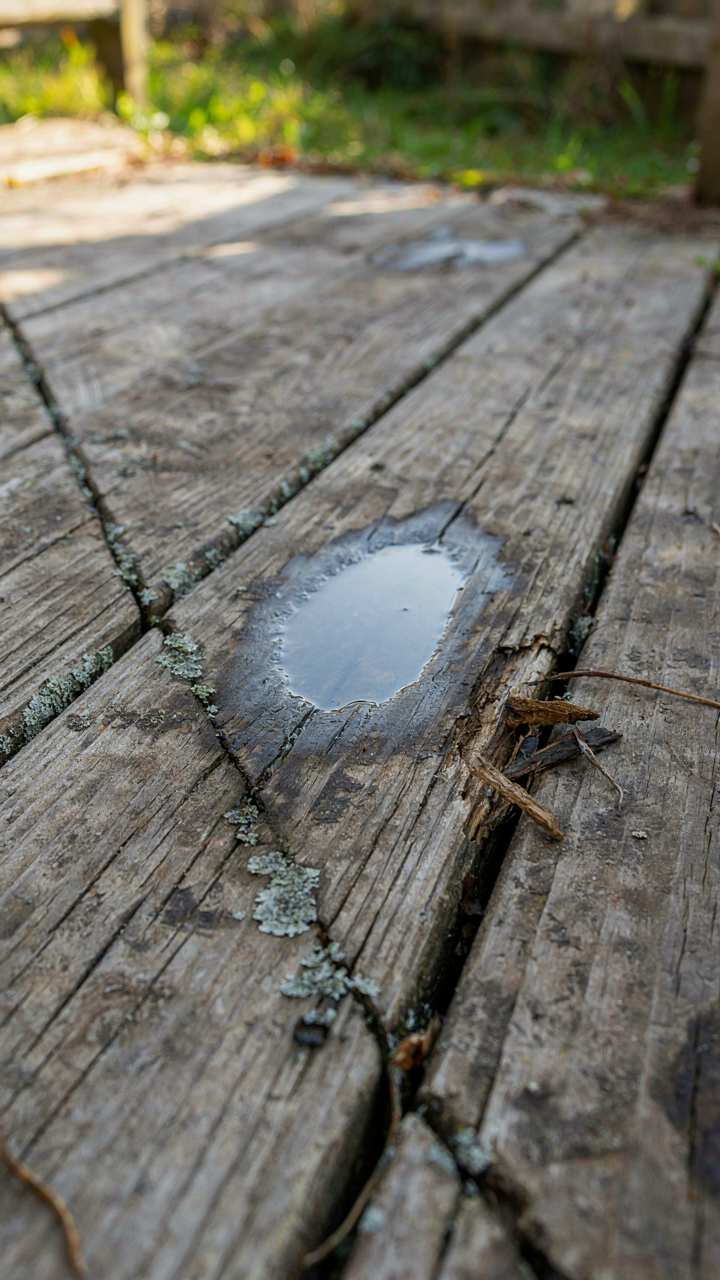
You want to believe your deck will be fine if you just “keep an eye on it”—that’s denial dressed as pragmatism. The mechanism is simple: water finds every gap, and once it does, you’re financing rot in real time. Most people inspect decks reactively, after noticing damage. That’s backwards.
Treat your roof deck like building envelope maintenance, not hobby upkeep. Check it quarterly, minimum. Walk the entire surface with a screwdriver and probe seams, fastener penetrations, and any membrane transitions. Document what you see. Water damage accelerates exponentially once it starts, so catching infiltration at month two instead of month six saves thousands in structural repair.
Fasteners And Water Intrusion Points
Everyone talks about replacing rotten wood. Nobody talks about the fastener holes that created the rot in the first place. Every bolt, screw, or rivet through your deck membrane is a water highway if it’s not sealed correctly.
Use stainless steel fasteners only—galvanized fails within five years on a roof under UV and temperature cycling. Seal every fastener with polyurethane caulk or sealant rated for exterior use, not silicone. Reapply sealant every two to three years. If your deck leaks and you haven’t checked the fasteners first, you’re solving the wrong problem. Start there.

Beyond The Deck: Holistic Skoolie Rooftop Ecosystem
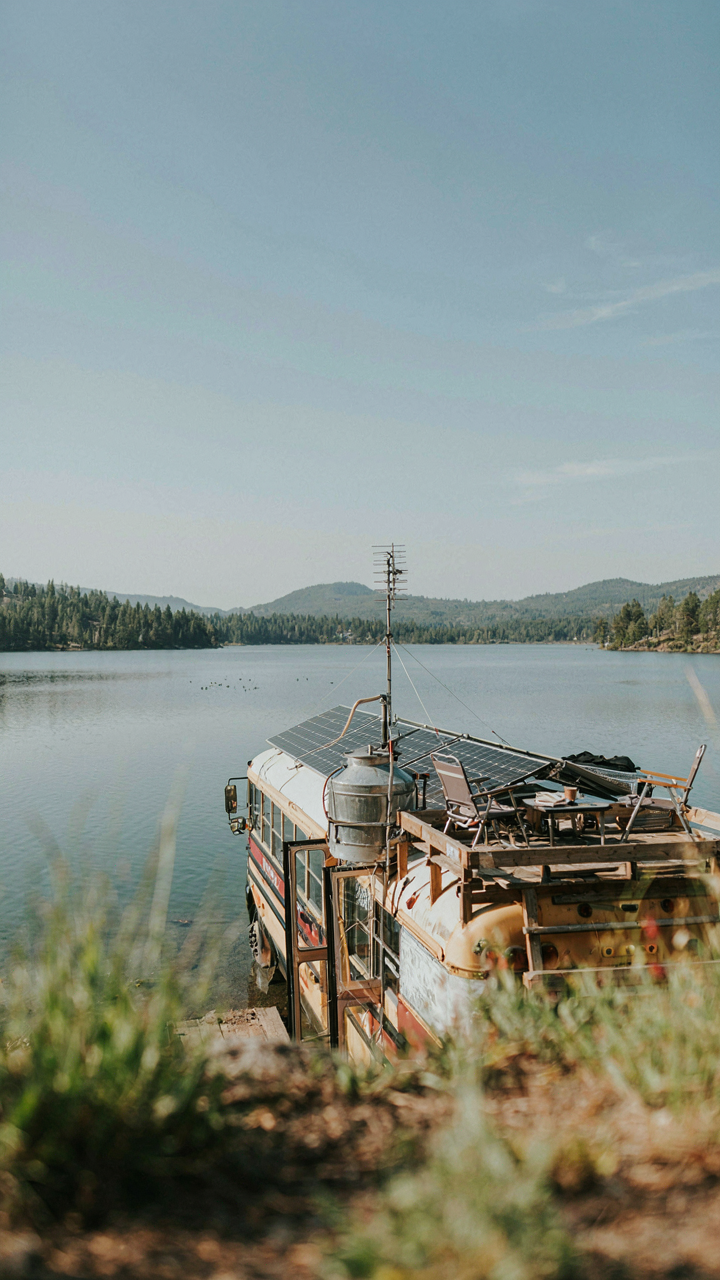
When Your Roof Becomes Infrastructure
You want a roof deck that looks good in photos, but what you actually need is a roof that works. The mechanism here is load distribution: every system you stack on top—solar, water, communication—creates competing demands for the same limited surface area and structural capacity. Most skoolie builds treat the roof as decorative real estate first, functional infrastructure second. That’s backwards. Your roof deck exists inside a constraint system borrowed from civil engineering called the “load path.” Every pound of solar panel, water tank, or weather station must have a clear route down through your frame to the wheels. Solar panels weigh roughly one pound per watt of capacity. A modest 400-watt array adds 400 pounds. Add a 100-gallon freshwater tank (833 pounds full) and a communication antenna setup, and you’re managing over 1,200 pounds on a structure that may only be rated for 500 pounds of distributed roof load. You choose what stays. Everything else gets mounted lower or stays off.
Water systems work best when gravity handles the work. A roof-mounted collection surface (cleaned regularly) feeds into a roof tank that gravity-feeds to a lower distribution tank for pressure and delivery. Solar placement matters more than you think: the roof’s highest, most unshaded section captures 30 to 40 percent more energy than a partially shaded placement six feet away. Communication antennas perform best when mounted high and clear of metal obstructions, but they also become your tallest wind catch. Install your systems in order of load path priority, not aesthetic preference. Run structural calculations before purchase. Test your weight distribution with actual water before committing.
Designing For What You Cannot Yet Predict
Future-proofing sounds like planning ahead, but it actually means building in redundancy and access. Most skoolie owners upgrade systems within the first two years: battery capacity increases, solar needs shift, water systems fail and require replacement. Common advice says “build it right the first time.” That’s incomplete. What you actually build is a platform for iteration, not a permanent solution. Design your roof with physical access routes that let you pull and replace systems without dismantling the entire structure. Use modular mounting points rather than bolting everything directly to roof framing. Create a documented load map—literally write down what weighs how much and where—so you know exactly what capacity remains. Anticipate weight creep: solar arrays expand, additional antennas get added, storage bins accumulate. Leave 20 to 30 percent of your rated roof load unallocated as buffer. This isn’t waste; it’s insurance against the decisions you’ll make later when your needs change and you haven’t fully understood them yet.
The Deck Isn’t The Destination; It’s A Tool. Use It Or Lose It
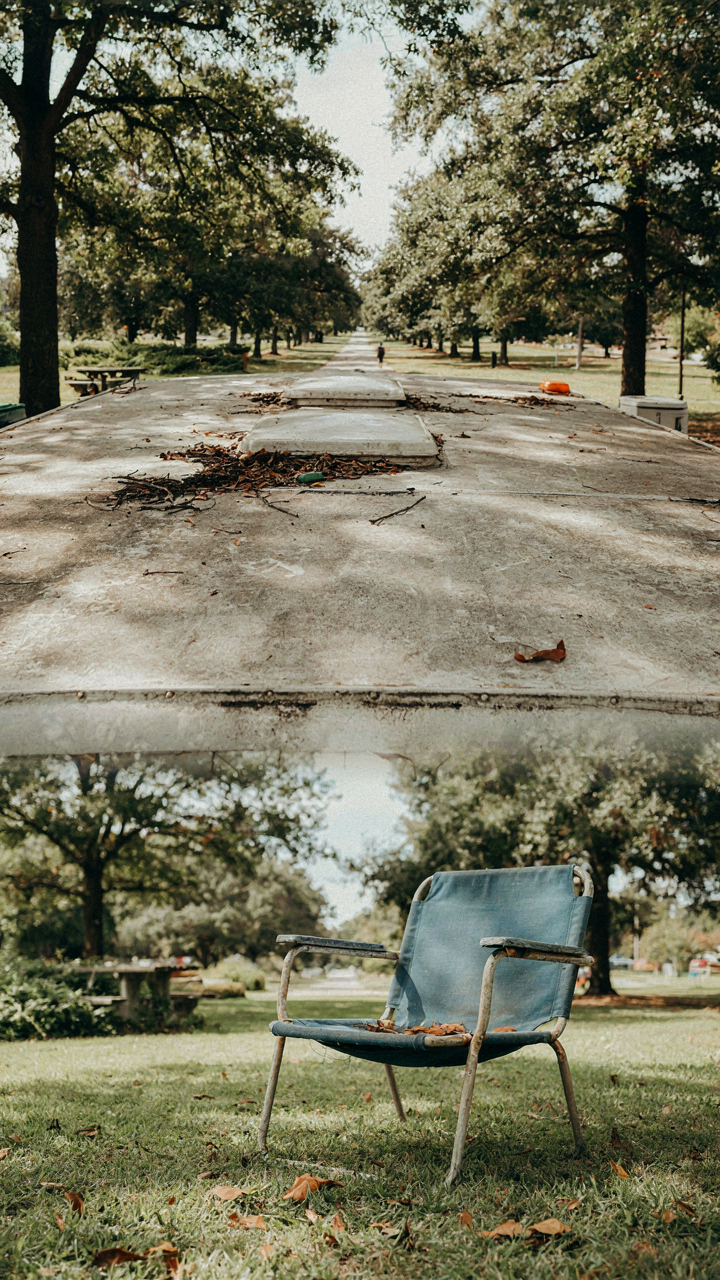
Most people build a skoolie roof deck and then never use it. They Instagram it once, move on, and it becomes a sun-baked storage zone. The real win isn’t the structure. It’s the habit you build around it. Your roof deck only matters if you actually spend time up there. Pick one day this week. Grab coffee. Sit on your deck for thirty minutes. That’s it. Everything else follows from showing up.



