

The Thermal Bridge Blind Spot: Your Skoolie’s Hidden Weakness
Where Heat Actually Escapes
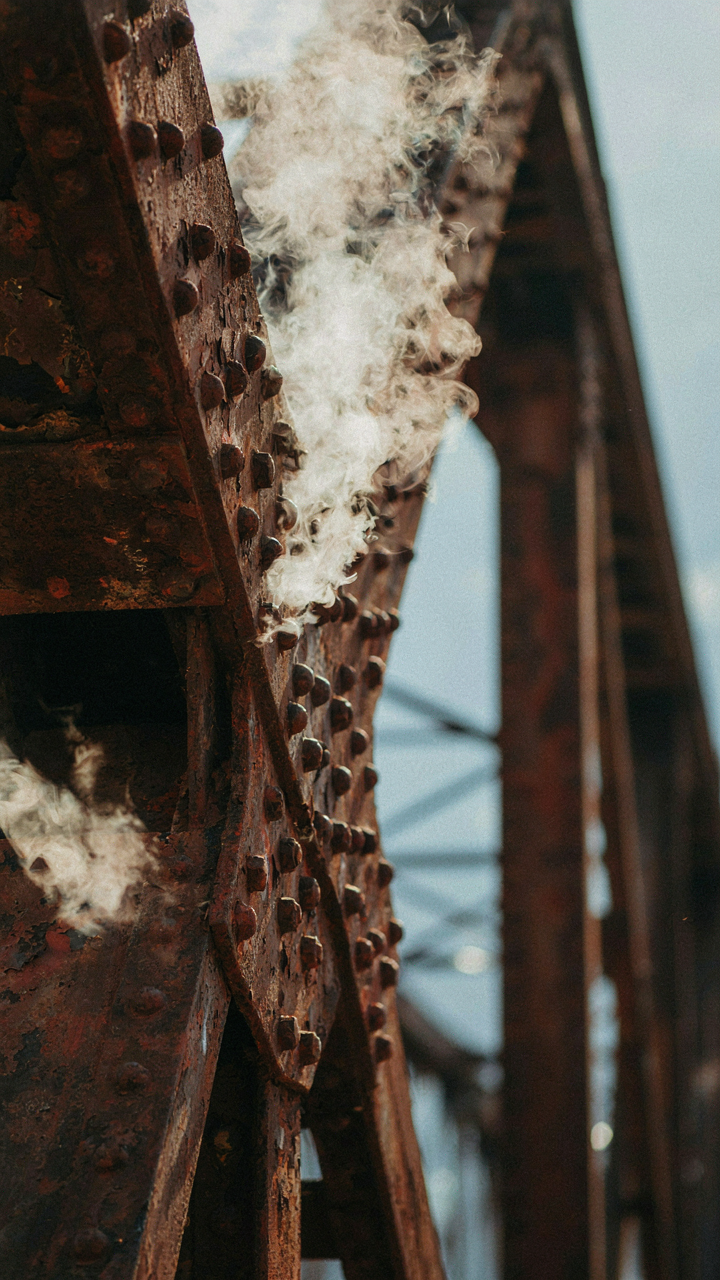
You’re fixating on insulation R-value because it feels like control, but your metal frame is bleeding heat regardless of what you stuff between the walls. Thermal bridging is the physics term for what happens when conductive material creates a direct path for heat to travel from inside to outside, bypassing your insulation entirely. A school bus frame is steel. Steel conducts heat 1,000 times faster than foam.
Your R-value math is fiction if you ignore the frame. Metal studs, roof ribs, and floor joists act as highways for temperature transfer. You can layer fiberglass to R-30, but heat finds the steel and exits. The frame doesn’t care about your insulation thickness because it’s working against you, not with you. Thermal bridging reduces effective R-value by 15 to 40 percent depending on stud spacing and material choices.
Where Most Builds Fail
The standard advice tells you to insulate and vapor barrier. It doesn’t. You need to break the thermal bridge before insulation even enters the equation. Most skoolie conversions ignore the structural metal entirely, then wonder why winter heating costs run high and summer cooling fights a losing battle. Incomplete vapor barriers compound the problem, trapping moisture against both the metal frame and insulation, which degrades performance and invites mold.
Fixing this requires a specific order: first, apply thermal break material directly to metal surfaces—spray foam or closed-cell foam creates a barrier that stops conduction. Then insulate the cavity. Then vapor barrier. This sequence matters. Reversing it or skipping the thermal break wastes money and guarantees comfort problems. Install continuous foam directly over the metal frame before any cavity insulation goes in.
Beyond R Value: The Convection Control Protocol For Skoolie Comfort

Seal All Air Gaps First

You want R-value numbers to feel safe because they’re quantifiable and you can buy them. They’re not the real problem. Convection is. Borrowing from thermodynamics, convection is the bulk movement of air carrying heat energy. In a skoolie, air leaks function as convection highways. Heat doesn’t just radiate through insulation. It moves through gaps as flowing air, bypassing your fiberglass entirely and making your R-value meaningless.
The common advice says caulk and weatherstrip. That’s incomplete. You need to identify where air actually moves. Feel for drafts along window frames, door seals, roof penetrations, and floor transitions. Use a smoke pen to see airflow you can’t feel. Seal these first with polyurethane caulk or foam, then add insulation. Sealing happens before insulation because stopping the air current matters more than slowing heat transfer through a material.
Manage Airflow With Intentional Ventilation
Moisture kills insulation faster than heat does. Wet fiberglass loses R-value and grows mold. Most skoolie builders install roof vents or vent fans and assume that solves the problem. It doesn’t. Random ventilation creates pressure imbalances that pull moisture into cavities instead of removing it. You need intentional airflow paths, not just exhaust outlets.
Create a moisture removal protocol. Intake vents should pull dry outside air in low, exhaust vents should push humid air out high. This establishes a pressure gradient that moves moisture out consistently. In winter, slightly crack a roof vent or window daily while cooking or showering to prevent moisture buildup in insulation cavities. Ventilation that follows a simple path removes moisture. Ventilation that fights itself traps it.
The Material Deception: Why Spray Foam Isn’t Always Your Savior
Why Spray Foam Fails Where It Matters

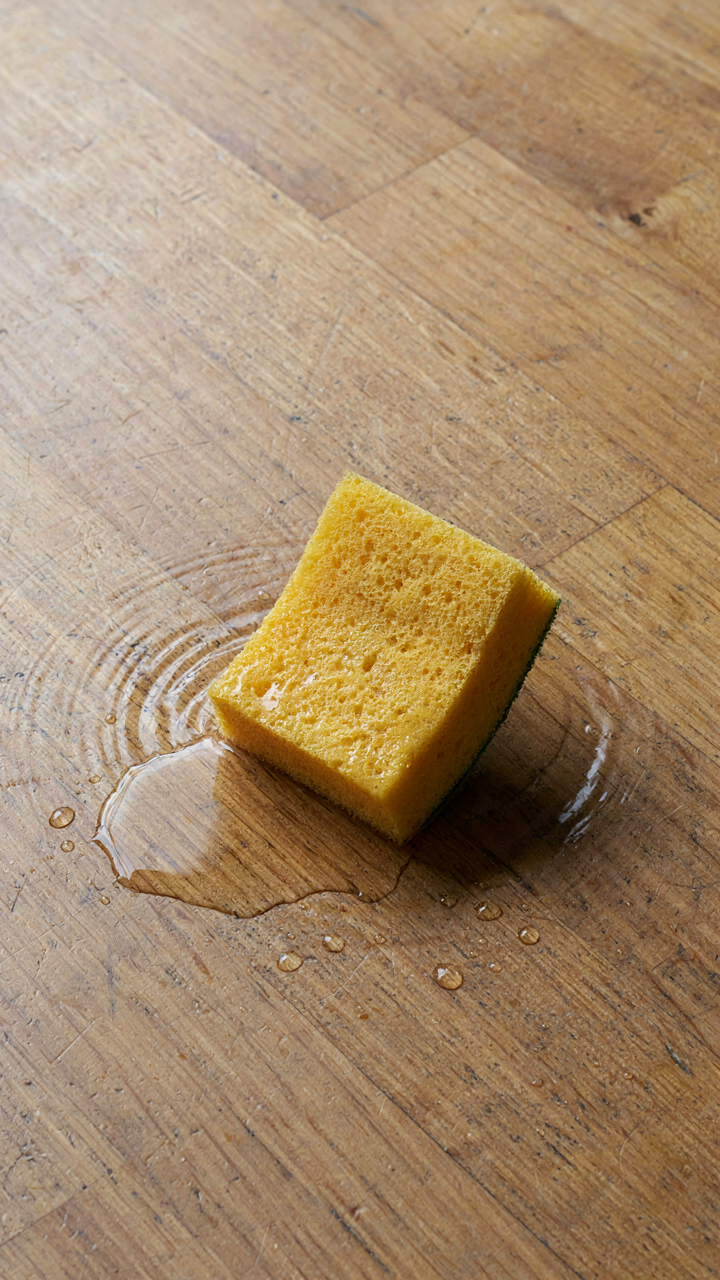
You want spray foam because everyone with a YouTube channel has it, and it feels like the premium move. The real mechanism: spray foam is a moisture trap disguised as a solution. Open-cell foam absorbs water like a sponge. Closed-cell foam costs three times more and still off-gases volatile organic compounds for months, making your bus uninhabitable during the install window. The cult around spray foam exists because it’s fast and looks professional, not because it solves the skoolie problem.
Spray foam application requires precision that most DIY builders don’t execute. Temperature, humidity, and substrate prep determine whether you get a solid seal or a chemical disaster. Poor application leaves voids that compress over time, creating air gaps that destroy your R-value. Off-gassing isn’t theoretical—it’s formaldehyde and isocyanates entering your living space for half a year minimum. The cost scales brutally: closed-cell runs 2 to 3 dollars per board foot, making a full bus prohibitively expensive. You end up with a material that performs worse in humid climates and locks you into chemical exposure for half the year.
Rigid Panels And Fiber: The Overlooked Path
Rigid foam boards (polyiso, XPS) solve the spray foam trap by offering predictable performance without application risk. Polyiso delivers R-6 per inch in a controlled factory setting, then you install it in boards. No off-gassing window. No voids. No compression decay over five years. The trade-off is manual labor—you cut, fit, and seal each piece—but that control is the actual advantage. Natural fibers like sheep’s wool or cellulose handle moisture differently: they absorb and release vapor without degrading, which matters in a metal box where humidity swings 40 percent in a single day.
The mechanism from building science is vapor diffusion—how moisture moves through layers. Rigid boards with proper vapor barriers create a defined path that you can engineer. Fiber batts do the opposite: they tolerate vapor movement and dry out naturally. For a skoolie, this means rigid boards work if you manage condensation on the metal shell first. Fiber batts work if you prioritize breathability and accept slower drying. Install rigid polyiso with 1.5-inch thickness minimum, seal all seams with compatible tape, and pair it with a smart vapor barrier that adapts to seasonal humidity. Test the system before closing walls. Measure interior and exterior moisture levels weekly for a month to confirm your stack performs as designed.
The Skoolie Subfloor Stratagem: Foundation Of True Insulation
Why Your Subfloor Is Actually The Weak Link

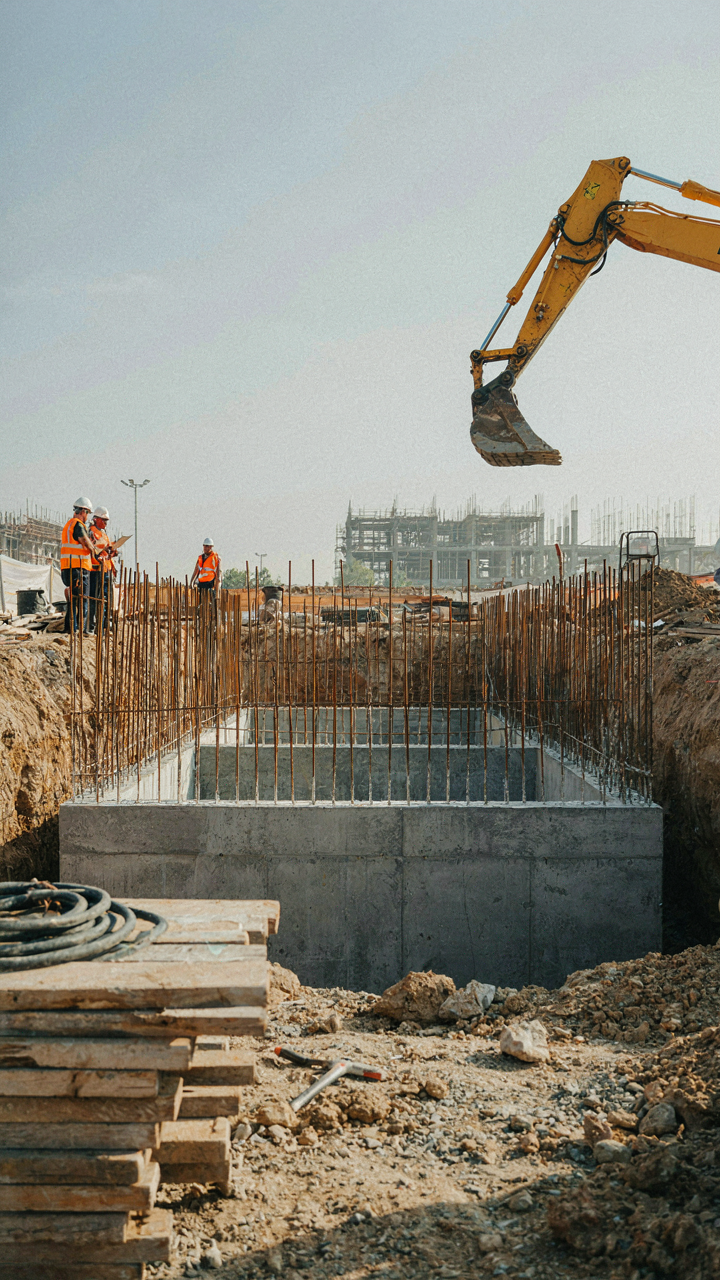
You want year-round comfort without thinking about it. Most skoolie builders ignore the subfloor because it’s hidden, unglamorous work that produces zero visible progress. Thermodynamics doesn’t care about your bias: cold air moves to warmth. Your subfloor sits directly above ground or pavement, making it the fastest thermal escape route in the entire build. Insulating walls and ceiling while leaving the subfloor bare is like sealing cracks in a bucket with holes in the bottom.
The real mechanism is this: A school bus floor sits 18 to 24 inches above the ground. Air temperature beneath that floor swings wildly with seasons and time of day. Without subfloor insulation, that thermal mass pulls heat out of your living space constantly, forcing your heating system into overdrive. Install rigid foam or spray foam under the subfloor, and you’ve just eliminated the primary thermal bridge that makes heating inefficient. This is not an optional upgrade. It’s the foundation of an actual thermal envelope.
Moisture Barriers Stop Rot Before It Starts
Moisture doesn’t need rain to destroy wood. Capillary action pulls groundwater up through concrete and soil into any porous material above it, including subfloor structure and insulation. You need a physical barrier between ground and subfloor, installed before insulation goes in. This isn’t about preventing water from pooling under your skoolie during storms. It’s about blocking the constant, invisible migration of moisture vapor that rots subfloor joists and degrades foam insulation from beneath.
Install a 6-mil polyethylene sheet or commercial-grade moisture barrier across the entire subfloor area, overlapping seams by at least six inches and taping them. Tape all edges where the barrier meets the bus frame. The barrier sits directly on the ground or on concrete, then foam insulation sits on top of it. This sequence matters: barrier first, insulation second. Moisture that condenses inside foam migrates down into the barrier, not into the insulation matrix. Without this order, you’re buying rot on an installment plan.
The Condensation Catastrophe: Managing Moisture Like A Skoolie Pro
Where The Vapor Barrier Actually Goes

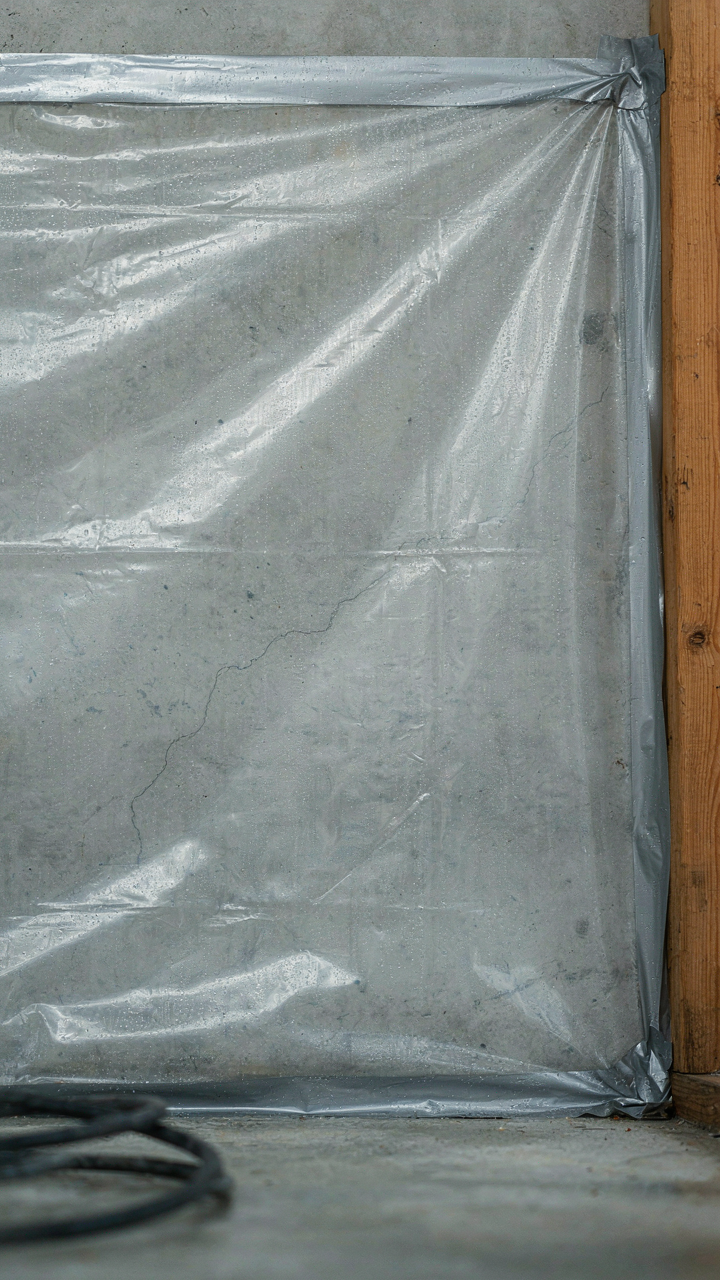
You’re worried about rot because you’ve seen photos of failed builds. Here’s what nobody tells you plainly: condensation isn’t about the insulation failing. It’s about physics. Use the vapor barrier principle from building science: a vapor retarder blocks diffusion by creating resistance to moisture movement, just like a pressure gradient in fluid mechanics. The barrier must sit on the warm side of your insulation, always. Cold air hits the barrier before reaching cold metal, stopping water vapor from condensing into liquid where it destroys everything.
Most skoolie builders install vapor barriers backward or skip them entirely. That kills the system. Your barrier stops warm, humid indoor air from pushing into the insulation cavity where it meets the uninsulated metal wall and drops below dew point. Polyethylene sheeting, kraft paper, or closed-cell spray foam all work if installed on the interior side. The goal is simple: don’t let warm moisture reach the cold surface. Measure your wall temperature with a thermal camera during cold months to verify your barrier is actually working.
Airflow That Actually Controls Humidity
Ventilation is a biological problem dressed as a mechanical one. Humans produce moisture through respiration and perspiration, about one to two liters daily in an insulated box. That moisture either exits or condenses. Most builds fail because owners think one roof vent handles everything. It doesn’t. You need continuous air exchange tied to actual humidity levels, not just opening windows when it feels damp.
Mechanical ventilation beats passive vents on reliability. A small EC fan with a humidity sensor creates negative pressure, pulling moist air out faster than it accumulates. Set the trigger at 55 to 60 percent relative humidity. In winter, this prevents that gray film on windows. In summer, it removes heat load alongside moisture. Run it continuously at low speed rather than sporadically at high speed. The cost is minimal compared to replacing plywood subfloors destroyed by mold. Install exhaust ducting that terminates through the roof, not into the underbelly where moisture just pools underneath the bus.
The Skoolie Insulation Hierarchy Of Needs: Prioritizing Your Build
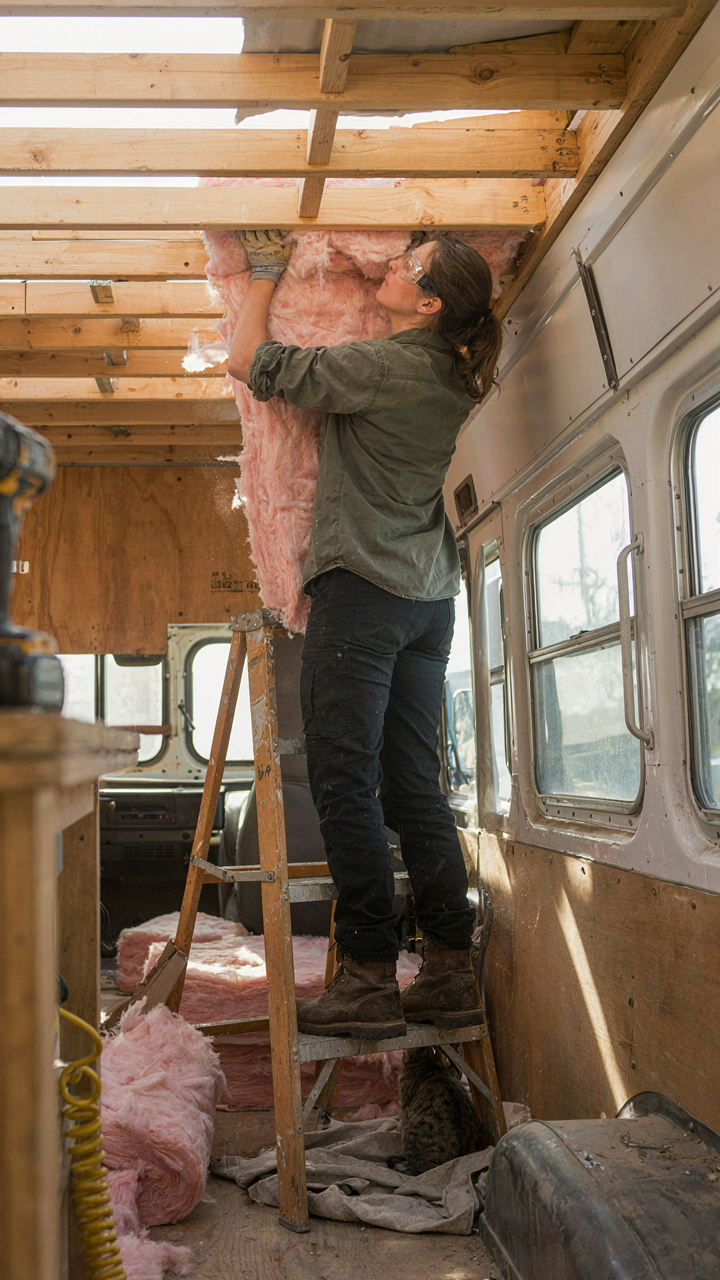
Where Heat Actually Leaves Your Bus

You want to feel like you made the right call. That’s why you’re asking where to start. Here’s the mechanism: heat moves through your skoolie in predictable paths, and the roof accounts for roughly 40 percent of total heat loss because hot air rises and the largest unobstructed surface area sits directly above you. The roof demands insulation first. Walls come second at around 30 percent loss. The floor third at 15 percent. Windows leak the remaining heat but fixing them costs more per square foot than any other surface. This isn’t theory. It’s physics applied to a metal box.
Start with the roof because you cannot retrofit it easily once you’ve mounted solar panels, vents, or roof rails. Walls allow for interior adjustments later if your first attempt fails. Floors can wait if budget tightens because you’re not standing on the roof in winter. Windows are last because single-pane to dual-pane upgrades cost exponentially more than foam board and batting. The order matters because skipping the roof to install fancy windows is like fixing a leak in the basement while the roof has a hole.
Budget Allocation Where Returns Compound
The economics here mirror the Pareto principle from business strategy: 80 percent of your comfort comes from 20 percent of your spending. Allocate 50 percent of your insulation budget to the roof. Put 30 percent into walls. Spend 15 percent on floors. Reserve 5 percent for window treatments like cellular shades. This ratio reflects where heat loss actually occurs, not where marketing wants you to look.
Materials matter less than coverage. A skoolie with complete spray foam coverage at R-15 outperforms a bus with partial fiberglass at R-21. Gaps kill efficiency faster than thin coverage. Spend your money on surface area first, then upgrade R-value if funds remain. Buy the materials that your build can actually execute without professional help or delays. A budget blown on premium foam that sits in your driveway teaches you nothing.
The Skoolie Window & Door Paradox: Where Heat Escapes Most

Window Treatments That Actually Work

You care about this section because you’re hoping there’s a cheap fix that doesn’t require ripping out your windows. Here’s the mechanism: windows are thermal weak points because glass conducts temperature across both directions faster than insulation does. Physics calls this conductivity. Your skoolie windows have the conductivity problem multiplied by surface area and air leakage around the frames.
Single-pane glass transmits heat so efficiently that thermal curtains become essential, not optional. The real play isn’t the curtain fabric itself—it’s the air gap and seal quality between the curtain and the window frame that matters.
- Thermal Curtains with Cellular Backing: These trap dead air space against the glass. The cellular structure creates multiple air chambers that slow heat transfer. Install them on tracks that seal tightly to frame edges and run floor to ceiling.
- Reflective Films (Low-E): These redirect infrared radiation outward in summer and inward in winter. Apply them to the inside surface of glass for maximum effect. They’re permanent, so commit to the direction your windows face.
- Double-Pane Retrofit Windows: If you’re upgrading, double panes reduce conductivity by roughly half compared to single pane. The air gap between panes (typically 3/8 inch to 1 inch) acts as an insulating buffer. Standard RV windows now come double-pane as default.
- Bubble Wrap or Foam Board Inserts: Temporary layers of bubble wrap or rigid foam pressed into window frames work in a pinch. They kill visibility but function as actual insulation when sealed with weatherstripping tape around all edges.
- Honeycomb Shades: Similar principle to thermal curtains but more compact. The air pockets in the honeycomb structure resist heat flow. Fit them tight to the frame to prevent warm air from circulating around them.
Most people waste money on expensive “thermal” curtains and install them loose. The gap around the edges defeats the entire purpose. Windows remain your biggest heat leak because you can’t add mass or fiberglass thickness like you can to walls. Seal the perimeter first, then layer your treatment.
Door Seals Stop The Constant Bleed
Doors operate on the same principle as windows but worse—they move. Every seal you have deteriorates with vibration from driving. That’s the real cost of a door on a moving vehicle.
Weatherstripping comes in rubber, foam, and silicone varieties. Rubber lasts longest. Install it in a continuous loop around the entire perimeter of the door frame, not just the edges. Check the seal monthly because movement breaks adhesive bonds faster than static installations. Use adhesive-backed weatherstripping rated for vehicles, and press it hard during installation so adhesive makes full contact. Silicone weatherstripping resists temperature swings better than foam if your skoolie travels between climate zones. Replace weatherstripping annually or when you notice air leaks around door edges during temperature testing.

Skoolie Systems Synergy: Insulation As Part Of The Whole

Your HVAC System Doesn’t Work Alone
You want to believe better insulation means you can run cheaper heating and cooling. That’s partly true, but incomplete. HVAC systems are load calculators, not magic boxes. They size themselves to the thermal demands you create. Poor insulation forces your furnace or AC to work harder and cycle more. Good insulation doesn’t just reduce runtime—it fundamentally changes how your system performs and what wattage it actually needs to maintain comfort during temperature swings.
The real mechanism is this: every R-value improvement lowers the steady-state heat loss or gain through your envelope. Your HVAC system responds by cycling less frequently and reaching setpoint faster. This matters because short cycling creates dead zones and temperature inconsistency. A well-insulated box with integrated ventilation strategy means your heating source stays on longer at lower output. That’s efficiency. That’s comfort. Winter heating runs steadier. Summer cooling doesn’t fight a leaky shell constantly. The integration point is forced air distribution placement and ductwork routing—both depend on understanding your insulation’s actual performance profile.
Efficient Insulation Cuts Your Battery Demand In Half
Insulation isn’t decorative. It’s a direct input to your power budget calculation. Systems thinking borrows from electrical engineering the concept of load reduction as the primary efficiency multiplier. In skoolies, thermal resistance is your first load reducer. Before adding solar panels or upgrading your battery bank, you reduce the demand insulation creates. A 100-watt heater running 12 hours daily against poor insulation costs you 1.2 kWh. Upgrade to R-30 walls and that same comfort level might pull 300 watts for half the duration—0.36 kWh. The math compounds across seasons.
Your battery system never chooses its own size. You choose it based on daily energy consumption, and consumption is determined by how much heat you lose or gain. Efficient insulation narrows that gap. This means smaller battery capacity, cheaper upfront cost, less weight, and less parasitic draw from controllers and inverters. The protocol is straightforward: calculate your baseline heating or cooling load with your current insulation. Then model the same scenario with upgraded R-values. The delta is the wattage you eliminate from your power demand. That number defines your actual battery requirement, not speculation.

The Insulation Trap: Why Your Skoolie Still Sucks In Extreme Temps
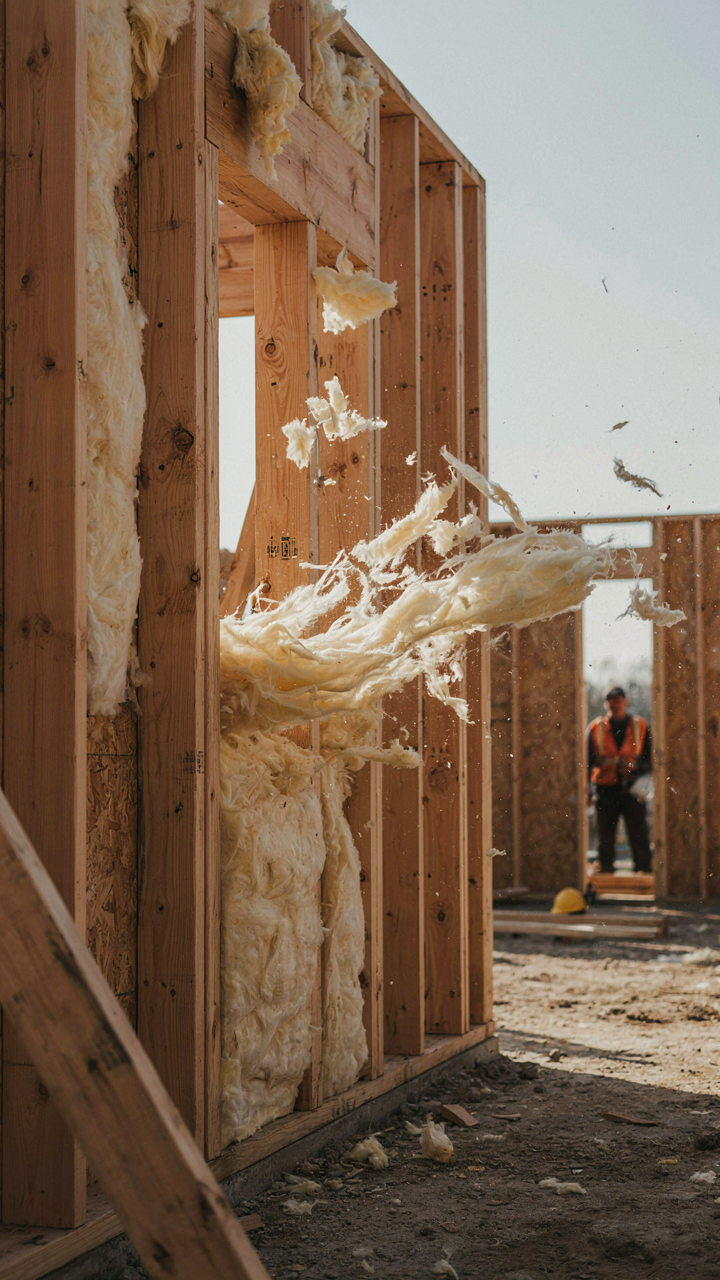
Most people treat skoolie insulation like a checkbox. They stuff batts in the walls and call it done. But insulation fails when air moves through it. You need an air barrier first, then insulation, then a vapor strategy that matches your climate. Stop chasing R-value. Start sealing every gap. Grab your thermal camera today and hunt leaks around your windows, door frames, and roof penetrations. Your comfort lives in the details you ignore, not the materials you overspend on.



