
The Thermal Barrier Fallacy: Why Your DIY RV Skirting Ideas Are Failing
What You Think Skirting Does
You want to believe skirting is a magic thermal blanket. It’s not. You’re drawn to this section because you’re afraid the cold will wreck your RV’s plumbing and your comfort, and you want a quick fix that proves you’re prepared. The truth is uglier: most DIY skirting designs fail because people treat them as insulation when they’re actually wind breaks. Skirting doesn’t trap heat. It stops convective air movement from stealing the heat your RV already generates.
An RV loses warmth three ways, and your skirting strategy depends on understanding which one matters most. The undercarriage of a parked RV gets hammered by wind-driven cold air in winter. That moving air accelerates heat loss dramatically. Your furnace runs harder. Tanks freeze. Pipes burst. People assume thicker material solves this. It doesn’t, because they’re solving the wrong problem.
Heat Movement Physics Rewrite Your Strategy
Physics names three heat transfer mechanisms: conduction moves heat through solid material, radiation beams it across empty space, and convection carries it away on moving air. Your RV skirting strategy must target convection first because wind amplifies it exponentially. A ten-mile-per-hour wind chill can cut your heating efficiency in half compared to still conditions. This is the mechanism nobody names plainly when they sell you foam board and call it insulation.
Skirting works as a convection break, not an insulator. You’re creating a dead-air pocket under the RV that blocks wind from cycling through the undercarriage. The material itself has minimal R-value. Foam board has an R-value of four to six per inch. Your RV walls have double that because they’re designed with air cavities. Stop thinking skirting adds insulation. Start thinking it stops moving air from reaching cold surfaces. Measure success by whether the undercarriage stays warmer than ambient, not whether skirting has magical thermal properties.
Beyond The Skirt: Identifying The True Cold Bridges In RV Underpinning Ideas
Where The Heat Actually Escapes

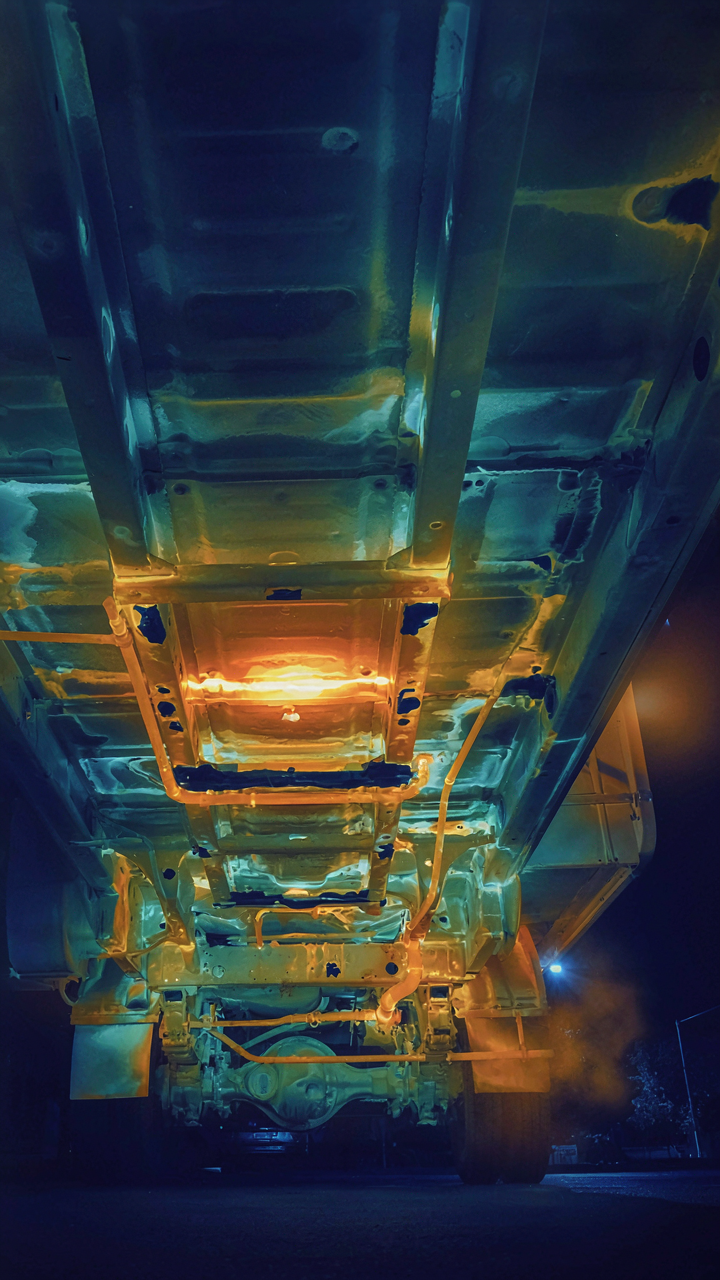
You’re worried the skirting itself isn’t enough to stop the cold, which means you’re already thinking like someone trying to solve the wrong problem. The skirting is theater. The real mechanism is thermal bridging, borrowed from building physics: any material with high conductivity creates a shortcut for heat energy to transfer directly through it, bypassing your insulation entirely. Your RV’s frame, plumbing lines, and electrical conduits are the true cold bridges. They sit between heated interior and exterior air, conducting temperature straight through like copper wire conducts electricity.
Most people install skirting and assume the job is done. It’s not. Skirting blocks wind and radiant cooling, which matters, but it doesn’t interrupt the conduction pathways built into your RV’s structure. The frame of your rig is steel or aluminum. Both conduct heat aggressively. Gaps between skirting panels and the RV chassis create direct air pathways that skirting alone won’t seal. You need to map where these bridges exist before you choose materials, or you’ll spend money on insulation that addresses symptoms instead of causes.
Where Materials Actually Perform
Insulation value is rated by R-value, but R-value alone tells you nothing about thermal bridging performance in the context of RV underpinning. A material’s R-value assumes zero air infiltration and perfect installation. Your RV underbody doesn’t offer either. Rigid foam boards like XPS or polyiso have R-values between 5 and 6 per inch, but they fail when gaps exist around them. Fiberglass batts rate around 3.2 per inch but absorb moisture and lose effectiveness when wet. Spray foam locks air leakage but costs more and requires professional application to avoid off-gassing issues in enclosed RV spaces.
The material that performs best depends on your specific cold bridges, not on R-value rankings. Closed-cell spray foam blocks both conduction and infiltration simultaneously, making it superior for sealing gaps around frame members and plumbing. Rigid foam works if you install it perfectly flush against every surface and seal every joint with foam board tape. The real test: if air can move through or around it, the material’s rated R-value becomes theoretical. Measure your gaps first, then choose the material that eliminates them completely.
The “Heat Sink” Protocol: Optimizing Your RV Winter Skirting

Solar Orientation Drives Interior Temperature

You want your RV to heat itself without burning propane. That’s the real equation here. Thermodynamics gives us the mechanism: a heat sink absorbs and stores thermal energy, then releases it slowly. Your skirting system becomes a heat sink when you position it to capture passive solar gain on south-facing walls and prevent that warmth from escaping underneath.
The common advice says “just insulate everything equally.” Wrong. South-facing walls receive 60 to 80 percent more solar radiation than north-facing ones in winter. Your skirting must create an asymmetrical thermal envelope. Open vents on the south side during clear days to let warm air pool under the RV, then close them at night. Solid, reflective materials on the south face absorb and radiate heat inward. Dark skirting panels facing the sun outperform light ones by measurable margin because they absorb rather than reflect solar radiation.
Vent Control Prevents Condensation Damage
Venting is not optional. It’s the difference between preserving your RV frame and watching it rot. A sealed skirt traps moisture under the RV where it condenses on cold metal surfaces, corroding tanks, plumbing, and substructure. You need active moisture management, not passive hope.
Install adjustable vents on opposing sides of your skirting to create cross-flow. South-facing vents stay open during sunny winter days to pull warm air under the RV and dry any accumulated moisture. North-facing vents open wider at dusk to release that warm air before temperatures drop and condensation forms. Close all vents during nighttime freeze to retain heat. This cycle repeats daily, preventing the moisture buildup that ruins RVs left in place for weeks without active management.
Cheap RV Skirting: Debunking The Expensive Solution Myth
Materials With Real Insulation Value

You want cheap because you’re afraid expensive means you’ve been doing it wrong. The mechanism is simple: R-value per dollar, not R-value alone. Most RV owners overspend on branded rigid foam when commodity materials deliver identical thermal resistance at half the cost.
- Fiberglass batts (R-3.2 per inch): Standard wall insulation, cheap by volume, fits between frame members. Buy in bulk from lumber yards, not RV suppliers. Requires vapor barrier and frame attachment.
- Mineral wool batts (R-3.6 per inch): Slightly better R-value than fiberglass, fire resistant, handles moisture better. Cost difference minimal. Works in same framing configuration as fiberglass.
- Rigid foam scraps (R-5 to R-7 per inch): Construction waste from new builds. Contact local contractors, demolition sites. Free or salvage pricing beats retail by 70 percent. Check for asbestos on old stock.
- XPS foam boards (R-5 per inch): Extruded polystyrene, uniform density, easier to cut than EPS. Mid-range pricing. Moisture resistant without additional barriers. Standard sizes reduce waste.
- Radiant barriers with air gap: Reflective film, acts as thermal break when gap exists between barrier and RV exterior. Ninety-dollar material for full undercarriage. Works best layered with other insulation.
The math is concrete: a fiberglass batt costs four dollars per R-10 section. Rigid foam starts at twelve dollars. Batts require more labor to seal gaps, but material cost difference justifies the work. Install batts between floor joists first, then cover with plastic sheeting and seal seams with construction tape. This two-layer approach beats single rigid foam boards on both cost and thermal performance.
Finding The Trade Off Point
Durability and budget aren’t enemies, they’re inverse. The common advice says buy the best material once. That’s wrong for skirting because replacement is cheap labor, not material cost. The real trade is between replacement cycles and upfront spending.
Fiberglass batts fail in five to seven years from UV exposure and moisture accumulation if not protected by exterior cladding. Rigid foam lasts fifteen years under the same conditions. But here’s the mechanism: fiberglass replacement takes two hours and costs eighty dollars in materials. Rigid foam replacement takes four hours and costs three hundred dollars. Over twenty years, running two replacement cycles of fiberglass costs less total money than one rigid foam replacement cycle, even with labor. Your decision depends on whether you want to service the RV yourself or avoid maintenance entirely. If you service it, batts win. If you don’t, rigid foam wins despite higher cost. Pick based on your actual behavior, not aspirational thinking.
The Adaptable Defense Strategy For Camper Skirting Diy
Layered Protection Against Heat Loss

You want skirting that actually stops the bleeding of warmth without requiring you to rebuild it every season. Military strategy uses layered defense because no single barrier stops everything—air movement, radiant loss, and conductive transfer each need different answers. RV skirting works the same way. The mechanism is simple: you need material that blocks wind, then material that traps dead air, then material that reflects heat back. Stack them wrong and you waste money. Stack them right and your underbelly stays fifteen to twenty degrees warmer than the ambient temperature.
The most common mistake is treating skirting as a single solution. People install one material and wonder why their pipes still freeze. What actually works is a two or three-layer system where each layer handles one job. The outer layer—vinyl, plywood, or foam board—stops wind penetration. The middle layer creates an air gap that acts as insulation. The inner layer reflects radiant heat or adds thermal mass. Build this way and your heat loss drops measurably. The order matters more than the individual material choice.
Quick Deploy And Retract Without Breaking Components
Permanent skirting traps moisture underneath and locks you into one campground setup. The real advantage of diy skirting is the ability to remove it or adjust it based on conditions and duration. Think of deployment mechanics like a military tactic—you position defenses where threats appear, not everywhere at once. For short trips in moderate weather, you might use only the bottom third. For extended cold-season stays, you build the full system. This flexibility saves materials and storage space.
The deployment system that actually works uses snap-together vinyl trim or threaded fasteners at fixed anchor points rather than adhesives. Adhesive bonds fail when temperature cycles expand and contract the skirting material. You can install full perimeter skirting in two to three hours using pre-cut panels and a drill. Retraction takes the same time. Mark your anchor points with paint or metal stakes before the season so reinstallation is identical. This protocol prevents damage to both skirting and RV frame from misaligned force during removal.
The Real Cost Of Neglect: Why Proper Rv Skirting Matters
Frozen Pipes And The Price Of Inaction

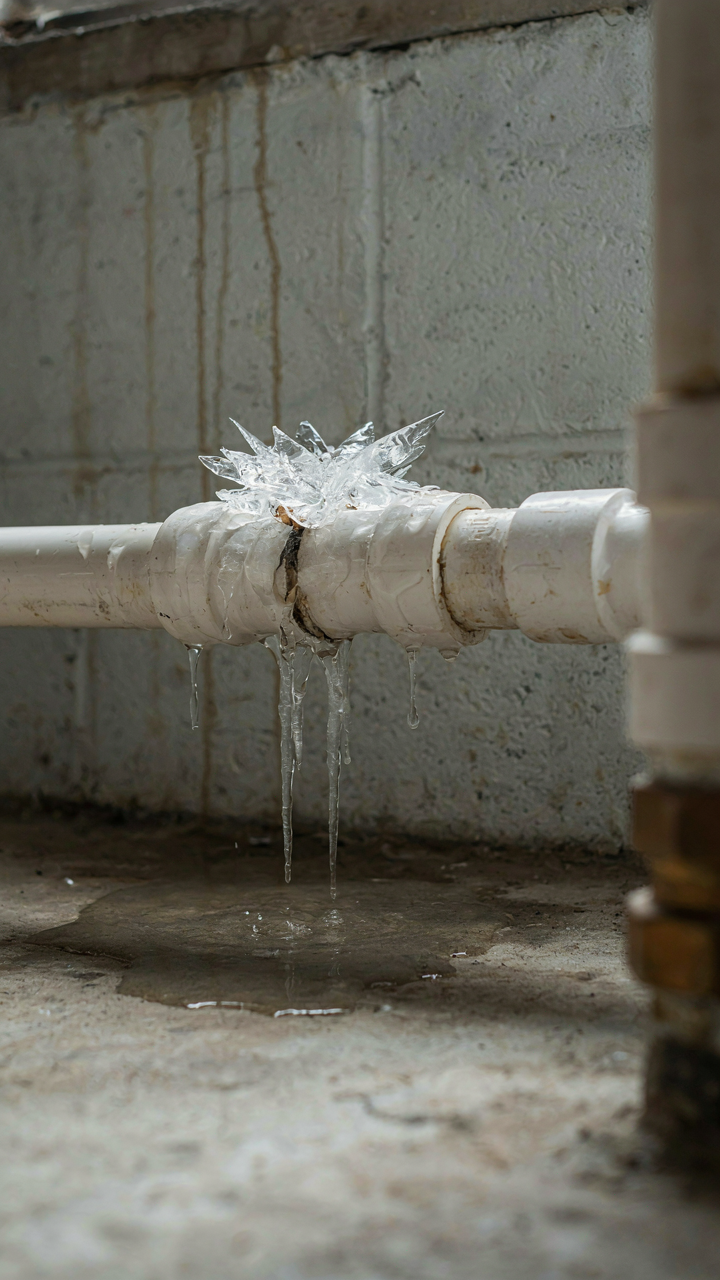
You skip skirting because you think one winter won’t matter. Here’s the mechanism: water freezes at 32 degrees Fahrenheit. Your RV’s fresh water lines and waste tanks sit exposed underneath. Once they freeze, the ice expands and cracks pipes from the inside. Thawing takes days. Replacement costs $800 to $2,500 depending on damage location and whether you need to replace valves, fittings, or entire line runs.
Proper skirting maintains temperatures 15 to 20 degrees warmer beneath your RV by trapping heat loss from the rig itself and blocking wind. You don’t need perfect insulation, just a barrier. Foam board, vinyl skirting, or even corrugated plastic stops the convective cooling that destroys pipes. The repair bill arrives in spring when contractors charge peak rates. Prevention costs $300 to $800 upfront. The math is not close.
Resale Value And Long Term Durability
The market rewards RVs with intact undercarriage systems. Frozen pipe damage doesn’t always show until a buyer inspects. Hidden water damage, corroded fittings, and compromised structural integrity from ice damage reduce value by 10 to 20 percent on comparable rigs. Buyers know to ask. Skirted RVs during cold stays signal owner competence and maintenance discipline.
Without skirting, your RV’s undercarriage degrades faster. Repeated freeze-thaw cycles crack seals. Metal components corrode from salt spray if you’re near coasts or roads treated with winter compounds. Rubber lines become brittle. After five years of unprotected winters, your rig feels like an old asset, not a preserved vehicle. Skirting during cold season use extends the functional life of tanks, lines, and connections by preventing the cascade of failures that starts with one frozen pipe.
Beyond Aesthetics: Functional Diy Rv Skirting Ideas
Access Points That Don’t Compromise Insulation

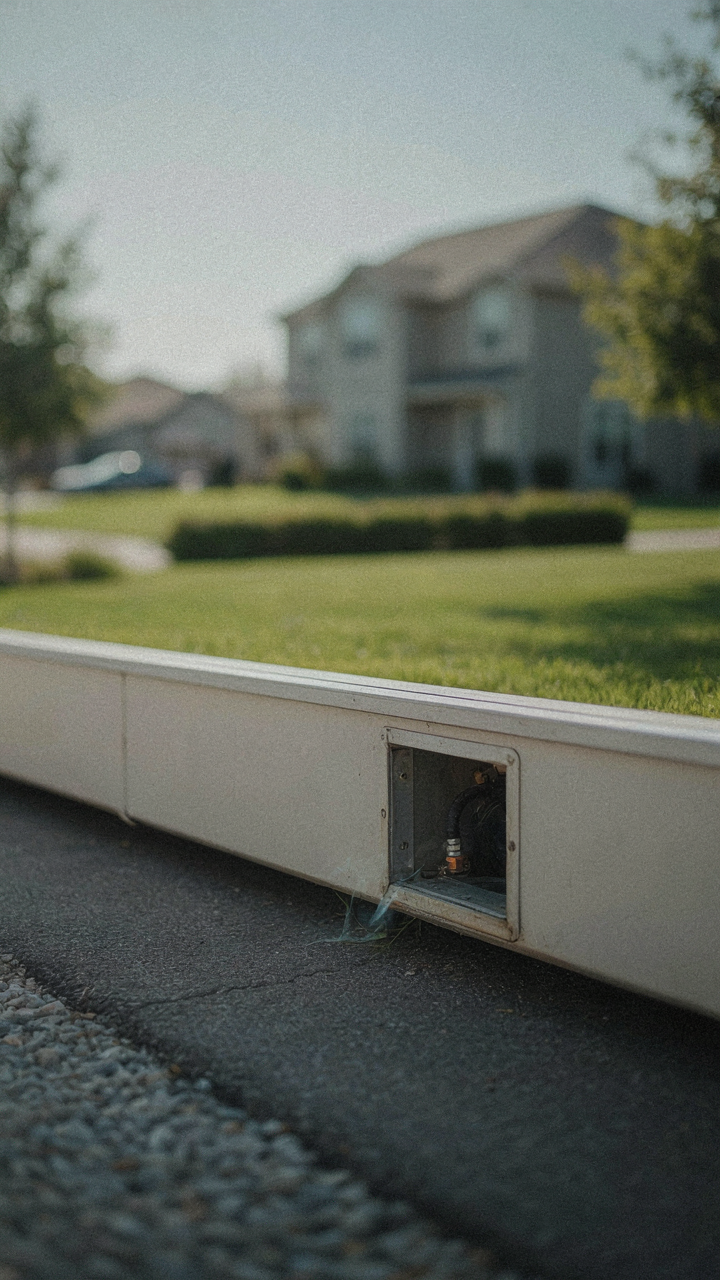
You want your skirt to look finished, but what you really fear is being locked out of your own systems mid-winter. The mechanism is simple: every access point you cut into skirting becomes a thermal weak point and a moisture trap if you don’t engineer it first. Most RV owners treat access as an afterthought—they build the skirt, then hack holes when they need to service something. That’s backwards.
Plan your access points before you build. Mark where your water connections, electrical pedestals, propane tanks, and dump valves sit underneath. Use hinged or removable panels sized to each location rather than one large access door. Hinged panels maintain structural integrity while letting you reach what you need. Secure them with latches that seal tight when closed, not loose fasteners that create gaps.
Breathability Prevents The Rot Cycle
Moisture control isn’t about stopping all water—it’s about managing vapor pressure differentials, a concept borrowed from building science. Your RV’s undercarriage sweats. Ground moisture rises. Without ventilation channels built into your skirting design, you trap that moisture against wood, metal, and fabric, and rot or rust accelerates on a timeline you won’t see until it’s too late.
Install vents at the lowest and highest points of your skirting perimeter. Use one-way flapper vents that let humid air escape but prevent outside air from forcing moisture back in during rain. Space them roughly every six feet around the perimeter. Pair this with a vapor barrier on the ground side—heavy plastic sheeting stapled under your RV frame, not attached to the skirting itself. The gap between barrier and skirting lets air move freely. Seal all seams where skirting panels connect with exterior caulk rated for temperature cycling, then inspect every spring before you close up for warm months.
The Ultimate DIY RV Skirting Blueprint: A Step By Step Guide
What You Actually Need To Buy

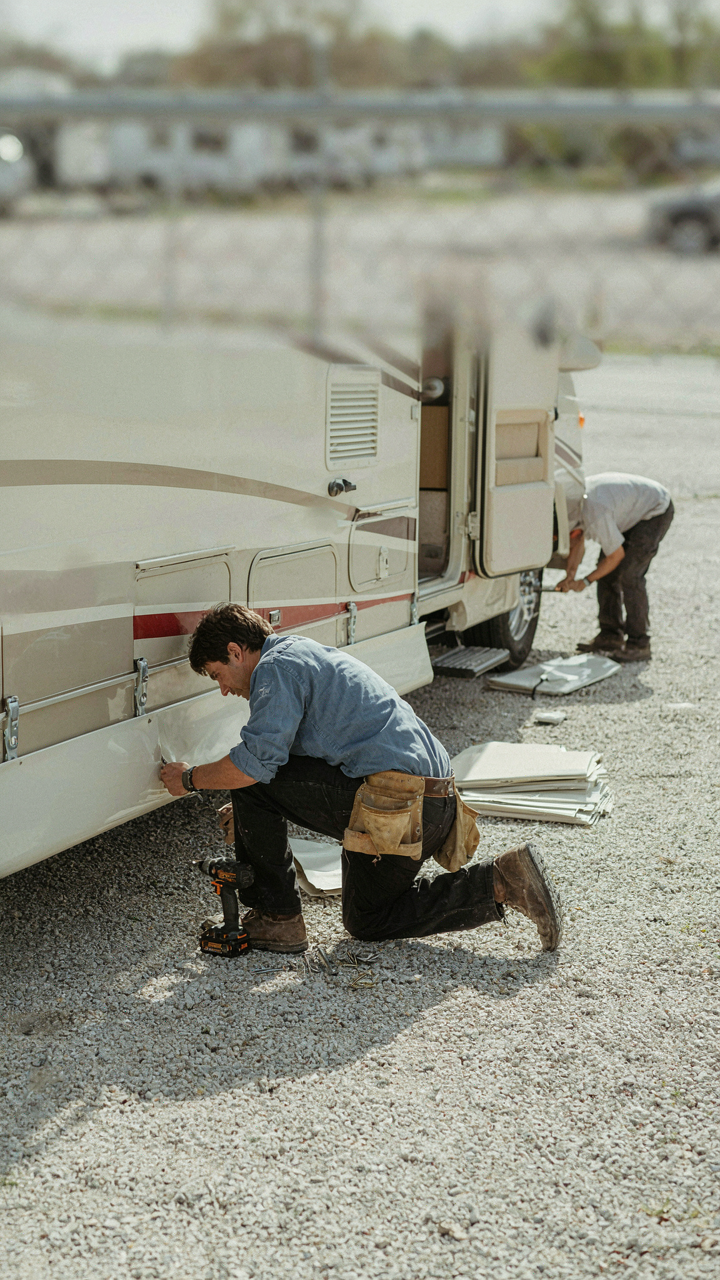
You want this done right so you don’t look like you’re roughing it. Here’s the mechanism: skirting fails when you skimp on fasteners or choose material that can’t handle thermal cycling. The RV expands and contracts with temperature swings. Your materials must move with it or they crack, pull away, and leak.
- Rigid foam board or rigid fiberglass panels: Insulates and resists rot. Buy R-value appropriate for your climate zone. Thickness matters—typically 1 to 2 inches handles cold stays without excessive weight.
- Aluminum trim or J-channel: Protects foam edges from damage and UV degradation. Aluminum won’t rust and won’t expand unpredictably like plastic trim does in temperature swings.
- Galvanized or stainless steel fasteners: Never use standard steel. Rust migration bleeds into foam and compromises the entire install. Buy fasteners rated for exterior use.
- Adhesive-backed weatherstripping or foam tape: Seals gaps between RV frame and skirting material. This stops ground-level wind from undercutting your barrier and defeating the thermal purpose.
- Pneumatic nailer or power drill: Hand fastening takes forever and produces uneven pressure. A nailer drives fasteners consistently without splitting foam or over-compressing it into weak spots.
- Measuring tape, utility knife, and square: Precision cuts prevent gaps. Gaps leak cold air and thermal transfer. Every inch matters in a confined RV underbelly.
Buy materials in spring or late fall when retailers stock them. Winter demand drives prices up and depletes inventory of specific R-values you need for your region. Order 10 percent extra fasteners—they vanish mid-project.
Measure Once, Cut Twice
Start with the RV level and all slide-outs retracted. Measure the perimeter at the lowest structural point—usually the frame rails. Record measurements in three sections: each side plus the front and back. Use a laser level to catch height variations along long sections. Most RVs sit uneven on ground.
Cut panels on the ground before installation. A dull blade tears foam and creates weak compression lines that collapse under pressure or vibration during towing. Mark cut lines with chalk, not pen. Pen marks bleed through adhesive and show later. Secure the panel to sawhorses. Cut from the bottom side so blade exit points don’t create frayed edges on the visible surface. Thermal cycling stresses these edges first.
Install skirting from one corner working outward. Fasten the first panel with three fasteners top to bottom to hold it square while you secure the adhesive tape. Once tape sets, add fasteners every 12 inches along the panel. Never rely on adhesive alone—it fails when UV exposure ages it over seasons. Fasteners provide redundancy. Check for gaps between panels and foam trim overlap. Gaps wider than a quarter-inch let wind tunnel underneath and negate insulation value.

Your Real Problem Isn’t Cold Weather; It’s Believing The Solution Is Complex

Most RV owners overthink skirting. They wait for the perfect material, the ideal setup, the Pinterest-worthy result. Meanwhile, their underbelly freezes. DIY RV skirting works because it’s simple. Grab foam board, some zip ties, and spend a Saturday wrapping your rig. Done. Stop waiting for permission to do it wrong, because imperfect insulation beats perfect hesitation every single time.



