
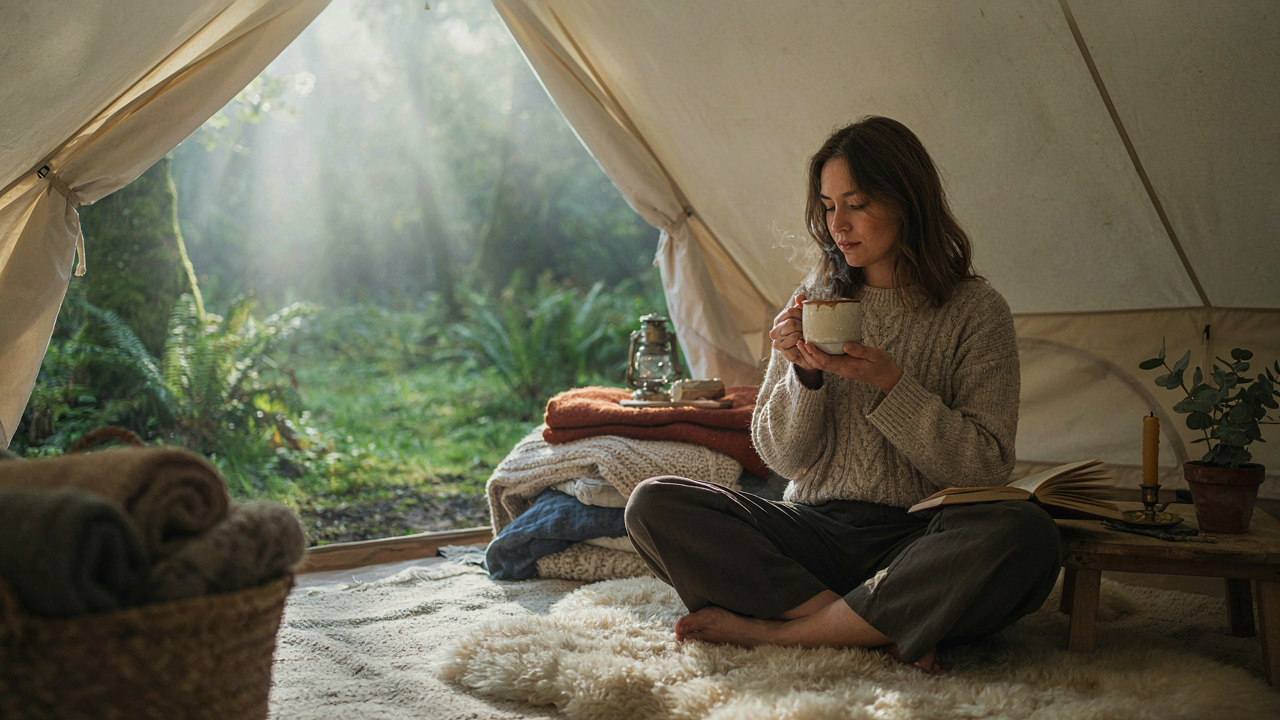
The “Glamping DIY” Delusion: Why Your Instagram Inspiration Is A Lie
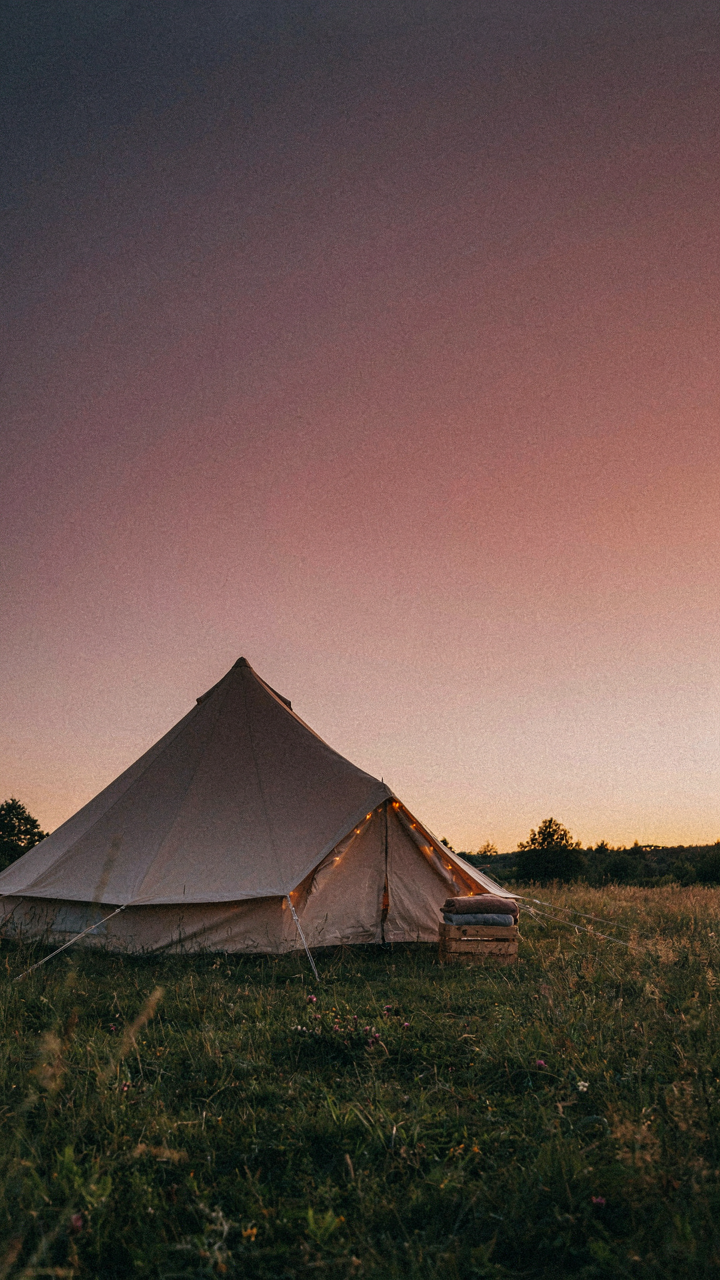
What You’re Really Seeing On Instagram
You want proof that your setup idea works because you don’t want to waste money on something that looks cheap. Here’s the mechanism: influencers show you the frame, not the cost. A single styled shot of a canvas bell tent costs them nothing to post but costs you thousands to replicate because you’re seeing the finished product without the infrastructure, trial, or failure behind it. The photo removes context. It removes budget. It removes time.
Instagram glamping posts operate like architectural renderings, not construction docs. They show you the angle where soft morning light hits canvas, where the hand-woven rug sits perfectly centered, where no muddy footprints mark the entrance. What they don’t show you: the three angles that looked terrible, the $800 in decor they moved between properties for the shot, the backup generator humming fifteen feet away. You see the output. You don’t see the input.
The Real Price Tag Behind Budget Glamping
The common advice says buy cheap, start small, scale up. That’s incomplete. The hidden cost structure in DIY glamping isn’t linear like buying supplies. It’s exponential like tool ownership. You’ll buy a canvas tent at a fair price. Then you need flooring so it doesn’t sink in mud. Then ventilation because condensation ruins everything. Then heating because canvas conducts cold. Then lighting because a headlamp at dinner feels cheap. Each addition isn’t optional. Each solves a real problem the photo didn’t show you.
Most people calculate glamping costs by looking at the tent price plus bedding plus tables. They don’t calculate the foundation work, the waste from wrong material choices, the tools you’ll buy once and use twice, or the labor hours they’re not tracking as a cost. A $2,000 budget tent becomes a $7,000 installation when you factor in what it actually takes to be usable. You find this out after spending, not before. The protocol: price every component separately, add fifty percent, then compare that to renting.
Beyond The Bell Tent: Glamping Tent Ideas That Actually Work
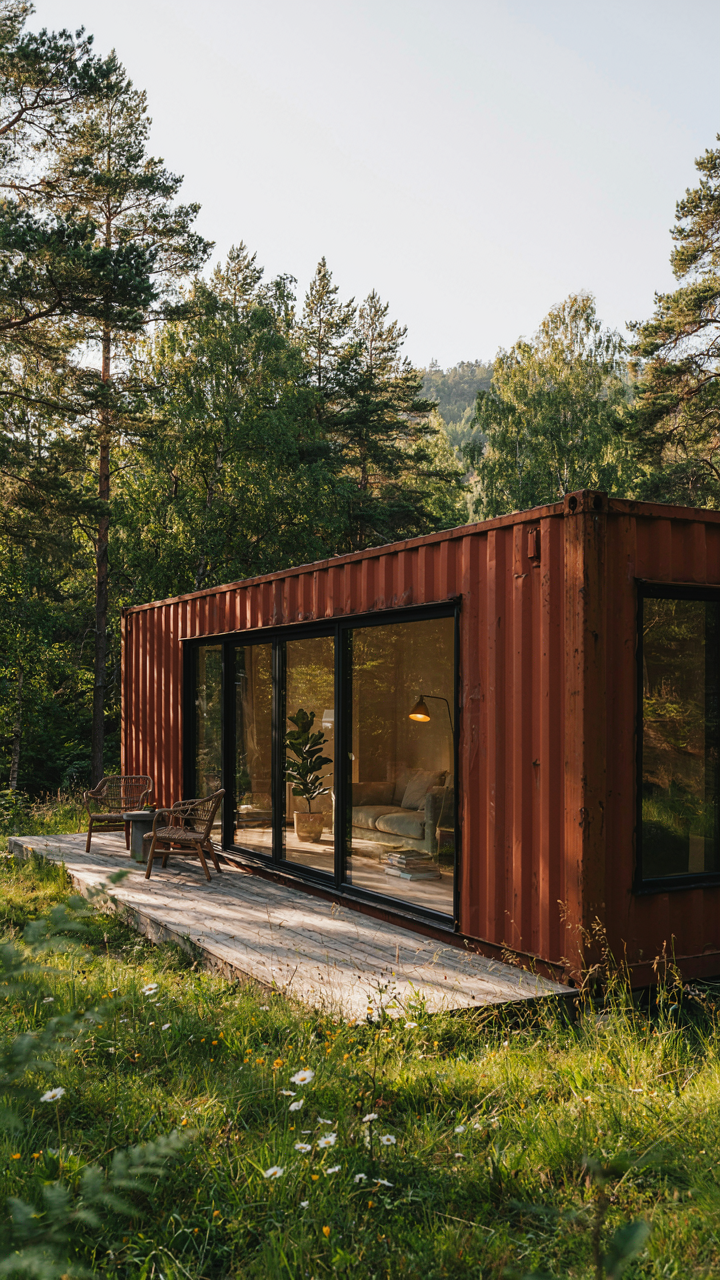
Repurposed Structures Beat New Construction
You want the setup that looks intentional without the setup cost. Here’s what actually matters: borrowing from architecture’s concept of adaptive reuse, your structure doesn’t need to be built for glamping—it needs to be retrofitted into it. The difference is material. A new tent costs money upfront. A repurposed structure costs less money and gains character because it has history baked in.
Old barns, garden sheds, and unused outbuildings already have foundations, framing, and weatherproofing partially solved. You’re not starting from zero. Canvas walls, windows, and interior finishes go on existing bones. This cuts your material budget by 40 to 60 percent compared to building a glamping structure from scratch. Structural integrity matters first—inspect the roof, floor, and walls for rot or damage before committing.
Build For The Season After Next
Most DIY glamping fails because people optimize for Instagram, not winter. You’ll winterize a structure once, then skip it the next year because the work is boring. That’s where projects rot.
Design your glamping setup to survive seasonal neglect without failing. This means proper drainage around the foundation, vents that prevent condensation buildup, and materials that don’t degrade when wet. Use pressure-treated wood for any structural repairs. Install gutters that actually shed water away from walls. Seal gaps where animals can nest. Treat these as non-negotiable systems, not finishing touches, and inspect them every six months instead of waiting until something breaks.
The “Backyard Glamping Setup Inspiration” Trap: Embracing Scarcity
Minimalist Camping Approach Wins
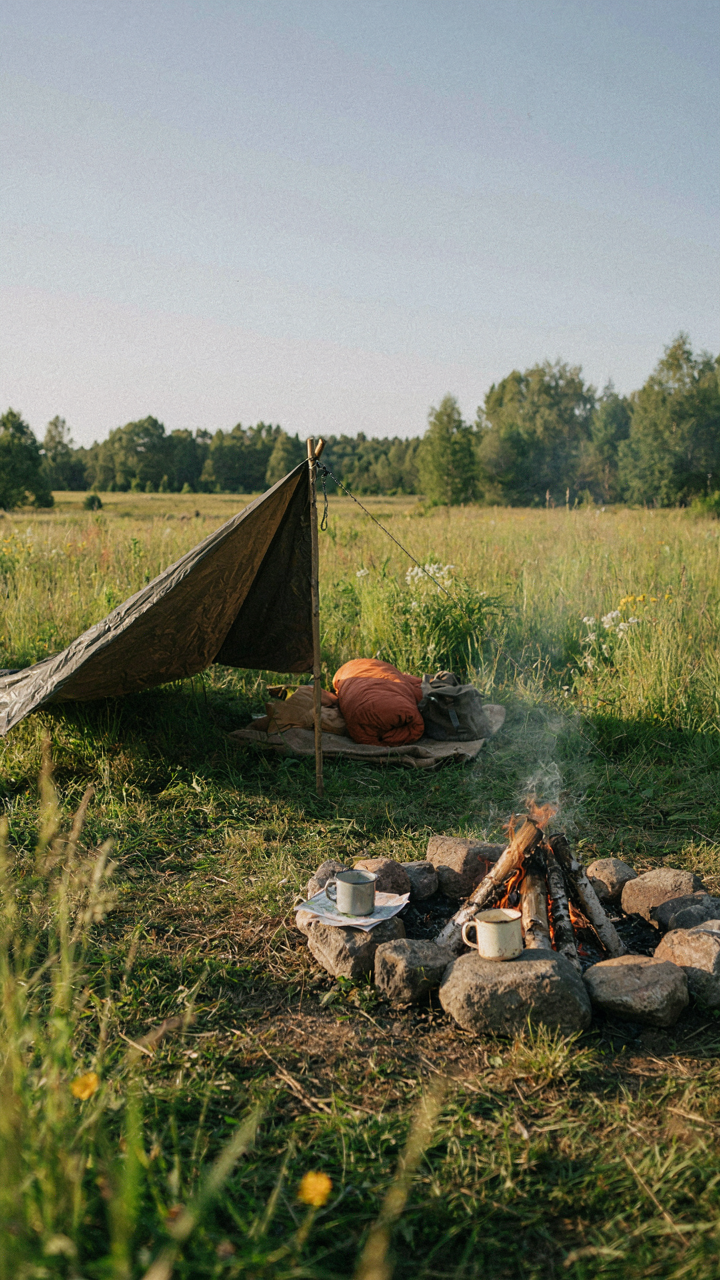
You’re scrolling Instagram looking for permission to spend more money. That’s the real reason you want inspiration. Here’s the mechanism: constraint forces design. Minimalism in camping glamping isn’t about virtue signaling. It’s about extracting maximum comfort from minimum gear. The fewer items you own, the fewer fail points exist. A canvas bell tent with a wood stove outperforms a cluttered setup with six different “comfort” additions that conflict with each other.
The minimalist framework comes from industrial design, where reduction reveals essential function. Apply this principle to your glamping setup by removing anything that doesn’t directly contribute to warmth, sleep quality, or weather protection. Standard advice says “add cozy elements.” Wrong. Start with a quality bed platform, insulation, and ventilation. Everything else is negotiable. Once those three systems work perfectly, you add sparingly. This prevents the common failure mode: a setup that looks good in photos but leaves you cold at 3 AM.
Working With What You Have
Most backyard sites already contain usable features. Trees, slope, wind patterns, existing structures, soil composition. You ignore these and start shopping. Wrong move. A tree canopy provides shade and wind break simultaneously, reducing your fabric needs by 30 percent. Slope allows water runoff without trenching. An existing shed foundation becomes your platform base instead of building from scratch. Soil type determines whether you stake deep or use weight systems.
Survey your land first. Mark sun exposure across seasons using a phone app that tracks shadows. Identify the highest point for water drainage. Test wind direction by observing existing vegetation movement over two weeks. Document which areas stay damp longest. This takes no money and saves thousands in corrected mistakes. Once you know these features, your setup becomes site-specific rather than generic. You build what works for your exact conditions, not what worked for someone else’s yard.
The “Glamping Tent Interior Ideas” Decoy: Designing For Utility

Your Interior Isn’t Instagram
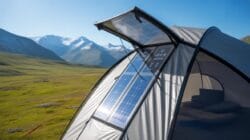
You want your space to look intentional. That’s the real drive here, and it’s backwards. Every design choice you make should solve a problem first and look decent second, not the other way around. Biology teaches us that organisms survive by building systems where form follows function, not aesthetics. Your tent interior works the same way: treat it as a living ecosystem where each element supports the others or it fails.
The mistake most people make is decorating before they live. They buy string lights and throw pillows before understanding how they’ll actually move through the space, where they’ll store gear, how temperature moves, where moisture collects. You can’t design an interior in theory. You design it through friction. Set up the tent, live in it for a weekend, then fix what broke.
Pathways And Behavioral Friction
Flow is movement with minimal resistance, and resistance reveals your design flaws immediately. Cybernetics tells us systems self-regulate through feedback loops, and a tent interior has them too: if you stub your toe on the bed frame every time you walk to the entrance, that’s negative feedback telling you the bed is in the wrong spot. Move it.
Most glamping guides tell you to “arrange furniture for flow,” which means nothing. What actually matters: the direct line from entrance to your most-used area should be clear. Your sleeping zone, cooking area, and exit create a triangle. Position storage so you don’t reach across walkways. Put your gear drops where you naturally set things down. Test this with an actual night in the space, not a sketch on paper. The layout that works is the one that requires zero conscious decisions about where to step.
The “How To Set Up Glamping” Blueprint: The Asymmetry Protocol
Where Perception Compounds Your Investment
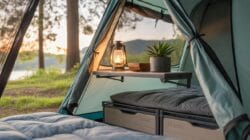
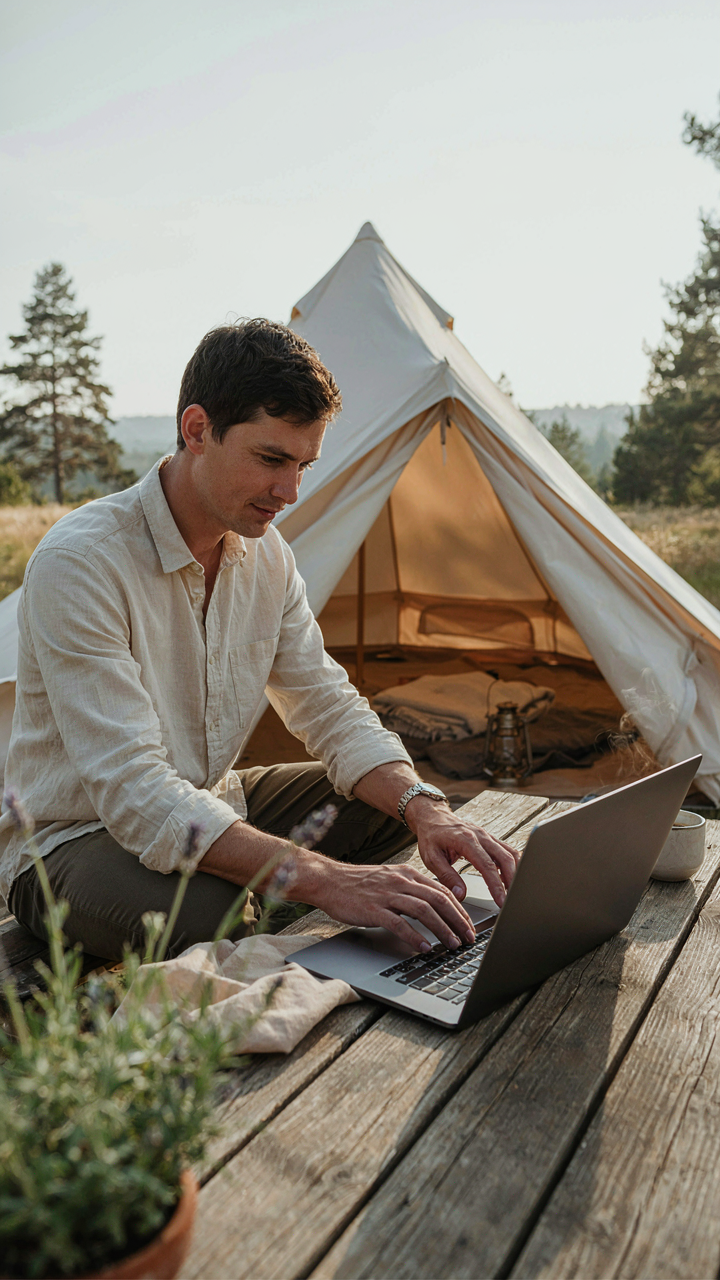
You want to look like you spent more than you did. That’s not shallow—it’s economics. The real mechanism here borrows from signal theory in marketing: a few visible anchors trigger assumptions about total quality. One expensive-looking element makes people backfill the rest as premium. Buyers (or guests) don’t evaluate each component independently. They pattern-match against reference points. A worn canvas bell tent anchors perception upward. Everything inside gets evaluated through that lens, even budget pieces.
The setup order matters more than most people realize. Install your tent first, your lighting second, your seating third. This sequence forces visitors to land on high-impact visuals before they notice the cheap particleboard side table. You’re not hiding anything—you’re controlling the narrative flow. Attention is sequential, not simultaneous. Deploy that fact.
The Leverage Points In Your Layout
Forget the advice about spreading things out evenly. That dilutes impact. Concentration creates drama. Cluster your best elements—the lighting, the focal furniture, the entrance—into one zone. Make that zone unavoidable. A visitor entering your glamping space should hit a moment of perceived value within three seconds. This is retail merchandising applied to outdoor space. Department stores learned this decades ago. Your entrance threshold is where the sale closes.
Natural sightlines determine everything. Position your seating to face an asset, not a tree line or flat horizon. If you have water, face it. If you have a fire pit, center circulation around it. If you have neither, build a focal point—a decorated wall, a statement lighting rig, a raised platform. The human eye needs a destination. Without one, the space reads as empty regardless of how much you’ve crammed in. Map your layout before you buy anything.
Your “Glamping Garden Ideas” Are Weak: Integration, Not Addition
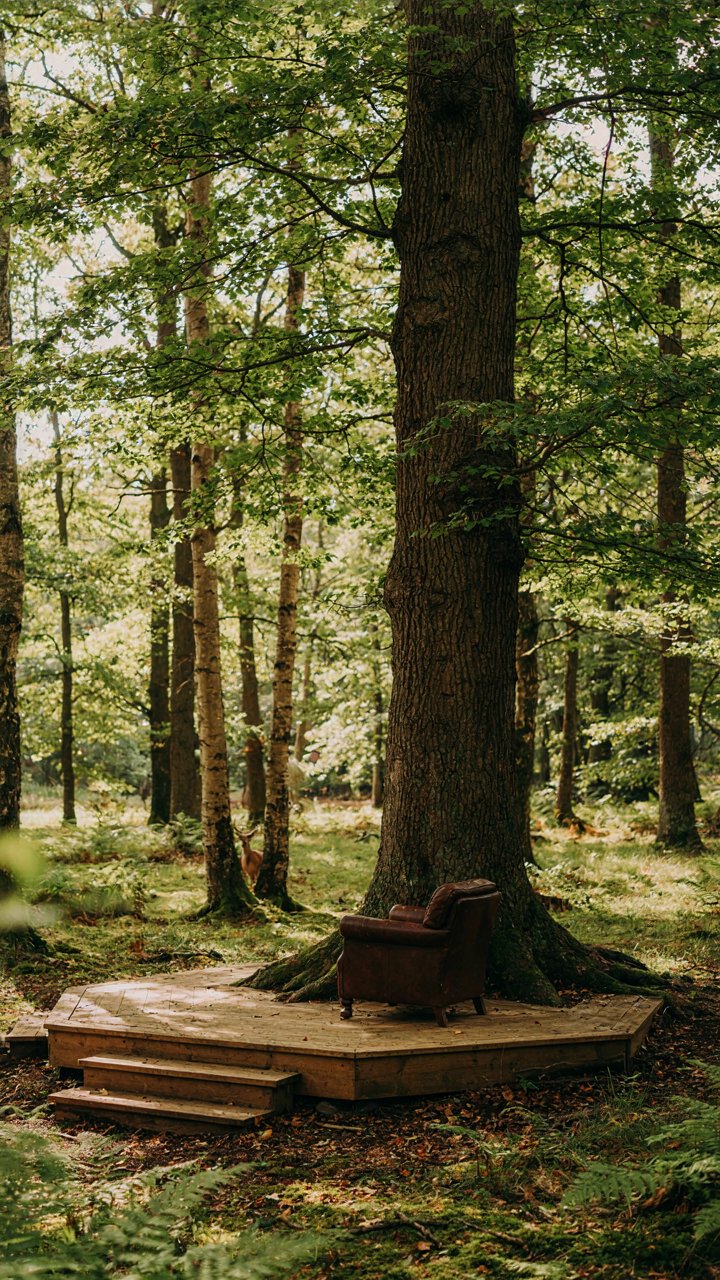
Structures That Disappear Into Landscape

You want your glamping setup to look intentional, not dropped. That’s the real fear—that your canvas glamping bell tent or wooden deck will scream “tourist installation” instead of belonging there. The mechanism is borrowed from landscape architecture’s concept of visual weight: structures either fight their environment or become part of it. Low-profile placement, material matching, and sight line control determine which happens.
Start by reading your land before you build anything. Identify natural tree clusters, slope changes, and existing focal points. Position your structure 15 to 20 feet from large trees rather than centered in an open yard. Use wood tones that match local tree bark. If your site has exposed rock, integrate stone into deck edging instead of fighting it with all-wood construction. This isn’t decoration—it’s reducing visual contrast so your eyes move through the space naturally instead of stopping at your setup.
Plants That Feed You And Your Design
Most glamping guides treat plants as garnish. They’re not. Edible and medicinal plants serve dual function: they reduce your operating costs while creating legitimate reason for strategic placement around your structure. Fruit-bearing shrubs like serviceberry or pawpaw become both privacy screens and food sources. Herb spirals built near your glamping entry reduce walking distance while creating elevation change that makes your site feel designed rather than flat.
Plant placement follows your sightlines and prevailing wind. Put taller plants on the north or west side to block afternoon heat and wind. Position lower herbs and greens on the south side where morning light reaches them and they don’t shade your sleeping area. Mint and lemon balm grow aggressively—contain them in sunken planting beds or they’ll take over your space and look chaotic. The plants anchor your setup to the ground; they stop it from feeling temporary.
The Unspoken Truth Of “Diy Glamping”: It’s About The Experience, Dummy
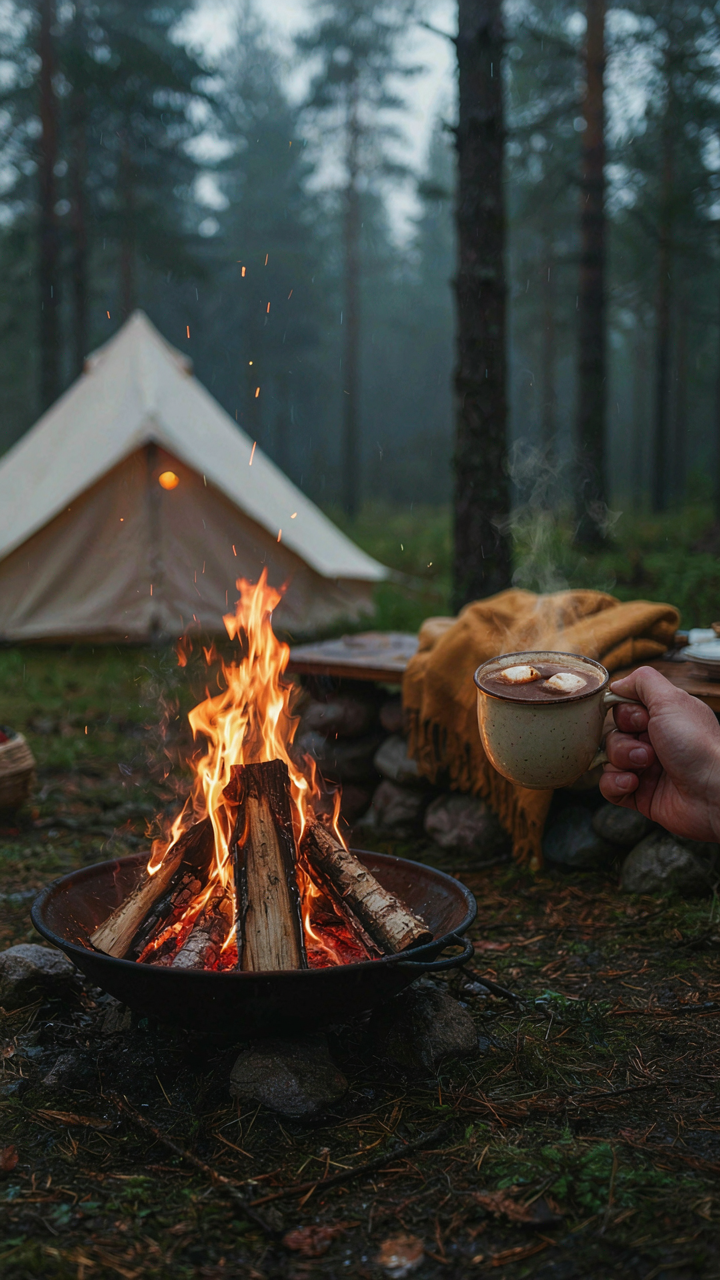
Crafting Multisensory Immersion
You want this setup to feel expensive because you’re afraid it won’t feel like anything at all. The mechanism here comes from sensory design, a field that maps onto glamping like this: you’re engineering stimulus layering, not decorating. Most people think glamping means adding string lights and calling it done. That’s wrong. You’re stacking sensory inputs so the brain registers luxury before the wallet empties.
Temperature, texture, sound, and light work together. A canvas bell tent feels different because fabric breathes and holds warmth differently than nylon. Gravel crunches underfoot instead of silent grass. A fire produces infrared heat your skin recognizes as real warmth, not the flat feeling of a heater. These aren’t aesthetic choices. They’re neurological inputs that trigger comfort signals. When you layer them correctly, guests perceive value that has nothing to do with price tags.
Prioritize What Actually Feels Good
The common advice says nail the Instagram moment first. That’s backwards. You’ll hemorrhage money on props and props fail. Real comfort comes from solving friction, not from visual perfection. A guest remembers the temperature of their sleeping bag, the pillow quality, whether they woke up stiff. They forget what the entrance looked like three weeks later.
- Sleeping surface quality: A $200 cot with a real mattress and quality bedding beats a $50 air mattress every time. Sleep is non-negotiable. Guests judge the entire experience through the lens of how well they slept.
- Temperature regulation: Heating and cooling matter more than decor. Propane heaters for winter, shade cloth and ventilation for summer. These prevent the trip from being memorable for the wrong reasons.
- Bathroom proximity and function: A working toilet and handwashing station within 30 feet changes everything. Outdoor bathrooms work if they’re clean and accessible, not if they’re Instagram props.
- Lighting you can actually control: Dimmers and multiple sources beat single overhead fixtures. Guests want to adjust mood without fumbling in the dark or waking everyone to find a light switch.
- Seating that holds body weight properly: A chair that doesn’t hurt your back after 20 minutes destroys the vibe faster than any design win can save it. Comfort beats consistency in furniture choices.
Aesthetics are the final 10 percent. Build the 90 percent that keeps people from leaving early or posting about how uncomfortable they were. The mechanism is simple: remove friction first, then add intentional details. Your guests will spend money on the experience they actually felt, not the one they saw in photos.
Beyond The Backyard: The Philosophy Of Authentic Escape

Presence Without The Performance

You want validation that your DIY glamping setup proves you’re the kind of person who escapes well. That’s the real motive. But the mechanism is simpler: presence isn’t about removing distractions. It’s about removing the constant negotiation between your environment and your attention. Most glamping fails because people build Instagram stages instead of functional retreats. The difference is intention. A well-designed DIY site eliminates micro-decisions—where to sit, how to stay warm, whether the space feels finished—so your brain stops working and actually lands.
Presence emerges when your setup matches the season and your body’s needs precisely. This isn’t mystical. It’s physiology. Build your glampsite so temperature regulation, shelter, and basic comfort happen passively. Insulate your canvas walls properly so you’re not thinking about cold at 3 AM. Position seating to capture morning light without glare. Use muted, non-reflective materials so your nervous system doesn’t register visual chaos. The goal is an environment that asks nothing of you while you’re trying to stop asking things of yourself.
The Compounding Return Of Building It Yourself
DIY satisfaction isn’t about pride. It’s about ownership of failure. When you source your own bell tent frame, install your own heating, and patch your own weatherproofing, you understand exactly where the weak points live. That knowledge compounds. Every trip teaches you what to adjust. You don’t pay someone else to learn your site. You own both the problem and the solution, which means the next season, you improve faster than anyone buying a finished product. Most people treat glamping as consumption. You’re treating it as iteration.
The financial advantage is secondary. The real value is that you’ll actually use it. People abandon expensive setups because they didn’t build the mental map of how to operate them. You built yours. You know where everything is, why it’s positioned that way, and what breaks first in wind or rain. That’s not theory. That’s muscle memory. Document your setup with photos and notes after each use. Track what failed and what held. This becomes your glampsite’s operating manual, and it’s worth more than any warranty because you wrote it.
Your Fear Of Looking Cheap Is Costing You An Authentic Experience


The real glamping setup separates itself from resorts because it reflects you, not Pinterest. Stop waiting for permission to build something imperfect. Pull up one supplier right now, pick one material, and order it today. The difference between someone who has a diy glamping setup and someone who talks about having one is a single decision made before your next doubt arrives. Authenticity doesn’t compete with luxury. It replaces it.



