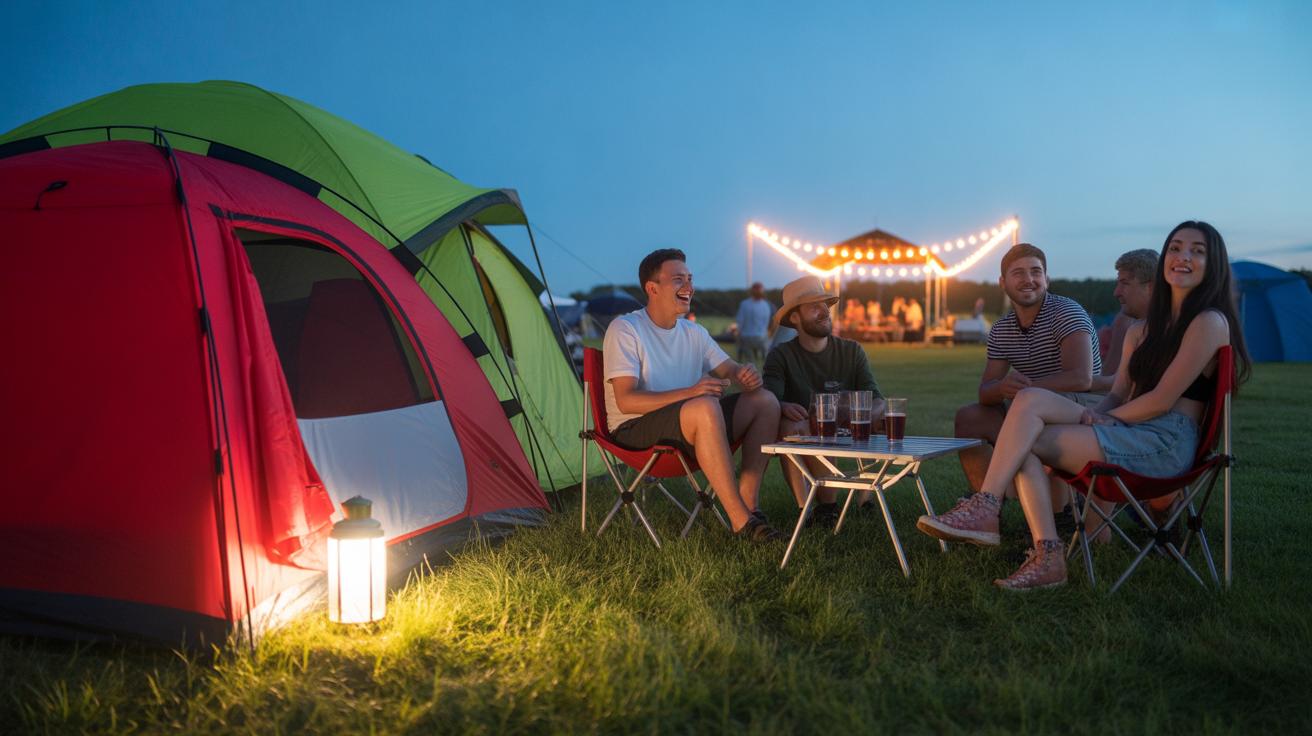
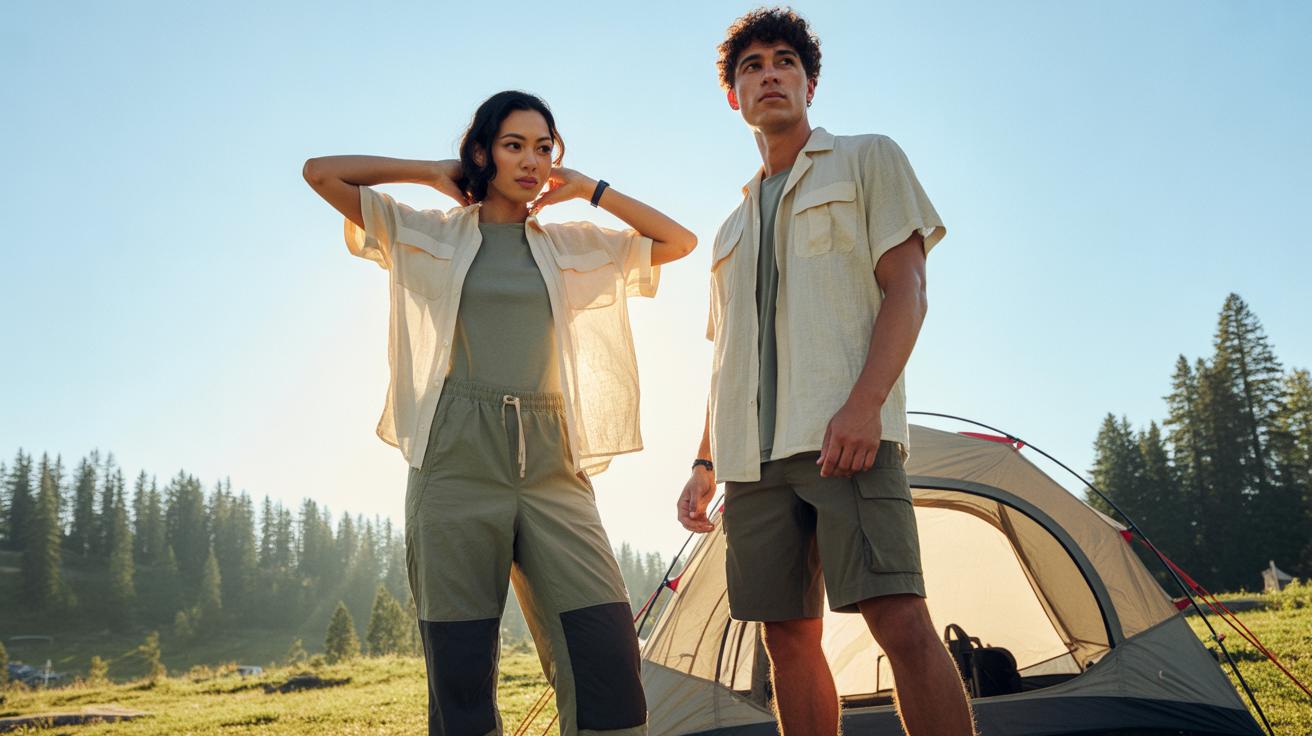
Introduction
Camping is a great way to connect with nature and explore beautiful landscapes. When you combine camping with photography, you open the door to capturing stunning wilderness shots that tell the story of your adventure. Expert camping photography tips can help you make the most of your time outdoors and create lasting memories with your camera.
This article shares practical advice and techniques to improve your camping photography skills. You will learn how to use your gear effectively, find the best natural light, and compose pictures that stand out. Get ready to take your wilderness photography to the next level with tips that are easy to understand and apply.
Understanding Your Camera for Camping Photography
Not all cameras are made equal, especially when you’re out camping. You’ve got smartphones, point-and-shoot cameras, and DSLRs, each with their quirks for outdoor use. Smartphones are always with you, easy to use, and surprisingly good in decent light. But they struggle in low light or when you need zoom without losing quality.
Point-and-shoots offer a bit more control and zoom but often lack durability. Some are weather-resistant, which might matter if you’re caught in a downpour. DSLRs feel heavier and bulkier, but their lenses and manual controls can really make a difference, especially when you want sharp, detailed shots.
Now, about camera settings. Aperture controls depth of field—lower numbers mean a blurry background, higher numbers more in focus. Shutter speed affects movement; fast speeds freeze action, slow ones can blur motion (sometimes creatively, sometimes annoyingly). ISO adjusts brightness but can introduce noise if set too high. Beginners might stick to aperture priority mode to balance background blur and light or shutter priority to capture wildlife on the move.
Playing with these settings outdoors isn’t always straightforward. Lighting changes a lot, and so does what you want to capture. Experiment a little, but keep it simple when you can. What’s the story you want your photo to tell?
Essential Camping Photography Gear and Accessories
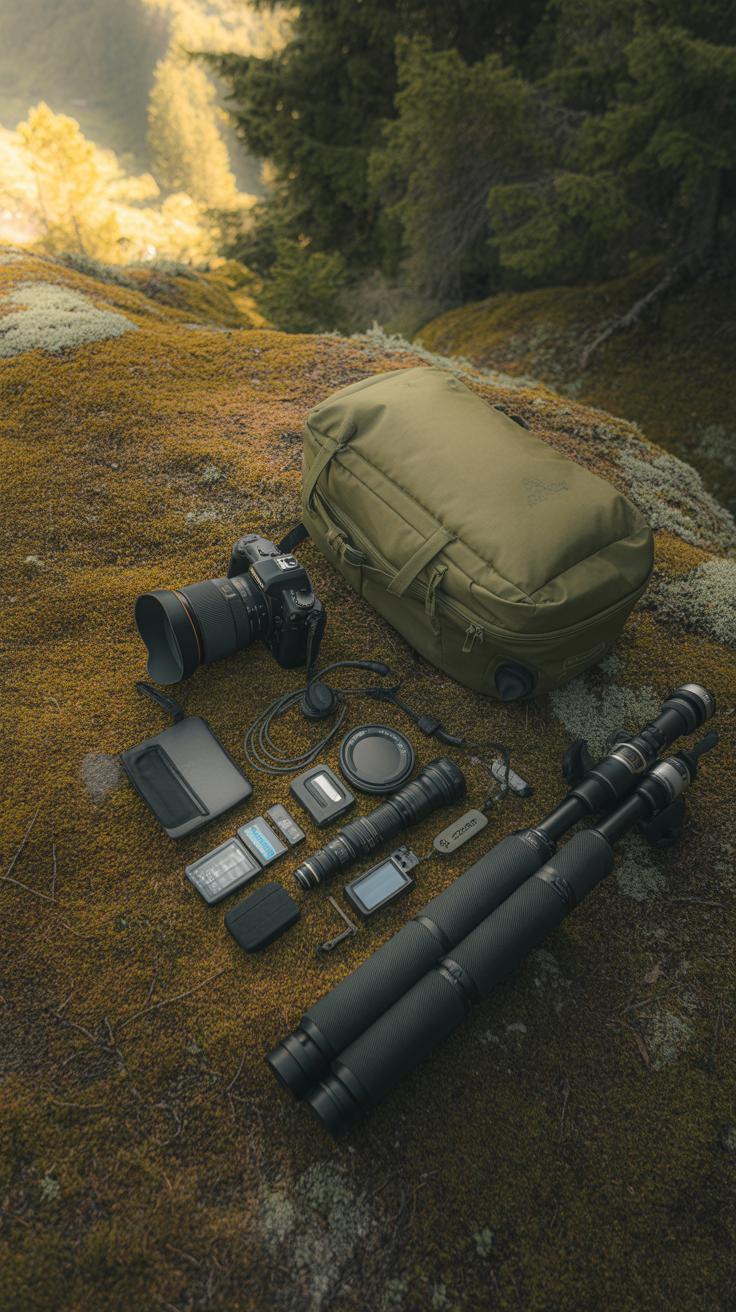
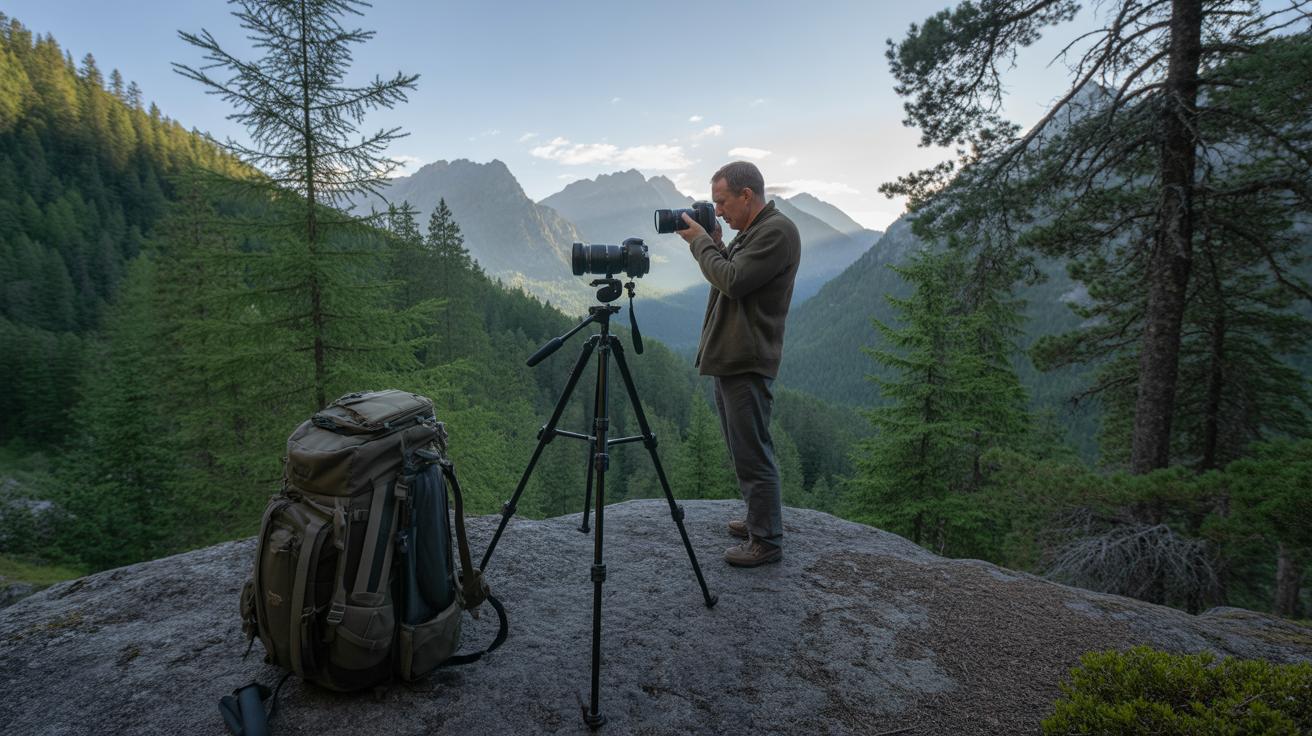
When heading out to photograph nature during your camping trip, the right gear makes a surprisingly big difference. You don’t want to be weighed down, but carrying nothing but your camera won’t always cut it.
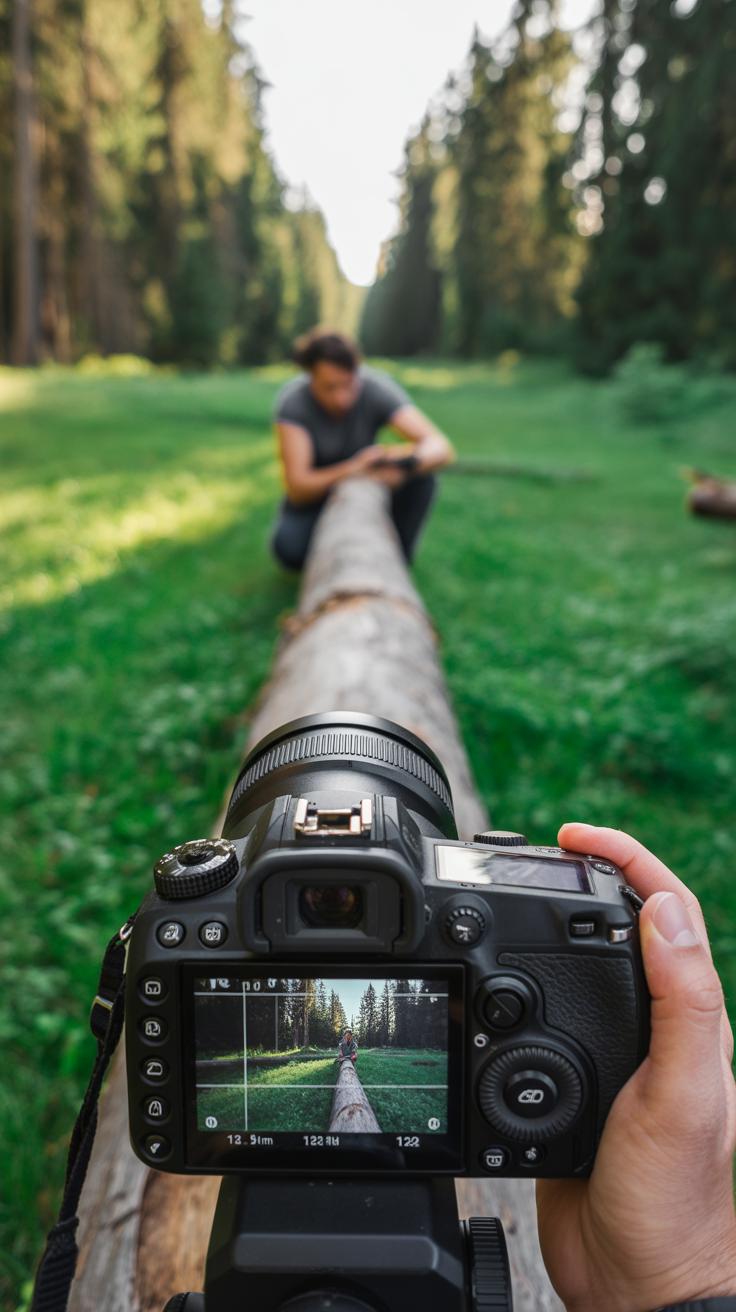
Tripods or some kind of camera support are almost a must. They stabilize your shots, especially when light fades and shutter speeds slow down. A sturdy but compact tripod is ideal—there are options made from carbon fiber that feel light but hold up well. Some even fold small enough to stash inside your backpack’s side pocket. If your pack is tight, a flexible tripod or gorillapod can cling onto branches or rocks. I’ve found those handy when the terrain offers no flat surfaces.
Basic camera bags or slings with padded dividers help keep lenses and filters organized and protected. Quick access is key when light changes fast or when you notice an unexpected scene.
Tripods and Supports for Steady Shots
Consider what kind of tripod fits your style and trip length. Full-size tripods give solid support but can be bulky. Travel tripods shrink down nicely, though they sometimes trade off stability. Some photographers use simple bean bags or rock rests for quick stabilization—less rigid but lightweight.
With long exposures, like night shots or waterfall captures, every bit of steadiness counts. Even a slight breeze can blur a shot if your camera isn’t well supported. A tripod keeps your shots sharp and lets you try creative techniques without anxiety about shake. But, carrying one around all day? That can get old, so pick your battles.
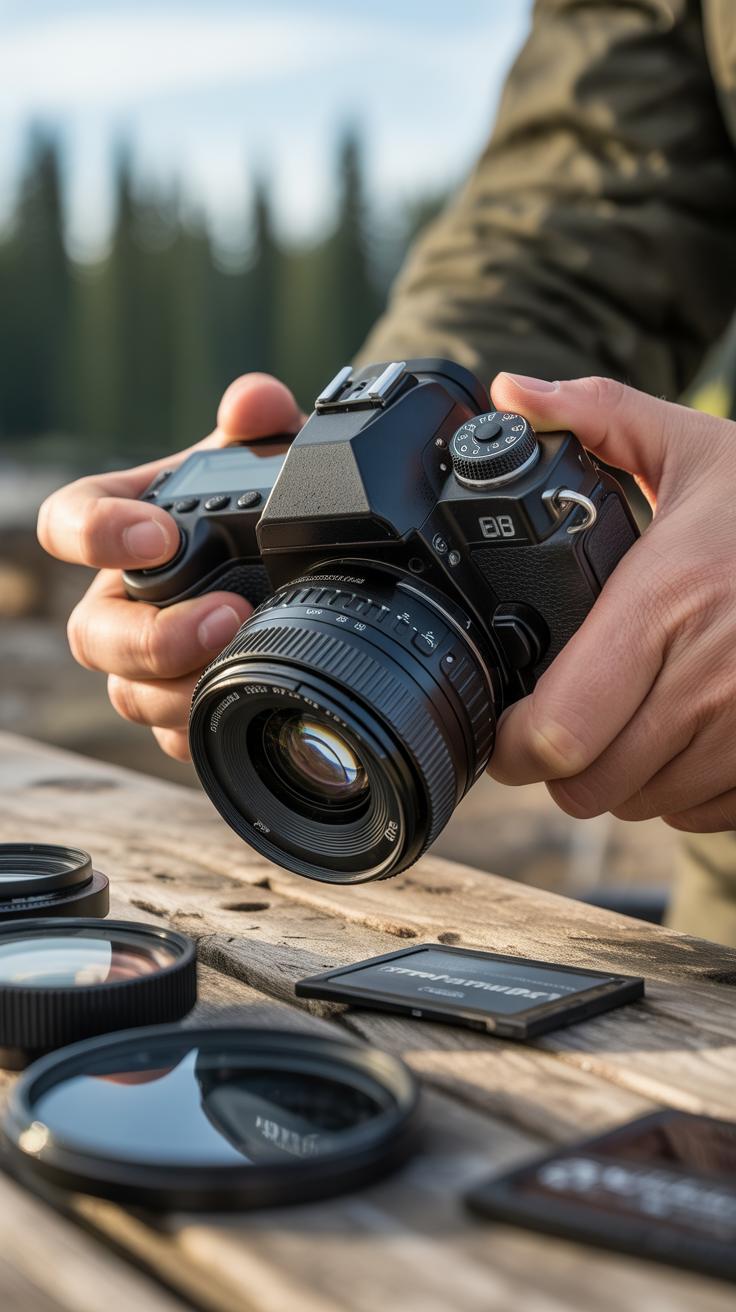
Lenses and Filters for Outdoor Photography
Different lenses shape your photos in distinct ways. A wide-angle lens is great for capturing vast scenes—think sprawling forests or mountain ridges. It brings more of the environment into the frame and can create dramatic depth. A zoom lens offers flexibility, letting you frame distant details without moving too much, which helps if terrain is tough.
Filters serve a tactical purpose. A polarizing filter, for example, reduces glare from water or shiny leaves and can deepen the blue of the sky. I remember once when the water looked flat and dull—adding a polarizer brought out ripples and subtle reflections that really enhanced the image.
Neutral density filters are useful if you want to slow exposure times on waterfalls or streams. They block light so you can capture flowing water’s smoothness even on bright days.
Carrying extra lenses and filters requires some planning. Using a dedicated padded lens case inside your bag—or quick-removal pouches attached to your belt—keeps swapping lenses manageable without fumbling around mid-hike. It’s a bit awkward at times, but practice makes it less distracting from the moment.
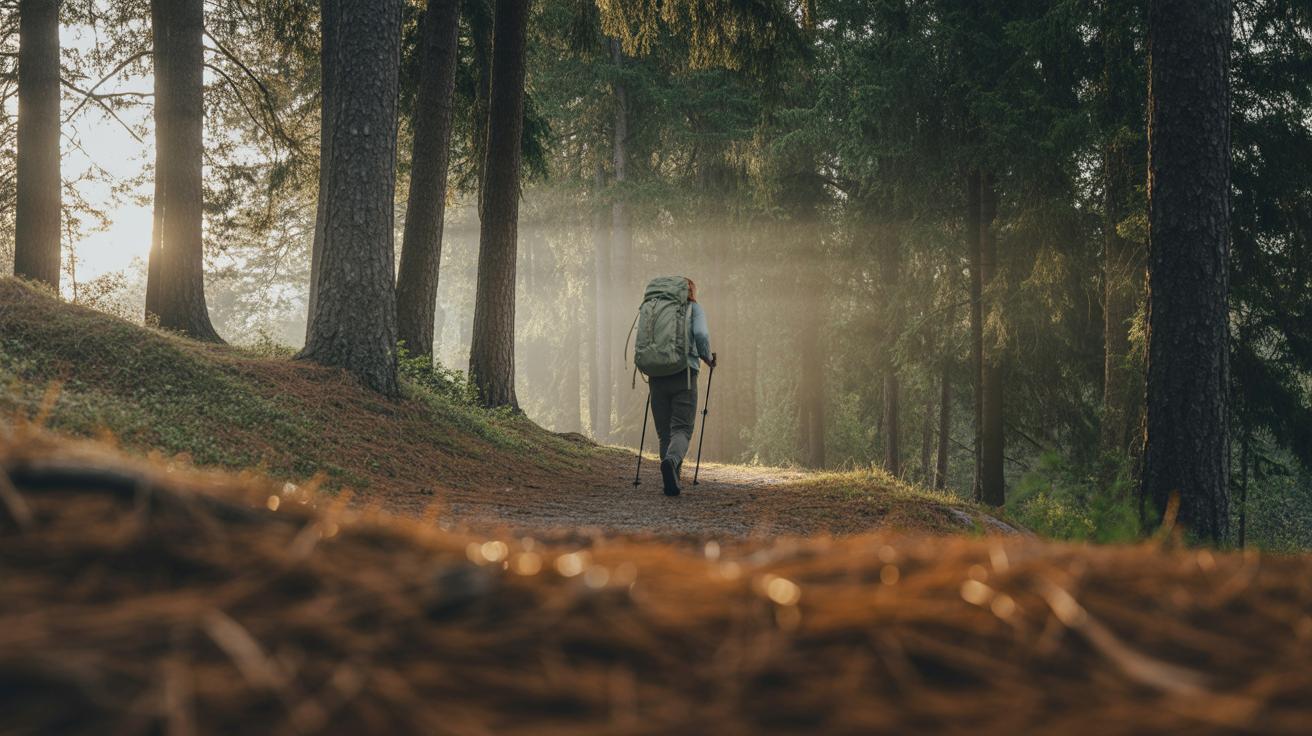
How to Find the Best Lighting in the Wilderness
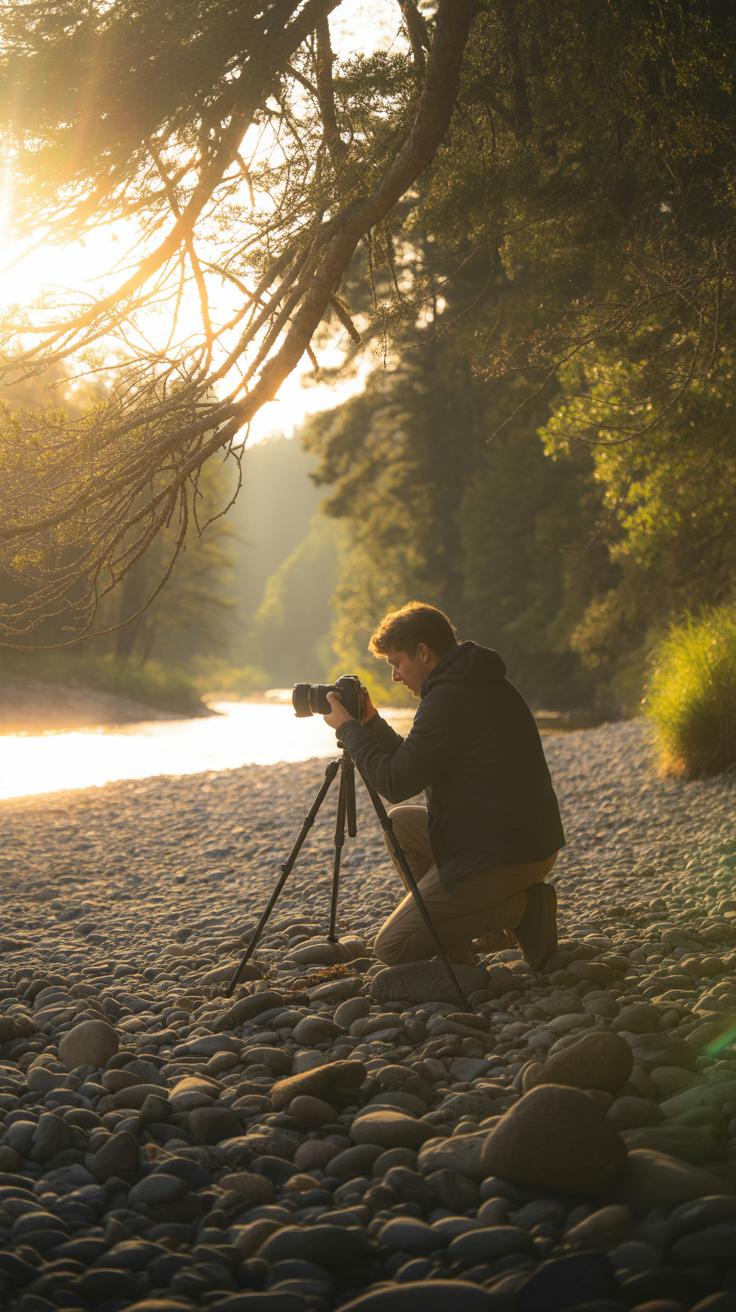
Natural light shifts dramatically throughout the day. If you’ve ever tried to snap photos during a camping trip, you’ve probably noticed how different the same scene looks from dawn to noon. Early mornings and late evenings offer soft, warm tones that almost seem made for photography. But midday sun? That’s a whole different beast.
When you’re out there, try to plan your shoots around changing light. Think about where the sun rises and sets relative to your location. Shooting with the sun behind you can brighten your subject nicely. Conversely, shooting into the sun can create interesting silhouettes, but it’s tricky to pull off without losing details.
Golden Hour and Blue Hour Photography
I’ve found that the golden hour—the hour just after sunrise and before sunset—is where camping photos truly come alive. The light is warm, soft, and it casts long shadows with gentle contrast. Colors pop, yet the scene feels calm and inviting.
Then there’s the blue hour, which happens just before sunrise and after sunset. The light here is cooler, almost dreamy. It can create a mood that you rarely get in harsh daylight. These times aren’t just beautiful—they also give you more creative freedom with exposure and white balance.
If you wake up early, you might catch mist hovering over a lake or dew on leaves, enhanced by that gentle light. And evening? It often brings rich hues and a quiet stillness perfect for capturing the moment.
Handling Harsh Midday Sunlight
Noon light is harsh—you’ve heard that before. But if your schedule forces you to shoot then, don’t give up. Instead, use it to your advantage. Stand in shaded areas to avoid blown-out highlights, or use natural covers like trees or rocks to break that intense light.
Play with your camera’s exposure settings. Lowering exposure can prevent washed-out skies and preserve detail. Sometimes, shifting your angle slightly can reduce glare or direct sun hitting your lens.
If you have a diffuser or reflector—yeah, these might seem fancy, but some portable options fit in your pack—they can soften the harsh light or bounce it back unpredictably onto your subject. Even a white t-shirt or a piece of light fabric can help if you’re improvising.
Keep in mind: harsh sunlight can enhance textures. Think rugged bark or rocky surfaces. So, not every bright day shot needs to be avoided; it’s just about how you use the light available.
Composing Your Camping Photos Like a Pro
When you’re out in the wilderness, the way you arrange your shot can make all the difference. Composition isn’t just about pointing and shooting—it guides the viewer’s eye and brings the scene alive. One of the simplest tools is the rule of thirds. Imagine dividing your viewfinder into a grid of nine equal parts. Placing your subject along these lines—or where they intersect—often makes the photo feel more balanced and natural. You might find a mountain peak or a lone tree fitting perfectly at these points.
Leading lines pull attention toward your subject. Trails, rivers, or fallen logs form natural pathways in a photo. They invite the eye to travel from the foreground to deeper into the frame, making your image feel layered and engaging. It’s almost like the scene is telling you where to look, step by step.

Framing is another trick worth trying. Trees arching over a stream or rocks lining a small pool can almost act as borders for your picture. Using natural elements to frame your main subject highlights it without overwhelming the scene, kind of like giving your photo a gentle nudge to focus on what matters.
Have you ever noticed the way bark patterns repeat or how grasses wave uniformly across a hillside? Spotting these patterns and textures adds detail and depth, helping a photo go beyond a simple snapshot. Think about zooming in on a cluster of leaves with varying shades or capturing the ripple textures of water. These little details tell a story that might otherwise go unnoticed.
Capturing Wildlife Safely and Effectively

Approaching Animals Without Disturbing Them
When photographing wildlife, patience is your best tool. Animals are sensitive to sudden movements and noises, so move slowly and quietly. Try to blend into your surroundings by wearing natural colors and avoid making eye contact, which might startle them.
Sometimes, just sitting still and waiting works better than trying to sneak closer. It can take minutes, or even longer, for animals to grow comfortable enough to reveal their true behaviors. Remember, rushing closer often ruins the shot and may stress the animal.
Using a zoom lens lets you keep a respectful distance while still filling the frame. This way, you protect both yourself and the wildlife. In my experience, having at least a 200mm lens gives you flexibility. But sometimes, patience gets you closer than any lens.
Best Camera Settings for Wildlife Action Shots
Quick shutter speeds help capture sharp images of moving animals. I usually set the shutter at 1/1000 or faster when dealing with unpredictable motion—birds in flight or a deer bounding away.
Enable continuous shooting mode so you can snap multiple frames per second. It’s rarely clear which moment will be the perfect one. More chances mean better odds of catching that impressive leap or subtle glance.
Don’t overlook autofocus settings. Continuous autofocus (AI Servo or AF-C) tracks your subject as it moves. It can be tricky at first, sometimes focus jumps around, but with some practice, it’s indispensable for wildlife shots.
Here’s a quick rundown to keep in mind:
- Use a fast shutter speed (around 1/1000 or higher).
- Switch to continuous shooting to catch multiple frames.
- Enable continuous autofocus to track movement.
- Use a zoom lens to maintain distance without sacrificing detail.
- Be patient—rushing rarely helps.

Would you rather compromise sharpness for closer proximity? I’ve often wrestled with this balance. Sometimes it’s better to wait for the animal to come closer than to push limits and risk ruining the shot or your safety.
Using Night Photography Techniques While Camping
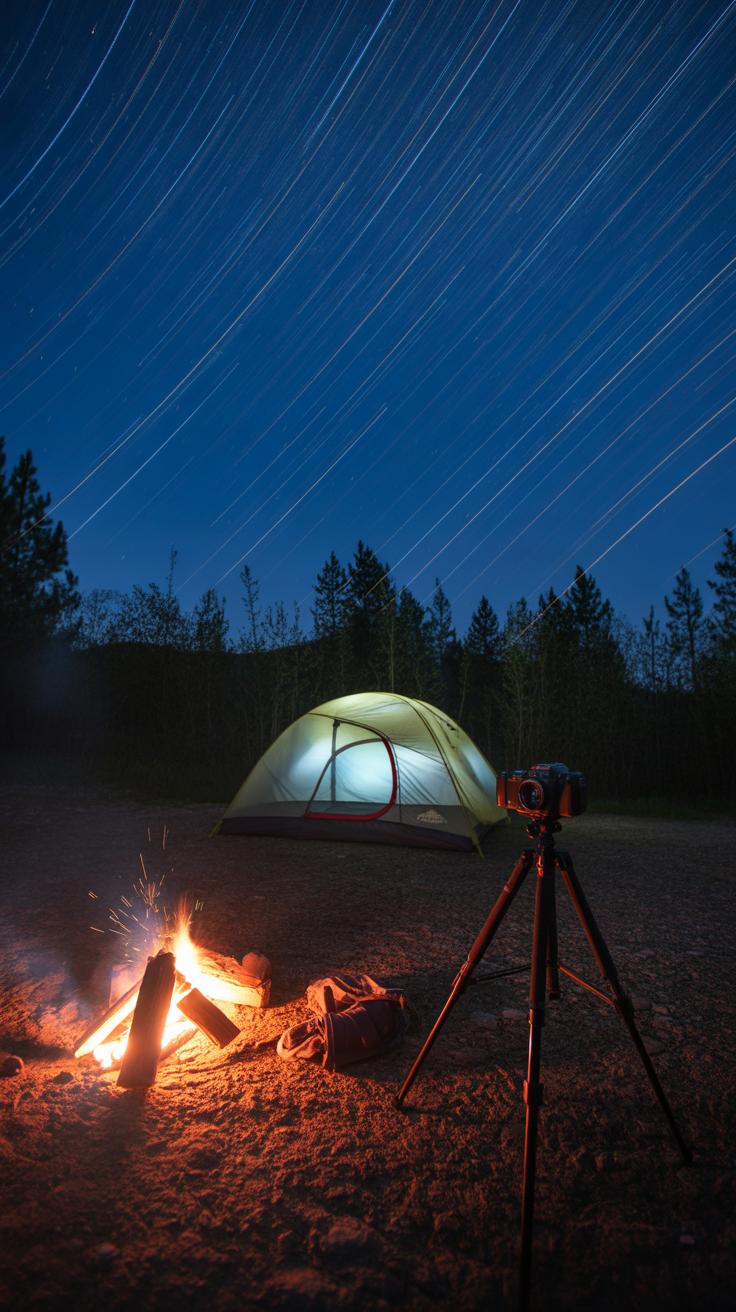
Nighttime offers a totally different canvas for your camera when you’re out camping. You can capture stars softly twinkling, the warm glow of a campfire, or a mysterious moonlit scene. The trick is knowing how to work with low light, which can be tricky if you’re used to daylight shots. You’ll want to explore long exposure settings to pull in more light and reveal those details our eyes often miss.
Think about these elements when shooting at night:
- Stars: A clear sky with little light pollution is pure magic. Set your camera on a tripod, use a wide aperture, and keep your exposure between 15-30 seconds to get those pinpoints of light without blur. But don’t go too long or the stars will streak, creating trails—though those can be cool if that’s your goal.
- Campfires: Firelight flickers fast, so try shorter exposures or higher ISO to capture warmth without turning the flames into blurs.
- Moonlit scenes: The moon’s light can illuminate a landscape softly, lending an eerie calm. This often calls for balancing exposure times because too long can wash out the details.
It can feel a bit like a guessing game at first, tweaking settings, then standing there waiting. But honestly, it’s part of the charm—or the frustration—depending on your patience.
Long Exposure Settings for Night Photos
Long exposures pull in light over time, making faint stars or subtle shadows visible, but only if your camera doesn’t move at all. Holding the camera by hand won’t cut it. Bring a tripod or find a solid spot to steady your camera—rocks or logs might work.
Here’s a quick approach to get started:
- Set your camera to manual or bulb mode.
- Use a low ISO, maybe 800-1600, to reduce noise but still pick up light.
- Choose a shutter speed from 15 seconds to about 30 seconds for stars without too much trailing.
- Open up your aperture wide (f/2.8 or lower if you can) to let in as much light as possible.
- Use a remote shutter release or self-timer to avoid shaking the camera when pressing the button.
I remember one chilly night trying this and missing focus completely at first—so don’t be shy about experimenting. Sometimes the settings that work in one spot feel off just a few miles away.
Using Artificial Light Wisely
Adding light can be a game changer, but it’s easy to overdo it. Campfires provide a natural glow, perfect for warming up your shots without extra gear. If you want to lighten up a subject away from the fire, a flashlight or headlamp can work, but think softly.
Try these tips:
- Use your flashlight at a low setting or bounce its beam off nearby surfaces to avoid harsh shadows.
- Move the light around slowly if you’re doing a long exposure to create gentle illumination rather than a spotlight effect.
- Avoid shining light directly into the lens to prevent lens flare unless that’s your intention.
- Experiment with light painting—briefly “painting” a tent or tree with light during a long exposure can highlight parts of your scene.
Sometimes less is more. I’ve seen too many night photos ruined by bright, artificial light that leaves subjects looking unnatural or blown out. Find a balance. Your goal is to add depth, not distract from the night’s subtle beauty.
Editing Your Camping Photos on the Go
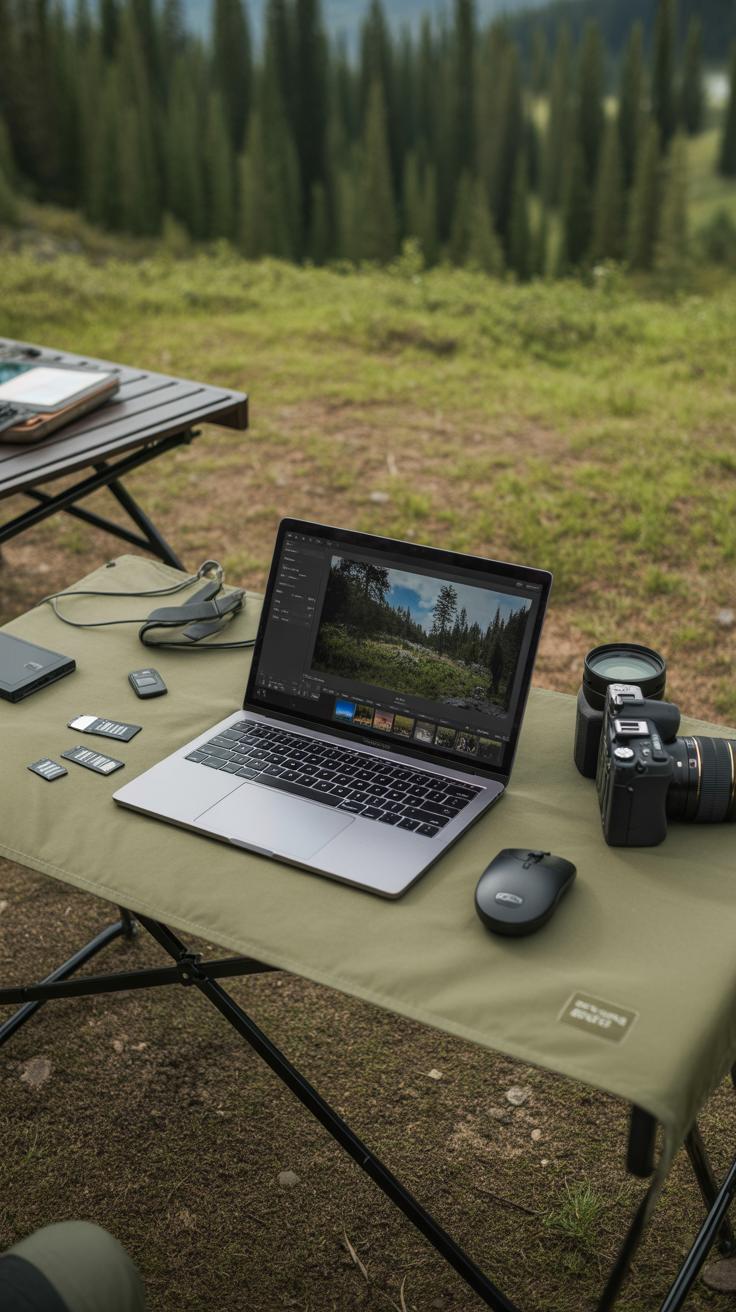
When you’re out camping, waiting until you get home to edit your photos can feel like forever. Luckily, simple mobile editing tools make a huge difference right on your phone or laptop. I find it’s best to start with basic adjustments to correct common issues like shadows that are too dark or highlights that blow out details. Most apps have easy sliders for brightness and contrast—just nudge them carefully. Sometimes, boosting shadows slightly can reveal hidden textures in leaves or rocks you might not have noticed before. Color balance is another must—if your image looks too warm from a sunset or too cool under cloudy skies, adjusting the temperature slider can bring it back to something closer to what you saw.
Filters get a bad rap sometimes, but they can be surprisingly helpful when used sparingly. I tend to ask myself: Does this filter emphasize the mood or just make it look overly processed? If it enhances without overwhelming, go for it. Cropping is another straightforward tool. You don’t need perfect framing in the field; cropping later can eliminate distractions or tighten the focus on the subject. It’s a small step, but it can turn a decent shot into something more compelling by guiding the viewer’s eye.
Simple apps like Snapseed or Lightroom mobile let you do all this without fuss. I often edit after dinner by the campfire, which feels kind of relaxing—plus, you get to revisit the day through your photos. Of course, editing isn’t about making every image flawless. Sometimes a slight shadow or uneven color tells part of your camping story. Do you find yourself over-editing some shots? Maybe leaving imperfections can actually add character to your wilderness album.
Planning Your Camping Photography Adventures

Researching the Best Spots and Times to Shoot
Before you even pack your gear, take some time to scout out good locations. I find that old-fashioned paper maps combined with local guidebooks can reveal hidden gems that online searches might miss. They often highlight trails, viewpoints, and water sources—places where the light and wildlife might surprise you. Don’t overlook visitor centers or nearby ranger stations. They usually have up-to-date info on animal activity or interesting photo spots.
Consider the time of day too. Early morning and late afternoon often offer soft, directional light, but the exact timing can depend on the season and terrain. Wildlife tends to be more active around dawn or dusk, but it’s never guaranteed. Sometimes, changing weather—like a sudden fog—creates unexpected photo chances. Have you ever found a spot that looked dull on a sunny day but transformed with a little rain or mist? It happens more than you’d think.
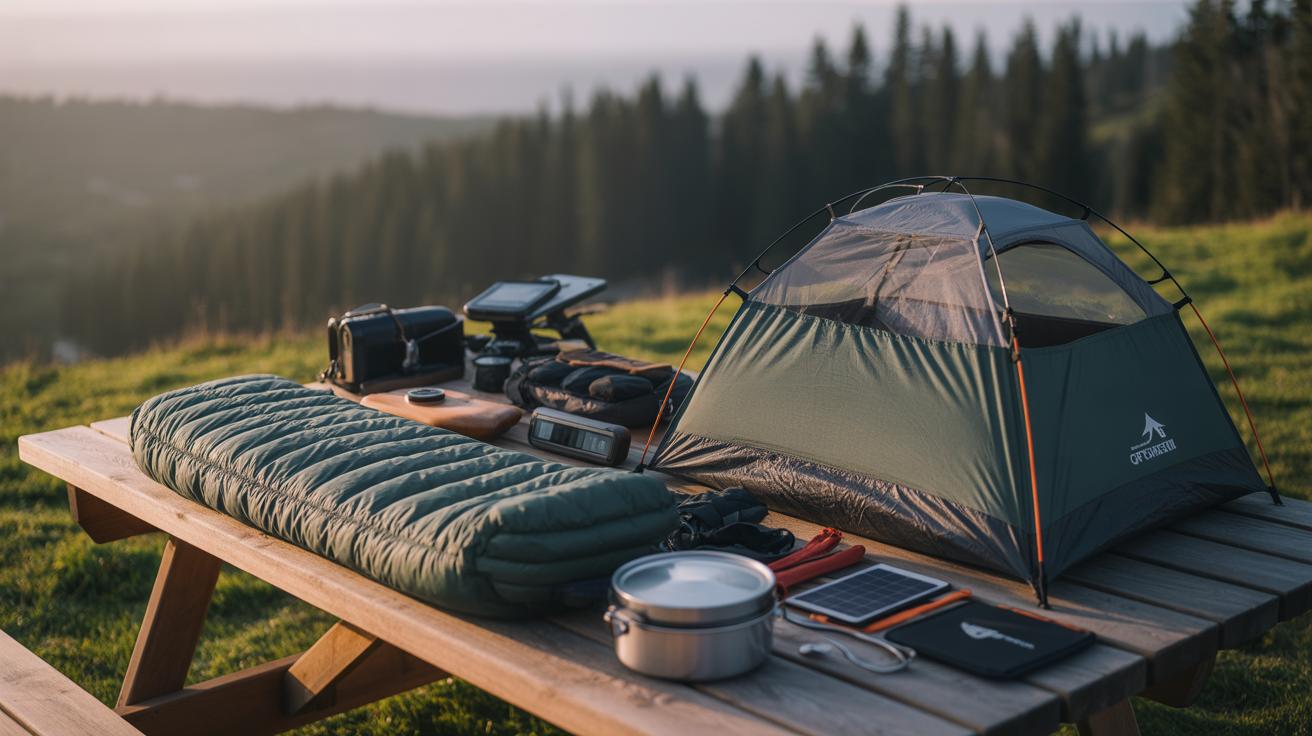
Packing Checklist for Photography Gear and Camping Supplies
Packing for a camping photography trip always feels like a balancing act. You want to bring enough gear to cover your shots but not so much that it weighs you down. Here’s a checklist I rely on (and tweak every trip):
- Camera body with at least one versatile lens—often a zoom around 24-70mm or a wide prime.
- Extra batteries and memory cards—running out mid-adventure is frustrating.
- Tripod—especially useful for low-light or landscape shots, though you might skip it if you’re covering rough terrain fast.
- Lens cleaning kit—dust and moisture can be sneaky.
- Protective camera bag with good padding.
- Basic camping essentials—tent, sleeping bag, suitable clothes (layers help), first aid kit, food, and water.
Sometimes I debate whether to bring a drone or extra filters, but it depends how much hiking I plan to do. Weight and convenience often win over having every possible lens. Think about the kinds of shots you want and pack accordingly—less sometimes really is more.
Sharing and Preserving Your Camping Photography
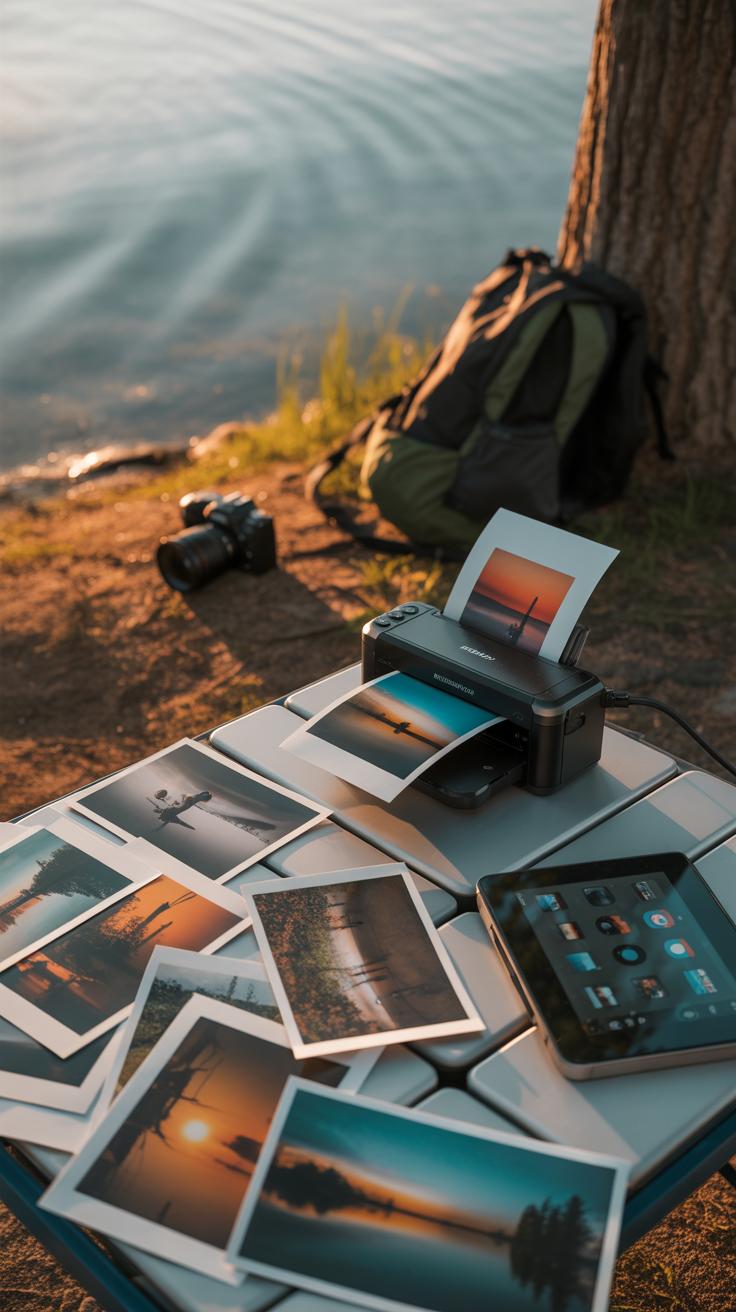
Choosing the Best Platforms to Show Your Work
Deciding where to share your camping photos depends on what you want from them. Social media platforms like Instagram or Facebook offer quick feedback and easy sharing with friends and family. But sometimes, the endless scroll can bury your best shots. If you want a more curated space, photo websites such as Flickr or 500px might suit you better. They attract a community that actually looks for photography, which can lead to more meaningful interactions.
Print remains oddly satisfying. Seeing a photo in your hand, or framed on a wall, feels permanent—something digital uploads sometimes lack. It might take a bit more effort and cost, but if you want your shots to last in a tactile way, prints are still worth considering.
Backing Up and Organizing Your Photos
Storing your images safely is more than just using an external hard drive. I’ve learned the hard way that one backup isn’t enough. Ideally, keep copies in at least two different places—maybe a physical drive and a cloud service. The cloud gives you access anywhere, though it’s not perfect if you’re somewhere without signal.
Organization makes a huge difference once the camping trip ends. Simple folder structures with dates and locations can help you avoid getting overwhelmed later. Ever find yourself searching weeks later for that one perfect shot and coming up empty? A system can save hours, and frustration, if you keep it up after every trip.
Conclusions
Capturing striking images during your camping trips is achievable with the right approach. Using simple techniques such as paying attention to lighting, choosing suitable equipment, and planning your shots will enhance the quality of your photographs. Remember, great photos tell a story about the wilderness and moments you experienced.
Practice regularly and experiment with different angles and settings to develop your own style. Your camping photography will improve as you become more confident with your camera and your connection with the natural surroundings deepens. Keep exploring and capturing the beauty of the wild.