
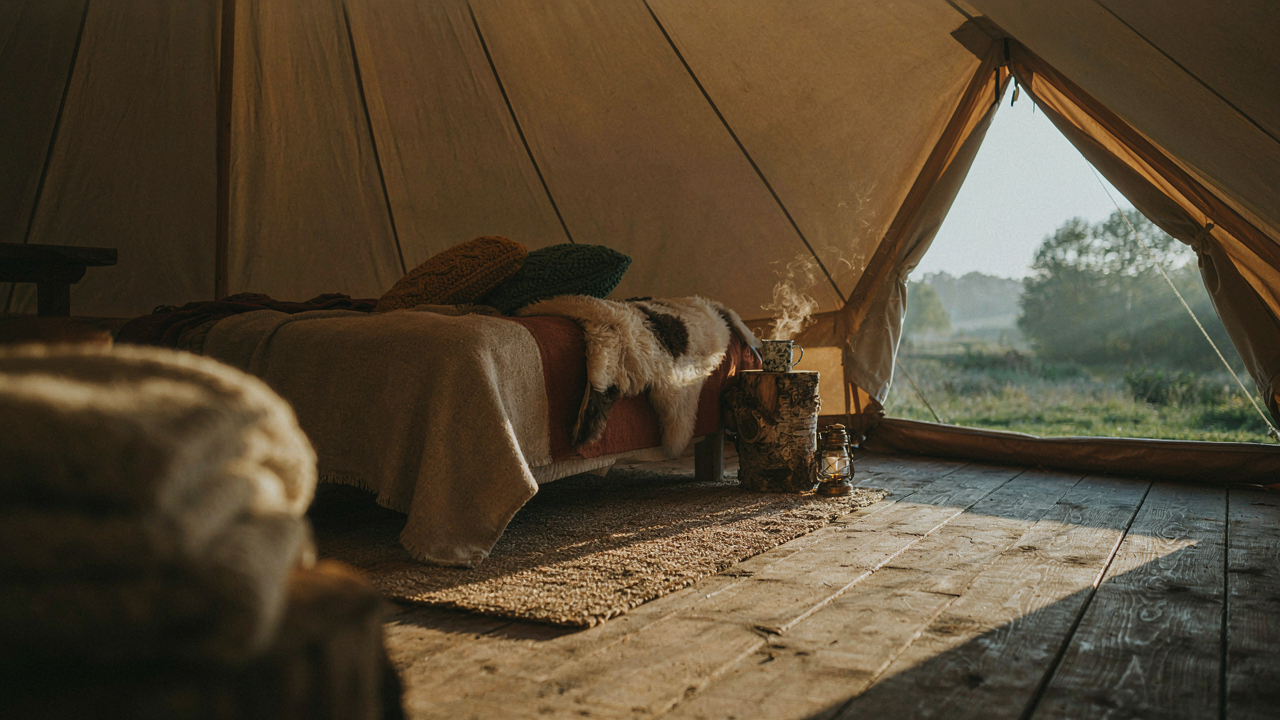
The “Glamping” Delusion: Beyond Pretty Pictures

Instagram Never Shows You The Wind
You want the aesthetic without admitting you’re buying status through decor. Here’s the mechanism: social media shows you the fifteen minutes when light hits the canvas perfectly. It doesn’t show you the three hours before that when you’re fighting condensation, adjusting guy lines, or realizing your throw blankets are damp. Canvas tent decor functions like camouflage in military strategy, where appearance masks actual capability. Pretty textiles distract from whether your setup actually protects you.
The gap between the photo and the lived experience kills most glamping enthusiasm fast. You arrive with linen pillows and macramé wall hangings. By day two, you’ve shoved them in a corner to make room for practical gear. The real cost isn’t the decor itself. It’s the wasted mental energy managing items that don’t solve any problem your tent actually has.
Utility Comes Before Texture
Everyone says “blend function and form.” That’s incomplete advice that gets you nowhere. Function must come first because a tent that fails functionally makes all decor irrelevant. Your canvas tent exists to regulate temperature, shed water, and provide shelter. Textiles either support those jobs or compete with them. A heavy wool blanket adds insulation on cold nights. A decorative throw that absorbs moisture and takes days to dry actively undermines your tent’s performance.
Start by identifying what your tent needs to do in the specific climate you use it in. Cold nights demand thermal mass through blankets and rugs that stay dry. Hot, dry climates need light-colored textiles that reflect heat and don’t trap moisture. Humid environments require breathable fabrics that won’t harbor mildew on the canvas itself. Only after you’ve solved for these mechanics should you layer in aesthetics. Your decor choices must support the primary function, not compete with it.
The Survivalist’s Aesthetic: Intentional Tent Decorations
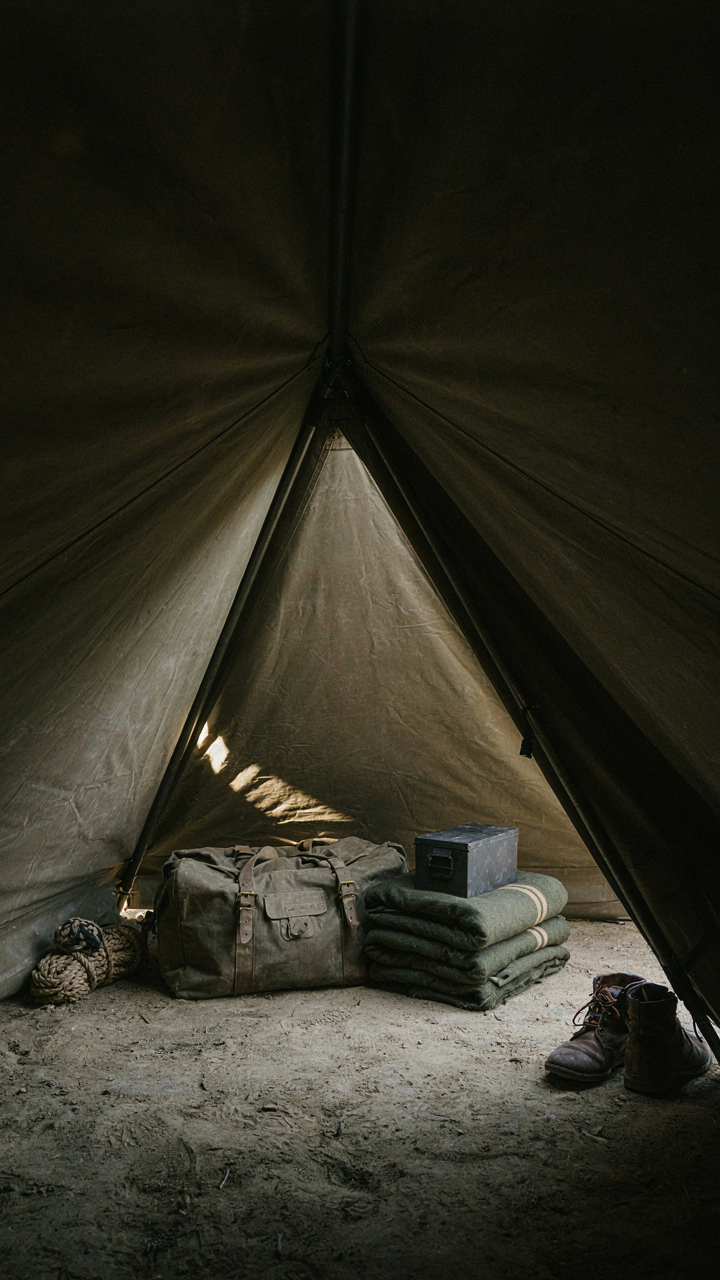
Every Item Earns Its Place

You want your canvas tent to feel like home because admitting you’re camping in a box with fabric walls feels less romantic than the version in your head. The mechanism is simple: in survival and military design, dead weight gets eliminated. Apply that same logic to decor. Every textile, every fixture, every object must do at least two jobs. A throw blanket warms you and defines the sleeping zone. A wool rug absorbs sound and insulates the floor. Decorative items that only look pretty are failures masquerading as style.
This isn’t minimalism for its own sake. It’s ruthless efficiency dressed as aesthetic. Canvas tent interiors are small and every object competes for space. When you select only dual-purpose textiles and fixtures, your tent stops feeling cramped and starts feeling deliberate. The visual result is calm, not sparse. You’ve removed visual noise by removing items that whisper instead of speak. Your eye lands on texture and warmth because nothing is fighting for attention.
Eliminate What Doesn’t Work
Most canvas tent decor advice treats decoration as optional filler, which is wrong. Cheap synthetic throw pillows, mass-produced wall hangings, and decorative cords do not belong in a canvas tent. They fade fast, trap moisture, and cheapen the entire space. Replace them with textiles that age well: raw linen, untreated wool, heavy cotton canvas. These materials develop patina instead of falling apart. They breathe in humid conditions. They cost more upfront because they’ll outlast your tent.
The protocol is simple: before adding anything, ask what happens when it gets wet, dusty, or sat on repeatedly. If you can’t answer that question with confidence, it doesn’t go in. Canvas tents naturally compress space and amplify poor choices. A single low-quality textile ruins the visual hierarchy because there’s nowhere for the eye to hide. Keep your selections tight. Quality over quantity is not aspirational advice here. It’s the only way to avoid paying twice for things that fall apart.
The Thermal Management Protocol: Warmth In Your Canvas Tent
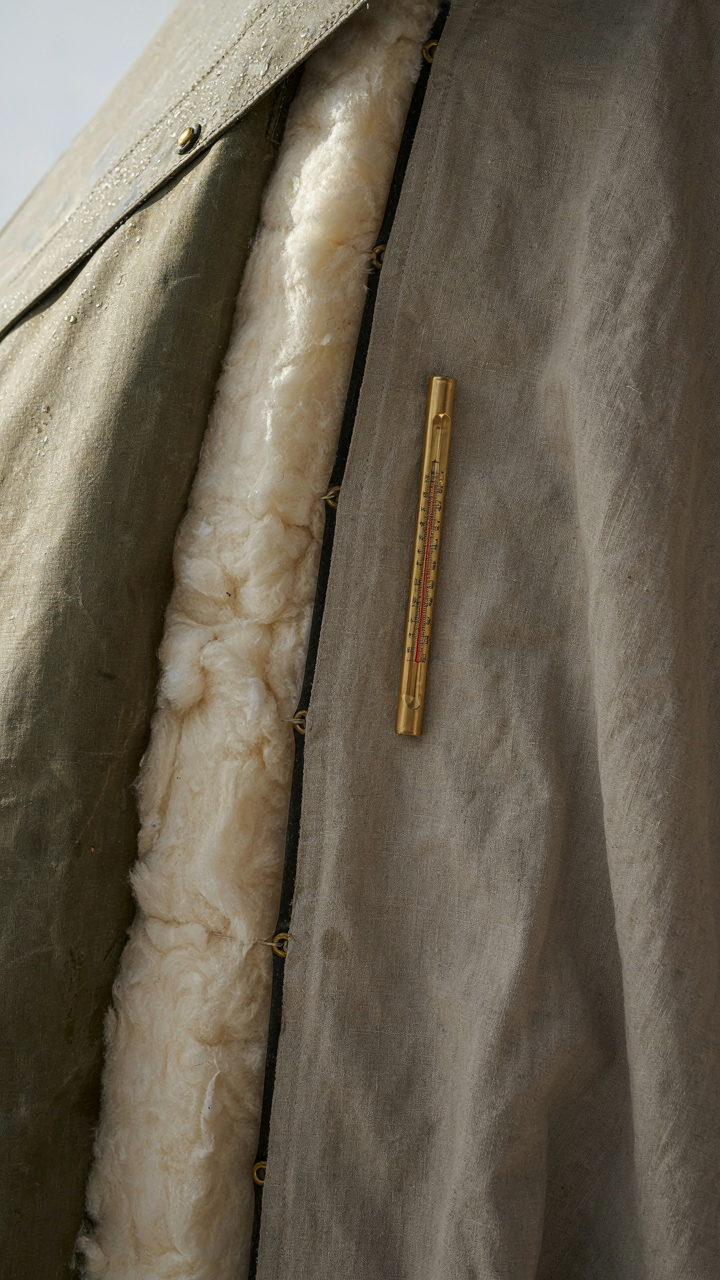
Layering Textiles For Genuine Insulation

You want your canvas tent to feel expensive and intentional, but the real reason you care is that cold kills the entire experience. The physics of insulation applies here too: R-value measures resistance to heat flow, and in canvas tent decor, your textile layers create that resistance by trapping dead air space between materials. Most people throw blankets on a cot and wonder why they’re still cold. That’s not a strategy, that’s surrender. The mechanism is simple: each layer adds an air gap that slows heat transfer, but only if you layer strategically and not randomly.
Start with a base that breathes. Heavy canvas already has some insulating properties, but you need textiles against your body that don’t absorb moisture and then hold it. Wool and linen blend materials work because they maintain loft even when damp. Then add a middle layer of thicker material like a wool blanket or canvas throw. Finish with a top layer that reflects warmth back down. The order matters because each layer functions differently, and stacking them wrong wastes the entire investment in textiles.
Strategic Placement Of Heat Sources
Heat moves toward cold, and your tent has multiple thermal leak points that most decorators ignore. Place your heat source where it reaches the most volume with the least loss. A wood stove in the center of your tent radiates outward efficiently. If you’re using lanterns or small heating elements, position them near the lowest point where people sit, since warm air rises and you’ll lose it to the canvas roof anyway. The common advice to “spread warmth evenly” is incomplete. You’re not trying to heat the whole volume equally. You’re trying to keep the occupied zone warm.
Textiles near heat sources amplify the effect without adding more fuel. A heavy tapestry or canvas panel hung behind a stove reflects radiant heat forward into the living space instead of letting it escape through the tent wall. Rugs on the ground beneath seating areas break the thermal connection to cold earth. Dense wool rugs work better than light materials because they absorb warmth and release it slowly. This is why military canvas tents historically used wool blankets layered with straw on the ground. The placement protocol is: identify your heat source, then position textiles to redirect or contain that heat in the zone where you actually live.
The “Moonrise Kingdom Tent” Myth: Authenticity Over Imitation
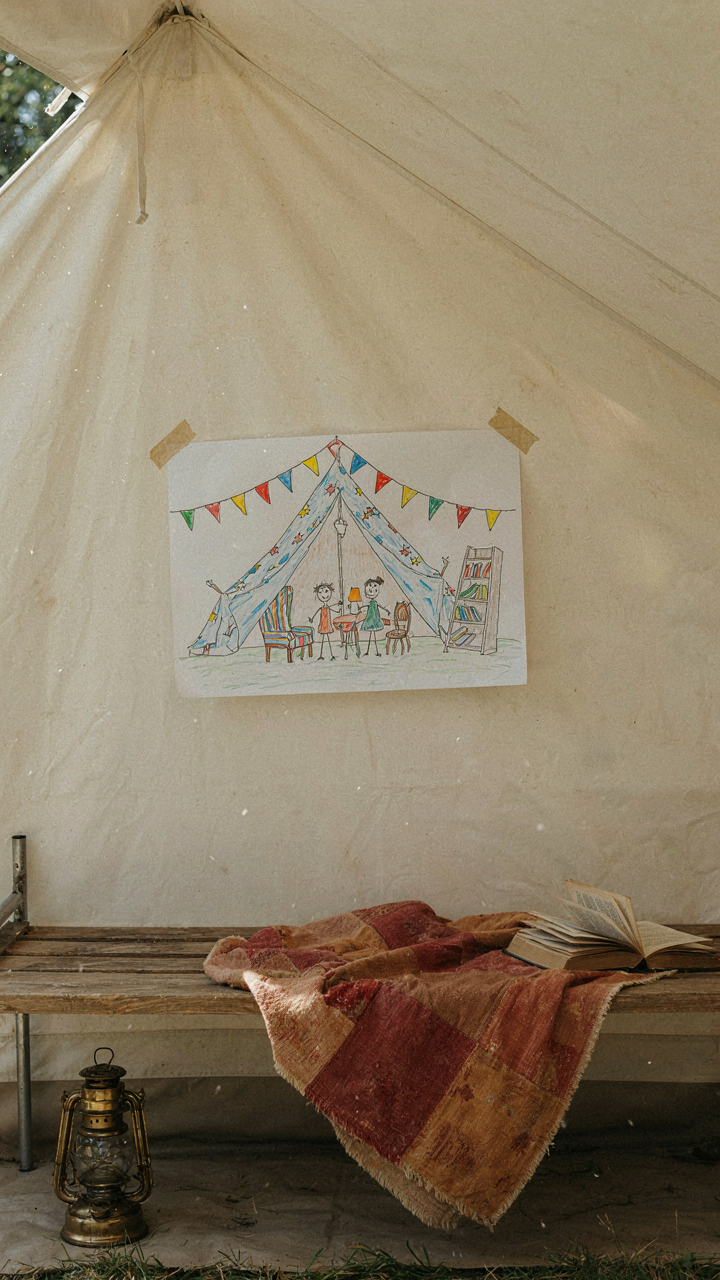
Your Story, Not A Film Set

You want permission to buy the aesthetic without doing the work. That’s the real draw of chasing movie-tent aesthetics. The mechanism is simple: borrowed authority feels safer than original taste. You outsource your judgment to a production designer’s choices, then buy replicas instead of building something that actually fits your life and the canvas you own.
A canvas tent is a functional object first. It breathes, ages, responds to sun and moisture. Treating it like a set piece means you’ll buy things that photograph well but fail under use. Your tent’s actual story, your trips, your needs, your regional climate, your budget—these should drive what goes inside, not a scene you watched once.
Sourcing That Actually Means Something
Most people search “canvas tent decor” and land on mass-produced “vintage-inspired” goods made last quarter in overseas factories. That’s the lazy path and it shows. Real sourcing means finding textile pieces with actual history or utility: reclaimed wool blankets, linen that’s been used, brass hardware that’s weathered, rugs sourced from regions where people still make them for function, not tourism.
The work is calling suppliers, visiting antique dealers, buying from outdoor outfitters with decade-long reputations, or inheriting textiles from family. These pieces cost more upfront but they’re genuine. They fit the material reality of canvas. When you place a sixty-year-old wool military blanket in your tent instead of a new “vintage-look” throw, the difference is tactile and immediate. That authenticity compounds with use.
Ergonomics Of A Canvas Tent: Space Optimization
How Physics Reshapes Interior Volume

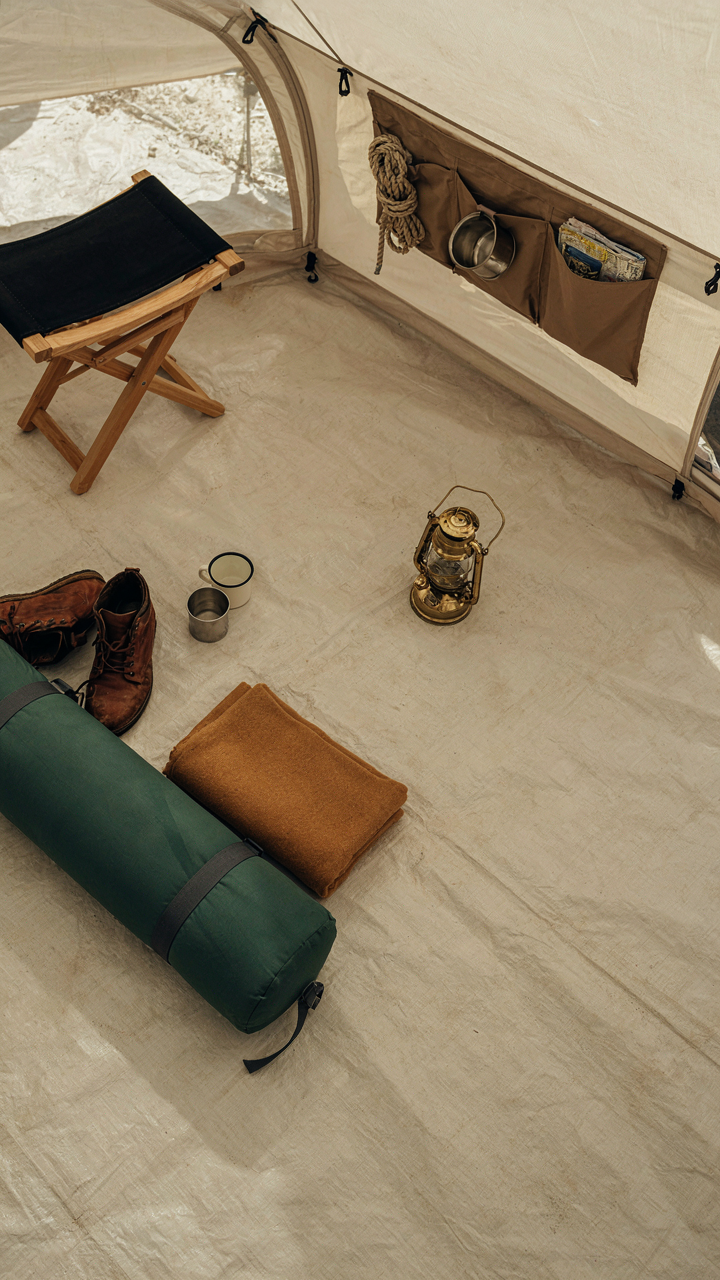
You want to feel like you own more space than you actually do. That’s the real motive here, and it’s economic scarcity talking. Physics offers a precise framework: density distribution. In a canvas tent, density distribution means how you arrange mass relative to sight lines and movement paths. A crowded tent isn’t crowded because it’s small. It’s crowded because visual clutter compresses the perceived volume. Remove half the objects and rearrange the remainder along edges rather than the center, and the same tent expands psychologically.
Canvas tents have fixed perimeter walls and a peaked or domed roof. This geometry creates a natural dead zone along the lower walls where the canvas curves to the ground. Positioning low-profile furniture, storage, and textiles along these perimeter zones preserves the visual openness of the central floor. Suspending items vertically rather than stacking them horizontally multiplies usable surface without consuming floor area. The mechanism is simple: occupy vertical space first, horizontal space second.
Layered Storage And Furniture Positioning
The standard advice here is wrong: multi-functional furniture rarely functions well at both tasks. A storage bench becomes either a storage unit that’s uncomfortable to sit on or a chair that wastes capacity underneath. The real strategy is separation by frequency. Items used daily occupy accessible, central positions. Items used weekly move to mid-level storage. Seasonal or rarely used items climb to the roof structure or slide beneath raised platforms.
Textile layering serves this hierarchy directly. Heavy canvas rugs define zones and anchor furniture positions without consuming storage depth. Hanging textile panels partition interior space and provide additional storage pockets along their edges. Wall-mounted fabric organizers store small items vertically, keeping tables and floor clear. The final step: create a single staging zone near the entrance for items in rotation, preventing constant reshuffling of core storage systems.
The Resilient Canvas Tent: Materials That Endure
Natural Fibers Built To Take Punishment

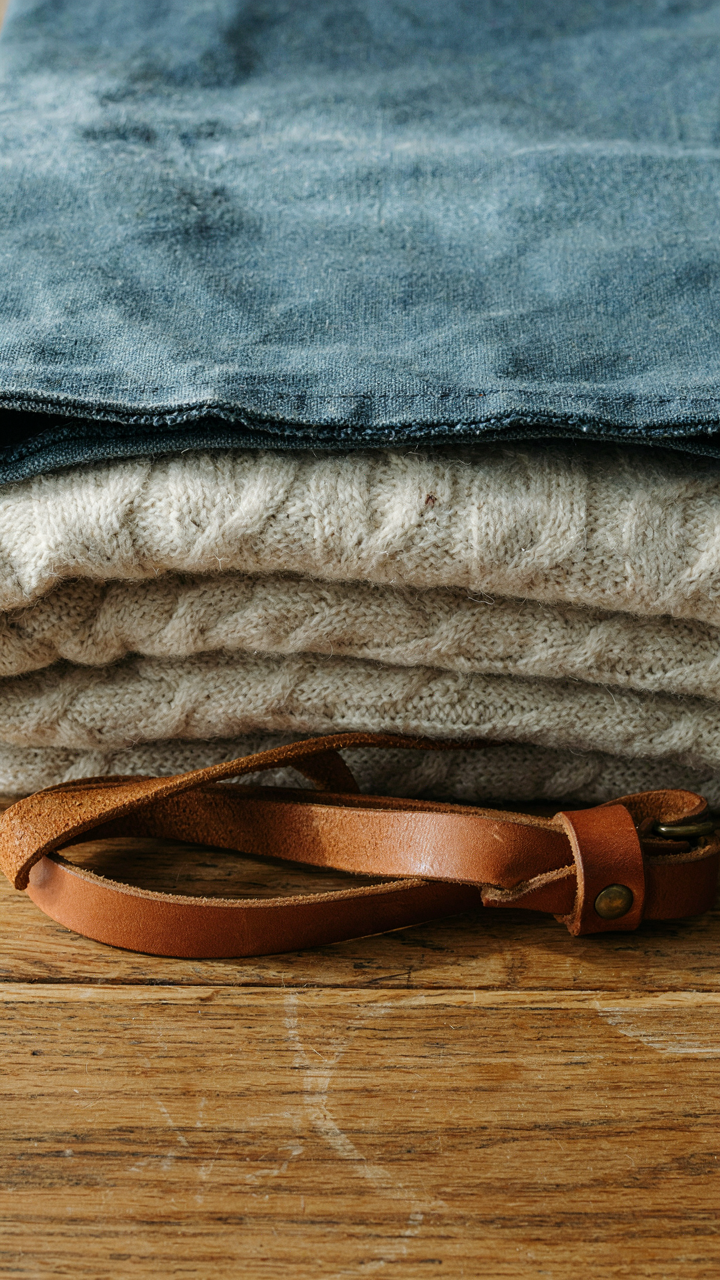
You want to believe canvas tent decor lasts because it looks timeless. The real reason it endures is material science: natural fibers resist failure modes that synthetic alternatives can’t. Wool, canvas, and leather all share tensile strength that improves under stress rather than degrading. Canvas itself is tight-weave cotton or linen, engineered to handle tension and moisture without becoming brittle. The fiber structure allows movement without breaking, which is why canvas has been the military and expedition standard for centuries.
Wool operates on the same principle as a cable under load. Its crimp structure absorbs energy without snapping, and it regulates moisture without rotting. Leather ages into increased durability because tannins create cross-links between fibers over time. None of these materials become weaker when exposed to their intended use conditions. You install them once, and the material adapts rather than deteriorates. This is why a canvas tent with wool blankets and leather accents still functions after decades of camping use.
Weatherproofing Requires Active Maintenance, Not Hope
Most advice tells you to weatherproof and forget it. That’s wrong. Weatherproofing is a protocol you execute, not a state you achieve. Canvas requires treatment with wax or specialized compounds to shed water without trapping moisture inside the fibers. This treatment degrades over time as UV exposure breaks down the protective layer and water exposure rewashes the fibers. You reapply treatment every two to three years for tents in regular use, every four to five for seasonal storage.
The maintenance step that actually extends lifespan is drying your canvas completely before storage. Damp canvas in sealed bags creates conditions for mildew to establish and spread. Store canvas tent pieces in breathable cotton bags in dry environments, not plastic. For wool textiles and leather accents, brush off dirt weekly, condition leather annually with saddle soap, and store wool items in cedar or lavender to prevent moths. You perform inspection before each season to identify seam separation or fiber degradation and repair it immediately.
Ambient Illumination: Beyond Fairy Lights
Task Lighting Versus Mood Lighting: Strategic Choices
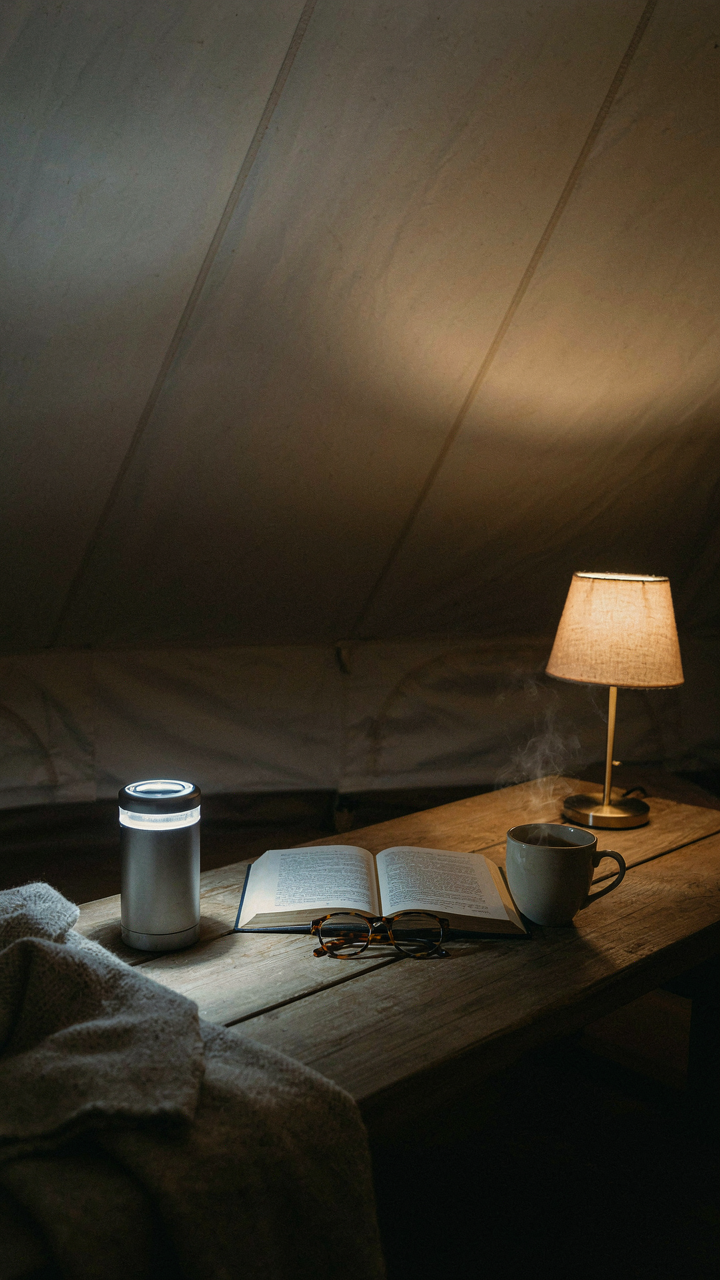
You want your canvas tent to feel intentional, not like you’re camping. Here’s the mechanism: task lighting and mood lighting operate on different principles from behavioral psychology. Task lighting eliminates shadows where people need to function. Mood lighting controls emotional response by lowering lux levels and shifting color temperature. Most people layer them wrong, flooding the entire space with dim light and wondering why it feels chaotic when someone needs to read or cook.
Split your canvas tent into zones with distinct purposes. Install task lighting where work happens: over a table, near a cooking area, or by an entryway. Place mood lighting in social zones where people sit and talk. Use 3000K color temperature for task areas and 2000K for mood zones. This separation prevents the tent from feeling like a single flat experience. The mechanism is simple: your brain processes spaces as either functional or restorative. Don’t force it to be both simultaneously everywhere.
Non Electric Options For Reliable Light
The common advice treats non-electric lighting as backup plan thinking. It isn’t. Kerosene lamps, candles, and lanterns are actually superior in canvas tents because they create radiant heat that warm textiles amplify, and they have no failure points tied to battery drain or charging logistics. Canvas breathes around flame-based light sources in ways electricity can’t match environmentally.
Kerosene lanterns burn consistently for 6 to 8 hours per refill and produce steady light without flickering. Position them 18 inches from fabric surfaces to avoid scorching. Beeswax candles burn cleaner than paraffin and don’t coat canvas with soot. Place them in glass hurricanes to protect against wind and prevent drafts from extinguishing them. Test all flame sources in your specific tent setup before relying on them. Non-electric options require deliberate placement and maintenance, but they eliminate dependency on external systems failing inside an enclosed fabric structure.
The Nomad’s Code: Portability & Setup Of Canvas Tents

Weight Distribution Beats Aesthetics

You want your canvas tent to look intentional, not like you’re running from something. That desire kills portability before you even pack it. The real mechanism is load distribution: every decorative element you add becomes dead weight during transport, and dead weight compounds across miles. Canvas itself weighs eight to fifteen pounds per hundred square feet. Add textiles without a system, and you’ve built a moving target instead of shelter.
The solution isn’t minimalism for its own sake. It’s intentional modularity. Choose textile pieces that serve dual purposes: a heavy wool blanket becomes both insulation and wall hanging. Rope ties anchor decor while managing structural strain. Mount everything via a grid system or attachment points built into the canvas, not added to it. This keeps your setup reproducible and your pack organized. You move faster when every item has a designated place and a clear function.
Breakdown And Assembly Without Friction
The common advice here is wrong: most people treat setup like a chore to minimize. Real efficiency comes from protocol, not speed. Break your setup into discrete steps you repeat identically each time.
- Perimeter anchoring first: Drive stakes in a geometric pattern before raising poles. This prevents canvas from shifting mid-assembly and forces you to work methodically instead of frantically.
- Textile staging zone: Lay all textiles outside the tent in the order you’ll install them. This eliminates searching inside the canvas while working against light and space constraints.
- Attachment point verification: Test each rope, clip, or hook before threading textiles through it. A failed anchor mid-install wastes fifteen minutes and forces repositioning.
- Climate-specific sequencing: In wind, secure heavy textiles first. In heat, ventilate with lightweight layers before adding insulating pieces. Match your order to conditions, not convenience.
- Takedown reversal: Disassemble in the exact reverse order you assembled. This prevents forgotten pieces and trains your muscle memory for speed across multiple setups.
The mechanism that separates fast setup from chaos is repetition through standardization. You build speed by removing decisions, not by working harder. Once your protocol is locked, you can execute a full canvas tent decoration and textile arrangement in under thirty minutes. The time you save multiplies across every trip you take.
The Real Obstacle Isn’t Your Tent’s Decor; It’s Your Inability To Define True Utility
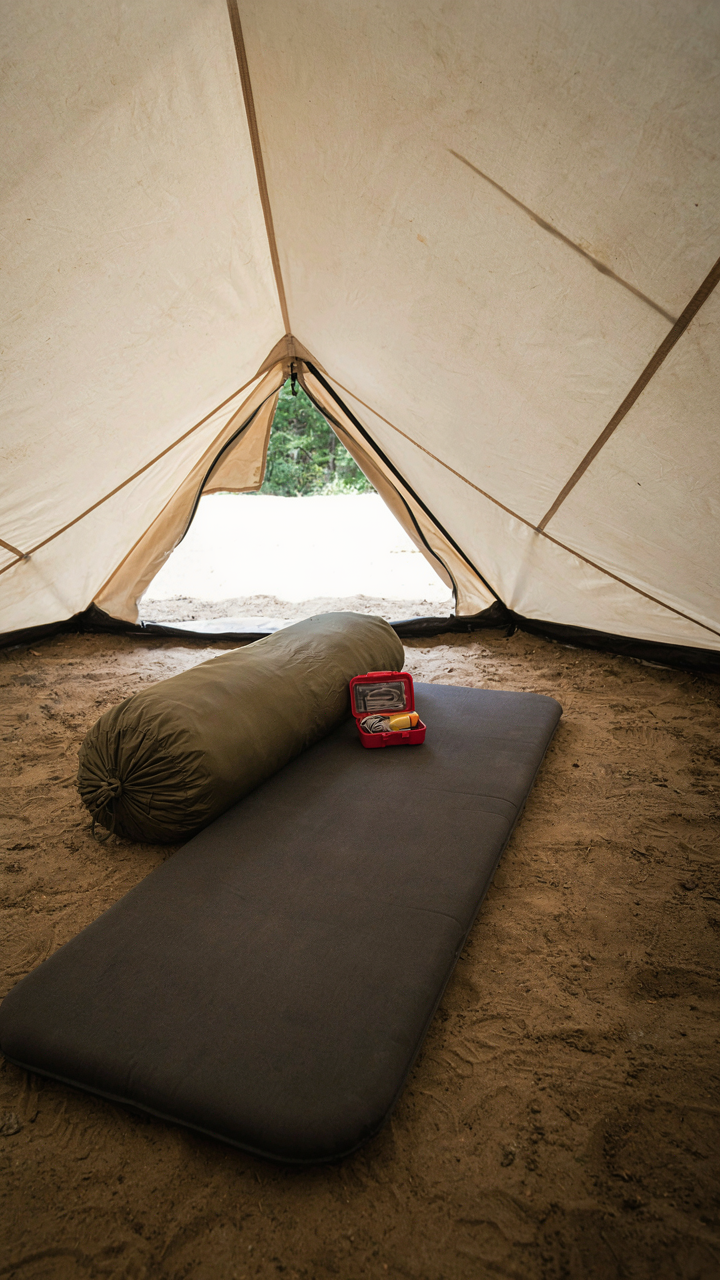

Most people throw blankets and pillows into a canvas tent and call it decorated. They’re wrong. Decoration without purpose is just clutter wearing a costume. Before you buy another textile, ask yourself this: what problem does this solve? Does it insulate? Does it absorb sound? Does it serve your actual lifestyle or your Instagram fantasy? Your next move today is simple. Walk into your tent and remove everything that doesn’t answer those questions. The decor that matters is the decor that works.



