
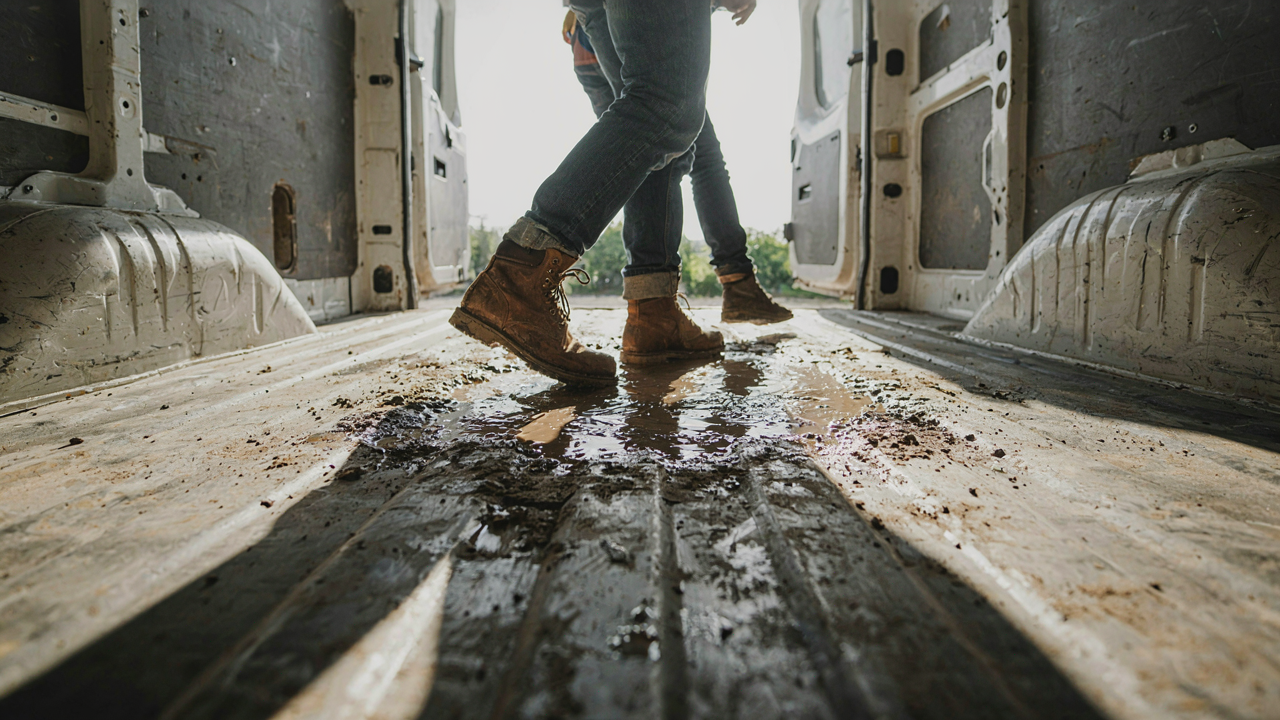
The “Easy Fix” Illusion: Why Your Dream Van Flooring Ideas Will Fail
Material Choices That Sound Right But Aren’t
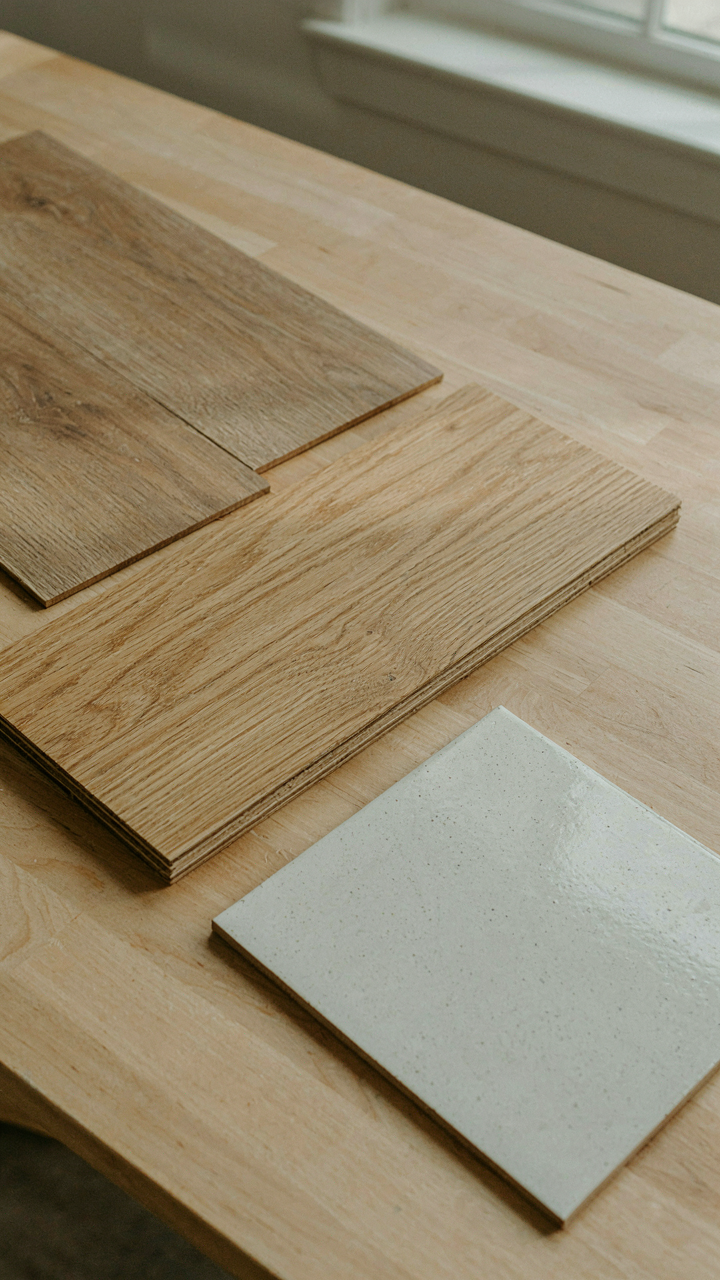
You want to believe that picking the right material solves the problem. It doesn’t. Luxury vinyl plank, engineered wood, and ceramic tile dominate van flooring conversations because they’re familiar and look good in photos. But familiarity breeds false confidence. Each of these materials fails under the specific conditions vans create.
Luxury vinyl plank absorbs moisture at seams and edges, then swells invisibly under the subfloor. Engineered wood delaminates when humidity spikes above 60 percent for extended periods. Ceramic tile cracks from vibration and thermal shock as temperatures swing between day and night. The real problem isn’t the material itself. The real problem is that van builders treat flooring as a static surface instead of a moisture management system. You need to install a moisture barrier before any top material, and you need to ensure continuous air circulation underneath. Without this foundation, your chosen material becomes a time bomb with an aesthetic wrapper.
The Van Micro Climate Nobody Talks About
Thermodynamics governs what lives inside your van, and most flooring ideas ignore it completely. Your van floor sits inches from soil and moisture. During cool mornings, the metal chassis and floor structure drop below the dew point while interior air remains warm. Condensation forms directly on the underside of your flooring. This isn’t occasional. This is physics happening every single night in most climates.
Traditional construction breathes through walls and attics. Vans have no such luxury. Air circulation happens through intentional gaps or not at all. Sealed flooring traps moisture between the subfloor and the chassis, creating a dead zone where mold thrives and materials decay. You need substrate ventilation as a non negotiable protocol, not an afterthought. Install your flooring system with a quarter inch minimum air gap underneath and ensure cross ventilation from front to rear through foundation vents. This single decision determines whether your floor lasts three years or ten.
The Micro Ecosystem Framework: Beyond Simple Van Floor Materials

Moisture As Living Architecture

You want to believe a single material solves the problem. It doesn’t. Moisture isn’t just water—it’s a biological vector that activates decay. The moment condensation hits your subfloor, you’ve created an environment where mold spores germinate, wood fibers swell, and metal corrodes. None of this happens passively. Biology teaches us that ecosystems require three conditions: a host, a food source, and the right environment. Your van floor supplies all three. The material itself becomes the host. Dust and organic debris become food. Temperature swings and humidity gradients create the environment. You can’t solve this by picking the “right” flooring material alone.
The mechanism is vapor drive. Water moves through materials in both directions—liquid and vapor. Plywood absorbs moisture from below (ground contact through tires) and from above (interior condensation). Once saturation begins, you’ve crossed the point where surface treatments matter. You need a system that interrupts the cycle entirely. Foam underlayment with proper permeability ratings, sealed seams, and air barriers don’t just protect the floor—they break the biological feedback loop before mold colonizes the substrate.
Thermal Bridging Kills Insulation Faster Than Water
Physics describes thermal bridging as the path of least resistance for heat transfer. In van floors, that path is your fasteners, your metal frame, and any uninsulated contact points between interior and exterior. A single unbroken stud from your floor to the van’s metal skin becomes a cold-conducting channel. Condensation pools there first because surface temperature drops fastest at that point. This is where your moisture problem actually originates—not from the material itself, but from thermal failure. Most van builders focus on insulation R-value alone and miss this entirely.
The real cost of thermal bridging is compounded. You lose insulation performance by 20 to 40 percent depending on fastener density and material choice. Then moisture accumulates at cold bridges, accelerating degradation of whatever material you installed. The protocol is straightforward: eliminate direct metal-to-metal contact between interior flooring systems and the van’s exterior frame. Use thermal breaks like neoprene washers under fasteners, continuous foam layers that don’t get interrupted by structural elements, and ensure every penetration gets sealed with expanding foam or compatible sealant before flooring installation.
The “Koe Protocol” For Resilient Campervan Flooring
Start With The Foundation, Not The Surface

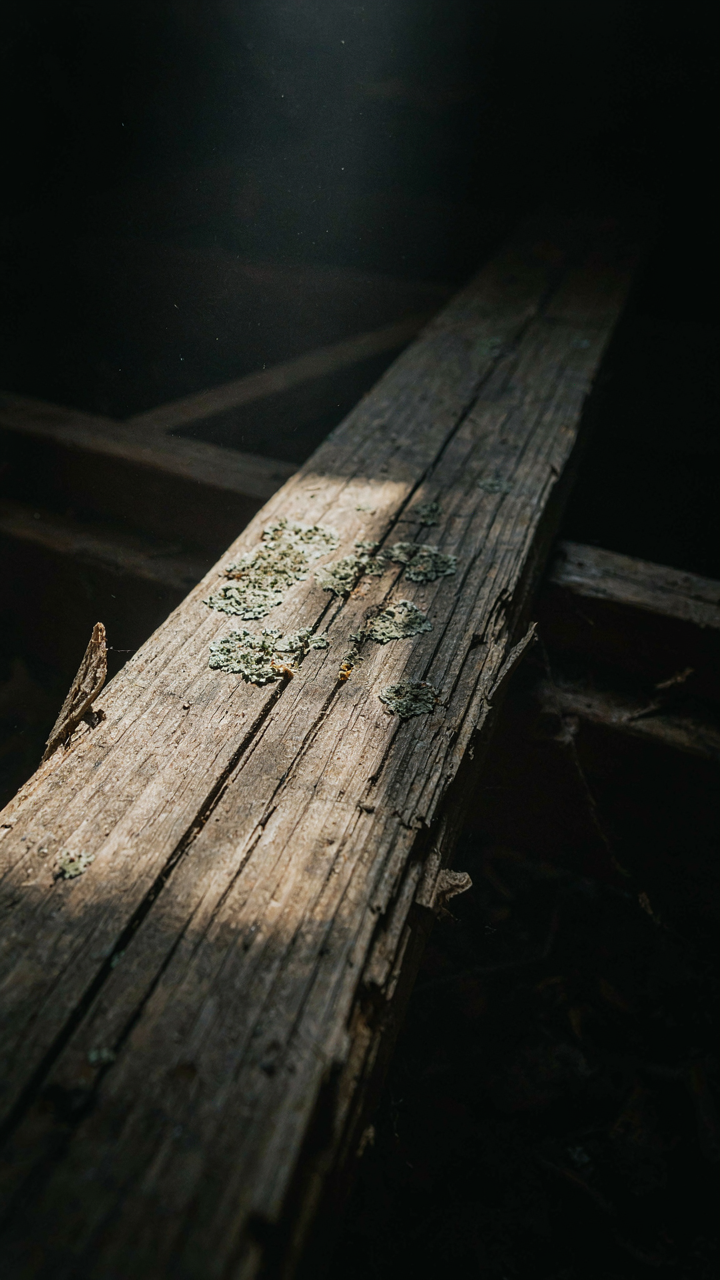
You care about this because a failed floor means you’re stuck dealing with rot inside an enclosed metal box, and you want to avoid that disaster without overcomplicating the build. The real mechanism is borrowed from structural engineering: load-bearing capacity depends on what sits beneath, not what sits on top. Most van builders treat the subfloor as afterthought. They slap insulation down, throw plywood over it, and wonder why moisture finds its way through within two years.
Your subfloor is a moisture barrier system first, a structural support second. Start by sealing any existing metal directly. Use Henkel’s Teroson or equivalent polyurethane-based sealant on seams and rivet holes where water infiltrates during rain or condensation events. Then lay a continuous vapor barrier—6-mil polyethylene or modern alternatives like XPS foam boards with taped seams. The barrier must wrap edges and terminate at walls, creating one unbroken envelope. Only after this layer sits down do you add insulation and substrate. This sequence prevents water from pooling between layers where it breeds rot unseen.
Layer Materials To Bleed Moisture, Not Trap It
The common advice is wrong: don’t use a single thick material hoping it’ll do everything. Strategic layering means each material handles one job, and moisture moves through the system instead of getting stuck. Think of it like soil drainage in agriculture—you need permeability paired with protection.
Start with a breathable underlay directly on the sealed metal. Then add your structural substrate, then your wear surface. If you use engineered vinyl, it needs a thin foam layer beneath to allow air circulation. If you use bamboo or hardwood, it requires an underlayment rated for moisture environments—not standard laminate backing. Concrete is dense and traps water; avoid it unless you’re prepared to dehumidify constantly. The protocol moves moisture downward and outward through intentional gaps at baseboards, never asking a single material to be waterproof and breathable simultaneously.
The Unseen Enemy: Conquering Moisture In Your Van Life Flooring

Where Water Actually Comes From

You think moisture is about rain. It’s not. You’re afraid of the one leak you can see, so you ignore the four you can’t. Moisture in a van operates like infiltration in military strategy: it doesn’t announce itself at the front door. It moves through every weak perimeter simultaneously.
Water enters your van floor through condensation, ground vapor, plumbing sweats, shower runoff, wet gear storage, and breath. Rain through seals matters less than you think. The real damage happens invisibly: humid air hits cold metal during temperature swings, moisture wicks up from soil contact, and your shower drainage sits inches from the subfloor. Most van owners patch the visible leak while the floor rots from below.
- Condensation on metal ribs: Cold van skin sweats when warm interior air meets it, dripping directly onto flooring materials and creating constant dampness.
- Ground vapor transmission: Moisture migrates upward through soil contact points beneath the van, especially in wet climates or after rain.
- Plumbing and fixture condensation: Water lines, gray tanks, and hot water sources sweat during temperature changes, depositing moisture on nearby flooring.
- Shower and sink splash zone: Water escapes drainage boundaries and saturates subfloor materials, particularly around drain penetrations and under fixtures.
- Hygroscopic material absorption: Wood, cork, and some rubber products actively absorb moisture from humid air, expanding and degrading over time.
Your flooring material choice only matters if you’ve sealed the moisture sources first. Most failures happen because people install good flooring over a bad moisture situation. The floor isn’t the problem. The environment is.
The Real Function Of Airflow
Ventilation isn’t decoration or comfort. It’s active moisture removal. Most van owners think ventilation means cracking a window or having a roof vent. That’s passive and inadequate. You need continuous air exchange that specifically targets the floor zone where moisture accumulates.
Stale air under a van floor holds moisture like a sealed plastic bag. Temperature swings trap this moisture against your flooring material. A single vent at the roof doesn’t reach the lowest, dampest areas. You need intake vents positioned low, near the floor perimeter, and exhaust vents positioned high, creating forced circulation across the entire subfloor. This isn’t optional if you park in humid climates or camp near water. The air has to move, or your floor will fail regardless of material quality.

Install floor-level intake vents near the front and rear underbody, paired with roof exhaust positioned for negative pressure. Run these vents even when stationary, especially overnight when condensation forms. A small 12-volt fan in the exhaust line guarantees airflow when natural convection fails. Moisture control through movement beats material upgrades every time.
Function First: Re Thinking Your Campervan Flooring Inspiration

Durability Over Perceived Comfort
You want your van to look like the Instagram version of itself, not function like the reality of it. The mechanism is simple: comfort is a feeling that decays faster than material does. Borrow from civil engineering’s concept of load bearing capacity. Your flooring must absorb punishment—mud, standing water, temperature swings, foot traffic—without structural failure. A soft, plush floor feels good for two weeks. Then it traps moisture, molds, and becomes a liability. Hard surfaces like sealed plywood, marine vinyl, or polished concrete don’t coddle your feet, but they survive the actual job of being a floor in a vehicle that gets abused.
Material choice determines maintenance burden before you ever step inside. Rubber flooring and sealed wood can handle wet boots without rotting. Carpet absorbs everything and releases nothing. Foam-backed vinyl looks finished but fails under repeated moisture cycling. Pick the floor based on what it must survive, not what it must feel like. Your flooring selection ends maintenance arguments before they start.
Maintenance Demands Versus Aesthetics
The common advice says find something that looks good and is easy to clean. That’s incomplete. The real question is which maintenance routine you’ll actually execute, not which one sounds easiest in theory. A polished concrete floor demands regular sealing and buffing. Marine vinyl requires vigilant edge sealing and never settles completely flat. Cork looks warm but swells in humidity and demands oil treatments. Bare plywood with a matte sealant needs recoating but tolerates neglect. The floor you choose must match the maintenance discipline you have, not the one you imagine having.

Aesthetics fade into irrelevance the moment functionality fails. A beautiful floor that mildews or delaminates becomes expensive regret. Build your maintenance protocol before selecting material. If you’re willing to reseal plywood every eighteen months, plywood works. If you want zero maintenance, sealed concrete or rubber is the only honest answer. The mechanism is direct: maintenance consistency determines material lifespan, not material quality alone.
The 80/20 Rule Of Van Floor Preparation: How To Install Flooring In Camper Van Right
Rust Treatment Essentials
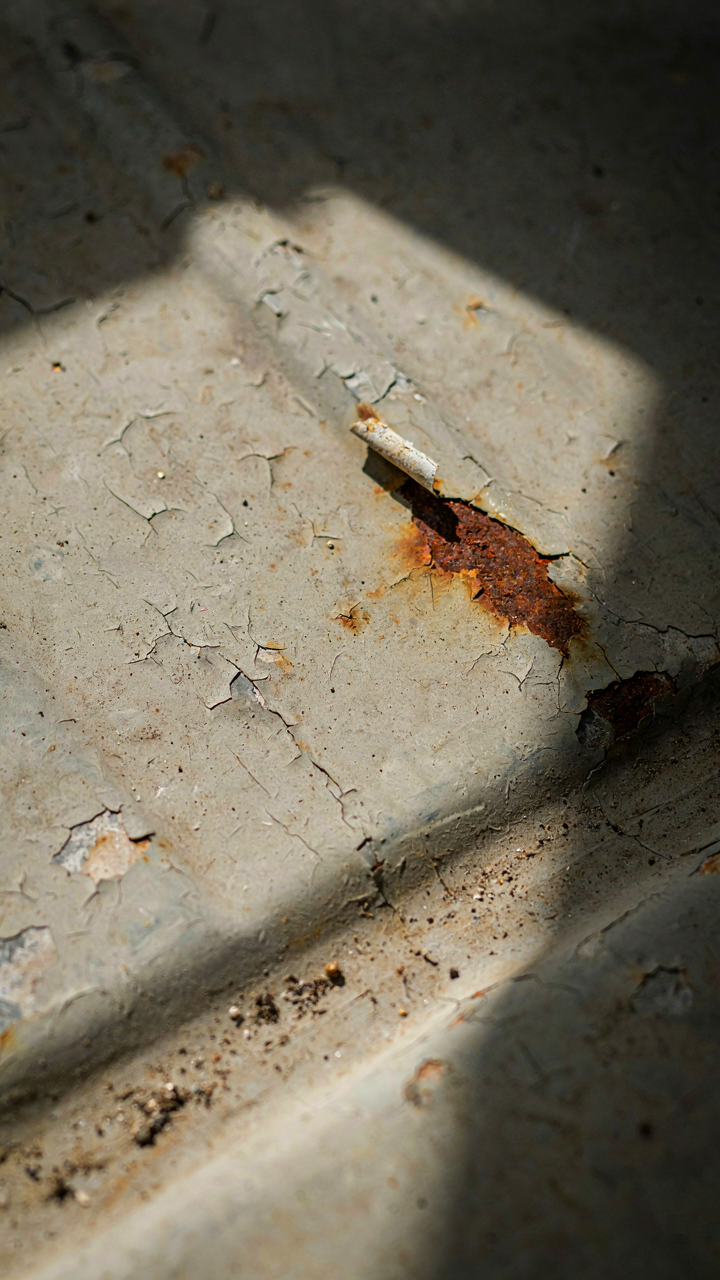
You want to skip this step because rust feels invisible once you cover it. The mechanism that kills vans isn’t the rust you see—it’s the rust you trap under new flooring, which accelerates under moisture and heat. Steel van floors rust from underneath first. Moisture gets trapped between metal and whatever you install on top, creating an oxygen-starved environment that rusts faster than exposed metal ever would.
Start with bare metal inspection. Use a wire brush or wire wheel attachment on a drill to remove all loose rust, scale, and old paint down to solid substrate. This isn’t cosmetic work. You’re exposing the actual structural condition so you know what you’re sealing. After cleaning, apply a rust converter product that chemically transforms remaining surface rust into a stable compound, then seal with a rust-inhibiting primer rated for metal. This step determines whether your floor lasts five years or fifteen.
Leveling And Sound Dampening
Leveling isn’t about comfort—it’s about stopping water migration. Use the physics principle of capillary action, where liquid moves through small gaps against gravity. Every low spot in your van floor becomes a collection point for condensation and spills, which travel horizontally under your new flooring instead of draining out. Capillary action means moisture finds every crack and channel you leave behind.

Build a level substrate using self-leveling epoxy or rigid foam boards shimmed to create a true plane. This eliminates pooling zones. Add a closed-cell foam underlayment rated for moisture vapor reduction—this breaks the capillary chain by providing no pathway for water movement. Sound dampening is a secondary benefit, not the primary reason. Your floor won’t rot because it sounds quieter; it’ll survive because you stopped water from sitting still underneath it.
How To Install Wood Floor In Van: An Investment, Not An Expense
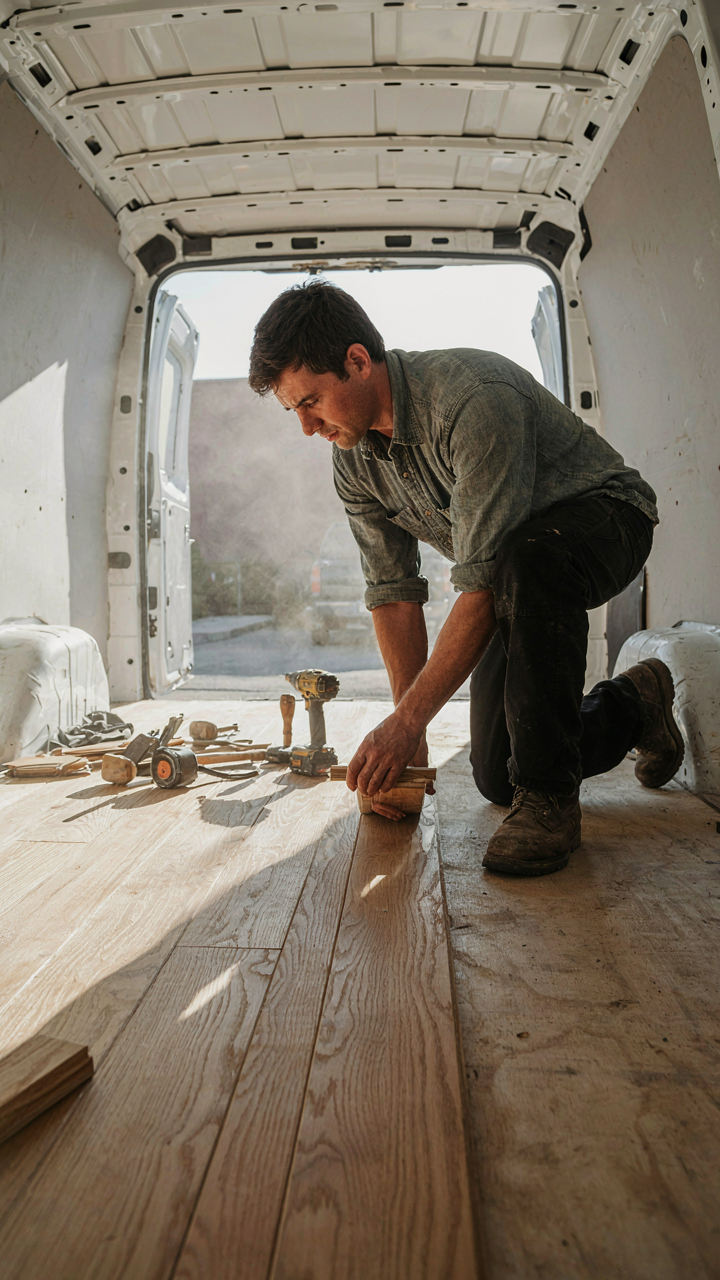
The Real Math On Wood Flooring
You want wood because it signals permanence, because you’re tired of plastic, because it feels like you’re building something real instead of occupying a rental. Here’s the mechanism: wood holds its perceived value longer than vinyl or rubber, but only if moisture never breaches the substrate. Engineered hardwood costs 40 to 60 percent less than solid wood and handles humidity swings better because the cross-grain plywood base resists cupping. The calculation isn’t about initial price. It’s about useful lifespan before rot or mold forces replacement.
A properly sealed wood floor in a van lasts eight to twelve years before needing refinishing. Vinyl lasts five to seven before degrading. The math flips when you factor in labor and material costs for replacement cycles. Install wood once with correct ventilation, seal it annually, and you spend less total money over fifteen years than you do chasing cheap flooring replacements every half-decade. Wood flooring demands upfront knowledge, not just upfront cash.
Prevention Costs Pennies Per Application
The common advice says “just use marine-grade plywood or luxury vinyl.” That’s incomplete because it ignores the actual failure point. In van flooring, economics work backward: spending on prevention saves money on repair. A single compromised seal costs you a full floor replacement. Annual sealing costs forty to eighty dollars in materials and four to six hours of labor. Replacement costs one thousand to three thousand dollars and leaves you without a van for weeks.

Moisture barriers beneath the wood (closed-cell foam or rubber underlayment) cost thirty to fifty dollars per hundred square feet. They prevent water vapor from below deck from contacting the wood. Proper ventilation through roof vents or exhaust fans moves humid air out before it condenses on wood surfaces. You apply two coats of polyurethane or marine epoxy annually, checking the seal before seasons change. This protocol stops damage before it starts.
The “No Compromise” Guide To Mud & Moisture Proof Campervan Flooring
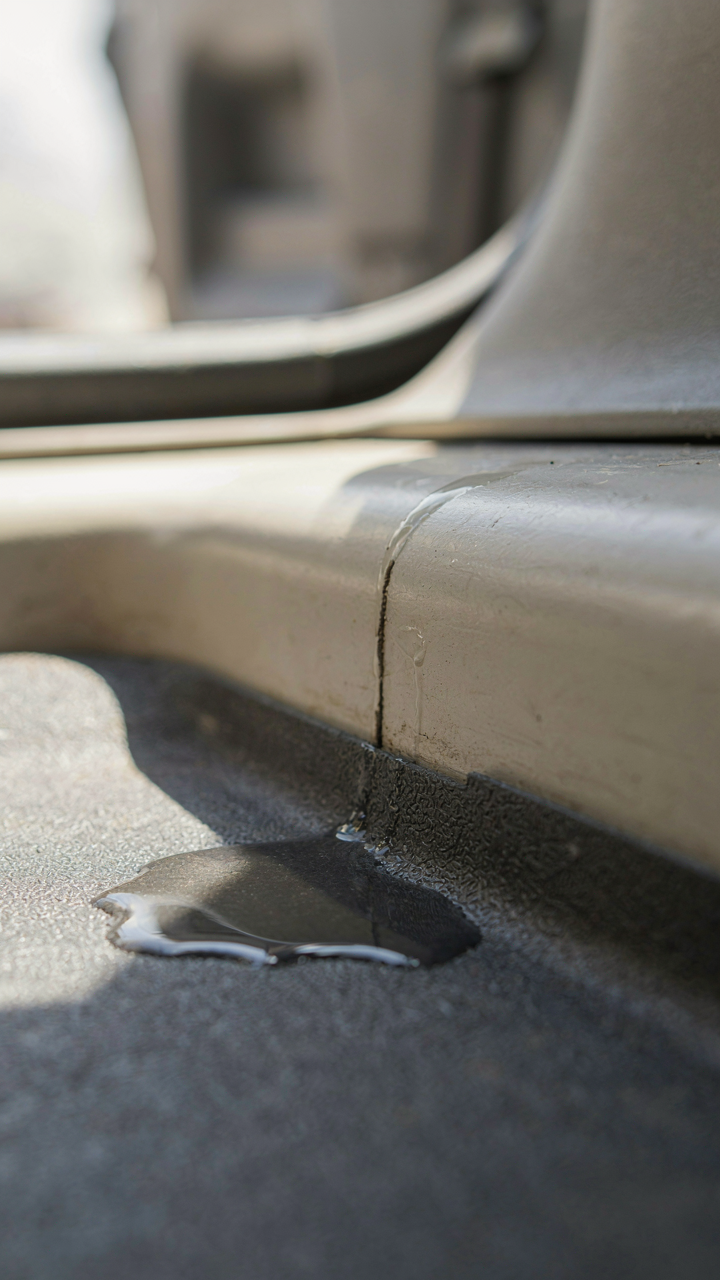
Stop Leaks Before They Start
You want to believe your van is sealed. It isn’t. Water doesn’t care about your optimism—it finds every gap, every seam, every corner where two materials meet. The mechanism is simple physics: water moves downward and sideways until it hits resistance. Your floor sits at the lowest point, collecting everything. Seal every potential breach before you install flooring, or you’re building a boat that leaks.
Start at the van’s skeleton. Check every penetration: fresh water inlet, grey water outlet, electrical conduits, ventilation ducts. Each one is a highway for moisture. Use marine-grade sealant rated for movement, not silicone that hardens and cracks. Press it into gaps until it’s flush. Then inspect the floor pan itself—rust spots indicate previous water entry. Treat corrosion with rust converter, then seal with epoxy. This step saves your entire flooring investment.
Flooring That Actually Works
Common advice says luxury vinyl plank or cork absorbs moisture and rots. This is incomplete. Those materials fail when installed over unsealed surfaces or where standing water collects. The real solution uses materials that shed water instead of holding it, paired with a substrate that dries if breached.
- Marine-grade aluminum composite: Doesn’t absorb water, weighs less than plywood, and bonds to epoxy coatings. Used in boat construction for decades. Costs more upfront but outlasts everything else.
- Epoxy-sealed plywood with polyurethane topcoat: Standard plywood fails immediately. Seal all six sides with marine epoxy first. Then add two-part polyurethane topcoat. The seal matters more than the base.
- Rubber tile or rolled rubber flooring: Commercial kitchens use this because it tolerates constant moisture. Doesn’t rot, sheds water sideways, easy to replace sections. Unattractive but effective.
- Vinyl sheet flooring (high-grade marine type): Different from luxury plank. Single continuous sheet eliminates seams where water hides. Seams are where moisture enters and flooring fails.
- Galvanized steel subfloor with sealed plywood overlay: Overkill for most builds, but the steel layer stops water from pooling on the pan. Used in expedition vehicles that cross water.

The material choice depends on your tolerance for maintenance. Aluminum composite requires no upkeep. Sealed plywood needs inspection annually. Rubber tiles last longer than vinyl but show wear visibly. Install a drainage layer—even a simple foam underlayment—under your final flooring. Water that breaches the seal moves sideways into drainage instead of sitting on your subfloor, which is where rot accelerates.
Your Van Floor Isn’t Failing Because You Picked The Wrong Color; It’s Failing Because You’re Ignoring The Invisible Warzone Beneath Your Feet
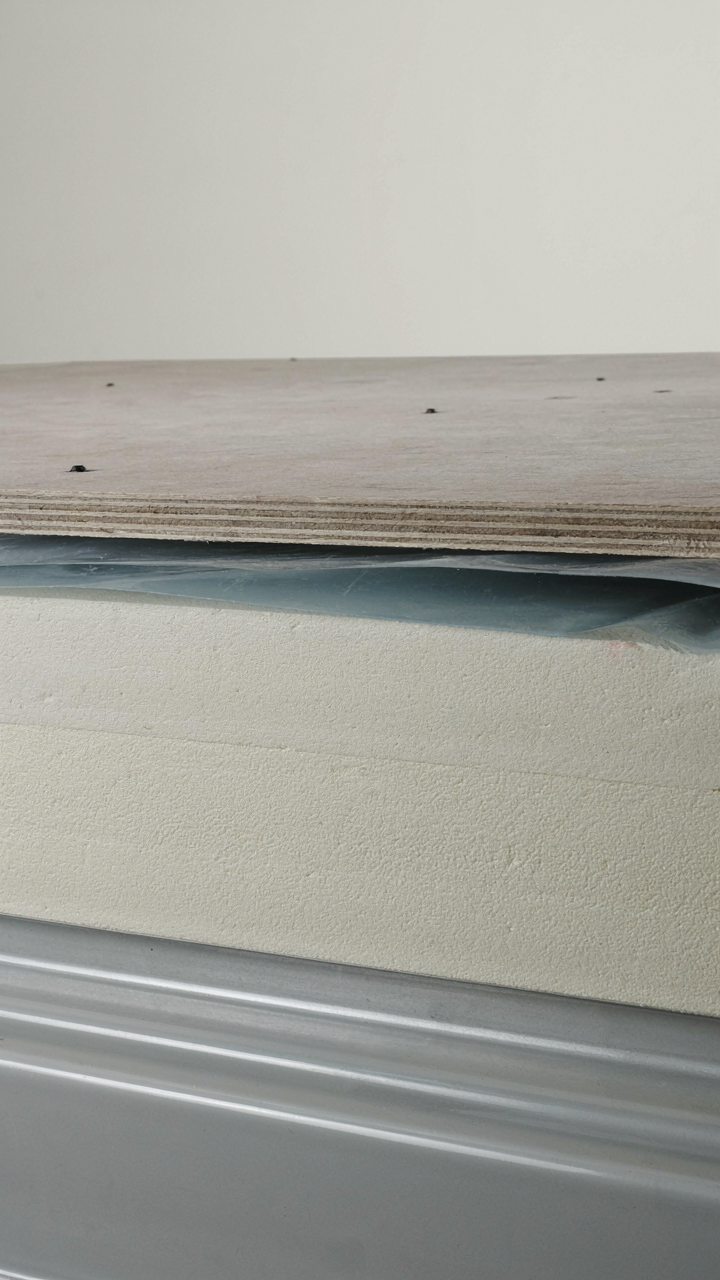
Stop chasing the perfect material and start building the perfect system. Moisture kills everything. Every flooring choice fails without proper ventilation, substrate barriers, and drainage. Pick a material today that matches your climate and driving pattern, then obsess over what sits underneath it. The floor you choose matters less than the invisible architecture that keeps water from ever reaching it in the first place. You don’t need a better floor. You need a floor that stays dry.



