
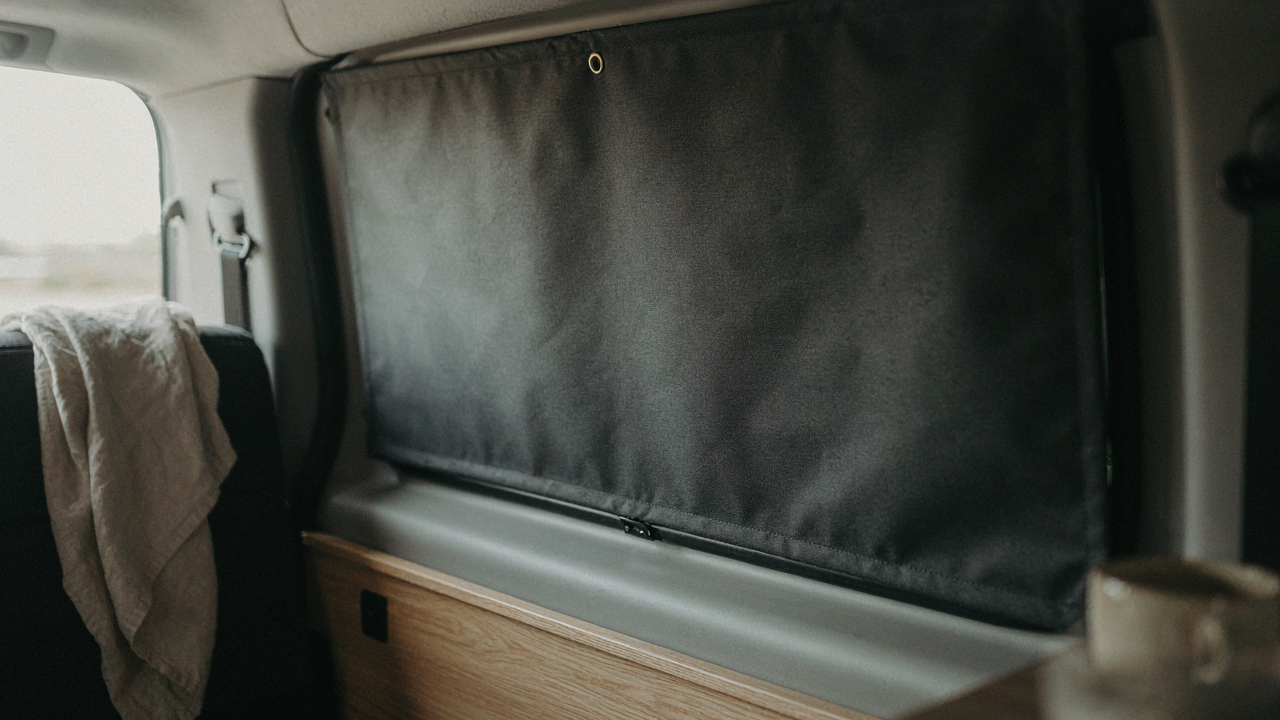
The Illusion Of Savings: Why “Cheap” Costs More

Materials That Fail Fast
You want to believe budget materials work because admitting otherwise means you wasted research time. They don’t. In thermodynamics, insulation value degrades when materials absorb moisture or compress under repeated stress. Thin reflective film and single-layer foam degrade faster than you think. Cheap adhesives fail in heat cycles. Dollar-store blackout fabric bleeds dye and deteriorates under UV exposure within months. You replace them three times instead of once.
The math is brutal. A ten-dollar roll of knockoff reflective material lasts one season in a van parked in sun. A thirty-dollar roll of quality reflective film lasts three to five years. You buy the cheap one four times before the good one fails once. That’s forty dollars versus thirty. You paid more, got less, and wasted the time sourcing replacements repeatedly.
Time Investment Has A Price Tag
Everyone calculates labor cost wrong because they don’t bill themselves. Economics recognizes opportunity cost as the true measure of spending. When you spend three hours solving a failed window cover installation, you lost whatever else you could have done that day. Shoddy materials require reinforcement, patches, and redesign. Quality materials install once and hold.
The real transaction isn’t money to hardware store. It’s hours of your life against months of function. Install a cover using cheap foam and thin adhesive, and you’ll reinstall it six months later when it peels or compresses unevenly. Install the same cover using quality materials and you avoid that afternoon entirely. Never put a time cost calculation in your head until you’ve actually tracked what bad materials cost you in reinstalls.
Beyond Privacy: The Psycholology Of Seclusion

You’re Actually Afraid Of Being Seen

You want window covers because you’re afraid someone will judge you for living in a van. That’s the real driver, not privacy. The mechanism is simple: visibility creates social vulnerability, and window covers eliminate the vector. Most people won’t admit this, so they frame it as “heat control” or “security.” Both matter. But the psychological relief of opacity—knowing no one can assess your living situation from the street—is what makes you actually install them. That relief is legitimate. Don’t dress it up as something else.
Light discipline operates on the same principle as military concealment doctrine. A source that emits or reflects light becomes a target for attention. Your van’s windows are transmitters broadcasting occupancy, movement, and lifestyle to anyone passing by. Curtains and blackout covers interrupt that transmission. The goal isn’t invisibility—it’s indifference. When your windows reveal nothing, passersby categorize your van as abandoned or empty rather than occupied. That shift in perception is the entire mechanism. Install covers that block 95 percent of light transmission, not 70 percent. The difference between “probably empty” and “might be someone in there” is your actual security perimeter.
Opacity Creates Psychological Distance
Pedestrians and law enforcement interact differently with vehicles they can’t see into versus those they can. Window covers create a boundary that shifts your van from a transparent object to a closed system. This isn’t paranoia. It’s basic environmental psychology applied to a mobile dwelling. The moment someone cannot verify your presence or assess your space, they move their attention elsewhere. Your nervous system recognizes this and stops running threat calculations. That’s why covering your windows feels immediately different from talking about covering them.
The installation protocol matters more than the material choice for this reason. Professional-grade blackout covers installed permanently signal that the van is intentional, maintained, and off-limits. Makeshift solutions—blankets, cardboard, clothesline—broadcast that you’re temporary and uncertain, which invites scrutiny. Use magnetic panels, adhesive-backed cellular shades, or permanently mounted roller mechanisms. The tactile quality of secure installation becomes the psychological anchor. Your subconscious reads “properly installed” as “belongs here,” and that internal signal affects how you move through public space.
The Thermal Barrier Protocol: Real Insulation, Not Just Fabric
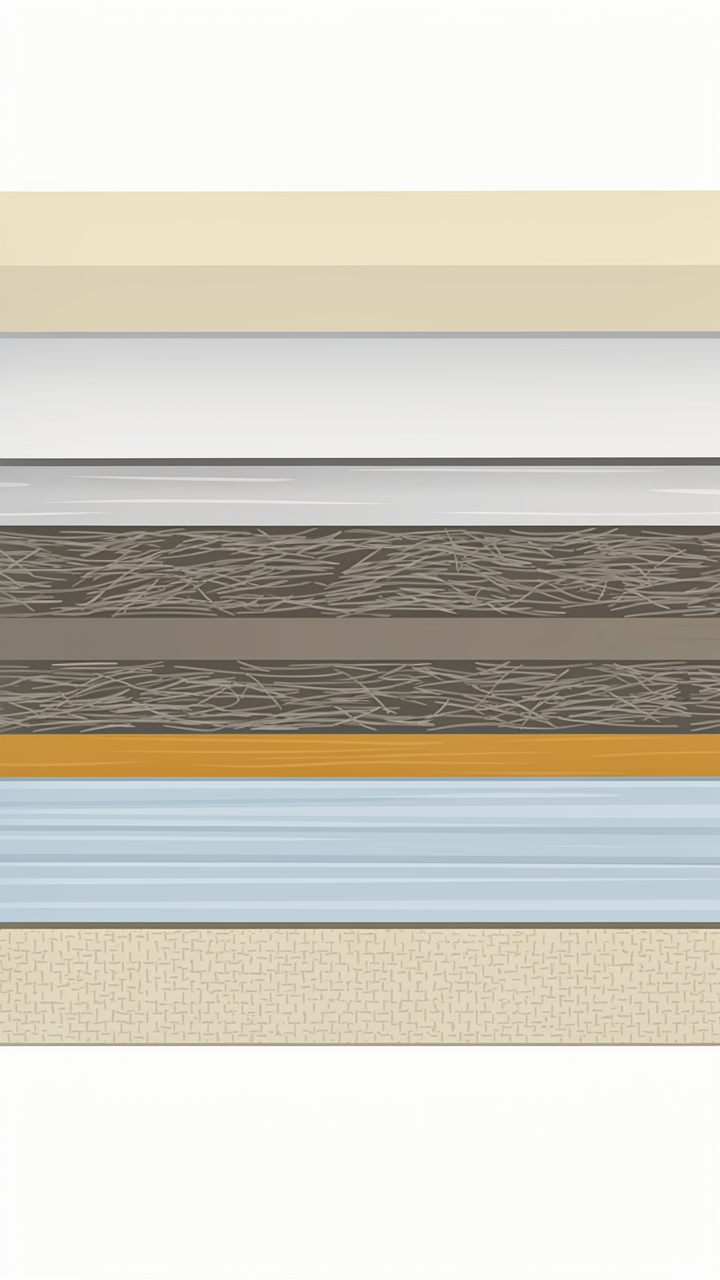
R Value Realities: Material Performance Metrics

You want to believe fabric alone stops heat. It doesn’t. Thermodynamics doesn’t care about your budget or van life aesthetic. R-value measures thermal resistance—how much a material slows heat transfer. A single layer of cotton fabric rates around R-0.2. Your van loses heat through windows at roughly R-0.9 with single pane glass. You’re starting from a deficit.
The actual path forward uses layered density. Reflective bubble wrap (R-3 to R-5 per inch), EVA foam (R-3.5 per inch), or rigid foam boards (R-4 to R-6.5 per inch) create measurable resistance. Most van builders use 1-inch foam or 2-inch bubble wrapped in fabric—getting you to R-4 to R-8 total. That’s not insulation like a house wall, but it cuts radiant heat transfer by 60 to 80 percent. The mechanism: denser materials have smaller air pockets that trap gas molecules and slow molecular motion.
Air Gap Dynamics: Convection Control
Physics calls it convection—moving air carrying thermal energy. Seal air gaps or you waste your insulation layer. Even small spaces between your cover and window glass create convection loops. Warm air trapped at the glass rises, cools at the cover, falls, and cycles again. You’ve built a thermosiphon that undermines everything else.
Install covers flush against glass or build a dead air space intentionally. Dead air space means creating a sealed pocket of stagnant air between materials—typically 1 to 2 inches. This kills convection because air can’t move. Weatherstripping around cover edges, frame contact all sides, or vacuum-sealed designs accomplish this. The action: measure your window depth, then build or order covers slightly larger than the frame itself so they compress and seal against the rubber trim.
How To Make Van Window Covers: The “Overkill” Design Philosophy

Build For Failure Points, Not Best Case

You want a cover that won’t fall apart when you actually live in it. The real mechanism here borrows from industrial durability thinking: stress concentration. Every joint, edge, and attachment point will fail first. Most DIY van covers skip this and learn the hard way when UV and vibration shred their work.
Start by identifying where your cover experiences the highest stress. The top corners take constant wind load. The edges flex every time you open a window or the van shifts. The attachment points see repeated micro-movements. Use materials rated for the abuse, not the ideal conditions. Plywood flexes; aluminum frame reinforcement doesn’t. Velcro tears; snaps or magnetic strips survive seasonal temperature swings without degradation.
Repair It Without Replacing Everything
Modularity comes from systems thinking in cybernetics: design feedback loops that catch failure before cascade. Your cover fails not as one unit but in components. You want each component replaceable in under ten minutes without tools or special skills.
Use a frame structure with clip-in or snap-together panels rather than glued assemblies. If the insulation layer compresses or the reflective coating peels, you swap that layer only. If the velcro fails, you peel it off and reapply without disturbing the frame. This isn’t complex. It’s the difference between a cover you’ll repair versus one you’ll live with broken or dump and replace.
Installation Is Everything: The Airtight Seal Imperative
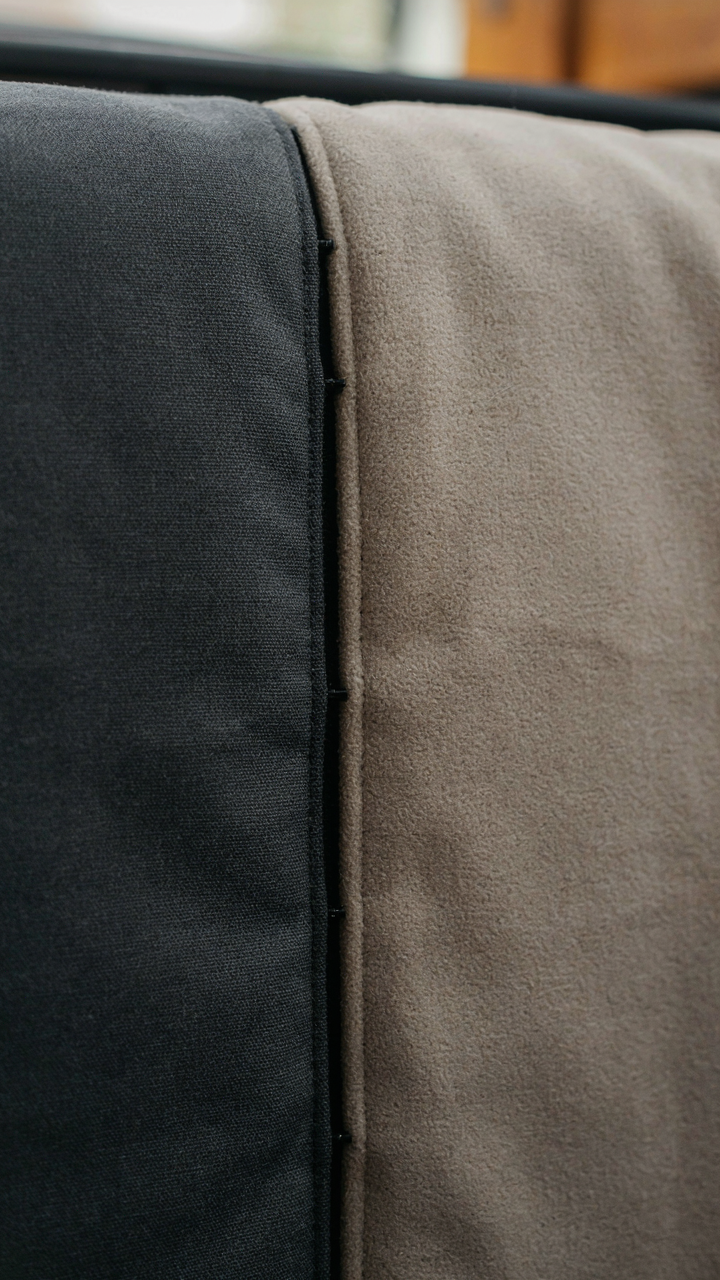
Why Magnets Beat Screws For Your Van

You want this to work without thinking about it. The mechanism is friction loss. Every time you manually fasten a cover, you create micro-gaps where thermal energy bleeds through. Magnets solve this by creating a consistent, repeatable seal. Steel strips mounted to your van frame hold fabric or reflective material flush against the window edge. No gaps. No fiddling. The magnetic seal compresses evenly across the entire perimeter, which mechanical fasteners cannot achieve because hand-tightening varies by pressure and angle.
Screws and adhesive-backed velcro create problems the moment you remove and reinstall covers. Thread holes enlarge. Velcro loses grip. Magnets degrade slowly over years, not days. Mount your magnets to the van body with epoxy or rivets before you attach them to the cover material itself. This protects the magnets from repeated stress at the point where failure occurs. Test the seal by running your hand along the edge. You should feel slight resistance as the magnet grips. If you feel loose fabric, the magnetic strip wasn’t positioned flush against the frame.
The Thermal Bridge You Cannot Ignore
Metal transmits heat at a rate that physics calls conductivity. Your van has aluminum or steel window frames. A cover attached directly to bare metal creates a thermal bridge, which means exterior cold travels straight through the fastener into your interior. The solution requires an intermediate layer. Adhesive-backed foam tape applied to the frame before you install the cover stops this transfer. The foam acts as the insulator between the cold metal and your reflective material.
Most guides skip this step because it seems redundant. It is not. A half-inch foam layer reduces heat transfer through the fastening points by 60-70 percent. Install foam tape on the entire frame perimeter where your cover will contact it. Press firmly for a solid bond. Then apply your magnetic strips or mechanical fasteners over the foam. This adds assembly time but eliminates the single largest thermal failure point in van window covers. The result is a cover that actually performs as designed.
Aesthetics And Stealth: Disappearing In Plain Sight
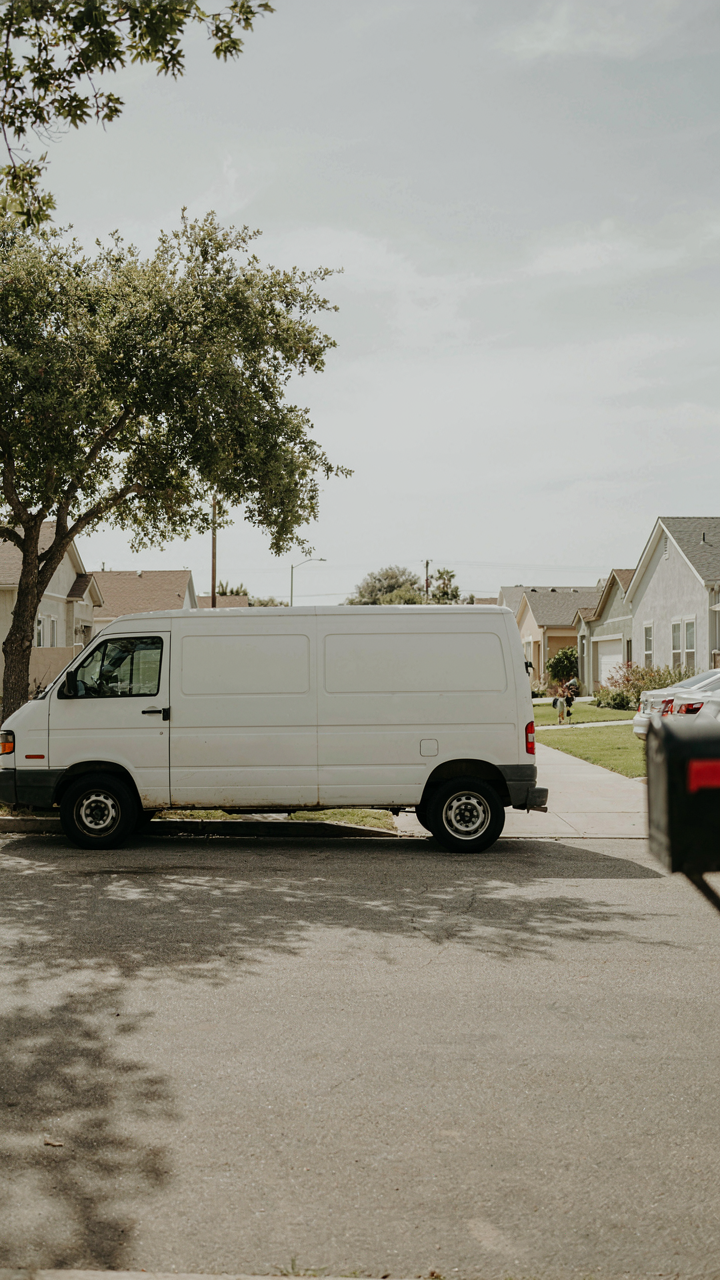
The Exterior That Doesn’t Announce Itself

You want people to not notice your van. That’s the real reason this matters. Law enforcement, opportunistic thieves, and curious neighbors all filter based on visual signals. The mechanism is simple: a stock van with factory windows reads as “occupied vehicle with cargo.” A van with obvious aftermarket coverings reads as “something worth protecting inside.” The goal isn’t to make your van look nice. It’s to make it visually identical to a thousand other work vans on the road.
Matte black, dark gray, and charcoal rubber finishes are your working palette because they match OEM trim already on vans. Glossy materials catch light and create contrast that draws attention. Soft fabric covers mounted flush inside the window frame disappear against the interior darkness. Aluminum frames must match existing trim anodizing or rust to invisibility. The cover itself becomes background noise rather than a modification announcement.
Interior Simplicity Over Visual Noise
Clutter inside your van windows broadcasts occupation to someone peering inside. Every visible object, wire, or mounting bracket multiplies the eye’s landing spots. This follows signal-to-noise principles from information design: reduce competing elements and your actual living space becomes harder to inventory from outside.
Covers mounted with minimal hardware use recessed fasteners or adhesive strips that hide completely. Fabric choice matters less for aesthetics than for non-reflectivity. Matte finished covers eliminate the mirror effect that turns windows into spotlights at night. Route any visible hardware behind the fabric layer or integrate it into the frame itself. The fewer edges, seams, and fasteners someone can count from outside, the less your van reads as modified and occupied.
Ventilation Without Compromise: The Airflow Paradox

Why Your Covers Kill Your Air

You want privacy and temperature control without suffocating in your van. The real problem nobody states: most DIY covers create dead zones where moisture gets trapped and heat pools exactly where you don’t want it. Physics calls this a pressure differential, but in van terms it’s simple—you block airflow, you breed condensation and mold.
The mechanism is this: when you seal a window completely, you stop the natural exchange that keeps interior air moving. Moisture from breathing, cooking, and sweating has nowhere to go. It condenses on cold surfaces at night. Your cover becomes the problem, not the solution. The answer isn’t better sealing. It’s strategic gaps.
Cross Ventilation Through Design
Your van is a box. Air moves through it in predictable patterns when you give it a path. Open one window fully, crack another on the opposite side or rear, and you establish what engineers call a pressure gradient—warm air wants to rise and escape, cool air wants to enter low. Your window covers need to support this, not block it.
Don’t use solid covers on all windows simultaneously, especially at night. Cut or design your covers with deliberate vents along the top edge or use materials like reflective fabrics with built-in weave gaps that let air pass while blocking light and heat. Position your main seal on windows that face sun exposure during the hottest hours. Leave rear or side windows free or use permeable materials. Airflow beats insulation when moisture is the real threat.
The Longevity Equation: Materials That Withstand Abuse
UV Degradation: Selecting Resistant Fabrics

You want your cover to last because replacing it every two years feels like failure. The real mechanism is photodegradation, borrowed from materials science: UV light breaks polymer chains in fabric, the same way it cracks plastic dashboards. Most van dwellers pick cotton or cheap polyester and watch them fade to paper within eighteen months.
Solution fabrics are few. Sunbrella and similar marine-grade acrylics resist UV damage because manufacturers add UV absorbers during production, not as aftermarket treatment. Polypropylene works too, though it yellows before it fails structurally. Avoid untreated cotton entirely. Treated canvas can work for two to three years if you prime it with UV-blocking sealant first, but that adds labor. Test any fabric by leaving a sample in direct sun for two weeks. If it tears easily after that, it won’t survive a van.
Moisture Resistance And Mold Prevention
Mold doesn’t grow because your van is wet. Mold grows because moisture stays trapped between your cover and the glass, creating a sealed humid chamber. You can fight this one way: air circulation. The cover must breathe or it becomes a petri dish.
Tight, waterproof covers fail fastest. Mesh or perforated materials allow air movement and dry out quickly after condensation forms. If you use solid fabric, leave a one-inch gap at the bottom for convection. Seal edges with tape or gasket, but not the bottom. Mold prevention beats mold removal every time because removal means taking the cover down and rebuilding it. Your protocol is simple: measure twice, build with mesh or gaps, inspect monthly for soft spots or discoloration.
Vanlife Window Cover Ideas: Customization As Optimization
Integrating With Existing Van Systems

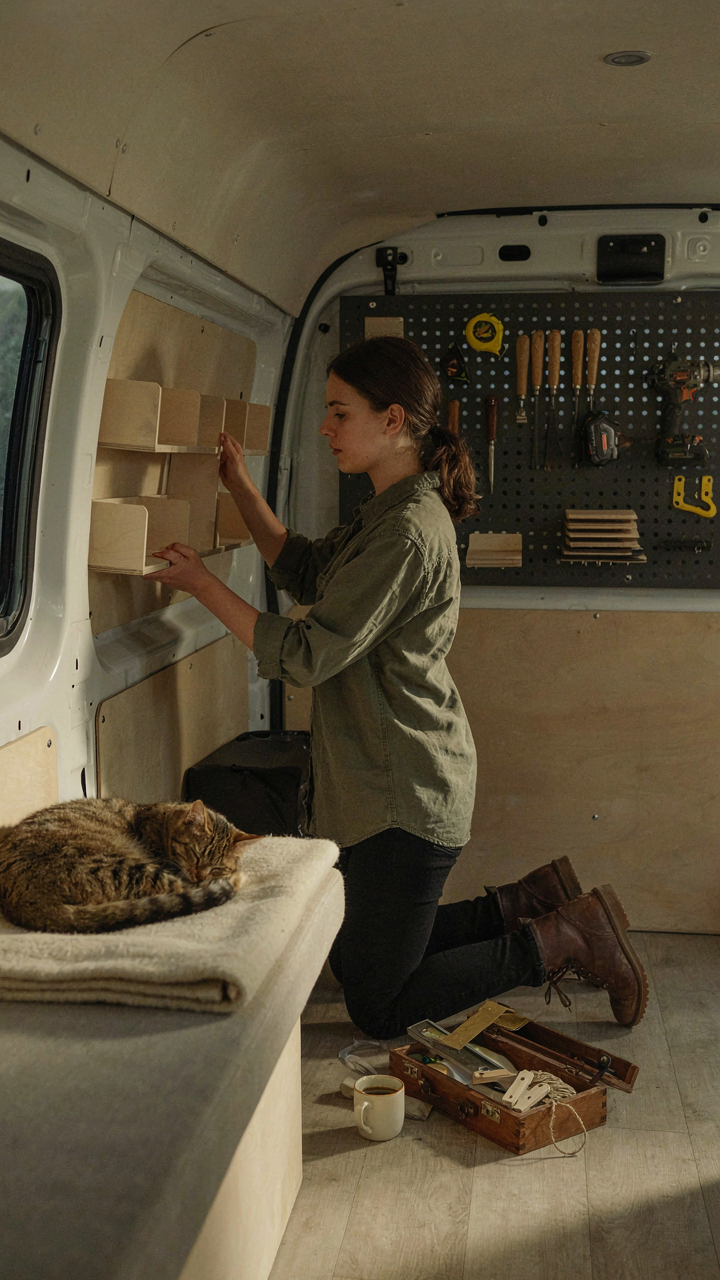
You want to feel like you’ve “optimized” your setup when really you’re just avoiding the sunk cost of ripping out what doesn’t work. The mechanism is simple: your window covers exist in a thermal and structural ecosystem. They interact with your insulation R-value, your ventilation strategy, and your roof load capacity. A cover that blocks heat perfectly but traps moisture against the wall creates rot. A cover that looks clean but requires you to remove it for every vent operation wastes your time daily.
Map your covers to existing systems before installation. If you have roof vents, your covers must clear their operation radius completely. If your van uses rigid foam insulation, covers should attach to the frame without compressing the insulation behind windows. Test fit everything. Take measurements from the frame, not the window glass. Install one test cover, live with it for two weeks, then manufacture the rest. This prevents a full remake halfway through.
Future Proofing For Upgrades
Most people install covers then immediately realize they want to add solar panels, upgrade ventilation, or swap their interior layout. This creates waste and labor you didn’t budget for. The real constraint isn’t the cover design itself but the attachment method and material thickness you choose at the start.
Use attachment systems that release without damage: adhesive-backed hook and loop velcro rated for 16+ pounds per square inch, or riveted aluminum strips that won’t rust or strip. Avoid permanent gluing with contact cement or silicone sealant. Fabric-based covers beat rigid covers because you can uninstall and reinstall them without degradation. When you upgrade your electrical system or add storage above your windows, fabric peels away. Rigid covers become obstacles requiring removal and potential re-cutting. Measure your window dimensions now, photograph them with dates, then store measurements digitally. This saves you from remeasuring in six months when you’ve forgotten exact specifications.
Stop Asking What Materials To Buy, Start Asking What Problem You’re Actually Solving

Most people buy diy van window covers and fail because they never defined what they actually need. Heat? Privacy? Both? The material choice flows from your real problem, not from what’s trendy online. Stop scrolling Reddit threads. Pick one problem today. Measure your windows. Order one material. Test it for a week. You’ll learn more from one failed experiment than a thousand generic guides. Your van doesn’t care about perfect planning. It cares about you finally shipping something.



