

The Unspoken Truth About Your Camper Van Kitchen Needs

You Want To Prove You Didn’t Downgrade
You’re worried people will think you’re roughing it. You want a van kitchen that looks like you chose minimalism, not settled for it. The real mechanism here is simple: people equip their vans like they’re building a showroom, not a functional workspace. They buy four burners when they cook one meal at a time. They install ovens nobody uses. Status anxiety drives the shopping list, not actual cooking patterns.
Most van dwellers never cook more than five meals the entire first month. They eat out, they grab prepared food, they exist in a different rhythm than someone with a fixed kitchen. But the purchase decision happens before that reality sets in. You imagine elaborate scenarios instead of tracking what you actually do when your kitchen is already built. This gap between imagination and behavior is where money goes to die in a 12-by-7-foot metal box.
The Weight And Space Penalty Nobody Admits
Economics calls it the carrying cost: the hidden expense of owning something beyond the purchase price. In a van, carrying cost means payload capacity, fuel consumption, and the real estate you sacrifice. Every pound of kitchen equipment you add reduces your range, your stability on curves, and your available storage. A full stove and oven system can run forty to sixty pounds. That’s fuel you didn’t account for, space you can’t recover, and weight that changes how your van handles.
The second truth: a loaded van kitchen consumes more energy than your power system can sustain. A standard van lithium setup runs four to six kilowatt hours per day at realistic usage. Run a microwave for five minutes and you’ve burned through twenty to thirty percent of that. Most people discover this problem after installation, then sit with dead batteries or ruin their system by running it too hard. Your actual constraint isn’t what fits in the space. It’s what your 200-amp hour battery can actually support, and that number is smaller than you think.
The Minimalist’s Manifesto For Van Conversion Kitchen

Stop Confusing Gear With Competence

You want a van kitchen because you think the setup matters more than what you actually cook. It doesn’t. The mechanism at work here is constraint forcing priority. When you have three square feet instead of thirty, you stop buying tools and start choosing functions. A kitchen knife, cutting board, one pot, one pan, one spatula, and a lighter. That’s the operating system. Everything else is theater masquerading as preparation.
The difference between a functional van kitchen and a graveyard of unused equipment comes down to one rule: if a tool does one thing, it stays behind. The steel lunch box mentality works because boats figured this out decades ago. Limited galley space meant cooks learned to eliminate, not accumulate. You’re not downsizing a home kitchen. You’re designing from zero and asking what actually gets used, not what might.
The Real Work Of Multi Function Design
Multi-functional doesn’t mean buying a cutting board that also steams fish. That’s marketing. It means a cast iron skillet handles searing, simmering, baking, and heating water. A wooden cutting board becomes a serving surface and a lid for your pot. One large stainless steel bowl works for mixing, storage, and washing. The principle borrowed from industrial design is “form follows function,” but in van kitchens, function follows constraint.
The mechanism isn’t complexity. It’s reduction. A camping stove with two burners replaces a full range. A collapsible sink fits inside a cabinet. A magnetic knife strip replaces a block. You stop thinking about what a kitchen should have and start thinking about the actual sequence of cooking. Boil water. Sauté protein. Cook starch. Store leftovers. Build your setup around those four moves, and you eliminate 80 percent of what people think they need. Stack items by height, store by frequency of use, and keep the counter clear except during active cooking.
The “Prep And Go” Protocol: A Van Life System
Plan Around Your Fuel Source, Not Your Cravings

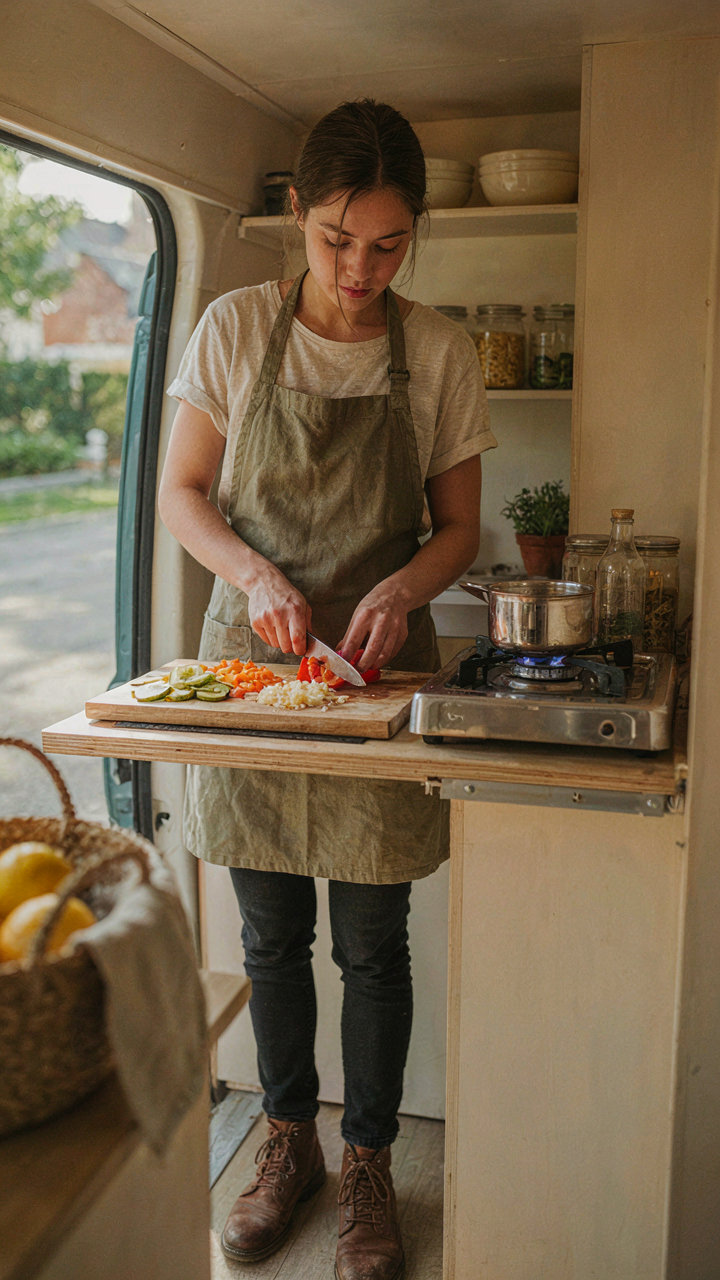
You want to feel like you’re not sacrificing real food out here, but that’s exactly the trap that kills your time and your propane budget. The real constraint isn’t what you want to eat—it’s how much active cooking heat you can afford to use. Think of meal planning like load balancing in electrical systems: you’re distributing demand across available capacity. A van kitchen has finite propane, finite water, finite counter space. Plan backward from those limits, not forward from recipe desire.
The mechanism is simple. Map your week by cooking method first: which meals use the stove, which use the camp stove outside, which need zero heat. Overnight oats, cold pasta salads, and no-cook proteins eat no fuel. One-pot dishes and sheet pan meals consolidate heat use. This forces you to cook smarter, not harder. You stop wasting propane on meals that could work cold or slow, and you free stove time for things that actually need it.
Batch Cook On Day Two, Execute For Five Days
Everyone says batch cooking saves time. They’re right, but they miss the timing. Cook on your second day at a location, not your first. Day one you’re still setup-adjacent: figuring out water access, electrical hookups if you have them, whether your stove draft works in this wind. Day two you know the site. You also know which meals survived the first 24 hours and what you actually need more of.
Prepare three to four base proteins in bulk: ground meat browned and cooled, shredded chicken, marinated tofu. Store these in airtight containers on your coldest shelf or in a portable cooler with ice packs if you’re boondocking. Pair each protein with two carb components (rice, pasta, potatoes) and three vegetable options (roasted, raw, pickled). This gives you fifteen different plate combinations from one cooking session. You eat variety without cooking again until day six.
Ergonomics Of The Camper Kitchen: Applied Cybernetics

The Workflow Loop That Nobody Measures

You want your van kitchen to feel effortless because you think that means it’s designed well. It’s not. Effortlessness is feedback. Cybernetics, the study of control systems, teaches us that any functional system requires a feedback loop: input, output, correction. Your kitchen’s efficiency depends on how fast you detect and fix friction in your workflow.
Most van builds treat the kitchen as static. You place the stove, fridge, and storage in one layout and assume it works forever. Wrong. The real mechanism is this: every time you cook, you generate data about what works and what doesn’t. A stove too far from your prep surface costs seconds per meal. A cabinet that requires two hands to open when you’re holding a pan becomes a bottleneck you notice only after weeks. The system only improves when you actually track these failures and adjust.
Movement Economy Through Constraint
The confusion here is thinking “more space equals better efficiency.” Experienced galley chefs know the opposite is true. A tight, well-organized galley outperforms a spacious kitchen where you waste steps. In van kitchens, constraint is your design tool, not your enemy.
Movement economy means: minimize the distance your body travels during a cooking task. Measure the triangle formed by your stove, sink, and prep surface. The tighter this triangle without creating collision points, the faster you cook. A 6-inch shift in counter position can eliminate dozens of unnecessary steps per week. Place your most-used items at elbow height, one-handed reach away from your primary work station. Don’t stock based on what you own. Stock based on what you actually cook in the van. Everything else is wasted space that forces you to reach further.
Smart Storage: Beyond The Overhead Bins For Your Camper Van
Vertical Space Hacks And Hidden Compartments

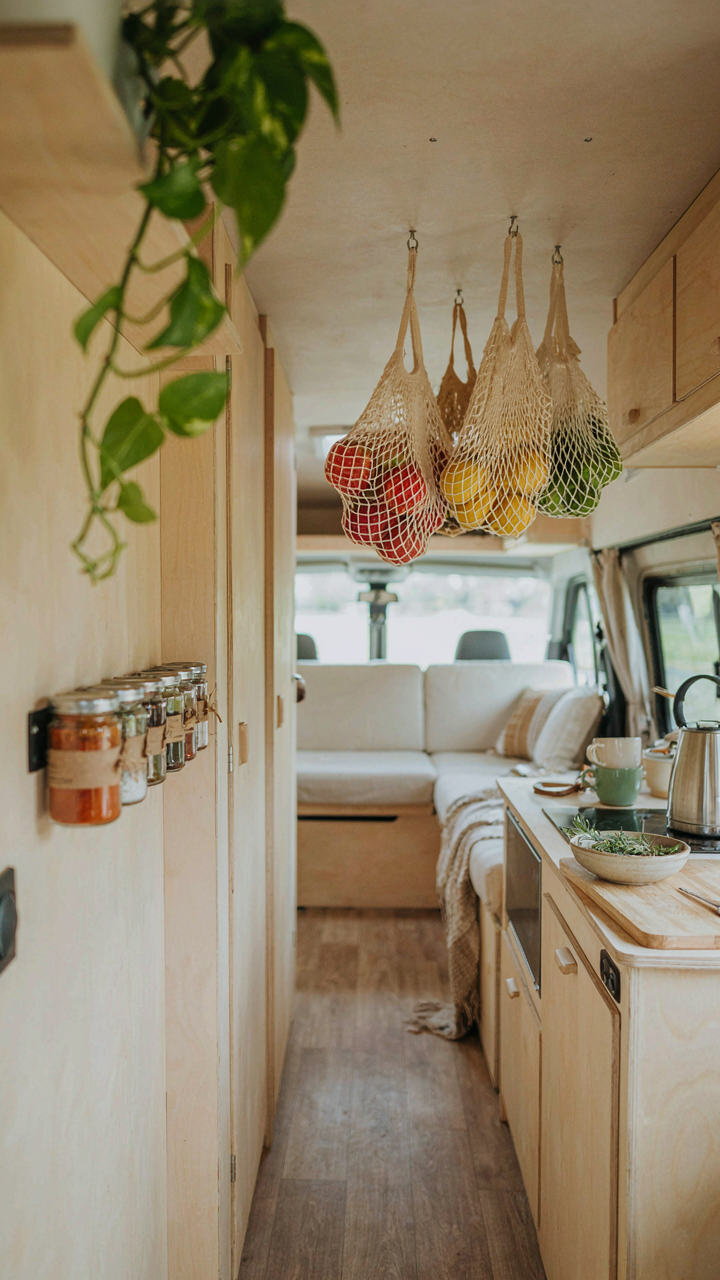
You want to feel like you’ve optimized your space so you can stop thinking about it. The mechanism is simple: gravity works downward, which means most van builders waste the vertical dimension. They stack horizontally and call it done.
Mount narrow shelving on the interior walls above counter height where dead air exists. Use the wall space between studs or ribs in the van frame. Install magnetic strips for metal utensils and spice jars. Hang a tension rod inside cabinet doors for dish towels or pot lids. These moves reclaim cubic feet without consuming floor or counter real estate.
The real play is building false bottoms in storage benches or using under-seat compartments with hinged access. Slide thin cutting boards, baking sheets, or trays into wall-mounted slots. Stack nesting bowls vertically in corner cabinets with a lazy Susan to rotate them out. Dead space between the wheel wells becomes usable storage if you build a custom housing around it. Every inch of wasted void becomes a liability the moment you realize you could have used it.
Securing Items For Travel, Rattle Free
Rattle discipline separates people who can actually cook while moving from people who abandon the galley at highway speed. The engineering term is damping, borrowed from mechanical systems: you reduce vibration by controlling movement at the source, not by hoping things stay put.
Line every shelf and drawer bottom with non-slip rubber matting or high-friction fabric. This costs nothing and stops 80 percent of migration. Secure heavier items like cast iron or glass jars with bungee cords or adjustable cabinet locks. Fill gaps between items with silicone trivets or foam wedges so nothing shifts. Secure the matting itself with contact cement to prevent it from sliding out during hard braking. Test everything at highway speed before you leave. Nothing in a moving van should rattle when you accelerate or stop hard.

Use gravity straps, not just static friction, on frequently accessed items. Magnetic latches work on metal containers and hold pressure through turns. Drawer dividers prevent sliding but only if they’re rigid and mounted to the drawer, not just placed inside. The protocol is this: pack it, lock it down, hit the brakes at 40 mph, listen for noise, adjust until silent, then move on.
Powering Your Compact Kitchen Layout: The Real Deal
Battery Banks Versus Shore Power Reliance
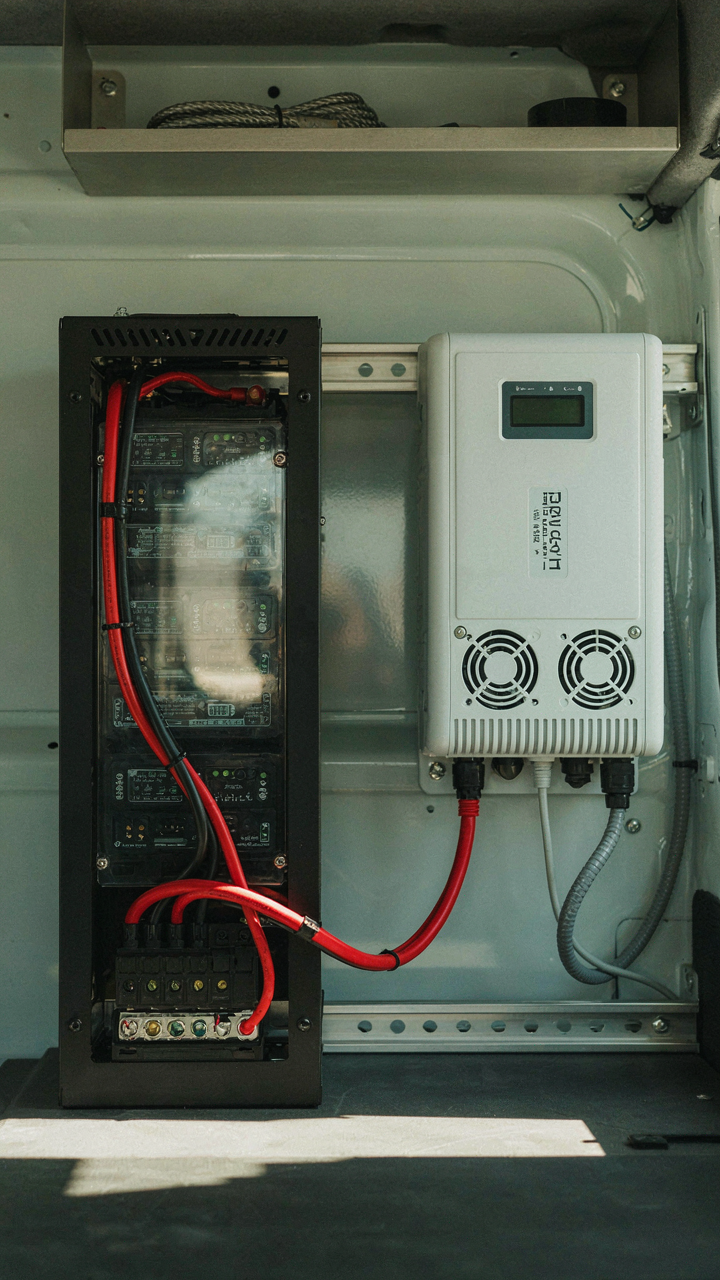
You want the freedom fantasy without the math. Here’s what actually matters: battery capacity is a constraint, not a choice. Think of it like bandwidth in systems design—your electrical load must stay below what your battery bank can sustain, or you’re dead in the water. Most van builders fail here by overestimating autonomy and underestimating draw.
Shore power changes the equation completely. When plugged in, your refrigerator, induction cooktop, and water heater run on grid voltage without touching batteries. Off-grid, that same setup drains a 400Ah lithium bank in hours. The real decision isn’t romantic—it’s logistical. Frequent campground stays justify smaller batteries and lower costs. Remote cooking demands larger capacity and heavier investment upfront.
Appliance Choices That Actually Move The Needle
The common advice says “go small and efficient.” That’s incomplete. Efficiency only matters if you understand wattage draw during peak use, not marketing specs.
- Induction cooktops: Draw 1500-3000W sustained, require shore power or massive battery. Fastest heating method and precise temperature control justify the cost for serious cooks.
- Propane stove: Draws minimal electrical power for ignition only. Best for off-grid cooking, but propane storage takes space and requires ventilation infrastructure.
- Portable butane burners: Under 500W electrical equivalent, cost fifteen dollars, zero installation. Backup option or primary for minimalist setups avoiding bulk.
- Dometic compressor refrigerators: 45-60W average draw, run on 12V directly, handle rough terrain. Standard choice because reliability trumps alternatives in confined spaces.
- Icebox with insulation: Zero electrical draw, requires ice resupply. Viable only if campgrounds are frequent or you accept food spoilage risk.

Propane and induction solve different problems—don’t pretend they’re equivalent. Propane cooks anywhere but requires ongoing fuel sourcing and ventilation planning. Induction demands power infrastructure but eliminates combustion risk and heat management headaches. Your choice depends on shore power availability, not preference.
Water Management: The Unsung Hero Of A Van Kitchen
Tank Sizing And Placement Strategy
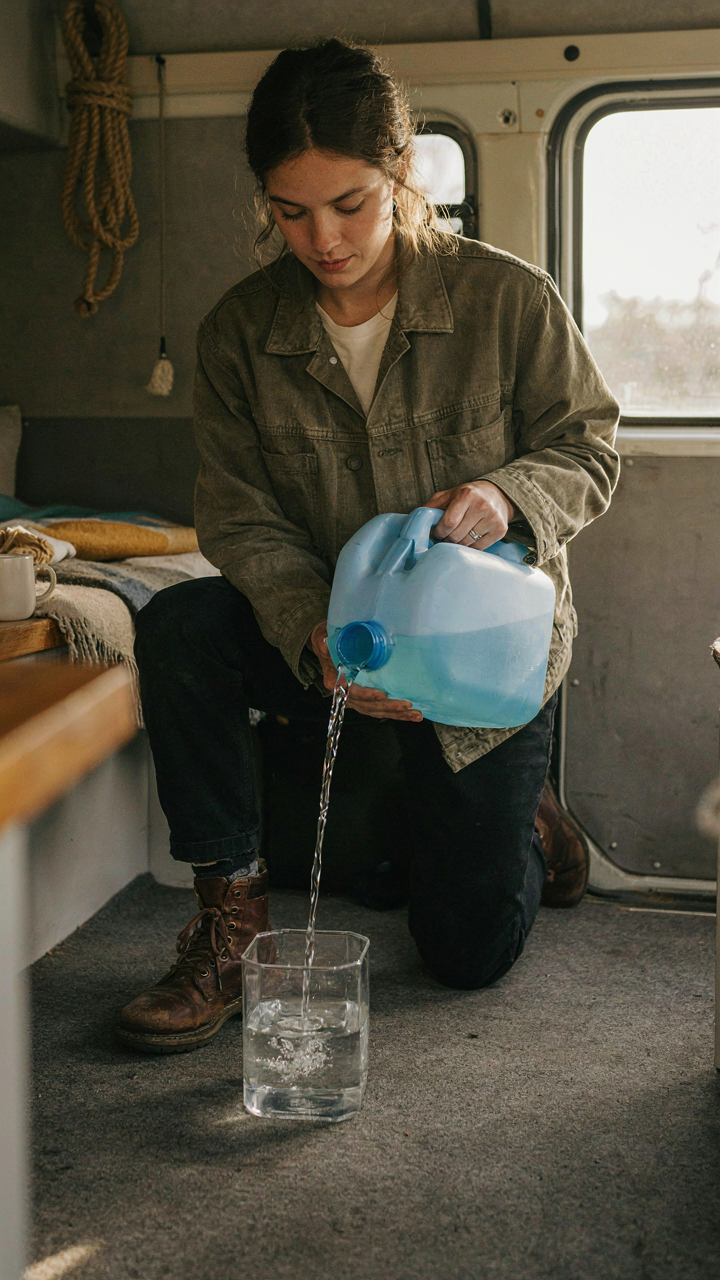
You care about this because running out of water mid-trip feels like failure, but the real problem is that most people size tanks based on days traveled instead of actual usage. Water management operates like hydraulic pressure systems: tank capacity, demand rate, and discharge timing must align or the entire system fails. Fresh water tanks between 20 and 40 gallons work for most van setups, depending on whether you’re showering inside the van. Grey water tanks need equal or slightly larger capacity than fresh tanks because you’ll generate water faster than you can dump it.
Tank placement matters more than size. Mount fresh water tanks low and centered to stabilize the van’s weight distribution. Grey tanks belong even lower, ideally under the van’s midpoint. Never stack tanks vertically on a single wall because the weight concentration shifts your center of gravity and creates handling problems at highway speeds. Access both tank fill points from the driver’s side or passenger side only, never from both, because repeated plumbing runs waste space and create leak points.
Minimize, Recycle, Measure
Most van cooking advice tells you to conserve water. That’s incomplete. You need to architect your water use so nothing gets wasted twice.
- Dishwashing sequence: Scrape plates first, wash in one basin, rinse in a second basin. Drain rinse water to grey tank, reuse wash water for floor cleaning before dumping.
- Cooking water capture: Boil pasta or vegetables in minimal water. Cool leftovers and use for plant watering if you travel with plants, or dump to grey tank same day to prevent bacterial growth.
- Dry cleaning first: Wipe down cookware and cutting boards with paper towels before wet washing. Reduces grey water volume by 30 percent on heavy cooking days.
- Cold water rinse: Use unheated water from the tap for final rinses instead of heating. Most food residue requires only mechanical removal, not hot water.
- Filling hierarchy: Fill fresh water when tanks hit 50 percent capacity, not when empty. Prevents sediment disturbance and gives you accurate remaining volume for trip planning.

The mechanism that separates functional van kitchens from failing ones is this: track your actual daily consumption for one week, then size your dump schedule around that number, not around how many days you want to travel. Most people dump grey water weekly. If your consumption data shows you’ll fill tanks in five days, dump every four days instead. Precision beats guessing.
Dispelling The Myth Of The “Perfect” Van Kitchen
Your Needs Change Faster Than Your Setup
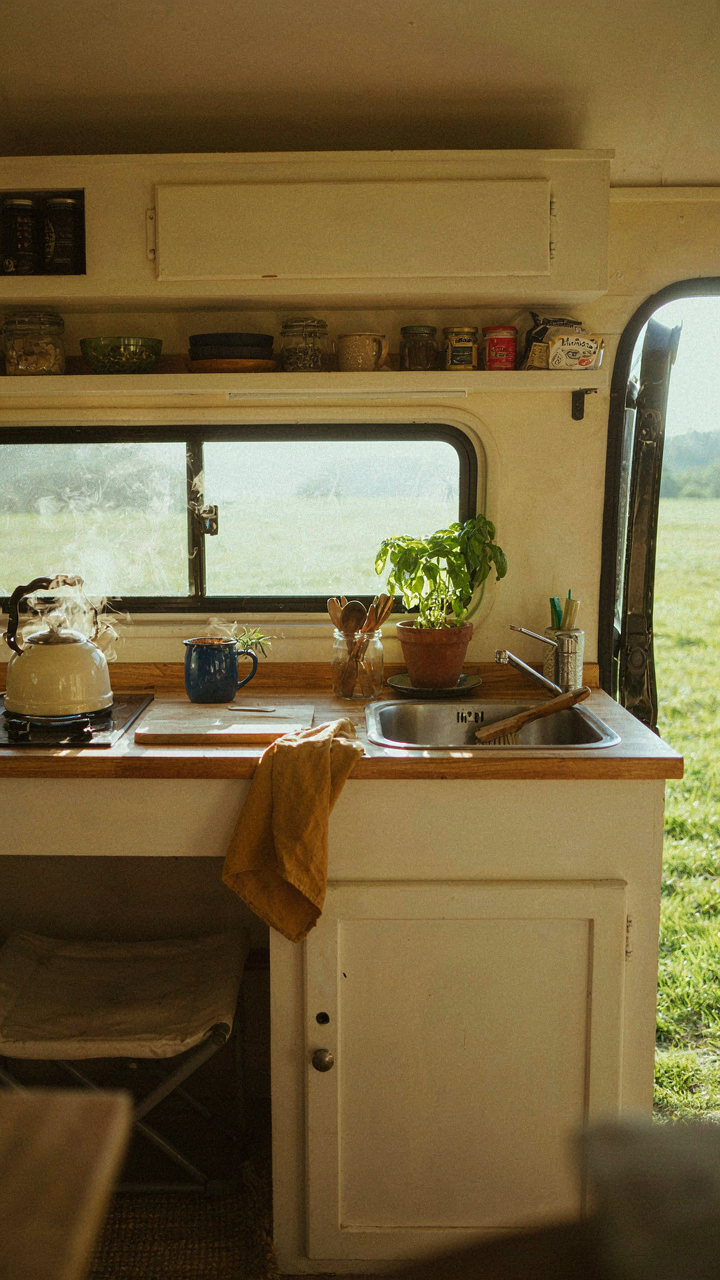
You want to believe the right layout exists somewhere, one you can copy and stop thinking about. It doesn’t. Van kitchen design borrowed from manufacturing’s concept of “just-in-time” operations, where you produce only what you need when you need it. Your cooking demands shift based on where you are, how long you stay, and what season it is. A setup optimized for winter coffee prep in the mountains fails when you’re parked near markets in summer. The real mechanism: you’re designing for a ghost version of yourself that doesn’t exist.
Build your kitchen around the next three months of actual use, not the theoretical perfect year. Track what you actually cook for two weeks before you buy anything. Most people buy gear based on Instagram setups they’ll never replicate, then live with dead weight they resent. Your stove, storage, and counter space should solve the problems you have now, not problems you imagine you might have. When your life shifts, redesign. The kitchen that works in a van isn’t permanent architecture, it’s a temporary protocol that expires.
Constraints Create Freedom, Not The Reverse
The common advice says maximize your space with clever storage and multifunctional gear. That’s incomplete. Real freedom in a van kitchen comes from accepting what you can’t do, not stuffing in one more magnetic spice rack. The constraint isn’t the problem. Your resistance to it is.

When you stop trying to replicate a home kitchen, you start cooking differently. You buy less, plan meals tighter, and waste nothing. You learn which two pans actually get used and remove the rest. You stop owning a three-burner stove when one burner and a single pot system works. Every addition you make beyond what you’ve proven you need drains your mental energy and your power supply. The path to actual ease is subtraction, then testing what remains under real conditions. When you remove one item per month and notice no difference, you’ve found your true minimum.
The Only Thing Taking Up Too Much Space In Your Van Kitchen Is Your Mental Baggage

You don’t need a smaller stove or a collapsible sink. You need to stop designing around what you think you should cook and start designing around what you actually eat. Most people waste van square footage on gadgets they’ll never touch. Open your notes app right now. Write down the five meals you eat on repeat. Build your kitchen around those five meals only. Everything else is just expensive decoration taking up oxygen you need to breathe.



