
Beyond The Instagram Filter: Why Your Retro Camper Kitchen Obsession Is Flawed

The Vintage You Want Versus The Vintage That Works
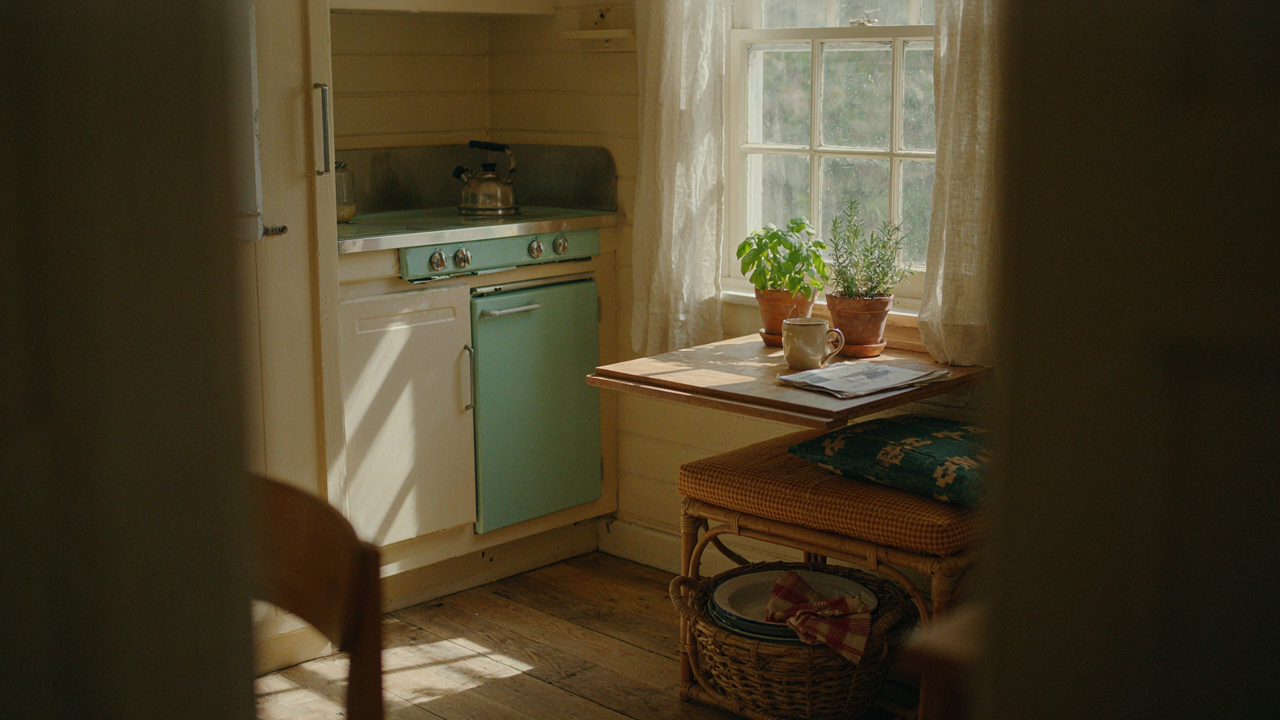
You want the aesthetic because it signals taste and escape. That’s the real motive. But here’s what nobody admits: authentic vintage camper kitchens were engineered for constraint, not Instagram. They solved for weight, space, and cost in 1965. You’re solving for a feeling in 2024. The mechanism is simple. Original designs made tradeoffs you don’t want to live with. Narrow countertops. No ventilation. Appliances that heat the entire camper in summer. You see the look and skip the engineering.
Authenticity means respecting why those choices existed. A 1972 Airstream galley kitchen used a two-burner stove because propane tanks were expensive and space was finite. The oven was tiny because insulation was poor. Windows were small because weight mattered. Recreating this setup without those constraints is nostalgia dressed as functionality. You end up with the worst of both worlds: period-correct inefficiency paired with modern expectations about cooking, storage, and comfort.
Design Tradeoffs Nobody Discusses Upfront
Aesthetic-first renovation ignores thermodynamics, the field that governs how heat moves through enclosed spaces. In a vintage camper, heat dissipation was the limiting factor, not the feature. Original kitchens had minimal insulation, poor sealing, and no thermal mass. A retro stove that looks right will radiate heat into your sleeping quarters relentlessly. This is physics, not preference.
Common advice says “just add better ventilation.” That’s incomplete. Ventilation requires ducting, fan placement, and roof penetration. Most vintage campers can’t handle proper ducting without structural work. A vent hood that exhausts interior heat works against tiny AC units. You’re creating competing systems. The real move is choosing between authentic form and livable function before you buy a single appliance. Decide which constraint you’ll accept: heat management or period accuracy. You can’t have both without significant modification.
The Function First Manifesto: Designing Your Vintage Camper Kitchen For Use, Not Looks
Work Triangle Efficiency In Tight Quarters

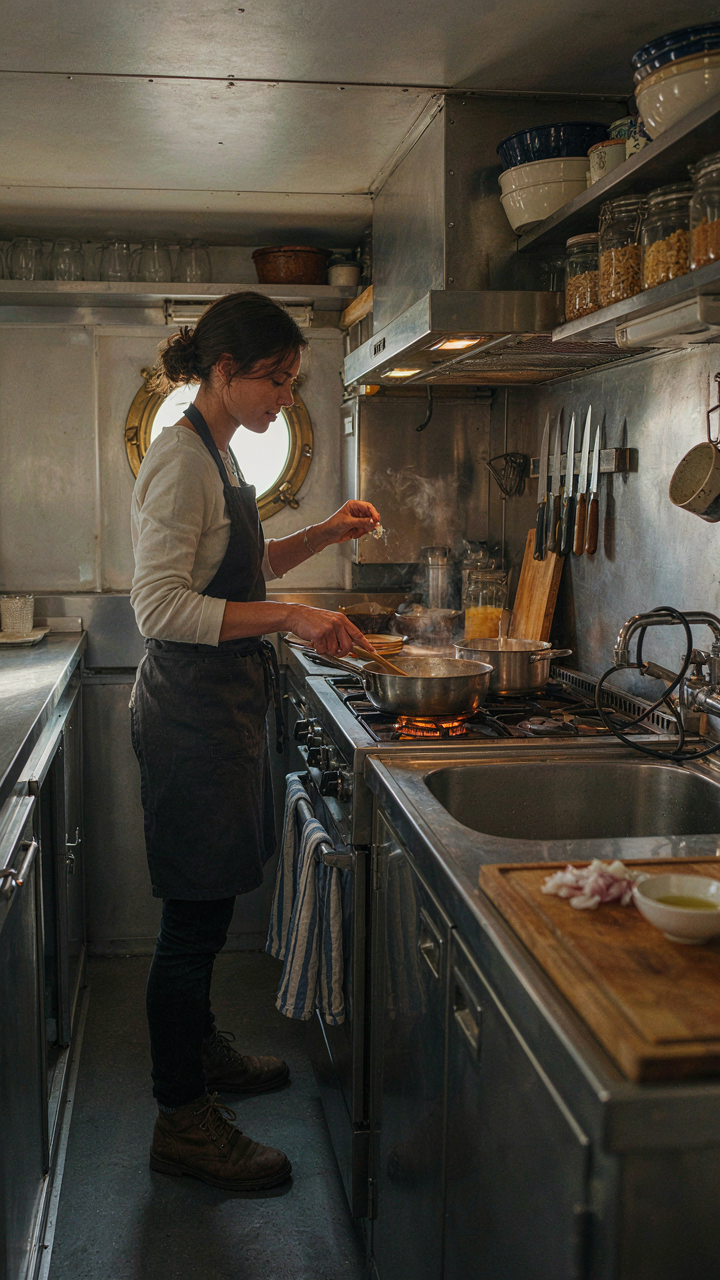
You want this to look like a magazine spread. That’s not your real problem. Your real problem is that a vintage camper kitchen forces every movement into a corridor. Ergonomics borrowed from industrial design teaches us the “work triangle”—the relationship between sink, stove, and storage. In a camper, this triangle collapses into a line. Distance between stations determines how many wasted steps you take daily. A two-foot difference in counter depth or appliance placement compounds across hundreds of meals.
The standard vintage camper galley was built around constraints, not aesthetics. Most original layouts placed the stove directly across from the sink, often with a cutting surface barely wider than a dinner plate wedged between them. This forced cooks to rotate their body instead of moving their arms. Modern retrofits fail because people prioritize visual symmetry over actual movement. Measure your actual reach from stove to fridge, then from fridge to counter. If that distance exceeds your arm span plus one step, you’ve already lost efficiency before you start cooking.
Workflow Beats Visual Balance
Nobody tells you this directly: kitchen aesthetics and kitchen function are often at odds. The retro appliances everyone loves—that turquoise Wedgewood range, the vintage General Electric refrigerator—were designed for homes with unlimited space. In a camper, you don’t have that luxury. A gas range that looks period-correct might extend six inches further into your galley than an electric induction unit. That six inches is the difference between turning around comfortably and bumping your hip into a cabinet door every time you change position.
The real workflow question isn’t “what looks right” but “what sequence of tasks happens without backtracking.” Identify where you prep, where you cook, where you clean, where you store. These zones should flow in order, not scatter across your kitchen. If your cutting board sits four feet from your stove, you’re carrying prep work across dead space. Position your vintage sink where water and waste exit naturally. Mount your stove where ventilation already exists. Store your most-used items in the zone closest to where you use them first, not where they photograph well.
Retro Appliances: Necessary Evils Or Overpriced Nostalgia?
The Real Cost Of Looking Period Correct

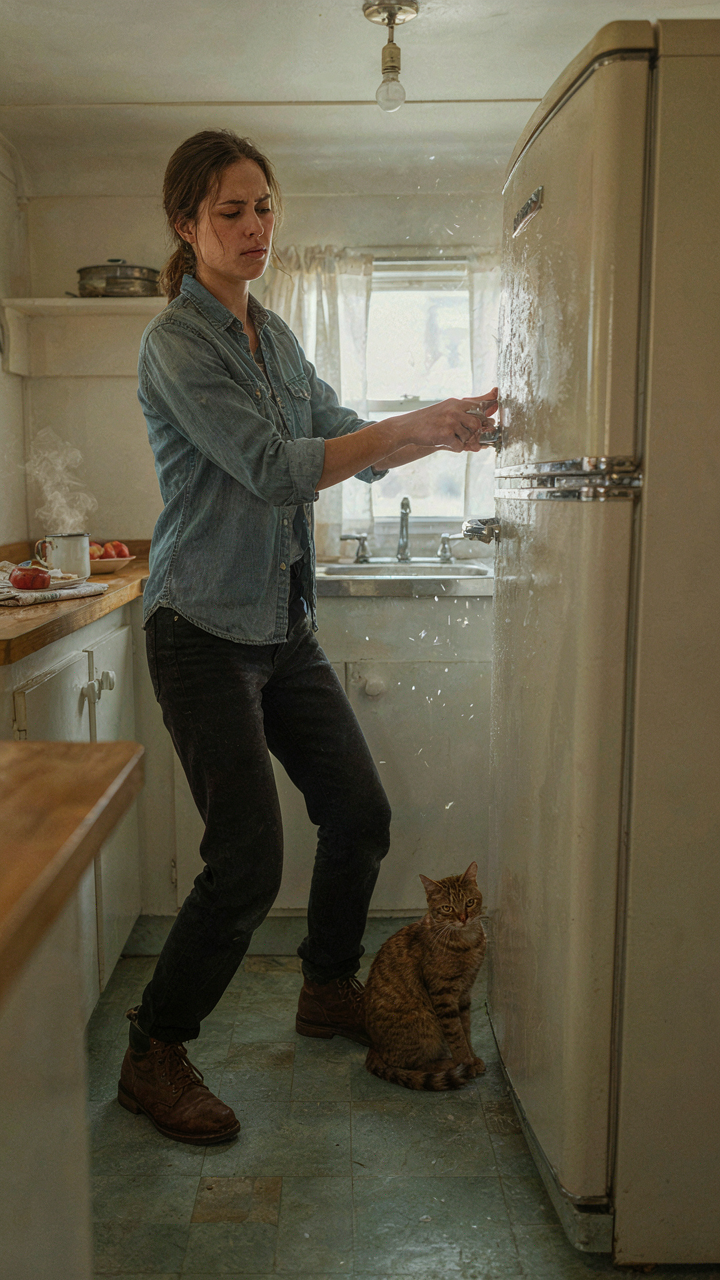
You want a vintage camper kitchen because it signals you’ve escaped the default life, but here’s what nobody says: retro appliances punish you daily for that signal. Think of vintage camper kitchens like load-bearing walls in old houses. Economics dictates tradeoffs. A 1970s Wedgewood stove looks perfect in a restored Airstream but heats unevenly, demands constant temperature adjustment, and vents poorly. A reproduction mid-century refrigerator draws 40 percent more power than a modern unit while holding less food. You’re not buying function. You’re buying visual permission to feel like you’ve made a different choice.
The mechanism is simple: small spaces amplify inefficiency. A cramped galley kitchen can’t absorb wasted BTU output or power draws the way a full-size house can. You notice every shortcoming. A vintage two-burner range that takes eight minutes to boil water becomes a daily friction point, not a charming detail. Before committing to retro, measure actual usage patterns in your camper. Spend a weekend cooking in similar vintage equipment somewhere. The Instagram aesthetic dissolves fast when you’re making breakfast for four in a 40-year-old oven with no temperature stability.
The Practical Path Forward
Modern appliances with vintage styling actually work, and that distinction matters more than most people admit. Companies like Smeg and Leisure now make electric ranges that mimic 1950s designs but include convection elements, precise temperature control, and efficient venting. A retro-styled compact refrigerator from brands like Big Chill fits period aesthetics while maintaining 12-volt compatibility and actual cooling capacity. These aren’t compromises. They’re the real solution disguised as compromise.
The install decision determines everything else. A true vintage Wedgewood or Roper demands specific plumbing, gas line configurations, and venting that older camper frames were built around. Modern reproductions need the same infrastructure but offer you safety certifications and parts availability that genuine 1960s models don’t. Measure your existing camper’s appliance bay dimensions, gas line diameter, and 12-volt or shore power setup before shopping. Then source reproductions that fit those specs exactly. This eliminates the biggest hidden cost: retrofit work that eats your budget and timeline.
The “Green Camper Interior” Paradox: Sustainable Style Over Superficiality

Material Selection That Actually Performs

You want to feel like the kind of person who makes ethical choices, but you’re really afraid of materials failing in a moving box where temperature swings and vibration destroy everything. The mechanism is simple: vintage camper kitchens demand materials that tolerate abuse, and the best sustainable options happen to be the same ones that survive decades of use.
Aluminum, stainless steel, and solid wood were standard in vintage campers because they resist corrosion, thermal cycling, and the constant flex of a frame in motion. These materials outperform modern particle board alternatives by orders of magnitude. When you choose them for a restoration, you’re not being noble—you’re being practical. They cost more upfront but eliminate replacement cycles entirely.
Salvaging What’s Already Built
The common advice treats upcycling as a moral flex, but that’s backward. Upcycling existing camper elements works because you’re not fighting the original design—you’re working with materials engineered for this specific environment. Your vintage camper’s cabinets, storage frames, and counter substrate were built for bounce and sway. They deserve recovery, not disposal.
Clean original cabinetry, reinforce structural joints where movement has loosened them, and refinish surfaces using food-safe products rated for moisture and temperature variation. Strip old linoleum to reveal the plywood underneath, seal it properly, then install new surfaces over proven substrate. You keep the geometry and engineering that already works. This approach costs less, produces zero waste, and runs counter to the replacement economy that profits from your guilt.
The Van Conversion Kitchen As A Micro Ecosystem: Symbiotic Design Principles

When Your Kitchen Becomes The Load Bearing System

You want the kitchen to feel spacious without admitting you’re living in a box. That’s the real tension. Borrow ecology’s concept of an organism: every element in a vintage camper kitchen must pull double duty or it’s dead weight. The galley isn’t just a cooking station. It’s the thermal regulator, the storage backbone, the water management hub, and the social anchor all compressed into 40 square feet. A 1970s Airstream or Travel Trailer kitchen works because nothing exists in isolation. The stove generates heat that warms the aluminum shell. The overhead cabinets create an air pocket that insulates. The countertop redirects moisture and spill.
The old appliance designers understood this without naming it. A compact Frigidaire or Magic Chef unit from the 1960s-70s wasn’t designed for convenience. It was engineered to share its waste heat with the living space, minimize water consumption per load, and fit within weight limits that kept the trailer towable. Modern RV kitchens copy the footprint but strip the intelligence. They add plastic and drywall that break the symbiosis. When you restore a vintage galley with period-correct appliances, you’re not decorating. You’re reactivating a closed system that was already optimized for constraint.
The Appliance As Ecological Niche
The advice you’ve heard is wrong: “Pick appliances for function first, aesthetics second.” That’s lazy. Vintage camper kitchens don’t separate form from function because they can’t afford to. A 1950s Servel refrigerator, running on absorption cooling with no moving parts, occupies an ecological niche that modern units cannot fill. It generates almost no vibration, produces minimal noise, and dissipates waste heat slowly and predictably into the aluminum frame. A compact 1960s-70s stove, whether electric coil or propane burner, sits low enough to avoid hitting your head but high enough to keep grease splatter off wall cabinets. Every dimension is a choice about resource flow.
The real mechanism: vintage appliances are undersized not by accident but by design. A 1970 Wedgewood compact range has smaller burners than modern units because it heats a smaller mass of food for fewer people in a confined space. Its smaller oven requires less fuel and ventilation capacity. Its dimensions force you to pair it with specific cabinet depths, which then dictate counter workflow, which then determines where you store what. When you choose to keep period appliances instead of retrofitting new ones, you’re not being nostalgic. You’re accepting the constraint system that makes everything else align. Build around the appliance dimensions first. Everything else follows.
DIY Camper Remodel: The Craftsmanship Over Convenience Protocol

The Tools That Actually Matter

You want to believe this is about saving money. It’s not. It’s about proving you can execute something real with your hands instead of hiring it away. The mechanism here borrows from systems engineering: constraint breeds precision. A vintage camper kitchen forces you to work within tight spatial tolerances, which means your tool selection determines whether you succeed or fail spectacularly.
Most people grab whatever sits in a big box store. Wrong move. You need tools that fit the actual work, not tools that fit a marketing budget.
- Oscillating Multi Tool: Cuts through old caulk, trim, and appliance mounting brackets without damaging surrounding cabinetry. Essential for removing original equipment without destruction.
- Torpedo Level: Vintage campers shift and settle. Water damage warps floors. A 24-inch level catches slope problems before you install new appliances and find them tilted six months later.
- Trim Router or Laminate Trimmer: Vintage camper counters are often particle board wrapped in metal edge banding. Clean routing prevents splintering when you resize surfaces for new retro appliances.
- Clamp Set (6-inch and 12-inch): Holds materials steady in confined spaces where you can’t use both hands. Non negotiable for precision cabinet work in quarters this tight.
- Stud Finder and Moisture Meter: Detects hidden structural studs and water intrusion behind walls. Vintage campers hide rot. Find it before you cover it with new finishes.
Skill development means practice on scrap material before touching the camper. Cut sample countertop edges. Route practice boards. This isn’t hesitation. This is the difference between a kitchen that functions for years and one that fails in months because you rushed the installation. The actual work teaches you what tools do and don’t work in tight spaces.
Where Most People Wreck Their Remodel
The standard advice says measure twice, cut once. That’s incomplete because it ignores what kills vintage camper remodels: water infiltration through gaps you couldn’t see before you started demo work. Everyone finds rot they weren’t expecting. The mistake isn’t finding it. The mistake is not having a protocol for it.
Most builders patch around it or cover it up. You need to cut out the damaged section completely, treat the exposed wood with a marine sealant, let it cure fully, then build from solid material. This takes time nobody budgeted for, so they skip it. Six months later the remodel is failing because moisture found its way into new work through the old compromise. The real cost isn’t money. It’s a second remodel in two years.

The second killer is improper appliance mounting in a moving structure. A vintage camper shifts. Vintage ranges and refrigerators need anti-tilt mechanisms and flexible gas or water connections, not rigid piping. Standard kitchen installation rules don’t apply. Read the manufacturer specs for RV-specific models or you’ll have a stove that slides during turns or a fridge that stops cooling when you’re parked on any grade. Stock a protocol of verification steps you run before declaring the install complete. Pressure test all connections. Run the vehicle with the stove running. Check refrigerant lines for stress.
Caravan Kitchen Cabinetry: Maximizing Storage Without The Clutter
The Math Of What Actually Fits
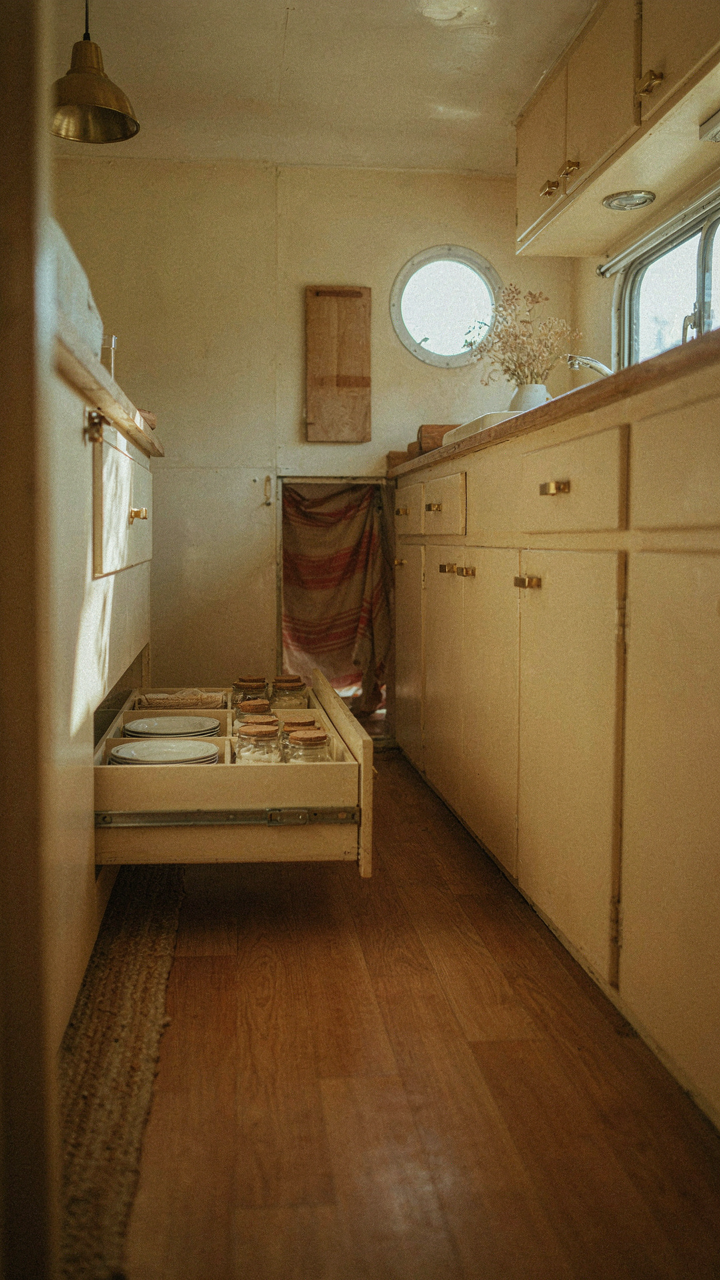
You want to feel like you’re living full-time in your vintage camper without admitting you’re terrified of constant compromise. That fear drives most people to overstuff cabinets, then wonder why nothing works. The real mechanism is volumetric constraint: vintage camper kitchens operate under hard physical limits that don’t negotiate. A 1970s Airstream galley has roughly 40 cubic feet of total storage. A suburban kitchen has 150 to 200. You’re not being efficient in a vintage camper. You’re operating under scarcity economics.
Stop treating vintage cabinet space like a puzzle to solve. Treat it like inventory allocation. Measure your actual cabinet volumes in cubic feet, not “how much stuff feels right.” Most vintage campers ship with cabinets designed for weekend use, not permanent habitation. The cabinet materials themselves—typically birch plywood or aluminum frames from the 1960s and 1970s—can handle moderate weight, but the mounting brackets deteriorate. Before you load anything, inspect the original hardware. Replace corroded bolts and brackets. The storage is only useful if the cabinet doesn’t fail under load.
Ruthless Subtraction Before Addition
The common advice here is wrong: most people tell you to “organize better” or “use vertical space” before they tell you to remove 60 percent of what you own. You’ll never optimize a space by keeping things that don’t serve a dual function. In a vintage camper kitchen, every item must justify its weight and cubic footage twice over. A standard dinner plate takes up the same space whether you own four or twelve. The second set never gets used. They’re just friction.

Establish a binary rule: every item in your vintage camper kitchen must either prepare food or serve people eating. Nothing else stays. No decorative canisters. No “backup” gadgets. No seasonal equipment. This isn’t minimalism as philosophy. It’s physics. Vintage camper cabinets have weight limits that modern kitchens ignore. A fully loaded lower cabinet can distribute 50 to 75 pounds before the mounting hardware fails. Calculate your actual inventory weight before installation. Once your essentials are in place, the remaining space is buffer, not invitation to fill it again.
RV Interior Design: Lighting As The Unseen Architect Of Ambiance
Where You Place Light Matters More Than How Much You Have
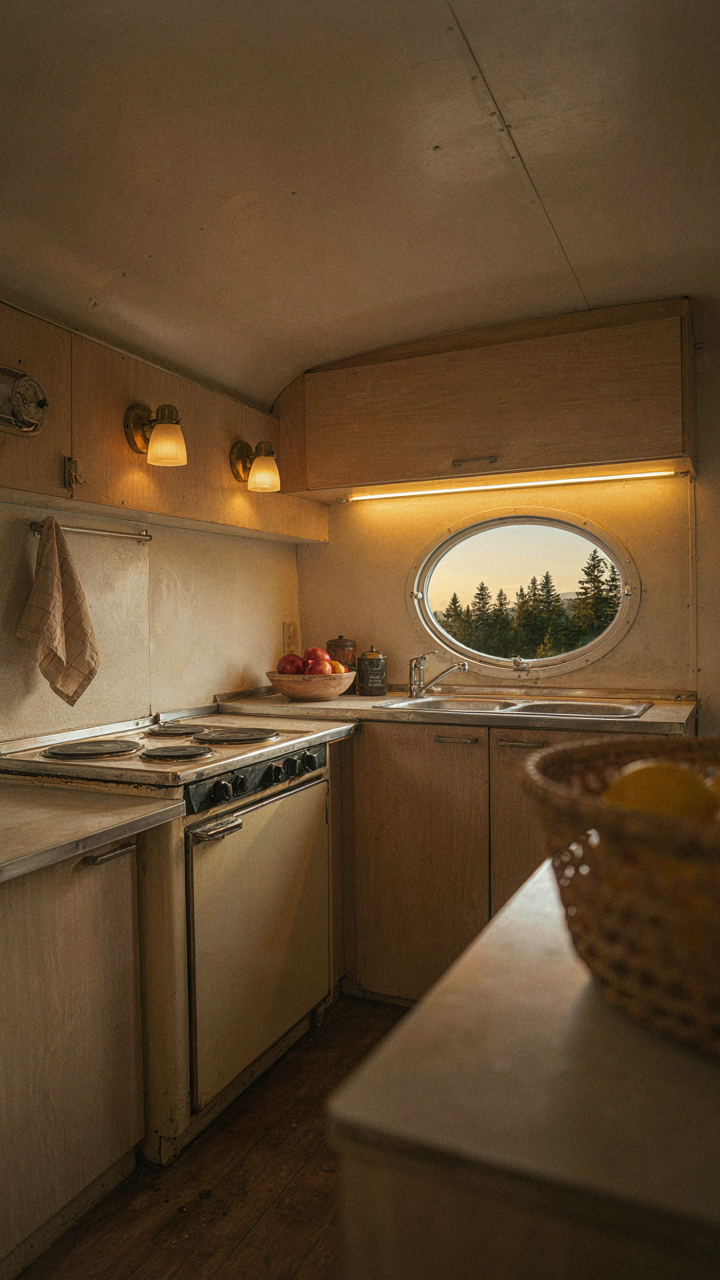
You want people to think your vintage camper kitchen is bigger and more intentional than it actually is. That’s the real reason you care about lighting placement. The mechanism is simple: light bounces off surfaces and creates perceived depth. In vintage campers, space is the commodity you’re actually selling to guests. Concentrated overhead fixtures flatten everything. Strategic placement—behind cabinets, under counters, along the galley wall—creates shadow and dimension that make a five-by-eight kitchen feel considered rather than cramped.
Most people throw in recessed lights and call it solved. Wrong. Vintage campers from the 1960s and 1970s used strip lighting along upper cabinets and under upper shelves for a reason. This wasn’t aesthetic choice—it was functional necessity in tight quarters. Replicate this with LED strip lights rated for RV use. Mount them 12 to 15 inches below your upper cabinets, pointing downward onto the counter surface. Add a secondary light source behind open shelving if you have it. This layering does the actual work: it illuminates the work surface, bounces light off the counter, and creates visual separation between zones.
Temperature Shifts The Entire Mood Of Confined Space
Borrowing from circadian biology, color temperature functions like a time-zone shift for your brain inside a camper. Warmer light (2700K to 3000K) signals evening and relaxation. Cooler light (4000K to 5000K) signals daytime function. A vintage camper kitchen operates in a fixed physical space, so you can’t change the room itself—but temperature selection changes how that room feels without adding square footage. Most generic RV lighting defaults to cool white because it’s cheap. That’s the problem. Cool light in a small space feels institutional and makes hours inside feel longer than they are.

Warm white LEDs rated for 12-volt systems change the calculus. Your galley isn’t prettier with warm light—it’s psychologically smaller and more inviting because your nervous system recognizes it as “home mode” rather than “utility mode.” Install dimmable warm-white strips as your primary lighting, then use a separate, cooler task light over the stove or food prep zone if needed. The contrast between zones prevents the entire space from feeling like a single mono-lit box. Dimmer switches on RV-compatible LED drivers let you adjust output based on time of day, which is the actual protocol that makes a vintage camper kitchen livable for extended stays.
The “Vintage Camper Kitchen” Materiality Matrix: Selecting For Durability & Soul
Materials That Actually Survive The Road
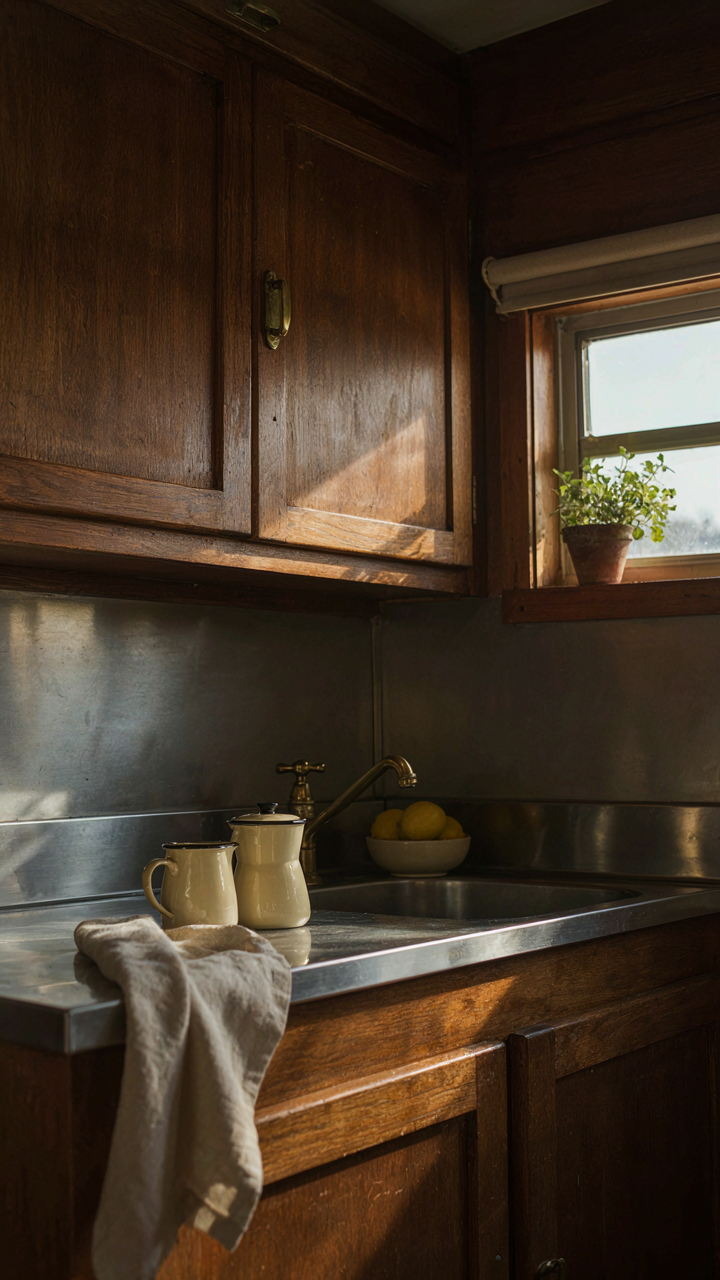
You want vintage pieces that look good in photos without falling apart in six months. Here’s what actually matters: material science determines whether your kitchen becomes a liability or an asset. Aluminum frames, stainless steel fixtures, and cast iron appliances survived the 1960s and 1970s because manufacturers built them to handle vibration, temperature swings, and weight distribution constraints that stationary kitchens never face. Modern camper reproductions use thin-gauge steel and particle board veneers that fail predictably.
Solid hardwood cabinets from genuine vintage builds—typically birch or maple—hold structural integrity because the wood was kiln-dried to specific moisture levels and joinery relied on mortise and tenon construction, not pocket holes. Original formica countertops perform better than laminate alternatives because the formulation changed; older versions handled thermal cycling without delaminating. Test any piece by checking the back panels, drawer construction, and fastener quality. If screws pull out easily or joints show gaps, the material won’t hold under road stress.
Spotting Real Vintage Against The Restoration Trap
The restoration industry manufactures scarcity by passing off reproduction hardware and refurbished components as original inventory. Here’s the mechanism: demand for authentic 1960s camper stock vastly exceeds supply, so sellers age new materials using chemical treatments and hardware replication. Look at construction methods, not finish. Real vintage stoves have riveted rather than welded seams in the oven box. Original cabinet doors show hand-planed edges and uneven finish where machines couldn’t replicate the variation. Reproduction pieces exhibit too much uniformity—signs of CNC machining or laser-cut components.
Check the manufacturer’s mark and date stamp on any major appliance. Coppertone, harvest gold, and avocado enamel finishes date authentically to specific years; reproductions copy the color without matching the bake-on gloss or chipping patterns of original factory work. Original hinges, latches, and handles weigh more and use different metallurgy than reproductions. If you cannot verify the origin through documentation or expert inspection, assume the piece is newer. Sourcing from estate sales, auctions, and documented camper restorations eliminates the guessing—pay the premium for chain of custody.
Your Camper Kitchen, Your Rules: Defying The Mass Produced Aesthetic
Stop Chasing What Instagram Told You To Want
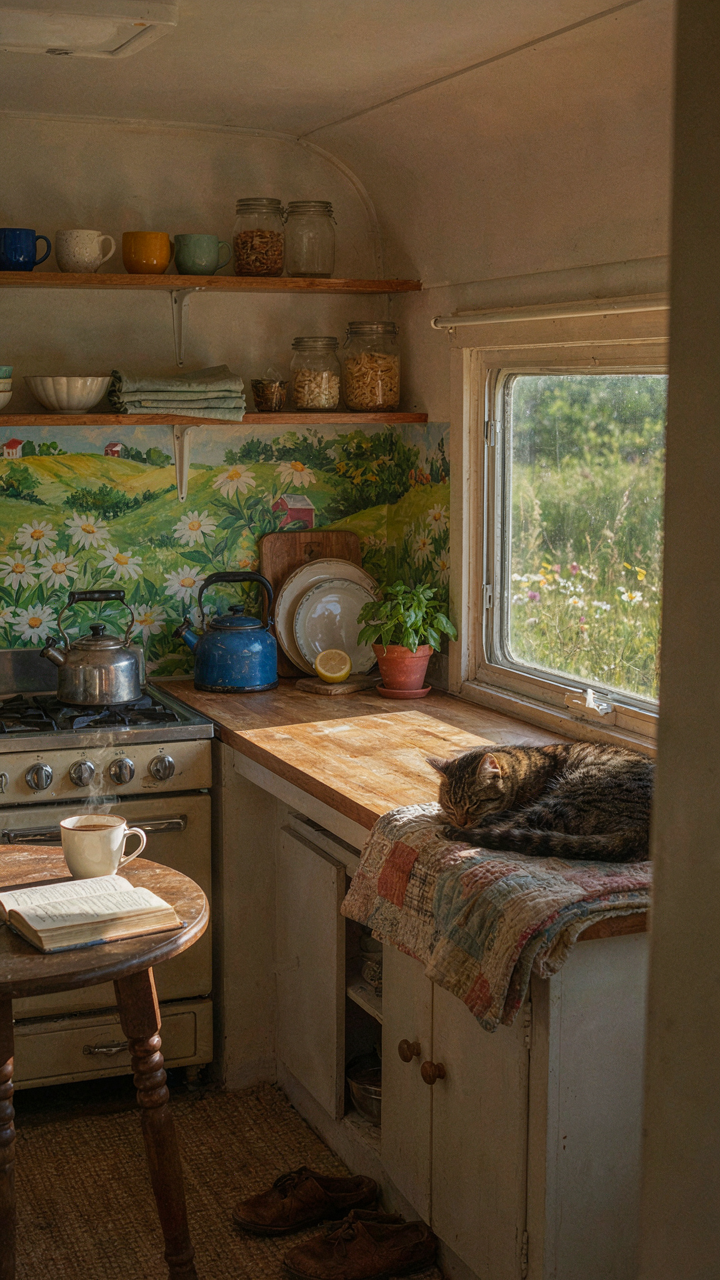
You want permission to make choices that feel good to you instead of looking right to strangers. That’s the actual mechanism here. The vintage camper kitchen trend exists because mass production created sameness, and sameness created a market for differentiation. But differentiation itself became the new sameness. Everyone buying the same mid-century stove insert or authentic Formica patterns because a design account validated it. You’re not personalizing. You’re conforming to a different tribe’s rulebook.
Real personalization means rejecting the assumption that your choices need external validation. Your stove works, your layout functions, your aesthetic aligns with how you actually live in the space. That’s the only criteria that matters. Stop filtering decisions through “would this photograph well” or “is this period correct.” Those constraints are borrowed from people solving their own status problems, not your living problems.
Building Something That Lasts Beyond The Trend Cycle
Every trend cycle kills the thing it claims to celebrate. Authentic 1970s camper kitchens weren’t designed to be Instagram-perfect. They were designed for function with whatever materials companies had available. The avocado appliances, the wood paneling, the narrow counter space existed because those were the practical constraints of the era, not aesthetic choices handed down by a design god.
Your job is to reverse engineer what made those spaces work, then apply it to your actual needs. Mix original hardware with modern reliability. Keep vintage visual language where it serves you, replace it where it doesn’t. A 1968 Airstream stove might look right but overheat your galley. A modern induction cooktop with a vintage facade gives you safety and usability. The character comes from intentional trade-offs, not from checking boxes on a restoration checklist. Document what you choose and why, so ten years from now you’re not dismantling this kitchen to chase the next trend cycle.
Your Real Obstacle Isn’t Style; It’s Your Fear Of Committing To An Aesthetic That’s Truly Your Own
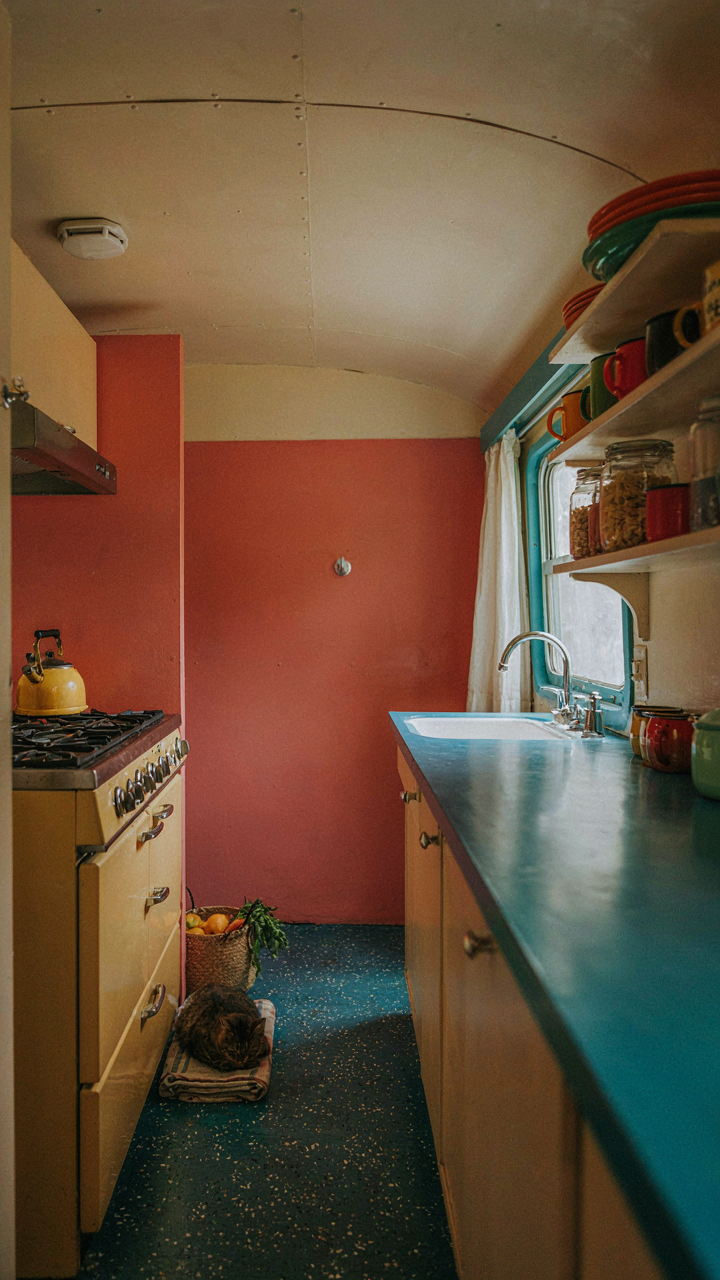
Most people don’t fail at vintage camper kitchen makeovers because they lack taste. They fail because they play it safe, mixing eras and styles to offend nobody, which offends everybody, including themselves. You already know what you want. Stop asking for permission. Pick one era, one color palette, one vibe, and commit to it completely today. Buy one vintage appliance this week. Not someday. This week. The camper kitchen you’re imagining only exists if you stop waiting for the perfect moment and start building it imperfectly right now. You don’t need a better plan. You need to stop protecting yourself from your own vision.



