
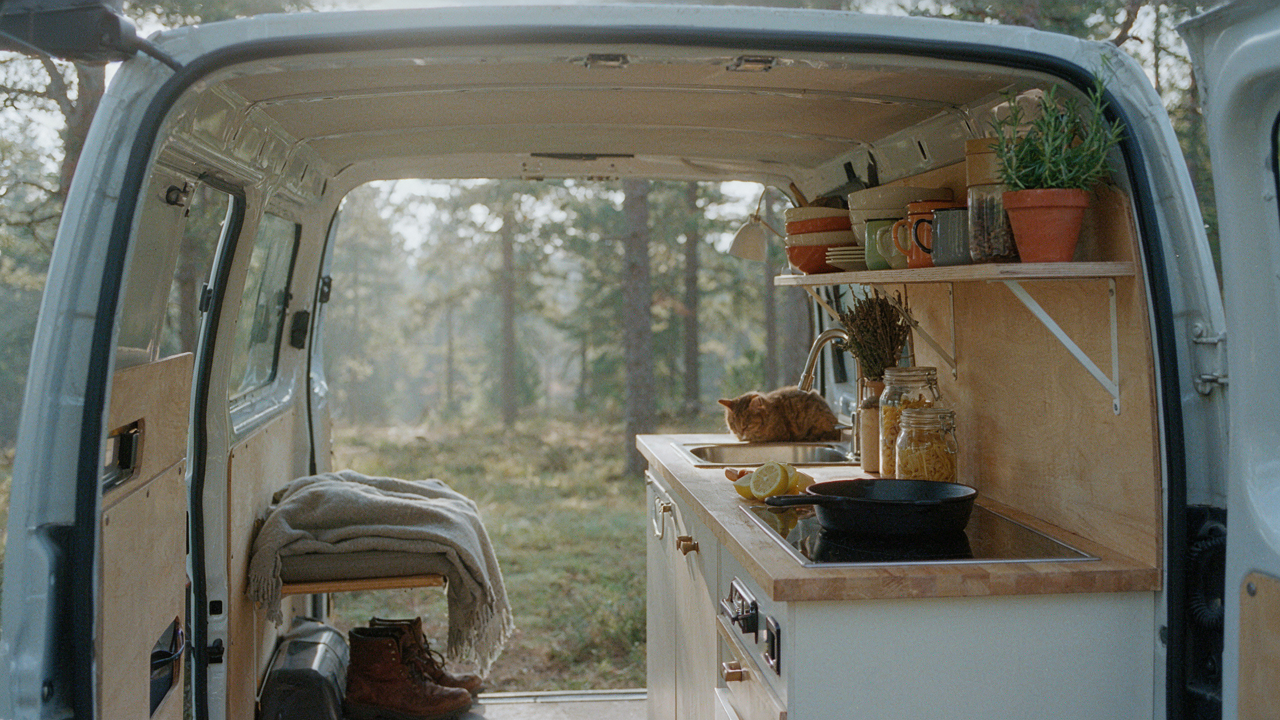
The Vanlife Kitchen Delusion: Why More Features Means Less Freedom
The Real Cost Of Feature Creep
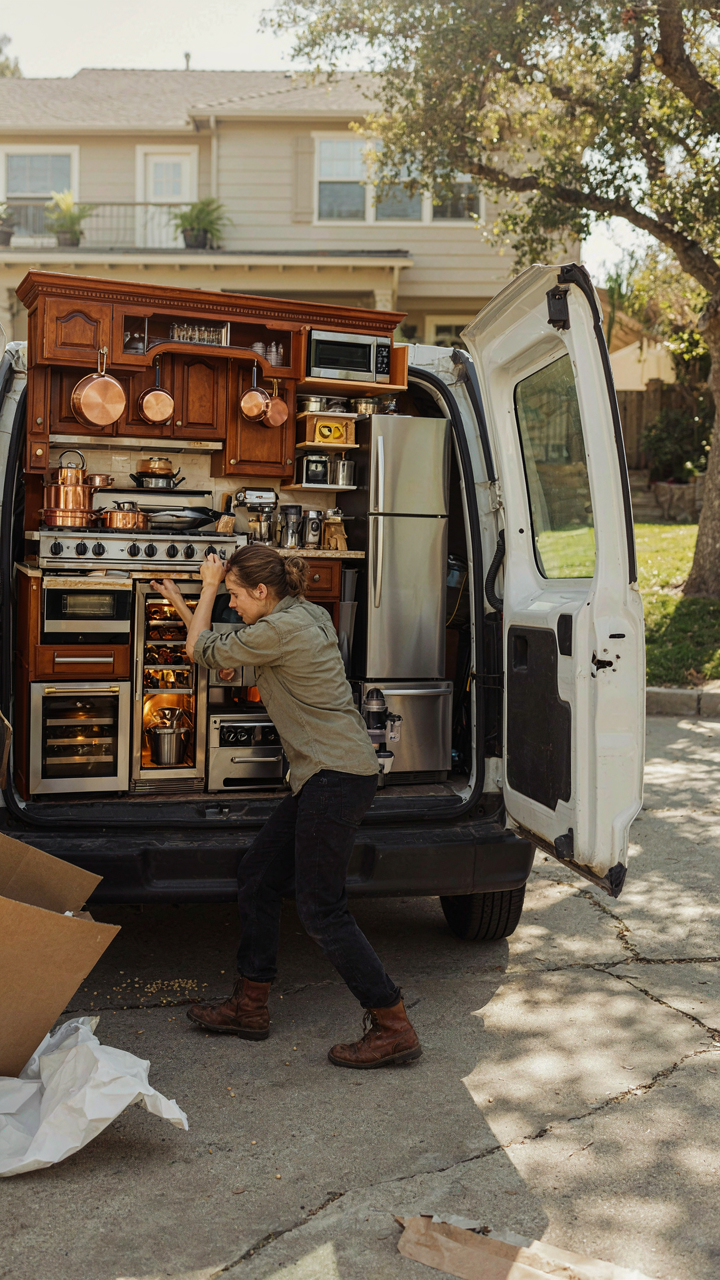
You want a camper kitchen that impresses people who will never see it. That’s the motive underneath most builds, and it kills functionality before you leave the driveway. Economics calls this “scope creep,” and it applies directly to camper kitchens: each added feature trades usable space for theoretical capability. A three-burner stove, convection oven, and full-size refrigerator sound capable until you realize you’ve eliminated counter workspace and storage for the things you actually cook with daily.
Most builders start by listing what they want, then compress everything into available space. The real mechanism runs opposite: define the three meals you’ll actually cook repeatedly, then build backward to the minimum equipment required. A single high-output burner outperforms two medium burners in a tight galley because you use it for boiling water, searing, and simmering without repositioning pans. Two cutting boards and one sharp knife beat a built-in prep station with two drawers of gadgets you never touch. The hidden cost isn’t money spent on extra equipment, it’s the daily friction of working around it.
Strip It Down To What Cooks
Most advice says “start minimal and add as you go.” That’s wrong. You’ll rationalize every addition by the second week because inconvenience feels like a problem to solve rather than a constraint that forces better habits. Cut ruthlessly upfront: one pot for boiling, one cast iron for everything else, one cutting surface that doubles as a stove cover. Eliminate single-use gadgets entirely, which means no garlic press, no julienne peeler, no collapsible colander. A fine-mesh strainer and one good knife handle both tasks the colander does, and they occupy one-tenth the volume.
The mechanism is simple: fewer items mean fewer decisions, less setup time, and zero searching for the one tool you actually need. A camper kitchen with twelve specialized gadgets creates twelve points of failure and twelve reasons to abandon cooking for takeout. A kitchen with four tools and one prep method becomes automatic. You spend mental energy on cooking, not management. Start your build by removing everything you think you need, then add back only what survives two weeks of actual use patterns.
The “Utility To Volume” Ratio: Your Guiding Principle
Functional Density Over Aesthetics

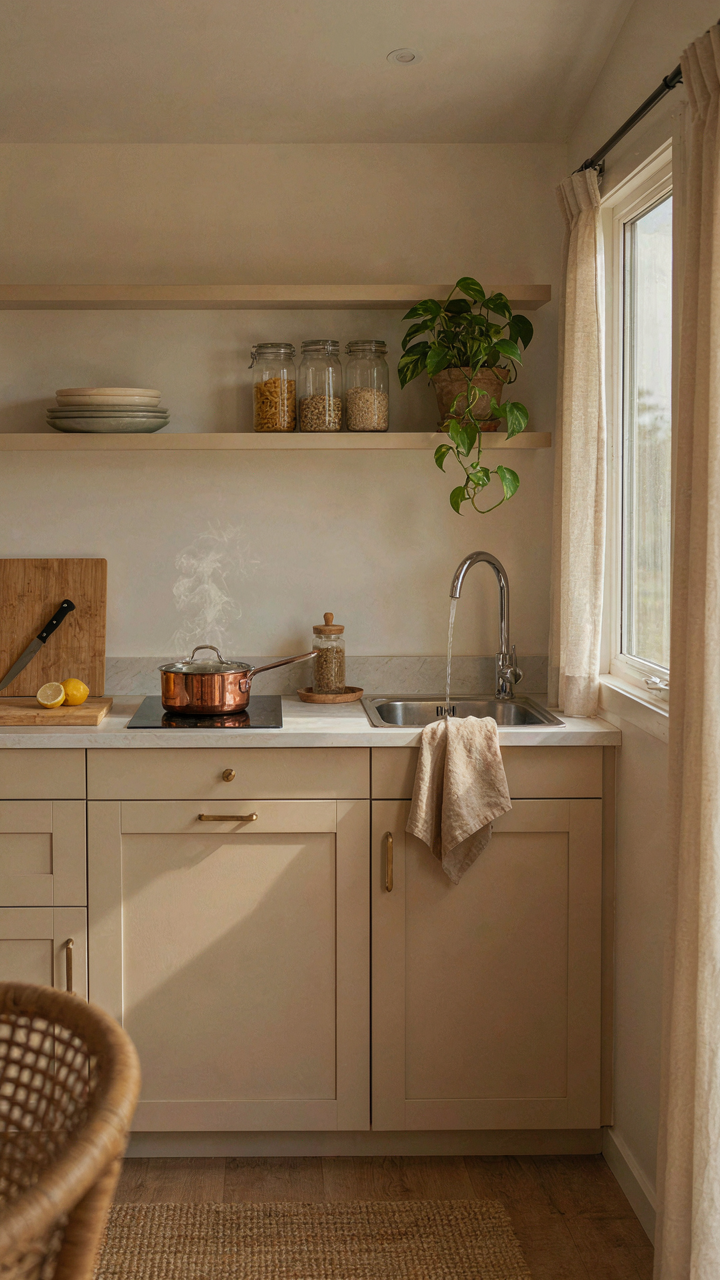
You want your camper kitchen to look intentional, like you designed it. The real mechanism is physics: functional density means packing maximum utility into minimum space. Borrowed from engineering, density measures mass per unit volume. In a camper kitchen, it measures capability per cubic inch. A Dutch oven does five jobs. A single-use gadget does one. The difference compounds across a 40-square-foot space.
Most advice says “buy multipurpose tools.” That’s incomplete. The actual constraint is weight and access speed, not just volume. A cast iron skillet stores flat, weighs predictably, and handles searing, baking, and frying. A collapsible colander saves space but collapses when you need rigidity. Calculate whether collapsing serves you or just serves the retailer’s narrative. Stack your actual cooking patterns against each item’s real footprint, not its marketed features.
True Space Cost Per Item
Every item in a camper kitchen occupies three dimensions you can’t recover. Most people count only shelf space. They ignore the weight penalty, the accessibility cost of digging through stacked items, and the mental load of maintaining organization. One infrequently used blender takes eight inches of prime counter real estate for nine months a year. That’s not storage optimization. That’s friction you pay for daily to use something monthly.
Calculate space cost this way: multiply shelf inches by frequency of use per week, then divide by function count. A cutting board used four times weekly for one function costs more than a serrated knife used twice weekly for three functions. Measure your actual cabinet depth. Measure actual item height when stacked. Remove items that sit untouched for sixty days. Replace them with tools that collapse, nest, or combine functions.
Deconstructing The Diy Camper Kitchen: Essential Components Only
Water, Heat, And Food Storage Come First

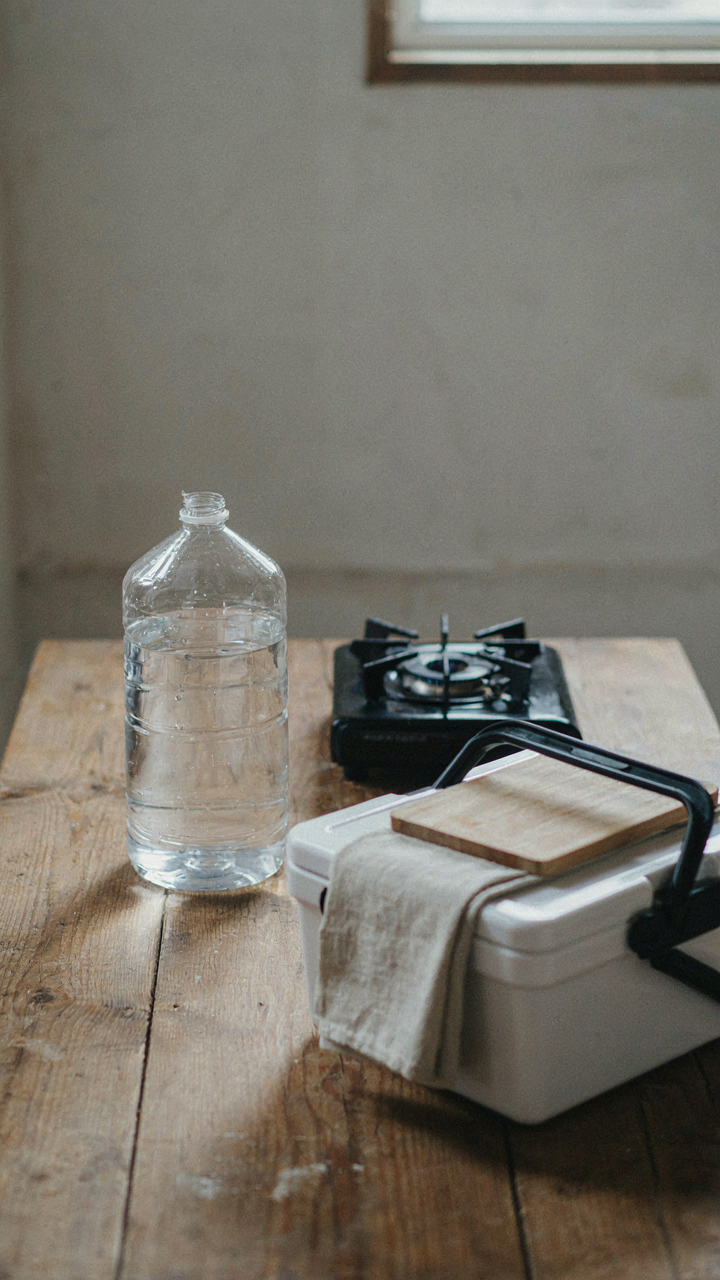
You want a camper kitchen that looks intentional so people think you planned this instead of stumbled into it. But that’s backwards. The mechanism is constraint: three systems determine whether your kitchen functions or becomes a shelf for takeout containers. Water delivery, heat generation, and food preservation are not aesthetic choices. They are the load-bearing walls of every working compact kitchen.
Most DIY builds start with countertop aesthetics and retrofit plumbing afterward. This creates leaks, pressure drops, and failed gravity systems. Build the water system first. Tank capacity, pump placement, and drain routing determine where everything else sits. Then heat source: propane stove, induction cooktop, or hybrid. Your heat choice dictates ventilation needs, fuel storage, and counter placement. Food storage last: insulation quality and ambient temperature control shape cabinet depth and material selection.
Structural Durability Requires Load Path Clarity
Engineering uses load path analysis to trace how forces move through a structure. In a camper kitchen, load paths move downward from countertop through cabinets to the vehicle frame. Most DIY builders ignore this and mount cabinets to walls alone, which flex and fail under driving vibration. The real answer is vertical integration: secure cabinets to the floor structure, not walls.
Use lag bolts or through-bolts to connect cabinet frames directly to vehicle frame or floor members. Countertops need support at intervals no wider than 24 inches to prevent sagging under weight and motion. Propane appliances and water tanks are heavy multipliers that concentrate load at specific points. Route these loads straight down to structural supports, not through cabinetry. Install blocking between frame members where needed. This takes two hours more than casual mounting but prevents your kitchen from becoming a rattle box or worse.
The “Amateur Hour” Build: Simple Diy Camp Kitchen Ideas For Any Skill Level
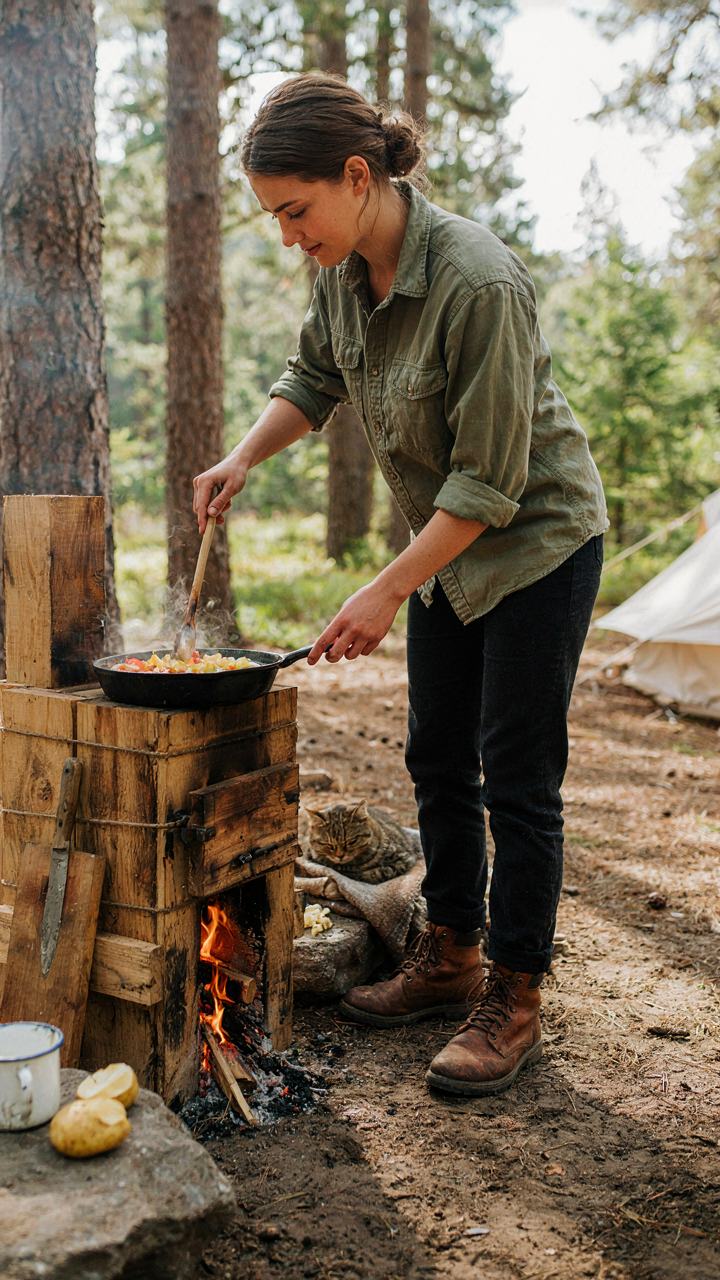
What You Actually Need To Start

You want permission to build without looking incompetent. That’s the real question here. The mechanism is simple: most DIY camper kitchens fail not because builders lack tools, but because they buy wrong tools for the actual work. Think like an engineer mapping constraints. Your constraint is space and weight, not precision woodworking.
- Cordless drill-driver combo: Handles fastening and light drilling. A 18V DeWalt or Milwaukee cuts your work time by half versus manual screwing. Non-negotiable.
- Circular saw or track saw: Rips plywood and dimensional lumber straight. A track saw costs more but eliminates the skill gap. Circular saws work fine if you clamp a guide.
- Jigsaw: Cuts curves and openings for sink and stove cutouts. Cheap ones vibrate; mid-range models from Makita or DeWalt stay stable enough for camper work.
- Speed square and tape measure: Lays out cuts accurately without guesswork. A 25-foot tape and 7-inch speed square cover 95% of layout needs.
- Clamps and sawhorses: Holds material while you work. Two bar clamps and a folding sawhorse keep parts stable and your hands free.
Materials matter more than tool perfection. Use 3/4-inch exterior plywood for the frame, aluminum composite for countertops, and stainless fasteners to stop rust. Exterior grade plywood resists moisture better than standard pine and won’t delaminate when condensation builds inside the camper.
Where Beginners Actually Mess Up
Everyone says measure twice, cut once. That’s not the real problem. The real problem is beveling edges after cutting, then discovering your frame sits crooked because you didn’t account for the camper’s uneven floor. Fix the floor first with shims.
Second mistake: undersizing your support structure. You’ll load a camper kitchen with water, propane, and groceries. A frame that works for a drawer fails under 200 pounds of distributed weight. Use 2x4s for base support, not 1x4s. Cross-brace the back to stop racking under cornering forces. Test by pushing hard on the assembled cabinet before you mount it. If it flexes, add diagonal bracing now, not after installation.
Optimizing Storage: Beyond The Obvious For Your Camper Van Kitchen
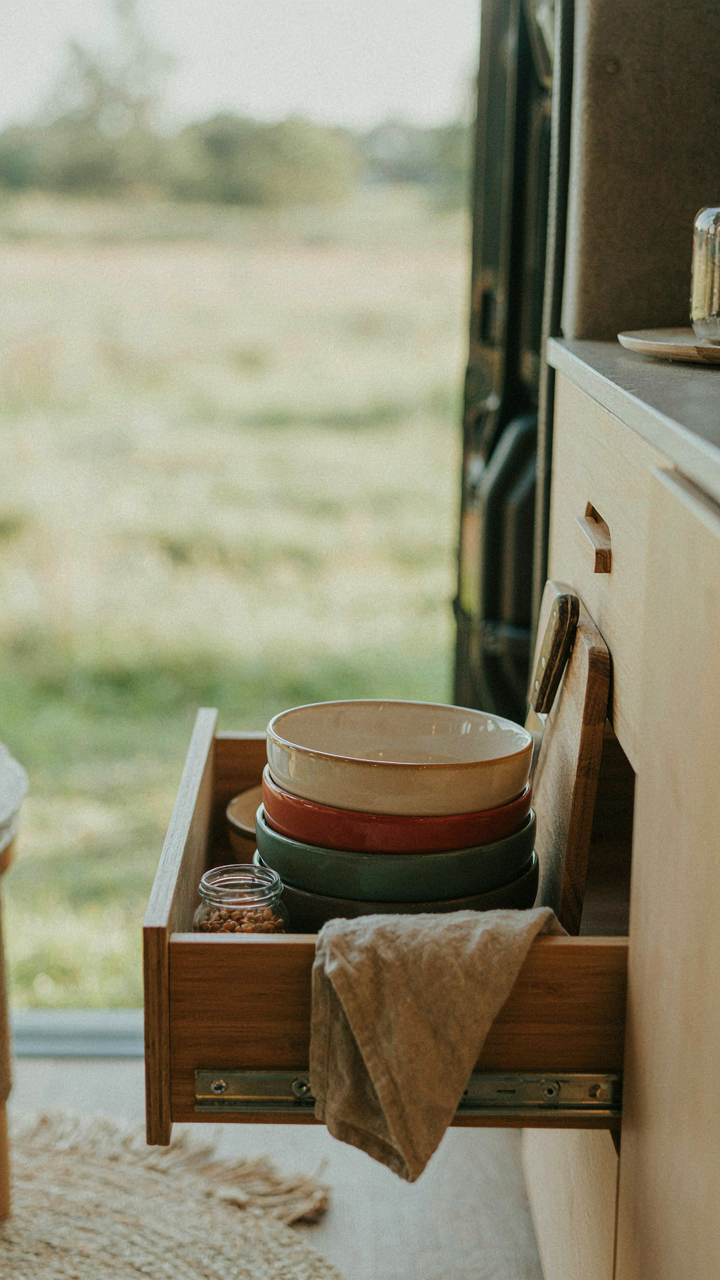
The Vertical Trap Nobody Admits

You want to maximize storage because you’re afraid of feeling cramped, but the real problem is that most people stack items vertically without understanding load distribution. Think of it like structural engineering: weight concentration creates failure points. A camper kitchen needs distributed load paths, not stacked towers.
The mistake is treating wall space like a filing cabinet. Bolt French cleats to studs at multiple heights rather than mounting a single tall cabinet. This spreads weight across the frame and lets you move components later. Use the space between wall studs as recessed shelving, not the surface in front of them. This keeps your walkway clear while hiding 40% more than surface mounting allows.
Hidden Compartments That Actually Hold
The standard advice about using under-seat storage and overhead bins misses the real leverage point: dead space exists specifically because camper designs accommodate human movement patterns, not optimized packing. Use the gap between your cooktop and the sink rim for a custom drawer that slides perpendicular to traffic flow.
Create magnetic strips on the inside of cabinet doors for metal containers. Hang a pegboard on the back of a hinged panel that closes flat against the wall. These moves work because they occupy space your eye never registers as available. Mount spice racks on cabinet sides facing outward so they vanish visually but remain accessible. The mechanism: hide what you use frequently in plain sight by treating vertical surfaces as storage real estate instead of walls.
Heavy Items Need Friction, Not Just Fasteners
Loose items destroy campers faster than bad welds. Your pots, pans, and glass containers will shift under acceleration, braking, and cornering unless you engineer for inertia. Don’t just secure items; create redundant fail-states so one fastening method breaking doesn’t mean total loss.

Line shelves with rubberized shelf liner and add low-profile bungee cords between items as a second barrier. For drawers, use sliding dividers with rubber grips on the bottom. Keep your heaviest items low and centered on the wheelbase. Mount a single item per mounting point rather than daisy-chaining three things to one bolt. If something moves while driving, your storage failed before your fasteners did.
Powering Your Compact Cooking: The DIY Van Kitchen Energy Blueprint
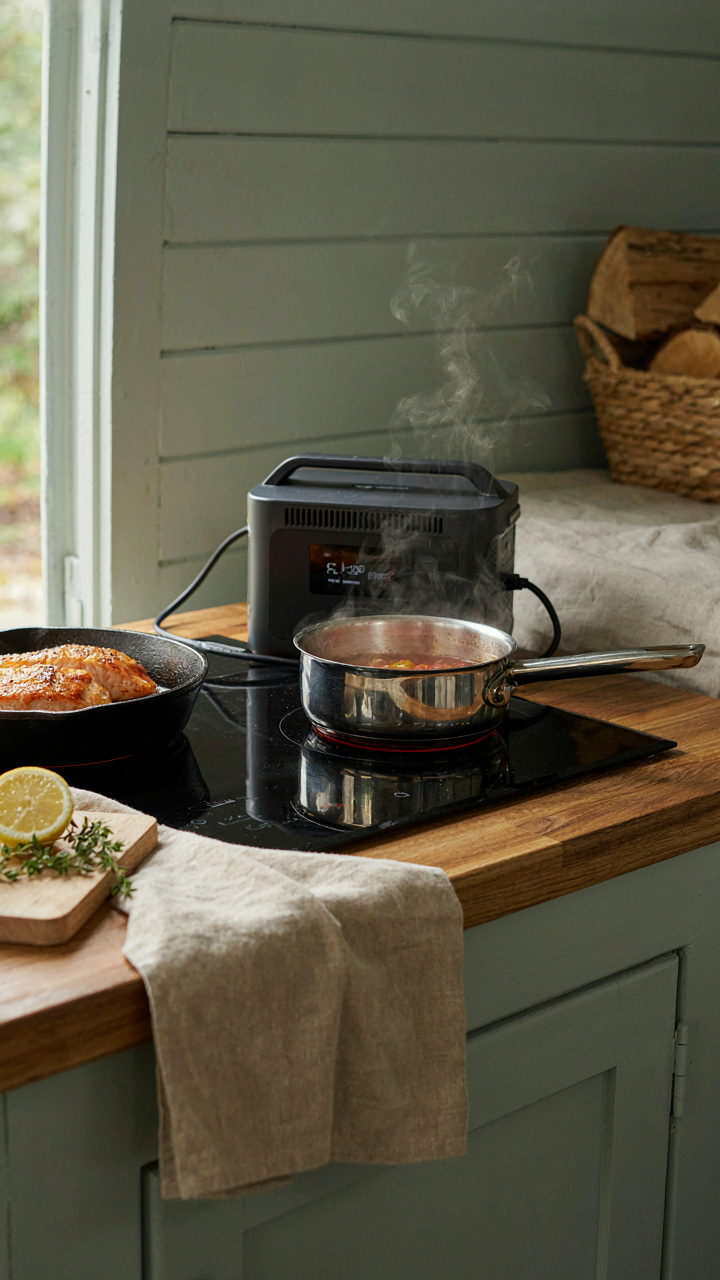
Appliances Built For Constraint, Not Compromise
You want cooking power without draining batteries dry because you’re terrified of being stuck without heat or light. The mechanism is simple: induction cooktops use electromagnetic force to transfer energy directly into cookware, cutting waste by sixty percent compared to resistive coil elements. This matters in confined spaces where every watt counts and fuel costs money you’d rather spend elsewhere.
Induction demands compatible ferrous cookware, which most people already own. Pair induction with a small convection oven instead of a full-size range. Skip the microwave entirely—it wastes power and takes up space. A single burner induction setup draws four to six kilowatts on high, manageable with proper battery sizing. Pressure cookers and thermal cookers reduce cooking time and energy draw dramatically because they trap heat and finish food passively.
Battery And Solar: The Physics Of Load Matching
Think like an electrical engineer managing supply and demand. Your battery bank is your reservoir, solar is your intake, and appliances are your outflow. The mismatch between these three determines whether you cook freely or ration energy like a doomsday prepper.

Lithium batteries hold charge longer and accept solar input faster than lead acid, but cost three times more upfront. Most people size batteries too small because they buy based on price, not actual load. Calculate your daily watt-hours: if you cook one hour daily at five kilowatts, add eight kilowatt-hours to your minimum storage. A 400-watt solar panel array produces real output only in direct sun, so install panels at angle matching your latitude. Use a maximum power point tracking controller, not a basic PWM model, to capture twenty to thirty percent more solar energy throughout the day.
The “Camping Box Diy” Evolution: Modular Systems For Adaptability
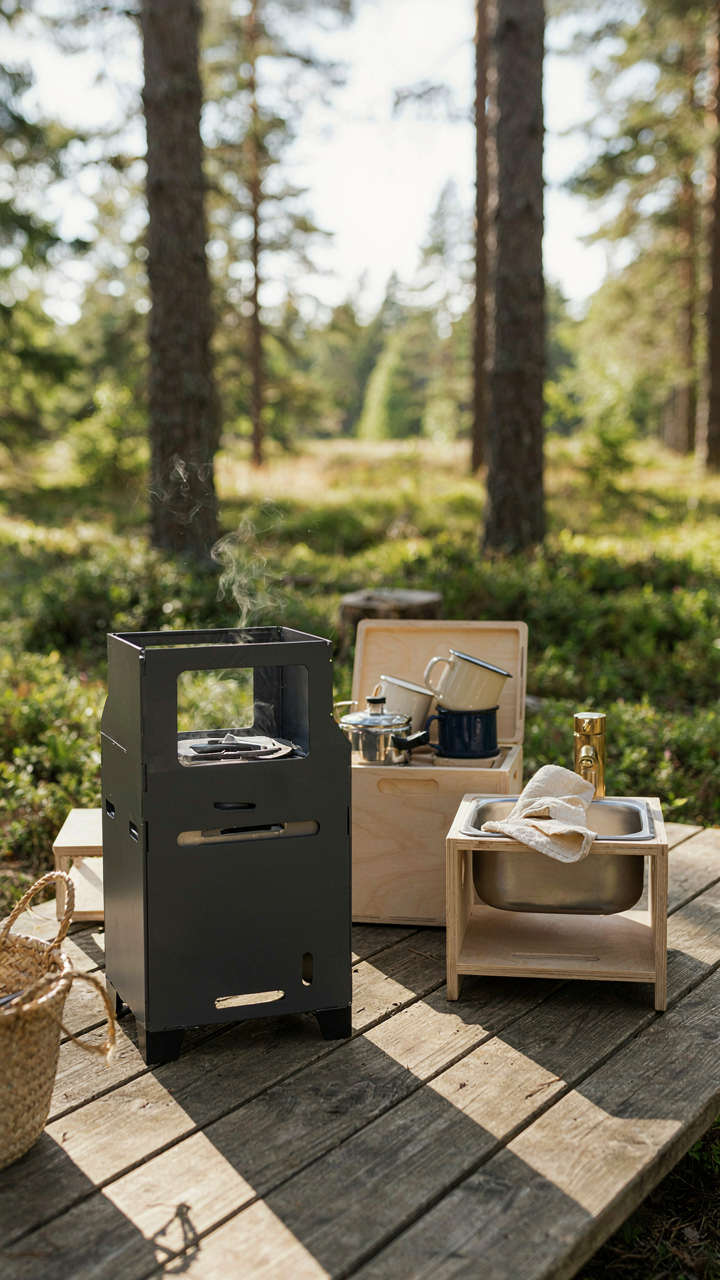
Breaking Down And Building Back Up
You want modularity because you’re tired of rebuilding the same setup from scratch every trip. The real mechanism here is component independence. Each piece functions solo, then locks into a larger system without requiring permanent attachment or custom carpentry each time. Think of it like military logistics: a forward operating base uses modular tents and fuel containers that work standalone or networked. Your camper kitchen does the same thing. A cutting board slides into a frame. A stove sits on rails. Everything stores flat. Nothing depends on anything else to operate.
Most advice tells you to “make it flexible.” That’s useless. Real modularity means your stove works at ground level, on a counter, or inside a cabinet without modification. Your water system functions off-grid or connected to an external source. Your storage bins stack, nest, or hang. The catch: this demands discipline during the build phase. You cannot bolt components directly to plywood. You build frame systems first, then slot pieces into them. This takes longer initially but saves you weeks of headaches across multiple trips.
Adapting Surfaces For Different Route Demands
A two-week desert trip is not a three-day mountain run, and your kitchen should reflect that without requiring dismantling. Expandable surfaces handle this. Start with a base counter footprint that stays constant. Add removable extensions that clip, bolt, or slide in when you need prep space for longer trips. Your stove area remains fixed; your cutting station grows or shrinks based on trip length and meal complexity.

The mechanism here is temporal scaling. You’re not building one kitchen. You’re building a base unit that absorbs demand fluctuation. A drawer system that pulls out under your stove counter gives you storage on short trips. Flip out a removable leaf table, and you’ve doubled your work surface for a week-long expedition. The structure underneath never changes. Only the active surface area shifts. This eliminates the false choice between “tiny and cramped” and “overbuilt and wasteful.” You get one and the other, switched on demand.
Beyond The Build: Mastering The Minimalist Camp Kitchen Ideas Mindset

One Tool Replaces Three
You want to feel like you’ve optimized something. The real mechanism is that you’re terrified of making the wrong choice in a confined space, so you buy redundant tools to cover every scenario. Stop.
The physics term is leverage. In a camper kitchen, leverage means one tool that pivots through multiple functions without compromise. A cast iron skillet becomes your frying pan, baking vessel, and heat distributor. A stainless steel pot with a fitted lid handles boiling, simmering, and storage. Each tool earns its weight by solving two problems instead of one.
Most people load their camper with single-purpose gadgets. A dedicated griddle. A separate sauce pot. A specialized camping stove attachment. They think they’re preparing for every meal. They’re actually creating a storage crisis before they leave the driveway. Your space doesn’t expand. Your needs don’t multiply. The tool that works for 80 percent of your cooking wins over the tool that works perfectly for 20 percent.

Test this before buying. Take three meals you actually cook and ask which single vessel handles all of them. A high-sided stainless steel skillet with a glass lid. A two-quart stainless pot. A long-handled spatula that doubles as a turner and scraper. These three items solve breakfast, lunch, and dinner in a space smaller than a filing cabinet.
Constraint Forces Clarity
The hidden benefit isn’t the clean kitchen aesthetic that Instagram sells you. It’s that fewer tools force you to develop real cooking skill instead of relying on equipment to compensate.
When you have one skillet, you learn heat control. You learn how to build flavor through layering instead of through complicated techniques. You learn to plan meals that sequence logically through one or two vessels instead of dirty pots everywhere. This isn’t sacrifice. This is the actual mechanism of becoming better at cooking.
A simplified routine also eliminates decision fatigue. You’re not standing in front of five mixing bowls deciding which one to use. You’re not choosing between three spatulas. This mental energy redirects into the actual meal, which means your food improves and your stress decreases. When you’re camping in a confined space, this matters.
The constraint also forces you to clean and maintain tools immediately, which means they function better and last longer. A dirty cast iron skillet sitting in a cabinet collects rust and loses its seasoning. The same skillet cleaned and dried within minutes after use becomes more effective and reliable. Constraint creates discipline. Discipline creates capability. Your cooking output improves because your system demands it.
The Ultimate Obstacle: Your Addiction To Options. Overcome It, And Cook Anywhere

Most people never build a diy camper kitchen because they’re waiting for the perfect design. They won’t move until they’ve researched every stove, every cabinet, every layout variation. That paralysis costs them seasons. Pick one setup today. Buy the materials this week. Build it wrong if you have to. You learn faster from a working imperfect kitchen than a perfect one that doesn’t exist. The best diy camper kitchen is the one you actually finish.



