

The “Authenticity” Trap: Why Your Camper Curtains Scream Generic
Manufactured Vintage Versus Real Wear
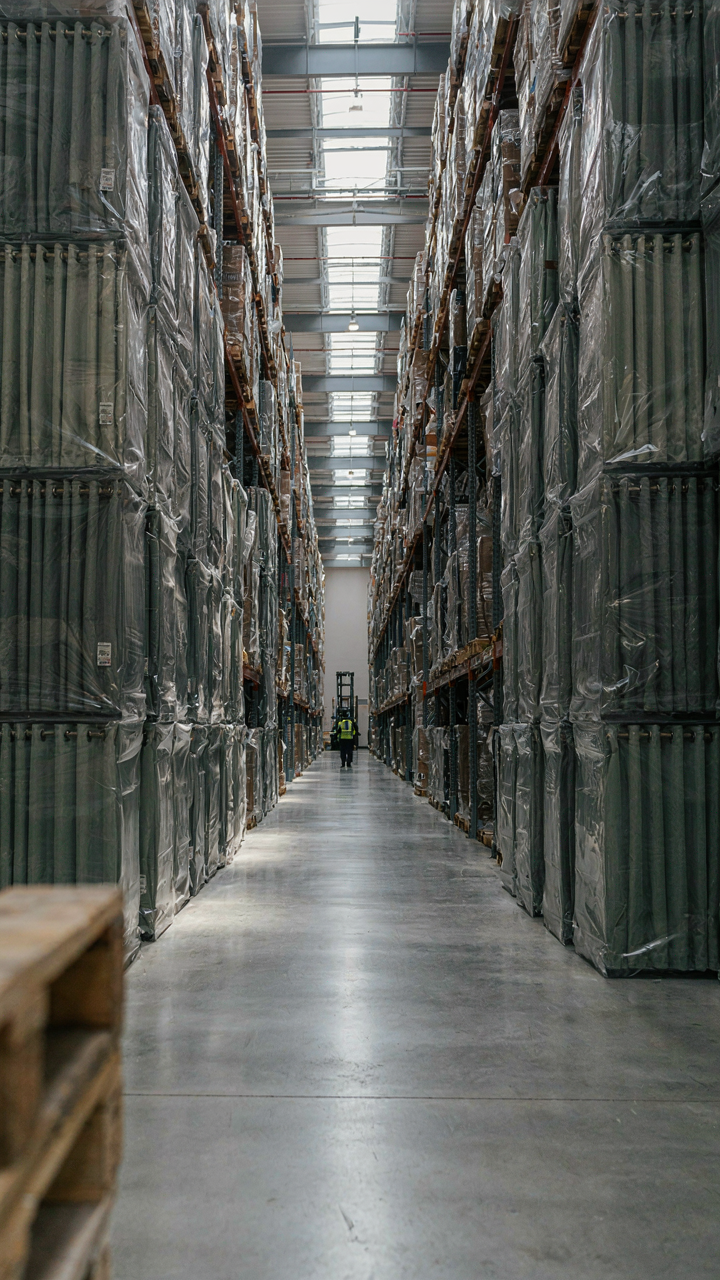
You want people to think you found these curtains in a 1972 Airstream, not that you bought them online. That status anxiety is the real reason this matters. Here’s the mechanism: mass-produced “vintage-style” camper curtains use uniform fading, artificial distressing, and synthetic fabrics that never existed in actual vintage RVs. Genuine patina comes from UV exposure, humidity, and handling over decades, not from a factory process. Reproduction curtains flatten this complexity into a single aesthetic filter that reads as inauthentic to anyone who’s spent time around real vintage interiors.
Original camper curtains from the 1960s and 1970s were made from cotton blends, cotton velvet, or linen that aged unpredictably. Factory-distressed reproductions use acrylic or polyester with pre-printed fading patterns that look identical across units. The difference isn’t subtle if you know what to look for: real vintage fabric develops color variation that follows light patterns specific to each window’s orientation, while manufactured “vintage” fabric follows a design template. When you sew your own curtains from actual period-appropriate materials, you bypass this trap entirely because you control the fabric quality from the start.
Confusing Aesthetics With Performance
Most advice tells you to prioritize how curtains look in photos. This ignores thermodynamics entirely. Vintage camper curtains had a job: blocking sun heat in summer and retaining warmth in winter while maintaining privacy. Modern reproductions often use thin synthetic fabrics that look right but fail at both functions. A 1968 Shasta used thick cotton or cotton-blend curtains with tight weaves specifically because thin materials couldn’t manage temperature swings in a metal box.
When you choose fabric for your own curtains, weight and fiber content determine performance first, aesthetics second. A lightweight cotton print might photograph well but won’t insulate or block heat effectively. Medium-weight cotton duck or a cotton-linen blend gives you the authentic look while delivering the thermal properties vintage campers actually needed. Test fabric thickness by holding it to a light source, check the fiber content on the bolt, and prioritize materials that would have existed in the era you’re replicating. This filtering step eliminates 80 percent of modern fabrics that only pretend to be vintage.
Beyond Pinterest: Sourcing Fabric That Actually Works
Materials Built To Last, Not Fade

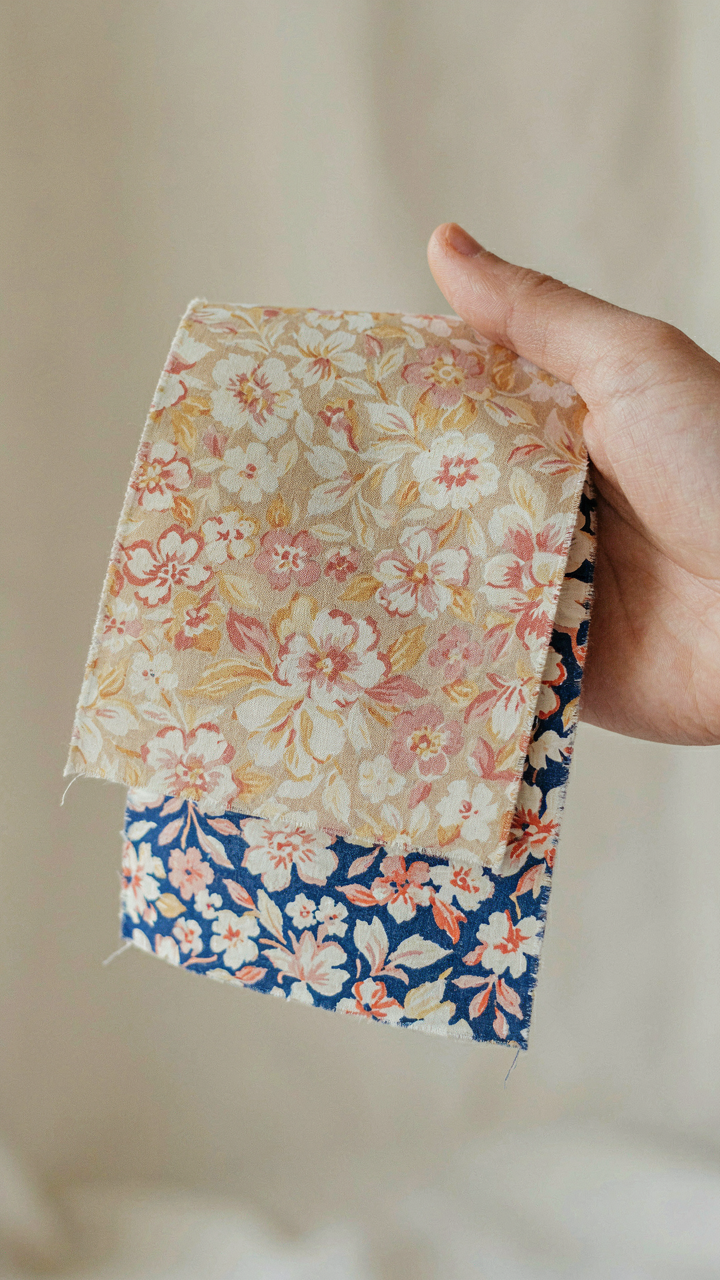
You want vintage camper curtains because you think they’ll make your rig look like it belongs in a 1970s design magazine. What actually matters is whether the fabric survives eight hours of direct sun without turning into a faded ghost. That’s the mechanism at work: UV exposure degrades synthetic dyes and natural fibers differently, and most fabric sold online doesn’t account for this reality.
Cotton canvas and linen were the dominant choices in production-era campers because they held color under sun exposure better than cheaper alternatives. Modern polyester blends now dominate fabric shops, but not all polyester performs identically. Solution-dyed synthetics like Sunbrella hold color far longer than dyed-after-weaving polyester because the pigment sits inside the fiber itself, not on the surface where UV light strips it away. Choose fabrics rated for outdoor use, not interior upholstery. This isn’t preference. It’s physics.
Choosing Between Privacy And Ambiance
Light control operates on simple physics: thread density determines how much light passes through. Blackout fabric blocks 95 percent or more of light through tight weaves and often a foam or acrylic backing. Sheer or semi-sheer vintage prints allow light through while diffusing it, creating that classic camper glow without full privacy. The real decision isn’t aesthetic. It’s functional. A camper bedroom needs actual darkness. A galley or dinette works fine with filtered light that keeps the space from feeling like a cave at three in the afternoon.
Dense weaves like canvas or heavy cotton duck run 8 to 10 ounces per square yard. Lighter prints often sit at 4 to 6 ounces. Heavier fabric blocks light effectively but restricts airflow and adds weight to your camper frame. Lighter fabric breathes better but won’t stop early morning sun. If you’re sewing yourself, buy sample swatches first and test them in your actual rig at different times of day. Don’t guess.
The “Measure Twice, Cut Once” Myth: The Prototype Protocol
Why Iteration Beats Precision

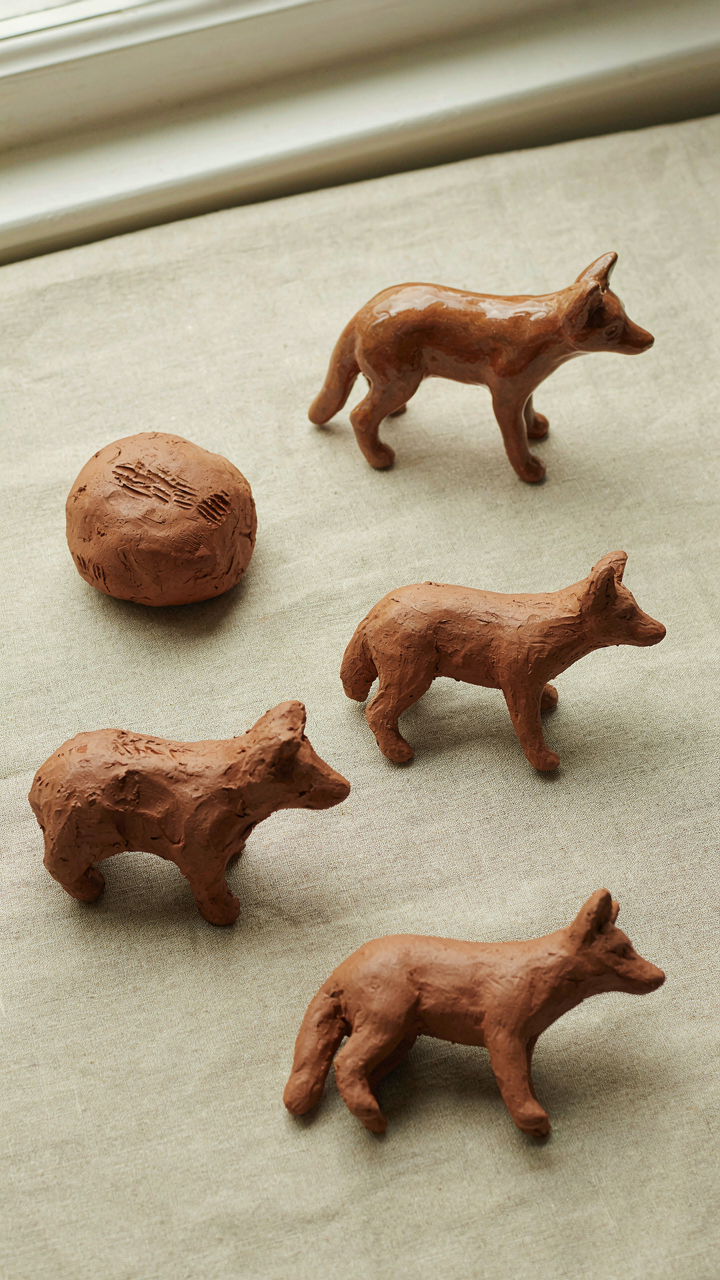
You want to skip this part because it sounds inefficient. It isn’t. Evolutionary biology teaches us that organisms don’t design themselves perfectly on the first attempt—they iterate through generations, keeping what works and discarding what fails. Vintage camper curtains operate on the same principle: a prototype absorbs the mistakes your measurements can’t catch. Build a test version first.
The real cost isn’t the extra fabric. It’s installing permanent mistakes. A camper’s interior geometry—curved walls, sloped ceilings, window frames set at odd angles—defeats straight measurement. Vintage Airstreams and Airflow models had dimensions that varied unit to unit. No amount of precision with a tape measure accounts for how fabric actually hangs in your specific environment, how light hits the weave, or whether your rod placement creates binding at the corners.
Testing Before The Final Cut
Install your prototype using cheap muslin or unbleached cotton. This costs fifteen to thirty dollars and takes two hours. Hang it exactly as you plan to hang your final curtains. Observe for a week. Watch how it moves, where it pools, whether seams stress under tension, if the length creates sight-line problems or drafts. Record what fails.
Then adjust the pattern. Cut your real fabric only after the prototype proves the geometry works. This single step eliminates the scenario where you’ve already invested premium vintage-appropriate material into a design that doesn’t perform. The prototype isn’t wasted money—it’s insurance against permanent installation of a flawed design.
DIY Camper Curtain Ideas: Simple Mechanics For Complex Problems

Why Tension Rods Fail You

You want the cheap fix that requires no commitment. Tension rods promise that, but they fail because they don’t account for the vibration and movement that happens when a camper travels or settles. The physics term is damping—the ability of a system to absorb and dissipate energy. Tension rods have zero damping capacity. Wind, road vibration, and thermal expansion cause them to slip incrementally until fabric sags into the window line.
Vintage camper interiors used tension rods because manufacturers prioritized manufacturing speed over function. Modern retrofits repeat this mistake. The rod sits in a channel or bracket and relies on friction alone to hold position. Once friction fails, the curtain drops. Install a tension rod, use it for two weeks, and watch it migrate downward by half an inch or more. This isn’t a defect. It’s the mechanism at work.
Snaps, Velcro, And Magnetic Hold Points
Skip velcro for light sealing—it deteriorates from UV exposure and loses grip after a season. Snaps and magnetic closures work because they create positive engagement points rather than relying on surface friction. Snaps on vintage camper curtains were standard practice from the 1960s onward, used on both fabric edges and valances. They don’t drift. They don’t wear uniformly. They fail catastrophically and obviously when they fail, not gradually like tension rods.
Sew snaps into seam allowances at regular intervals—typically every eight to twelve inches horizontally and every six inches vertically along edges where light leaks occur. Mount corresponding snap plates into the window frame using panel adhesive rated for RV use or small stainless fasteners. Magnetic closures work similarly; sew metal discs into hem tape, adhere corresponding magnets to frame surfaces. Test the seal by turning lights on inside the camper at night. If you see light penetration, add more snap or magnetic points. The mechanism is direct: positive engagement prevents migration.
Camper Windows: Mastering The Irregularities
Template Strategy For Odd Shapes

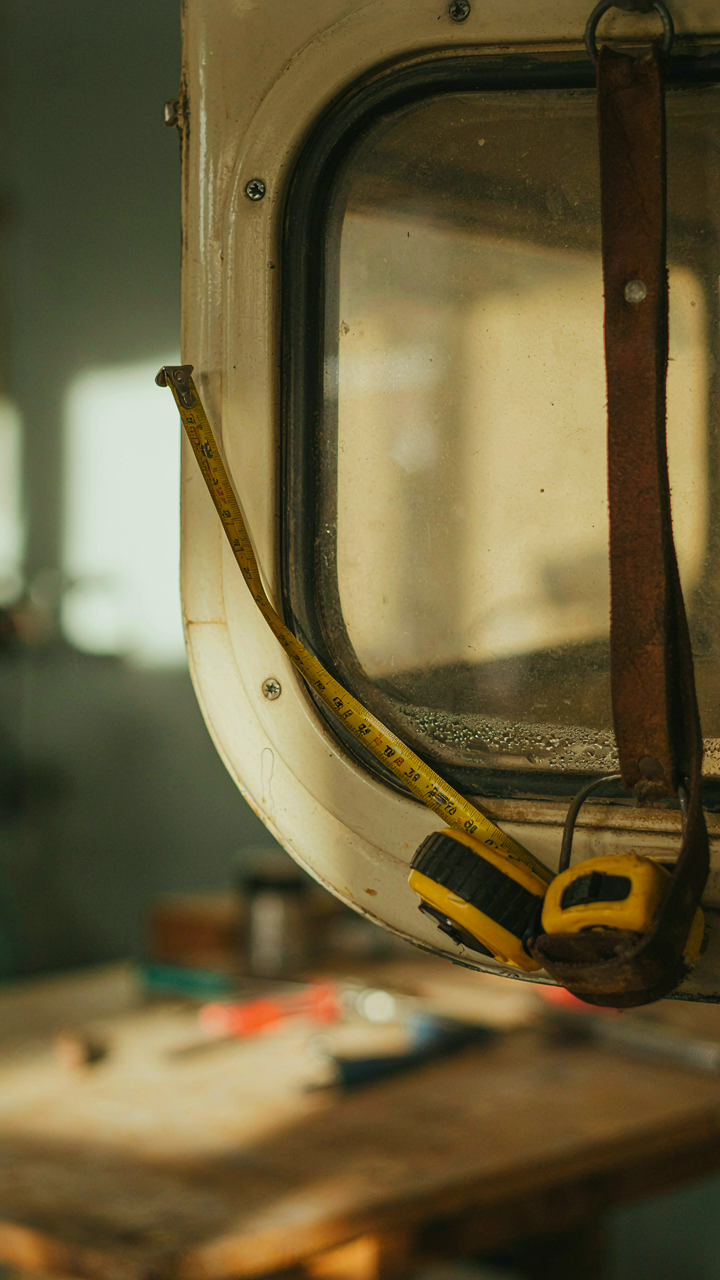
You’re avoiding this section because measuring windows that don’t fit standard dimensions feels like a problem you can’t solve, and you’re right to fear it. Here’s the mechanism: vintage campers have windows cut on curves, angles, and slopes because manufacturers minimized material waste and followed body panel contours, not architectural grids. This irregularity is the actual constraint you’re solving for, not a flaw in your planning.
The template method works backward from your finished curtain. Measure the window opening at five points minimum: top left, top center, top right, bottom left, bottom right. Record the exact distance from frame to frame at each point. Transfer these measurements onto kraft paper or old newspaper at full scale, connecting the points with a flexible ruler or bent wire to show the actual curve. This becomes your cutting template. Test fit it against the window before cutting fabric.
Curves And Angles Demand Precision
Geometry controls how fabric falls in a space constrained by hard edges. A curve that looks gentle at two inches per foot becomes a problem at twelve inches, and angles compound the effect. Common advice says “add extra fabric for seams” and stops there, which leaves you with bunching at corners or gaps where the curtain should meet the frame.
The real solution requires two techniques working together. First, cut your pattern to match the window opening exactly, accounting for the bias direction of your chosen fabric. Second, stabilize problem areas with topstitching along the curve or angle before hanging, using thread that matches your fabric color and a straight stitch one quarter inch from the cut edge. This prevents fabric migration and holds the shape permanently. Measure once more after topstitching to confirm the curtain still aligns with your window opening.
The “No Sew” Deception: Why Real Craftsmanship Matters
Stitched Seams Last Decades, Adhesive Fails In Months

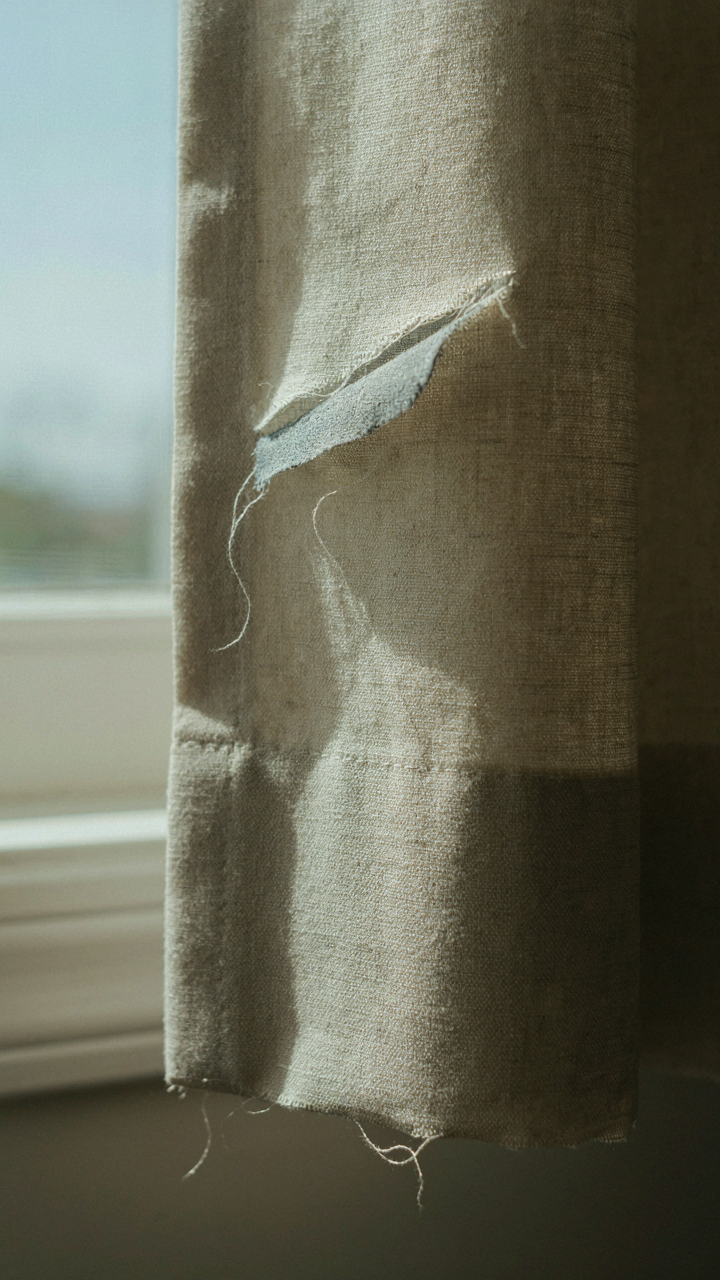
You want the shortcut because you think it saves time, but what it really saves is effort—and that’s exactly why your curtains will fall apart. In materials engineering, we call this “stress concentration”: a single point of failure that spreads. Adhesive-bonded seams on vintage camper curtains create exactly that. Heat, vibration from travel, and UV exposure accelerate degradation. A proper stitch distributes force across the entire seam, forcing failure to happen nowhere instead of everywhere at once.
Hand-stitched or machine-sewn seams on vintage camper curtains remain functional for decades because the thread moves with fabric contraction and expansion. Fabric adhesives become brittle and separate when temperature fluctuates between a cold night and a sun-heated interior. You can repair a broken thread in two minutes. You cannot repair chemically separated fabric. The difference between patching a seam and replacing entire curtains is the difference between five dollars and fifty.
Building The Skill That Outlasts The Camper
Everyone says learn to sew, then nobody actually explains why it matters here. The real advantage isn’t pretty stitching—it’s diagnostic capability. When a seam fails on the road, you can identify the problem and execute a repair using only a needle, thread, and five minutes. This is conditional independence: your curtains stop relying on perfect conditions or replacement inventory.
A basic running stitch or backstitch requires no special equipment and holds just as well as machine work on lightweight camper fabrics like cotton twill and linen blends common to vintage campers from the 1960s through 1980s. You develop muscle memory in under an hour of practice. Once embedded, that skill transfers to repairs on upholstery, tent seams, and canvas storage. You’re not investing in curtains—you’re acquiring a protocol that compounds in value across every fabric situation you encounter.
RV Curtain Ideas: Insulation, Sound, And Light Management
How Fabric Density Stops Temperature Swings

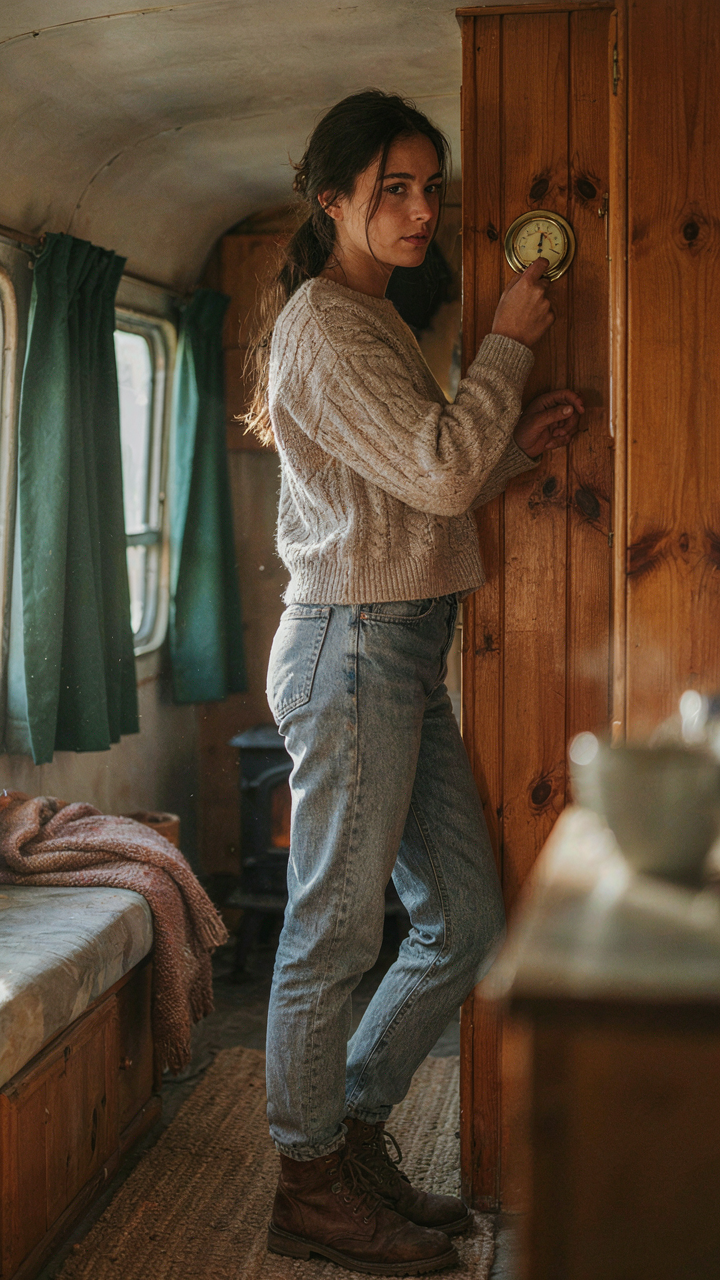
You want your camper to feel expensive and controlled, but the real problem is that thin curtains let thermal transfer destroy your comfort and waste propane. Thermal dynamics work the same way in an RV as they do in industrial insulation: density slows energy movement. Vintage camper curtains from the 1960s and 70s used heavier cotton blends and canvas for this exact reason. Multiple fabric layers create air pockets that trap warmth in winter and reflect solar heat in summer.
Linen blends and cotton duck fabric work because they’re tight-weave materials. A single layer of proper fabric outperforms thin synthetics doubled up. Measure your windows, then buy fabric with a minimum weight of 8 ounces per square yard. Sew two layers with a quarter-inch air gap between them using batting or foam as spacer. This setup stops the temperature swing that forces you to run your heater or AC constantly.
Sound Absorption Through Material Choice
Most people think soundproofing curtains need to be thick and ugly. That’s wrong. The mechanism is surface area and fiber structure, not mass. Fabrics with loose weaves absorb sound waves instead of reflecting them. Vintage camper owners discovered that corduroy and velveteen cut interior noise dramatically because the pile structure traps sound vibrations.
Test fabric by holding it up to a light source. If you see air gaps in the weave, sound enters those spaces and loses energy. Velveteen, crushed velvet, or corduroy work best for noise reduction on a budget. Combine these with your thermal layer using the two-layer curtain system. Install curtain rods close to the wall so the fabric hangs freely without gaps. Sound waves hitting the fabric dissipate rather than bouncing through your sleeping quarters.
Camper Window Coverings Ideas: Beyond The Basic Rectangle
Layering For Light And Privacy Without Waste

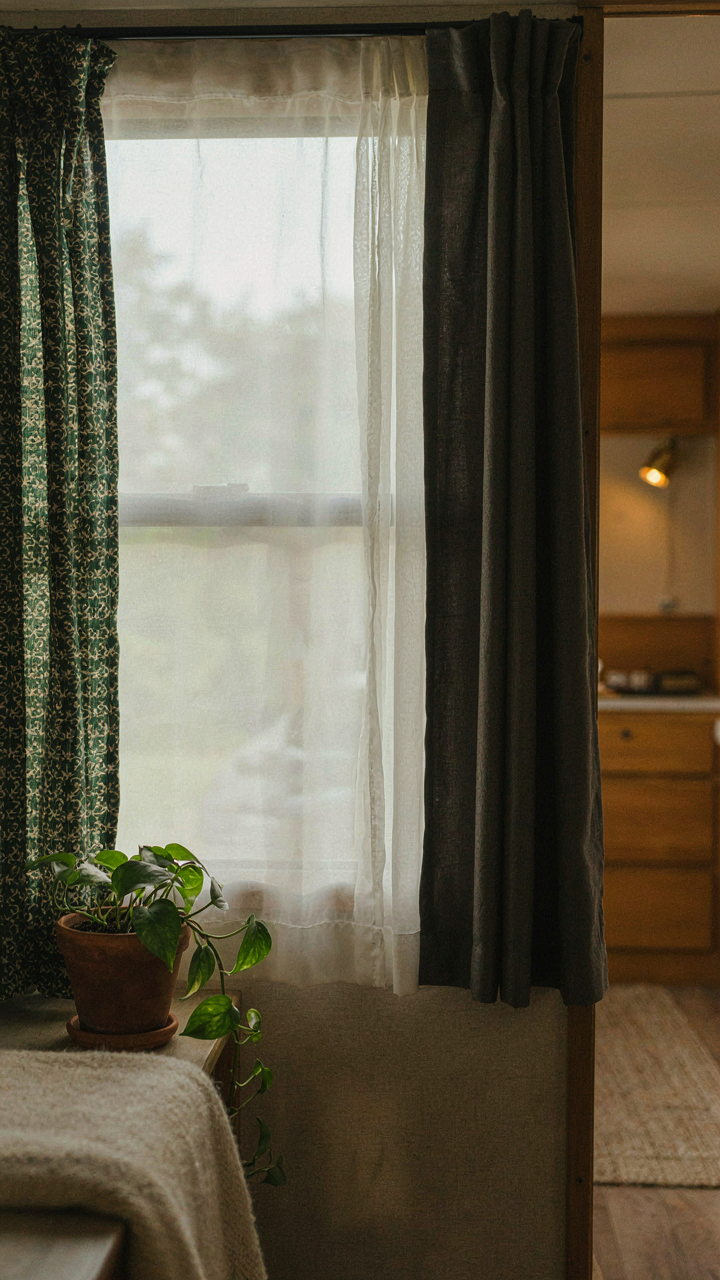
You want to feel in control of your space without admitting you’re tired of feeling exposed. The real mechanism here is optical density. In physics, layering materials with different light transmission rates lets you adjust output without replacing the whole system. Apply this to camper windows: sheer fabric closest to glass, opaque fabric behind it, and you dial in exactly how much light enters and how visible you are from outside.
Vintage camper interiors used this layering strategy by necessity, not design choice. Thin cotton chintz faced outward to deflect heat and prying eyes. Heavier canvas or cotton sateen hung behind for total blackout when needed. Sew both onto the same rod using separate channels, or mount one to a tension wire and the second to a fixed frame. You control privacy and light independently, which beats any single-layer solution.
Handling Windows That Don’t Cooperate
Most advice says measure twice, cut once, then act confused when your camper’s door window is trapezoid-shaped or your cabover window sits at an angle. That’s incomplete. Vintage trailers had non-square windows because frames twisted during transport and age. Work with what exists, not what should exist.
For angled or irregular windows, make a paper template first. Tape kraft paper over the frame, trace the exact outline, and cut it out. Transfer this template to your fabric before cutting. For door windows, use two separate pieces instead of one continuous panel. Mount them on independent rods so one moves freely while the other stays fixed, letting you open doors without tearing fabric.
The Unspoken Cost: Time Vs. Perceived Savings

DIY Doesn’t Always Mean Cheaper

You want to believe sewing your own vintage camper curtains saves money because spending less makes you feel resourceful. But the math breaks the second you measure labor against output. Sewing curtains demands pattern drafting, fabric selection, multiple fitting sessions, seam ripping when mistakes happen, and hardware installation. Most people underestimate this by 60 percent. A single set of custom curtains takes 12 to 20 hours minimum for someone new to sewing. Store-bought vintage reproduction curtains cost $200 to $400. Your hourly wage divided into that gap reveals the real transaction happening.
The mechanism is simple economics, not craft ideology. You’re trading purchasing power for time investment. If you earn $25 an hour, 16 hours of work costs $400 in opportunity cost alone. Add fabric, thread, and hardware, and you’ve spent $500 to save $200. The narrative sells better when framed as “handmade,” but handmade is only rational if you either lack money or have genuine surplus time. Most people have neither.
What Your Skill Level Actually Costs
Valuing your time means being honest about your current ability. A skilled seamstress completes a curtain set in 4 to 6 hours. A beginner takes 16 to 24 hours. The difference isn’t motivation or effort. It’s muscle memory, pattern recognition, and established workflow. Your first set teaches you what your second set should cost in time. Expect your first attempt to take three times longer than you planned.
The real leverage arrives when you decide to stop after project one or commit to five projects over two years. Stop after one and you’ve wasted labor. Commit to five and your per-unit time drops dramatically as your hands learn the mechanics. Most DIY projects fail because people don’t factor in this learning curve. Calculate backward from whether you’ll actually repeat the task before you start buying materials.
The Real Obstacle Isn’t The Fabric; It’s Your Hesitation To Master The Mundane
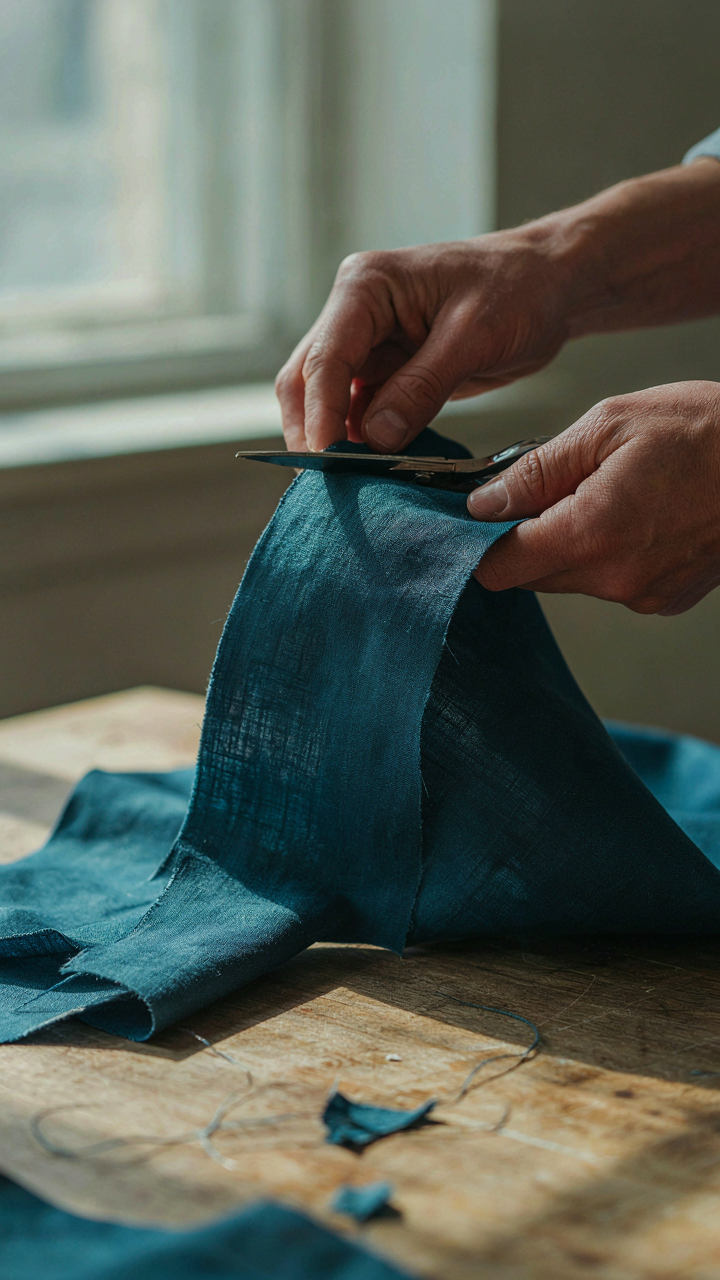
Most people won’t sew vintage camper curtains because they romanticize the skill instead of doing it. You don’t need talent. You need to buy cheap fabric today, cut it wrong three times, and accept that failure teaches faster than perfection ever will. The camper curtains you make won’t be magazine-worthy. They’ll be yours. That’s the only metric that matters.



