

The Unspoken Cost Of Cheap Van Heating Options For Van
Fuel Consumption And Battery Drain Are The Real Price
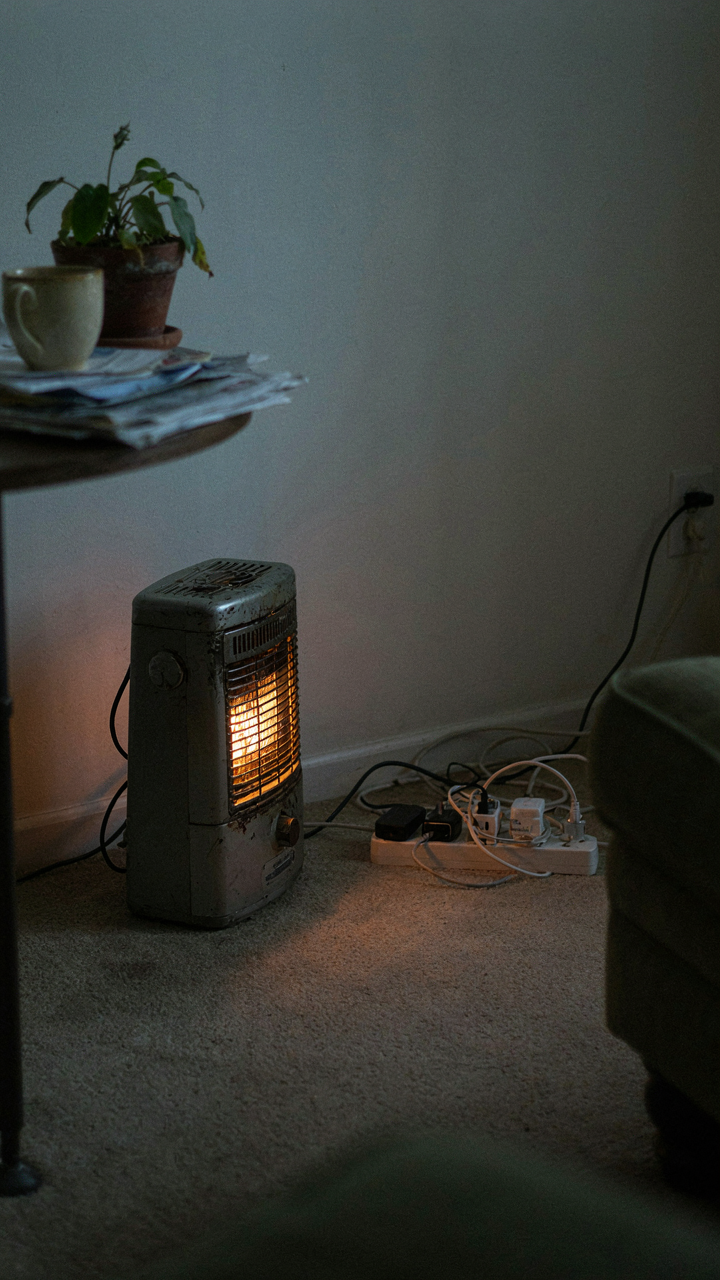
You want cheap upfront because you’re afraid you picked the wrong van and need an escape route. The mechanism is simple: low-cost heaters don’t disappear—they shift costs forward. A 1500-watt space heater draws 125 amps per hour. Run it eight hours nightly on battery and you’re cycling a 1000-amp-hour bank daily, cutting lifespan by years. Propane heaters consume two to four gallons monthly in freezing climates, turning a $300 purchase into $800 annually in fuel alone.
The math compounds because you’re treating the symptom, not the system. A proper diesel heater costs 3x more but runs on tank fuel you’re already buying. It draws minimal amperage because it’s efficient thermally, not electrically. Most van lifers ignore this because comparing monthly costs feels harder than comparing sticker prices. It isn’t—but nobody does the calculation until they’re already committed to the cheap option.
Physical Deterioration Happens Faster Than You Notice
Moisture follows warmth like a supply line follows a military advance. A ceramic heater blows dry air into a sealed box, creating temperature differentials that condense water on every surface. Mold doesn’t announce itself. It grows quietly on insulation, under cabinets, inside wall cavities where you can’t see it. Propane heaters produce moisture as a combustion byproduct, adding a gallon of water vapor per gallon burned.
Structural damage accelerates in ways that don’t show up in a visual inspection until it’s expensive. Wood rot starts at attachment points. Metal corrodes from the inside out. Your van’s frame begins failing years earlier than expected. Cheap heaters also fail catastrophically rather than gracefully, leaving you cold at night in a climate where that’s dangerous. The real cost isn’t replacement—it’s the van becoming unlivable before you’ve finished paying for it.
Diesel Heaters: The Gold Standard You’re Ignoring
Why They Actually Dominate

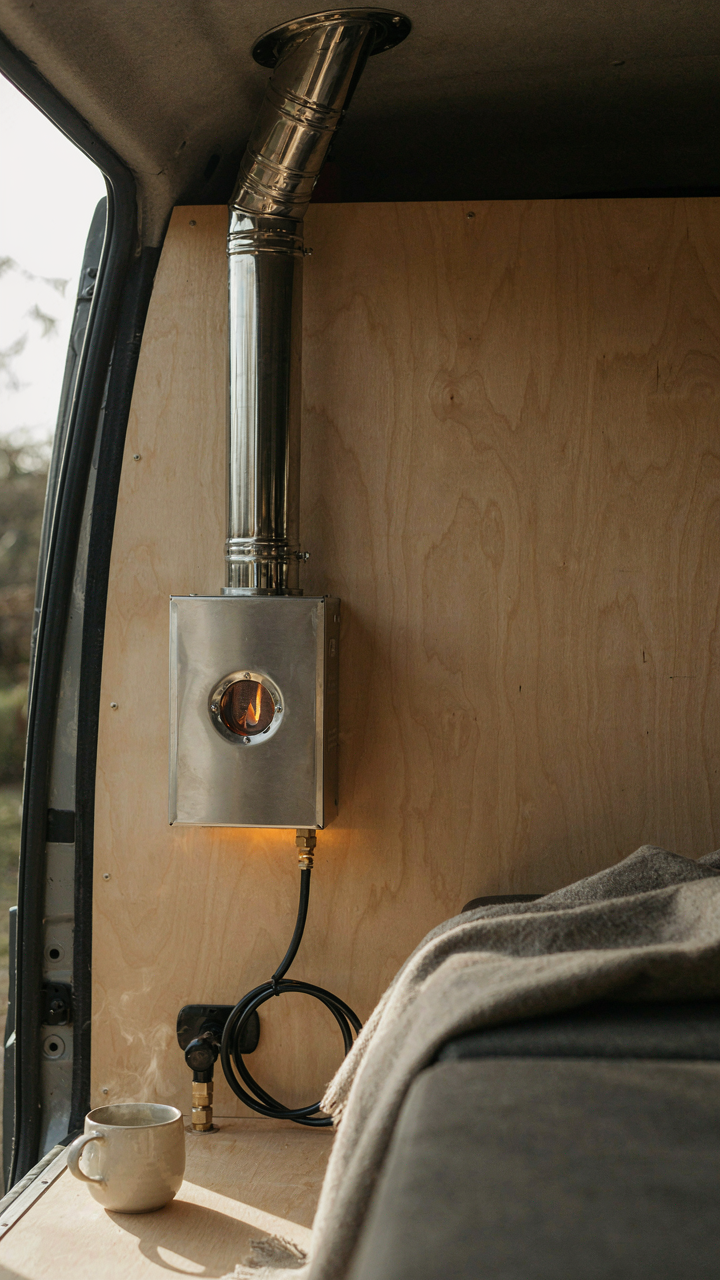
You want diesel heating because it solves the problem everyone else avoids naming: you need heat that works when you’re parked and sleeping, without draining a separate battery bank or burning through propane fast. Diesel heaters operate on thermodynamic principle of combustion efficiency—they burn fuel outside the living space and push hot air in, which is fundamentally different from space heaters that consume electrical draw. A properly sized diesel heater pulls from your main fuel tank, meaning you gain heat as a near-free byproduct of fuel you already bought for driving.
Safety matters here because diesel heaters vent exhaust outside the van entirely. You avoid carbon monoxide accumulation, the silent killer in sealed spaces. The burner chamber stays isolated from cabin air, and the heater cycles on and off based on temperature demand, not human intervention. This means you can sleep eight hours in sub-freezing conditions with zero attention required. Most van dwellers either ignore this option or dismiss it as too complicated, which is why propane and electric solutions stay popular despite their actual drawbacks.
Connecting To What You Already Have
The integration angle is where diesel heaters stop being a luxury and become the practical choice. You already carry diesel in your van’s main tank. A diesel heater simply taps that same tank through a secondary line, draws fuel when the thermostat signals demand, and returns unused fuel back to the tank—creating zero new infrastructure beyond the heater unit itself. You don’t build a separate fuel system; you build a connection.
Installation requires routing two fuel lines, one power line for the 12-volt controller, and an exhaust pipe through your van floor. Webasto and Eberspächer manufacture the two reliable brands used in production vehicles and aftermarket builds. The heater itself mounts under the van or in a basement compartment, air intake draws from outside, and hot air ducts to interior cabin space through existing walls or new channels you cut. Once installed, maintenance is minimal—change a fuel filter annually and inspect the exhaust vent. The mechanism is straightforward: fuel enters, burns in an isolated chamber, heat transfers to cabin air, exhaust vents outside. You control everything from a wall-mounted thermostat inside your living space.
The BTU Protocol: Sizing Your Heating System In A Van Correctly

How Heat Actually Leaves Your Van

You want the right heater size because undersizing means freezing at night, oversizing means wasting money and fuel. Heat moves through three mechanisms: conduction through walls and roof, convection as warm air rises and escapes, and radiation from your body to cold surfaces. Your van loses heat based on the temperature difference between inside and outside, the surface area exposed, and how well your insulation resists that transfer. A 200-square-foot van in 20-degree weather hemorrhages BTUs through every gap, seam, and thin wall panel.
The math is straightforward: calculate your van’s volume in cubic feet, estimate your insulation’s R-value, measure the interior-to-exterior temperature differential you want to maintain, then work backward to required BTU output. Most van converters skip this and just buy a 20,000 BTU heater because they saw it online. That’s how you end up running a propane heater designed for a cabin. A standard conversion van with decent insulation typically needs 3,000 to 8,000 BTU per hour in moderate cold, not the oversized commercial unit you think you need.
Undersizing Kills Comfort, Oversizing Kills Your Wallet
Common advice says buy bigger than you think you need, then dial it back. This is incomplete and expensive. Undersizing means your heater runs continuously at maximum output, consumes propane faster, generates condensation from constant operation, and fails to maintain temperature during actual cold snaps. Oversizing means you’re carrying extra weight, burning fuel to heat a space that didn’t need it, and spending money on capability you never use. The real play is sizing to your actual climate and insulation level, then letting the system breathe.
An 8,000 BTU heater in a well-insulated van with good thermostat control maintains 50 degrees inside when it’s 0 degrees outside with minimal runtime. That same heater in a poorly insulated van runs nonstop and still barely holds 40 degrees. Your insulation quality determines everything. Measure your actual R-value by knowing your wall thickness and material type, calculate heat loss using that figure plus your target temperature swing, then select a heater that handles peak demand without overshooting by more than 25 percent. This is the only way to avoid waste.
Beyond The Basics: Advanced Campervan Heating Solutions
Radiant Heat And Hot Water Systems

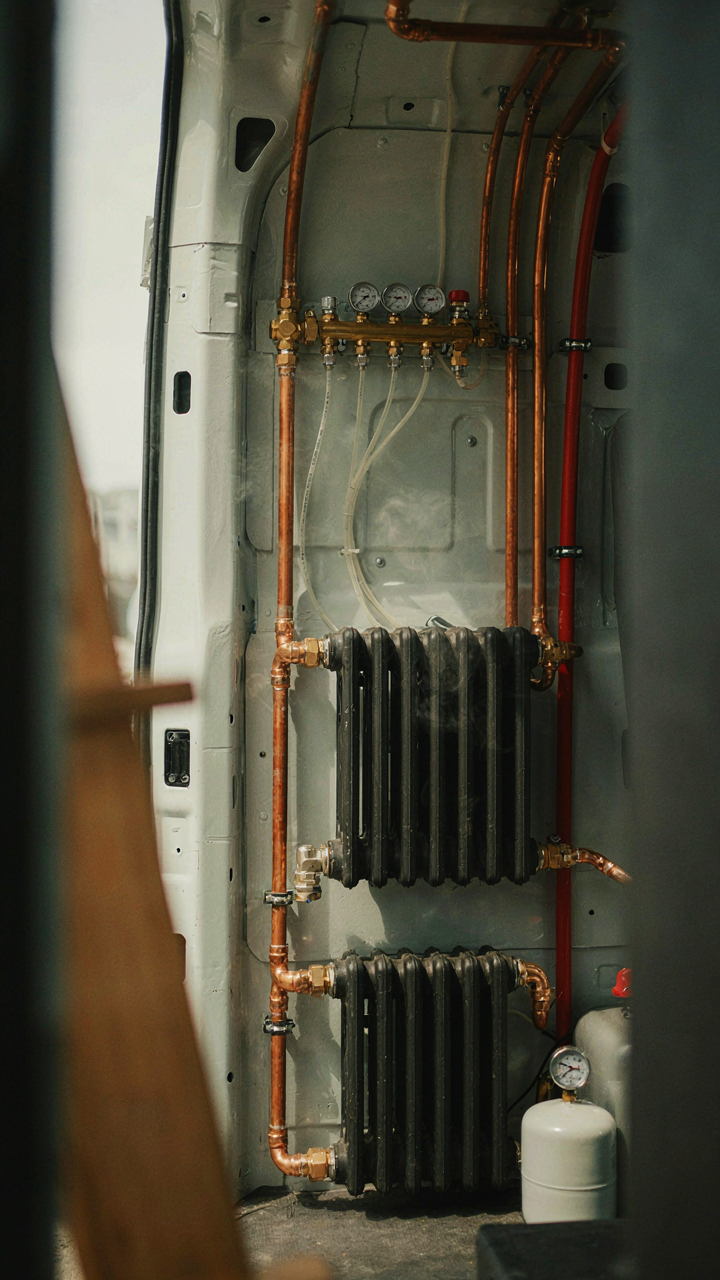
You want this because it sounds premium and makes you feel like you made the right call spending more money upfront. Here’s what actually matters: hydronic systems use thermodynamics—specifically, the principle of thermal mass—to store and distribute heat. Water holds heat longer than air, so a circulating loop keeps your van warm even after the heat source cycles off.
Hydronic systems run hot water through tubing mounted in floors, walls, or dedicated radiators. A boiler or heat exchanger warms the water, a pump circulates it, and the system radiates heat evenly across the space. You get no cold spots because heat comes from surface area, not a single vent. Installation requires routing tubes, mounting a control system, and integrating a water tank. The tradeoff: higher cost, more complex maintenance, and weight penalty compared to forced air.
Even Heat Distribution Without Dead Zones
Common advice says “just add vents everywhere.” Wrong. The real problem is thermal layering—hot air rises and pools at the ceiling while floor-level temps drop. Forced air systems fight this by pushing heated air through ductwork with strategic outlet placement that breaks stratification.
A blower pulls heated air from a furnace or heat pump and pushes it through insulated ducts to multiple vents positioned low and high. You control outlet velocity and direction to create circulation patterns that mix cold and warm air layers. This costs less than hydronic systems and installs faster, but it requires ductwork space and uses more power to operate. The mechanism is simple: constant low-speed air movement prevents temperature zones from forming, so every corner of the van reaches the target temperature on the same schedule.
The Installation Imperative: How To Install Campervan Heating Right
Venting And Exhaust: Critical Safety Measures

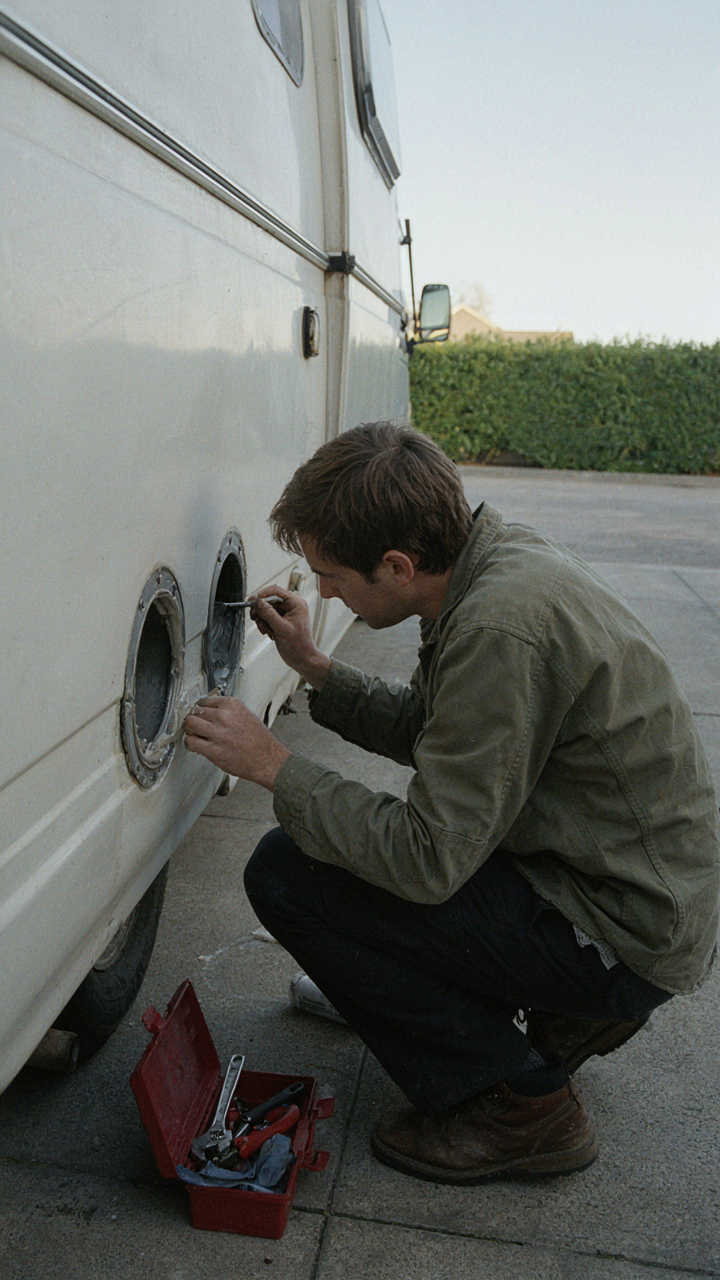
You’re reading this section because you want to avoid dying in your sleep from carbon monoxide poisoning, though you won’t say that out loud. The mechanism is simple: combustion heaters produce exhaust gases. Those gases must exit the van completely. Incomplete venting creates a poisoning risk that compounds over time, especially in sealed winter conditions when you crack no windows.
Exhaust routing demands a dedicated through-wall or through-floor penetration. The pipe must slope downward toward the exit point to prevent condensation pooling and blockage. Use insulated ducting where the exhaust passes through living spaces. Seal all gaps around the penetration with high-temperature silicone or metal flashing. A blocked or partially vented heater becomes a silent killer faster than you’d expect.
Fuel Lines And Electrical: Preventing Catastrophic Failure
Most van installers treat fuel and electrical routing as an afterthought. Wrong. Using military logistics terminology, fuel lines operate under a supply chain principle: single points of failure cascade into total system collapse. A kinked propane line doesn’t just reduce heat output. It can rupture under pressure, creating a gas leak that pooled in a van bed becomes a confined explosion risk.
Route fuel lines away from heat sources with at least six inches of clearance. Use braided stainless steel tubing rated for propane, not cheap rubber hose. Secure all lines with P-clips spaced every twelve inches to prevent vibration damage. Electrical connections to the heater must use marine-grade connectors rated for moisture. A corroded battery terminal kills power. A corroded heater connection can arc and ignite fuel vapor before you notice the problem.
The Thermodynamics Of Warmth: Mastering Heat Transfer

Three Paths Heat Actually Takes

You want to feel warm without thinking about why, but you’ll waste money and freeze anyway if you don’t understand the mechanism. Heat moves three ways: conduction pulls warmth through solid materials into cold air, convection cycles warm air around your space and out through gaps, and radiation beams heat in straight lines from a source. Most van dwellers obsess over heating capacity while ignoring which of these three actually drains their system.
Conduction matters most in vans because metal conducts heat aggressively. Your walls, floor, and ceiling pull warmth from inside air to the cold outside. Insulation blocks conduction by trapping dead air pockets in foam or mineral wool. Convection escapes through every crack, seal failure, and door gap you haven’t sealed. Radiation from a propane heater travels in a line until it hits something solid, so placement determines whether you heat the van or the wall behind it.
Your Van As A Living System
Biology teaches homeostasis: organisms maintain internal conditions despite external stress. Your van operates the same way. The envelope (walls, roof, floor, windows) is the system boundary. Outside air temperature drops, so your heating source must generate enough warmth to offset what leaks through conduction, convection, and infiltration. The system fails when heat loss exceeds heat production.
Think of insulation as your van’s metabolic defense. A well-insulated van with sealed air gaps requires less fuel to maintain temperature, just as an animal with better thermal regulation burns fewer calories. Poor insulation forces your heater to work constantly. You measure success not by heater output but by how long your fuel lasts at a set temperature. Heat your van efficiently by first stopping the leak, then adding the fuel.
Insulation Isn’t Optional: Your First Line Of Defense
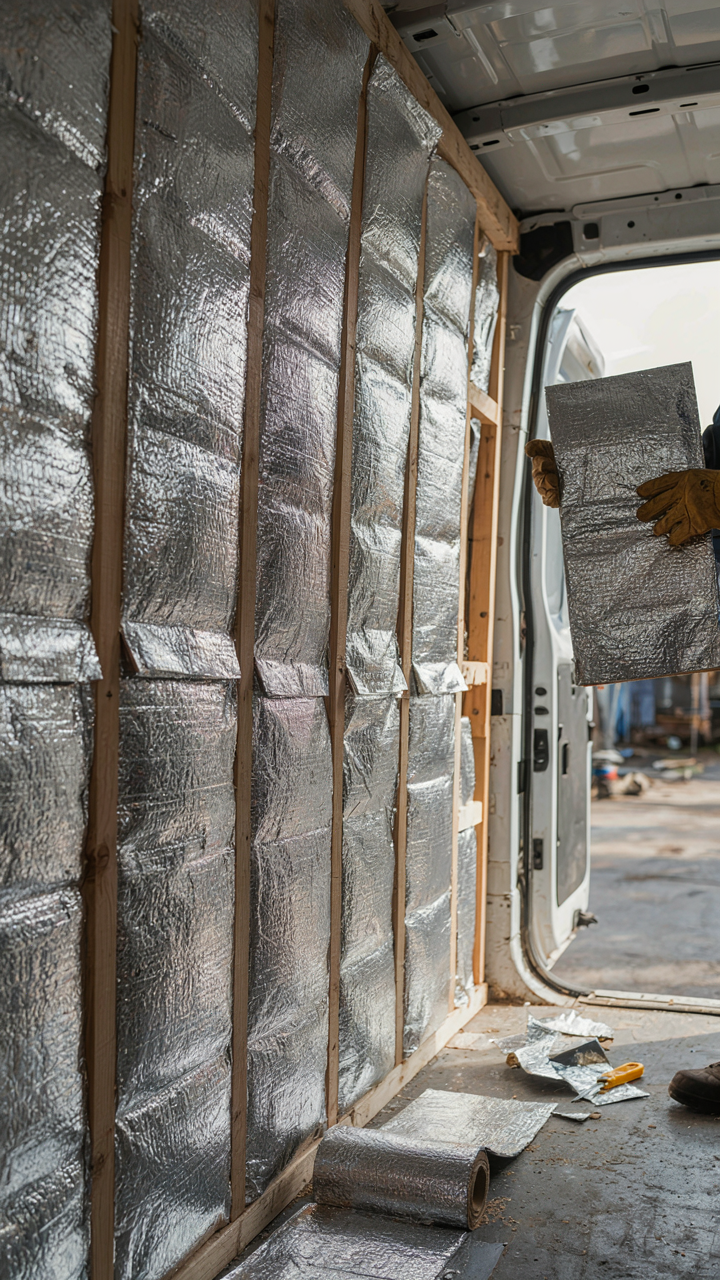
R Value Realities Material Choices And Efficacy

You want insulation to solve your heating problem so you can buy a smaller heater and feel smart about it. That’s not how this works. R-value measures resistance to heat flow, and the number only matters if you understand what you’re actually installing. Fiberglass batts at R-3.2 per inch, closed-cell spray foam at R-6 per inch, and rigid foam board at R-5 to R-7 per inch occupy the same physical space but perform completely differently under van conditions.
The mistake everyone makes is treating R-value as a standalone metric. Your insulation’s performance depends on installation continuity, moisture management, and whether you’ve actually sealed air leaks that bypass the material entirely. A van with R-20 insulation and poor sealing loses heat faster than one with R-15 and no gaps. Spray foam works better in vans than batts because it expands into cracks and creates an air seal simultaneously. Rigid foam requires meticulous taping and blocking of thermal shorts, which most people skip.
Thermal Bridges Identifying And Eliminating Weak Points
Heat follows the path of least resistance, and in van construction that path runs straight through metal studs, aluminum frames, and fasteners. These are thermal bridges: conductive pathways that bypass your insulation and hemorrhage warmth directly to the exterior. Builders ignore this because addressing it requires planning before assembly, not after.
The fix is staggered framing or thermal breaks between exterior and interior surfaces. Install wooden or composite studs offset from metal frame members, or use rigid foam as a continuous outer layer before interior framing. Fasteners still conduct heat, so minimize penetrations through insulation and use washers designed for thermal separation. Without this step, insulation R-values drop 25 to 40 percent in real conditions, turning your heating calculations into fiction.
Powering Your Heat: The Unsexy Truth About Batteries
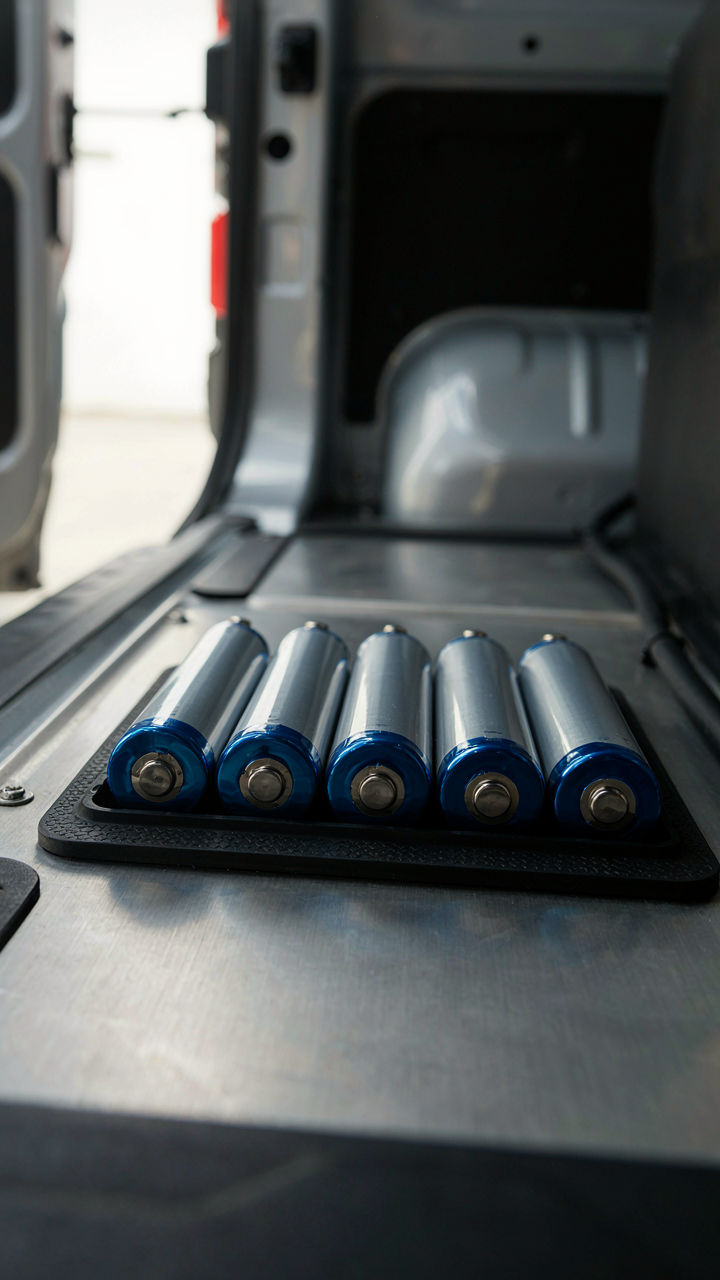
Lithium Versus Lead Acid: What Actually Matters

You want to know which battery wins because you’re afraid of being stranded in the cold without power. Here’s the mechanism: lead-acid batteries lose usable capacity as temperature drops, while lithium holds its rated output longer in cold. Lithium also discharges slower under load, meaning you can draw power consistently without voltage sag. Lead-acid voltage collapses when you demand current, especially in winter, which forces heaters to work harder or shut down entirely.
The real difference isn’t just chemistry, it’s discharge curve. A lithium battery at 20 degrees Fahrenheit still delivers near-rated amperage. Lead-acid at the same temperature delivers maybe 50 percent of its rated capacity, then recovers only partially when you stop drawing power. For van heating, this means lithium lets you run a diesel heater or electric heater longer per charge cycle. Lead-acid requires oversizing your bank by 40 to 50 percent just to achieve the same winter runtime. That’s money and weight you’re carrying pointlessly.
Solar And Alternator Charging: The Real Constraint
Winter doesn’t just drain batteries faster, it stops them from recharging. This is where most van lifers fail. Solar panels produce 70 percent less output on cloudy days and freeze output entirely in heavy snow. An alternator can charge your battery while driving, but most people drive too little in winter to offset heating drain. Lithium batteries charge faster than lead-acid, accepting 100-amp charge rates versus 25 to 50 amps for lead-acid, but only if your alternator and wiring support it.
The bottleneck is regeneration, not storage. Your heat runs 8 to 10 hours per night. Your alternator works maybe 2 hours per day of city driving, if that. Solar contributes almost nothing in December at northern latitudes. This means your battery bank must survive on stored capacity alone, which forces you to either downsize your heating load or upsize your battery. Most people choose neither and freeze. Choose one now: cut heating power by running a smaller heater, or install a battery bank large enough to sustain your current draw for three days without external charging.
Winterizing Your Rig: How To Use Van Heating System Effectively
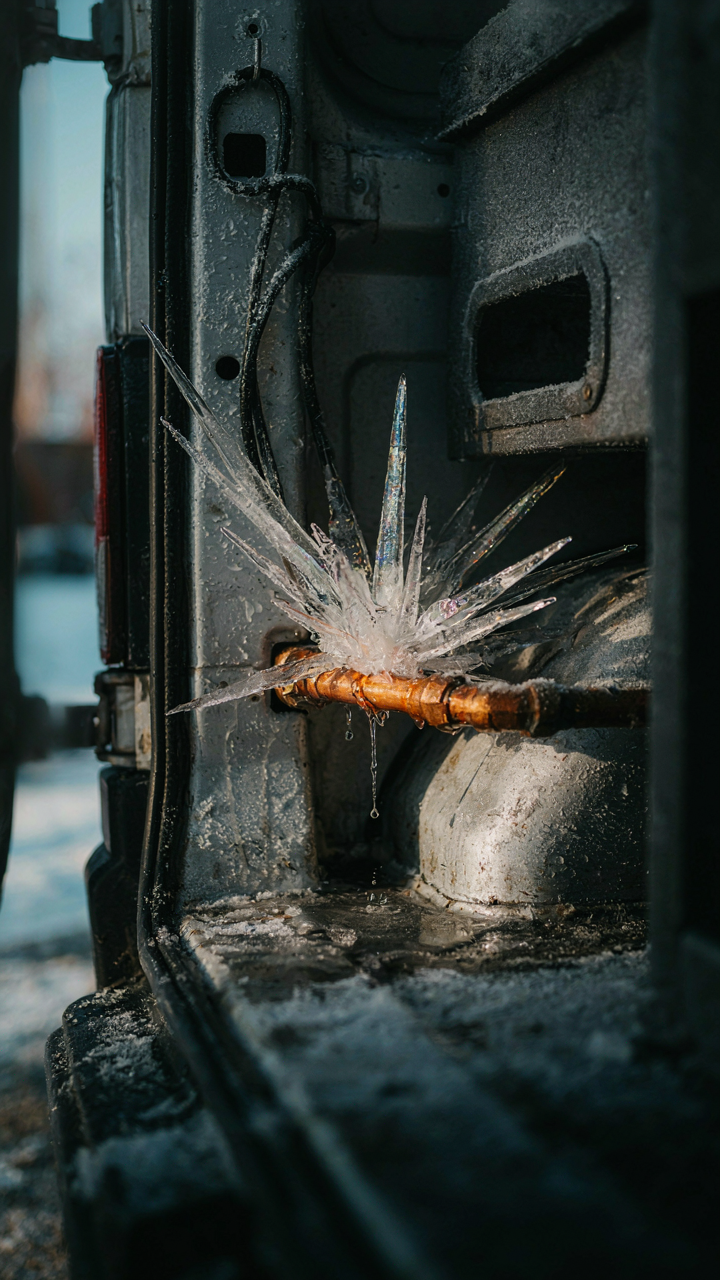
Keeping Water From Freezing Solid

You want to avoid this section because freezing pipes mean you’re stranded without water, and that feels like failure. But the mechanism is simple: water expands when it freezes, and expansion breaks metal and plastic. Prevent it by insulating tanks, running heat tape on vulnerable lines, and draining systems when parked in sustained cold.
- Tank insulation: Wrap freshwater and greywater tanks with closed-cell foam or specialized tank blankets. Aim for 2 inches minimum thickness around all sides to slow heat loss significantly.
- Heat tape on supply lines: Install self-regulating electric heat tape along exposed water lines from tank to fixtures. This activates only when temperature drops below the activation threshold, typically 40 to 50 degrees Fahrenheit.
- Cabinet heating: Keep tanks inside heated cabinets or insulated boxes. Routing tanks through your van’s interior rather than exterior walls gives them ambient heat from your living space.
- Winterization fluid: Pour RV antifreeze through all fixtures and tanks when you won’t use water for extended periods. This non-toxic propylene glycol lowers the freezing point of remaining water in lines.
- Gravity drain system: Install ball valves at lowest points in your water lines to purge water completely. This removes the liquid that would freeze, leaving only air in the pipes.
The real work happens before you need it. Test your heat tape and insulation in fall, not mid-January when everything is already compromised. Run your heating system on a schedule—not constantly, but deliberately every few hours overnight—to keep tanks and lines above the freeze threshold.
Managing Moisture Before It Damages Everything
Condensation kills vans faster than cold does, but most people ignore it because they can’t see the decay until it’s structural. Think of your van like a closed ecosystem: physics demands that warm air holding moisture will release that moisture when it hits a cold surface. Your heating system creates the temperature gradient that causes this.
Continuous ventilation without heat loss is the actual solution, not just running your heater. Install a roof vent with a damper that you can open slightly, even in winter, to exchange moist interior air with drier outside air. Combine this with strategic heat placement—target the coldest walls and windows, not just the center of the van. Insulation quality matters here more than heating power. Poor insulation means surfaces stay cold, condensation forms faster, and you run your heater harder chasing a problem that better insulation would solve. Your heating system should maintain temperature, not fight constant condensation.
Choosing A Campervan Heater: What Most Get Wrong

Climate And Travel Patterns Determine Everything
You want the heating decision to be simple because you’re afraid it isn’t, so you grab the cheapest option that sounds credible. That’s backwards. In thermodynamics, efficiency depends entirely on the system’s operating parameters, and your van’s heating system lives or dies based on where you actually travel and when. A propane heater that works in Arizona turns into a liability in Colorado at 9,000 feet. Your real climate and actual travel schedule are not variables you account for after choosing a heater. They are the variables that determine which heater you can even use.
Most vans stay within predictable geographic zones. If you’re doing desert Southwest loops, your heating needs differ completely from someone working the Pacific Northwest. Seasonal timing matters equally. December in Moab requires different heat output than November in Moab. Your heating choice must map directly to where your van actually sits during the coldest months. Ignoring this forces you into either oversized equipment burning fuel unnecessarily or undersized equipment leaving you cold.
Long Term Cost Beats Upfront Price
The heater that costs less to buy usually costs more to own. This is not motivational wisdom, it’s material economics. A cheap ceramic heater pulls 15 amps on 120V power, which means you’ll need substantial battery capacity, solar panels, or constant shore power access. A propane heater with lower electrical draw but higher fuel consumption creates dependency on finding propane stops. The real price includes installation labor, electrical upgrades, fuel sourcing logistics, maintenance frequency, and replacement timeline.
Calculate the total spend across three years. Factor in your actual duty cycle (how many days you heat per year), fuel costs in your region, and downtime for repairs. A quality propane heater with proven reliability costs more upfront but trades frequent troubleshooting for consistent performance. Cheaper units fail faster, forcing replacement cycles that compound the initial savings into waste. The decision isn’t about which heater costs less on day one. It’s about which heater you don’t replace halfway through your van life.
The Only Thing Colder Than Your Van Is A Missed Opportunity
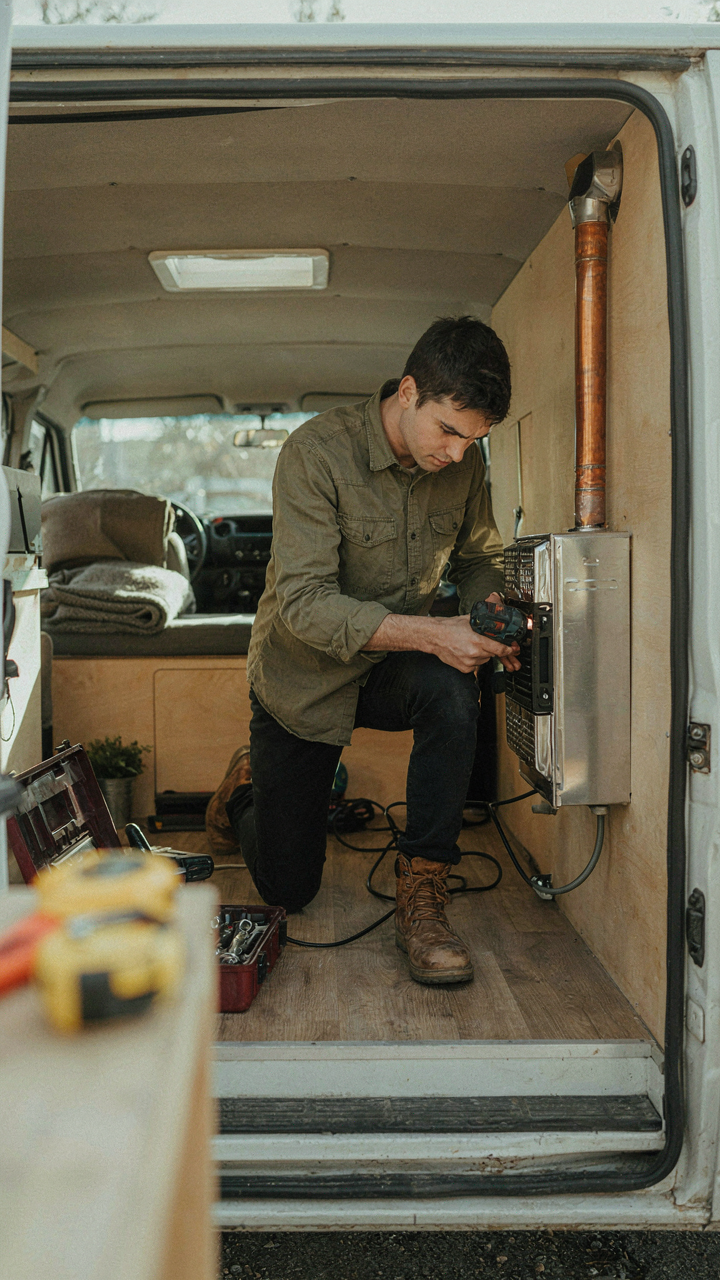
Most van lifers freeze because they choose comfort over strategy. They buy the wrong heater, install it wrong, or never install one at all. Stop waiting for the perfect setup. Buy a diesel heater today, mount it this week, and actually travel instead of hibernating. Your heating system isn’t a luxury—it’s the difference between living in a van and surviving in one.



