
The Counterfeit Counter Space Conundrum

Why Popular Solutions Actually Worsen The Problem
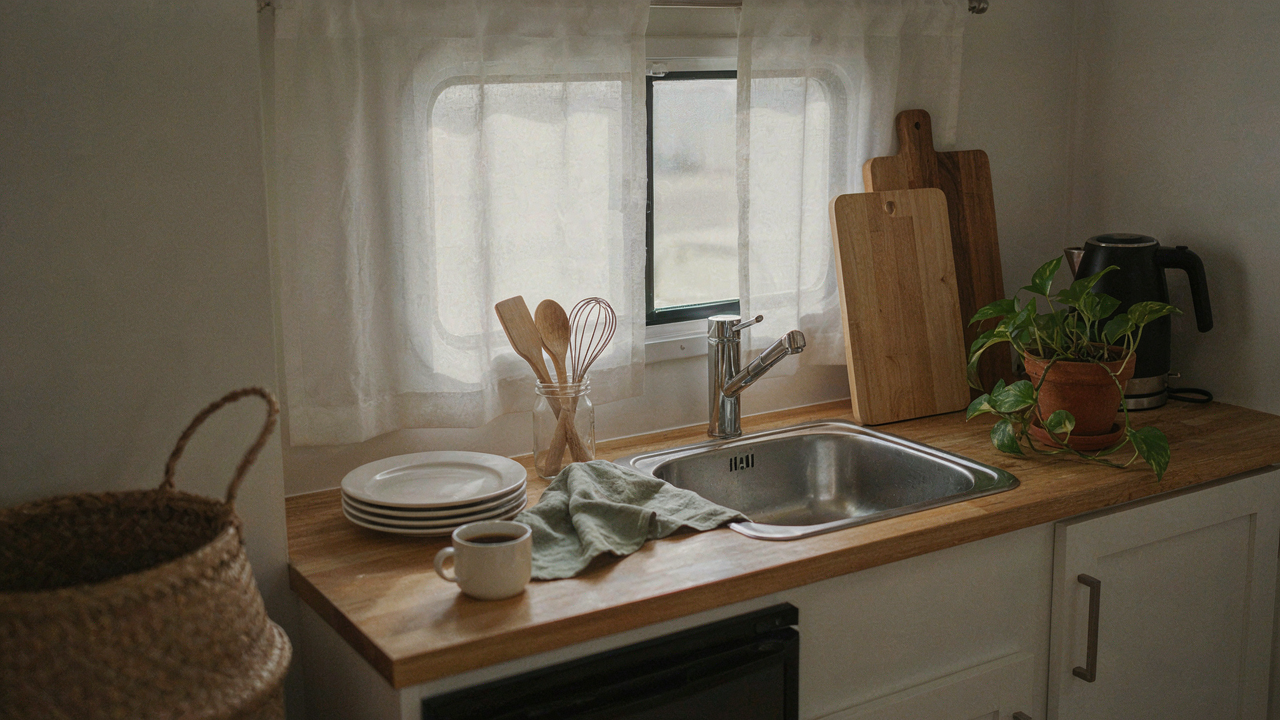
You want counter space because you think it signals control. The mechanism behind why standard RV sink hacks fail is simple: they treat symptoms instead of demand. Most advice tells you to buy a cutting board that fits over the sink, add a shelf above it, or use magnetic strips on the wall. These moves create the illusion of organization while your actual stuff keeps multiplying. You end up with more surfaces but the same amount of friction.
The real issue is that RV kitchens operate under scarcity economics. Every inch costs weight and affects your rig’s balance and fuel efficiency. When you add a cutting board shelf or overhead storage, you’re not solving clutter—you’re just moving it vertically and creating dead zones that trap grease and moisture. The hack works against the physics of a confined space. You need to eliminate items, not redistribute them.
The Actual Root Cause Living In Your Cabinets
Clutter in an RV sink area isn’t random. It’s the result of keeping items you use once or twice per season, plus duplicates you forgot you owned. Your brain defaults to “I might need this while traveling,” so you pack three spatulas, two cutting boards, and backup dish soap. The real counter problem starts in your cabinets, not on your counter. You’re storing things you should have left at home or replaced with multi-use tools.
Start by auditing everything within arm’s reach of your sink. Count identical or overlapping items. Keep one. Check expiration dates on cleaning products and dispose of anything past it. Measure your actual workspace—most RV sinks occupy 18 to 24 inches of counter. You physically cannot use more than two or three tools at once. Remove everything that doesn’t fit this constraint. This protocol eliminates the need for hacks entirely.
The Elimination Protocol: Vanishing Act For Volume

What You Actually Use Daily

You think you need everything you own, but you’re confusing security with utility. The real mechanic here borrows from inventory management: identify your turnover rate. In an RV sink setup, turnover means how often you actually touch a tool between trips or daily routines.
Most people keep single-use tools because they paid for them or inherited them from shore life. A garlic press, a citrus juicer, a specialized vegetable peeler—these occupy real estate and solve one problem each. The elimination starts here: if a tool does one job and you perform that job less than twice a month, it leaves the RV. Non-negotiable.
Tools That Earn Their Weight
The framework that works is constraint-driven design. You build for limits, not abundance. In RV sinks, this means every item you keep must justify its cubic inches by solving multiple problems or fitting into a nested ecosystem.
- Cutting board with built-in colander: Preps vegetables and drains pasta without a second tool. Stores flat against the wall or under a sink shelf.
- Magnetic spice rack with scissors and peeler: Wall-mounted, holds cooking essentials, frees drawer space entirely.
- Collapsible measuring cups and bowls: Stack into one another when empty. Cover mixing, measuring, and prep work with zero wasted volume.
- Microfiber drying mat with storage pocket: Dries dishes while storing dish cloths inside its own footprint. One item replaces three.
- Offset spatula that doubles as a scraper: Handles baking, plating, and sink grime removal. Thin profile fits in knife block slots.
The constraint forces you to think in systems, not collections. Each tool earns placement by solving at least two problems or by nesting with other items. This isn’t minimalism for aesthetics—it’s maximum functionality in minimum space. Write down what you actually cook in the RV for one month, then audit your sink area against that list. Remove everything else.
Beyond The Basin: Redefining RV Sink Function

The RV Sink As Prep Station

You want counter space because you’re afraid you’ll look unprepared or cramped when people visit. The real mechanism is this: your RV sink occupies prime real estate that serves one function when it could serve three. Treating it as a dedicated prep station means designing around what actually happens during food preparation, not around what a sink is supposed to look like.
Most RV sinks come with a fixed basin and counter edges that waste lateral space. Instead, use removable cutting boards that span the basin width when food prep starts, then lift them out when you need to wash. This transforms dead counter into active workspace without sacrificing water access. Keep boards stowed in a vertical slot behind a cabinet or under a mattress.
Water Management Efficiency
Container theory from logistics applies here: constraint breeds compression. Your gray water capacity is finite, so every ounce of water you use in the basin is ounce you won’t have for washing dishes or other tasks. The efficiency move is to separate washing from water consumption by using a basin insert system that catches food scraps before they hit standing water.
Insert a collapsible silicone basin inside your sink that catches prep waste. This reduces the volume of gray water you generate during food prep by up to 40 percent because you’re not rinsing debris into stagnant water that then needs dumping. Remove the insert, dump scraps into trash, then wash the insert itself. This single protocol step extends your gray tank interval and cuts your water dependency on camp dumps.
DIY RV Sink: The Minimalist’s Blueprint

Choose Materials That Don’t Rot Your Timeline

You want to build this yourself because you’re terrified of RV shop labor rates. Here’s the mechanism: material selection determines whether you’re fixing this sink in six months or six years. Stainless steel and marine-grade composite sinks resist rust and corrosion that fresh water, saltwater spray, and constant vibration create. Aluminum frames fail. Cheap plastic cracks under UV and thermal stress. The right material isn’t prettier, it’s lower maintenance.
Composite sinks (acrylic or corian) cost less than stainless but require resealing every 2-3 years. Stainless holds longer but demands regular cleaning to prevent mineral buildup in hard water regions. Mount your sink on a treated plywood base, never raw wood. Seal all edges with marine silicone, not standard caulk. The difference is thermal flexibility. Standard caulk hardens and cracks as your RV experiences 30-degree temperature swings between day and night.
Mount It To Handle Real Vibration
Installation determines whether your sink stays level or becomes a water-slinging liability during highway driving. Apply engineering principles here: distribute load across multiple contact points instead of concentrating it at one bracket. A single center-mounted sink bracket fails because it pivots under acceleration. Use three brackets minimum, positioned at the sink’s perimeter to create a rigid triangle. Bolt through the floor substrate into the frame, not just the cabinetry.
Seal every bolt hole with marine silicone before tightening. Water infiltration causes rot in the subflooring, which spreads faster in an RV than a house because airflow is minimal and humidity stays trapped. Tighten bolts incrementally in a star pattern, not sequentially around the sink. Uneven pressure creates stress points that crack composite sinks and warp stainless over time. Check bolt tension every 500 miles for the first 2000 miles of use, then annually.
The Art Of War: Deploying Your RV Kitchen Resources
Winning Before You Buy

You’re reading this because you’re afraid of feeling cramped in your own space. Here’s the mechanism: most RV owners treat their sink as fixed infrastructure when it’s actually a deployment decision. In military strategy, resource allocation determines victory before combat starts. Your sink placement and configuration are the same. The wrong choice locks you into dysfunction for years. The right choice multiplies your usable counter space without renovation.
Most RVs ship with undersized sinks positioned to waste prime real estate. Manufacturers default to standard configurations because they’re cheap, not optimal. You need to audit what you actually have before considering modifications. Measure your sink basin depth, width, and the clearance beneath. Document the plumbing run and whether you have access from underneath. This data determines which hacks actually work for your specific unit and which ones create problems you’ll regret.
Control The Territory First
Sun Tzu taught that controlling terrain before battle eliminates most fighting. In RV kitchens, the counter surface around your sink is that terrain. You claim it by deciding what occupies it permanently and what moves in and out. A cutting board that sits on the sink rim isn’t a hack, it’s waste. A custom fitted cover that seals flush with your countertop and can hold weight is territorial control.
The preemptive move is installing a removable cover that matches or exceeds your counter height. This converts your sink from a liability into additional work surface when not in use. Materials matter: marine-grade plywood with sealed edges handles moisture. Measure your sink opening precisely, then add quarter inch clearance on all sides. Install it before you cook your first meal in the RV. Once deployed, this single addition reclaims more usable space than most owners gain in their first year.
RV Kitchen Sink Remodel: When To Rebuild, Not React
The Math Behind Keeping What Breaks

You want permission to leave the sink alone because replacing it feels like admitting failure. Here’s what actually matters: economics borrowed from maintenance theory calls this the “replacement threshold.” You hit it when repair costs exceed 50 percent of a new unit’s price within a 12-month window. Most RV owners reverse-engineer this backward, spending $200 on patches when a $300 sink swap ends the problem permanently. Track every repair. Write it down. If you’ve spent more than half a replacement cost in the last year, you’re in remodel territory.
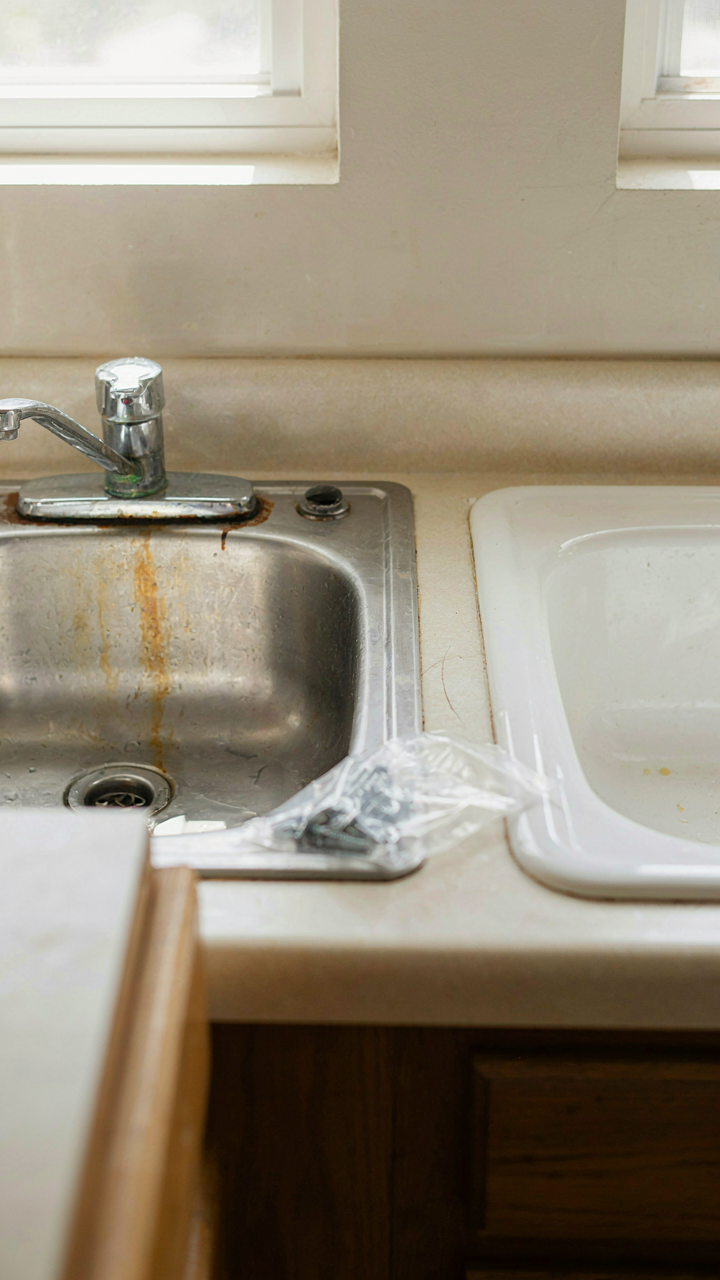
The real mechanism is cash flow timing, not sentiment. A failing sink drains money in small chunks that feel invisible until they’re not. A remodel is one hit, one decision, one finished state. RVs live in uncertainty already. Your sink shouldn’t be part of that. If the basin holds water but the faucet leaks, the strainer clogs constantly, or the counter around it shows soft spots from years of moisture, you’re managing symptoms. The structure underneath is already compromised. Rebuilding stops the bleed.
Skipping The Trends That Trap You
Everyone talks about upgrading to stainless steel or farmhouse styles. This advice is almost entirely useless for RVs. You’re not building a kitchen for resale value or Instagram. You’re solving for durability in a confined, high-moisture space that moves. Trend-based upgrades create dependencies. That stylish composite sink material looks sharp in month one and starts showing wear patterns by month twelve because it wasn’t engineered for the thermal cycling your RV experiences. Temperature swings in a mobile kitchen are brutal.
Focus instead on material longevity and installation simplicity. Stainless steel sinks perform because they’re inert, easy to seal properly, and forgive neglect. Avoid anything that requires climate control to maintain. When you remodel, specify a sink rated for marine or RV use, not residential kitchens. Install it with marine-grade silicone, not kitchen caulk. The difference in performance compounds over years. Your remodel should be something you forget about, not something you manage.
The RV Bathroom Sink: An Untapped Frontier
Make Your Sink Do Two Jobs At Once

You want more counter space but you’re afraid to give up functionality. The real mechanism is constraint-driven design from industrial engineering: when you force one object to serve two purposes, you eliminate waste. Your RV bathroom sink doesn’t have to be a dead zone between uses. It can store, transform, or route resources the moment you’re not washing hands.
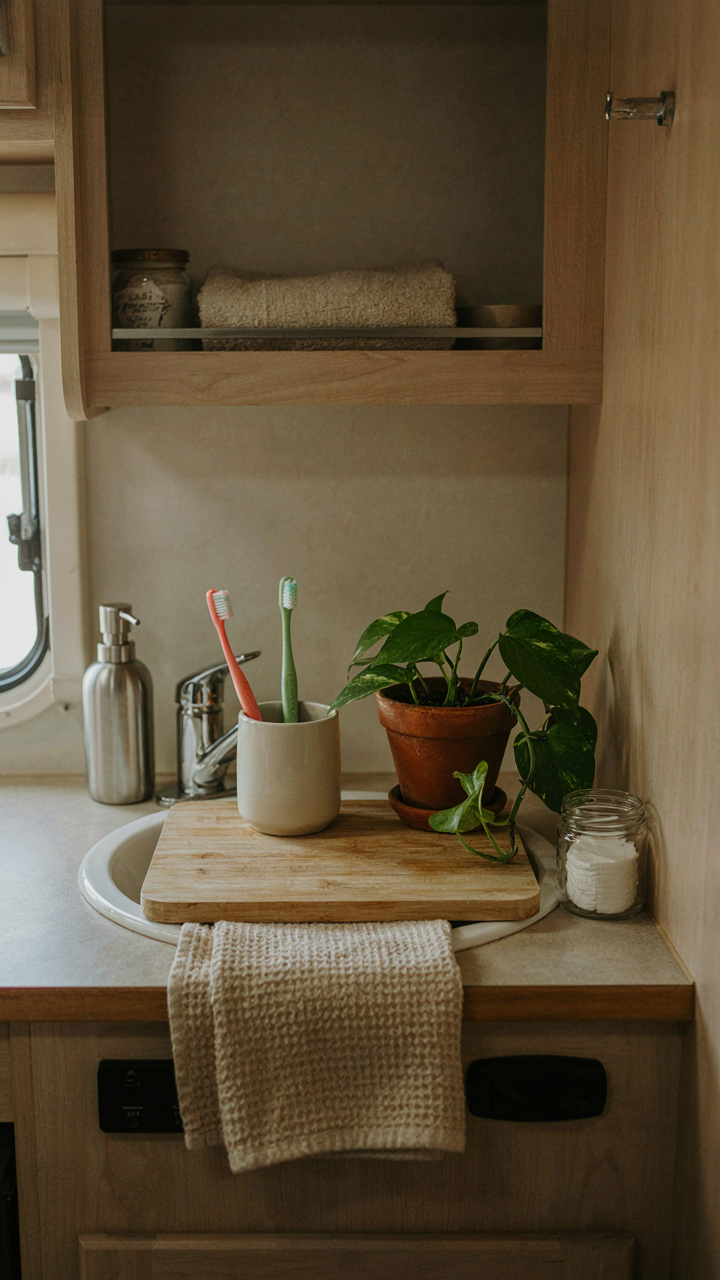
The standard RV sink sits idle most of the day. Install a cutting board that spans the basin with drainage slots that feed back into the basin itself. Mount a magnetic strip on the side wall for grooming tools. Add a tension rod under the faucet neck for hanging washcloths. Each addition occupies zero new square footage. The sink becomes a workstation instead of a hole in the counter.
Stack Vertically Where Counter Space Ends
Your bathroom walls are real estate you’re not using. The constraint here is linear: every inch of vertical space you claim is an inch of counter you don’t need to carve out. Adhesive-backed shelving units, magnetic organizers, and corner caddies work because they exploit dead zones. Behind the door, above the toilet tank, along the shower wall, inside cabinet doors—these spots store daily items without touching your sink surface.
The mechanic is load distribution. Move what you use daily up and out of the horizontal plane. Under-cabinet pull-down organizers hold hair tools and grooming supplies. Wall-mounted soap dispensers kill the bottle clutter. Over-the-toilet shelving units store towels and reserve supplies. Measure your wall studs before installation to anchor heavy loads properly. Start with the wall zone directly behind your sink, then expand outward.
The Permanent Counter Solution: Unlearning More
Stop Treating Your RV Like An Apartment

You want counter space because you’re still thinking like someone with a house. The real mechanism here is borrowed from industrial design: constraint breeds innovation. RVs force you to choose. Most people resist this and buy storage solutions instead, which only shrinks the counter further. The counter space problem isn’t physical. It’s psychological. You’re holding onto items that don’t earn their footprint.
Start by removing everything that serves a single purpose. Your RV sink doesn’t need a dedicated dish rack, a separate soap caddy, a sponge holder, and a drain mat occupying four different zones. One collapsible mat handles dishes and dries vertically against the wall. Soap lives in a container that mounts on the faucet neck. The sponge hangs on a Command hook behind the sink. What looked like clutter was actually redundancy pretending to be organization.
Design For What You Actually Use
Most RV owners stock their sinks for a life they don’t live. You bring three types of cleaners when you use one. You keep backup sponges when you replace one twice a year. You store serving utensils in a drawer when you never entertain. This isn’t about minimalism as a virtue. It’s about recognizing that every item competing for counter real estate costs you functionality you actually need.
Map what touches your sink weekly, not what you think should. If you cook five times a week, your knife block earns its space. If you hand wash two bowls and three plates daily, a dish rack doesn’t. A folding drying mat that stores flat behind the cabinet door replaces it entirely. Your soap dispenser stays. Everything else gets evaluated against this question: does this object solve a problem I have this week? If not, it leaves.
Your RV Kitchen Isn’t Lacking Space, It’s Lacking Ruthless Prioritization


Most RV dwellers treat counter space like a storage problem. It’s not. It’s a decision problem. You’re keeping gadgets you don’t use, foods you won’t eat, and habits you abandoned months ago. The sink hacks work, but only if you first eliminate what doesn’t belong. Today, pull everything off your counters and touch each item once. Keep it only if you use it weekly. Everything else goes. You’ll gain more space by removing than by any hack ever will.



