
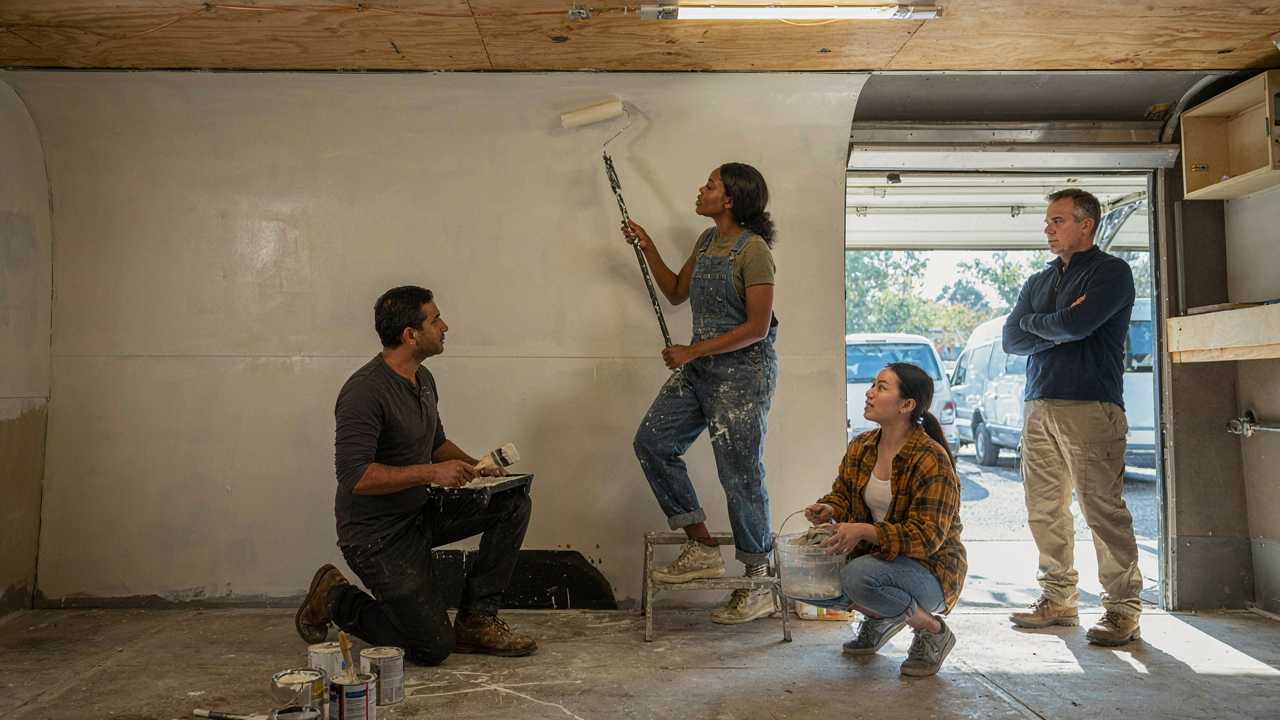
Beyond The Glamour: The Ugly Truth Of RV Renovations

The Real Cost Of Instagram Aesthetics
You’re scrolling through renovated RVs online because you want to believe you can do this cheap. The mechanism that kills most first-timers isn’t lack of skill—it’s the gap between what you see in photos and what materials actually cost. A shiplap wall looks identical in a photo whether you paid $200 or $2,000 for it. The internet shows you the finished product, never the budget revision spreadsheet where you cut corners on insulation to afford the trend-driven flooring.
Material prices fluctuate based on market conditions, supply chain delays, and whether you’re buying retail or wholesale. Lumber costs spike seasonally. Appliances designed for RVs cost 40-60% more than their residential equivalents for identical functionality. Your Instagram research phase is creating a false budget baseline. Start by pricing materials at actual suppliers, not design blogs. Get quotes from three vendors for every major component before you commit to a design direction.
The Second Job You Didn’t Plan On
RV renovation work expands to fill whatever time you allocate to it, which is the constraint nobody mentions upfront. Most first-timers estimate 3-6 months and finish in 12-18. Unexpected structural issues appear once you start demolition. Diesel heaters fail mid-winter. You discover water damage behind cabinets that adds weeks of remediation. The psychological cost compounds when you’re living in a construction zone while working a full-time job.
You need to establish hard working windows and communication protocols before you start, not after frustration sets in. Dedicate specific days to RV work and protect them like client meetings. Document everything with photos and notes so you don’t repeat mistakes or forget why you made earlier decisions. The people who finish projects treat them as non-negotiable appointments with accountability, not weekend hobbies.
The Pre Purchase RV Inspection Protocol
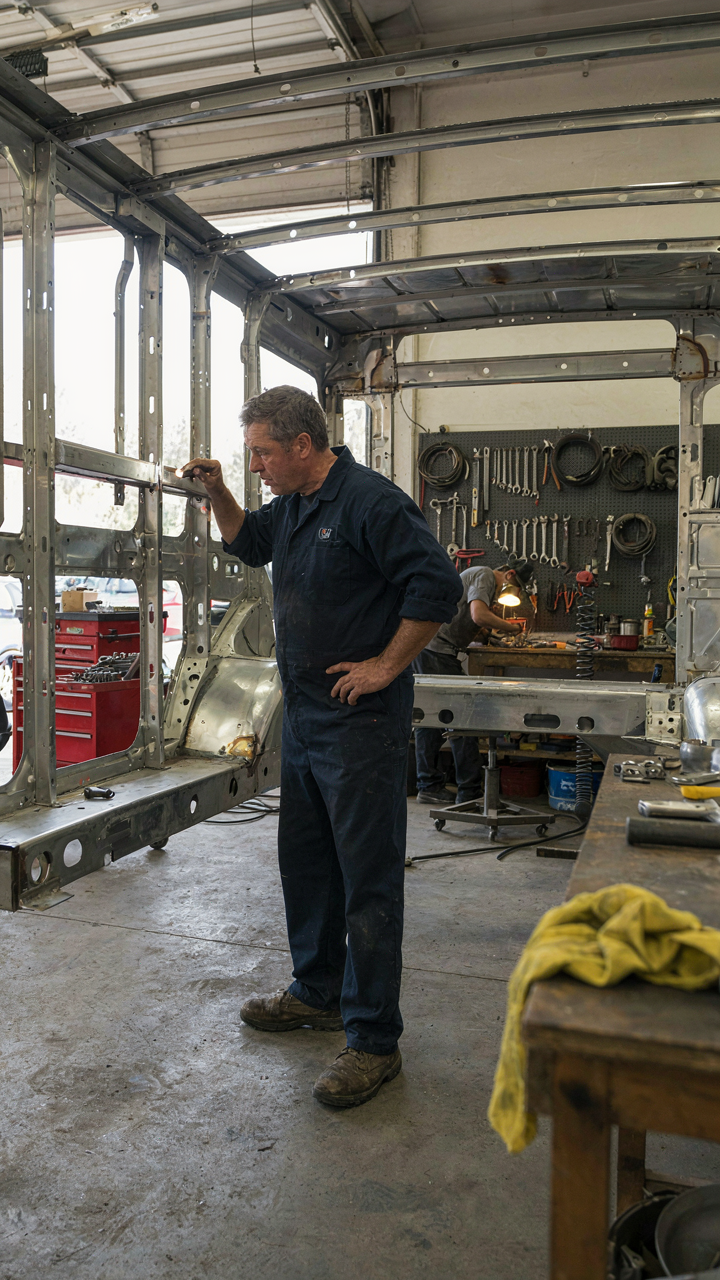
Checking The Frame And Chassis

You’re afraid of buying a money pit. That’s the real reason you’re reading this. The frame is the skeleton everything else hangs on, and unlike cosmetic damage, structural failure doesn’t announce itself until you’re already paying for it. Think of frame inspection like load bearing analysis in engineering: the frame distributes all dynamic stress from movement, weather, and the weight you’re carrying. If the frame is compromised, no interior renovation fixes that.
Start by getting under the RV. Use a jack and stands. Look for rust, cracks, or previous welds that look hastily patched. The frame should be straight when you sight down its length. If you see bending or waviness, walk away. Check welds for cracks by running your fingers across them and visually inspecting with a flashlight. Rust that’s surface level is acceptable. Deep pitting or structural rot means the frame has lost tensile strength and repair costs exceed the RV’s value.
Finding Water Intrusion Before It Multiplies
Water damage in an RV spreads like compound interest: it seems small until exponential decay has destroyed the infrastructure beneath the walls. Most first time buyers miss this because they inspect the interior and assume what they see is what exists. The real damage lives inside the framing, in the insulation, and between the walls where mold feeds for years before symptoms show. You need to hunt for the entry points, not just the visible stains.
Spray the entire exterior seam with water from a hose while someone sits inside with the lights off looking for drips. This works because water always finds the path of least resistance. Check every corner where the roof meets the walls, every window frame, every vent penetration, and every seam in the exterior paneling. Press on the walls and floor with firm pressure to feel for soft spots or sponginess indicating absorbed water. Water damage in the subfloor is game over for that RV. Document everything with photos dated during the inspection.
The Systems First RV Remodel Blueprint

Cascade Failure Starts With One Broken Layer

You want to know which renovation project makes you look most competent to other RV owners. That’s not why you should care about this section. Systems theory teaches us that complex machines fail from the bottom up, not the top down. Your RV operates on a cascade: electrical powers water, water feeds plumbing, plumbing depends on tanks, tanks require structural integrity. Break the foundation layer and every layer above it dies.
Most renovators start by ripping out cabinets and repainting walls. They ignore that their freshly renovated bedroom sits above a corroded water line that will spray the new cabinetry in six months. Systems thinking means you map dependencies before you touch anything. Identify which system every other system depends on, then work backward from there.
Function First, Then Aesthetics
Cosmetic work feels productive because you see results immediately. The real constraint in an RV remodel is whether systems actually work when you’re miles from a service bay. A rebuilt cabinet with failed plumbing behind it is just expensive decoration. Function determines whether the RV is usable. Aesthetics determine whether you enjoy using it. You need both, but in order.
Audit your core systems before demo day. Test water pressure, check for leaks, run the furnace, test shore power and battery capacity. Document what works and what doesn’t. Then tier your work: tier one fixes broken systems, tier two upgrades failing systems, tier three replaces working systems with better ones, tier four is cosmetic. Execute in that order, not by which project excites you most.
Demolition: When To Salvage, When To Scrap

What’s Actually Worth Keeping

You want to feel like you’re making a smart financial move by salvaging everything. That’s not the mechanism here. The real cost isn’t what you pull out—it’s the time you waste storing, cataloging, and trying to sell low-value components. Salvage only items with actual resale value or genuine functionality for your specific build. Appliances, fixtures, and cabinetry from newer RVs hold value because they fit standard dimensions. Bent aluminum trim, cracked vent covers, and generic plastic fittings don’t. You’ll spend three hours photographing a $12 part that sits in your garage for eight months.
Check current market prices on RV parts before touching anything. Facebook Marketplace and eBay sold listings show what people actually pay, not asking prices. Original manufacturer parts beat third-party replacements for resale. Vintage or mid-century components from classic RVs have niche buyers. Everything else gets recycled or scrapped. Your time managing inventory costs more than the part’s value. Move fast through demolition by making a binary decision: salvage or remove.
Managing Asbestos And Old Sealants
The construction industry’s mistake was assuming asbestos removal requires a hazmat team and five-figure bills. Not entirely true, but the legal liability is real. Many RVs built before 1980 contain asbestos in insulation, floor tiles, roofing material, and around seals. You cannot legally assume it’s not there. The mechanism: asbestos fibers cause lung damage only when airborne and inhaled. Intact material poses zero risk. Disturbing it creates the hazard.
Get a professional sample test for $200 to $400 if your RV predates 1985. Don’t guess. If asbestos is confirmed, hire a licensed abatement contractor for removal—this isn’t a DIY zone. If testing comes back negative, proceed normally. For RVs after 1980, asbestos risk drops significantly but sealants around roof vents often contain formaldehyde or volatile compounds. Ventilate aggressively during removal and wear an N95 mask. Work outside when possible. Never cut, sand, or grind old sealant indoors.
RV Interior: Practical Layouts For Tiny Spaces

When One Surface Must Do Three Jobs

You want your RV to feel spacious. That’s the real reason you’re reading this. But spaciousness is a lie in an RV under 35 feet. You get it through compression, not expansion. Borrow the principle from naval design: in submarines, every surface serves multiple functions because waste is death. Your dinette becomes a bed becomes a workspace becomes storage. The mechanism is layering use vertically and temporally, not horizontally.
Most people think multi-functional means cramming in more stuff. Wrong. It means eliminating surfaces that do only one thing. Your galley counter shouldn’t be counter-only. It folds down as additional sleeping surface. Your under-bench storage pulls double duty as seating and containment. The table pedestal isn’t decorative—it’s a structural anchor for the bed frame above. Build this constraint into your original layout, not as an afterthought. Measure twice: one dimension for sitting height, one for sleeping depth, one for storage access underneath.
The Storage Hierarchy Nobody Mentions
Generic storage advice tells you to use vertical space. Useless. Everyone already knows that. The real problem is that most first-timers build storage and then discover they can’t actually access it without removing other items first. That’s a layout failure, not a storage failure. Storage works only when you build three tiers: daily reach (eye level, arm’s length), weekly rotation (below counters, shallow cabinets), and seasonal dead weight (high cabinets, under furniture). Your renovation lives or dies on how often you touch each item.
Create a pulling protocol: identify what you use daily, weekly, and rarely. Then design your physical layout to match that frequency. Deep storage for canned goods and tools that live in one spot for months. Shallow drawers for cooking utensils and toiletries. Open hooks for items you grab multiple times per day. The moment you finish your cabinet frame, label every interior space with its intended category and anchor your storage assignment to actual use patterns.
Electrical And Plumbing: The Unseen Foundations Of Your Updated Camper Interior
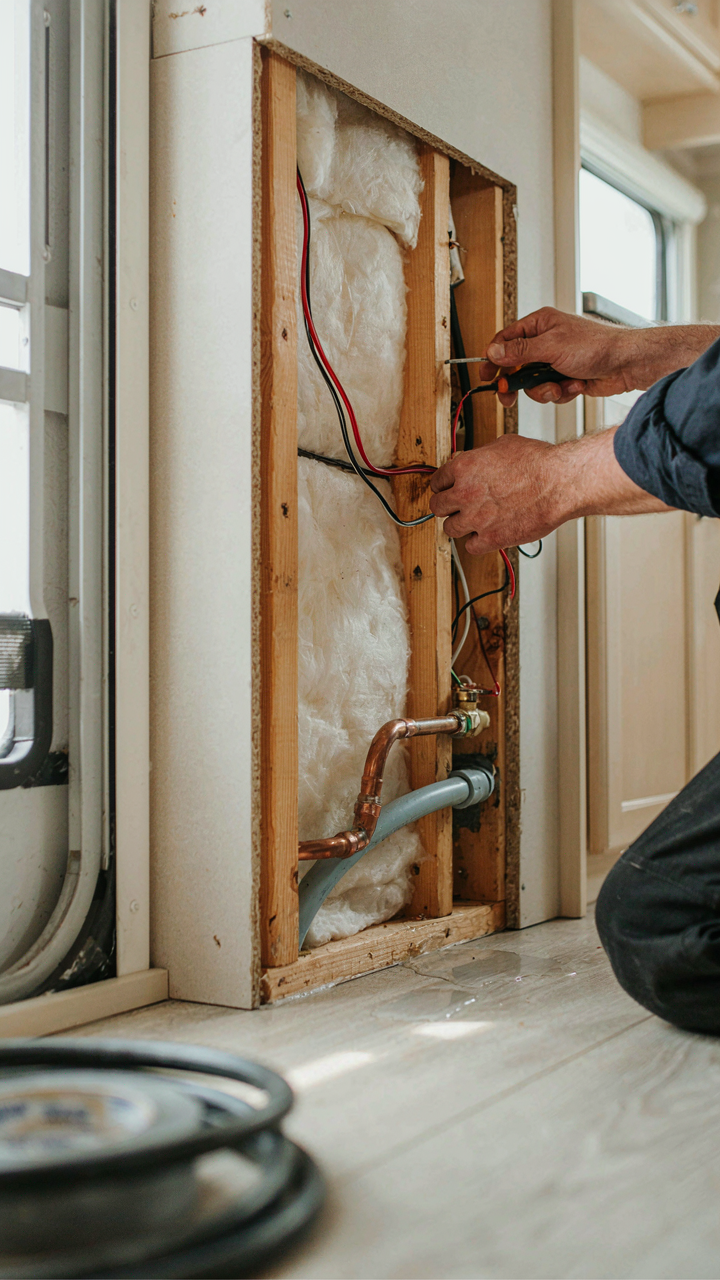
Power And Water Systems For Real Living Loads

You want to upgrade because you’re tired of your RV feeling like a temporary box, but the real reason you’re nervous is that electricity and water seem invisible and permanent. Here’s the mechanism: your stock RV systems were engineered for part-time use with minimal draw. Upgrading means calculating actual load demand, not guessing. A microwave, space heater, and laptop charging simultaneously will tank a 30-amp service fast. You need to audit what you actually run, then size your electrical capacity and water flow to match that load, not the other way around.
Most remodelers skip the load calculation and just add breakers. That’s how you melt wiring inside walls. Take your planned appliances and add their amp draw at startup. A 1500-watt heater pulls 12.5 amps. A full-size fridge pulls 8-10 amps continuous. Your battery bank and converter need to handle simultaneous draws without voltage sag. Water systems follow the same logic: your pump must deliver gallons per minute that match your fixture count and your tank must hold enough for your usage pattern. Size first. Buy equipment second.
Codes, Inspections, And What Actually Gets Enforced
The common advice is to “follow codes,” which is so vague it’s useless. RV electrical and plumbing codes are not one standard. You’ve got NFPA standards, NEC code that applies to RVs, state regulations, and insurance requirements. Most DIY renovators never hit an inspection because RVs don’t move through jurisdictions that mandate them. But insurance companies do care when a fire or water damage claim lands on their desk. They’ll deny you if your system was installed dangerously, and they have engineers who know the difference between “I did my best” and “I followed standards.”
The actual mechanism is that codes exist to prevent two outcomes: electrocution and catastrophic failure under load. A properly grounded system with correct gauge wire and GFCI protection keeps you alive. A properly vented water heater with isolation valves and shutoff capability keeps water damage contained. Your job is to document your work with photos at each stage, keep all receipts for materials, and run your system under load before you seal walls. If something fails later, you have proof you built it to code. If you can’t articulate why you chose a component, you probably shouldn’t have chosen it.
Finishing Touches And Practical Diy Camper Remodel Hacks
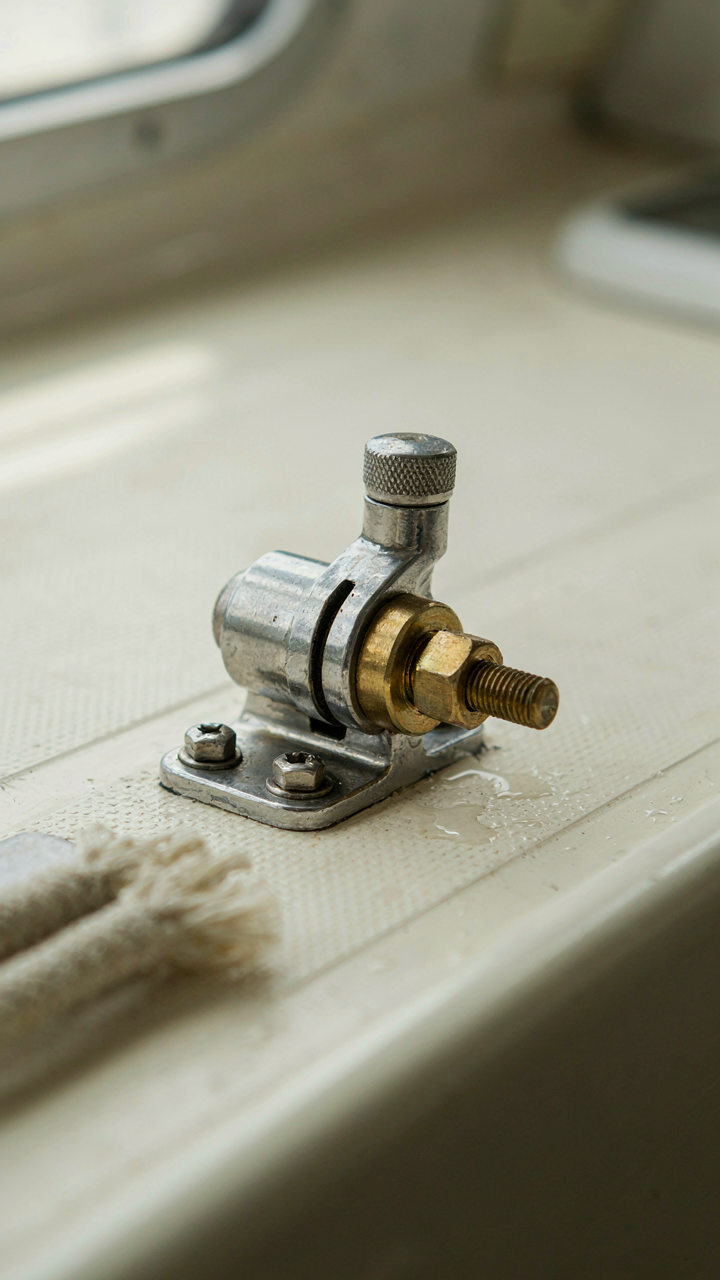
Materials That Survive Movement

You want finishing touches to feel permanent, which means you’re avoiding the real problem: nothing is permanent in a moving box. The mechanism here is vibration. Marine engineering solved this decades ago by switching from rigid to flexible connections. In RV renovation, this means material selection isn’t about aesthetics or cost alone—it’s about how materials respond to constant micro-movements from highway driving and campground settling.
Plywood delaminates in RVs because it relies on glue bonds that fail under flexing. Marine-grade plywood, fiberglass composites, and aluminum framing handle oscillation without separating. Cabinet joints should use metal brackets instead of traditional joinery. Caulk beats grout in wet areas because it flexes. Adhesive-backed materials fail faster than mechanically fastened ones. Your walls move more than you think they do.
Costly Mistakes That Actually Kill Resale Value
The consensus advice is “measure twice, cut once,” but that misses the real killer: structural decisions made without understanding weight distribution across the chassis. Most first-time remodelers waste money fixing problems that never needed to happen because they didn’t map axle limits before adding heavy materials.
- Installing tile flooring: Adds dead weight without benefit in a vehicle that flexes. Exceeds axle limits fast and damages the frame. Vinyl click-lock works better and weighs half as much.
- Using traditional drywall instead of fiberglass: Absorbs moisture, cracks at seams from vibration, then molds. Fiberglass composite panels cost more upfront but eliminate repair cycles.
- Sealing gaps with silicone only: Works until temperature swings crack the bead. Mechanical fasteners plus flexible sealant stops water intrusion permanently.
- Upgrading appliances before checking connections: RV-spec appliances exist because standard ones require different venting, water systems, and power specs. Forcing standard equipment creates safety hazards and fails within months.
- Ignoring water barrier installation under flooring: Leads to subfloor rot that destroys resale value. Install marine-grade vapor barrier before any flooring material touches the base.
The real cost isn’t the material itself—it’s the rebuild when shortcuts fail mid-trip and you’re three states away. Treat every decision as if you’re selling in six months, because structural damage multiplies faster than you can repair it.
The Post Renovation Shakedown: Test Your Travel Trailer Remodel Diy

What Actually Breaks First

You want to believe your work is solid. That’s the real reason you’re reading this. But most first time renovators miss failures because they don’t stress test their systems under load. Use a pressure test methodology from plumbing and HVAC work: isolate each system, run it at maximum capacity for extended periods, then document what fails. Water systems leak under pressure. Electrical circuits trip under draw. Ventilation systems can’t keep up when it’s 95 degrees and humid.
Start with water. Fill tanks completely, run every faucet and shower simultaneously for thirty minutes. Check underneath for drips. Open cabinets and inspect seals around sink installations. Most DIY water failures happen at connection points, not in the lines themselves. Look for moisture stains on walls and subflooring. Then kill the water and pressurize the system to test for slow leaks that won’t show up during normal use. Move to electrical next. Plug in every appliance at once. Run the AC unit, microwave, and water heater simultaneously. If your breaker trips, you’ve identified a load problem before hitting the road.
How To Catch What Time Reveals
Drywall cracks and cabinet shifts happen because of thermal cycling, not faulty installation. Temperature swings between cold nights and hot days stress every connection and joint. The real maintenance play is documenting your baseline now, then comparing photos monthly. Caulk separates from seams. Screws back out from vibration. Wood swells and contracts. You can’t prevent this, but you can catch it early by establishing what normal looks like.
Do a full walkthrough every 500 miles of travel. Check all cabinet hardware for tightness. Feel for soft spots in subfloors near appliances. Inspect roof seals and trim where water enters. Listen for rattle points. The mechanism that kills most renovated RVs is neglected minor damage that compounds into major problems. A loose roof seal leaks into insulation. Wet insulation develops mold. Mold spreads. Now you’re selling the rig at a loss. Tighten hardware, re caulk annually, and inspect water damage points before each trip.
The Real Obstacle Isn’t The Renovation; It’s Your Naive Belief That A Fresh Coat Of Paint Will Fix A Fundamental Misunderstanding Of Mechanics And Maintenance


Most people tear into an RV because they want a prettier box. They don’t actually want to become competent. You have to choose one. Pick up your RV’s service manual today and read the section on your weakest system, whether that’s plumbing, electrical, or propane. Stop hiding behind aesthetics. You either commit to understanding how your RV actually works or you commit to paying someone else to fix your mistakes.



