
The Illusion Of Warmth: Why Kelvin Ratings Lie

Color Temperature Misconceptions
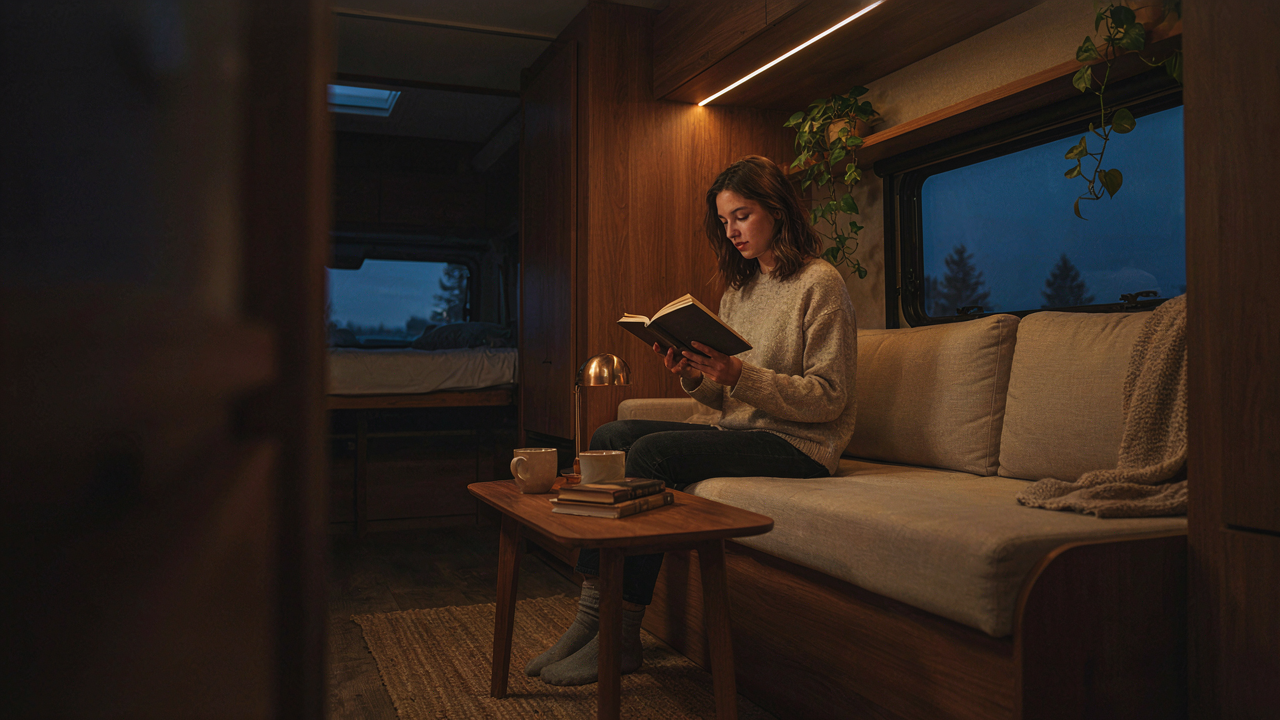
You care about this because you think a number can solve a feeling, and that’s the trap. Kelvin ratings measure only one axis of light: how blue or orange it appears on a spectrum. A 2700K bulb in your RV will look orange compared to a 5000K bulb. But orange light bouncing off cheap vinyl doesn’t feel warm. It feels cheap and orange. The mechanism here is simple: Kelvin is a one-dimensional spec that ignores everything else that determines how your brain perceives light quality inside an enclosed metal box.
Most RV lighting advice stops at Kelvin because it’s easy to measure and sell. Lower Kelvin equals warm, higher Kelvin equals cool. Done. Except your eye doesn’t work that way. A 2700K LED can render skin tones as gray and flat. A 3000K halogen from ten years ago can make the same space feel alive. The difference isn’t the color temperature. It’s what the light actually reveals about the materials around you. In an RV, you’re lighting plywood, fabric, and plastic. Those materials either look dimensioned and textured, or they look like what they are: budget materials lit poorly.
The Real Metric: CRI And R9 Values
Rendering index is borrowed from color science, not design. Think of CRI as your lighting’s signal to noise ratio: it measures how faithfully a light source reproduces colors compared to natural light, on a scale of zero to 100. Most RV fixtures ship with CRI ratings between 70 and 80. That’s industrial. Your eye knows it. High CRI bulbs run 90 and above, and they cost more because the phosphor chemistry is more complex. But in an RV, CRI above 90 transforms how your interior reads, especially on wood trim, skin tone, and fabric.
R9 is the sleeper metric nobody mentions. CRI averages performance across eight color families. R9 specifically measures red saturation. In RVs, this matters because warm interiors depend on how red and brown tones render. Low R9 (below 50) makes wood look dull and skin look sallow under warm light. High R9 (above 90) makes the same materials glow. When you upgrade RV lighting, prioritize bulbs with CRI 90+ and R9 above 85. Check the spec sheet before buying. That single protocol step determines whether your upgrade actually works.
The “Lumens Are All That Matter” Fallacy: RV Lighting Upgrade
Where Light Goes Matters More Than How Much

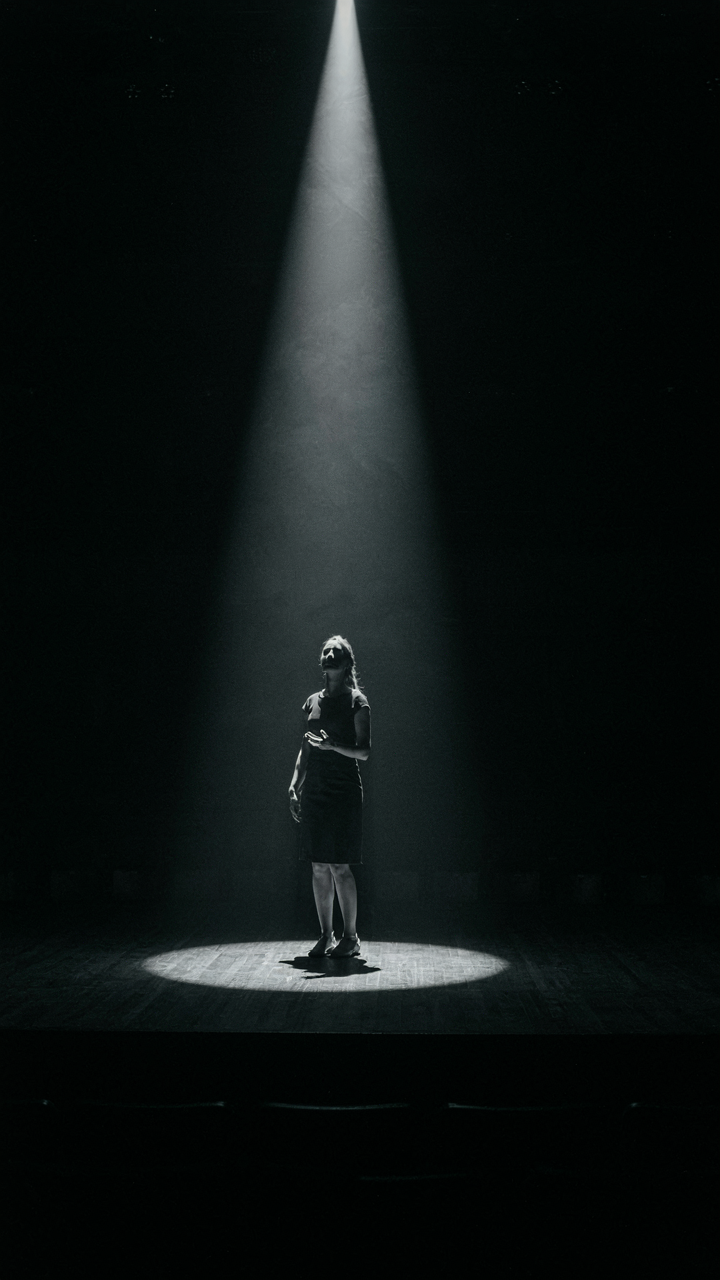
You want to believe lumens are the metric because it’s simple and you can compare numbers without thinking. Here’s the real mechanism: lumens measure total light energy, but beam angle determines where that energy lands. Physics calls this spatial distribution. An RV fixture with 800 lumens and a 120-degree spread creates useless glare on your windshield. The same 800 lumens at 30 degrees concentrates light where you actually work. Lumens alone tell you nothing about functional utility.
Beam angle is the specification that vanishes from marketing. You see “800 lumens” plastered everywhere. You never see “30-degree beam angle” because it requires design competence. Narrow angles concentrate light for reading or cooking. Wide angles create ambient fill but waste energy on walls and empty space. Before buying any RV light fixture, you need to know both the lumens output and the beam angle in degrees. This is not optional information.
Task Light Versus Ambient Light Requires Different Strategies
Task lighting and ambient lighting serve opposite mechanical purposes, and RV owners treat them the same way. Task lighting isolates light on a specific surface where you perform work: the galley counter, the dinette, the bathroom mirror. Ambient lighting fills the entire space with general illumination. Most RV lighting upgrades fail because people install one type thinking it solves both problems.
Your galley needs task lighting with high intensity on the counter surface. Your living area needs ambient lighting distributed evenly without shadows. Installing a bright overhead fixture pretending it handles both creates harsh glare when you’re relaxing and insufficient light for food prep. Design your lighting in layers: ambient baseline first, then add dedicated task fixtures where you actually work. This separation prevents overspending on unnecessary brightness and eliminates the compromises that make your RV feel wrong after dark.
The Ergonomics Of Illumination: Your RV Light Fixture Makeover
How Light Targets Fatigue, Not Aesthetics

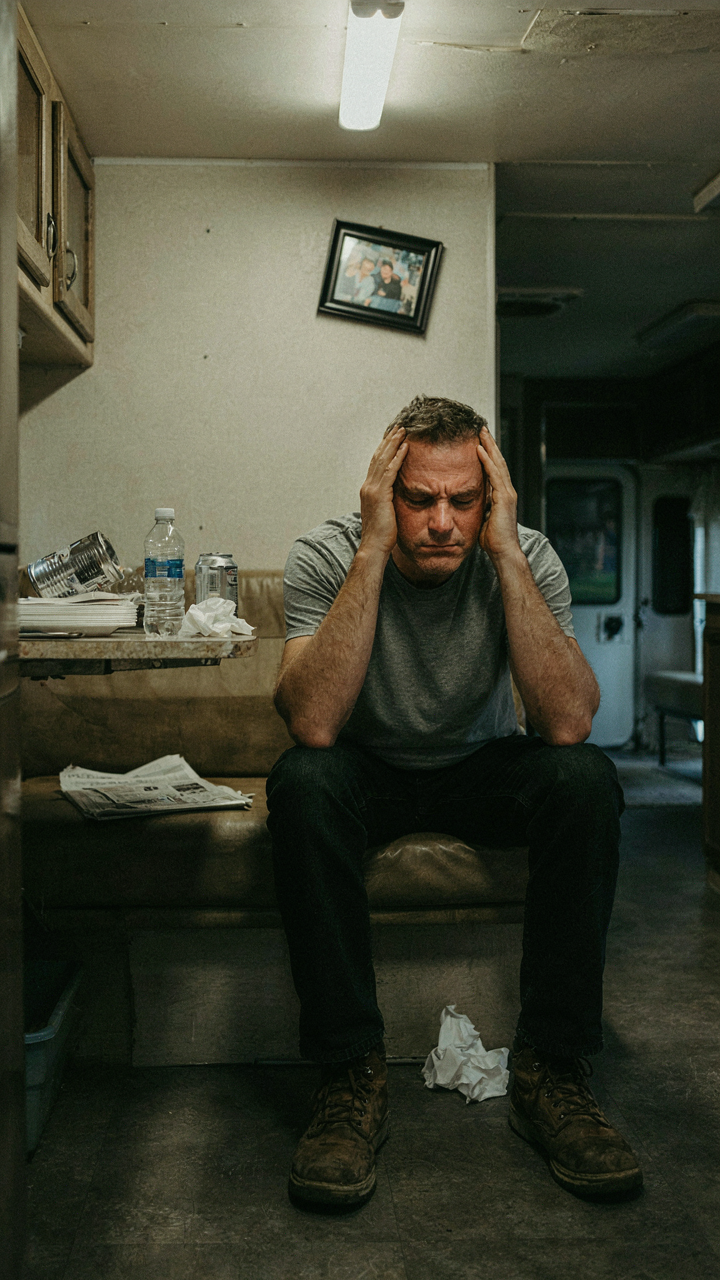
You want your RV to feel expensive because you’re tired of feeling like you’re camping. Here’s what actually matters: your eyes work harder in poorly distributed light, and fatigue compounds in tight spaces where you can’t escape the strain. Ergonomics borrowed from workplace design isolates one variable—luminance ratio—as the load-bearing mechanism. Your RV’s problem isn’t darkness. It’s contrast. When one surface reflects 80 percent of light and an adjacent wall reflects 10 percent, your pupils constrict and dilate constantly. This is the metabolic cost of bad lighting, not a preference issue.
The fix requires measuring, not guessing. Install lights so the brightest fixture doesn’t exceed three times the brightness of the dimmest lit surface in your visual field. LED panels with diffusers reduce hot spots. Warm color temperature (2700K to 3000K) reduces perceived contrast because the brain processes warm light as lower intensity. This isn’t mood lighting. This is lens efficiency. Upgrade your galley and dinette to diffused LED strips rated 3000K or lower, and place task lighting at angles that don’t create shadows on work surfaces.
Activity Zones Demand Different Light Densities
Most RV owners install one overhead fixture and call it done. Wrong move. Each functional zone performs differently under uniform light, so you need to abandon the one-light philosophy entirely. The galley needs concentrated light on countertops without spill onto the windshield. The bedroom needs low ambient light to support sleep rhythms. The dinette functions as workspace, dining area, and social hub depending on time of day. Treat each as a separate system with its own fixture type and control.
Install dimmable LED panels in the dinette and bedroom. Position fixed task lighting above galley counters at 24 to 30 inches high, angled 15 degrees forward. Put ambient strips along the ceiling perimeter at 2700K for general movement through the RV. Use separate switches for each zone so you’re not choosing between eating in shadow or sleeping under a spotlight. This layered approach cuts wasted energy and eliminates the cognitive friction of living under lighting that doesn’t match what you’re doing.
The Power Drain Protocol: Replacing RV Interior Lights Efficiently
Lumens Per Watt Is The Only Number That Matters

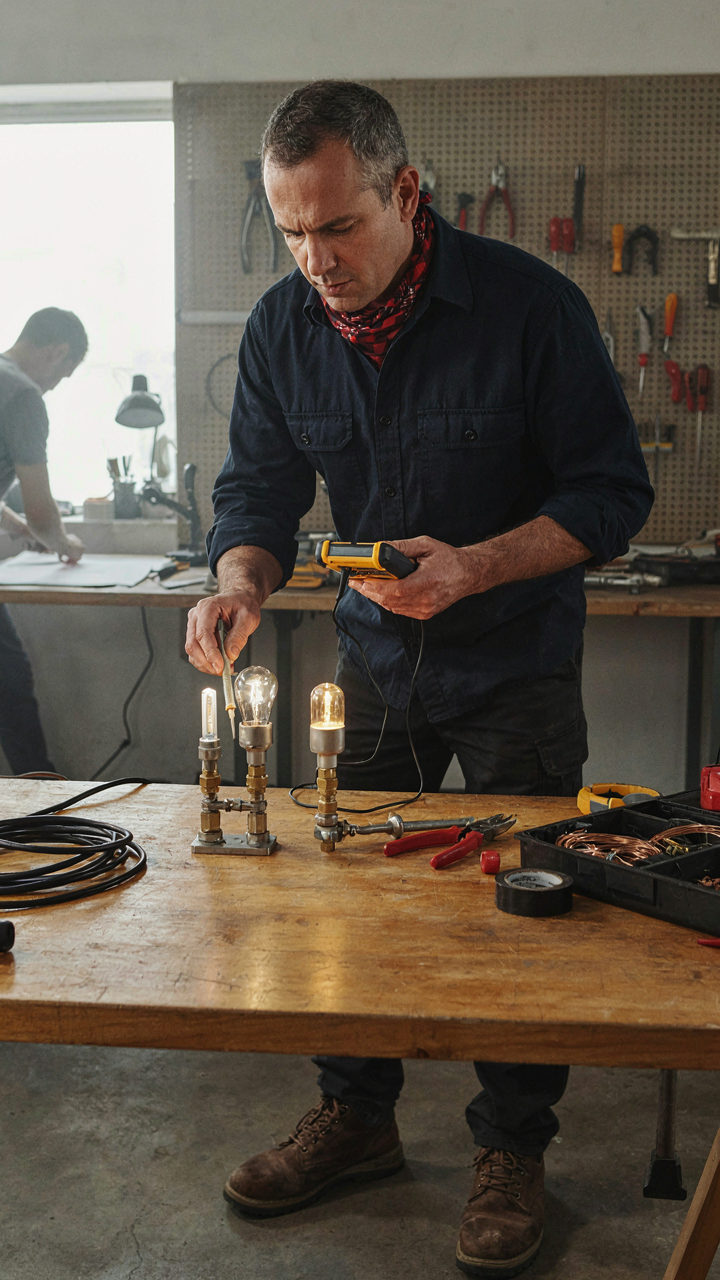
You want to upgrade your lights without admitting your battery setup is undersized. Here’s the mechanism: wattage tells you nothing about brightness. Two lights can draw identical power and deliver wildly different output because efficiency varies by technology. LED lumens-per-watt ratings run 80-100+. Incandescent manage 15-17. Halogen sits around 20. A 12-watt LED outperforms a 50-watt incandescent by pure light delivery.
The calculation is straightforward. Find the lumens per watt specification from your fixture manufacturer, multiply it by the wattage, and you get total lumens. A 10-watt LED rated at 90 lumens-per-watt produces 900 lumens. That same 900 lumens from incandescent requires roughly 60 watts. This gap compounds across your entire coach. Lumens per watt is the only metric that connects power draw to actual light output.
Battery Life Demands Brutal Prioritization
Most RV owners treat all lights equally and drain their batteries at the same rate regardless. That’s the mistake. Boondocking requires you to identify which lights actually matter for function versus which ones just exist. Prioritize: driving lights, galley work surface, bathroom mirror, and reading areas. These earn high-efficiency fixtures first. Accent lighting, overhead ambient, and decorative strips go second. This sequencing prevents you from upgrading the least-used lights first and then running out of power budget.
The protocol is calculate total nightly hours per light zone, multiply by wattage, sum the result, and build backward from your battery capacity. If you have 400 amp-hours at 12 volts usable, that’s roughly 4800 watt-hours per day if you fully cycle. Real-world sustainable draw sits around 50-60 percent of that without destroying battery longevity. That gives you 2400-2880 watt-hours to allocate. Strip the waste from non-critical zones first, then upgrade the high-use areas to LED, then verify your numbers match reality with a battery monitor over one full cycle.
DIY RV Lighting Fixtures: Beyond The Pinterest Board
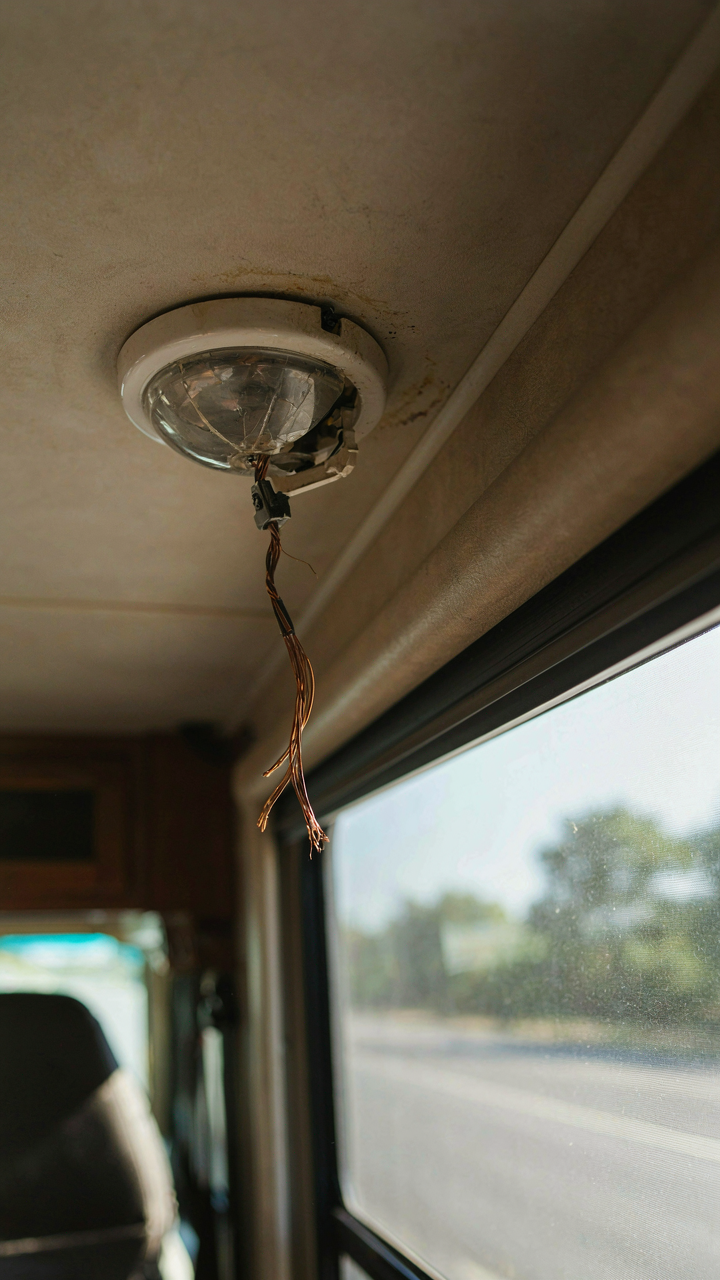
Materials That Won’t Fail You In Motion

You want to believe you can install something once and forget it. That’s not how RVs work. Every fixture you bolt down will vibrate. Every connection will loosen. Every material choice either tolerates this or becomes your problem at 2 AM on a mountain road.
Aluminum and stainless steel dominate RV fixtures for one reason: they don’t corrode and they handle vibration without cracking. Brass oxidizes unpredictably in enclosed spaces with humidity swings. Plastic housings degrade under UV exposure even when mounted inside, because RVs spend half their life parked in direct sun. Copper wiring inside fixtures oxidizes without proper sealant, causing connection resistance that generates heat.
Use marine-grade silicone sealant rated for RV use when securing any fixture to the roof or walls. Standard caulk fails because RVs expand and contract with temperature changes. The sealant must remain flexible. Check the product label specifically: it should say it handles -40 to 180 degrees Fahrenheit. Mounting brackets need stainless fasteners, not galvanized steel. Galvanized corrodes when trapped against aluminum, creating a galvanic reaction that eats through both metals.
Wire gauge matters more in an RV than a house because you run longer distances on smaller circuits. LED fixtures draw less current, but underthinking your wire size creates voltage drop that makes lights dim before they should. Use 10 AWG minimum for any fixture run longer than 15 feet from the main panel. Solder all connections inside fixtures, then wrap in heat-shrink tubing. Crimped connections vibrate loose.
What Code Actually Requires You To Do
The RV Industry Association publishes standards. They’re not optional suggestions. Most people think they can ignore them because enforcement is weak. The mechanism is simple: insurance doesn’t cover damage from non-compliant electrical work, and that cost compounds faster than the money you saved skipping steps.

RVs must use 12-volt DC fixtures or hardwired converters for any 120-volt AC installation. You cannot run standard 120-volt house lighting directly on RV power. Ground-fault protection is required on any fixture near water sources. Your bathroom and kitchen fixtures need GFCI protection. This isn’t negotiable if you’re selling the RV or making an insurance claim.
All wiring must run through conduit or chase. Exposed wire running through walls creates fire risk during vibration. Use marine electrical wire rated for RV use, not house electrical wire. Marine wire has tinned copper strands that resist corrosion. The insulation is UV-rated. Transition from battery power to converter-backed 120-volt circuits at a dedicated breaker panel. Never splice circuits together in walls. RVs fire from electrical faults faster than houses because everything is compact and ventilation is limited. Any fixture installation requires a disconnect switch or breaker specifically protecting that circuit. No shared circuits with critical systems like water pumps or refrigerators. Document every connection and keep the diagram accessible. If you sell the RV, buyers need proof the system is safe.
How To Replace RV Lights: The Surgical Approach
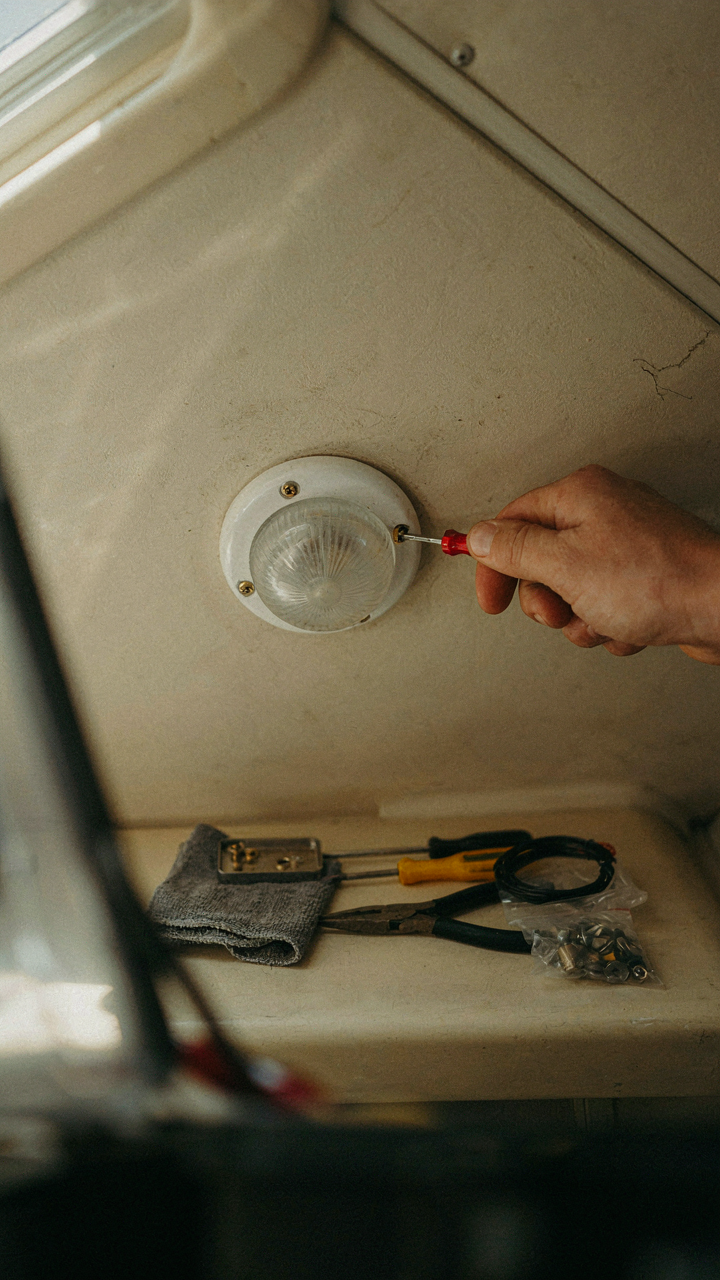
Removing Fixtures Without Destroying Them
You want this to feel controlled because one slip means you’re ordering replacement parts and losing a week of your trip. The mechanism is simple: RV fixtures are held by either friction fit, set screws, or bayonet mounts. None of them are glued. Identify which before you touch anything.
Start by cutting power at the breaker. Use a non-contact voltage tester to confirm the circuit is dead. Most RV ceiling and wall fixtures pull straight down after you locate the mounting hardware. Bayonet base bulbs twist counterclockwise. Don’t force anything that resists. Resistance means you’ve missed a screw or clip.
Tracing The Circuit And Making Solid Connections

This is a wiring problem, not an installation problem. Most RV lighting runs on 12-volt DC circuits with undersized wire relative to automotive standards. Use the existing wiring diagram in your manual as your baseline, but verify continuity with a multimeter before connecting anything new.
Wire gauge matters because voltage drop compounds in tight spaces. A new LED fixture pulling 2 amps through 14-gauge wire over 25 feet will dim noticeably. Match your new fixture’s amperage draw to the existing circuit capacity, or run dedicated wire. Solder connections in RVs fail faster than crimp terminals, but crimp terminals fail if you use the wrong size. Use marine-grade terminals rated for the gauge you’re running.
The “Good Enough” Trap: How To Fix RV Interior Lights Permanently
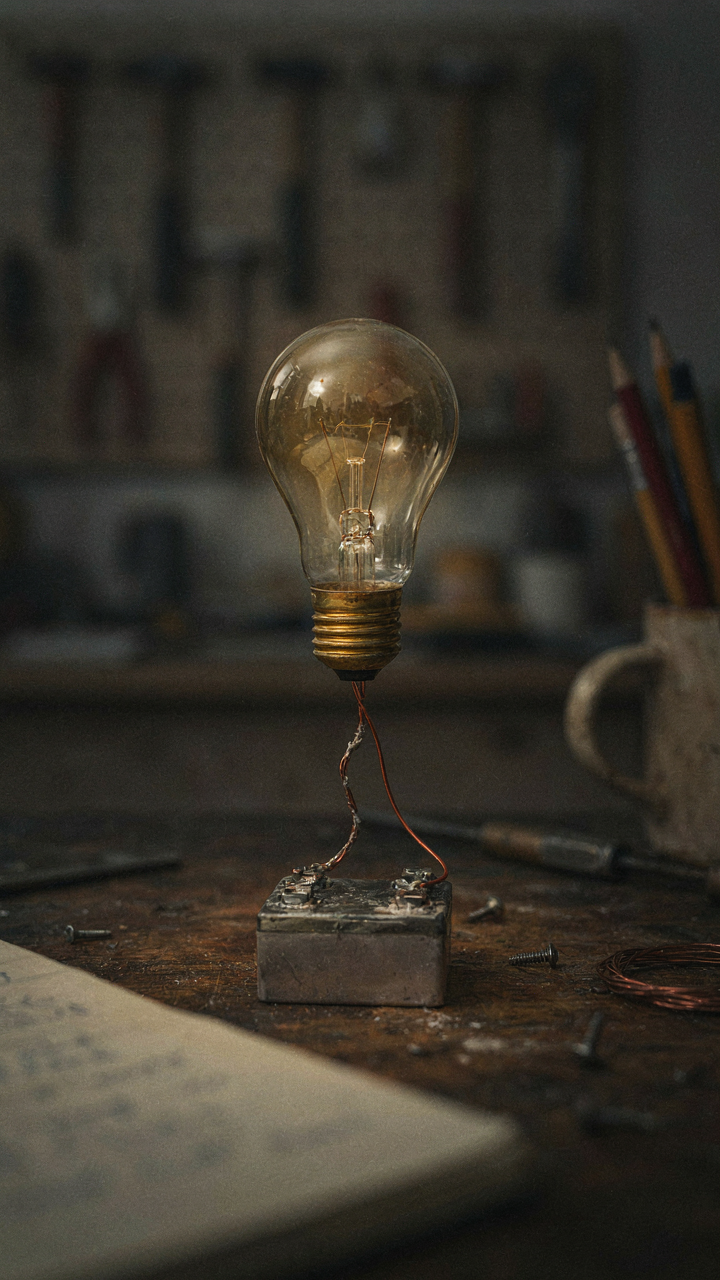
Why Your Lights Keep Dying
You want to believe your RV lights just wear out, that replacement is normal maintenance. The truth is darker: most failures stem from a single cause you’re not addressing. Voltage drops in RV electrical systems work like friction in mechanics—small inefficiencies compound into total system failure. Your factory wiring runs thin, connections corrode, and battery voltage sags under load. The light itself dies not from age but from operating in a degraded state constantly.
Most RV owners replace bulbs and move on. That’s reactive. You need to diagnose whether the light fixture itself is starved of proper voltage, whether corrosion is eating your connections, or whether your battery bank can’t hold charge. Check voltage at the fixture with a multimeter during operation. If it reads below 11 volts on 12V systems, the problem isn’t the light. It’s the delivery system failing silently.
Battery Health And Connection Integrity

RV lighting failures start at the battery terminals, not the bulb socket. Corroded battery posts create resistance that dims lights progressively until they flicker and fail. This isn’t wear and tear. This is oxidation blocking current flow before it reaches your fixture. Most people never look at their battery terminals until something stops working entirely.
Monthly inspection of battery terminals, battery cable connections, and the main ground wire from battery to chassis prevents ninety percent of lighting problems. Use a wire brush to remove any white, blue, or green oxidation from posts and cable ends. Apply dielectric grease afterward to slow future corrosion. For 30-amp or larger RV systems, add an inline fuse holder near the battery on positive runs and verify ground connections use at least eight-gauge wire crimped securely to bare metal on the frame. A single corroded connection will dim every light on that circuit.
The RV Interior Lighting As A System: Borrowing From Urban Planning

Zoning Principles For Light Placement
You want your RV to feel intentional instead of like a lit shoebox, which signals competence to anyone who visits. The real mechanism is this: urban planners use zoning to separate incompatible functions into districts. Your RV interior needs the same segregation. Task lighting zones (galley, dinette, bed) stay separate from ambient zones (ceiling, perimeter). Warm LEDs belong in ambient zones; task zones tolerate cooler color temps because function matters more than mood there.
The mistake most people make is installing one bright ceiling fixture and calling it done. That creates uniform, dead light everywhere. Instead, designate zones by activity: cooking demands direct overhead or under-cabinet light at 4000K, sleeping demands dimmable perimeter or bedside fixtures at 2700K, socializing happens in the dinette where warm accent lighting at 3000K pulls the space together. Map these zones on your RV floor plan before buying anything.
Light Path And Movement Flow

How people actually move through an RV is not random, and your lighting should anticipate it. Urban planners design streets to guide foot traffic naturally. Your RV lighting should illuminate the path of highest use first: entry to bathroom, bed to galley, seating to exit. Obstacles and dead zones waste energy and create the claustrophobic feeling people complain about.
Install step lights or accent strips along the main pathway at low intensity. This removes the need to flip multiple switches at night and reduces cognitive load when you’re half asleep. The galley and bathroom get priority for task lighting intensity because they demand precision. Social zones like the dinette get secondary emphasis through warm accent light that doesn’t compete with task zones. The mechanic is simple: light the route of movement, not the entire volume.
RV Lighting Upgrade Ideas: The Compound Effect
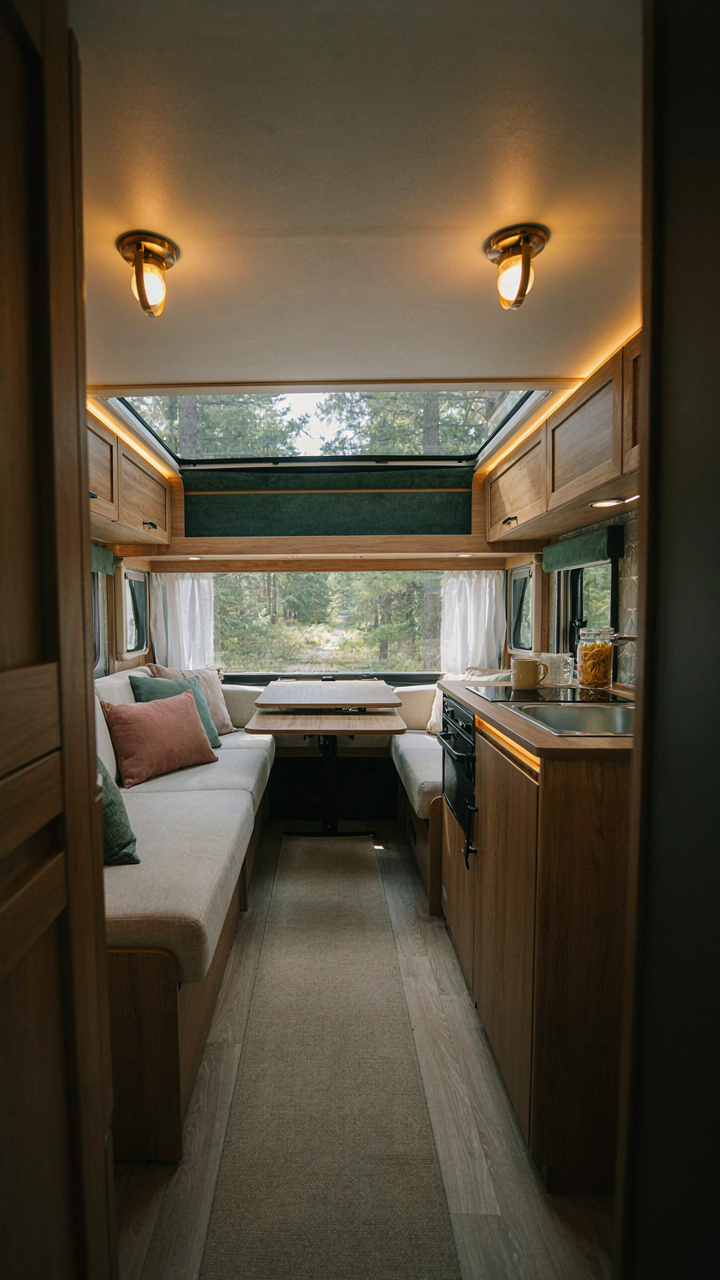
Multiple Light Sources Create Perceived Space
You want your RV to feel bigger because a cramped interior signals you made a bad financial decision. The mechanism is simple: your brain judges space volume partly through light distribution, not just square footage. In architectural lighting, this is called layering or zoning. Apply it to an RV by installing overhead fixtures, task lights, and accent sources in the same zone instead of relying on one ceiling panel.
A single overhead LED floods everything uniformly and flattens depth perception. Adding wall sconces or under-cabinet strips creates shadow and highlight play that makes walls recede and the space feel layered. Most RV owners skip this step and wonder why their upgrade still feels claustrophobic. The math works: three light sources at different heights and angles compound the illusion of volume better than one bright source ever will.
Dimmers Transform Usability Into Control
The common advice is that dimmers save battery power. That’s not the real lever. Dimmers control perception and mood state, which directly impacts how long you stay in the RV and how you use it. Without dimming, you have two states: on and off. With dimming, you have infinite states between them, matching the actual variety of tasks you do throughout the day.
Install dimmers on circuits you use most, not everywhere. Overhead lights, bedroom lights, and living area strips benefit most. Use PWM (pulse-width modulation) dimmers designed for LED, not older rheostat types, because LEDs don’t dim smoothly on analog controls. The dimmer becomes the control layer that lets the same fixture work for reading at night, video calls during day, and background ambiance in evening. This single upgrade changes how functional the space feels more than brightness alone.
The Minimum Viable Illumination Strategy
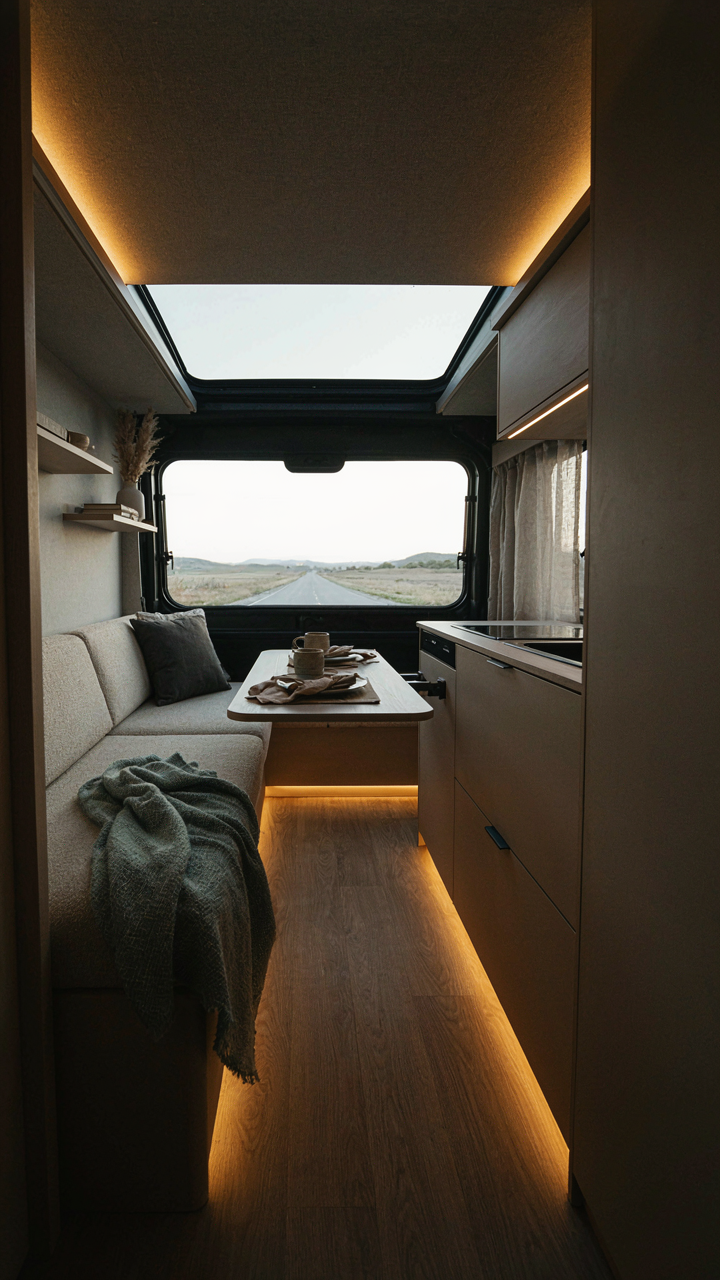
Focus On Task Lighting First
You’re reading this section because you want to feel like your RV doesn’t look cheap, but what you actually need is to stop wasting money on lights that don’t do anything. The mechanism is borrowed from systems design: constraints force clarity. One overhead fixture and scattered ambient sources create visual noise. Task lighting solves the real problem—you need to see what you’re doing at specific locations. Install focused lights where work happens: the galley countertop, the dinette table, the bathroom mirror. These serve function, not decoration. Everything else is negotiable.
The common advice says to light every corner evenly. Wrong. Even lighting creates flatness and demands more power than you have. You need brightness where it matters and transition zones that don’t assault your eyes when you move between them. A single quality LED strip under galley cabinets beats three mediocre ceiling panels. Position task lights at the point of use, not above it. This cuts power draw and eliminates the shadow-in-your-own-face problem most RVers live with. Start by identifying the three locations where you spend 80 percent of your time awake, then light only those.
Cut Everything That Isn’t Essential
Recessed ceiling lights that wash the interior in flat white create decision fatigue and waste battery capacity. Most RVers inherited the assumption that more fixtures equal better design, but that’s residential thinking transplanted into an isolated electrical system. An RV isn’t a house. Your power is finite. Your battery has a ceiling. Every light you don’t install is a light you don’t drain at night. The math is unforgiving: fewer sources, higher quality output per source, longer usable evening time.
Eliminate puck lights, accent lighting, and any fixture serving purely ambient fill. Replace them with dimmers on your task lights instead. Dimming 40 percent cuts power draw roughly in half and warms the color temperature naturally as brightness drops. Install dimmers on galley and dinette lights. Skip the bedroom ceiling fixture entirely if you have a reading light that mounts to the headboard. The protocol is ruthless: ask whether each light prevents you from doing something necessary. If not, it doesn’t go in the build.
You Don’t Need More Lights; You Need A Better Understanding Of What You’re Actually Trying To Illuminate

Most people throw more fixtures at their RV because they never diagnosed the real problem. You’re not lacking light. You’re lacking intentionality about where that light lands. Take one room today. Map where you actually sit, work, and move. Install one warm LED strip in that exact zone. Watch how it transforms your space with half the wattage everyone else wastes. The difference between a lit RV and a livable one isn’t brightness—it’s placement.



