
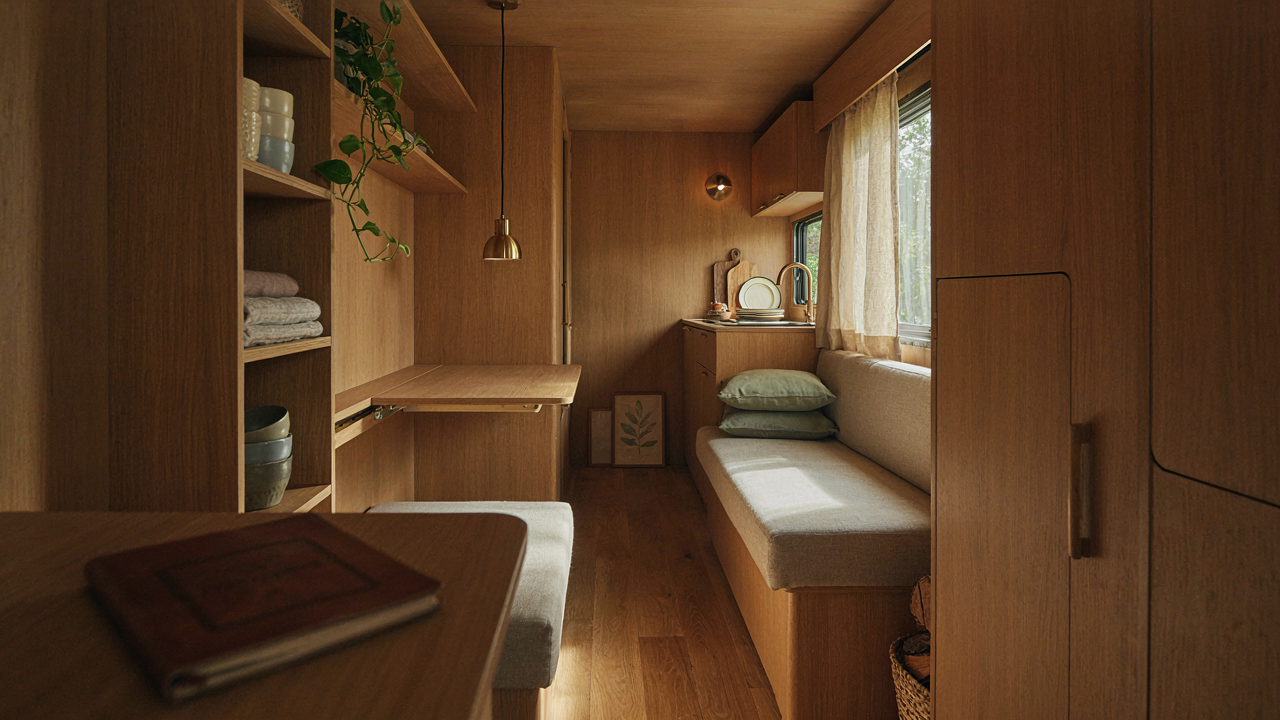
The Illusion Of More Space: Why Bigger Isn’t Better
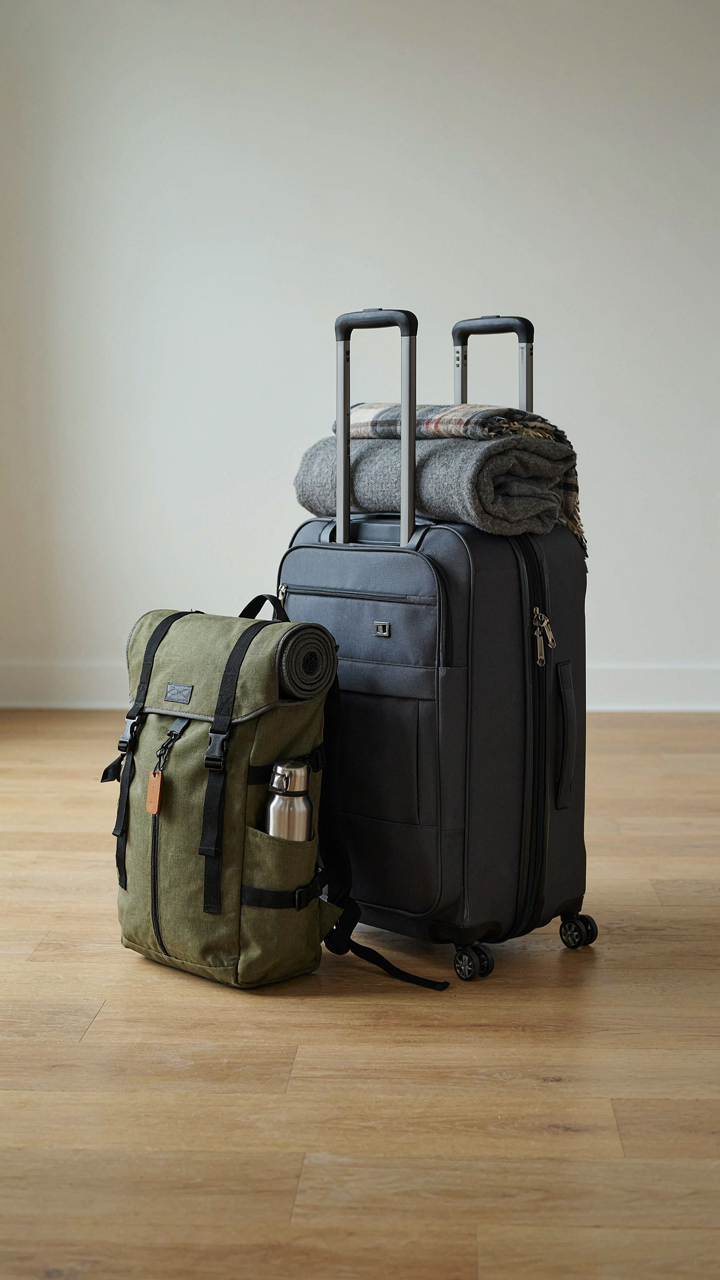
Space Isn’t Acquired, It’s Created
You want a bigger trailer because you think more square footage solves the problem. It doesn’t. Storage economics teaches us that capacity fills regardless of size—the constraint isn’t volume, it’s how you compartmentalize what’s inside. A 20-foot trailer packed inefficiently stores less than a 16-footer with built-in walls and bench systems. The real leverage isn’t in the trailer’s footprint. It’s in how you force decisions about what actually comes along.
Most people skip this step entirely. They buy the larger unit, load it with gear they’ll never use, and wonder why they feel claustrophobic despite more room. The mechanism is simple: unused space becomes storage for uncertainty. Built-in walls and benches force you to pre-allocate every inch, which means you can’t hide unused items. This friction is the feature, not the bug. You’ll haul less weight, spend less on fuel, and actually navigate your living space without tripping over forgotten equipment.
The Hidden Cost Of Carrying More
Adding storage capacity doesn’t add convenience—it adds weight, and weight is a tax you pay at the pump every mile. A trailer with loose storage invites you to fill it. A trailer with fixed, limited compartments makes you choose what matters. The difference in fuel consumption between a 30% overloaded and 60% overloaded trailer isn’t linear. It compounds across towing resistance, suspension strain, and brake wear.
Clutter masquerades as preparedness. The real cost emerges over time: you’re carrying someone else’s outdated gear, duplicate tools, and “just in case” items that statistically never get used. Built-in benches with closed storage eliminate the visual temptation to accumulate. You can’t see the empty space, so you stop trying to fill it. The protocol here is mechanical: before adding any compartment, define exactly what goes in it and commit to that list. If the list is vague, the compartment will become a graveyard for dead weight.
The “RV Organizers” Trap: Buying Solutions For Non Problems

You’re Treating Symptoms, Not The Disease

You want to feel like you have your life together in a confined space. The real problem isn’t that you lack organizers—it’s that you haven’t defined what actually lives in your trailer. Most RV owners buy storage solutions before they know what they’re storing. They hang a hanging organizer, buy magnetic hooks, install drawer dividers. Six months later, half the compartments are empty and nothing fits where it’s supposed to.
The mechanism is simple: you’re applying tools before identifying the constraint. In systems thinking, this is called solving for the wrong variable. You see clutter and assume you need more containers. What you actually need is an inventory protocol and a fixed footprint. Until you know your exact cargo—weight, dimensions, access frequency—every organizer you buy is a bet against reality. That bet loses.
The Consumption Loop Masquerading As Organization
Buying storage to get organized is economic theater. You feel productive, the transaction creates dopamine, and you’ve made zero structural progress. The psychology runs deep: chaos makes you feel out of control, so you purchase order in the form of bins, shelves, and cubbies. Each purchase feels like progress. Each purchase is actually a symptom that your design is wrong.
Here’s what actually happens: you install organizers, use them for two trips, then abandon them because they don’t match your actual workflow. You buy more organizers to “fix” the first set. The trailer fills with organizational infrastructure instead of reducing what you carry. The fix is brutal: design your storage first by working backward from the essentials you actually use, then install one permanent system that forces you to live within it. No more buying your way out of decisions you haven’t made yet.
The Minimalist’s Manifesto: Only What’s Essential Stays

Confront What You Actually Use

You’re keeping things because you think you should, not because you will. The real mechanism at work is cognitive dissonance: you paid for an item, so your brain assigns it value regardless of actual use. In camper storage, this attachment costs you square footage you can’t get back. Examine every object with one question: have I used this in the last six months? If the answer is no, it’s taking up real estate that serves your life right now, not a hypothetical future version of yourself.
The brutal purge works because it forces a decision with immediate consequences. A camper isn’t a house with a garage to hide regret. Every item you keep has a footprint and a weight penalty. Remove the emotional layer. Stop telling yourself you might need it. The things you actually need will be obvious because you reach for them. Everything else is friction pretending to be security.
The One In One Out Protocol
This isn’t borrowed from retail inventory management for nothing: the principle works because it creates a hard constraint that prevents creep. One item enters the camper, one item leaves. No exceptions, no accumulation periods where you “sort it out later.” That moment never comes. The mechanism is simple friction prevention. Without this rule, the storage you’ve built becomes full within months because human behavior defaults to addition, not subtraction.
Enforce this at the point of entry, not later. When you’re loading supplies before a trip, this is where the decision happens. If you bring a new cooking tool, something else goes. This keeps your built-in storage functional instead of turning it into a trap of your own making. The rule isn’t about deprivation. It’s about maintaining the system you designed. When storage stays below capacity, everything stays accessible and your camper remains livable instead of becoming a warehouse on wheels.
Caravan Space Saving Ideas: Unconventional Zones

Walls As Prime Real Estate

You want to feel like you have room. The mechanism is simple: vertical storage doesn’t compete with floor space, so your brain stops fighting gravity and starts using it. Architects call this the Z-axis principle—most people only think in X and Y. Every wall in a camper trailer is wasted real estate until you bolt something to it. The difference between a cramped trailer and one that breathes isn’t square footage. It’s whether you exploited the vertical dimension or ignored it.
Wall-mounted cabinets, shelves, and pegboard systems cost less than floor storage and work harder. You install them 12 to 18 inches above existing furniture or fixtures to avoid foot traffic collision. This height range keeps items accessible without requiring a ladder or creating a visual mass that shrinks the interior. The catch is weight distribution. Mount heavy storage on studs or cross-bracing, not on thin walls. Light items—textiles, camping gear, kitchen tools—tolerate drywall anchors. Everything else requires structural anchor points.
Under Bench Storage
This space gets ignored because it looks complicated. The reality is dead simple: most benches in camper trailers sit on a frame with open space beneath. That void becomes your second storage layer if you design for it. Engineers call this negative space optimization, borrowed from manufacturing. You’re using the bench’s structural purpose to create dual function instead of adding another cabinet that eats floor real estate.
Build custom drawer systems or sliding bins that fit under benches. Measure the exact dimensions first—depth, width, height clearance—then order or fabricate containers that use every inch. Use ball-bearing drawer slides rated for RV vibration. Soft-close hinges prevent items from flying loose on rough roads. Access matters more than aesthetics here. Mount handles on the front and test pull weight before loading. You’re not storing decoration. You’re storing things you actually use.
The Modular Mindset Protocol: Adaptable Storage Systems

Compartments That Reconfigure On Demand

You want to feel like you’re in control. The real mechanism is this: fixed storage locks you into one use case forever. Marine engineers solved this problem decades ago by building reconfigurable compartments into ship holds. They treat each compartment as a variable unit, not a permanent assignment. Your camper trailer storage needs to work the same way.
Install dividers, shelves, and bins that slide, lift, or swap out entirely. Use adjustable shelving standards mounted into wall studs rather than welded brackets. This costs more upfront but eliminates the dead space that comes from one-size-fits-all design. The moment you need that space for something else, you reconfigure in minutes instead of cutting or rebuilding.
Swap Parts Without Dismantling Everything
Most trailer owners treat their storage as monolithic. That’s the trap. Build your compartments around interchangeable drawer fronts, sliding baskets, and modular bins that attach to a standardized rail system. The rail becomes your fixed anchor point. Everything else comes out.
This approach matters because load distribution changes. Heavy tools one season, lightweight camping gear the next. When components interchange, you rebalance weight distribution by moving pieces around, not by demolition. Store your spare parts in clearly labeled containers so you grab what you need when requirements shift. The protocol is simple: measure your rail spacing once, then every component you buy must fit that spacing.
Travel Trailer Cabinet Storage Ideas: Beyond The Door

The Inside Door Advantage

You want to feel like you’ve optimized your space without gutting your trailer’s core layout. The real mechanism here is simple: door interiors are dead weight in most trailers. They’re vertical real estate nobody claims because the obvious storage gets the attention first. Interior doors in cabinets become the highest-density storage zone per square inch once you populate them correctly.
- Adhesive hooks: Mount directly to door panels without drilling. Load capacity depends on hook design and door material, typically 2 to 5 pounds per hook on plywood or composite surfaces.
- Narrow shelves: Install 4 to 6 inch deep shelves using L-brackets or rail systems. These hold lightweight items like spice jars, batteries, or small tools without blocking the door’s swing.
- Pocket organizers: Fabric or vinyl pockets glued or screwed to door panels store items needing quick access, like first aid supplies, charging cables, or recipe cards.
- Magnetic strips: Mount thin steel strips horizontally to hold scissors, knives, or small metal tools that would otherwise bounce around during travel.
- Clear acrylic bins: Shallow, stackable containers affixed to doors let you see contents without opening them, cutting down search time and repeated door swings.
The constraint that matters: cabinet doors have weight limits and swing radius requirements. Overload them and you’ll stress the hinges or create binding problems on rough roads. Load heavier items low, lighter items high, and keep total door weight under 15 pounds for standard trailer hinges. Test the door swing in a turn before relying on it during travel.
Magnetic Storage For Frequently Used Metal Items
Economics teaches the concept of “friction cost”—the time and mental energy spent retrieving something you use often. Every item you touch multiple times daily should have zero friction storage. Magnetic solutions eliminate friction because retrieval is instant and repositioning is reversible.
Magnets work on ferrous metals only: steel, cast iron, and some nickel alloys. Most aluminum, stainless steel tools, and non-magnetic items won’t stick. The practical layer: identify your genuinely frequent-use metal items first. Wrenches, scissors, knives, flashlight clips, and multitool holsters are good candidates. Mount rare-earth magnets on the inside of cabinet doors, the side of the refrigerator, or steel wall patches you’ve installed. The adhesive-backed magnets fail faster than through-bolted ones on vibrating surfaces, so if permanent installation matters, drill them down. Keep magnetic strips rated for 5 to 10 pounds per section for trailer-grade vibration. During travel, items won’t shift or rattle because magnetic force holds them statically in place, not just mechanically.
Small RV Ideas: The “Every Surface Serves A Purpose” Dictum

Wall Mounted Magic: Fold Down Tables, Collapsible Shelving

You want to believe your trailer has more space than it actually does. The real mechanism at work here is borrowed from naval engineering: constraint optimization. Ships solved extreme space limits decades ago by designing surfaces that transform. A wall-mounted fold-down table doesn’t just save floor space—it eliminates the psychological friction of choosing between eating and moving. When the table folds flush, your brain registers open space instead of clutter.
Fold-down tables work because they eliminate decision friction. Mount them at standard heights using heavy-duty piano hinges rated for repeated cycles—not cheap barrel hinges that fail after months. Collapsible shelving uses the same principle but with vertical storage: tension rods, magnetic strips, and shallow brackets that hold gear without protruding into your living space. The mechanism is simple: when something isn’t visible, you mentally allocate that square footage to open air instead of stuff.
Bench Functionality: Seating, Storage, And Workspace In One
Most RV benches are designed wrong. Builders treat the underside as an afterthought instead of prime storage real estate. A properly engineered bench combines three functions: seating for dining or workspace, storage for gear below, and a work surface that doesn’t steal legroom. The math is brutal—a standard dinette bench wastes 60 percent of its potential volume if it’s just hollow underneath.
Build your bench frame with plywood boxes that slide or hinge outward, using full-extension drawer slides rated for RV vibration. Stack small containers inside so you access items without emptying the entire cavity. Your bench becomes a distribution hub: meal prep on top, tools and parts below, seating everywhere. The protocol is this—measure your actual gear volume first, then design the bench around that number, not around available wall space.
The Cybernetics Of Clutter Framework: Feedback Loops For Order

How Clutter Becomes Self Reinforcing

You want this section because you suspect your storage system isn’t failing due to bad design—it’s failing because you’re not seeing the mechanism that keeps making it worse. Cybernetics, the study of control systems and feedback loops, reveals exactly why. In a camper, a positive feedback loop occurs when one item out of place makes the next placement easier to justify, which invites a third, until the entire system collapses. A negative feedback loop, by contrast, stops this spiral: when every item has a designated slot and visibility of that slot is high, returning items happens automatically, preventing cascade failure.
The difference between a functional camper and a chaotic one isn’t square footage. It’s whether your storage creates friction against disorder or encourages it. Most people design storage around capacity, not around feedback. They build a big cabinet, fill it, and wonder why it becomes a graveyard. The real mechanism: without immediate visual consequence for misplacement, the system generates no corrective signal. Your brain doesn’t register “this goes elsewhere” because the current state produces no friction. Cybernetics calls this signal loss. Fix the signal, not the space.
Adjust Storage Faster Than Habits Form
Real-time adjustment means weekly, not monthly or seasonal. Your camper’s clutter doesn’t wait for your annual overhaul. Cybernetics demands constant micro-corrections to prevent system drift. Spend fifteen minutes every Friday evening opening every storage compartment, checking alignment, and moving items back to origin. This isn’t organizing—it’s calibration. You’re feeding live data back into the system while habits are still forming, not after they’ve calcified into permanent dysfunction.
This protocol works because it interrupts the positive feedback loop before momentum builds. Most people try to design a perfect system upfront, then ignore it until crisis forces a purge. That’s reactive. Instead, treat your storage like a thermostat: small adjustments prevent large swings. If you notice a bench drawer drifting into chaos, you spend three minutes fixing it that Friday, not three hours reorganizing it in six months. The mechanism is simple: frequent, small corrections cost less energy than rare, massive ones. Make adjustments before items migrate to new homes.
RV Storage And Organization Ideas: The Power Of Custom Builds
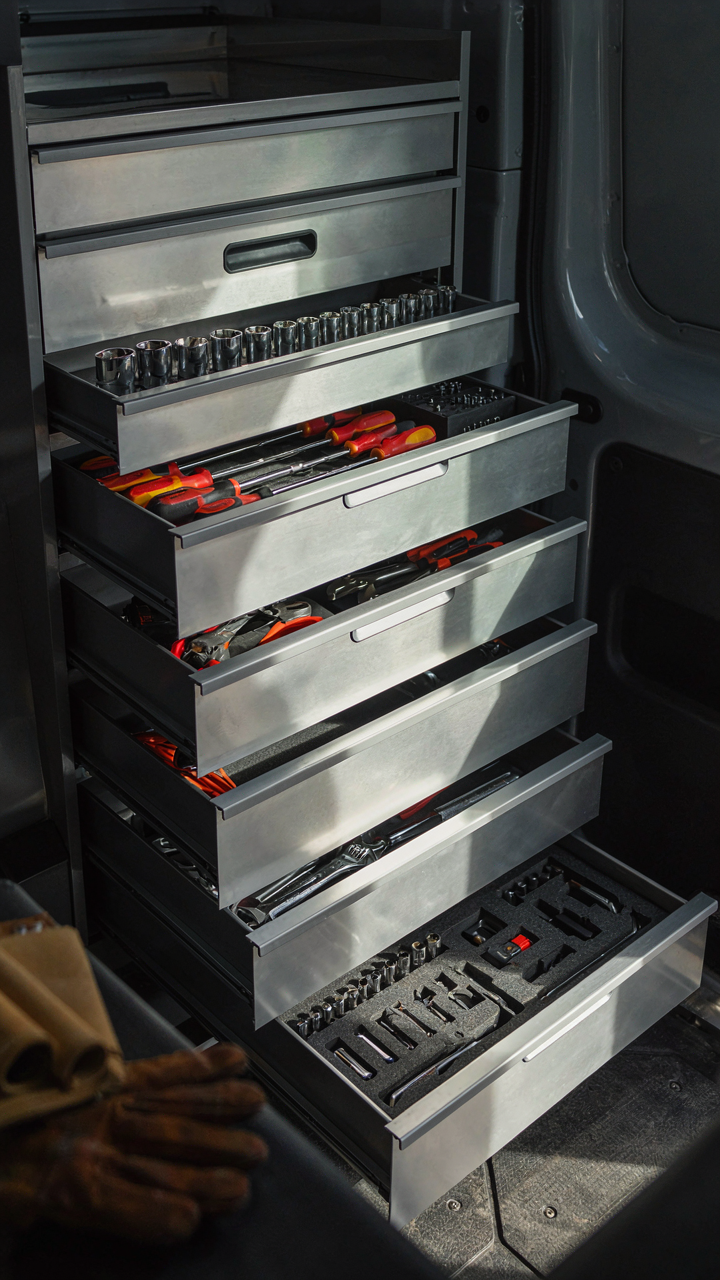
Build Storage That Matches Your Actual Gear

You want custom storage because off-the-shelf solutions make you feel like you’re wasting space. Here’s the mechanism: stock camper interiors assume an average user who doesn’t exist. Your gear is specific. Your weight distribution matters. Your access patterns are yours alone. DIY builds let you size every compartment to what you actually own, not what manufacturers guess you might own. This eliminates dead space and forces you to make conscious decisions about what travels with you.
Custom builds also expose hidden inefficiencies in how you pack. When you design a compartment for your exact fishing rod collection or tool set, you stop throwing items into generic cubbies. You eliminate redundancy. You know where everything lives. This isn’t about perfectionism. It’s about friction reduction. The less time you spend searching for gear, the more time you spend using it. Building your own storage means you control the depth, width, and access angle of every drawer and shelf.
Choose Materials That Survive Your Use Case
Industrial design borrows from systems thinking: a material succeeds when it handles the full load cycle, not just the peak load. Marine plywood handles moisture and vibration better than standard lumber because it’s built for repeated stress. But marine plywood costs more and weights more than alternatives. The real choice isn’t “best material”—it’s material that survives your specific environment without excess weight penalty.
Aluminum framing, birch plywood, and stainless hardware are the reliable trio for trailer builds because they resist corrosion, stay lightweight, and handle road vibration without degrading. Soft close hinges and ball-bearing slides add weight but eliminate the noise and wear from slamming compartments. If you’re stationary most of the time, standard plywood works fine. If you’re moving weekly, invest in better hardware and sealed joints. The mechanism is simple: failure happens at connection points and material boundaries, not in the bulk material itself.
RV Cabinet Ideas: Optimizing For Accessibility And Security

Place High Traffic Items At Eye Level And Arm’s Reach
You want to feel organized. That’s the real motive here. But the actual mechanism is ergonomic efficiency, borrowed from industrial warehouse design: reduce picking time by placing items in the “golden zone” between shoulder and hip height. In a camper, this zone shrinks because space collapses, so the penalty for poor placement compounds fast. Your daily-use items—coffee gear, cooking utensils, medications—belong where you grab them without bending, reaching overhead, or moving other items first. Everything else works backward from that constraint.
The math is simple: poor placement burns cognitive load every single trip. You open a cabinet, scan, move things aside, reset. Do that fifty times in a week and you’ve lost hours to friction. Mount your most-used cabinets between 30 and 60 inches from the floor. Keep high shelves for seasonal gear or backup supplies you access maybe quarterly. Low cabinets work for heavy items like tools or stored water containers. The goal isn’t aesthetics. It’s minimum motion to access maximum utility.
Secure Everything That Can Shift During Movement
Most people think tie-downs are optional. They’re not. When a camper brakes hard or corners, inertia doesn’t stop at your cabinet door. Unsecured cargo becomes a projectile. The damage isn’t just to your gear—it’s to the cabinet itself, seams, hinges, and walls. Prevention costs almost nothing compared to structural repair in a moving vehicle. Use friction matting, adjustable cargo nets, or spring-loaded cabinet dividers. Mount heavier items low and forward. Lighter items can go higher and back. The rule: if it can move, it will move.
Cabinet doors need positive latches, not friction catches. Magnetic catches fail when repeated vibration loosens the strike plate. Install slide bolts or compression latches on all doors. For drawers, use full-extension slides with stops that prevent complete ejection during sudden deceleration. Test your setup by driving over a rough road and listening for noise. Silence means items aren’t shifting. Any rattle signals a gap in your system. Tighten, relocate, or re-secure until movement stops completely.
The Real Limit Isn’t Your Camper’s Size, But Your Unwillingness To Make Hard Choices

Most people fail at camper storage because they refuse to decide what actually matters. You’ll never optimize space by keeping everything. Pull everything out of your camper today. Separate what you use from what you keep for emergencies. Throw away the rest. The camper that works isn’t bigger. It just holds less garbage.



