
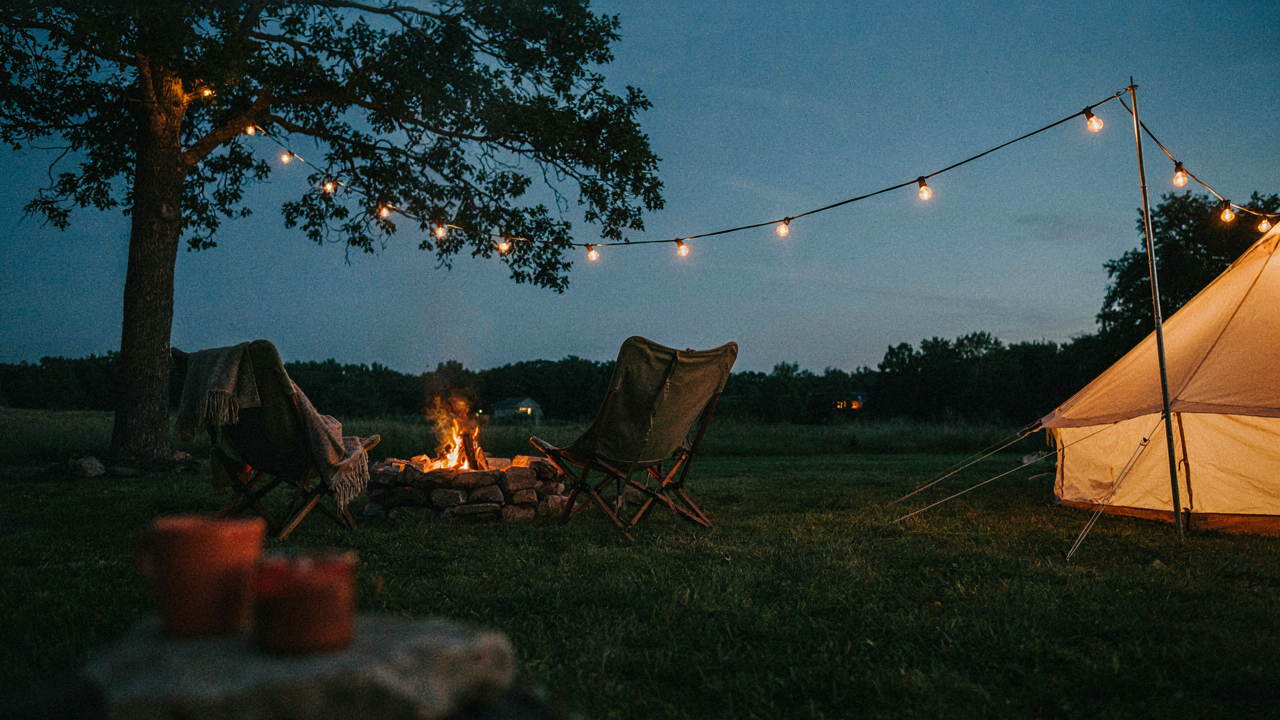
The Myth Of More Light: Why Your Backyard Campout Is Blinding You
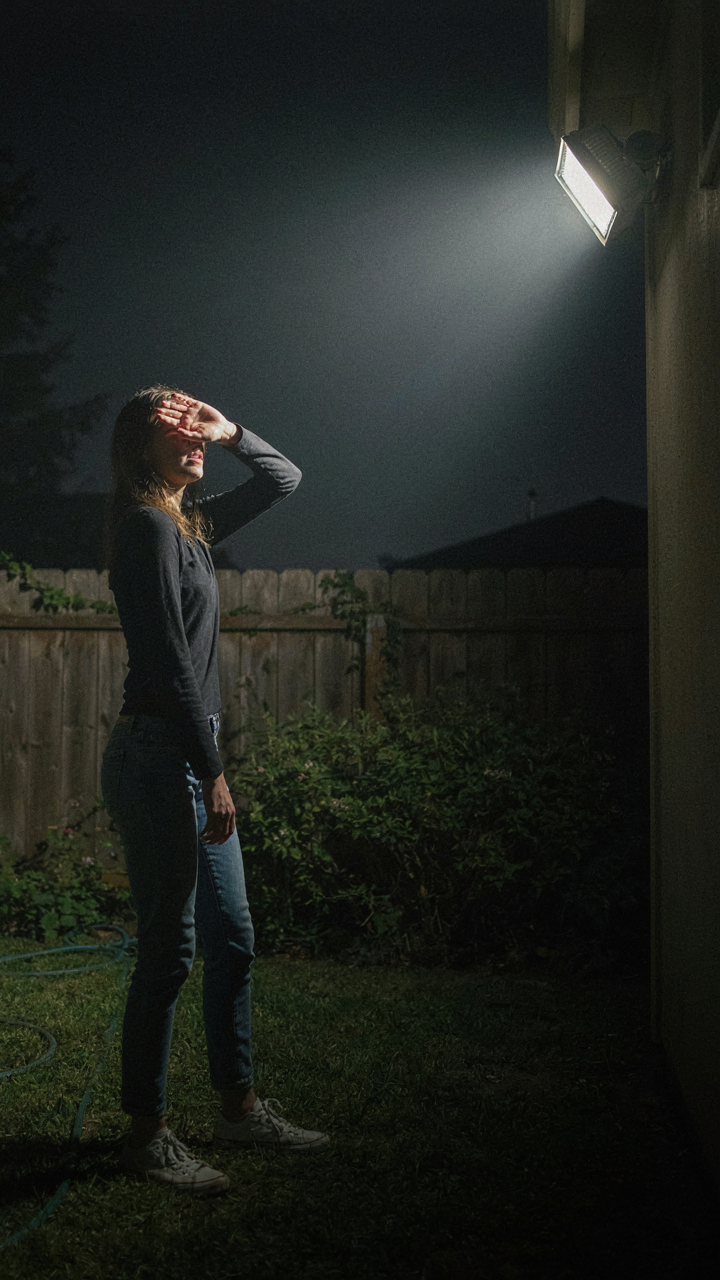
Your Brain Wants Darkness More Than Your Eyes Want Light
You think brightness equals safety and comfort. It doesn’t. Your nervous system operates on a stimulus-response loop borrowed from neurobiology: the reticular activating system filters what your brain deems worth processing. Flood your backyard with 500 lumens and you’ve triggered a state of alertness, not relaxation. Your pupils constrict, your cortisol stays elevated, and your body interprets the environment as demanding attention rather than inviting rest.
The common advice is to install the brightest light available and call it solved. That’s lazy thinking. Over-illumination creates sensory overload because humans adapted to firelight and moonlight, not stadium-grade brightness in an open space. When every corner of your yard vanishes into flat visibility, your eye has nothing to navigate toward. Contrast disappears. Mystery disappears. So does the feeling that you’re actually outside. You’ve turned your campout into a parking lot with tents.
Bright Light Erases The Reason You Came Outside
Psychologically, brightness suppresses melatonin production, which is the hormone that signals your body to wind down. You sit under a 1000-lumen lamp at 9 PM and your circadian rhythm receives a message: it’s noon. Your nervous system stays primed. Restlessness follows. You end the night feeling stimulated rather than settled, despite sitting in your own yard for hours.
The mechanism is simple: excessive light delays sleep onset by 30 to 90 minutes for most people. Your backyard campout becomes an obligation to stay alert instead of a context for genuine recovery. The fix isn’t finding the right brightness level by trial and error. Establish a lighting hierarchy before sunset. Position one low-output light source at ground level for task work, then rely on ambient moonlight or a single overhead fixture with a dimmer. Your body will recognize the permission to relax, and you’ll actually remember why you came outside.
The Shadow Play Protocol: Engineering Depth, Not Just Brightness
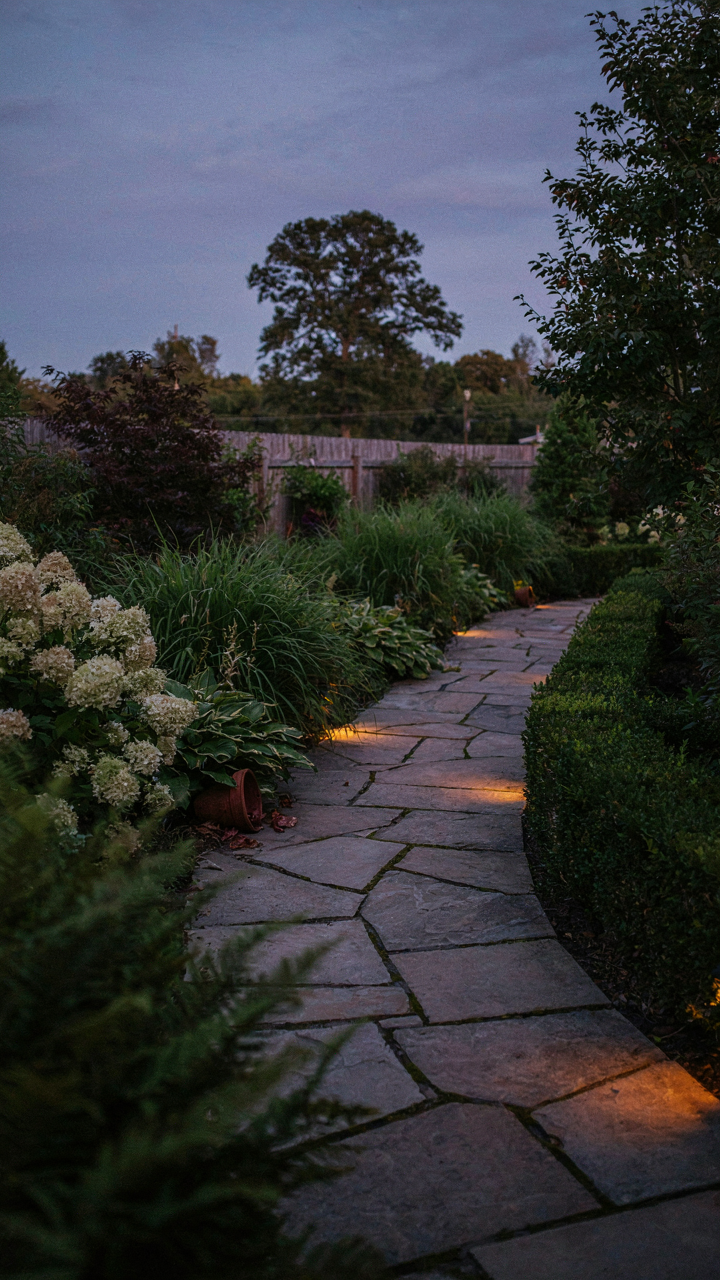
Where You Place Light Matters More Than How Bright It Is

You want this to look intentional, not like you’re just trying to see. That’s the real motive. Most people throw lights everywhere and wonder why their backyard feels like a parking lot instead of a destination. This is basic contrast design: light defines space by creating shadows, not by flooding area. The placement of a single source determines which surfaces reveal and which recede. Position matters before wattage does.
Place your primary light source low and offset from your gathering area, not centered above it. A lantern at ground level pointed toward a tree or wall creates depth by illuminating a distant plane while leaving the immediate seating area naturally shadowed. This mimics how human vision actually works in nature. The eye follows lit surfaces and interprets darkness as rest. Ambient light bouncing off that distant surface then fills the seated area with soft, indirect illumination that feels present without feeling staged.
Darkness Functions As Active Design, Not Absence
The common advice is to eliminate shadows. That’s backwards. Shadows are the load-bearing structure of any lighting design. Without them, nothing reads as intentional. Darkness creates visual contrast, controls where attention lands, and makes smaller light sources feel sufficient. A two-lantern setup in a fully dark yard produces more perceived depth than six lanterns in a half-lit space.
Use darkness strategically by leaving perimeter areas unlit. This creates a sense of boundary without fencing. A clearing of light surrounded by actual darkness feels intimate and contained. This also preserves night vision for people in your lit area, so they can navigate without tripping while maintaining the cozy effect. The ratio of lit to dark space determines perceived coziness more than total lumens.
Decoding The Luminous Landscape: An Ecological Niche For Every Glow

Where Light Actually Goes
You want your backyard to look intentional, not like you fumbled through setup in the dark. Here’s what nobody admits: most people throw lights everywhere and call it done, creating dead zones and washed-out corners. Ecology teaches us about resource distribution, and light behaves the same way. Concentrated light creates a center, ambient light fills the perimeter, and accent light draws the eye to what matters. Each serves a function. Uneven distribution kills the whole setup.
Think about brightness falloff as your primary variable. A single overhead source lights the immediate area while everything beyond fifteen feet gets dim fast. You need multiple light sources at different heights and distances to flatten that curve. Hang overhead lights high for broad coverage. Place low lights near seating to prevent harsh shadows on faces. Position accent lights at ground level pointing upward to illuminate trees or tent fabric. This layering is not decoration, it’s load distribution. Without it, you get either harsh glare or perpetual dimness.
Night Sky Versus Neighborhood Reputation
Light pollution isn’t just an environmental talking point. It’s the mechanism by which thoughtless setup kills the entire experience for everyone downwind. Most advice says “use warm bulbs” and stops there. That’s incomplete. Warm color temperature matters, but direction and spillage matter more. Light that shoots upward or sideways contributes nothing to your campout and everything to neighbor annoyance and sky degradation.
Shield every light source that isn’t aimed directly at your seating or activity area. This means using fixtures with built-in hoods or angling lights downward at forty-five degrees minimum. Battery-operated string lights with diffused covers work because the plastic naturally spreads and softens the beam. Avoid bare bulbs or uplighting unless it’s specifically designed to hit only your tent fabric or a tree canopy directly overhead. Your goal is containment: light stays on your property and doesn’t spill into adjacent yards or upward. Start with one central light and add only what you need to see your immediate surroundings clearly.
The Bonfire Party Paradox: Maximizing Impact Without Overkill
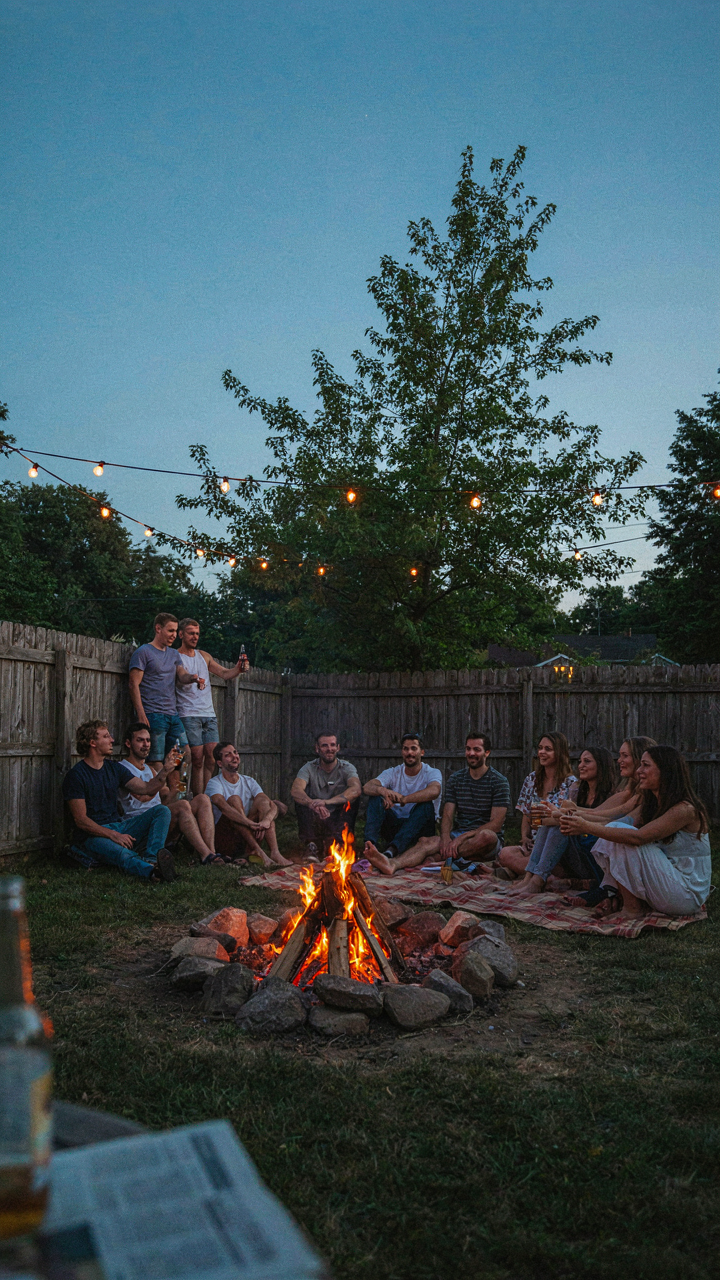
Central Fire Sets The Baseline

You want people to look at your setup and think you have it figured out, not that you panicked and bought every light Home Depot had in stock. Here’s the mechanism: a central fire functions as your anchor light source. It establishes hierarchy. Everything else either complements it or competes with it, and competition kills the effect you’re after.
A wood fire produces light through thermal radiation, the same principle that governs how stage lighting works in theater. The fire’s warmth and glow become the visual reference point your eye naturally seeks. Supplementary lights should amplify zones beyond the fire’s reach, not fight for attention at the center. This isn’t decoration strategy—it’s visual economy.
Targeted Zones Beyond The Center
Forget the generic advice about “spreading lights around evenly.” That approach wastes light and money. You need specific zones to serve specific functions: gathering spots need different light than pathways, and sitting areas need different light than access routes.
- Seating perimeter: String lights or low-output lanterns 4 to 6 feet from ground level, positioned to cast light down and inward without creating glare in seated guests’ eyes.
- Walkway markers: Solar path lights or small ground-level fixtures spaced 8 to 10 feet apart, just bright enough to define route without drawing attention from the fire.
- Food and drink station: One focused light source—pendant or stable lantern—mounted 5 to 7 feet high to illuminate surfaces without washing out the ambient warmth.
- Secondary gathering area: If you have a second seating zone away from the fire, mirror the perimeter setup at lower brightness to create visual depth without competition.
- Accent lighting: Uplighting on trees or architectural elements creates visual layers without adding floor-level clutter or casting harsh shadows on people.
The key is dimming, not adding. Lower wattage in supplementary zones keeps all lights in conversation with each other instead of shouting. Set each zone independently so guests can move between light levels without jarring transitions. This forces you to measure distances and test brightness before guests arrive—exactly what separates a working setup from an improvised one.
From Camping Aesthetic Tent To Sensory Sanctuary: Lighting For Intimacy
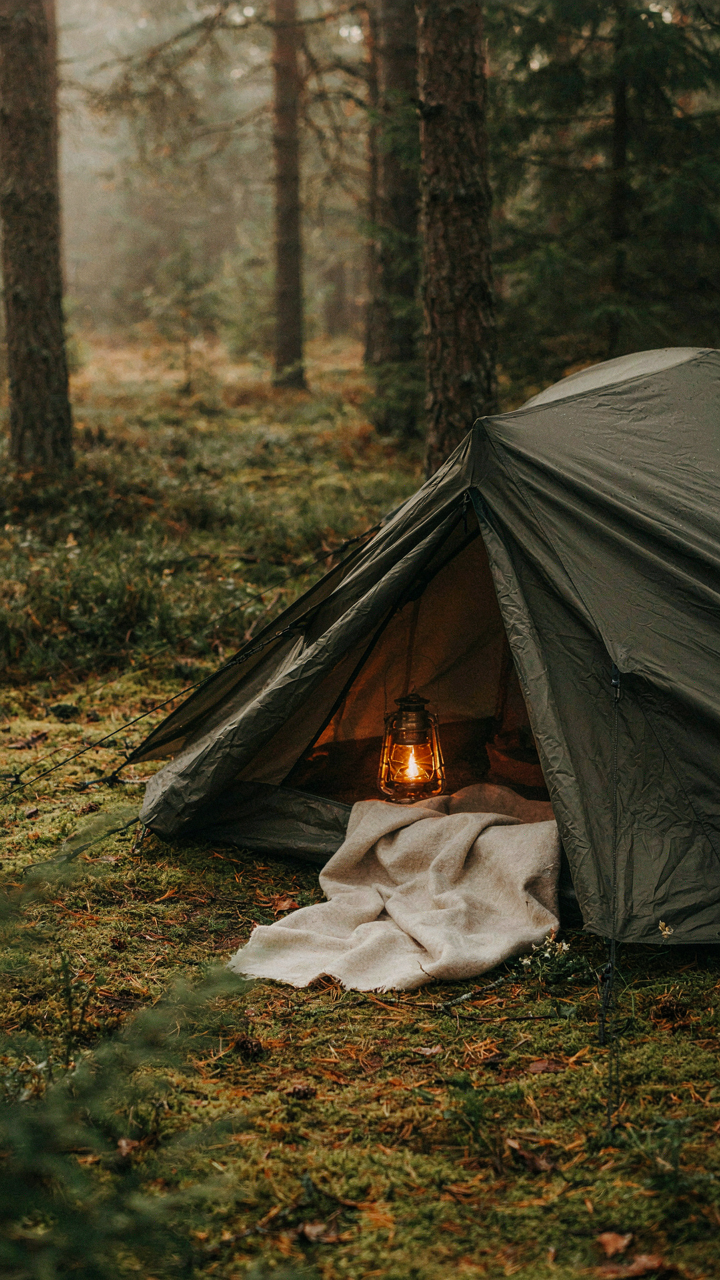
How Enclosed Spaces Change Light Behavior

You want people to feel close to you without admitting that’s the goal. The mechanism is simple: enclosed spaces trap light, concentrating its effect. This is physics. In optical terms, it’s called luminous intensity distribution—how light spreads or concentrates in a bounded area. A tent or canopy doesn’t diffuse light away into open air. It bounces it back, multiplying perceived brightness while using less actual output. A 40-lumen source in open space feels dim. The same source in a small tent feels purposeful and present.
The standard advice is to just add more lights. Wrong. More lights in an enclosed space create competing shadows and visual noise. Instead, position one primary source—a lantern or string of bulbs—at head height or slightly above it, outside the direct line of sight. This forces light to reflect off the tent fabric or ceiling before reaching eyes. The result feels ambient rather than harsh. String lights work here because their distributed points create the illusion of soft coverage without the tunnel effect of a single overhead fixture.
Controlling Glare In Private Spaces
Glare isn’t about brightness. It’s about the angle between the light source and your eye. This is contrast blindness—the eye locks onto the bright spot and loses detail everywhere else. Your guests will avoid sitting in certain spots not because they’re uncomfortable but because they can’t see faces across from them. The fix requires deliberate positioning: place your primary light source so the tent wall or fabric acts as a diffusion layer between the source and where people sit.
Practical steps are direct. First, never put a bare bulb at eye level when people are seated. Second, angle string lights at 45 degrees or higher from the ground plane. Third, use warm color temperature bulbs—2700K or lower—which scatter less and feel less aggressive to the eye than cool white. Fourth, test your setup 30 minutes before guests arrive with people actually sitting down, not standing. This reveals glare problems you’ll miss in an empty space. Position secondary lights to fill shadows, not to compete with your primary source.
The Sunset Transition: Mastering The Art Of Dusk To Dark Illumination
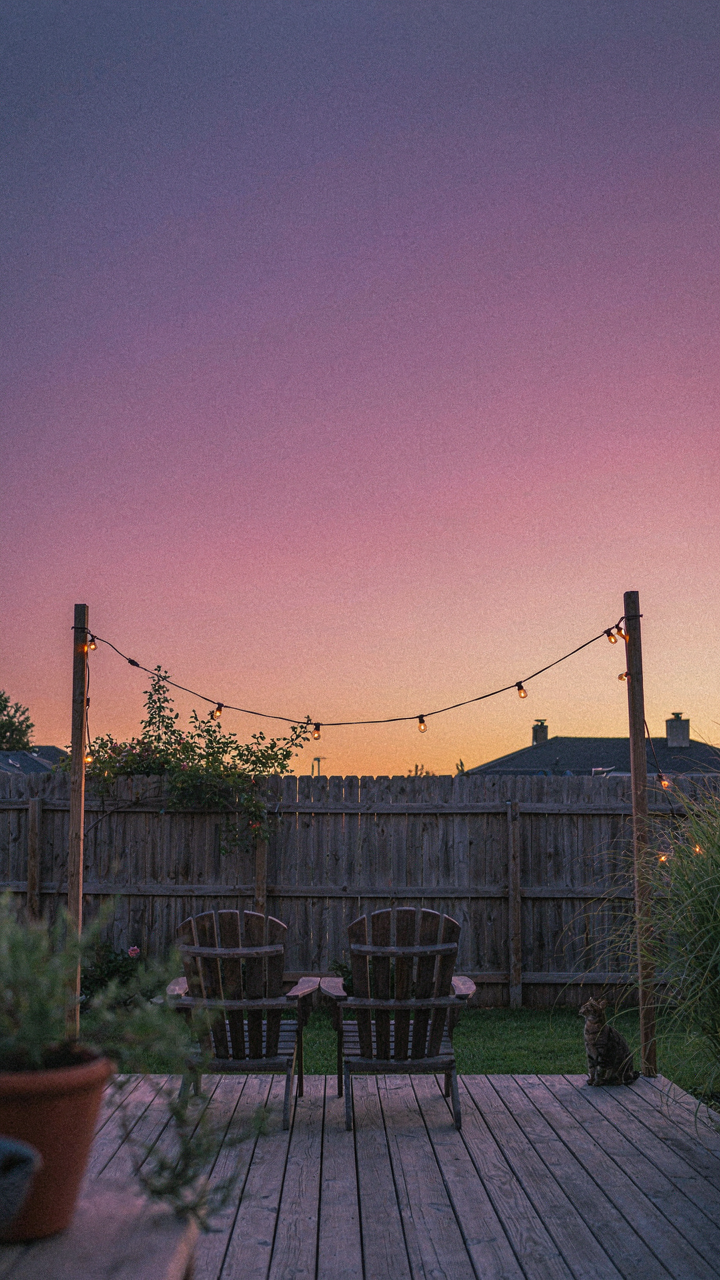
Phased Light Introduction For Artificial Illumination

You want to look like you have this handled without actually thinking about it. The mechanism is simple: your eyes need time to adjust to darkness, and jumping straight from daylight to harsh artificial light breaks that process. Think of it like audio engineering, where you use a crossfade instead of a hard cut between tracks. You introduce lighting in stages, letting each source ease in as natural light drops.
Start 20 to 30 minutes before sunset with low-output warm sources around seating areas. Lanterns at 200 to 400 lumens, string lights dimmed to their lowest setting, or battery candles create a foundation without dominating. As true dusk arrives around 15 minutes post-sunset, bring in mid-tier lights like overhead lanterns or pathway fixtures at 500 to 800 lumens. Only when full darkness hits do you turn on higher-output lighting if needed. This prevents eye strain and keeps the camp feeling natural instead of like a parking lot.
Harmonizing With Natural Light Cycles
The real tension here isn’t between light sources, it’s between human circadian biology and poor timing choices. Your body tracks the color temperature shift from warm sunset to cool twilight to full darkness. Respect that signal instead of fighting it. Use warm color temperatures (2700K or lower) throughout the transition. Cool white or blue-tinted light signals alertness and disrupts melatonin production exactly when you want people to wind down.
Timing matters more than brightness. Introduce lights as shadows grow, not before. A single warm lantern glowing at 6 PM while the sky is still bright looks wrong and wastes battery. That same lantern at 8 PM when the sun is gone creates the intended effect. Match your lighting intensity to the remaining ambient light. When the sky still holds blue, go subtle. When it’s black, you can push brighter. The goal is seamless transition, not illumination domination.
Beyond The String Lights: Unconventional Sources For Unique Ambiance
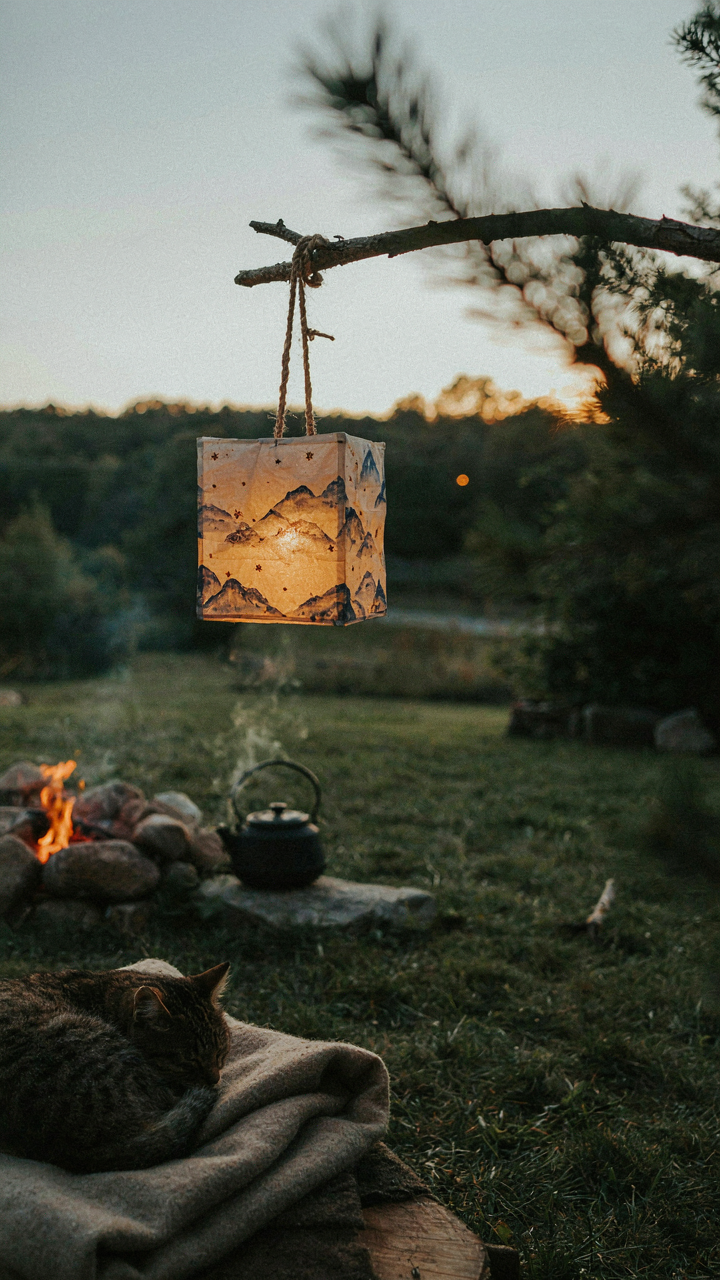
Make Your Own Light Sources
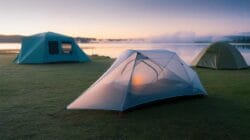
You want to look like you didn’t try too hard. That’s the real reason you’re reading this section. The mechanism is simple: handmade light sources signal intention without screaming effort. They’re also cheaper and infinitely more controllable than buying premade solutions.
The physics term is luminous intensity, which measures how much light travels in a specific direction. In backyard setups, you control intensity by choosing container material and light source placement. Glass jars amplify and diffuse evenly. Fabric stretched over frames creates soft pools. Metal screens create pattern and shadow. The container becomes your dimmer switch without buying actual dimmers.
- Mason jars with LED strips: Wrap weatherproof LED tape around the interior rim. Light bounces off glass sides and creates even glow. Costs three dollars per jar.
- Fabric-wrapped wire frames: Build simple rectangular or cubic frames from wire. Stretch white cotton or linen over them. Place a battery-powered LED inside. Diffusion happens automatically.
- Perforated metal cylinders: Roll sheet metal with hole patterns cut into it. Slip over pillar candles or battery lights. Creates constellation effect on surrounding surfaces.
- Paper bag luminarias: Fold the top of kraft bags down. Cut simple shapes into the sides. Place battery tea lights inside. Zero fire risk, weatherproof versions available.
- Copper wire with frosted bulbs: Bend wire into shapes or let it drape naturally. Attach frosted vintage-style bulbs. Frosting diffuses harsh light and reads as intentional design.
The advantage over retail string lights is direct: you adjust opacity, color temperature, and placement without compromise. You’re building a lighting system instead of installing a product. Most people skip this step because it requires thinking. That’s why it works.
Light Through Translucent Objects
The common advice says to find “natural” objects and backlight them. That’s incomplete. What matters is understanding how light behaves when it passes through different materials. Some scatter. Some glow. Some create shadows. The object itself does the work.
Glass bottles transmit light with minimal loss. Fill clear bottles with colored water and backlight them from behind with a flashlight or small solar light. The water becomes the diffuser, and color intensity depends on water depth. Frosted or textured glass spreads light wider than smooth glass. Plastic milk jugs work identically at lower cost. Thin paper and parchment glow warm but collapse in rain. Wax paper holds shape and diffuses reliably. Silk or cotton fabric stretched over a frame creates the warmest dispersal but requires daily repositioning if weather-exposed.

Positioning matters more than the object itself. Place your light source six to twelve inches behind the translucent material. Closer proximity creates harsh defined shadows. Greater distance spreads light too thin. This distance range gives you the sweet spot where diffusion reads as ambient without looking artificial. Test the exact distance by moving your light source in increments. Mark the spot once you find it. Return to that setup every time you camp.
Your Camping Vision Board Isn’t Enough: The Physics Of Perceived Warmth
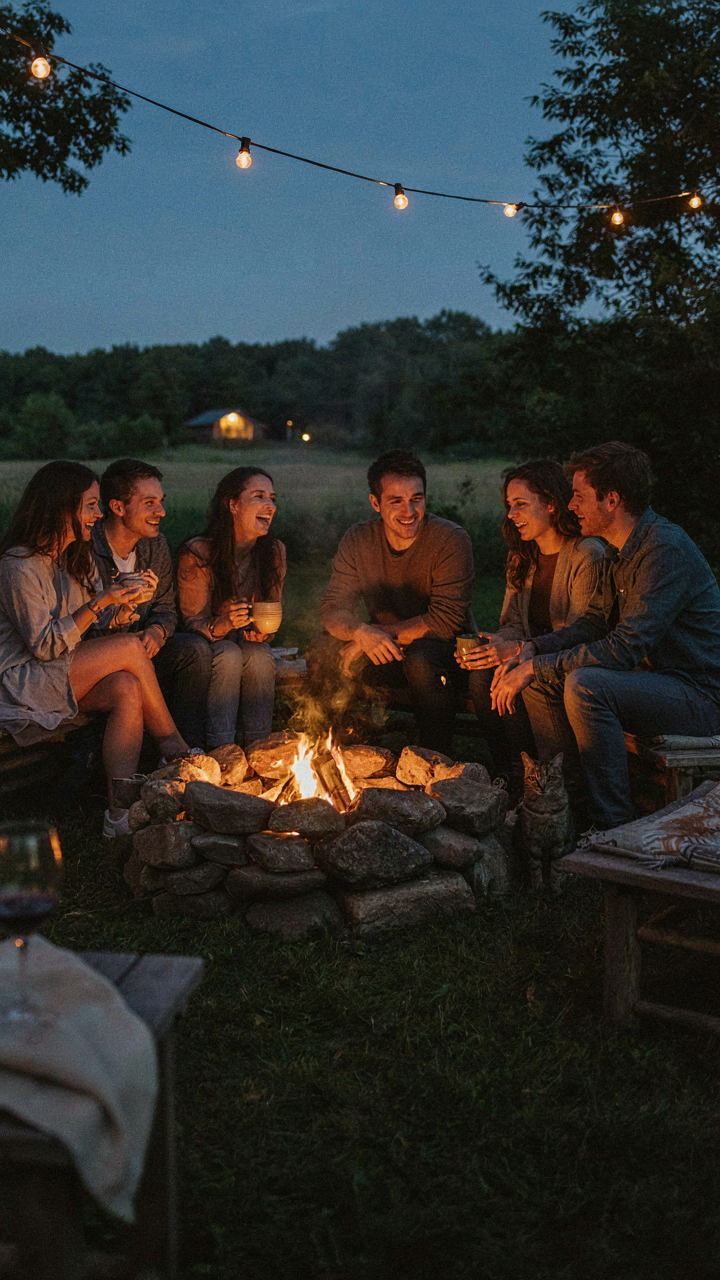
Color Temperature Controls Your Brain’s Response
You want people to feel relaxed around your fire pit because relaxation signals status. Here’s what actually happens: correlated color temperature, measured in Kelvin, is a physics term describing the wavelength composition of light. Your brain doesn’t evaluate warmth rationally. It reads the color of light and triggers hormonal responses. Warm light around 2700K mimics sunset and triggers melatonin production. Cool light above 4000K signals alertness. This isn’t preference. This is neurobiology.
Most camping guides say “use warm bulbs” and stop there. Wrong. The mechanism matters because placement amplifies the effect. A 2700K string light hanging overhead bathes everyone’s faces in warm tones, signaling safety and calm. The same 2700K bulb mounted low, near eye level, creates shadow depth that makes faces appear older and less trustworthy. Warm light perceived warmth depends on how it intersects with surfaces and your eye line.
How Surfaces Steal Or Amplify Your Light
Materials are the forgotten variable in backyard lighting. Light doesn’t exist in space. It bounces off things. A canvas canopy reflects and diffuses warm light evenly, extending the perceived glow across a wide radius. A white vinyl tent reflects nearly all light indiscriminately, creating clinical harshness. Dark wood absorbs warmth, making 2700K light feel dimmer than it actually is. Dark soil does the same.
The physics principle at work is reflectance, the percentage of light a surface bounces back. Your fire pit lighting doesn’t fail because the bulbs are weak. It fails because the surrounding materials compete with them. Place warm lights near natural reflectors: light-colored canvas, weathered wood fence lines, or even strategically positioned white blankets. This multiplies perceived illumination without adding more fixtures. The material you mount your lights on determines whether guests feel wrapped in warmth or exposed in darkness.
Your ‘Cozy Night’ Obsession Is Just A Lack Of Design Discipline
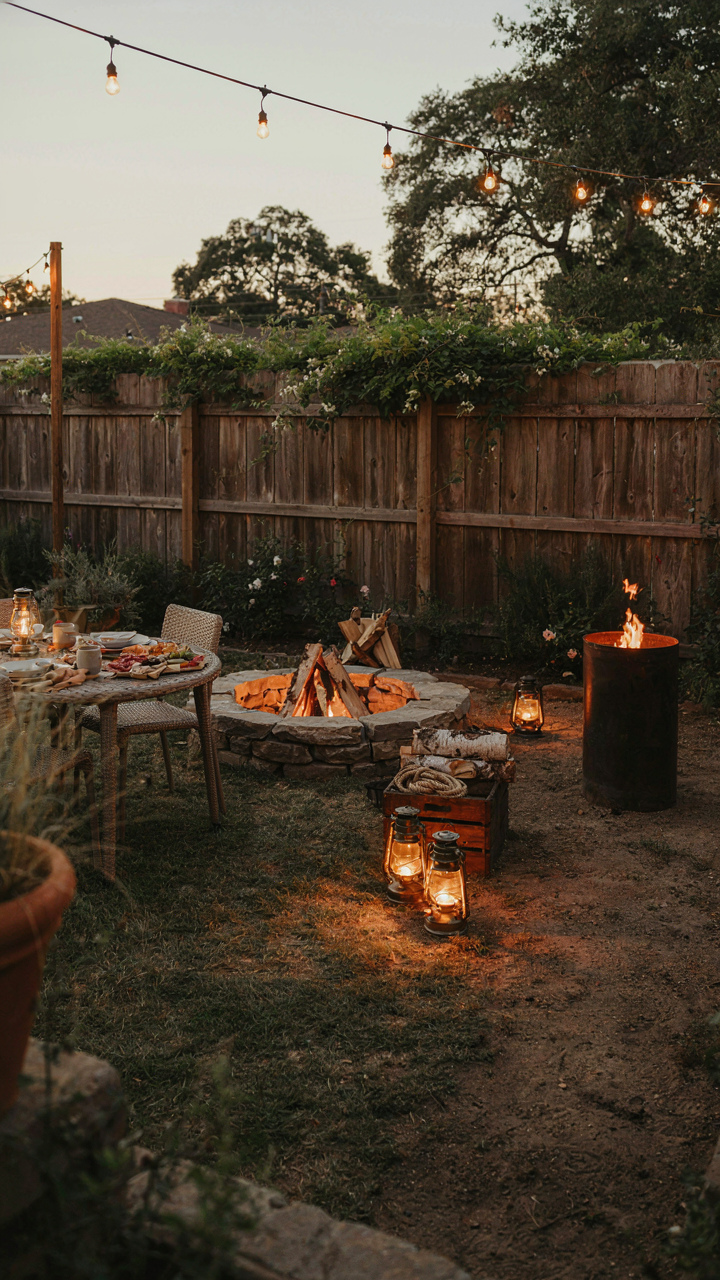
Most people throw random lights in their backyard and call it done. That’s not coziness, that’s apathy wearing a sweater. Real backyard campout lighting demands one decision: what mood serves your actual use. Walk outside right now and place a single warm light source where people naturally gather. Not everywhere. One spot. Control creates comfort, and comfort creates the night you actually want to remember.



