
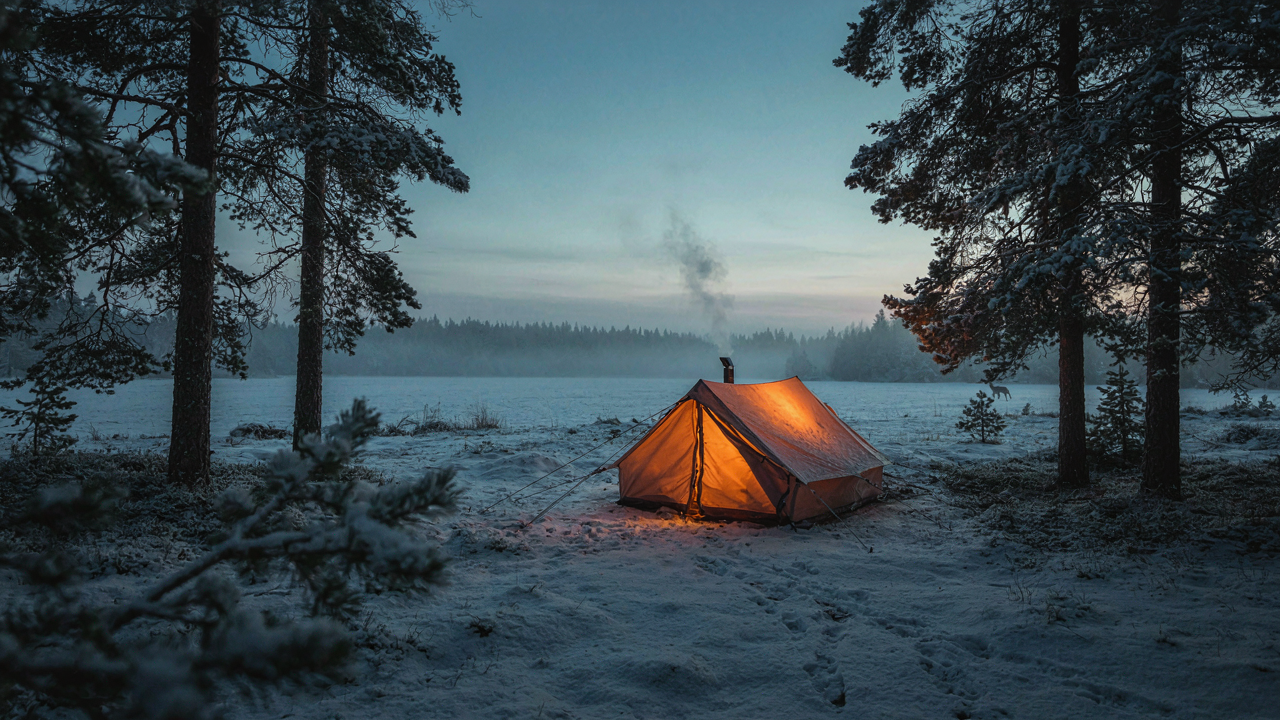
The Thermal Sink Reality: Why Your Tent Is A Heat Leaker
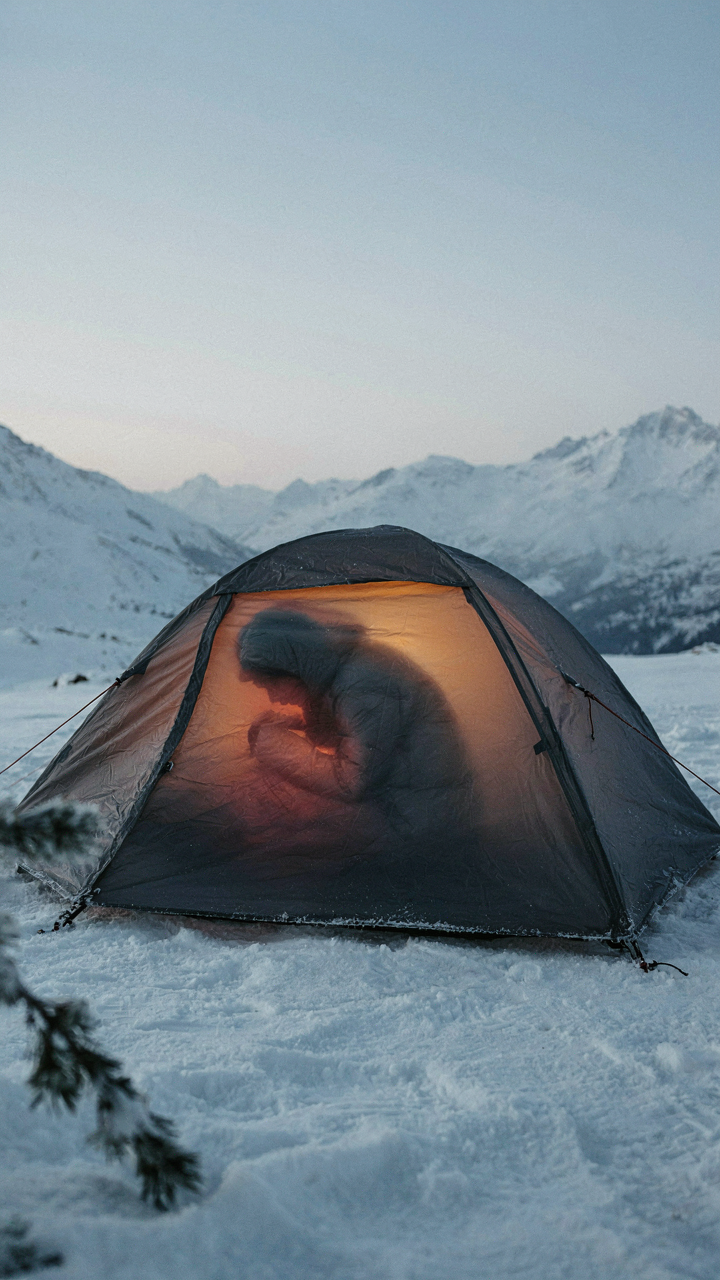
Where Heat Actually Leaves Your Tent
You want to believe your tent is a contained system. It isn’t. Your body radiates warmth in all directions, and most of it exits through the path of least resistance. The ground beneath you absorbs heat faster than any other surface because soil and grass conduct temperature away from your sleeping system at a rate your body can’t match. The tent fabric itself is thin enough to allow radiant energy to escape. The air inside your tent is also moving, creating micro-currents that strip warmth from your sleeping bag and skin. Cold penetrates from below first, then from the sides, then from above. This sequence matters because it changes which intervention saves the most heat.
The floor is where most campers lose the fight. A sleeping bag alone cannot stop ground conduction because your weight compresses the insulation beneath you, collapsing the dead air space that creates actual thermal resistance. This is why an insulating layer between you and the tent floor is non-negotiable in cold conditions. Standard foam pads work because they maintain thickness under pressure. Inflatable pads work because trapped air resists conduction. Sleeping directly on tent fabric is a guaranteed heat loss you cannot recover later.
Where Physics Meets Tent Design
Physics recognizes three heat transfer mechanisms: convection moves heat through air, conduction transfers it through solid contact, and radiation sends it across open space. In tent design, conduction dominates. Your sleeping bag sits on fabric and ground. That contact point is where your system fails in cold weather. The common advice to “add layers” misses the mechanism entirely because layers only work if they break the conduction chain. A sleeping bag with an R-value of 5 loses that performance immediately when it compresses against cold ground. A vapor barrier liner reduces radiative loss but does nothing for conduction. Sleeping bag ratings assume an insulated pad underneath them. Most people don’t read that fine print.
Convection inside the tent matters less than people think, but it still matters. Cold air that enters through ventilation gaps or the door sinks to floor level where you sleep. This is why ground-level heat loss accelerates after dark. Radiation from your body to the cold tent fabric and beyond accounts for roughly 10-15% of your total heat loss in a still, enclosed tent. Stop focusing on radiation alone. Seal conduction first, then address convection, then treat radiation as a secondary concern. Your order of operations determines whether you stay warm or wake up cold.
Site Selection As Your First Layer Of Insulation
Wind Protection And Solar Positioning

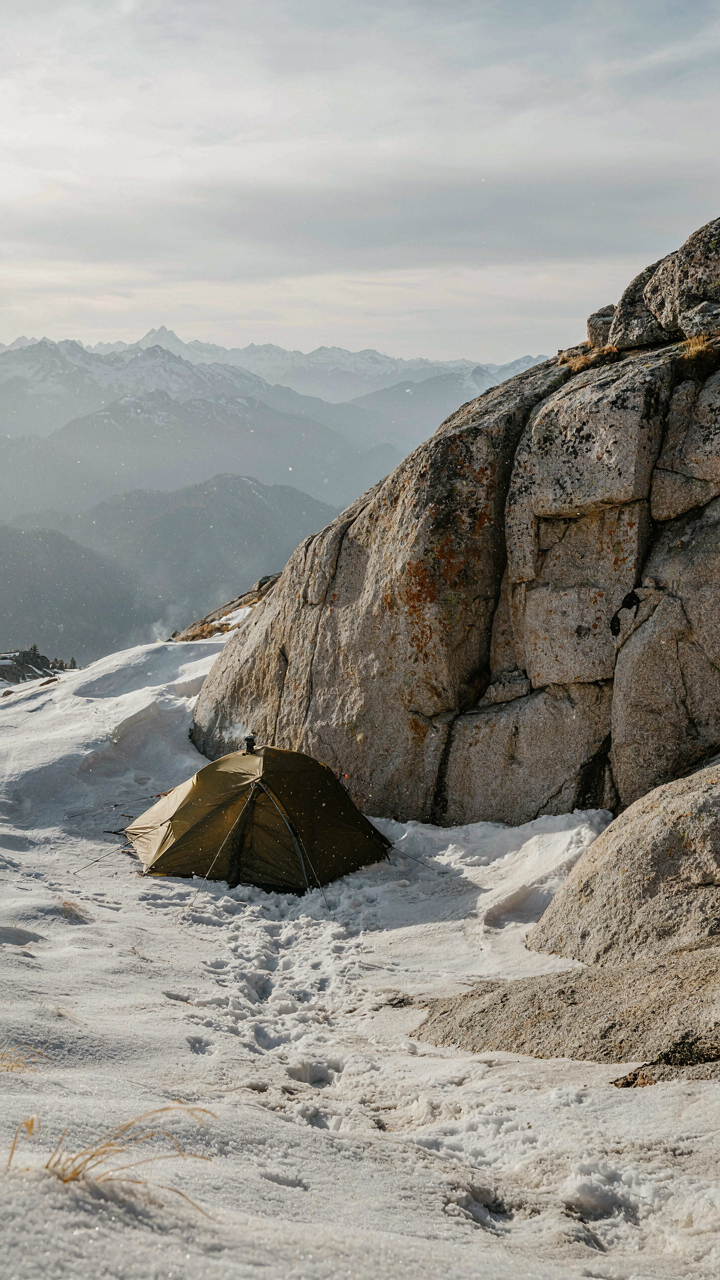
You want to believe gear matters more because gear is something you can buy and control. Wind is the actual killer. Physics calls this convective heat loss, and in cold camping it’s the mechanism that drains your body temperature faster than anything else. Position your tent on the lee side of natural barriers: dense tree lines, rock formations, or ridges. The wind speed drops exponentially in the shadow zone behind these features. South-facing slopes catch solar gain during the day and radiate less heat at night than north-facing terrain.
Scout the site during daylight if possible. Look for existing windbreaks within fifty yards of where you’ll sleep. Avoid ridge tops and open meadows regardless of how flat they seem. The trade-off is simple: move fifty yards into the trees or lose ten to fifteen degrees of effective warmth through the night. Sun exposure in the morning accelerates your tent’s interior temperature, which matters more in winter than summer camping because you need that thermal head start before you move around.
Ground Composition And Thermal Resistance
Most advice says “find soft ground for comfort.” That’s incomplete thinking. Soil conducts heat away from your tent floor at different rates depending on moisture and density. Wet ground pulls warmth faster than dry ground. Sandy soil insulates better than clay. Your sleeping pad does the real work, but the ground beneath it either helps or hurts that pad’s effectiveness.
Avoid marshy areas and recent water runoff zones. They look flat and level but they’re thermal sinks. Choose higher ground that drains well: slight rises, areas with pine needles or leaf litter already accumulated, spots where previous camps left dry patches. If the ground is frozen, that’s actually advantageous because ice doesn’t conduct heat as aggressively as wet mud. The mechanism here is simple: drier ground plus an insulated pad equals the barrier that stops ground cold from entering your sleeping system.
The Microclimate Management Protocol

Seal Every Gap Without Creating A Dead Zone
You want to stay warm without admitting that poor planning got you here. Here’s the mechanism: cold air moves like water. It finds the lowest resistance path into your tent. Physics calls this convection. In tent design, convection means cold air pools at ground level while warm air stratifies near the peak. Stop fighting it. Instead, eliminate the pathways cold air uses to enter.
The common advice says “close your vents.” Wrong. Vents exist for a reason. You seal entry points, not airflow. Seal the gap between your tent floor and walls where they don’t overlap. Use draft collars or reflective bubble wrap along the base perimeter. Seal zippers with electrical tape on the outside to block wind without jamming the mechanism. The goal is friction, not suffocation. Your tent still breathes. Cold simply takes a harder route inside.
Create Deliberate Air Circulation Patterns
Poor ventilation kills people faster than cold does. Moisture builds inside a tent without airflow. That moisture freezes to your sleeping bag and becomes your enemy. You need movement without loss. Position your sleeping bag not directly under the peak vent but offset by two feet. Cold air enters from lower vents, warms from your body heat, and rises out the peak. Hot air doesn’t stagnate against fabric. It moves with intention.
Open your peak vent slightly, even in cold weather. The amount matters more than the direction. A one-inch opening creates enough pressure differential to cycle air without dumping heat. If your tent has side vents, crack them too. The air moves in a loop: enters low, warms over your body, exits high. Never seal all vents hoping to trap heat. That traps moisture. Moisture becomes frost. Frost becomes a wet sleeping bag. Follow this cycle, and temperature stays secondary to staying dry.
Vapor Barrier Logic: Defeating The Damp Chill
Where Condensation Forms And Why It Destroys Everything
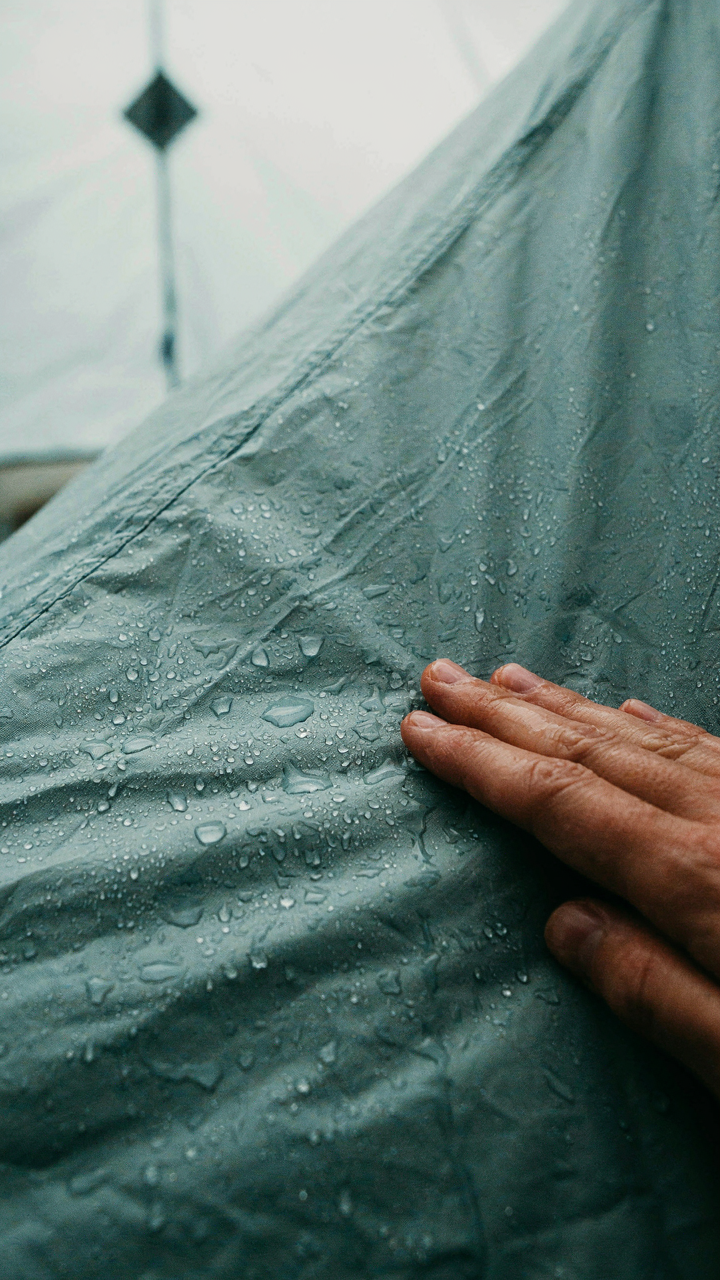
You’re worried about waking up soaked because you think “cold” is the enemy. It’s not. Humidity is. When warm air from your body hits cold tent fabric, water vapor turns liquid. That puddle on your sleeping bag doesn’t just feel bad—it kills insulation dead. Physics calls this phase transition the dew point. In tent terms, it’s the invisible mechanism that turns your cozy setup into a wet box.
The standard advice tells you to “ventilate more” or “crack a window.” Incomplete. You need to stop vapor from reaching cold surfaces in the first place. A vapor barrier sits between your warm body and the cold tent wall. It forces moisture to condense somewhere you control, not inside your sleeping system. The barrier works because it blocks the path entirely, not because air circulation magically fixes a thermodynamic problem.
Layering Strategy That Actually Stops Moisture
Don’t layer randomly. Use a vapor barrier liner inside your sleeping bag, not outside. Outside placement traps moisture between the liner and your insulation—the worst possible location. Your body radiates heat and moisture. A barrier facing outward lets that moisture pass through the first layer, then recondense against the cold outer shell. Inside placement catches the vapor before it travels, keeping your down or synthetic insulation dry.
Install a ground vapor barrier beneath your sleeping pad. The earth leaches cold and holds moisture. Without a barrier, humidity rises from soil through your pad and into the bag. Use plastic sheeting at least 4 mils thick or a dedicated groundsheet. Tape seams where they meet. This single step eliminates one of the three surfaces where condensation collides with your system. Your sleeping bag stays dry because you stopped the moisture source before it started.
Sleeping Systems: Beyond The R Value Myth
The Pad Temperature Story Nobody Tells You

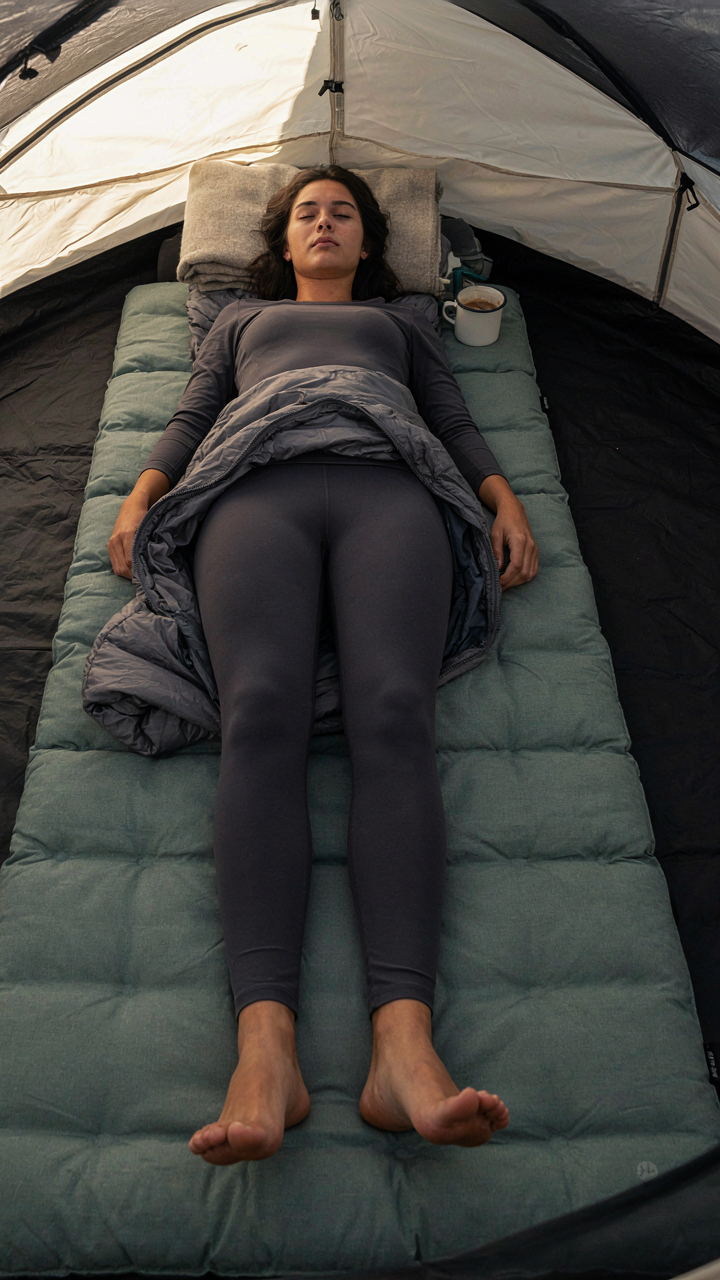
You care about R-value because it sounds scientific and measurable, which makes you feel like you’ve solved the problem. You haven’t. The real mechanism is contact—how much of your body actually touches an insulated surface versus how much heat escapes into dead air below you. A sleeping pad stops convection loss, the dominant heat drain in cold camping. Most people buy a bag rated for conditions and ignore the pad entirely, which is backwards math.
Your sleeping bag traps dead air around your body, but a cold pad underneath creates a temperature gradient that pulls heat downward through conduction. The pad’s R-value matters, yes, but only as one input. A 5.0 R-value pad paired with a 20-degree bag works differently than the same pad under a 0-degree bag. You need complementary insulation values, not isolated high numbers. The mechanism is simple: measure expected ground temperature, then choose a pad that keeps the insulation layer above freezing. Below that threshold, the system fails regardless of bag quality.
Layering For Metabolic Efficiency
Layering for sleep isn’t clothing—it’s thermal architecture. Think of it in systems terms: your body generates heat (supply), the environment draws it away (demand), and your gear manages the flow rate. A single thick sleeping bag acts like a bottleneck. Multiple thin layers let you shed or add insulation without leaving the bag, which means your core temperature stays stable and your body doesn’t waste energy compensating.
Start with a base layer that wicks moisture away from skin. Add a mid-layer for loft, then use the bag’s shell as your final barrier. This design lets cold air gaps between layers absorb initial heat loss, protecting your core. When your body temperature drops slightly, you add a layer rather than heating up from a depleted state. The specific protocol: wear dry base layer, add fleece if temperature drops below the bag’s comfort range, keep the sleeping bag’s zipper fully closed, and maintain a buffer of air space around your torso by not compressing the bag’s fill.
The “Heat Battery” Method: Stored Warmth For Cozy Camping
Warm Water Before You Sleep

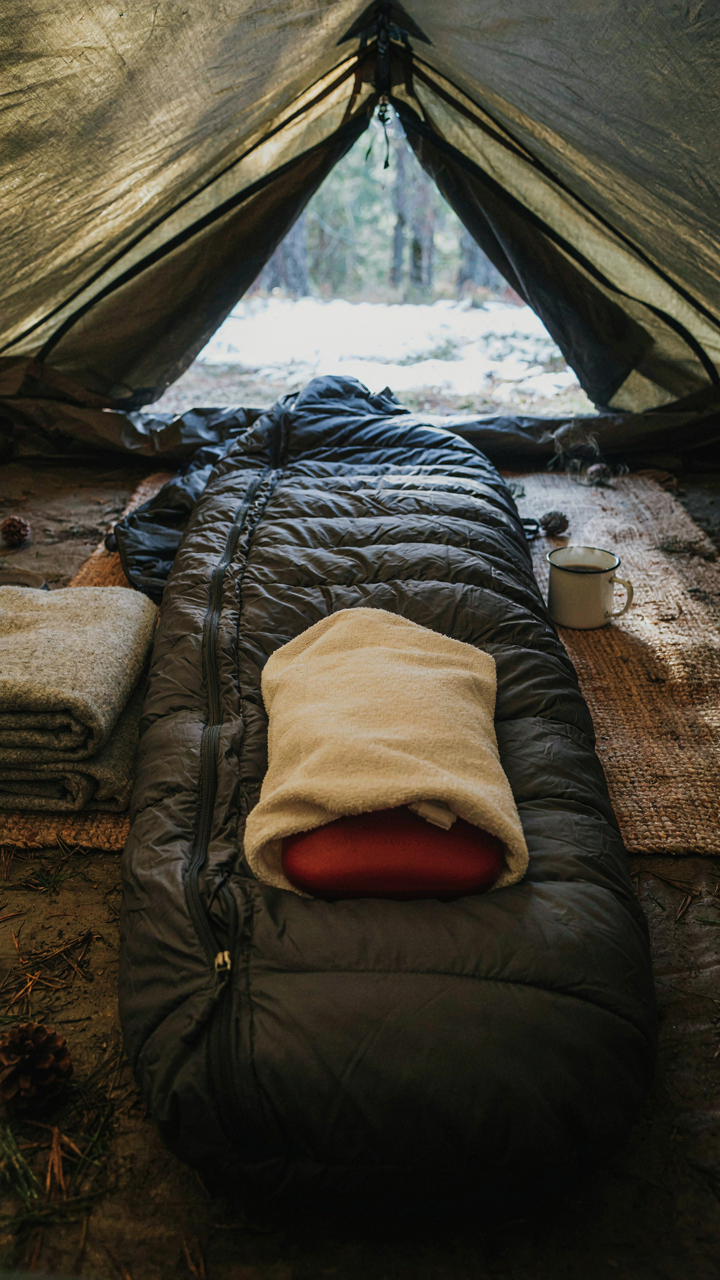
You want this section because you’re tired of waking up cold and feeling like you failed at basic survival. Here’s what actually works: heat water before bed, pour it into a container, and place it in your sleeping bag. Physics calls this thermal energy storage. Your tent doesn’t generate warmth—it traps what you give it. A one-liter bottle of 160-degree water radiates heat for four to six hours, which covers your coldest sleep cycles.
Fill metal or heat-safe plastic bottles, wrap them in a thin cloth to prevent burns, and position them at your feet or core. Don’t use glass—it breaks and defeats the purpose. Boil water on your camp stove thirty minutes before sleep, not right before. This timing matters because you need the bottle warm enough to work through the night but not so hot it consumes your attention in the sleeping bag.
Thermal Mass Shifts The Equation
Thermal mass is the physics term for an object’s ability to absorb and release heat. In tent strategy, you’re using inert objects to store and distribute warmth instead of relying solely on body heat or insulation. Rocks, sand, or water hold temperature longer than air. Most campers ignore this because it sounds complicated. It’s not—it’s just placing heat-retaining materials strategically around your sleeping zone.
Heat a smooth river rock or brick on your stove for twenty minutes, wrap it in fabric, and keep it near your sleeping bag. Sand works too: fill a cloth bag, warm it, and position it against your tent wall or under your sleeping pad. These materials release heat slowly and steadily, creating a microclimate. The mechanism is simple: warm object, insulation layer, proximity to your body. That’s the entire system.
Tent Set Up Optimization: Your Thermal Envelope
Anchor Points That Actually Hold
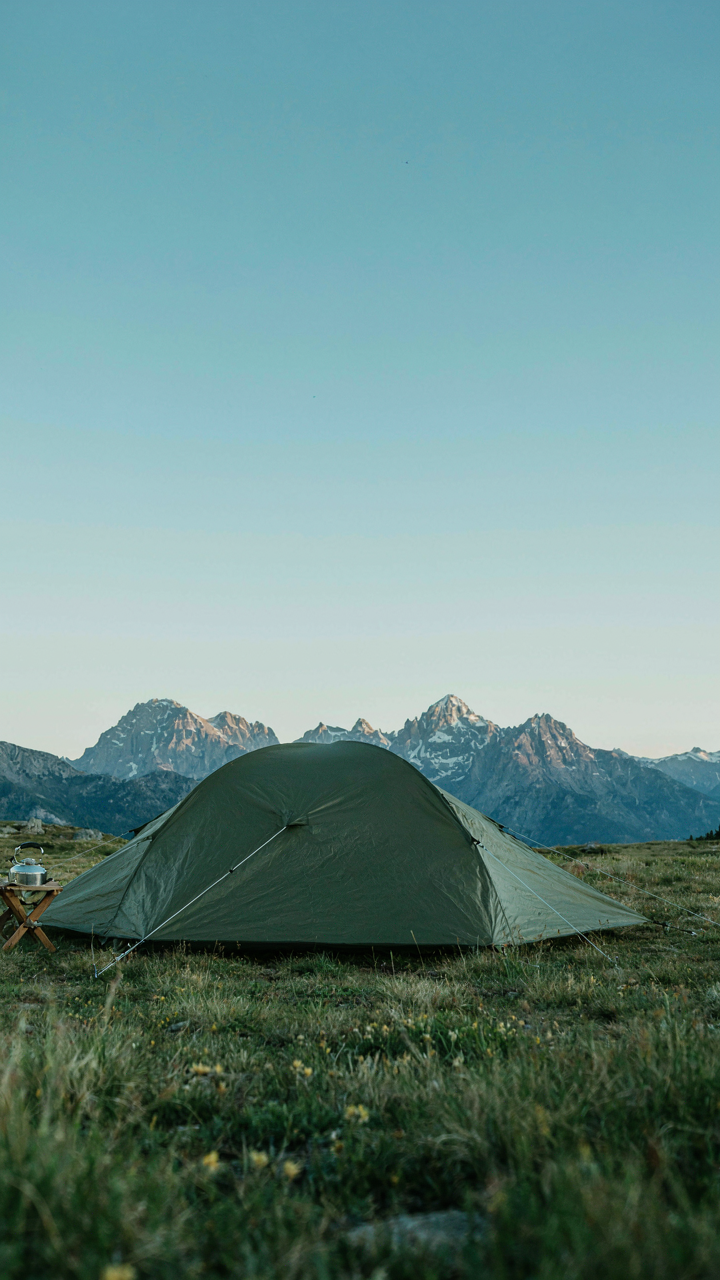
You want your tent to feel secure because a loose tent feels cold, even when it isn’t. That’s psychology masquerading as physics. The real mechanism is wind load distribution: tension in guylines transfers force away from fabric seams and into the ground, which prevents flapping that bleeds heat through movement and gaps.
Proper guyline tension starts with stake angle, not stake depth. Drive stakes at 45 degrees away from the tent, not perpendicular to the ground. Adjust line tension so the tent fabric sits taut but not stretched, then walk around the perimeter and verify each guy feels equally firm. Uneven tension creates micro-gaps where cold air enters.
Vestibule Strategy For Heat Trapping
The vestibule is an airlock, borrowed from military thermal engineering: a buffer zone that disrupts convection. Most people treat it like storage. It’s not. It’s a thermal barrier you control by managing airflow and moisture.
Pack your vestibule deliberately. Wet gear goes here, not inside the tent. Cooking equipment stays here. Stack items to minimize air gaps between the vestibule wall and your gear, creating a dead air space that insulates the tent’s inner wall. Before sleep, brush snow off the vestibule roof so meltwater doesn’t drip inward during temperature swings. Vestibule management determines whether your tent stays dry or becomes a freezer with condensation.
DIY Warmth Hacks: Resourceful Heat Generation
Safe DIY Heating Solutions

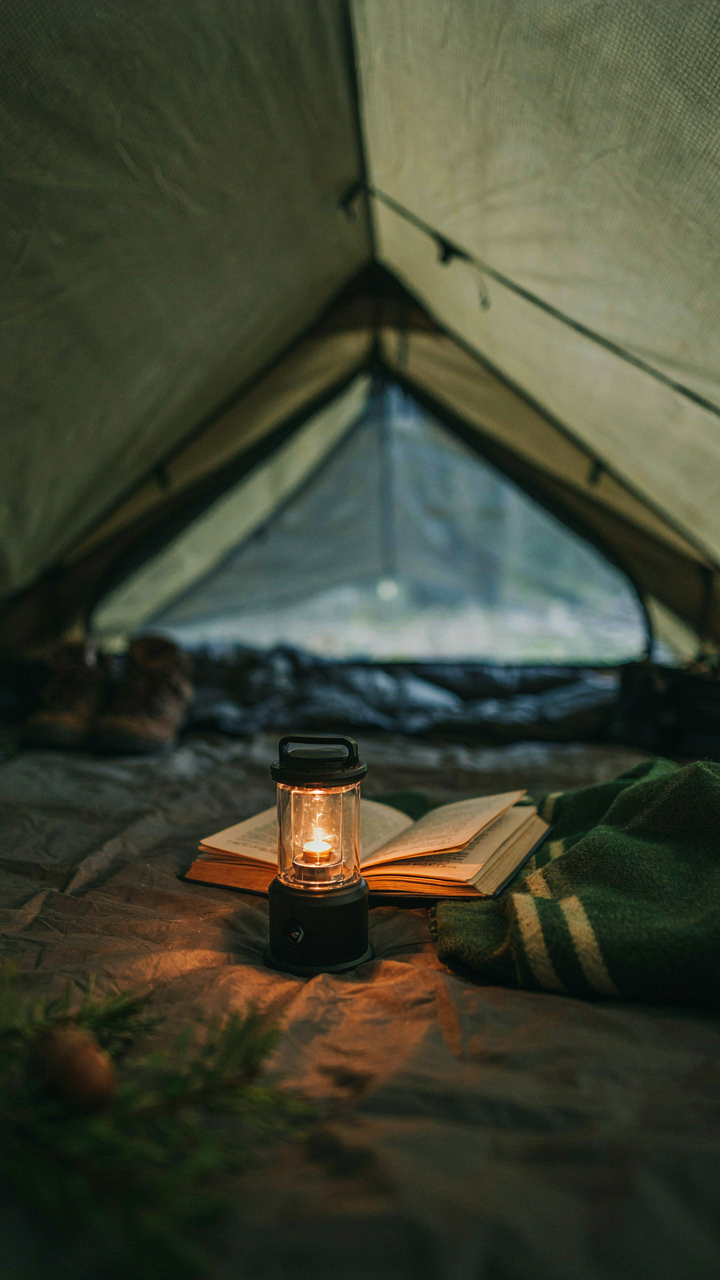
You want to feel like you solved the problem yourself instead of buying gear. Here’s the mechanism: external heat sources work in cold tents only when they don’t consume oxygen faster than your shelter can replace it, and when they don’t create condensation that turns your sleeping bag into a wet liability. Thermodynamics doesn’t care about your intentions.
A hot water bottle filled before bed and placed near your core generates steady radiant heat for hours without flame risk or carbon monoxide buildup. The water retains temperature because it has high specific heat capacity, meaning it takes a long time to cool down. Fill it with boiling water, wrap it in fabric so it doesn’t touch skin directly, and place it inside your sleeping bag or between layers of insulation. Never use actual heating devices like camp stoves inside an enclosed tent, full stop.
Maximize Body Heat
Most people think body heat is wasted energy in cold conditions. It isn’t wasted, it’s just poorly captured. The mechanism is thermal resistance: your body generates heat constantly, but that heat escapes through air gaps and conduction to cold surfaces. Eliminate the gaps.
Sleep fully clothed in layers that trap dead air. Wear a hat because your head radiates heat at a rate disproportionate to its mass. Share the tent with another person if possible, as two sleeping bags in close proximity create a microclimate warmer than one. If you’re alone, position your sleeping bag to minimize surface area contact with the tent floor by using an insulated pad underneath. The pad breaks the conduction chain between your body heat and the cold ground, which is where most heat loss actually occurs.
Inside Tent Aesthetics: The Illusion Of Warmth
Light Creates The Feeling Before Heat Does
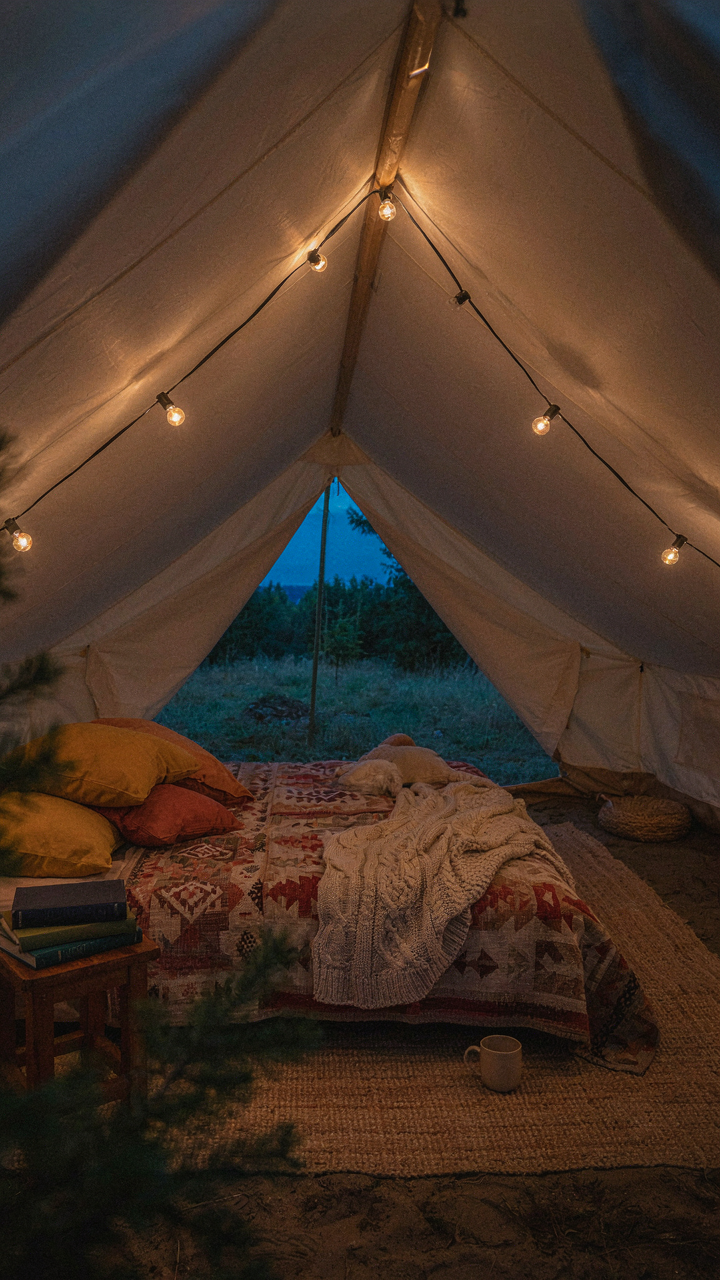
You want people to think your tent is warm because you’re afraid a cold tent looks like a failed trip. Here’s the mechanism: your brain processes light temperature before it processes actual air temperature. Cool light (5000K+) signals alertness and exposure. Warm light (2700K or lower) signals safety and enclosure. A cold tent with warm light feels warmer than a warm tent with clinical light.
Lanterns placed low and diffused beat headlamps or bright point sources. Position a single warm-toned light source near ground level to cast upward, which mimics firelight and activates the neurological pathways tied to shelter. Battery-powered lanterns with color temperature below 3000K work. Avoid shining light directly at tent walls, which flattens space and makes interiors feel larger and colder. The goal is shadow and gradient, not uniform brightness.
Fabric Layers Control Thermal Perception
Most camping advice says “bring a sleeping bag” and stops. That’s incomplete. Thermal comfort lives in texture contrast and layering density, not single insulation values. Psychology borrows from thermodynamics here: perceived warmth scales with how many air-trapping surfaces surround you, not just R-value.
Use fleece blankets over your sleeping bag, wool socks, and a canvas or heavy cotton sleeping bag liner. Hang lightweight thermal fabric from tent poles to create an inner shell that traps dead air without reducing headroom. Wool retains warmth when damp, unlike synthetics. Cotton absorbs moisture but feels warmer initially. The combination creates a microclimate that reads as cozy because your body encounters multiple insulating boundaries instead of one thick layer.
Gear Selection: What To Actually Prioritize
The Non Negotiables For Winter
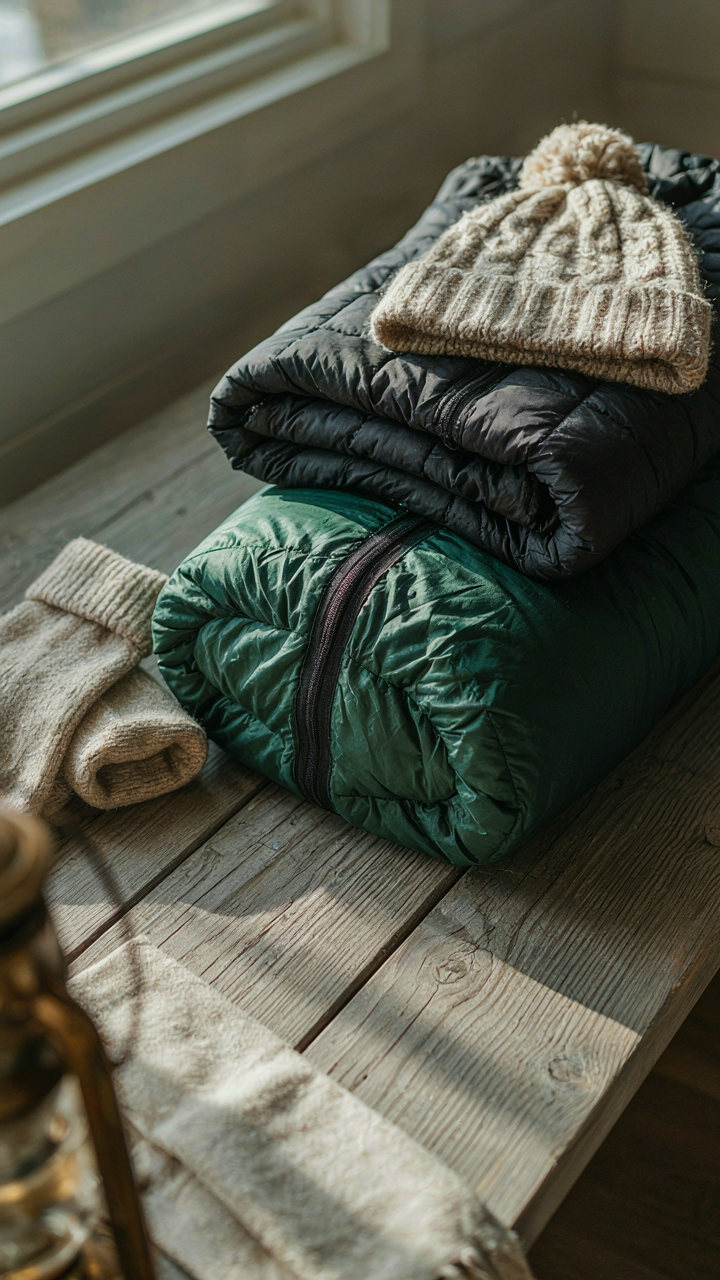
You want the list because you think it proves you’re prepared. That’s not the mechanism. The mechanism is heat retention, and it follows thermodynamic law: you lose warmth through conduction, convection, and radiation. Cold air finds every gap. Your job isn’t to buy more stuff. Your job is to eliminate pathways for heat escape. That changes what you actually need.
- Insulated sleeping pad: Blocks ground conduction, which kills more campers than air temperature alone. R-value above 5 for serious cold. Foam or inflatable both work. Combine both for maximum efficiency.
- Four-season tent or footprint with sealed seams: Traps dead air. Single-wall tents trap moisture. Double-wall design separates you from exterior cold and condensation. Sealed seams stop wind infiltration at joints.
- Sleeping bag rated for actual temperature, not marketing temperature: Most bags exaggerate warmth. Buy for ten degrees below your lowest expected temp. Down loses insulation when wet. Synthetic wins in damp environments.
- Wool or synthetic base layers: Cotton holds moisture and drops warmth fast. Wool retains heat when damp. Synthetic wicks and dries quicker. Both outperform cotton in every cold weather scenario.
- Hot water bottle or insulated water container: Adds passive heat inside the sleeping bag without adding weight. Place between layers near your core. Refill from camp stove. One liter adds measurable temperature gain.
The list above stops most cold exposure deaths. Everything else is optimization. Ventilation control matters more than gear count. You crack a vent to prevent condensation buildup that turns your insulation worthless. You seal it when temperature drops and moisture risk drops. This single protocol keeps your core systems functional.
Cut The Padding That Costs You Heat
Most cold weather gear advice is bloated. Influencers sell layering kits with eight pieces when four work. More items mean more air gaps. More air gaps mean more convection loss. Your goal is compression of dead air, not accumulation of clothing. Strip down to what holds heat and moves moisture out.
Bulky insulated jackets inside a tent waste space and trap body heat inefficiently compared to a quality sleeping bag rated for your conditions. A sleeping system engineered for cold beats random layers. Sleeping pads matter more than tent insulation. The ground steals heat faster than air. Bring one high-quality pad instead of multiple thin ones. Weight stays low. Heat retention goes up. That’s the trade you’re actually making.
Your Real Problem Isn’t The Cold; It’s Your Passive Approach To Environmental Control
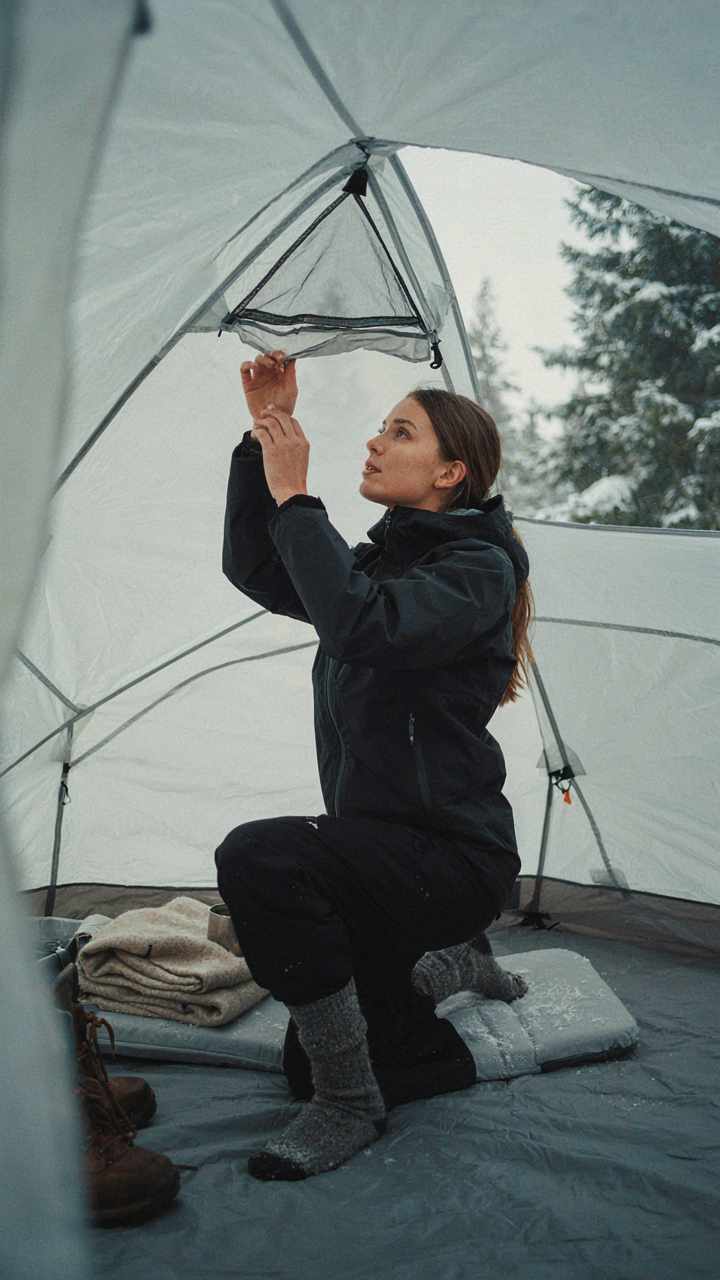
Most people freeze in tents because they treat cold camping like something that happens to them. They don’t. You control your microclimate the moment you stop reacting and start designing. Pick one upgrade today: a quality sleeping pad, a thermal liner, or strategic ventilation. Stop waiting for perfect conditions. Your body heat, your insulation choices, your tent setup—these are decisions, not luck. The cold only wins when you let it.



