
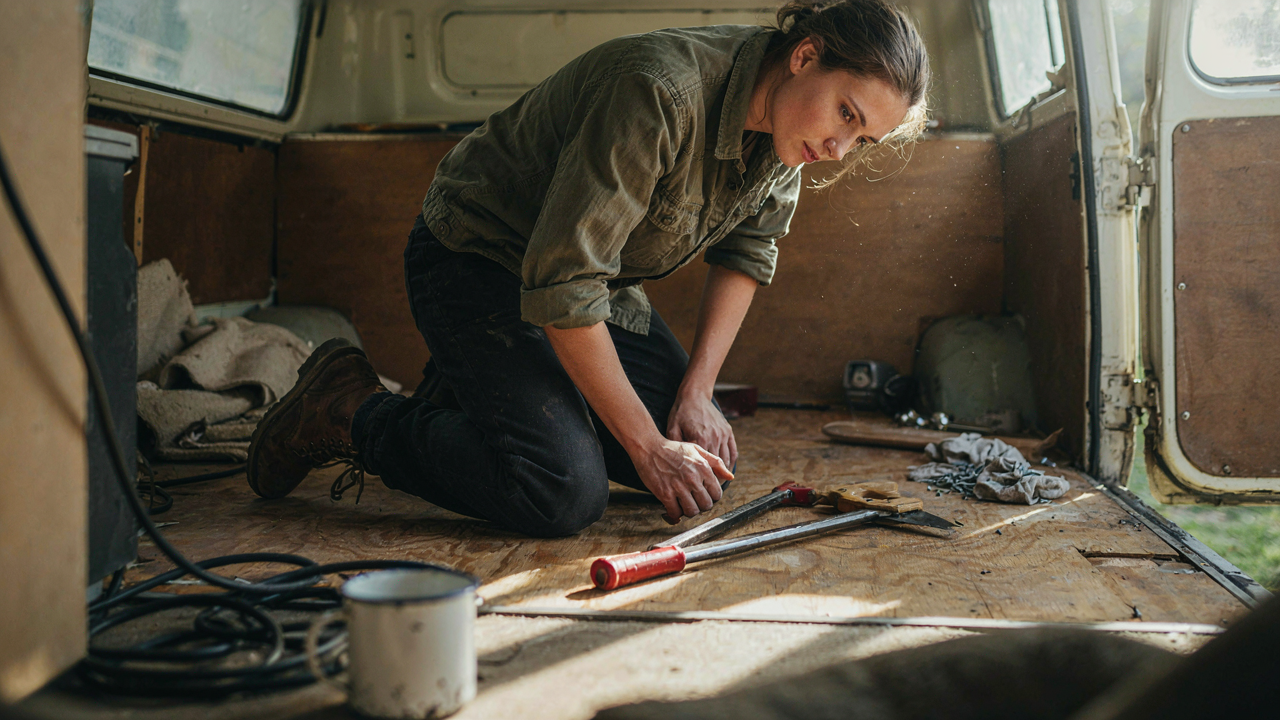
The Myth Of “Minor” Water Damage: Stop Kidding Yourself
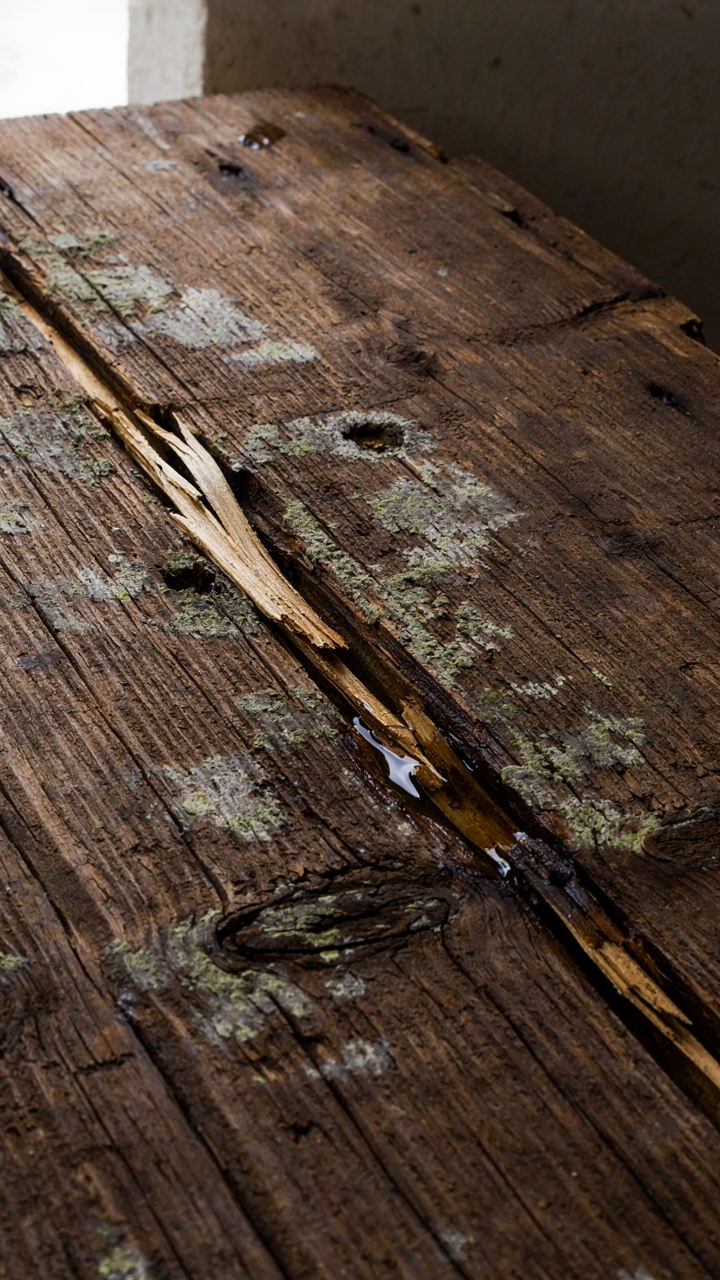
Water Always Finds The Path Of Least Resistance
You want to believe the damage is contained because admitting otherwise means your camper project just got exponentially harder. The mechanism is simple: water follows gravity and pressure differentials, not your preferred boundaries. It enters through one visible hole and travels laterally through the subfloor cavity, the wall cavities, and between the floor decking and the structural frame before you ever see it pooling in one spot.
Most RV floors use particle board or plywood over wooden joists with minimal sealing between layers. Water wicks upward through capillary action in wood, then spreads horizontally across the entire underside of the floor structure before saturation becomes visible topside. By the time you notice soft spots or discoloration, the damage extends far beyond the entry point. You cannot see this spread happening because it occurs in the void spaces you cannot access without removing sections of flooring.
Ignoring The Source Means Rebuilding Everything
The common advice says patch the leak and monitor the area. That is incomplete. A patched leak without source elimination simply buys you six months before the rot accelerates behind your repair. The structural failure mechanism is decay, which progresses exponentially once wood moisture content exceeds 20 percent.
If water continues entering through the original source, it rehydrates the damaged wood repeatedly, preventing any drying cycle that might slow decomposition. Joists lose load-bearing capacity as decay spreads, then floor flex increases, which cracks the patch, which lets more water in. You end up replacing the entire floor system instead of the isolated section. Locate and seal the source before cutting out any damaged material. Spray the underside with a moisture meter to map the true damage zone. This determines whether you are replacing one section or the entire floor structure.
Patching Is A Scammer’s Game: Expose The Rot
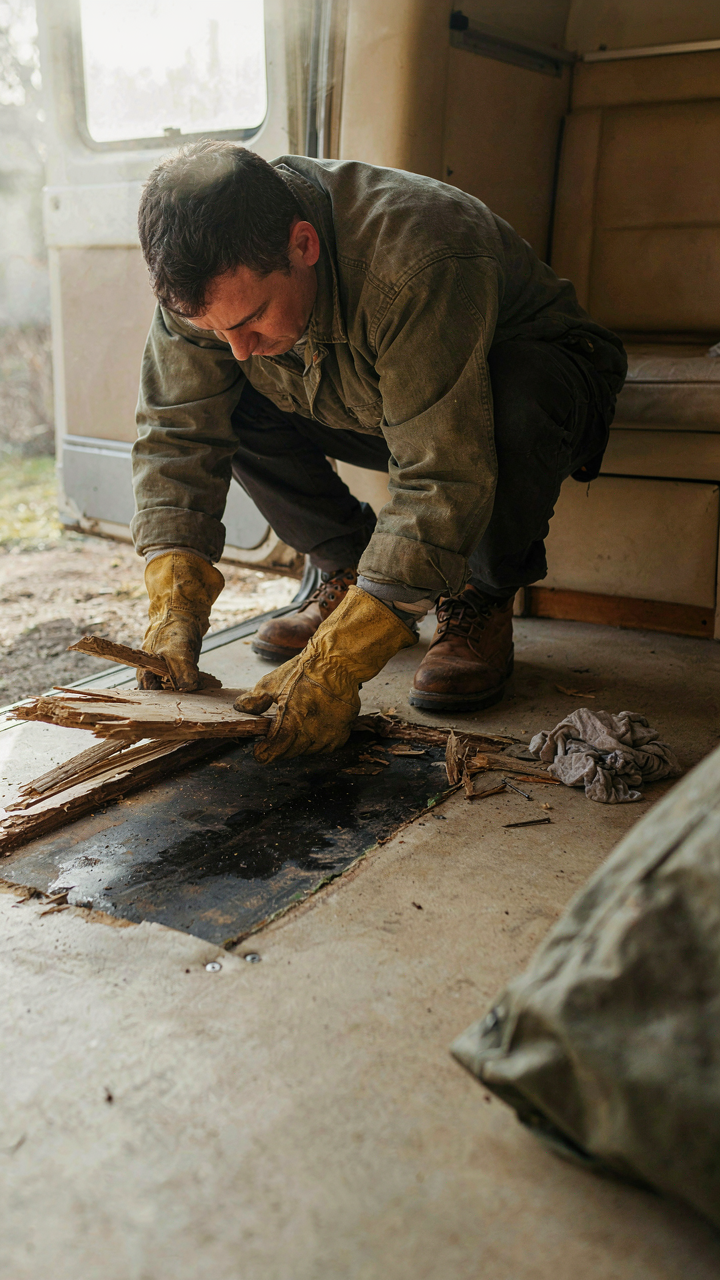
Why Patches Fail Faster Than You Think

You want to believe a localized fix will hold. You don’t want to tear into the whole floor. That’s the denial talking, and it costs you thousands. Rot in RV subfloors works like infection in biology: the visible damage is always downstream from the source. What you see is the symptom. What you don’t see is already spreading in the cavities, joists, and understructure where moisture trapped under a patch accelerates decay exponentially.
Camper floors sit directly above tanks, waste systems, and constant moisture exposure. Fiberglass and plywood composite subfloors absorb water at the edges and delaminate from the inside out. A patch seals the top surface while the subsurface continues rotting. Three months later, you press down three feet away and the floor compresses like a sponge. The patch didn’t fail. It hid the real problem while you ignored the foundation collapsing beneath it.
Strip It Down, Know What You’re Fixing
Actual repair demands you rip out the compromised section completely, not because it’s dramatic but because hidden rot determines whether your replacement lasts five years or five months. Pull the vinyl. Remove the particle board underlayment. Photograph the subfloor joists in daylight. Press a screwdriver perpendicular into each joist. If it sinks more than a quarter inch, that wood is compromised and must be replaced or reinforced before you lay new flooring.
The protocol is non-negotiable: identify every affected joist, determine the span of replacement needed, source matching materials, install proper ventilation barriers, and only then install new flooring. Shortcuts at the joist level guarantee future failure. Build the floor right the first time because tearing into it a second time costs you money, time, and the structural integrity of the entire camper.
The Subfloor Revelation: What You’re Actually Replacing
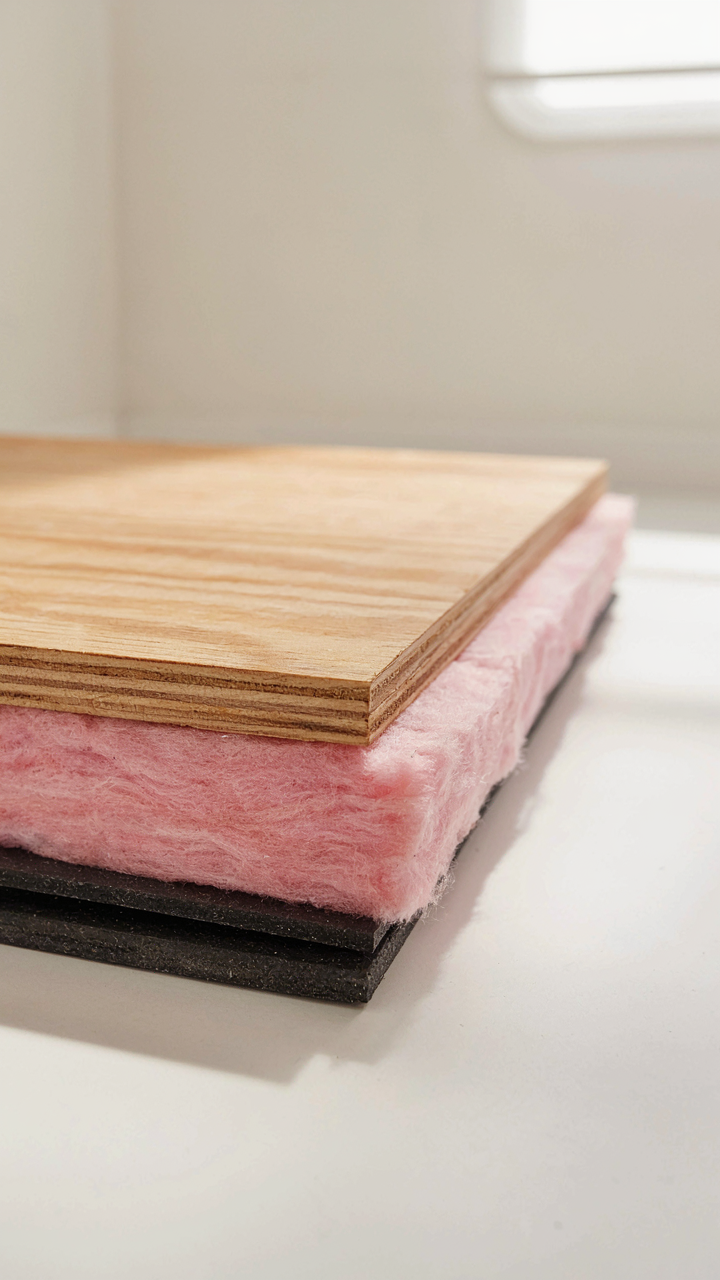
Where The Weight Actually Goes

You want to replace your camper floor because you’re terrified you’ll miss something structural and wake up to a collapse. That fear is justified, but it’s also why most people waste money replacing good material. The real load-bearing system in a camper isn’t one thing—it’s a distributed network. Think of it like structural engineering’s “load path” concept: weight doesn’t teleport to the frame. It transfers through layers. Your floor carries weight to the sidewalls and chassis frame through the subfloor structure, which typically consists of plywood sandwiched between stringers or floor joists, then to the perimeter rails.
Most campers use either aluminum or wood stringers running lengthwise under the plywood, spaced twelve to sixteen inches apart. These stringers carry ninety percent of the structural load. The plywood itself distributes point loads across this grid. If you replace only the plywood and leave compromised stringers, you’ve solved nothing—you’ve just reset the timer on failure. Strip back and identify which components actually bear weight before you cut anything.
What Rot Actually Hides
The common advice says “if it’s soft, replace it.” That’s incomplete. Damage spreads invisibly along grain and between layers because moisture follows the path of least resistance, not the surface. You can have solid-looking plywood with rot tunneling through the stringers underneath, or compromised stringers with dry plywood on top. Use a metal probe or awl—not visual inspection alone. Push it perpendicular to the wood grain in multiple spots across the subfloor. Soft resistance means active decay. Hard, solid feedback means the material is sound.
The critical assessment step most people skip: check the seams where plywood meets stringers, where walls meet the floor, and where the subfloor meets the chassis frame. These are water collection zones. Moisture trapped in these joints continues working even after the surface dries. Peel back trim if necessary. If the wood crumbles, the damage extends deeper than the visible layer. Document the exact location and dimension of every soft zone before deciding whether to replace the entire floor or only the affected section.
Structural Integrity First: The Foundation Protocol
Diagnose Before You Demo

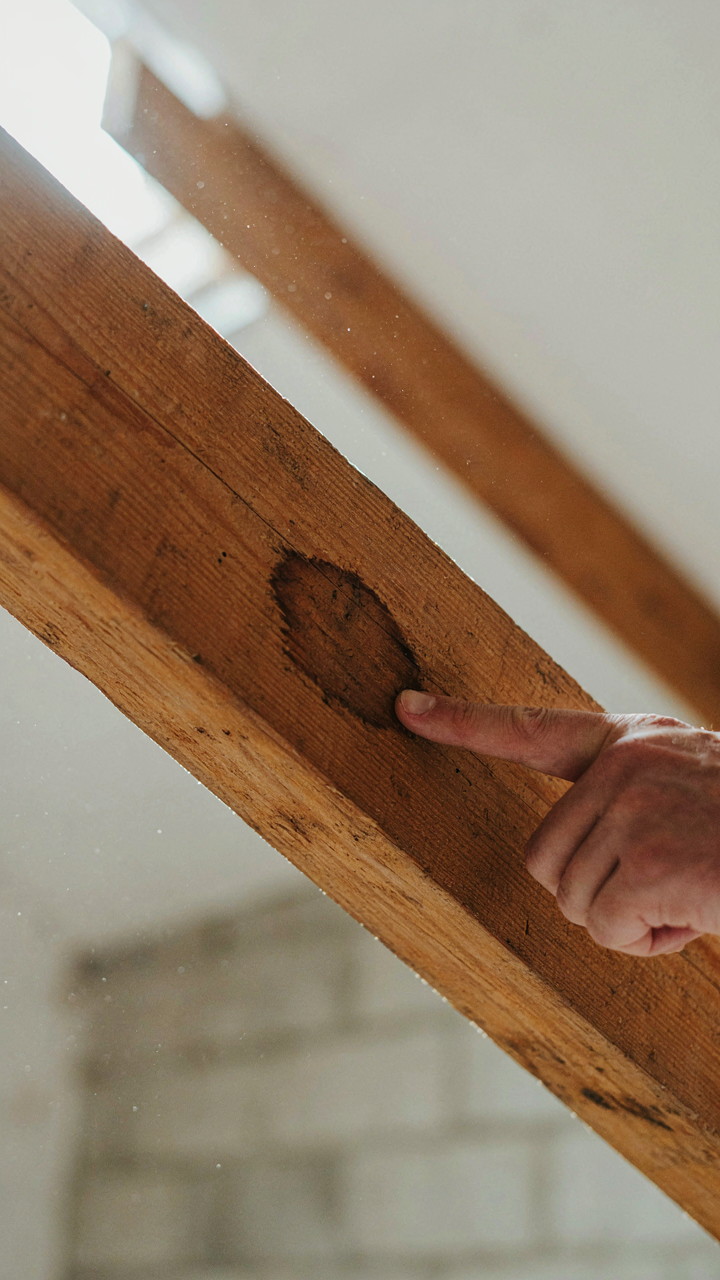
You’re afraid you’ll tear into the floor and find something worse than you budgeted for. The mechanism is simple: water damage spreads invisibly through wood and subflooring before it shows up topside, and by the time you see soft spots, the structural compromise is already advanced. Military strategists call this “reconnaissance before engagement”—in camper floors, it means mapping damage zones before demolition.
Start with a moisture meter and a awl. Push the awl into the subfloor at intervals across the camper’s entire length and width, especially near the bathroom, kitchen, and entry door. Mark soft spots on paper. Moisture readings above 15-20% signal active or recent water intrusion. Take photos. This map becomes your battle plan. You’ll know exactly where reinforcement stops casual patching and demands full section replacement.
Reinforce The Load Paths
Camper floors aren’t built to handle concentrated loads the way house floors are—they’re lightweight by design, which means stress concentrates where people walk and where appliances sit. Stop reinventing this. The real answer isn’t to replace the whole floor; it’s to identify the three to five points where weight transfers most, then beef up only those zones before you touch anything else.
Typical load paths in travel trailers run from the entry door, across to the refrigerator or dinette, and down the center hallway. RV manufacturers typically use 2×4 or 2×3 frame members spaced 16 inches apart as the floor joists. Where you find soft subflooring over these joists, sister a matching joist alongside it—bolt, don’t screw. This stops flex before aesthetic rot spreads, and it means your new floor won’t telegraph movement back into the walls and cabinets above it.
Material Science, Not Marketing Hype: Choosing Real Longevity
The Wood Nobody Talks About

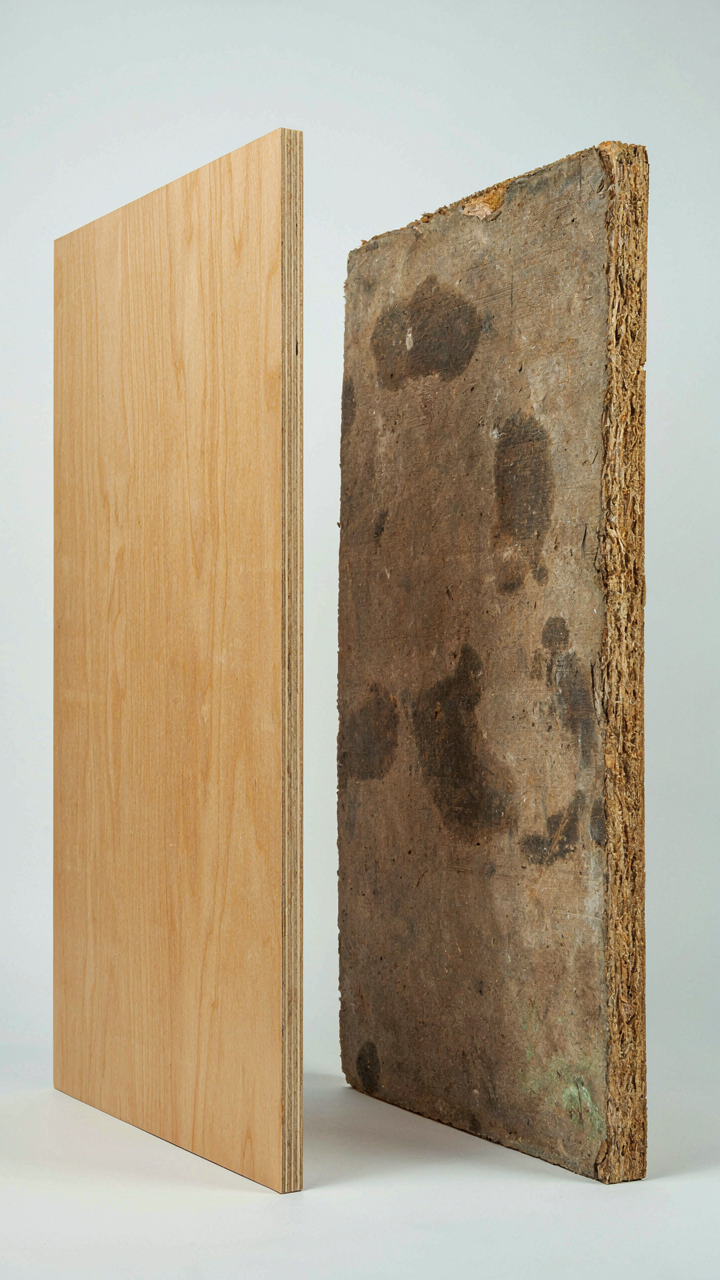
You want your floor to outlast the camper itself because replacing it again is a failure you can’t hide. Here’s the mechanism: wood fails when water penetrates the cell structure and triggers rot from the inside out. Marine-grade plywood resists this because its veneers bond under heat and pressure using phenol formaldehyde adhesive, which doesn’t break down when wet. Standard particleboard uses urea formaldehyde, which dissolves. The difference isn’t marketing. It’s chemistry.
- Marine-Grade Plywood: Exterior or marine-rated sheets use waterproof adhesives and premium veneers that withstand repeated moisture cycles without delaminating.
- Thickness Range: 3/4-inch thickness provides structural rigidity and resists puncture better than thinner options in high-traffic camper areas.
- Veneer Quality: Birch and okume veneers resist rot longer than pine or fir and maintain dimensional stability under temperature swings.
- Void Repair: Marine plywood has fewer internal voids and gaps where water can trap and accelerate decay from within.
- Cost vs Lifespan: Marine plywood costs 2 to 3 times more than construction-grade, but lasts 3 to 5 times longer in RV conditions.
Particleboard swells when wet and never fully returns to original size. Once compromised, it attracts mold spores and becomes structurally unsound in months. Marine plywood holds its dimension. Buy sheets rated for exterior use or marine applications. Check the stamp on the back. If it doesn’t say marine or exterior, you’re installing a ticking clock.
Moisture Defense Starts Before Assembly
Sealing edges is not cosmetic. In material science terms, this is boundary control. Every exposed edge is a capillary pathway where water wicks into the wood grain against gravity. Camper floors experience constant pressure differential between interior humidity and the undercarriage environment. You cannot prevent every water exposure, so you must block every pathway.
Apply marine sealant or epoxy to all four edges and the top and bottom surfaces before you install the plywood. Polyurethane-based sealers work well. Two coats are standard. Let each cure fully. This step prevents water from traveling along the grain when condensation or leaks occur. The seal turns the wood into a closed system. Once installed, caulk any gaps between sheets and around penetrations with flexible marine silicone. Rigid sealants crack under the vibration and flexing of a moving camper. That’s when water finds its way back in.
The “Tear It All Out” Doctrine: Minimum Viable Demolition
Know What Actually Failed

You want to replace only what’s damaged and keep the rest because replacing a camper floor feels expensive and time-consuming. That’s the fear talking. The mechanism is structural integrity. Like load-bearing walls in construction, your floor decking distributes weight across the entire frame. Compromised sections don’t just sit there—they transfer stress to adjacent wood, accelerating rot in areas that look fine. You can’t spot this visually until it’s systemic.
The common advice says “just cut out the soft spots.” That’s how you end up rebuilding in two years. You need to remove everything that has compromised structural density: soft spots, obvious rot, water-stained sections, and the seemingly solid wood directly attached to them. Use a screwdriver or awl. If it penetrates more than a quarter inch with light pressure, that wood is gone. Remove it completely before you frame the replacement.
Expose The Substructure First
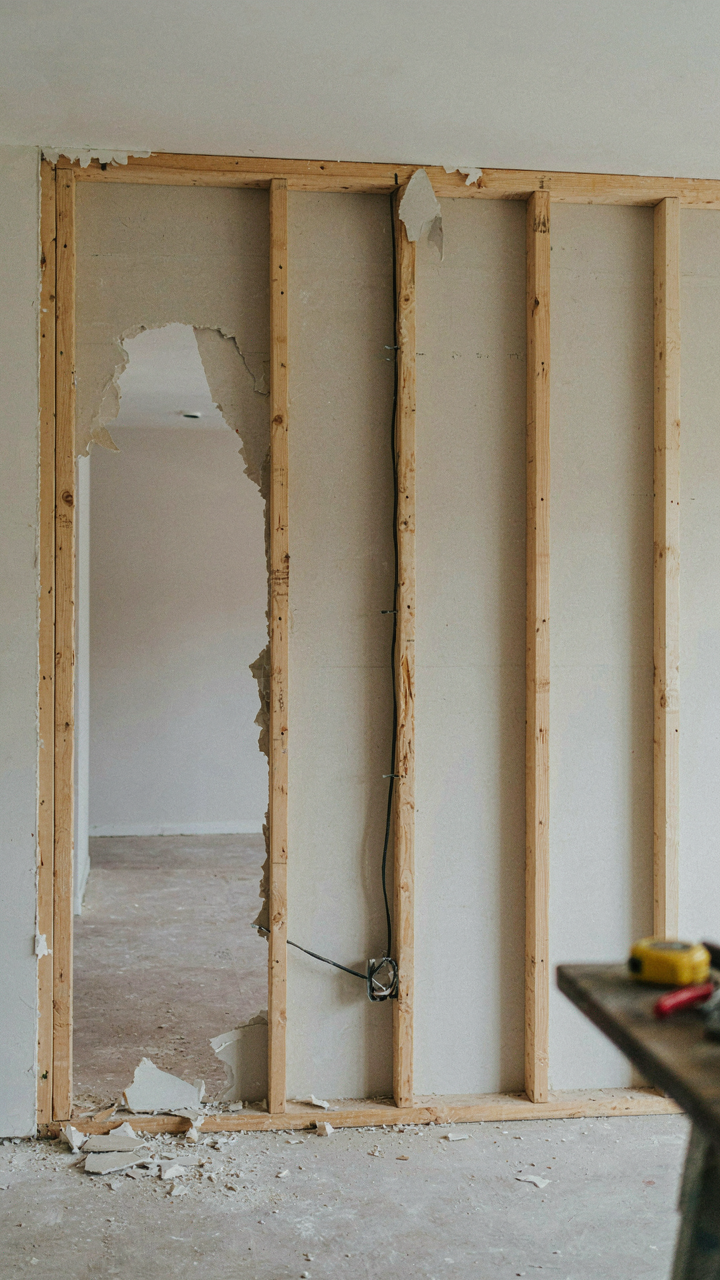
Strip away the floor covering and underlayment before assessing damage. Linoleum, vinyl, and carpet hide everything. Most RV owners find more rot once they pull these back because moisture collects underneath. You need to see the actual decking, the joists beneath it, and how water moved through the structure. This takes a few hours but shows you the real scope.
Work systematically from one end of the camper to the other, not randomly. Document what you find with photos. Mark compromised sections with chalk or a marker before cutting. This prevents the mistake of removing too little later when you think you’ve contained it. Once you’ve identified the full perimeter of damage, you can calculate exactly what materials you need for the replacement section.
Waterproofing Is A System, Not A Product: The Real Barrier
Layered Defense Against Moisture Intrusion

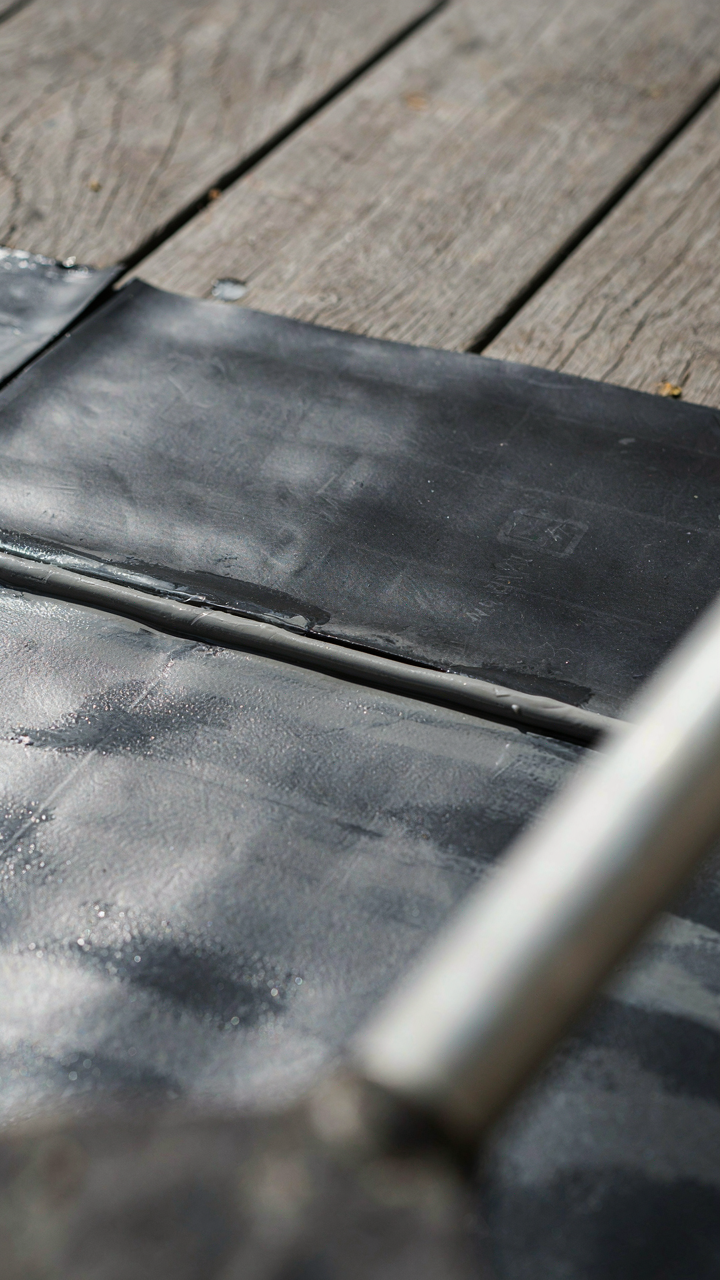
You want to believe one product solves this. It doesn’t. Moisture moves through camper floors like water finding cracks in concrete—it exploits every weak point in your defense. Biology uses layered membranes to control what crosses a barrier; your floor needs the same redundancy. A single sealant or membrane fails because wood swells, metal expands, and joints flex. You need three distinct layers working together: a vapor retarder against the substrate, an isolation membrane between materials, and a topside protectant. Each layer has a specific job. Skip one, and moisture reaches the wood frame within months.
The common mistake is treating waterproofing like paint—one coat, done. Your floor sits between two moisture sources: ground vapor from below and interior humidity from above. Neither stops moving just because you sealed something. Apply a closed-cell foam or rubber membrane first, directly to the subfloor. Then install a vapor barrier over the rim and frame. Finally, seal every seam with compatible sealant before installing new flooring material. The layers don’t replace each other; they work in sequence. Each one catches what the others miss.
Continuous Sealing Eliminates Failure Points
Sealants fail where they’re absent, not where they’re applied. Most camper floor replacements go wrong because installers seal the visible gaps and leave the hidden ones untouched. Water doesn’t care about aesthetics—it follows the easiest path. Check where the floor meets sidewalls, where frame members butt together, where plumbing penetrates, and where the floor meets the exterior walls. These junctions determine whether your waterproofing system works or becomes a collection of expensive patches. One unsealed corner ruins two years of work.
Map every joint before you seal. Use a flexible sealant rated for RV applications on all wood-to-metal and wood-to-membrane transitions. Caulk under the rim board where it contacts the exterior skin. Run sealant along the perimeter where new flooring material meets the walls. Let the sealant cure fully before exposing it to moisture or weight. The protocol is simple: seal everything that moves, seal everything that could hold water, then verify nothing was missed before closing the wall panels back up.
The Smart Installer’s Guide To Rv Flooring Installation Tips

Adhesive Spread And Substrate Pressure

You’re worried about this floor holding up because you don’t want to rip it out again in two years. The mechanism is simple: adhesive bonds only where it makes full contact. Thin spots mean air pockets. Air pockets mean the wood or vinyl flooring will eventually lift, flex, and fail at the seams. Use a notched trowel, not a flat one. The notches create ridges that collapse under pressure, forcing adhesive into every fiber of the substrate. You need 90 percent coverage minimum. Walk the entire floor with a heavy roller after laying material. This isn’t optional.
Most installers skimp on coverage to save time and adhesive cost. That’s false economy. Delamination happens 12 to 18 months after install when temperature swings and humidity cycles stress weak bonds. You prevent this by maintaining consistent trowel angle, applying pressure perpendicular to the ridges, and rolling in both directions. Check your work by pulling up a corner after 24 hours. If adhesive doesn’t coat the back of the material, you applied it wrong.
Thermal Gaps And Expansion Tolerance
RV floors expand and contract like any building material exposed to temperature swing. Ignore this fact and your flooring will buckle. Cut your material to fit with a 1/8 inch gap around the perimeter where the floor meets the walls. In climates with extreme temperature variance, increase this to 3/16 inch. The gap accommodates wood and vinyl movement without forcing material against rigid structure. This is physics, not preference. When you trap material, it has nowhere to go but up.
Most guidance tells you to cut tight to the walls. That advice is wrong. Tight fits look professional for about six months. Then summer heat expands your plywood substrate or vinyl flooring, pressure builds against the wall structure, and your floor buckles in the center. Use a metal trim piece or caulk that flexes to hide the gap. The caulk absorbs movement so your floor stays flat. Measure and cut once, accounting for seasonal expansion before adhesive sets.
Beyond The Floor: Preventing Future RV Subfloor Replacement
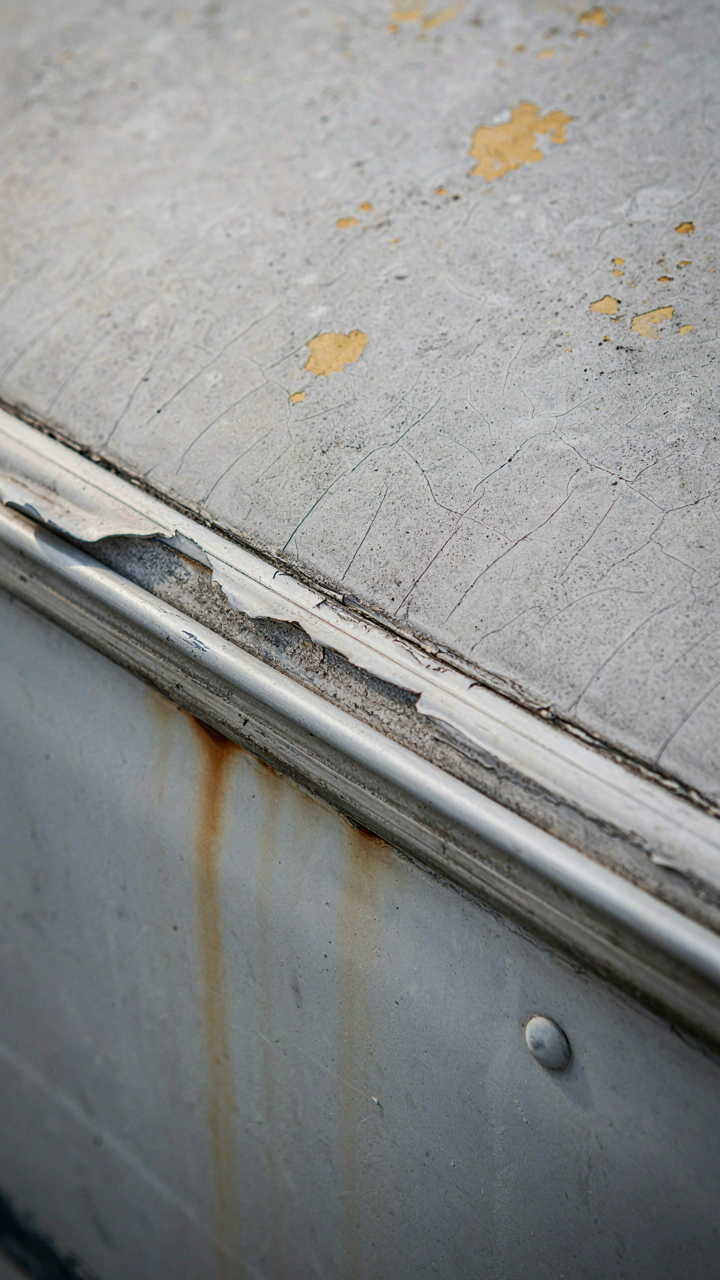
Seal Every Entry Point Before Water Finds It

You’re reading this because you don’t want to replace another floor. The mechanism is simple: water enters through openings, not through solid surfaces. Roof seams and window seals fail because they’re exposed to UV, thermal cycling, and constant vibration. Inspect these annually in spring before travel season. Check for cracks, separation, or dried caulk. If sealant pulls away from the seam even slightly, water will follow capillary action down into the structure.
Most owners wait until they see staining inside to act. By then, water has already saturated framing and plywood. Replace or reseal compromised areas immediately, not seasonally. Use quality marine-grade sealant rated for RV use, not generic caulk. This stops the water before it reaches the floor system below.
Control Moisture Before It Becomes Structural Damage
Condensation isn’t a comfort issue—it’s an engineering problem borrowed from HVAC systems, where dew point is the threshold where water vapor becomes liquid. Your camper’s interior creates a dew point that matches outside temperature swings, and moisture condenses on cold surfaces and wicks into wood. Proper ventilation breaks this cycle by moving humid air out before it settles.
Install roof vents that run during high-humidity periods, particularly at night and after cooking or showering. Use exhaust fans, crack windows when stationary, or run a dehumidifier if you’re in extended damp climates. The goal isn’t comfort—it’s keeping subfloor moisture content below 15 percent, the threshold where wood rot accelerates. Monitor the space regularly and dehumidify aggressively during off-season storage.
Refuse The “Good Enough” Lie: Your Camper, Your Responsibility
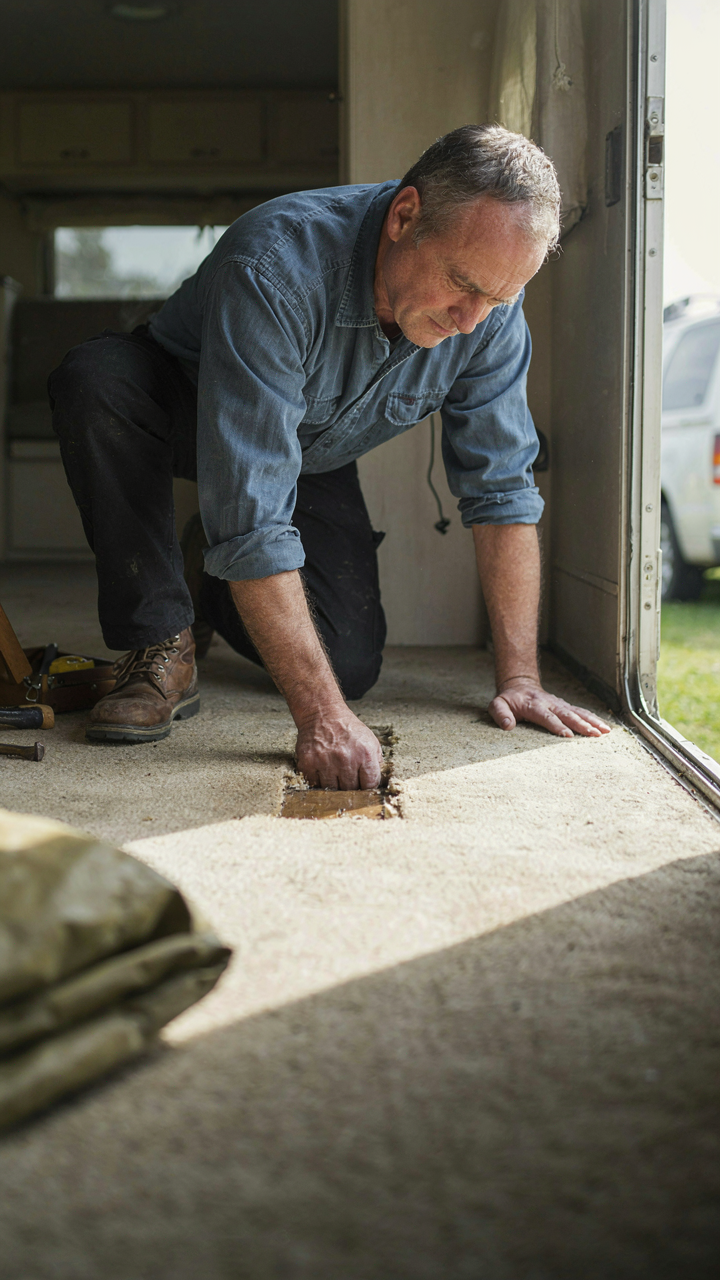
Shortcuts Cost More Than Time
You’re hoping someone will tell you the damage isn’t as bad as it looks, that you can patch it and move on. That’s not how structural integrity works. Water damage spreads faster than you think. What starts as soft subfloor in one corner migrates through the plywood, into the frame, and eventually into the walls. You catch it late, and suddenly you’re not replacing a floor anymore—you’re gutting the entire rig.
Cutting corners on camper floors creates liability you can’t predict. A compromised floor fails under load. Someone gets hurt. Your insurance claim gets denied because the damage was preventable. The mechanism is simple: materials degrade under stress faster when they’re already weakened. Install anything less than solid blocking, quality plywood, and proper moisture barriers, and you’ve just accelerated the timeline to total failure.
What Actually Matters In Execution
People say “use good materials” like that means something. It doesn’t. Specificity does. Your subfloor gets 3/4-inch exterior-grade plywood, not particle board, not standard OSB. Your blocking gets treated lumber rated for wet environments, not whatever’s on sale. Your moisture barrier gets marine-grade sealant applied to every joint, not brushed on hastily. Thickness, treatment type, and application method are what separate a floor that lasts from one that becomes a project again in three years.
Execute the replacement exactly as you would permanent construction, because the camper is permanent—it’s your asset. Seal every gap where wood meets metal. Screw, don’t nail, because vibration loosens nails. Prime all cut edges before installing anything. These aren’t suggestions. They’re the difference between a floor that supports you safely and one that absorbs water like a sponge. Do the work once, correctly, so you never revisit it.
The Only Thing Holding You Back Is Your Unwillingness To Confront The Core Problem
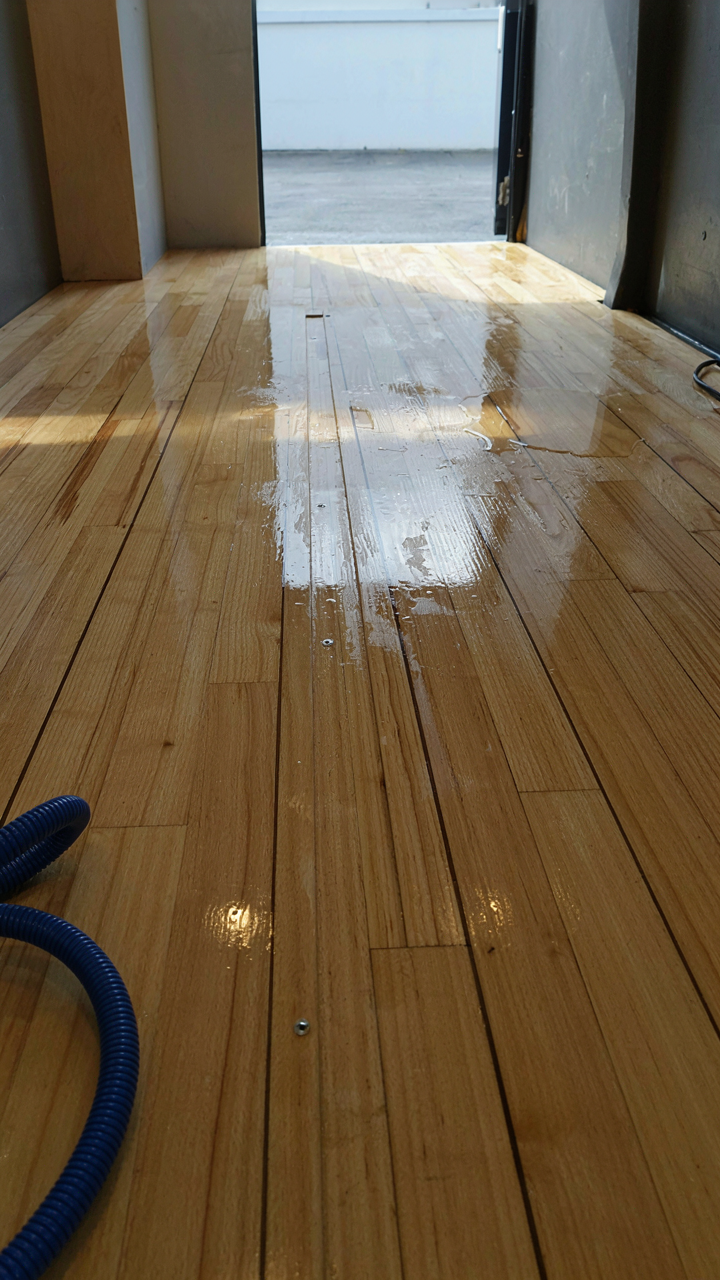
Most people don’t replace a camper floor because they tell themselves the cost is too high or the work is too hard. That’s a lie you’re telling yourself. The real reason? You haven’t accepted that waiting costs more than acting. Pull up a quote from a contractor today. See the number. Then decide if three weekends of your own labor sounds worse than writing that check. The floor doesn’t decay slower because you’re thinking about it.



