
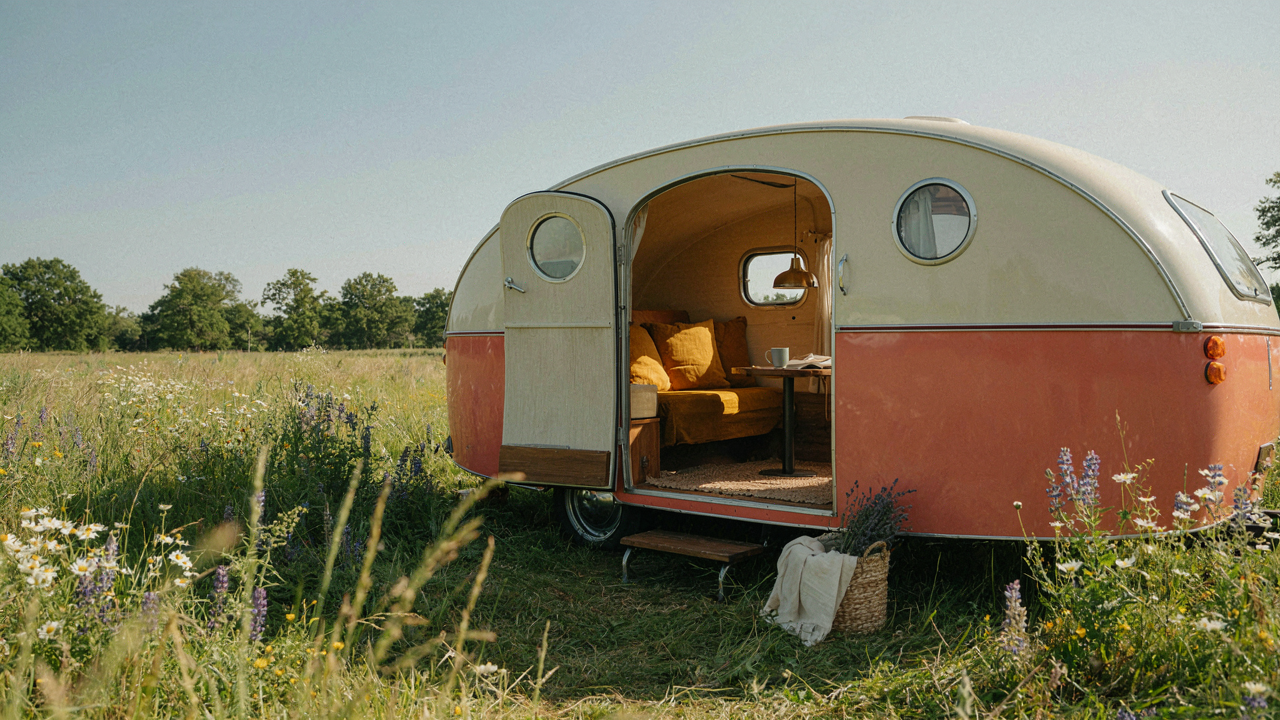
The Illusion Of Instant Gratification In Vintage Campers

Why Projects Stall Before They Start
You want the before-and-after dopamine hit without the months of friction. That’s the real reason you’re reading this section. Here’s the mechanism: your brain treats a retro camper like consumer goods, not like a structural system. You expect results on a timeline that applies to buying something finished, not building something functional. A 1970s Airstream or Shasta isn’t a purchase decision repeated monthly. It’s a commitment with sunk costs, hidden damage, and no refund policy once you’ve opened the walls.
Most DIY projects fail not because people lack skill but because they underestimate the gap between “vision” and “first structural problem.” You find water damage behind paneling. The floor joists need replacement. The electrical system predates modern safety codes. These aren’t surprises you budget for emotionally. They’re friction points that kill momentum because you didn’t price in the discovery phase. The timeline stretches. The budget doubles. Your motivation becomes a liability instead of an asset.
Cheap Materials Hide True Expenses
Budget-grade materials don’t cost less over time. They cost different. Economics calls this the Jevons Paradox: cheaper goods often increase total consumption and total cost. In camper work, buying $40 vinyl flooring instead of $120 marine-grade plywood means you’ll replace it in two years instead of fifteen. Thin wall paneling warps. Low-quality sealant fails in UV exposure. Budget fasteners corrode in a moisture-prone environment.
The real cost lives in labor, not materials. When you use substandard supplies, you spend more hours fixing, replacing, and troubleshooting than you would have spent on the initial install. One rushed caulk job creates a leak that rots framing. One inadequate seal around windows compounds every season. You’re not saving money on materials. You’re deferring expense into your future labor, which you’ve already decided is free because it’s DIY. Start with the right material for the environment, or accept that you’re funding two projects instead of one.
Deconstructing The Instagram Aesthetic: Beyond Surface Level Retro Camper Remodel

What Actually Looks Vintage

You want people to believe you have taste. That’s why the difference between authentic vintage and staged nostalgia matters to you. Here’s the mechanism: genuine retro design came from material constraints and manufacturing methods of its era. A 1970s Airstream or Shasta used aluminum rivets, specific upholstery weaves, and laminate patterns because those were the cheapest options available then, not because designers chased a vibe. When you copy only the visual surface, you miss the structural logic that made those designs work.
The gap between real and fake shows instantly to anyone who spent time in actual vintage campers. Original cabinetry used thin plywood with aluminum trim because weight mattered on a single axle. The color palettes reflected what textile mills produced cheaply: burnt orange, avocado, harvest gold. Reproduction decor that ignores these constraints screams amateur. Study original manufacturer catalogs, not Pinterest boards. Catalog images show exactly what was standard, what materials were used, and why proportions existed as they did.
Function Wins When Budgets Tighten
Most budget advice says prioritize aesthetics and cheap out on internals. That’s backwards and will cost you more. Your camper must sleep, cook, and store gear reliably or you won’t use it. A leaking roof ruins your entire project regardless of how good the exterior looks. Vintage camper makeovers fail when people treat the shell as furniture and the systems as afterthoughts.
Start with what fails first in old campers: plumbing seals, roof integrity, electrical grounding, and ventilation. Fix these before touching paint or upholstery. A functional camper with dated interiors gets used. A beautiful camper with failing systems sits in storage. Your budget dollars go furthest when you preserve what works mechanically and refresh only what’s visible after those systems are solid.
The Scarcity Mindset Vs. Resourcefulness: Small Camper Interior Hacks

Repurposing Existing Elements Unlocks Hidden Value

You want permission to feel smart about spending less. Here’s the mechanism: most people see a broken or dated component and calculate its replacement cost. They don’t see its raw material value or functional potential in a different context. Economics calls this “factor reallocation”—taking an input designed for one use and redirecting it to another. In a retro camper, the original cabinetry, hardware, and structural bones already exist. Your job is reassigning them, not acquiring new ones.
The original interior of a vintage camper often contains solid wood, working hinges, intact frames, and scale-appropriate fixtures. Instead of ripping out and replacing, deconstruct the logic. A warped cabinet door becomes a wall-mounted shelf. Corroded light fixtures yield brass components for a different application. Damaged upholstery padding strips down to insulation layers. You’re not salvaging trash—you’re identifying materials already paid for and repositioning them. The financial and time advantage compounds when you stop treating original components as failures.
Where To Find Authentic Components Without Overpaying
Most budget advice says “thrift stores” or “Facebook Marketplace.” That’s incomplete and misses the real supply chain. Vintage RV-specific sellers, salvage yards, and Craigslist private sellers who are liquidating estates or collections are where authentic retro camper hardware sits underpriced. They don’t know the secondary market. A seller with ten original 1970s RV light fixtures wants them gone, not appraised.
Accuracy matters here: reproduction hardware exists, and it’s often cheaper than original. Decide first whether authenticity serves your actual use or just your identity. Original aluminum trim costs more but matches the camper’s original manufacture date. Reproduction hardware costs less and performs identically. Check eBay’s completed listings for reference pricing, not current asking prices. Visit local RV restoration shops and ask directly about their supplier networks. Most have relationships with salvage contacts and can source specific decades. This transforms sourcing from random hunting into systematic acquisition.
The Antifragile Renovation Protocol For Vintage Camper Remodel

Build Systems That Survive Mistakes

You want this remodel to feel controlled. The real problem is that vintage campers are systems where one failure cascades into three others. Evolutionary biology teaches us that organisms survive not by being perfect, but by being antifragile: they gain from disorder. Apply this to your camper rebuild by designing subsystems that function independently. Your electrical system should work if plumbing fails. Your insulation should shed water if a seal breaks. Your frame shouldn’t depend on original fasteners that may corrode.
The mistake people make is planning linearly: remove old stuff, install new stuff, assume it holds. That’s fragile. Instead, reverse the priority. Identify which systems fail first in vintage campers (water intrusion, electrical decay, structural rust) and build redundancy into those exact areas before touching cosmetics. Your budget constraint forces this discipline anyway. You can’t afford to rebuild twice.
Layers Of Protection Beat Single Solutions
Redundancy sounds expensive. It’s actually the cheapest insurance against budget collapse mid-project. Instead of one waterproofing method, use three: seal seams, install vapor barriers, and add drainage channels. Instead of replacing all wiring, upgrade circuits in zones so a short in one area doesn’t kill the whole rig. This requires thinking in layers rather than replacements.
Vintage camper construction already used layering, though poorly by modern standards. Aluminum skin, wood framing, thin insulation, interior paneling. Your job isn’t to strip this and start fresh. It’s to reinforce weak layers where they fail fastest. Seal gaps between layers. Replace compromised layers while keeping structural ones intact. Stop when the system stops failing, not when it looks showroom-new. That’s how you stay on budget.
Mastering The Minimalist Method: Vintage Camper Interior Ideas

Less Gives You More Space To Live

You want to feel like you expanded your camper without spending money. The mechanism is psychological contrast: your brain perceives space based on visual clutter, not actual square footage. A 1970s Airstream with half the objects reads as larger than the same trailer packed with stuff. This isn’t mysticism. It’s neurology. Remove what doesn’t function and your 150 square feet stops feeling like a shoebox.
The retro camper makeover constraint forces ruthlessness that newer trailers don’t demand. You can’t hide mediocre decisions behind modern storage systems. Everything visible carries weight. This means the first move is honest inventory: walk through and identify every item that serves zero tactical purpose. Not sentimental purpose. Tactical. The difference matters because sentiment is what keeps you trapped with clutter that shrinks your actual living experience.
Design That Solves Problems First
Essentialism from philosophy teaches that the essential is what remains when everything else is stripped away. In vintage camper design, that means furniture and fixtures do double duty or they don’t exist. A bench seat that becomes storage underneath. A fold-down table. A wall-mounted shelf that doubles as a backsplash. You’re not decorating. You’re stacking functions.
The common mistake is treating minimalism like deprivation. It’s the opposite. Comfort comes from having exactly what you need when you need it, nothing more. A vintage camper forces this conversation because you have no room for mistakes. Every square inch costs. Pick materials that age well and won’t need replacing: hardwood, stainless steel hardware, tile or sealed wood for surfaces. Then stop. The work ends when function is complete, not when you’ve added enough visual interest.
The “Opportunity Cost” Of DIY: When To Delegate Your Caravan Makeover
Know What You Actually Can’t Do

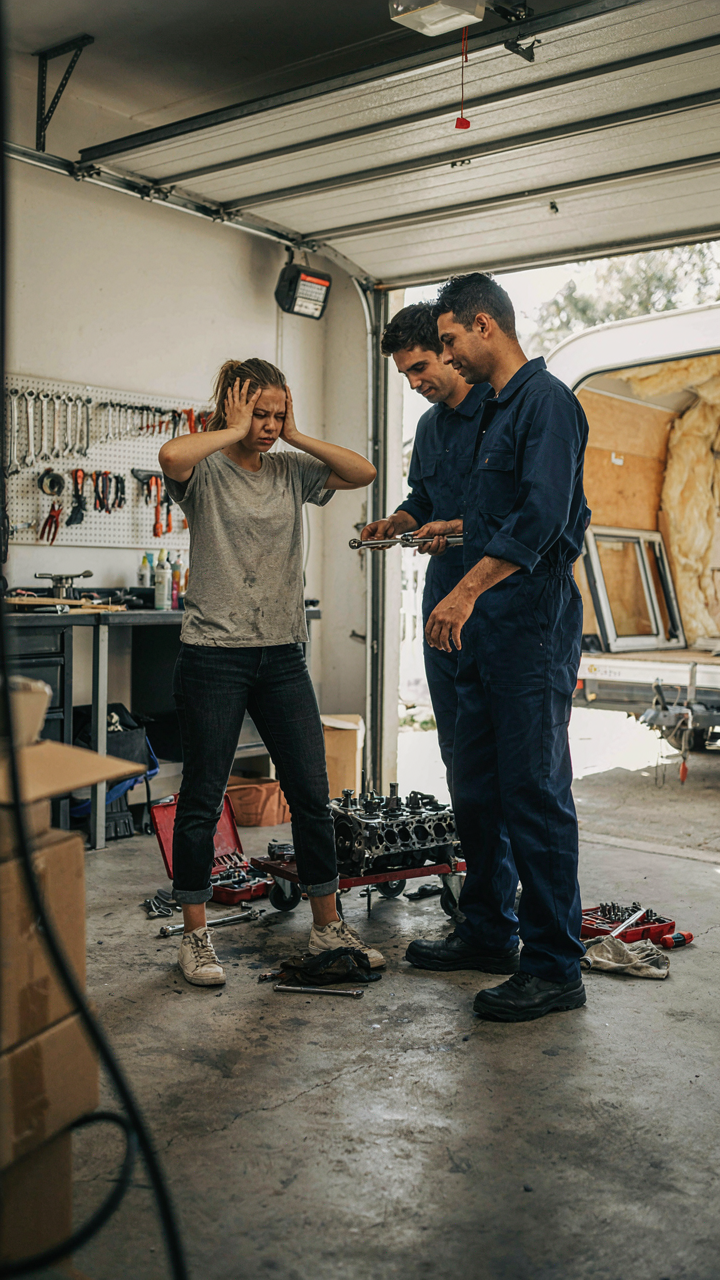
You want to believe you can handle this yourself because admitting you can’t feels like failure. The real mechanism is simple: some skills require hands-on experience you don’t have, and pretending otherwise costs you money and time. Electrical work in a vintage camper isn’t forgiving. A wiring mistake doesn’t just fail—it creates fire risk. Plumbing has similar stakes. Gas line issues kill people. These aren’t gatekeeping areas. They’re technical domains where trial and error gets expensive fast.
The gap between “I watched a YouTube video” and “I’ve diagnosed fifty of these systems” is wider than most people admit. Structural repairs demand judgment calls that come from pattern recognition. You spot wood rot, but you miss the underlying moisture source. You patch a roof leak without finding what caused it. A professional spots these connections immediately. This doesn’t mean you can’t do finish work, demolition, or cosmetic updates. It means you identify exactly which phase of your retro camper makeover requires hands you don’t have, then stop pretending otherwise.
The Real Cost Of Your Time
Economics calls this opportunity cost, and it destroys most DIY projects. Your time has a rate whether you assign it one or not. If you earn thirty dollars an hour at your actual job, every hour you spend learning plumbing or rewiring cabinetry costs thirty dollars in lost income. Add the mistakes, the redos, and the learning curve, and you’re now sixty hours into a task a specialist completes in twelve. That’s forty-eight hours times your hourly rate. Most people never do this math and wonder why their budget exploded.
The hidden cost multiplies when you factor in tool rental, failed materials, and the psychological toll of being stuck halfway through a project. You buy the wrong gauge wire. You order cabinet hardware twice because dimensions were off. You rent a compressor for three weeks instead of three days because you’re slower than anticipated. A contractor absorbs these inefficiencies into their pricing model because they run this calculation daily. You don’t. Start here: calculate your hourly earnings, multiply by realistic project hours, then compare that total to what a professional charges. If the professional costs less than your time invested, delegate that phase immediately.
Beyond Paint And Fabric: The Structural Integrity Blueprint For Retro Camper Makeover
Why Your Foundation Matters Before Anything Else

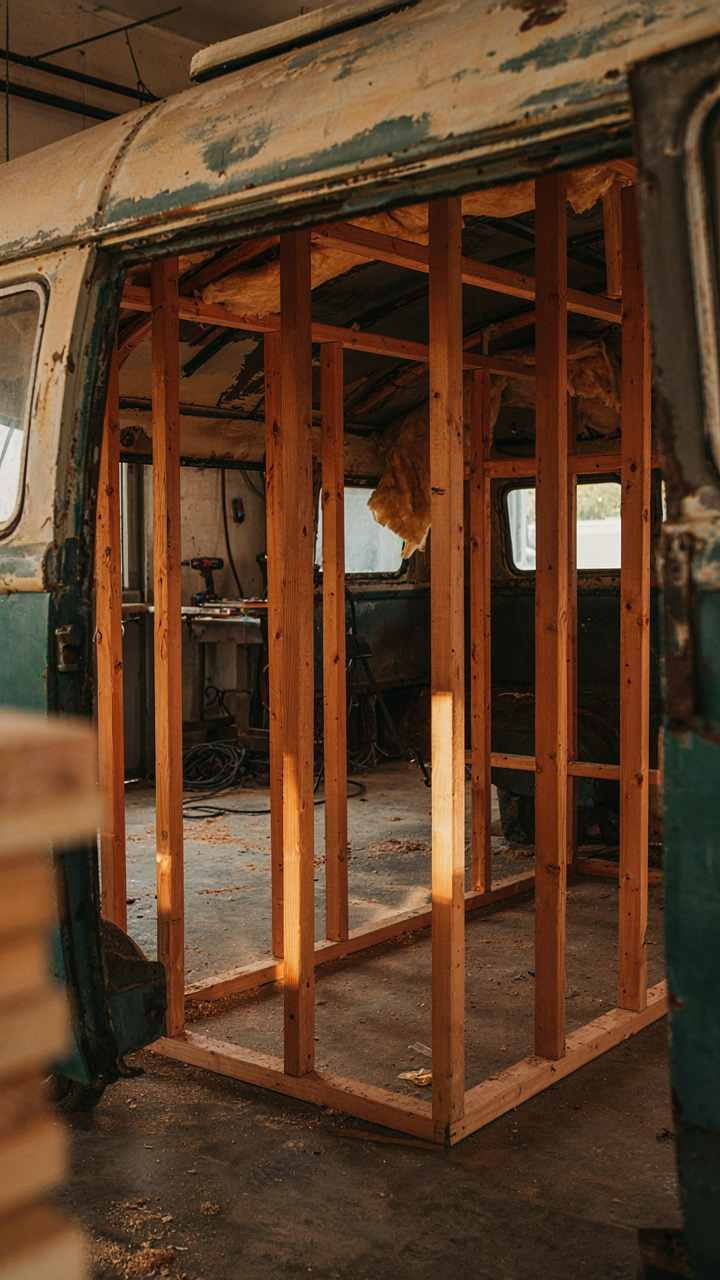
You want the finished product to look right because it validates your vision. But here’s the mechanism: a retro camper makeover fails not because of bad design choices, but because you’re decorating a sinking ship. The structure determines what’s actually possible. A 1970s Airstream or Shasta with hidden water intrusion, rot in the frame, or compromised seals won’t hold new cabinetry, fixtures, or insulation. You’ll chase problems instead of building. Gut the camper systematically before you touch a single aesthetic element.
Start by identifying what you’re actually working with. Remove interior panels, check behind walls, inspect the floor for soft spots by probing with a screwdriver. Look at the aluminum or steel frame where it meets the belly pan. Run your hand along every seam and corner joint. The goal is finding damage before you invest money into cosmetics that will fail. This takes a weekend, maybe two. Skip this step and you’re gambling with your entire budget.
Corrosion, Decay, And The Point Of No Return
Water damage and rust operate like compound interest in reverse: they accelerate exponentially once they start.
- Floor rot: Check the subfloor and frame rails where moisture collects. Soft, spongy spots mean the wood has compromised structural capacity and needs replacement before anything sits on top.
- Seam failure: Caulk and sealant around windows, doors, and roof joints deteriorate over decades. Water finds every crack and pools inside walls. Resealing is mandatory, not optional.
- Aluminum oxidation: White powdery corrosion on aluminum panels isn’t cosmetic. It weakens the material and spreads if left untreated. Wire brush it down to bare metal, treat with etching primer.
- Rust on steel frames: Steel subframes and support brackets corrode from the inside out in older campers. Use a probe to find hollow spots. Severe rust requires cutting and welding new sections or reinforcing plates.
- Belly pan separation: The underside moisture barrier deteriorates, allowing water to sit underneath instead of draining. Holes, tears, and separation points let water into the frame cavity where it does the most damage.
These problems don’t fix themselves and they don’t stay contained. Water moves. Rust spreads. The frame weakens. Attack each one methodically with the right tools and materials before the cosmetic layer goes on. Your budget survives if you do this first.
The “Value Multiplier” Effect: Vintage Camper Makeover That Pay Off
Upgrades That Hold Money When You Sell

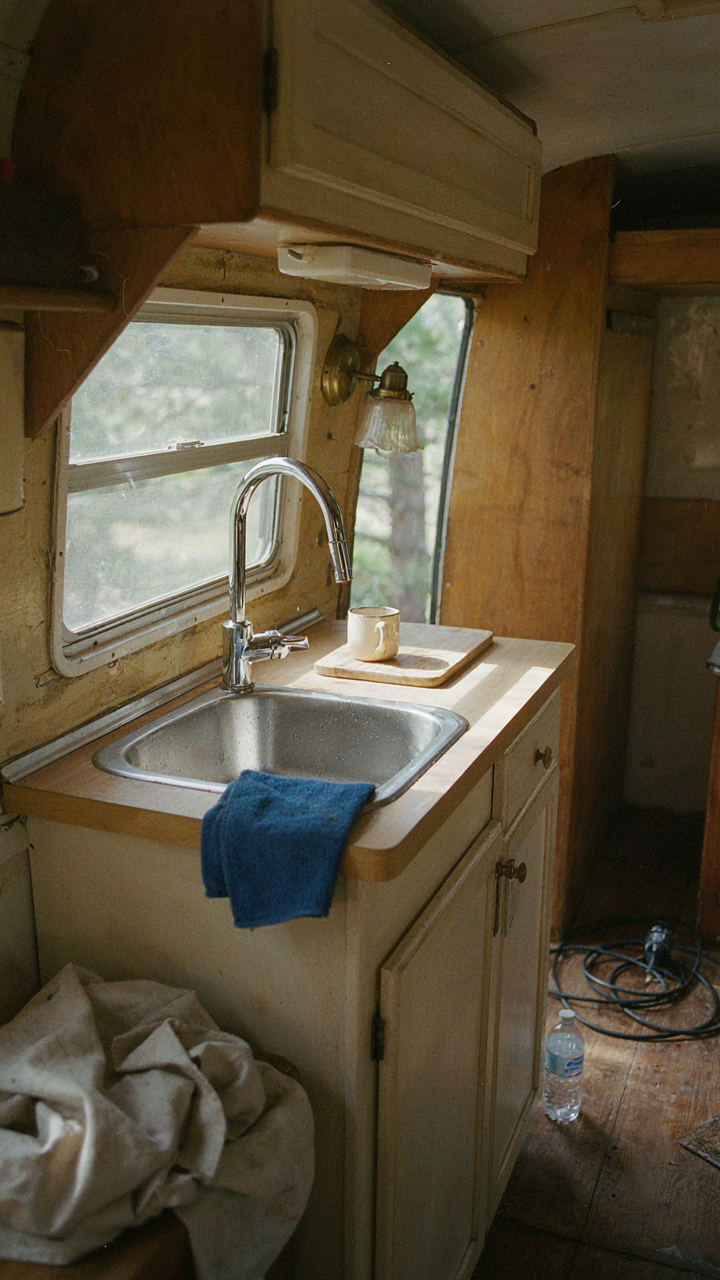
You want to know which fixes actually matter because you’re terrified of sinking cash into a money pit that nobody will buy. Here’s the mechanism: upgrades only hold value if they solve a problem every buyer faces, not the problem you invented. Mechanical systems—plumbing, electrical, propane—are non-negotiable. A 1970s Airstream with new wiring and functioning tanks sells faster and higher than one with perfect aesthetic details and corroded guts underneath. Buyers assume cosmetics can change. They assume neglected infrastructure stays broken.
Original materials you restore beat replacements you install. A restored aluminum shell, functional appliances from the original era, and honest wood cabinetry work as anchors. Modern additions—smart home tech, fancy WiFi, luxury fixtures—age out of the retro market’s taste almost immediately. Focus your budget on what the camper already knew how to do, then do it right. A frame-off restoration of mechanical systems costs more upfront but compounds in resale value because you’re not fighting the camper’s design, you’re honoring it.
Trends That Destroy What You Built
The generic advice says “personalize your space.” That’s how people wreck resale value without knowing it. Marketing-driven aesthetics in the camper space have a shelf life of about eighteen months. Shiplap walls, industrial pipe fixtures, and boho textiles feel timeless until you’re selling to someone who doesn’t care about Instagram trends. The real filter: ask yourself if a buyer from 2005 and a buyer from 2035 would both find this upgrade useful. If only current-year buyers would accept it, skip it.
Structural modifications—removing walls, adding slide-outs, custom cabinetry that doesn’t suit the original floor plan—lock you into a single vision nobody else may want. Reversible upgrades win: quality upholstery, new appliances you can swap out, fresh paint on original cabinetry. The rule is simple: improve what exists, don’t reimagine what it should be. Document everything you change so a future owner can restore it if they want. Your job is to make the camper function and look honest, not to turn it into something it was never designed to be.
The Unconventional Wisdom Of A True Retro Camper Enthusiast
Embrace Wear As Design Language

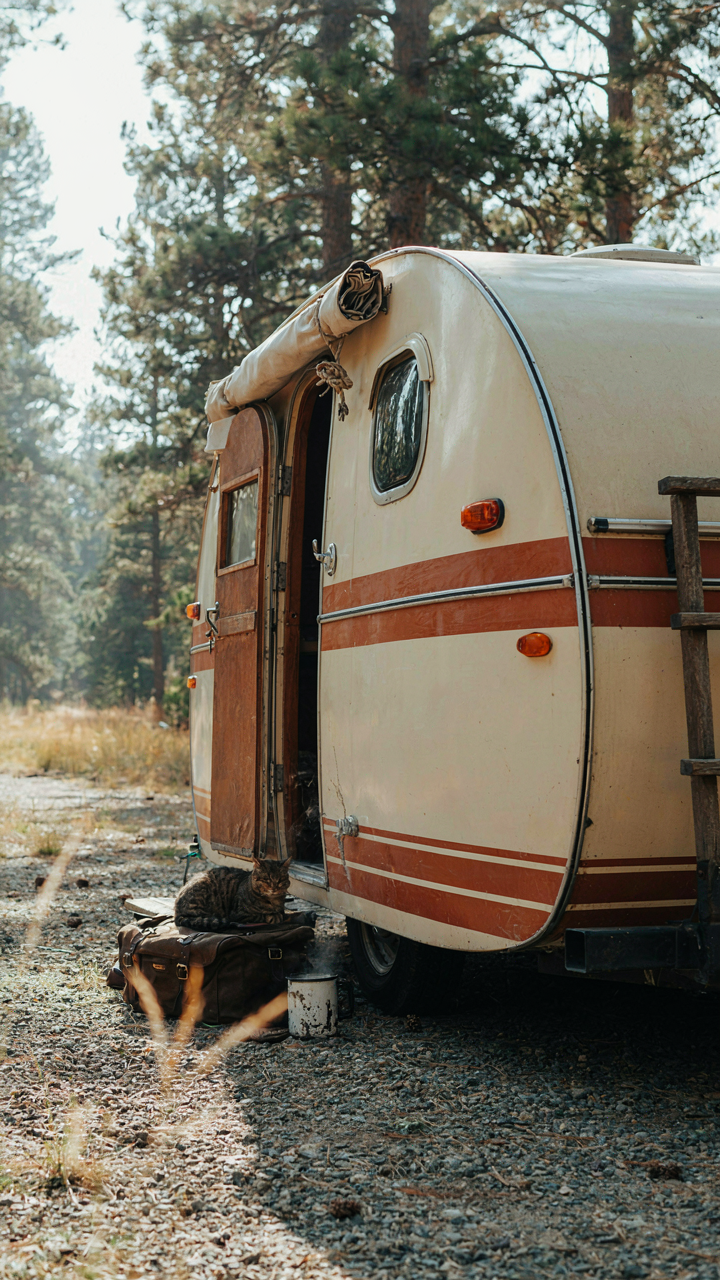
You want permission to stop restoring and start accepting, because flawless feels fake and you’re tired of chasing it. Here’s the mechanism: vintage campers built between the 1950s and 1970s used materials that were meant to age visibly. Aluminum oxidizes. Vinyl cracks from UV and temperature swings. Wood veneers separate. These aren’t failures. They’re the material’s honest record of use, and that record is what distinguishes a restored camper from a reproduction.
The common advice says sand everything, refinish everything, return it to showroom condition. Wrong. Original patina on aluminum siding, worn upholstery threads, faded decals—these details date your camper accurately and cost you nothing to keep. A 1968 Airstream with perfect paint looks suspicious. One with appropriate surface wear tells the truth. Document the wear patterns before you start work, then preserve what belongs on the timeline of that specific year and model.
The Narrative Beats The Aesthetic
Collectors and buyers don’t connect with perfection. They connect with cause and effect. Why does that camper exist? Did someone tow it across the country in 1972? Did a family live in it seasonally for decades? Did it sit in a field for ten years before you found it? That story determines which restoration details matter and which don’t.
Build the narrative first, then make decisions that align with it. If your camper belonged to a working photographer in the 1960s, original storage solutions and weathered exterior fabric tell that story more convincingly than new upholstery. If it belonged to a ski resort family, season-appropriate gear racks and wear patterns in specific areas create authenticity. The story is your filter. Without it, you’re just copying magazine photos and spending twice the budget on details that contradict each other.
The Only Budget Constraint Is Your Imagination, Not Your Bank Account
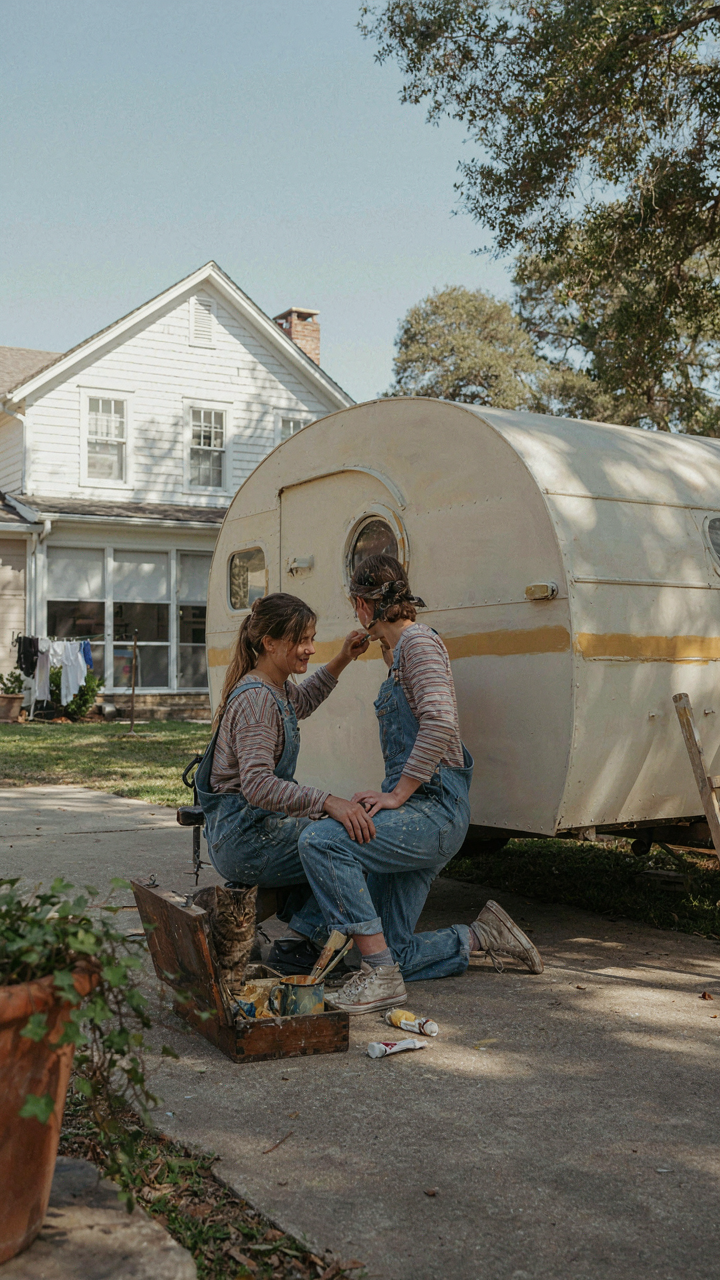
Most people don’t start their retro camper makeover because they’re waiting for money. They’re waiting for permission. Stop waiting. Pull up your local Facebook Marketplace right now and bookmark three vintage trailers under two grand. You’ll discover the real barrier was never the budget. It was deciding you were actually going to do it. Your next camper adventure doesn’t live in your savings account. It lives in the decision you make today.



