

The Foundation Fallacy: Why Surface Prep Isn’t Optional For How To Paint A Camper Exterior
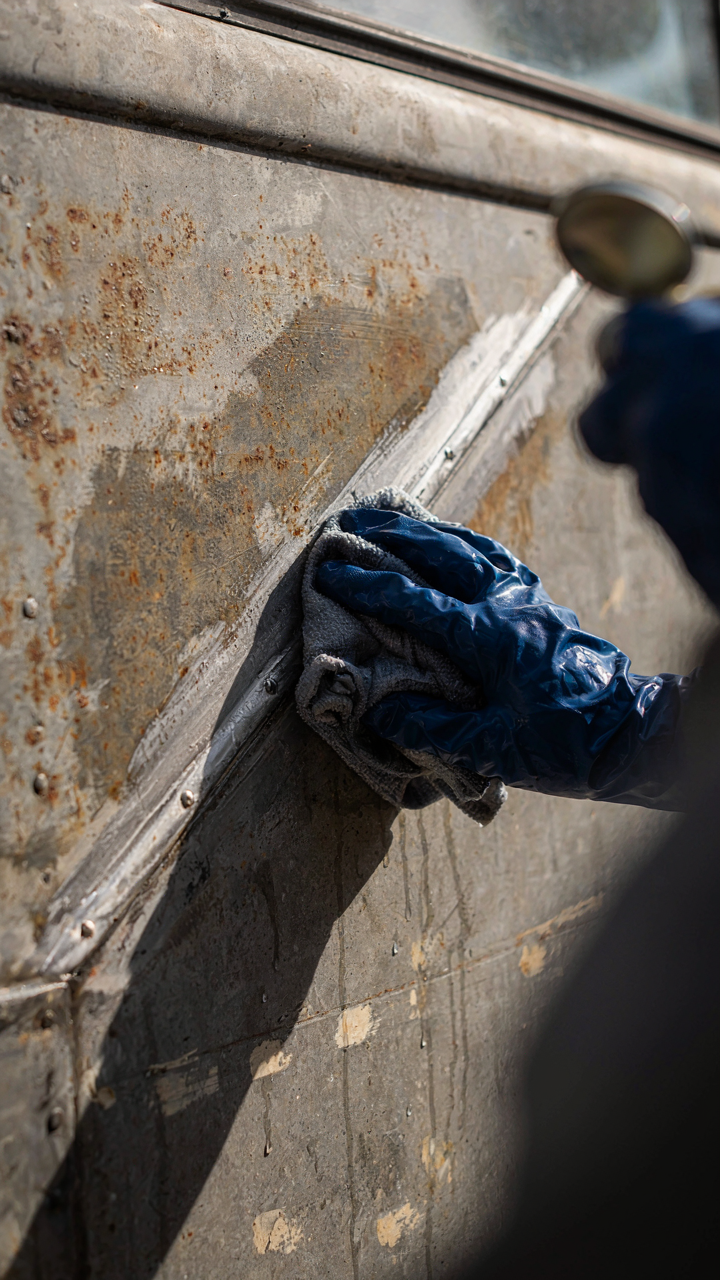
Degreasing Before You Sand
You’re hoping prep work is the part you can skip because it feels invisible. It isn’t. Think of degreasing as a chemistry problem, not a cleaning task. Paint doesn’t bond to grease or oxidation—it bonds to bare substrate. RV exteriors accumulate diesel exhaust, road tar, bird droppings, and UV-degraded sealant. A pressure washer alone leaves a film. You need active chemical removal.
Start with a degreaser formulated for automotive use, not dish soap. Apply it full strength to the entire surface, let it sit for five to ten minutes, then scrub with a soft-bristled brush. Rinse thoroughly with clean water. Follow this with a wipe-down using a tack cloth or lint-free rag dampened with mineral spirits. This removes the final residue that prevents adhesion. The surface should feel dry and slightly rough to your fingertips, not slick.
Sanding For Actual Adhesion
You’ve heard “sand it down” a thousand times without understanding why. Adhesion is a mechanical lock, not magic. Rough substrate creates more surface area for paint molecules to grip. Smooth aluminum defeats this entirely. Most camper exteriors wear either oxidized aluminum or worn gelcoat—both need sanding to generate texture.
Start with 120-grit sandpaper to cut through oxidation and establish tooth. Use 150-grit to finish and smooth the scratches the 120-grit created. Sand by hand with a sanding block or use an orbital sander on low speed. Don’t oversand—you’re not trying to remove material, just break the gloss and raise the profile. Stop when the surface looks uniformly dull across the entire panel. Vacuum or wipe away all dust before priming.
The Hue Hierarchy: Decoding Authentic Vintage Palettes For Camper Paint
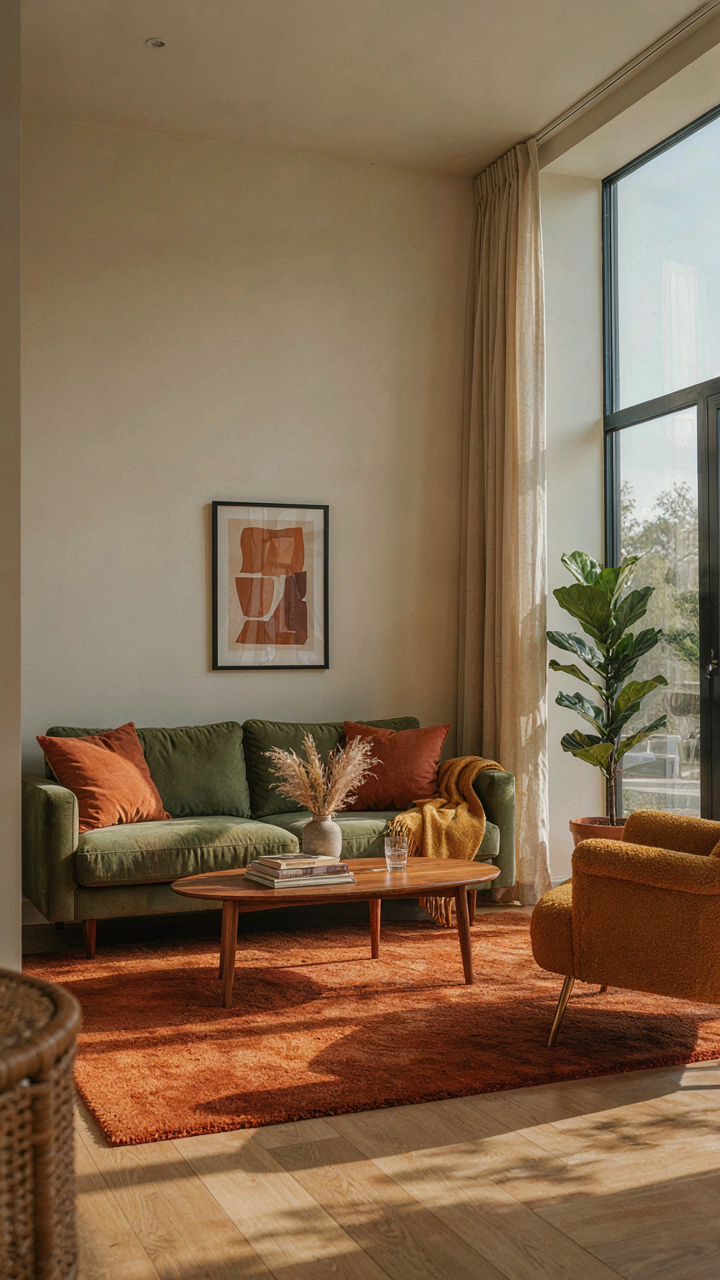
Where Mid Century Color Logic Came From

You want people to know you restored it yourself, not that you bought it restored. That status signal is the real driver here. The mechanism is color authenticity, and it tracks directly to design history. Mid-century camper colors weren’t chosen randomly. They reflected what industrial designers called “chromatic hierarchy”—the idea that dominant colors carry visual weight and recessive colors create depth. Manufacturers applied this principle to make narrow aluminum boxes feel spacious. Pale earth tones on top, darker stripes below. The eye reads it as proportion, not as a tiny trailer.
Vintage palettes from the 1950s through early 1970s followed strict constraints. Two-tone schemes dominated because they cost less to produce and looked intentional rather than decorative. Cream, mint green, turquoise, pale yellow, and soft pink were industrial standards, paired with deeper accents in charcoal, forest green, or rust. These weren’t trendy choices. They were calculated to hide dirt, mask panel seams, and photograph well in dealer brochures. Replicating this palette means understanding the logic, not just copying the colors.
Paint Type Determines Longevity And Finish Match
Enamel, acrylic, and urethane each solve different problems on camper aluminum. Most people pick the wrong one because they focus on cost instead of adhesion and UV stability.
- Single Stage Enamel: Budget option with poor UV protection. Fades within 2-3 years in direct sun. Works only if you park in shade permanently or accept frequent repainting.
- Two Part Urethane: Best adhesion to aluminum and fastest cure time. Requires mixing and strict application windows. Premium cost justified by 5-7 year durability without clearcoat.
- Acrylic Enamel With Clearcoat: Middle ground. Moderate cost, decent UV blocking through clear layer. Requires proper primer and takes longer to cure than urethane.
- Marine Grade Polyurethane: Highest adhesion and salt resistance. Overkill for inland campers but necessary for coastal storage. Expensive and requires professional spray equipment.
- Aluminum Specific Primers: Non-negotiable first step regardless of paint type. Bare aluminum oxidizes fast. Wrong primer means paint peels in months.
The real cost isn’t the paint can price. It’s whether you repaint in three years or seven. Urethane costs more upfront but eliminates the repainting cycle most people hit with budget enamels. Two-part application is messier and has zero forgiveness, so many DIYers fail on execution even when they buy quality material. This is where the mechanism breaks. You need surface preparation more than you need expensive paint. Bare aluminum must be scuffed, primed, and dried properly or no paint type holds.
The Durability Doctrine: Choosing The Right RV Painting Exterior Ideas
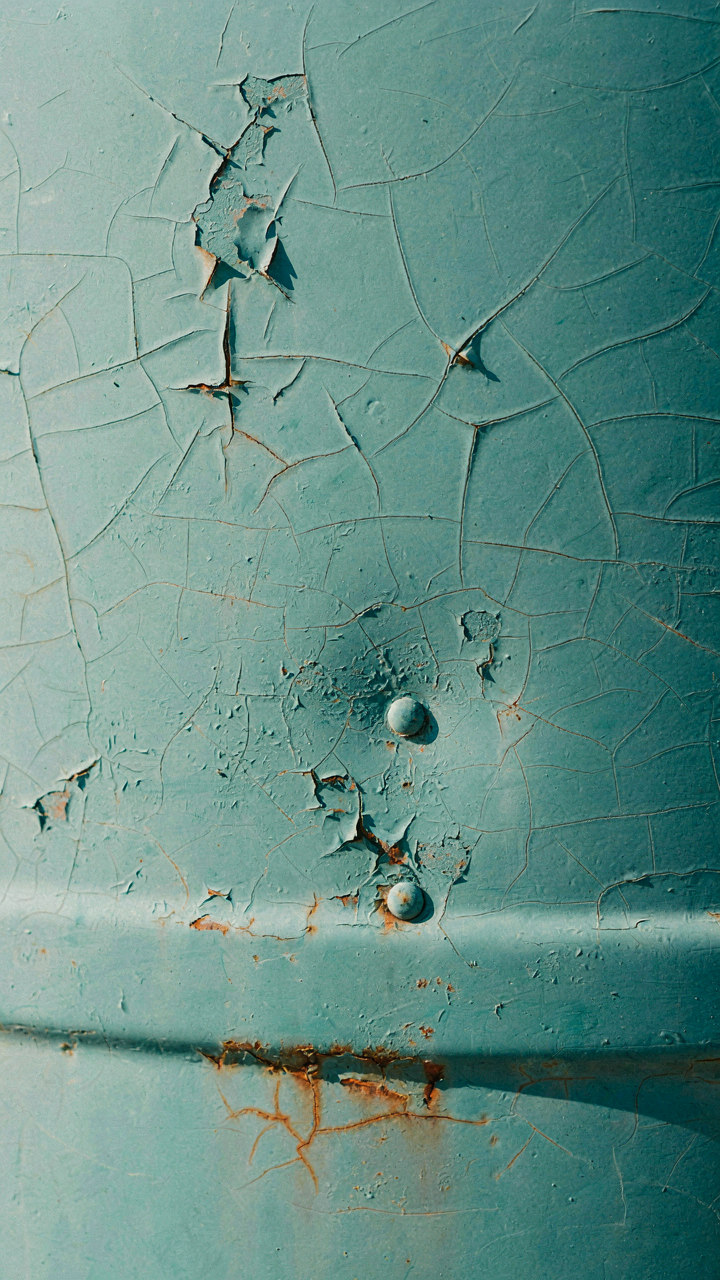
Weather Resistance And UV Stability

You care about this because a failed paint job on a camper costs real money to fix and signals neglect to everyone who sees it. The physics here is simple: UV radiation breaks chemical bonds in paint molecules. This isn’t a marketing claim—it’s degradation. Marine-grade and RV-specific topcoats use UV absorbers and hindered amine light stabilizers to slow this breakdown. Standard exterior house paint fails faster because it wasn’t engineered for the constant exposure campers endure while parked or moving.
Weather cycles destroy paint through expansion and contraction. Temperature swings force the coating to flex. If the paint can’t move with the aluminum or fiberglass substrate, it cracks and peels, allowing water penetration. Single-stage paints and cheap acrylics fracture quickly. Quality RV paints use flexible resins that expand and contract without losing adhesion, which is why they cost more upfront but outlast cheaper alternatives by years.
Primer Selection And Surface Adhesion
Most people ignore primer or treat it as optional. It’s not. Primer is the mechanical lock that holds paint to the substrate. Without proper primer, topcoat adhesion fails regardless of paint quality. On aluminum camper bodies, oxidation creates a waxy barrier that rejects paint. Aluminum oxide primer stops this by bonding chemically to the metal surface, then creating a tooth for the topcoat to grip.
The primer choice depends on your substrate. Bare aluminum requires epoxy or urethane primer specifically formulated for metal. Fiberglass needs a primer that won’t absorb moisture and cause delamination. Never skip primer because paint adheres directly to substrate, not to air. Apply primer at the manufacturer’s recommended thickness, usually 1.5 to 2 mils dry film thickness. Thin primer coverage means incomplete surface bonding and premature failure.
The Patina Paradox: When To Preserve, When To Restore On Painted Campers
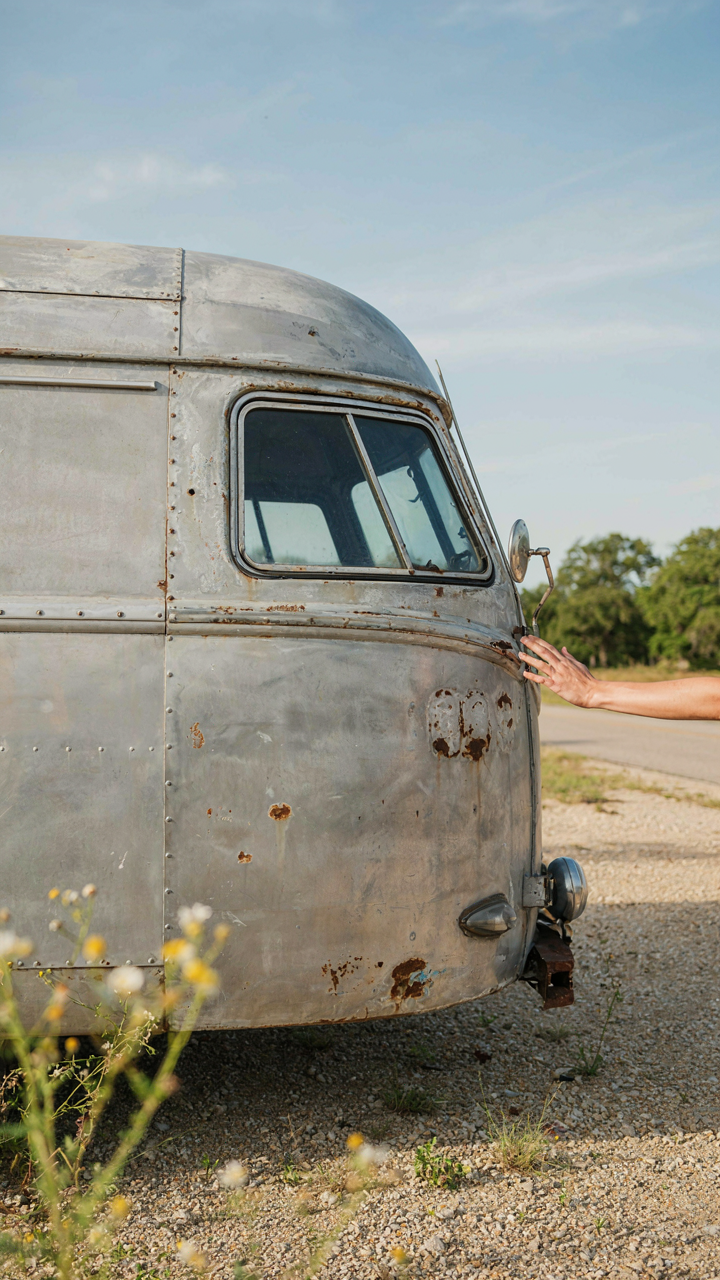
Read The Surface Before You Sand It

You want permission to leave it rough. That’s the real question hiding under this section. The mechanism is simple: existing paint tells you what happened to this camper, and that information determines whether stripping it down costs you money or saves it. Aluminum oxidation, UV damage, and adhesion failure each look different and demand different responses. You need to read the surface like an archaeologist before you touch it.
Start by identifying what you’re actually looking at. Press a coin edge into suspect areas to test adhesion. Spray water on the hull and watch where it beads or pools—that reveals where the topcoat failed. Use a paint thickness gauge if you have access to one. Chalking, flaking, and bare metal spots are restoration triggers. Uniform fading with sound adhesion means preservation becomes viable. The difference between these two states determines your timeline and budget immediately.
The Layers Underneath Hold The Real Story
Paint doesn’t just wear randomly—it documents every climate it survived and every failed repair attempt someone made before you owned it. Vintage trailers and campers typically wore lacquer or acrylic enamel in factory days, then got covered with polyurethane, urethane, or single-stage modern paints across decades. Each layer bonds differently to aluminum, and each fails at different temperatures and UV exposure rates. This is materials archaeology: one paint failure pattern tells you what substrate failed, not just what topcoat gave up.
Strip a small inconspicuous section down to bare aluminum. Document what you find. Multiple paint layers with poor adhesion between them indicate previous owners applied new paint over old without proper surface prep—a common mistake on vintage builds. Bare aluminum showing corrosion pitting tells you the substrate itself may need addressing before any new finish goes on. Sound lacquer underneath salvageable clearcoat means you preserve that layer and build from there. This single inspection step eliminates guesswork about whether restoration or preservation makes economic sense.
The “Archeological Layer” Method For Exterior Travel Trailer Makeover
Mask Before You Prime

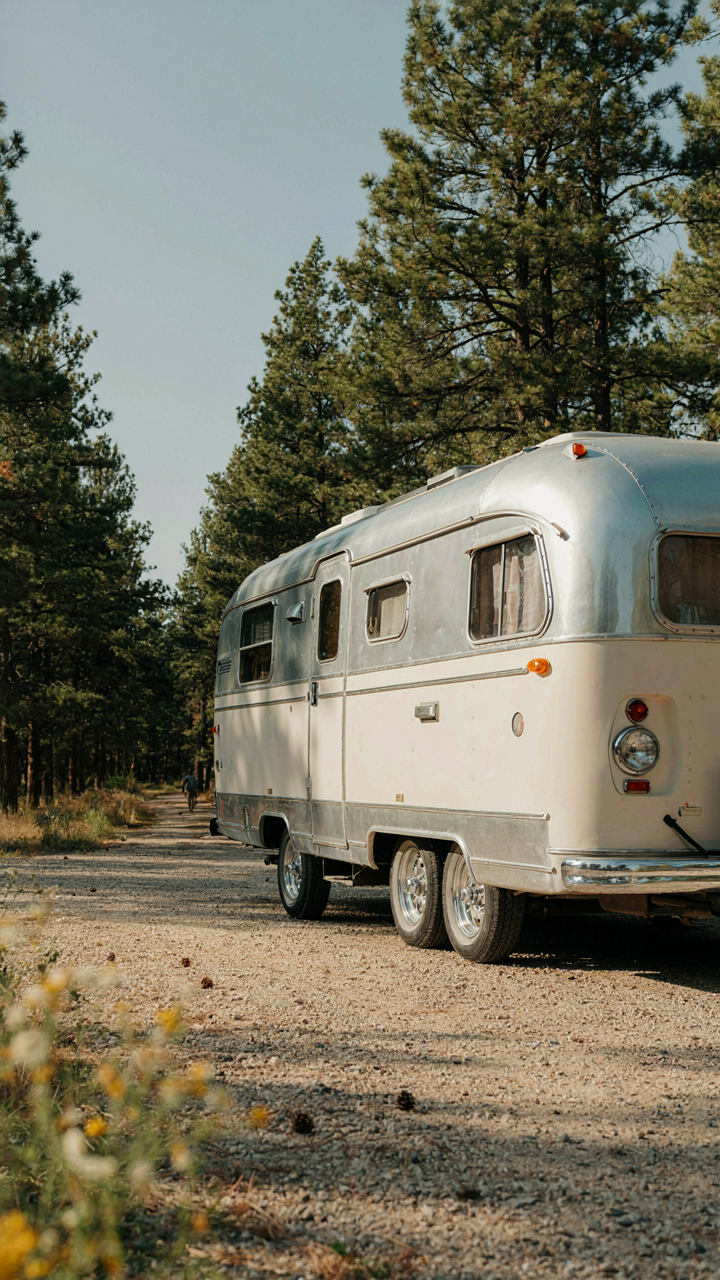
You want people to think your trailer belongs in a carefully curated vintage collection, not a backyard project gone wrong. The real mechanism here is optical separation: crisp lines between colors and materials trick the eye into perceiving intentionality and craft. Sloppy masking kills that effect faster than bad paint choice.
Start masking 48 hours before priming. Use painter’s tape rated for exterior use and press it firmly along trim, windows, and any hardware you’re not painting. The common mistake is taping too close to the edge you want to preserve. Offset your tape 1/16 inch away from the line you’re protecting so the paint edge lands exactly where you intended, not bleeding under the tape or leaving a paint-free strip that reads as amateurish.
Build Depth Without Drowning The Surface
Layering in paint application works like geological stratification: each layer sits on the one below, and pressure matters. Too much paint at once creates runs that pool in valleys and drips that harden mid-fall, leaving permanent texture errors. Too thin spreads, and you get patchiness that requires four coats instead of three.
Apply each coat at 50 percent opacity. This means one coat of primer should show substrate shadow, one coat of base color should show primer tone, and one final coat should achieve full coverage with depth. Use a roller with a 3/8-inch nap for smooth trailer skin. Roll in overlapping W patterns rather than straight lines to distribute paint evenly without lap marks. The goal is build, not flood: each pass adds material without creating surface tension that causes runs.
Beyond The Brush: Advanced Application For Rv Remodel Exterior Paint
The Spray Method: Why It Matters

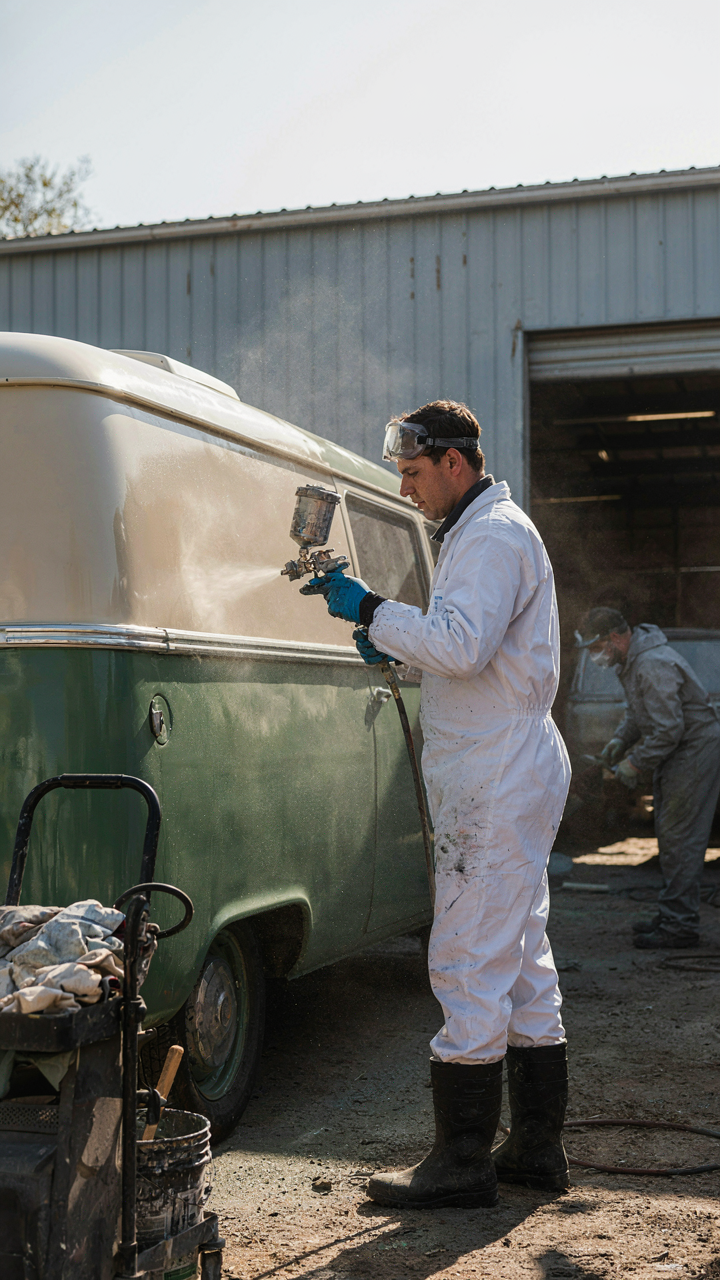
You want this done right because a botched paint job screams amateur. That’s the real mechanism at play here. Spraying delivers factory-smooth finishes because it atomizes paint into microscopically fine particles that land flush against the substrate with zero brush marks or roller stipple. The spray gun applies uniform mil thickness across curved surfaces that hand tools can’t reach consistently.
HVLP (high volume low pressure) sprayers dominate RV work because they minimize overspray and material waste on the unforgiving camper geometry. Airless sprayers push thicker coatings and work faster, but require skill to avoid runs on vertical walls. The spray pattern should move parallel to the surface in straight lines, overlapping each pass by 50 percent to eliminate holidays (missed spots). Most pros use 25 to 40 PSI for acrylic latex on aluminum, adjusting for ambient temperature and humidity.
Rolling And Brushing Done Right
The consensus that rollers and brushes can’t match spray quality is half true. They can match it, but only if you understand substrate preparation eliminates most of the difference. Use a three-eighths inch nap microfiber roller on flat panels, never natural bristle which absorbs moisture and swells. Apply paint in overlapping figure-eight patterns, then roll out in one direction to flatten the nap texture before it sets.
Synthetic angled brushes work for trim and corners where rollers won’t reach. Paint accumulates at brush edges if you reload the bristles mid-stroke, so brush out toward the wet edge instead of back into it. A wet edge remains critical regardless of tool. On a vertical camper side, work in horizontal sections, top to bottom, maintaining a wet boundary so each new section blends seamlessly into the previous one without lap marks.
The Detail Dialect: Small Touches, Big Impact On Exterior RV Paint Ideas
Decal Reproduction And Authentic Graphics

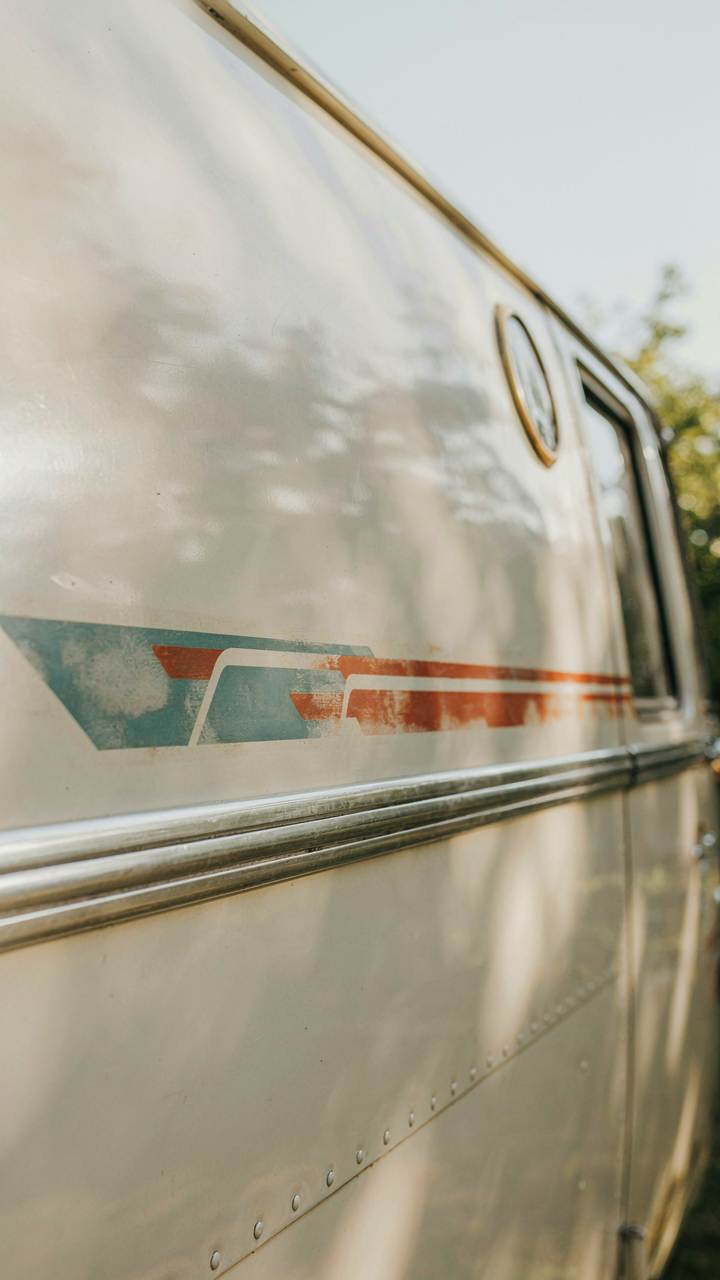
You want people to know your camper is legitimately vintage, not a guess. The mechanism is signal: decals work because they’re harder to fake than paint, so they authenticate the entire restoration in one glance. Original decals from the 1960s and 1970s used vinyl or lacquer-based inks applied over the base coat, then sealed. They’re not stickers. They’re permanent graphics printed directly onto treated surfaces or applied as transfers that cured with the paint system.
Finding accurate reproductions means sourcing from manufacturers who studied original camper documentation, not copying blurry photos from online forums. Vintage Lines, Airstream decal specialists, and regional RV archives provide historically accurate artwork. The placement matters as much as the design. Decals positioned too high, too low, or asymmetrical kill credibility instantly. Research the exact model year and regional variant of your camper, then match the decal placement to factory records or surviving original examples from that production run.
Chrome, Aluminum, And Rubber Restoration
This isn’t detailing. It’s structural authenticity. Design language in vintage campers relied on metal trim and rubber seals to communicate era and quality, so deteriorated trim reads as neglect across the entire exterior. Chrome typically flaked due to base metal corrosion, while aluminum oxidized to dull gray. Rubber trim hardened and cracked from UV exposure. Replace what you can’t restore. New reproduction trim exists for popular models like Airstream, Shasta, and Yellowstone, but verify it matches your specific year and production line before ordering.
For chromework that’s still sound, polish and seal it rather than re-chroming unless the base is pitted beyond recovery. Re-chroming costs 400 to 800 dollars per section and rarely justifies itself on mid-range restorations. Aluminum trim gets cleaned with fine steel wool and clear-coated acrylic to prevent re-oxidation. Rubber seals and trim gaskets dry out and lose grip over decades, so budget for complete replacement of all perimeter sealing during a full repaint. Install new rubber before final paint work completes to avoid paint contamination during trim installation.
The Longevity Leverage: Protecting Your Fresh Vintage Look
Why Clear Coat Matters More Than Base Color

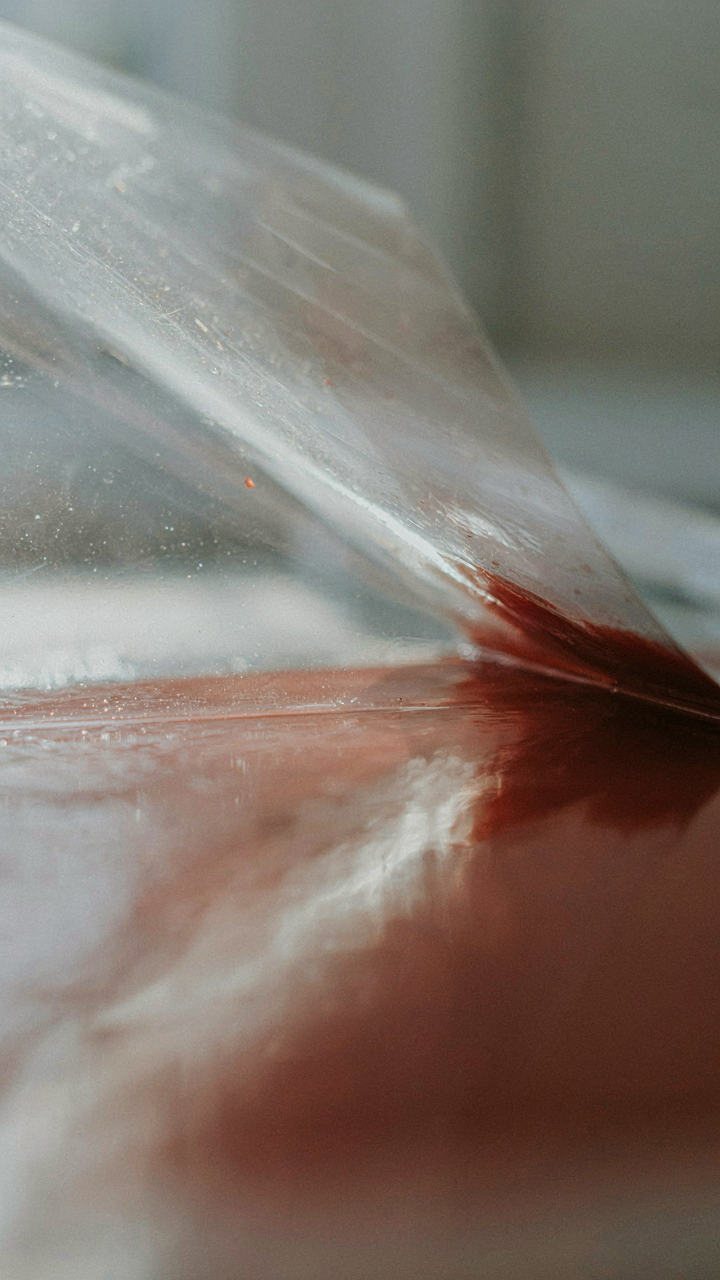
You care about this section because you’re afraid of watching your investment fade in two years. The real mechanism is simple: clear coat is a sacrificial barrier that oxidizes instead of your base paint. UV rays don’t discriminate between vintage and modern finishes. A quality clear coat absorbs that damage first, extending the lifespan of your color underneath by years.
Most camper owners skip clear coat or cheap out on application thickness. Two to three mils of quality urethane or acrylic clear coat creates actual protection. Thinner applications fail faster and leave you looking at bare base paint by year three. The clear coat yellows and chalks over time, but that’s its job—it takes the hit so your vintage aesthetic survives.
Wash, Wax, Inspect, Repeat
Maintenance protocols aren’t optional extensions of paint care—they’re the difference between five-year and fifteen-year finishes. Wash your camper quarterly with pH-neutral soap and soft brushes to remove salt, bug residue, and oxidation buildup. UV damage accelerates when contaminants sit on the surface. A carnauba or synthetic wax applied every six months restores the clear coat’s water-beading properties and adds another micro-layer against UV exposure.
Inspect for hairline cracks or chalking every season, especially around seams and trim. Cracks expose base paint to moisture and oxidation compounds. Address them immediately with touch-up paint and clear coat to prevent spreading. This isn’t cosmetic—it’s stopping the mechanism of failure before it compounds. Catch damage early, and your vintage paint holds another decade.
The True Obstacle Isn’t Choosing A Color; It’s Settling For ‘good Enough’ When Your Rig Deserves Enduring Character
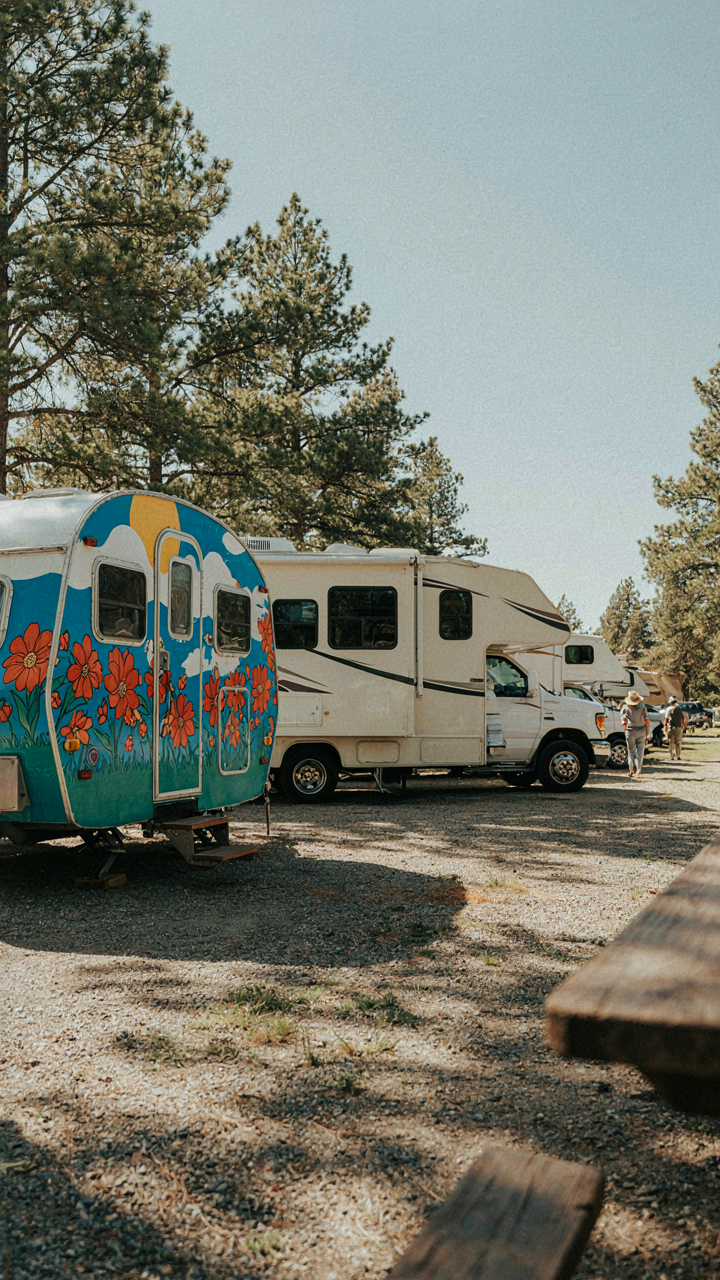

Most people pick camper exterior paint the way they pick everything else: fast and forgettable. They choose what looks acceptable today and ignore what it’ll look like in two years. Your rig is a statement, not a commodity. Stop treating paint selection like a checkbox and start treating it like a decision that defines how you move through the world. Pull up three paint samples you actually love today, not the ones that seem safe. Your camper’s character either attracts the right people or attracts no one at all.



