

The Rot Protocol: Exposing Hidden Decay In Vintage Campers
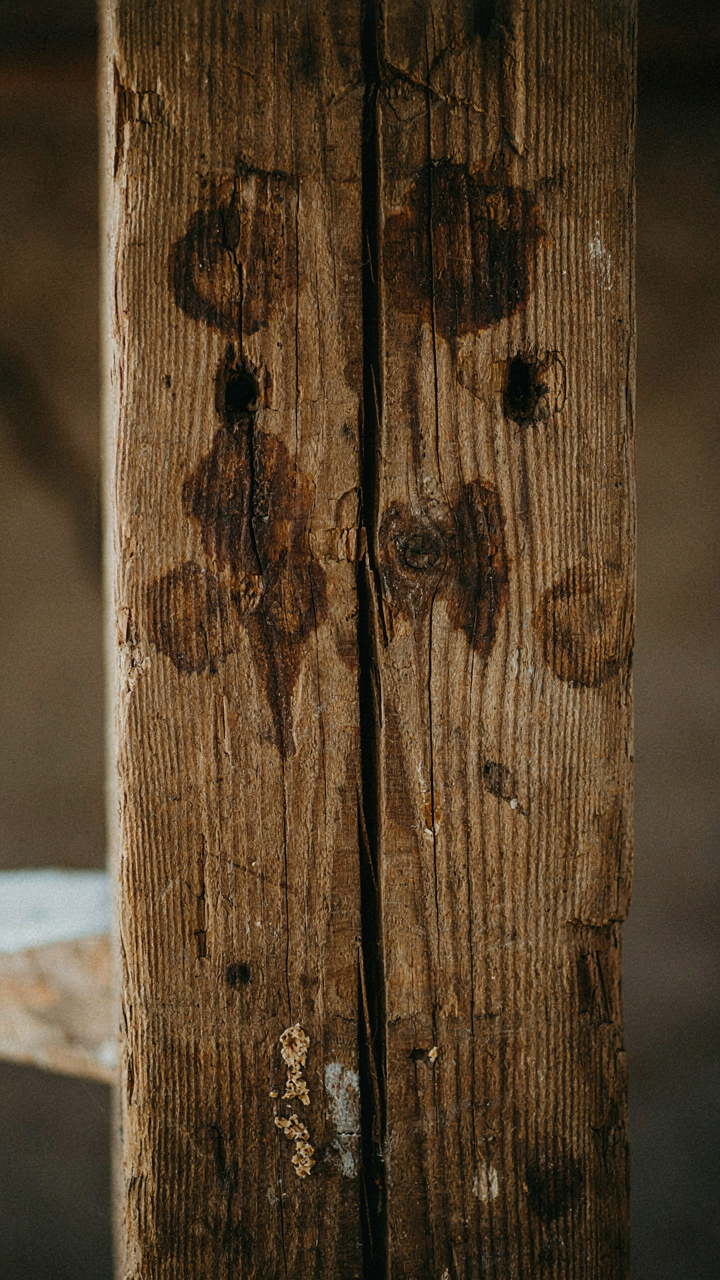
Where Water Hides In Plain Sight
You’re worried you’ll miss something catastrophic and end up pouring money into a money pit. The mechanism is simple: water doesn’t announce itself. It travels along grain, pools in cavities, and freezes and thaws for years before visible damage surfaces. Most people eyeball the exterior and call it good. That’s backwards. Water diagnostics work like forensic pathology—you need to trace the entry points and follow the path to the corpse.
Probe the undercarriage first with a screwdriver or awl. Press hard into the floor pan, frame rails, and cross members where wood framing sits above metal. Soft spots mean active or recent water migration. Check the seams where walls meet the floor, where the roof meets the walls, and where windows and doors frame the exterior. These joints are where manufacturers cut corners in vintage campers. If the probe sinks without resistance, decay has already compromised structural fiber. Don’t rely on moisture meters alone—they read surface dampness, not deep rot inside a wall cavity.
Steel Bones Over Surface Paint
Common advice tells you to look for rust stains and dents. That’s incomplete. Structural integrity in vintage campers follows the same principle as bridge engineering: you’re only as strong as your load-bearing members, not your cosmetic covering. Rust that looks surface-level often tunnels inward, creating hollow spots that crumble under pressure.
Request or perform a frame inspection by running a magnet along suspected rust zones. Pitting you can’t see means internal corrosion. Tap the frame with a hammer in multiple spots—listen for the ring. A dull thud signals weakened metal. Check the connection points where the frame bolts to the floor and where the axle mounts. Vintage campers from the 1960s and 1970s used galvanized or bare steel that corrodes predictably. A compromised frame member doesn’t restore—it replaces. That’s the difference between a project and a rebuild. Don’t guess on this step. Hire a welder or mechanic to do a frame evaluation before purchase.
The Underframe Integrity Audit: Foundation First For Camper Restoration
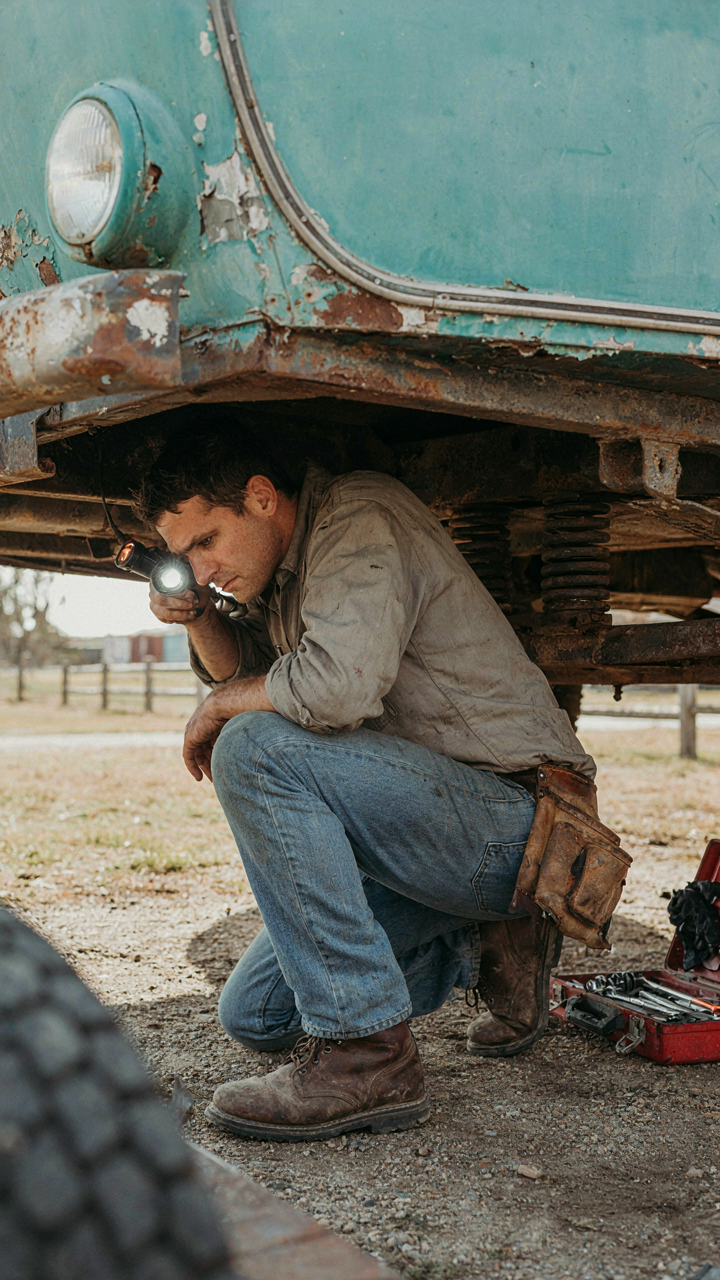
Chassis Inspection: Where Rot Actually Hides

You want to skip this because it feels like work before the fun starts. The real mechanism is simple: a camper’s frame carries structural load through tension and compression, not unlike a bridge. Where that frame fails first is where water pools and sits, usually at seams and attachment points rather than flat surfaces. Most people scan the obvious spots and miss the kill zones.
Start from underneath with a moisture meter and a probe. Vintage campers from the 1960s through 1980s used steel channel frames welded to sidewalls, often with minimal drainage design. Look at the perimeter seals where the floor meets the exterior wall, the underside of the wet bay, and where the hitch connects. Tap suspect areas with a hammer. Solid metal rings cleanly. Rotted metal sounds dead and soft. Document everything with photos before you assume repair costs.
Axle, Suspension, And Brake System Overhaul
Don’t assume worn brakes or soft springs are cosmetic problems you’ll handle later. These systems determine whether the camper stops and tracks straight when loaded and moving. Failure here doesn’t mean slower travel. It means no control.
Pull wheels and inspect brake drums or rotors for scored surfaces and uneven wear. Check brake fluid for water contamination and discoloration. Measure spring sag by comparing both sides. A camper that leans toward one side under weight needs both springs replaced simultaneously, not one at a time. Test wheel bearings for play and listen for grinding. Axle seals leak from age and heat. Replace all seals while drums are off. New brake lines, wheel cylinders, and pads cost less than a rollover.
Beyond Pinterest: The True Cost Of A Vintage Camper Remodel

Hidden Expenses For Old Trailers

You’re scrolling restoration photos and calculating what you’ll spend, but you’re really calculating what you hope to spend. The mechanism is simple: old trailers hide their damage. You can see the rust, the soft floor, the cracked vinyl. You cannot see the structural failures until you remove layers. The frame might be compromised. The plumbing might run through walls you’ll need to tear open. The wiring might require complete replacement because it’s knob and tube or deteriorated aluminum.
Every vintage trailer built before 1980 has one certainty: materials failed differently then. Aluminum oxide corrosion attacks from inside out on older frames. Rubber roof seals harden and crack within fifteen years regardless of care. Water doesn’t just sit on damage, it migrates sideways through framing for years before the evidence shows. Budget for discovery, not just repair. If you allocate seventy percent of your funds to visible work, you’ll run out of money when you find what’s hidden.
Financial Buffer For Structural Failures
Structural failure in restoration terms means this: the load-bearing components cannot support the trailer’s own weight or basic use. Economics calls this concept leverage, where small initial problems compound into exponential costs. A soft spot in the floor joist means rot has already spread further than visible. Replacing one joist requires checking adjacent joists. That inspection reveals more rot. The floor pan rust connects to frame rust. Suddenly your floor project becomes a frame project.
Set aside thirty to forty percent additional funds as your structural buffer, untouched until discovery. Track every dollar you spend against your contingency total. When you open a wall and find the water damage runs six feet further than expected, you need money to respond immediately, not permission to stop. The worst vintage camper decisions happen when cash runs out mid-project and the trailer sits exposed. Incomplete work accelerates deterioration. Finish what you started or don’t start at all.
Skill Acquisition Imperative: Stop Faking It For Vintage Trailers Restoration
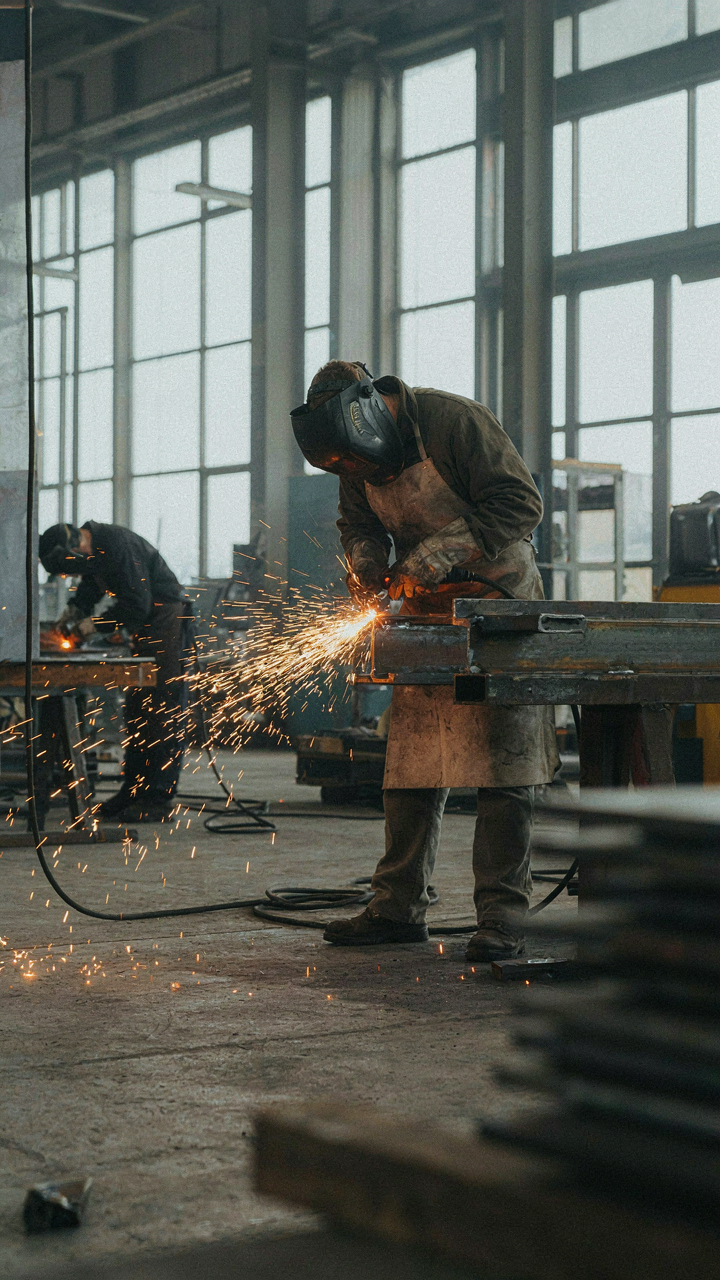
The Three Systems You Cannot Bluff Your Way Through

You want to believe you can YouTube your way to competence before something breaks mid-project and costs you thousands. The reality is simpler: welding, electrical, and plumbing are load-bearing systems. In structural engineering, load-bearing means the whole thing collapses if one component fails. Your vintage trailer’s water integrity, fire safety, and structural soundness depend on these three trades done right. Half measures create invisible problems that emerge months later.
Welding on a trailer frame isn’t decorative. A failed seam means delamination, frame failure, or water intrusion into the chassis. Electrical systems in campers run on tight tolerances because amperage is limited and fires spread fast in enclosed spaces. Plumbing mistakes destroy wood subfloors and create mold colonies you won’t see until rot has already won. These aren’t skills you acquire by watching videos between other tasks. They require supervised practice, material cost acceptance, and the willingness to restart work when your first attempt fails.
Know Your Actual Threshold Before Hiring Out
Most people hire specialists when they run out of time, not when the work requires it. That’s backwards. The threshold should be competency, not scheduling. If you’ve never run a bead, soldered a joint, or crimped an electrical connector under real conditions, you don’t have the calibration to do it safely on a structure that will contain you and your family.
Hire specialists first on the systems that affect safety and structural integrity. Learn plumbing basics on practice setups using scrap PEX or copper. Practice welding on scrap metal away from the trailer. Take a weekend electrical certification course if you want hands-on work. Then, and only then, decide what you’ll handle yourself. Your time is worth something, but your camper’s habitability and your safety are worth more. The protocol is straightforward: assume you need to hire the first time on any system, then earn the right to do it yourself through deliberate practice on non-critical installations.
The Tooling Investment Strategy For Refurbished Trailer Projects
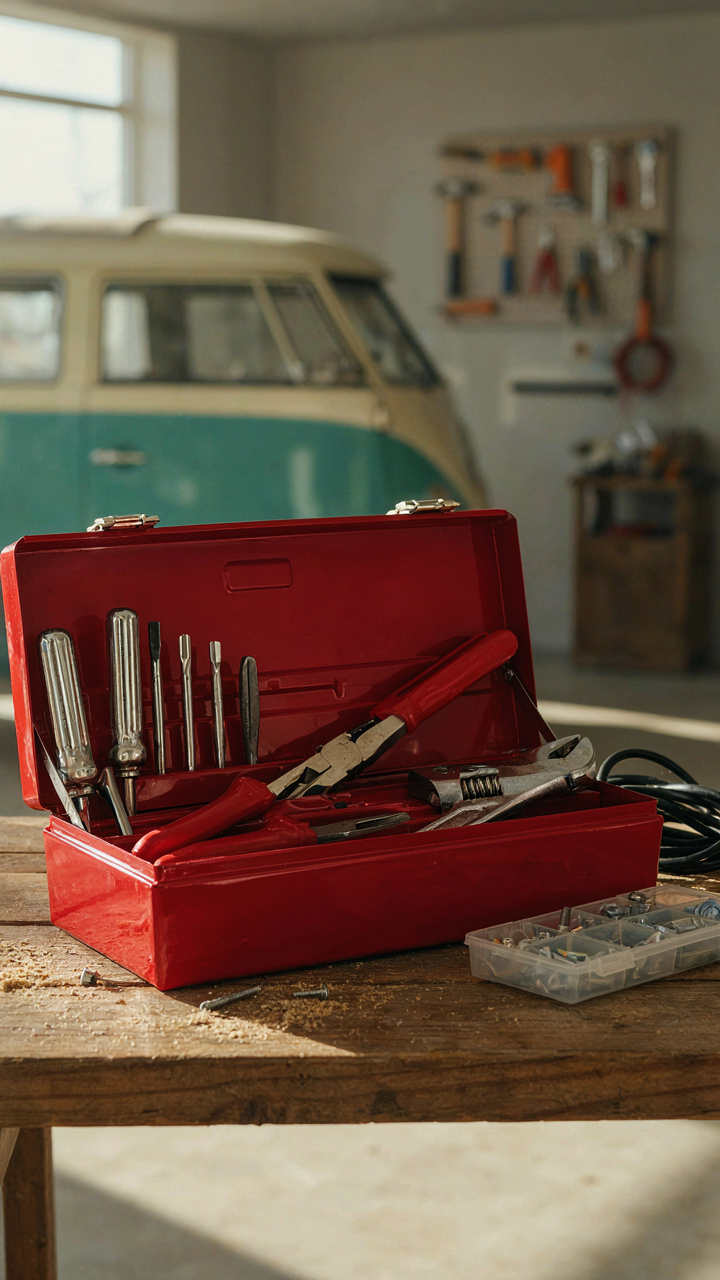
The Tools That Actually Matter

You want to believe buying the right gear will make you competent faster. It won’t. But the right tools eliminate the fake work that masquerades as progress. Think like supply chain logistics: you need bottleneck equipment first, then everything else follows. A vintage camper restoration has one constraint—the fasteners and structural damage you can’t access or fix without specific tools.
An air compressor becomes your system’s backbone. Rivet guns, angle grinders, and pneumatic sanders depend on it. Without compressed air, you’re hand-fastening panels that vibrate apart within seasons. Buy a quality 60-gallon unit rated for sustained output, not the garage sale special that cycles constantly. This one decision determines whether your restoration holds or fails.
- Air Compressor (60+ gallon, oil-lubricated): Sustains pneumatic tool output without thermal shutdown. Handles riveting, sanding, and fastener work across a full restoration cycle without interruption or overheating.
- Pop Rivet Gun: Fastens aluminum skin panels permanently without drilling through structural supports. Most vintage campers used rivets instead of welds—you replicate original methods or panels separate under road vibration.
- 4.5-inch Angle Grinder: Cuts rusted fasteners, removes damaged aluminum, and prepares seams for patching. One tool does demo work that would take hours with manual alternatives.
- Pneumatic Orbital Sander: Levels exterior panels before resealing without gouging aluminum skin like DA sanders can. Consistency matters when your camper’s value depends on surface prep.
- Reciprocating Saw with Metal Blades: Cuts through corroded frame sections and rotted wood framing quickly. Precision cuts reduce patch panel complexity and structural compromise.
Most people buy these tools after wasting a month with hand tools and borrowed equipment. You lose money in time and make mistakes that cost more than the tools. Start here.
Buy Capability, Not Aesthetics
The consensus says restore the interior first—cabinet refinishing, upholstery, stainless trim. Wrong. That’s decorating a house that’s actively rotting. You’re funding cosmetics while structure deteriorates, which means your restoration compounds problems instead of preventing them.
Water infiltration kills vintage campers. Seals fail, aluminum corrodes, wood rots. You stop this with exterior tools: caulking guns, prying bars, patching equipment. Interior upgrades mean nothing if the shell leaks. Every dollar spent on wood cabinets before sealing the roof is money you’ll spend twice. Prioritize tools that address structural and weather resistance first—air compressors, grinders, sanding equipment. These prevent catastrophic failure. Interior tools come after the envelope is sound. This sequence is non-negotiable. Don’t finance your restoration backwards.

Material Science: Durability Over Aesthetics For Vintage Camper Interior
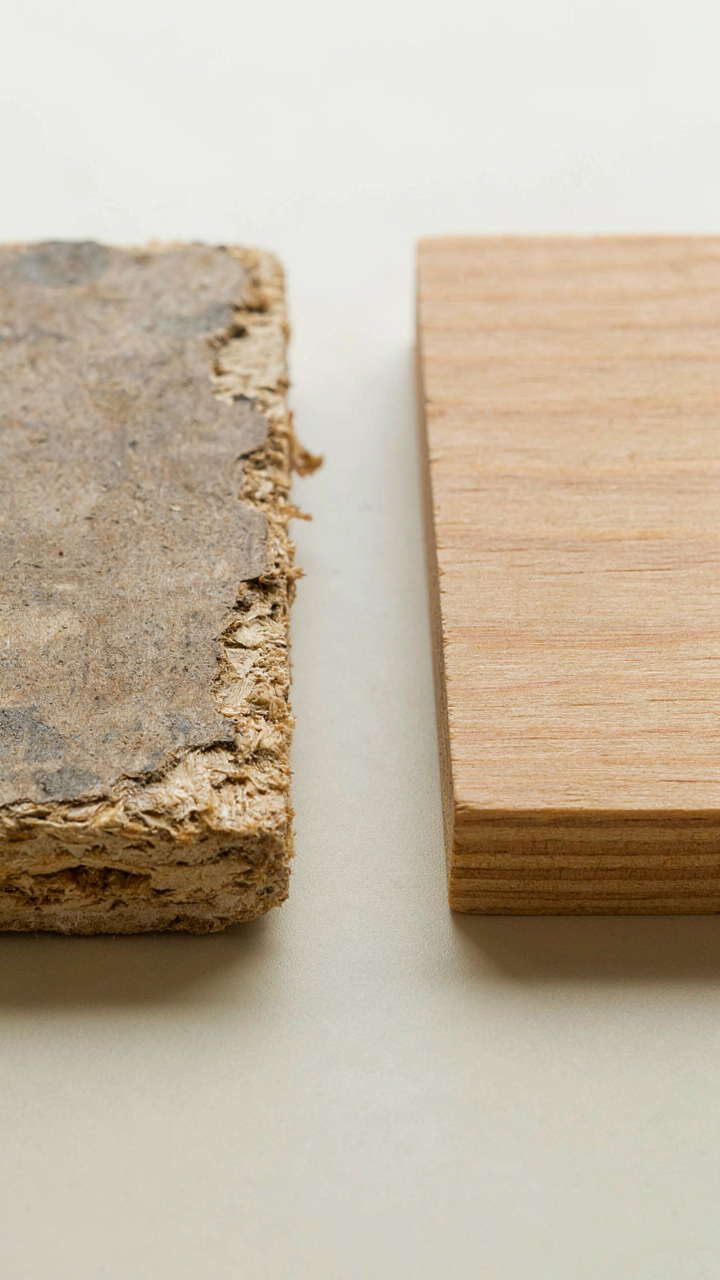
Marine Grade Plywood Over Particle Board
You want your restoration to look factory-fresh for Instagram. That’s the real reason you care about interior materials. But here’s the mechanism: particle board absorbs moisture like a sponge and fails structurally within five years in a camper environment. Marine-grade plywood resists this degradation because its cross-laminated veneer construction distributes moisture stress across multiple grain directions, not along a single compressed-fiber axis like particle board does.
Particle board was cheap filler in vintage campers because manufacturers prioritized upfront cost. It swells, delaminates, and rots. Marine-grade plywood costs more upfront but holds cabinet geometry, floor structure, and wall panels stable for decades. The difference isn’t cosmetic. When you rebuild cabinets, walls, or the floor substructure, specify marine-grade or cabinet-grade plywood only. This one material choice eliminates the majority of structural failures that force total interior rebuilds.
Sealants And Adhesives For Long Term Water Resistance
Most vintage camper restorers treat sealant selection as an afterthought. It’s not. The adhesive and sealant system determines whether your restoration lasts five years or twenty. Polyurethane-based sealants expand and contract with temperature and humidity fluctuations inside a camper, maintaining a watertight seal where silicone hardens and cracks. Use polyurethane sealant for all exterior seams, window frames, and roof penetrations where movement is inevitable.
For adhesives, epoxy outperforms construction adhesive because it doesn’t rely on moisture to cure and won’t fail if water gets trapped in the joint. Apply epoxy when bonding plywood to aluminum frames or securing interior panels. Silicone adhesive fails in high-vibration environments and where heat cycling occurs. After sealing seams, test for leaks by running water along the joint at camper angles. Only move forward once the joint holds for 48 hours without seepage.

The Scope Creep Containment Protocol For Vintage Camper Ideas

Define Your Stopping Point Before You Touch Anything
You want permission to keep going because stopping feels like failure. Here’s the mechanism: once you disassemble a vintage camper, your brain stops seeing constraints and starts seeing possibilities. Every opened wall cavity becomes a argument for rewiring. Every rotted floor panel becomes justification for a full gut renovation. The real decision isn’t what to restore—it’s what you’ll leave alone.
Write down three things before you touch a tool. What condition will you accept in the interior? What systems stay original versus what gets replaced? What’s your actual budget, and what’s your real deadline? These aren’t suggestions. They’re guardrails that prevent you from becoming the person who bought a 1972 Airstream to restore the bathroom and sold it four years later with exposed studs and no functioning plumbing.
Feature Creep Kills More Restorations Than Money Does
The common advice says “keep it original.” That’s incomplete. The real problem is that every original feature you discover becomes a benchmark for “while we’re in there” upgrades. You find the factory cabinetry needs reinforcement, so you add soft-close hinges. You see the original water system, so you add tankless heating. You notice the roof, so you add solar. Each decision feels rational in isolation. Combined, they transform a six-month project into an eighteen-month money pit.
Set a feature budget before work starts, not after. Decide now: will you upgrade plumbing, electrical, climate control, or kitchen? Pick one category maximum. Everything else gets cosmetic treatment or stays as-is. This isn’t about being purist—it’s about shipping the project. Document your constraint in writing and reference it when temptation arrives. The restoration succeeds when you finish it, not when it reaches theoretical perfection.

The Cybernetic Feedback Loop: Adapting Your Retro Camper Makeover

Measuring Real Progress, Not Perceived Progress
You want to believe you’re making progress because standing still feels like failure. The mechanism that kills most restorations is treating the project as linear when it’s actually cyclical. Cybernetics—the study of self-regulating systems—teaches us that feedback loops control outcomes, not intentions. Your camper restoration needs the same principle: constant measurement against reality, not against your initial plan.
Most restorers measure progress by tasks completed. Wrong metric. You should measure by whether each decision reduces future friction or creates it. A fresh paint job feels like progress. Discovering hidden rot underneath means you’re actually making progress because you’re now solving the real problem instead of the visible one. The difference determines whether you finish or abandon the project halfway through.
Pivoting Resources When Reality Shifts
Everyone says “stick to your budget,” which is advice for people who don’t actually restore campers. Resources—time, money, skill—need to move toward the actual constraint, not the original constraint. You estimated eight weeks for floor repair and discovered the subframe is compromised. That’s not a setback. That’s information telling you where your real bottleneck lives now.
Adaptive resource allocation means you stop treating your initial plan as law. You identified the floor first because it’s visible. The frame failure was always there, just hidden. Shift your budget line item for plumbing toward structural repair. Reassign weekend hours from interior cosmetics to foundation integrity. The camper tells you where it needs work if you inspect before you decide. Follow what breaks, not what you planned to fix.

Resale Reality: Maximizing Value In Your Vintage Travel Trailer Renovation
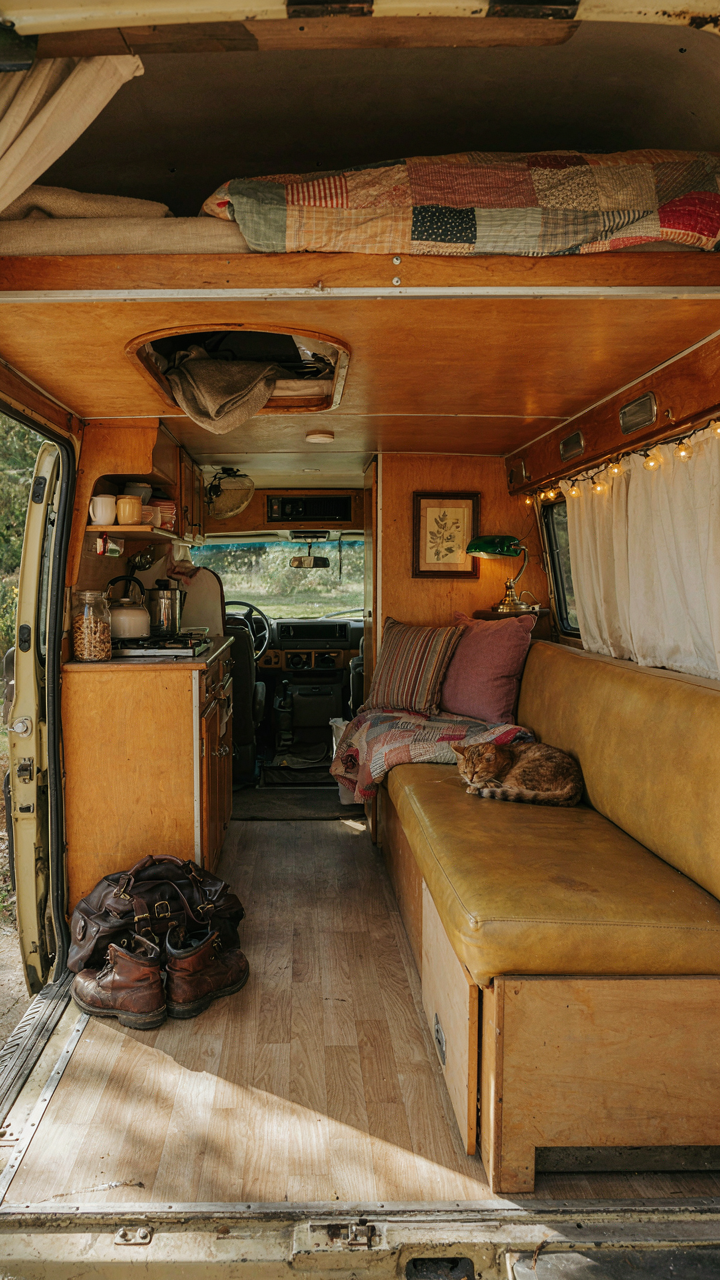
What Actually Sells In The Used Market
You want proof your restoration was worth the money and time. The real mechanism is this: vintage camper value tracks with specificity, not perfection. Buyers in this market aren’t looking for pristine museum pieces. They want functional authenticity paired with evidence of competent work. A well-executed restoration in a desirable model year with transparent documentation outsells a spotless frame-off rebuild of an unpopular floorplan every time. Model selection matters more than execution quality.
The Airstream market proved this years ago. A 1970s Safari with original interior maintained and systems upgraded sells faster than a heavily modified shell, even if the modification is technically superior. Buyers of vintage rigs want to know what they’re buying hasn’t been frankensteined beyond recognition. Stick to improvements that align with the camper’s original design language. Avoid trendy finishes that date quickly. Original materials and period-correct components hold value longer than contemporary swaps.
Build A Record, Not Just A Camper
Documentation works like forensic evidence in economics. It removes uncertainty from the buyer’s side of the transaction, which directly reduces the risk premium they’ll discount from your asking price. Every material choice, repair, and system upgrade you photograph and date becomes proof of stewardship. This shifts the narrative from “I hope this holds up” to “here’s exactly what was done and when.”
Create a file that travels with the camper. Include receipts, part numbers, before-and-after photos of major work, and a timeline of maintenance. Note which original components remain and why you replaced others. Video walkthroughs of mechanical systems working reduce buyer hesitation about hidden failures. A restoration backed by a physical record sells for 15 to 20 percent more than an identical unit with a verbal history. The document becomes the asset, not just the camper.
The Only Thing Holding Back Your Vintage Travel Trailer Renovation Is Your Lack Of Structural Integrity (yours, Not The Trailer’s)
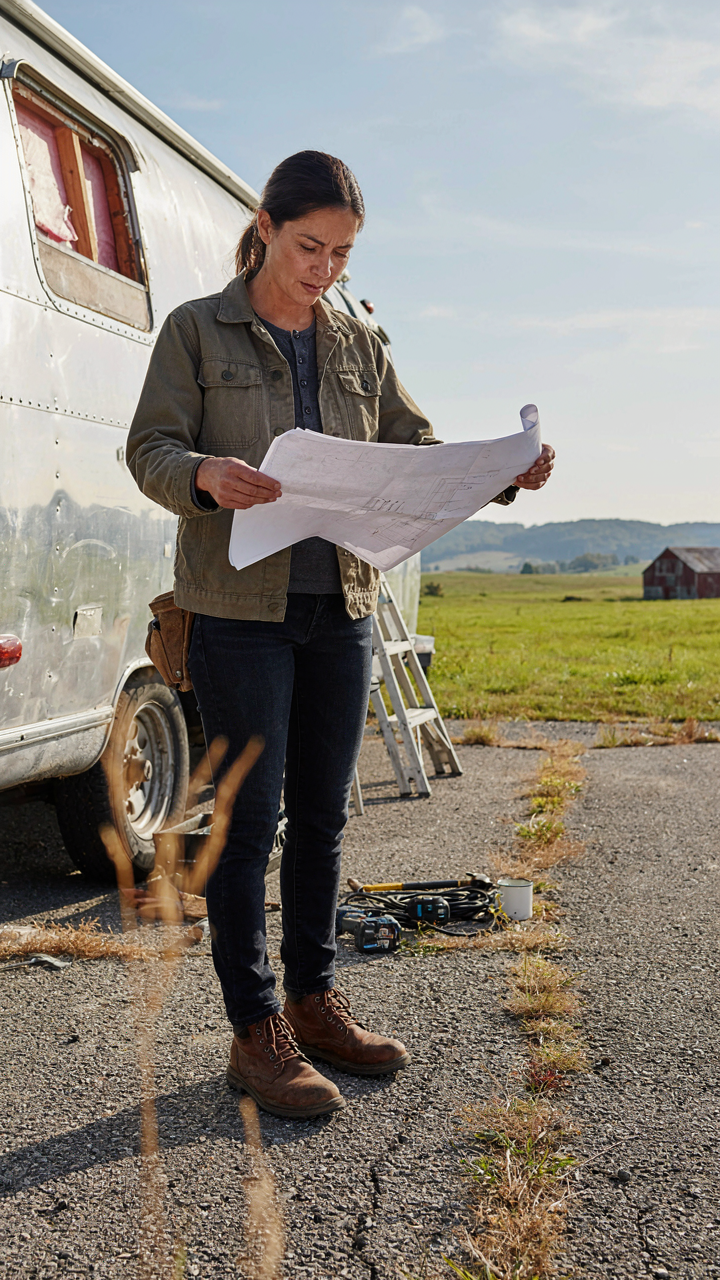
You know what kills most vintage camper restoration projects? Not rot. Not cost. Not complexity. It’s the moment you realize you have to make a real decision and stick with it. Stop researching and start. Pick one system, one repair, one weekend. Commit to finishing it. Your trailer doesn’t care about perfection. It cares that you showed up and didn’t quit when the work got boring. The campers that get restored aren’t better than the ones that don’t. Their owners just have thicker skin.



