

Why Your Current RV Window Insulation Ideas Are Failing You

You’re Fighting The Wrong Enemy
You want to believe that slapping reflective film or heavy curtains on your windows will solve the problem because it feels like control. It won’t. Here’s the mechanism: heat loss through RV windows operates on two separate physics channels—conduction and radiation—and most people address only one while ignoring the dominant pathway. Conduction is direct heat transfer through the glass material itself. Radiation is thermal energy that passes straight through transparent glass without heating it. Your standard window setup bleeds energy through both channels simultaneously, which means partial solutions fail spectacularly.
Single-pane windows, standard in most RVs, have an R-value between 0.9 and 1.0. That’s barely above nothing. Double-pane windows jump to roughly 1.5 to 2.0. The gap matters because conduction happens aggressively through thin glass, especially when outside temperatures drop. But here’s what trips people up: even a perfect seal against conduction still loses heat through radiation because glass is almost completely transparent to infrared energy. You can’t block what passes through invisibly. Most insulation attempts ignore this split entirely and wonder why their rig still freezes at night.
The Price You Pay For Band Aid Solutions
Ineffective window insulation doesn’t just cost you comfort—it costs you fuel, water, and decision-making bandwidth. An uninsulated or poorly insulated RV window forces your heating system to work harder to maintain interior temperature, which burns propane or electricity depending on your setup. That expense compounds over weeks or months of cold weather camping. Beyond fuel, condensation builds aggressively on cold windows, which promotes mold growth on seals and frames, leading to structural damage that becomes expensive to repair.
The hidden cost is psychological friction. You keep adjusting curtains, applying temporary fixes, and second-guessing your setup instead of having a working system. That mental load drains energy you should spend on actually using your rig. The mechanism is straightforward: poor insulation creates a thermal gradient at the window surface, moisture in interior air condenses on the cold glass, and that moisture migrates into seals and frame materials over time. Repair costs for window frame rot or seal failure run into hundreds of dollars. Fix the insulation pathway first, not after damage appears.
The Thermal Barrier Protocol: Real RV Window Insulation
How Heat Actually Escapes Your Windows

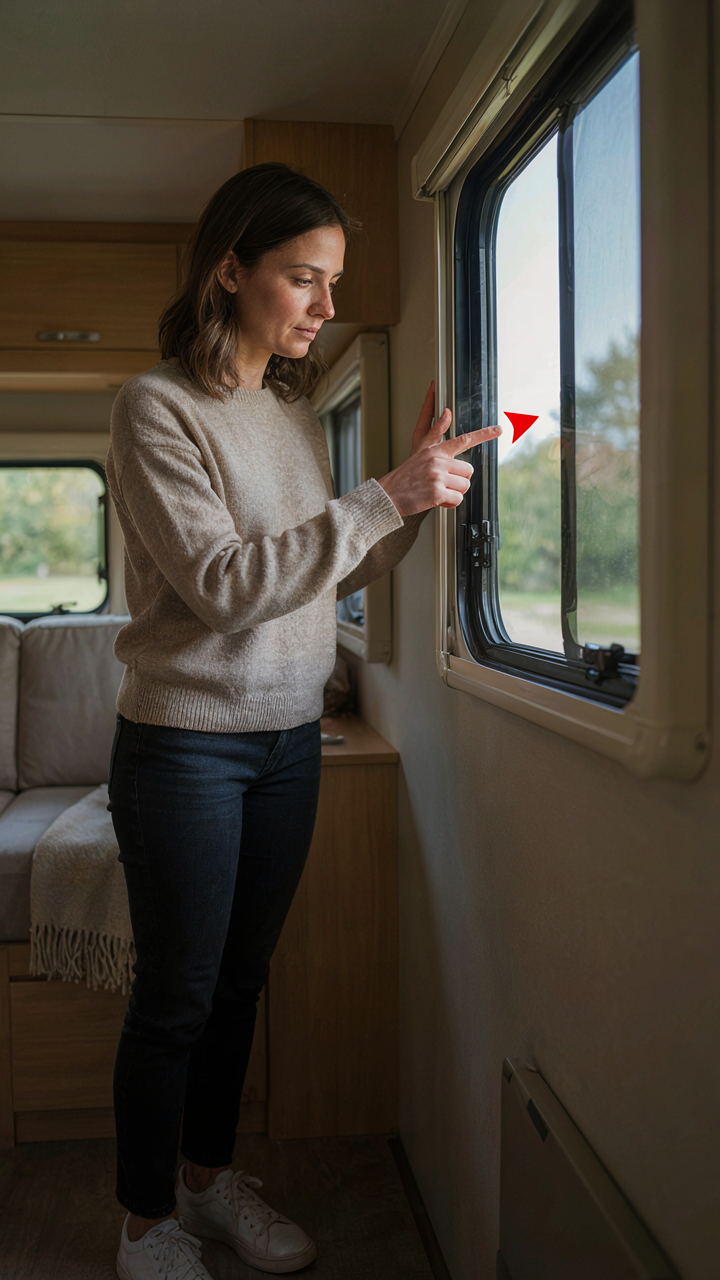
You want RV window insulation to work because you’re tired of feeling cold air leak past the glass while your heater runs overtime. The truth is simpler than you think: heat leaves your window through three mechanisms borrowed directly from physics, and most people block only one of them. Conduction moves heat straight through the glass itself. Convection pulls warm air across the surface and away. Radiation beams heat directly through the pane into cold outside air.
Standard advice says “use thicker glass” or “add insulation.” That’s incomplete. You need to interrupt all three heat transfer paths simultaneously or you’re leaving gaps the cold exploits. RV windows fail because they’re built thin to save weight, and single-pane designs dominate the market. A thermal barrier protocol means layering your defense to stop each mechanism at its source, not just patching one hole while two others stay open.
Stopping Conduction, Convection, And Radiation
Conduction is the enemy you can actually control. It moves heat through solid material, so you block it by breaking the direct path between inside and outside. Cellular shades with honeycomb chambers trap dead air inside the cells, and dead air has almost zero thermal conductivity. This is the fastest win: a cellular shade rated R2 or higher stops roughly 50 percent of conductive heat loss through the window.
Convection demands a different strategy because it requires air movement. The moment cold outside air touches warm inside air at the window surface, convection starts stripping heat away. Heavy draft tape along the frame edge stops air infiltration before convection begins. Radiation is the third path, and it moves heat like light travels through space. Low-emissivity window film or reflective bubble insulation reflects radiant energy back into the RV instead of letting it escape through the glass. Layer all three and you eliminate the primary routes heat uses to leave.
RV Window Insulation DIY: Materials That Actually Work

What Actually Blocks Heat Transfer

You want this section because you’re tired of cold drafts wasting your propane and making nights miserable, but you’re also afraid of picking the wrong material and throwing money at a non-solution. Here’s the mechanism: heat moves three ways—conduction through solid material, convection through air gaps, and radiation through glass. Most RV window insulation fails because it only addresses one. Thermal resistance, measured in R-value, quantifies how much a material resists conductive heat flow. But R-value alone is incomplete gospel for windows—you need to stop air infiltration and address the radiant loss that straight through single-pane glass like it’s not even there.
The real hierarchy is this: first kill the air leak, then add thermal break material, then reduce radiation if budget remains. Single-pane RV windows conduct heat fast because glass itself has virtually zero R-value. A typical RV window is R-1 to R-2 at best. Your exterior wall cavity might be R-7 to R-15, but that window is the thermal sinkhole bleeding your climate control into the void. Most people skip the infiltration step and jump to buying thick insulation boards that do nothing if air still flows around the frame.
- Reflective Bubble Insulation (R-4 to R-5): Combines air pockets with reflective surface to slow both conduction and radiation. Works best layered inside the window frame, creating dead air space between glass and insulation.
- Rigid Foam Board (R-3.5 to R-6 per inch): Polyiso or XPS foam cut to fit inside the window well. Heavier performance than bubble wrap but requires precise measurement. Denser foam performs better but takes more space.
- Fiberglass Batts (R-3 to R-3.5 per inch): Cheapest option, installed behind interior trim. Absorbs moisture if not sealed properly. Works best in dry climates or with vapor barrier backing.
- Reflective Blocking Film (R-1 to R-1.5): Single-layer material that cuts radiant heat without thickness. Minimal draft reduction but reduces glare and UV damage. Best paired with another method for actual thermal performance.
- Multi-Layer Cellular Shade Material (R-2 to R-4): Honeycomb structure traps air in cells. Deployable and removable unlike permanent foam, but inferior R-value per thickness compared to rigid options.
R-value marketing is deceptive in RV windows because manufacturers list theoretical values for materials tested in lab conditions with no air movement. Real-world RV performance drops 20 to 40 percent due to infiltration and installation gaps. Buy the material, then spend equal effort sealing around it with weatherstripping or caulk. A poorly sealed R-5 board performs worse than a well-sealed R-3 board.
Price Versus Actual Thermal Results
The cost trap is believing expensive equals effective. A reflective bubble layer costs 40 to 60 dollars per window and delivers real results because it addresses multiple heat loss mechanisms simultaneously. Rigid foam board runs 80 to 150 dollars per window depending on thickness and foam type, but only outperforms bubble if you seal it perfectly and if your RV stays parked long enough to justify the labor. Temporary solutions like removable cellular shades cost 30 to 80 dollars and let you deploy them only in winter, cutting waste on warmer months.
Here’s where most people lose money: they buy premium rigid board, install it crooked with air gaps, then abandon the project because it’s permanent and looks wrong inside. Reflective bubble delivers 75 percent of the thermal gain at 40 percent of the cost and installs in an afternoon. The protocol is simple: measure your window well depth, buy reflective bubble that fits, use weatherstripping around the perimeter, check for light leaks, seal any gaps with spray foam or caulk.

The “Boundary Layer” Strategy For Insulating RV Windows
Stop Air From Moving At The Glass
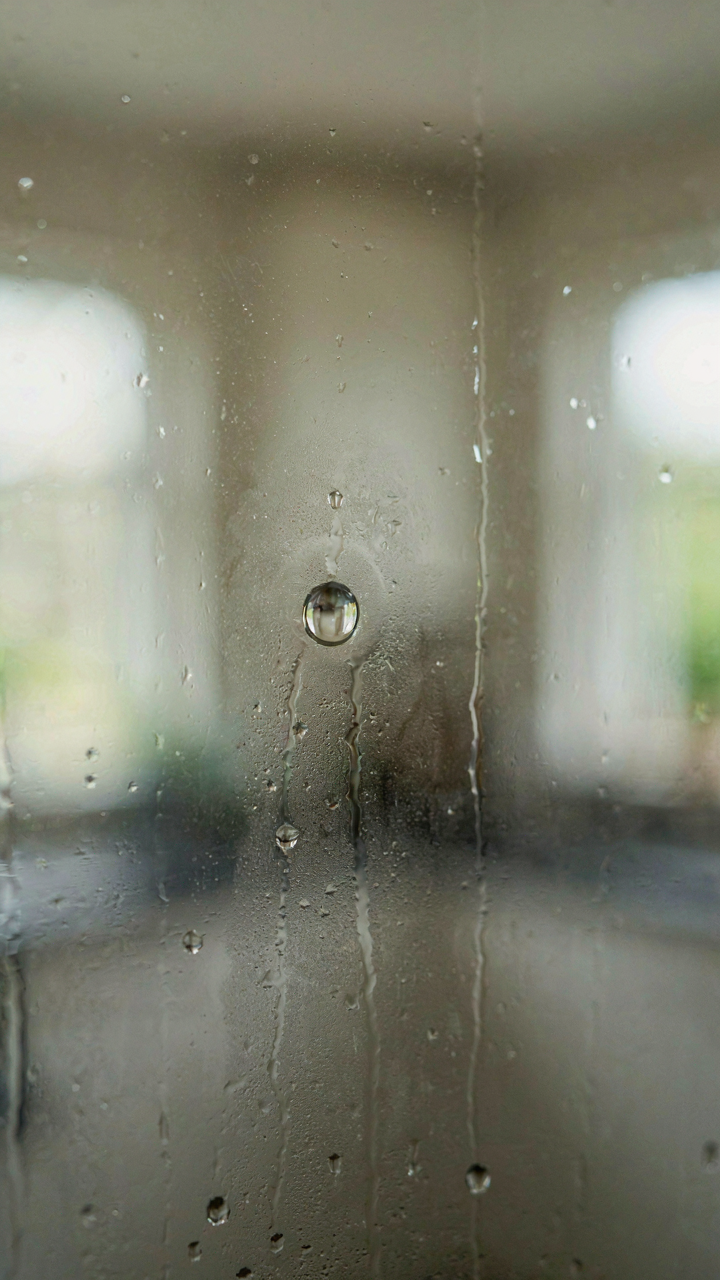
You want to feel warm without spending money on a better RV. That’s the real motive. Here’s the mechanism: fluid dynamics calls it a boundary layer—the thin zone of still air that clings to a surface. At your RV window, moving air across cold glass steals heat fast. Dead air doesn’t. The problem most people solve wrong is they add bulk insulation without stopping the air movement first.
The boundary layer forms naturally, but your RV’s interior air circulation destroys it. Fans, vents, and temperature gradients create convection currents that sweep across windows constantly. Block that movement and you’ve already cut heat loss by 30 to 40 percent before adding any material. Close curtains or cellular shades create the first barrier. Better: seal the perimeter so air can’t channel around the frame, then restrict circulation patterns in that zone specifically.
Dead Air Spaces Do One Job Only
Don’t confuse “dead air space” with “any gap.” The term means air that cannot move. Your RV window has dead air already—the space between the pane and frame. The issue is that space connects to the room’s convective cycle. Most advice says add bubble wrap or foam. That’s incomplete. Real dead air space requires isolation from circulation on both sides of the barrier.
Create true dead space by sealing the exterior perimeter first, then adding a layer on the interior with no gaps to the room air. Cellular shades work because the honeycomb traps air in sealed pockets. Reflective window film adds another layer of isolation. The mechanism is containment: air that cannot move cannot carry heat away. Stack multiple barriers with sealed edges and you multiply the effect.

RV Window Insulation Setup: Beyond The Basic Cover Up
Where Heat Actually Escapes
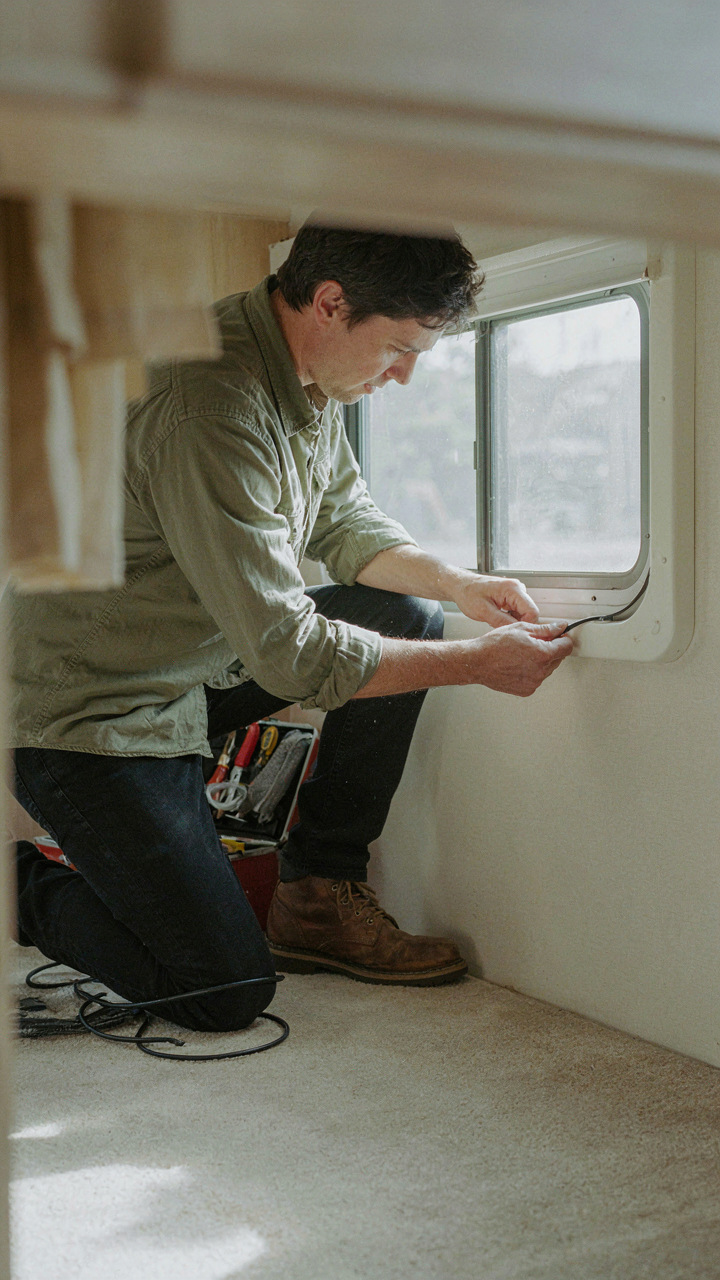
You want to believe a thermal curtain solves your problem. It doesn’t. Most RV owners obsess over window coverings while ignoring the mechanism that matters: air infiltration through structural gaps destroys insulation performance before any material gets a chance to work. The real leaks live in the perimeter seal where the window frame meets the wall cavity.
RV windows sit in channels. Those channels develop micro-fractures from vibration, UV exposure, and thermal cycling. Water also migrates into these gaps, freezes, and separates the sealant from the substrate. You can’t see most of these breaches. Thermal imaging shows them instantly. The fix isn’t replacing windows. It’s re-sealing the frame perimeter with marine-grade silicone or polyurethane, checking for voids every 12 months, and accepting that window coverings only work after you eliminate the air pathway.
Climate Matching Without Waste
Physics teaches us about thermal mass and radiant barriers. Apply that directly: some climates benefit from reflective barriers that bounce heat back outward, while others need dense insulation that slows conductive transfer. Your climate determines which tool stops being optional and becomes required.
Desert climates need reflective film or cellular shades that reject solar gain before it enters. Mountain and northern climates need thickness and R-value. Most RVers buy one solution and expect it everywhere, which wastes money and creates dead spots. Map your travel routes by season. Buy single-layer cellular shades for summer travel. Buy thermal curtains with foam backing for winter stays. Stack them when you need both. This requires discipline, but it cuts your heating load by 30 to 40 percent compared to one mediocre solution running all year.

Insulating A Camper For Winter Living: The Integrated Approach
Thermal Envelope Thinking Beats Window Fixes Alone
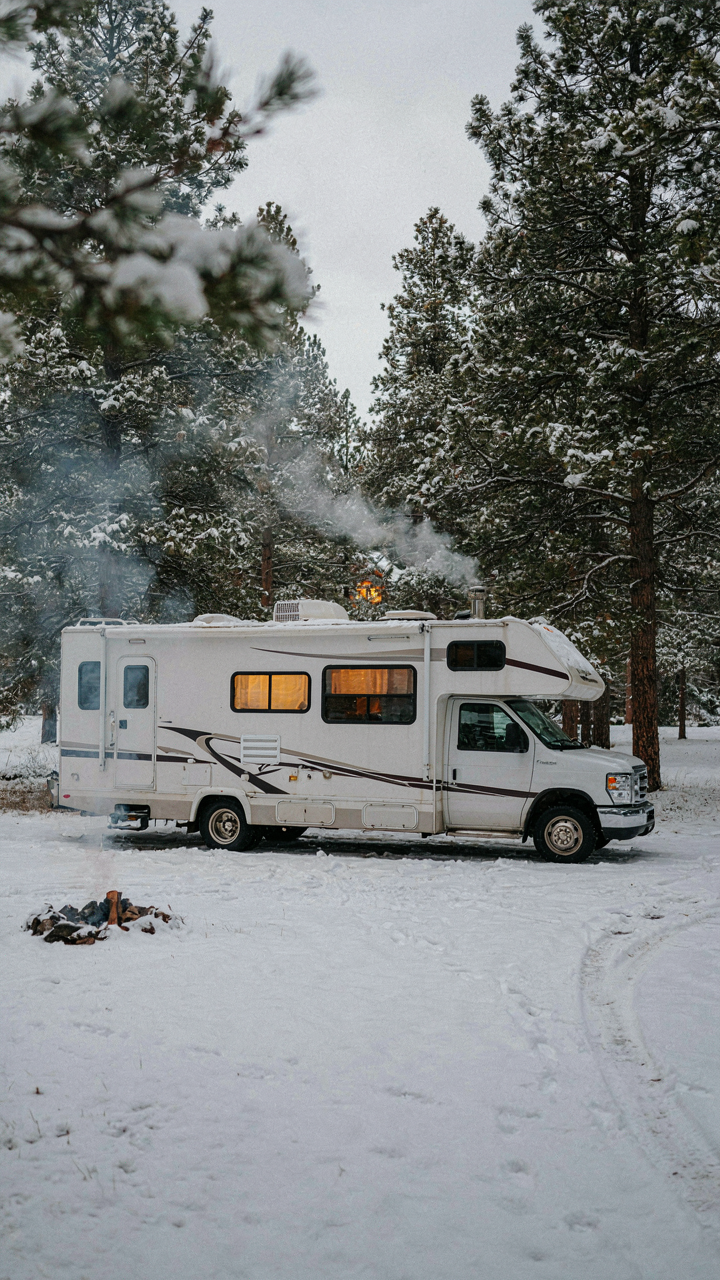
You want to feel competent about winter camping without actually redesigning your whole rig. That’s the real problem here. But the mechanism is simple: windows are the weakest point in an RV’s thermal envelope, but treating them in isolation wastes money and effort. Think of it in terms borrowed from building science—a structure’s “thermal resistance” compounds across all barriers. Your window insulation matters, but only inside a complete system where walls, floor, roof, and ventilation gaps matter equally or more.
Most people insulate windows and wonder why they still freeze at night. They isolated one variable instead of addressing the whole thermal path. Heat escapes through the frame, the connection between frame and wall, air leaks around vents and plumbing penetrations, and constant moisture cycling. Windows contribute roughly 25-30 percent of heat loss in an RV on average, but that percentage shifts based on how leaky the rest of the structure is. Seal your foundation leaks and ventilation gaps first, then upgrade windows. The order matters because the easiest gains come from plugging big holes, not optimizing already-marginal barriers.
Solar Gain Stops Heat Loss From Becoming Heat Waste
South-facing windows generate free heat during winter days. The common advice ignores this and treats all windows as pure liability. That’s incomplete. In winter, solar gain through south and west windows can offset 30 to 50 percent of daytime heating needs on a clear day, depending on latitude and RV orientation. You earn nothing if you block that light with permanent coverings.
Cellular shades and thermal curtains work because they trap air and break the convection loop at night when solar gain stops. Deploy them after sunset, pull them open during the day when the sun is high. Track your RV’s seasonal sun angle—in winter, south windows get lower-angle direct light for longer periods. North windows never gain meaningful solar energy, so those get permanent insulation without guilt. This simple protocol converts windows from pure liability into a passive heating strategy that actually costs less than running propane.

Advanced RV Insulation Ideas: Overengineering For Comfort
Smart Materials And Active Systems
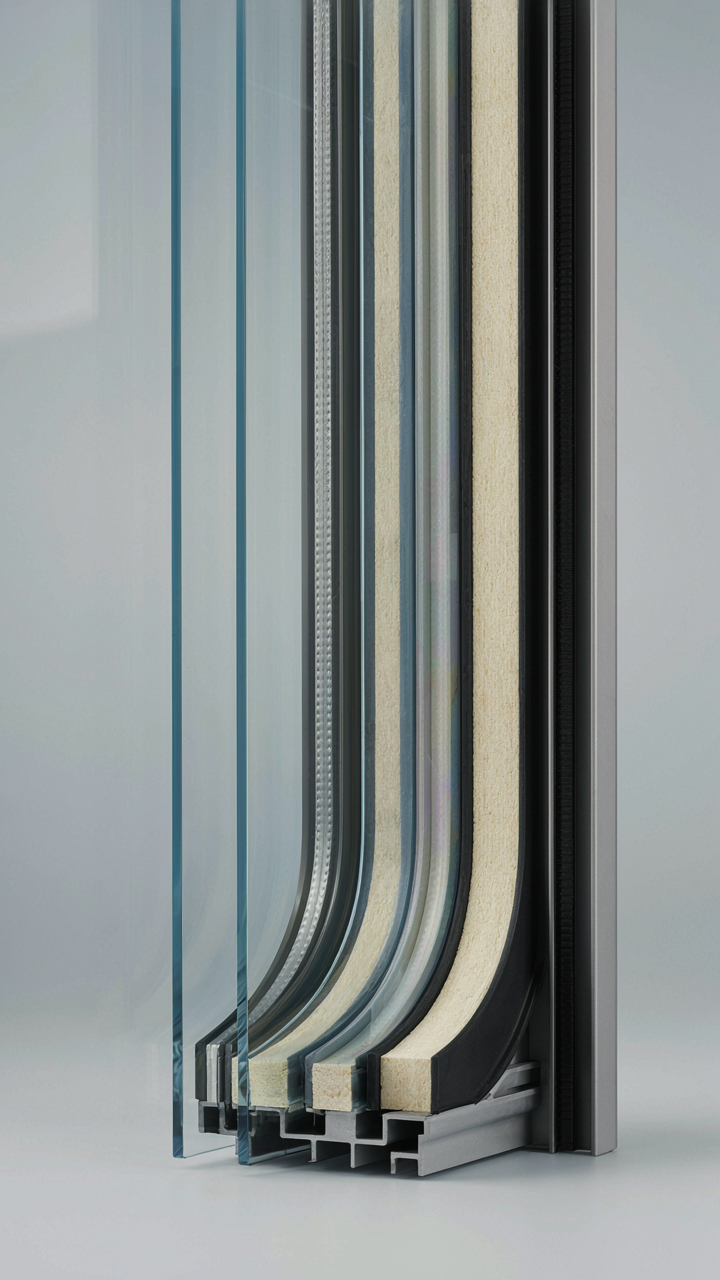
You want to feel like you’ve solved the problem permanently so you stop thinking about it. The real mechanism is this: you’re fighting two forces at once—conduction through the glass and convection loops inside the sealed cavity. Most RV owners address only conduction and wonder why drafts persist.
Phase-change materials (PCMs) absorb and release heat as temperature swings, buying you time during the worst swing hours. Paraffin wax compounds embedded in window films or cabin panels work, but they require thermal mass to function—meaning they need enough volume to matter. A thin film won’t move the needle. You need either thick panels or multiple layers, which is why most RVers skip this route.
Measuring Thermal Performance Empirically
Physics gives you the concept of U-value: the rate heat transfers through a material per degree of temperature difference. Apply this directly: your goal isn’t to have “good” insulation—it’s to reduce the U-value from your baseline to a measurable target. Most RV windows ship with a U-value around 0.90. Adding a thermal barrier layer can drop this to 0.50 or lower.
Measure this yourself using a simple protocol: place an internal thermometer against the glass, an external thermometer outside the window, measure interior air temperature, and record the difference. Do this at consistent times over three mornings. Thermal performance isn’t abstract until you quantify it. Log your baseline, install your solution, repeat the measurement after one week of identical weather conditions, and calculate the delta. That delta is your actual return.

Maximizing How To Insulate RV Windows: The Unconventional Wisdom
The Feeling Of Warmth Isn’t The Same As Heat Transfer
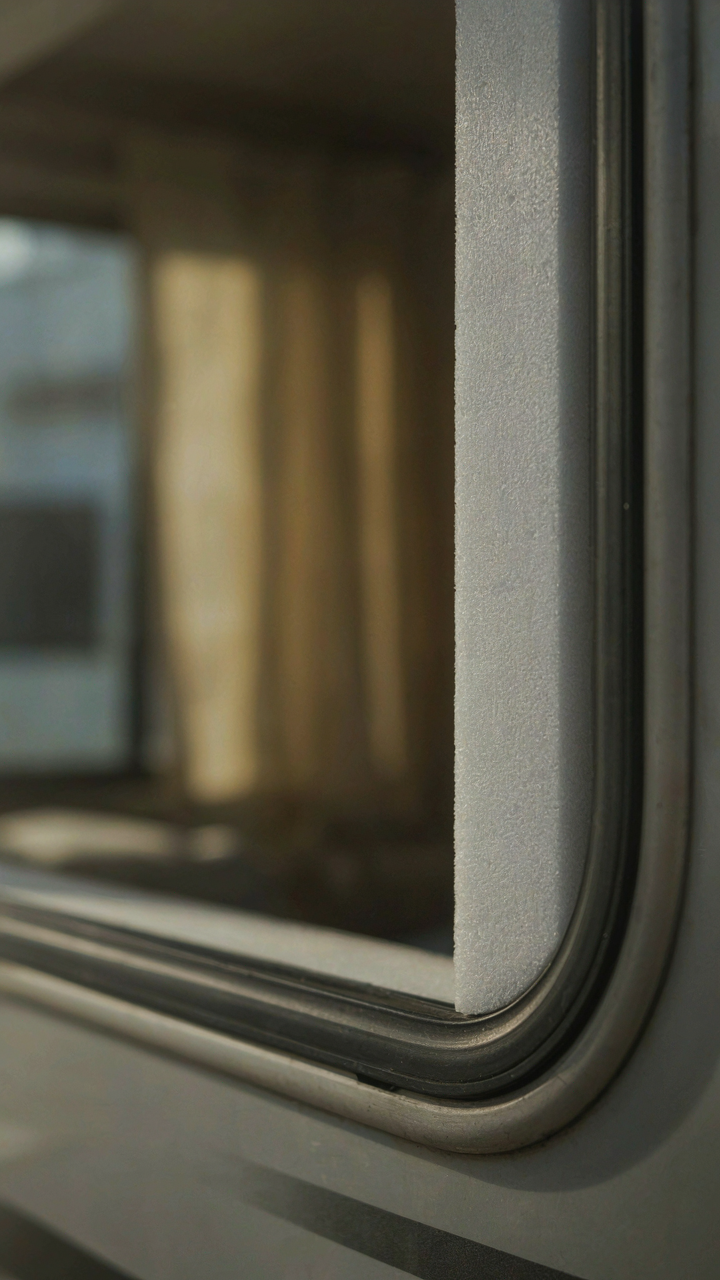
You want to feel like you solved the problem, not actually solve it. That’s why most RV owners obsess over window treatments that do almost nothing for thermal performance. The mechanism is simple: your brain conflates “blocking light” with “blocking heat loss.” They’re not the same thing. Light blocking is visible and immediate. Heat loss is invisible and happens whether you feel it or not. A blackout curtain makes you feel secure in darkness. It barely slows the temperature drop at the glass surface.
Thermal comfort in RVs follows the physics principle of radiant heat transfer, not just air temperature. Your body radiates heat toward cold surfaces like windows, regardless of what covers them. A thin fabric curtain placed one inch from glass does nothing to interrupt that radiation. The real work happens at the glass itself or in the air gap between two barriers. Most people treat window insulation like decoration when they should treat it like a thermal boundary layer.
Reflective Films And Thermal Mass Are Not The Same Solution
Common advice says reflective window film blocks heat. It does, but only in one direction and only when the sun hits it directly. The real problem in RVs isn’t daytime solar gain; it’s nighttime heat loss through glass, which represents zero reflective surface to work with. Reflective film solves a summer problem, not a winter insulation problem. Thermal mass, by contrast, absorbs and holds heat, then releases it slowly as interior temperatures drop. A thin reflective film costs thirty dollars. Thermal mass requires physical depth.
If you want actual insulation value at night, you need trapped air or low-conductivity material between the window and the interior. Cellular shades with honeycomb cavities work because air pockets resist heat flow in both directions. Reflective film alone leaves the glass at ambient temperature, and your body still radiates toward it. The protocol: use reflective film for daytime solar control in summer, use layered air-gap systems for night insulation in winter. Don’t pretend one solves both problems.

Your RV Isn’t Cold Because Of The Windows; It’s Cold Because You’re An Amateur At Energy Transfer

Most RV owners treat insulation like decoration. They slap reflective film on glass and call it solved. Wrong. Cold air doesn’t care about your effort. It moves through the weakest point in your thermal envelope. Stop obsessing over the windows themselves. Measure your actual temperature differential, find where air actually moves, then seal that specific path. Today, grab a thermal camera or cheap thermal sticker and map your RV’s heat loss. You’ll find the culprit isn’t what you thought. Insulation is physics, not wishful thinking.



