
The BTU Fallacy: Why More Power Isn’t More Warmth
Your RV Isn’t Losing Heat, It’s Hemorrhaging It
You want a bigger heater because you think power solves the problem. It doesn’t. Thermodynamics doesn’t care about your wattage. Heat loss in an RV operates on the same principle as military logistics: supply means nothing if your perimeter is compromised. Your RV sheds warmth through walls, windows, doors, and vents faster than any heater can replace it. A 5,000-watt heater fighting a poorly sealed rig loses the war before it starts.
The gap between heat generation and heat retention is what kills people’s heating strategy. You can run the most powerful heater on the market and still wake up cold because the structure itself is the bottleneck. Insulation quality, air gaps around door frames, and single-pane windows account for 70 to 80 percent of your heating outcome. Most RV owners never measure or fix these first. They just buy a bigger heater and wonder why their propane bill explodes.
The Oversized Heater Trap
Running a heater larger than your space needs creates three concrete problems that most guides ignore. First, it cycles on and off rapidly in a small, sealed environment, heating unevenly and creating dead zones where you’ll still feel cold. Second, it depletes your power supply faster whether you’re on shore power or batteries. Third, an oversized heater working in a poorly insulated space generates condensation because warm air hits cold surfaces and releases moisture. That moisture damages wood, corrodes metal, and breeds mold.
The real cost isn’t the upfront price of the heater. It’s the fuel consumption, the electrical load, and the repair bills from water damage that compounds over months. Size your heater to your actual sealed volume and insulation level, not to the worst-case outdoor temperature. Match the tool to the job. If your RV loses heat at a known rate, your heater only needs to match that rate plus a small margin for temperature climb.
The Thermal Envelope Protocol: Sealing Your Sanctuary
Where Heat Actually Escapes

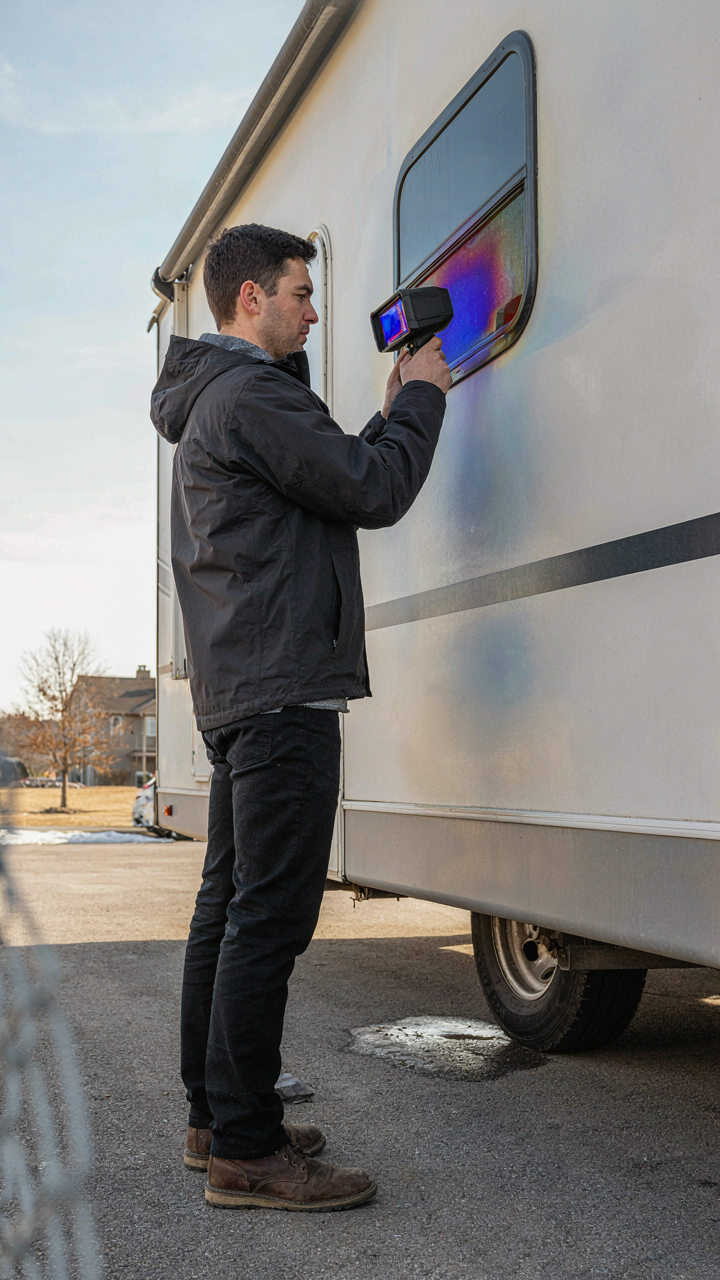
You want to feel like you’ve solved the problem without spending money or time. That’s why most people guess at where heat leaves their RV instead of measuring it. Heat transfer follows thermodynamics, not intuition. Air moves from high pressure to low pressure through gaps. Cold air doesn’t sneak in—warm air gets pushed out by the pressure differential between inside and outside, and cold replaces it.
Find leaks by feel on a cold night with the furnace running. Run your hand along the baseboards, around window frames, door seals, and cabinet edges. You’ll detect air movement where your RV bleeds heat fastest. Most owners miss the obvious ones: gaps around plumbing penetrations, deteriorated weatherstripping, and the seal where the floor meets the exterior wall. These aren’t hidden problems. You just haven’t looked.
Strategic Insulation Beats Carpet Bombing
The advice to “add more insulation everywhere” wastes money on areas that don’t matter. Insulation slows heat transfer through solid barriers, but it does nothing about air leaks or radiation loss through windows. Prioritize by surface area and temperature exposure. Your roof loses more heat than your walls. Windows lose more than doors. Underbelly exposure loses more than interior walls.
Upgrade in sequence: first seal all air leaks with weatherstripping and caulk, then add reflective bubble insulation to windows at night, then upgrade the roof if budget remains. Fiberglass batts behind walls help marginally but require gut renovation. Window inserts and removable panels deliver faster ROI. The mechanism is simple: block the biggest heat loss vectors first, then address secondary paths. Start with what you can seal without tools.
RV Heating Ideas: Reclaiming Wasted Heat

Passive Solar Gains Maximize Daytime Warmth

You want to pretend you’re not cheap, but the real reason you care is that propane costs money and you’re tired of burning through it. Here’s the mechanism: thermal mass works like a battery. During the day, south-facing windows let solar radiation through glass and into your RV. That energy hits your walls, floor, and anything solid inside. Those materials absorb and store heat. When outside temperature drops at night, that stored warmth radiates back into the cabin slowly, delaying the moment your furnace kicks on.
The common advice stops at “open your curtains.” That’s incomplete. The actual leverage comes from what’s behind the glass. RVs with dark interior surfaces and dense materials absorb more heat than those with light, reflective interiors. Position your RV with the longest window exposure facing south in winter. Close all curtains and blinds at night the moment the sun drops. This traps the stored heat inside instead of letting it radiate through glass back outside. Strategic thermal mass is free. Your furnace running all night is not.
Recovering Appliance Waste Heat For Ambiance
Most RV owners treat appliance heat as a problem to solve, not a resource to capture. Your stove, water heater, and refrigerator all produce waste heat that currently escapes through vents or dissipates into dead space. Redirecting that flow costs almost nothing and reduces furnace runtime measurably. Your stove generates significant heat when cooking. Instead of venting it outside, leave cabinet doors open near the cooking area. The warm air mixes with cabin air. Your water heater runs on propane and exhausts through the roof. Position your water tank location near sleeping areas when possible, or orient your body toward that wall at night.
The refrigerator is different but useful. It dumps heat out the back to maintain internal cold. If your fridge sits in an open layout, that warm exhaust contributes to ambient cabin temperature. Don’t block it with storage or insulation. Let it work for you during cold nights. None of these sources replaces a furnace, but they delay the moment your propane heater activates. Delayed activation means fewer heating cycles per night. Fewer cycles means lower fuel consumption and longer boondocking stretches between fill-ups. Stack these small heat sources together and your furnace runs 2 to 3 hours less per 24-hour cycle.
Heating Tips For RV Winter: The Condensation Combat Plan
Where Your RV’s Moisture Actually Comes From

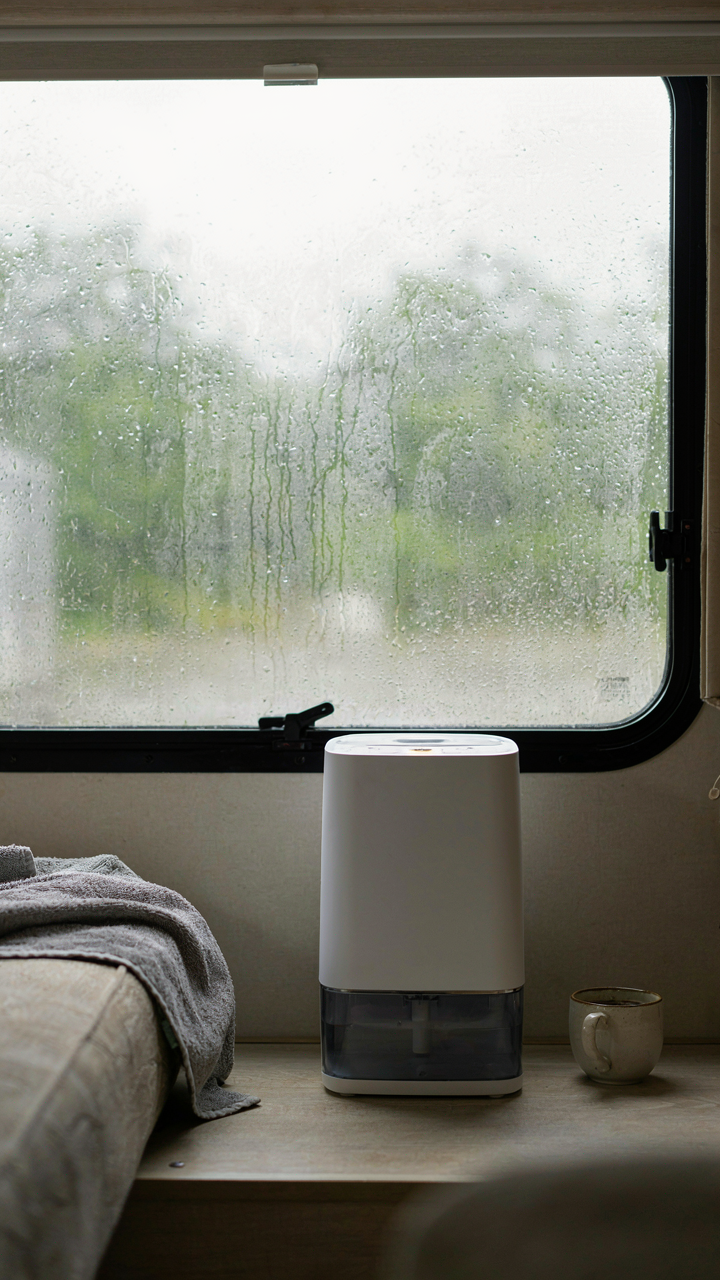
You’re worried about condensation because you don’t want to wake up to mold, rust, and the smell of rot eating your investment. Here’s what actually happens: every activity in your RV releases water vapor into air that’s too cold to hold it. Breathing, cooking, showering, and even running a propane heater all pump moisture into a sealed box with nowhere to escape. Cold windows and metal walls become collection points because the air can’t retain the water anymore.
The mechanism is thermodynamics, not magic. Warm air holds more water vapor than cold air does. When heated air hits your RV’s uninsulated walls and windows at night, it cools rapidly and dumps its moisture as liquid. A family of four in a closed RV can generate 5 to 10 pounds of water vapor daily. That water has to go somewhere, and your walls are the easiest target. Most RV owners only run their heating systems without addressing where the moisture actually exits, which guarantees condensation regardless of heat output.
Opening Vents While Heating Defeats The Purpose, So Don’t
The advice to “crack a window” while heating your RV is incomplete and wastes fuel. You need active ventilation that pulls moist air out while replacing it with dry air from outside, not passive air exchange. This is the exchange principle from HVAC engineering: you must create pressure differential to move air, not rely on temperature alone to solve vapor migration.
Install roof vents with manual dampers that you crack open during sleeping hours, not windows. Your RV likely has vents above the kitchen and bathroom already. Open them fully during cooking and showering, then leave them cracked 1 to 2 inches for passive exhaust as you heat at night. A small 12-volt fan pulling air out through a vent accelerates moisture removal without heating the entire exterior. Run your heating system to maintain 50 to 55 degrees Fahrenheit, then use ventilation to remove vapor rather than trying to heat your way out of condensation.
How To Keep An RV Warm In Winter: The “Zone Defense” Approach

Concentrate Heat Where You Sleep

You want to feel warm without admitting you’re afraid of freezing, so you buy a bigger furnace and waste propane heating dead space. The real mechanism is triage: your RV isn’t one thermal zone, it’s three. The bedroom is the only zone that matters at night. Military strategists call this concentration of force. You apply it here by closing vents to the kitchen and bathroom, cracking a window in living areas to prevent condensation buildup, and running your furnace only to maintain 50 to 55 degrees in those spaces while keeping the bedroom at 65 to 68. Your body generates heat in a small, enclosed space far faster than a furnace can heat 200 square feet of open floor plan.
This isn’t about being cold in the living area during the day. It’s about understanding that nighttime heating and daytime heating require different strategies. Close the bedroom door. Use a small space heater or ceramic element in that room if your RV has a 50-amp service. Cut propane consumption by 40 to 60 percent while sleeping warmer than you would with the main furnace running all night. The furnace cycles on and off chasing a thermostat in the hallway. A focused heat source in a sealed room reaches temperature faster and holds it with less fuel burn.
Build Thermal Mass Into Your Sleeping Space
Physics calls it heat capacity. In RV terms, it means objects that absorb warmth during the day and release it at night while you need it most. Most RV heating advice ignores this entirely because it requires thinking ahead, not just buying gear.
Water holds more heat energy than air, metal, or foam by volume. Fill two or three stainless steel water bottles, seal them tight, wrap them in a towel, and place them at foot-end of your sleeping platform. They’ll stay warm for eight to ten hours and create a radiant pocket around your legs and torso. If you have fresh water tanks, insulate them with rigid foam or reflective barriers to keep water warmer longer. During cold months, filling your tanks with hot water from a kettle and parking with the tanks on the sun side of the RV during daylight hours stores free heat. A one-hundred-gallon fresh water tank acts like a thermal battery that charges during the day and discharges warmth into the RV at night through conduction.
How To Heat A Camper Efficiently: The “Thermodynamic Leverage” Model

Where Heat Actually Goes In Your RV

You want to feel warm without burning money or fuel. Here’s what nobody tells you: most RV heating fails because people treat heat as a volume problem instead of a leakage problem. Physics names three mechanisms of heat loss: conduction moves heat through solid material, convection carries it away via air movement, and radiation beams it outward. Your camper loses heat through all three simultaneously. The furnace doesn’t fail because it’s weak. It fails because the box it’s heating has the thermal integrity of cheesecloth.
Stop thinking about turning up the heat. Start thinking about stopping the exit routes. Conduction happens fastest through metal frame components and window glass. Convection accelerates whenever cold air enters at the floor and warm air escapes at the roof. Radiation accounts for less loss than the other two, but it still matters at night. Plug the conduction path first by insulating the underbelly properly. Seal air leaks second. Only then does your furnace output actually translate to interior temperature.
The Math Of Small Improvements Stacking
Economics calls this diminishing marginal returns, but in RV heating it works backward: your first fixes generate outsized gains. Sealing a single major air leak might reduce heat demand by fifteen percent. The next leak you seal drops demand by eight percent. The third by four percent. Most people chase the small wins after already fixing the big ones, which is why they think heating a camper is inherently expensive. It isn’t.
Each thermal improvement compounds with the ones before it. Your propane furnace burns fuel based on demand, not on how hard you push it. Lower the demand and you lower consumption. A properly sealed and insulated camper runs its furnace for shorter intervals. That means less propane consumed, less money spent, and less battery drain if you’re running the blower on an electrical system. Start by identifying where air enters and exits during a cold night, then seal those openings first. Weather stripping around doors and windows, caulk around penetrations, and foam blocking around water lines and electrical feeds cost almost nothing and deliver measurable results.
How To Heat A Camper Without Electricity: Off Grid Warmth Mastery
Propane Heater Reality Check

You want off-grid heating because you believe it means independence, but what you’re actually after is not freezing without running a generator that costs money and breaks down. Here’s the mechanism: propane heaters work by burning fuel in a combustion chamber, transferring that heat directly into your RV. The efficiency myth is real. Most RV propane heaters run at 80 to 90 percent efficiency, meaning 10 to 20 percent of heat escapes through ventilation or wall loss, not because the heater fails but because your box leaks energy everywhere else.
The actual constraint isn’t the heater. It’s your propane tank capacity and your RV’s insulation. A standard RV heater pulls 30,000 to 40,000 BTU per hour. That burns roughly one pound of propane every 2 to 3 hours at full blast. Most RVs carry 20 to 30 pounds total. Do the math: you get 40 to 90 hours of heat before refueling. The real efficiency play is sealing air leaks around windows, doors, and vents, then running your heater at 50 to 60 percent capacity instead of full blast. Consistent low heat beats sporadic maximum heat.
Catalytic Heaters: The Trade Off Nobody Names
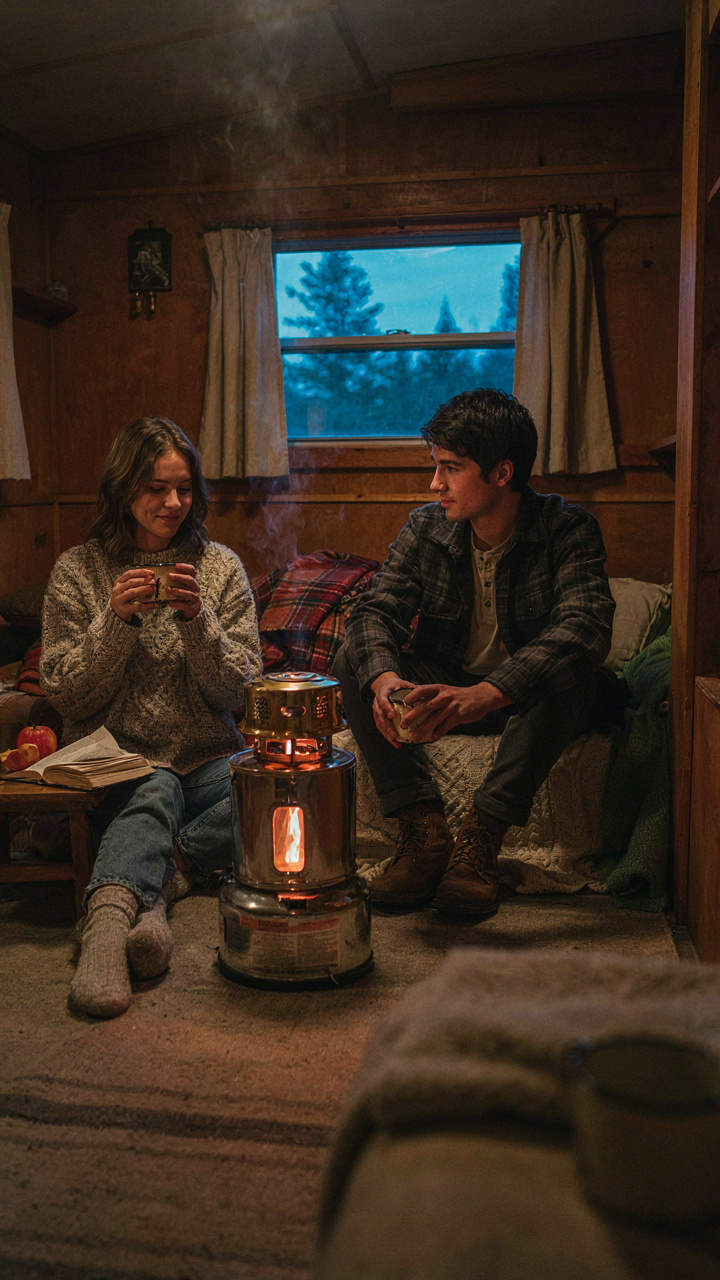
Catalytic heaters burn propane without an ignition source or flame, using a chemical reaction on a platinum-coated pad to generate heat. People call them safer because there’s no visible fire. That’s technically true but incomplete. They produce carbon monoxide at lower volumes than forced-air heaters, but they still produce it. Your RV needs fresh air exchange whether you use catalytic or forced-air systems. The real benefit is silent operation and no electricity draw, which matters in remote locations where a generator becomes impractical.
The drawback is output and control. Catalytic heaters top out around 5,000 to 8,000 BTU, roughly one-fifth the power of a standard RV furnace. You can’t modulate them efficiently. They run at full capacity or off. For a full RV in deep cold, they’re supplementary, not primary. Use them to maintain temperature overnight or in mild cold. Pair one with propane blankets on your tank, insulated pipes, and window coverings. Stack small wins into survivable conditions. Your setup protocol: catalytic heater running continuously at night, forced-air heater off, propane tank wrapped, all vents sealed except one cracked window for ventilation exchange.
Winter RV Heating Solution: The “Pre Emptive Strike” Strategy
Protect Your Underbelly Before Cold Arrives

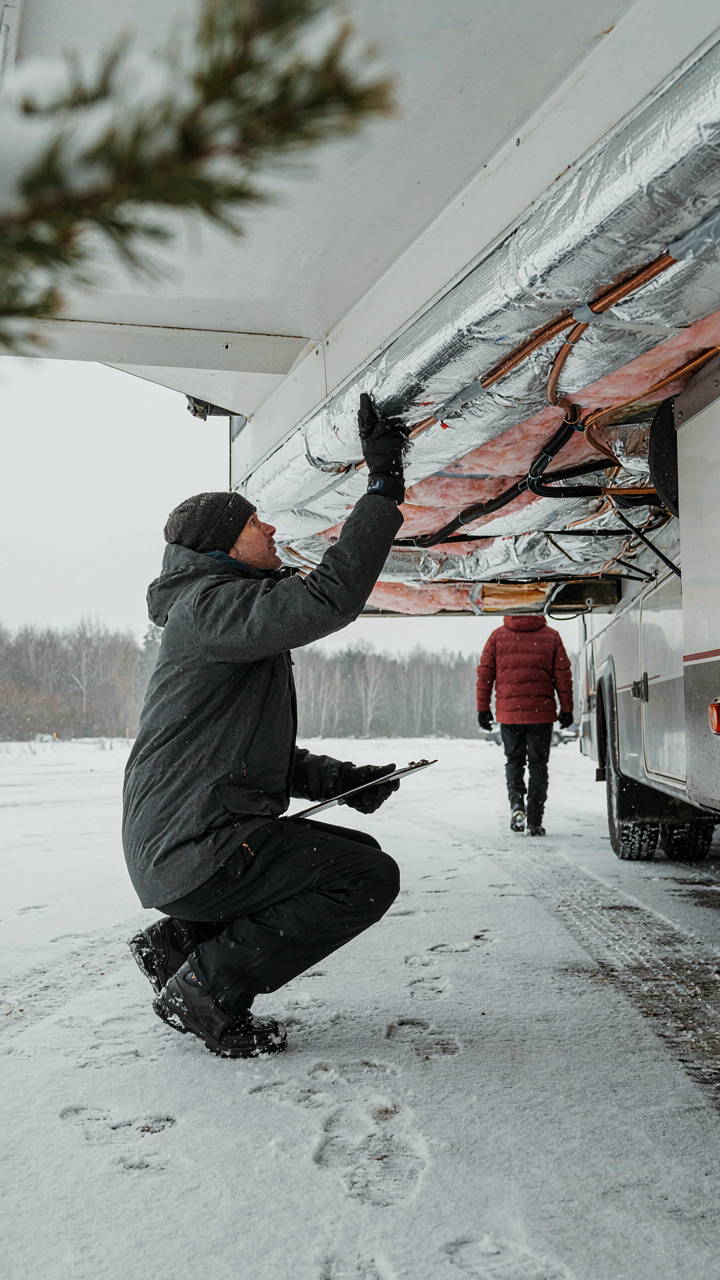
You care about this because a frozen water line costs you money, time, and the ability to move. The real mechanism is simple: your RV’s underbelly is exposed to ambient air from below, and that air moves faster than you think. Wind chill accelerates heat loss from pipes, tanks, and regulators far more than still air does. Insulation alone won’t stop this. You need a barrier.
Wrap exposed pipes with foam pipe insulation, then add a secondary layer of heat tape on sections most vulnerable to freezing. The waste tank, fresh water tank, and gray water tank need underbelly protection via foam board or reflective insulation. Many RVers skip the waste tank thinking it won’t freeze because of its contents. That’s wrong. Waste tanks freeze regularly. Secure all insulation with aluminum foil tape, not duct tape, because duct tape degrades in UV and cold. Check your manufacturer’s specs for your specific tank locations and heating requirements before you winterize.
Skirting And Windbreaks Stop Heat Escape
Skirting is defensive architecture borrowed from building science, and the core principle is this: create a dead air pocket beneath your RV. Moving air is the enemy of retained heat. Wind flowing under your RV steals warmth from everything it touches, and no amount of interior heating compensates for that loss. A skirting system redirects that airflow and traps still air underneath, turning your underbelly into an insulated zone.
Temporary skirting works: vinyl panels, wood frames, or fabric barriers all reduce wind penetration. Install skirting around the perimeter of your RV, leaving small vents for moisture escape to prevent mold. For permanent setups, rigid foam board screwed to the frame outperforms fabric every time. Wind breaks on the windward side of your RV slow air movement before it hits your underbelly, amplifying skirting effectiveness. Close all skirts fully before temperatures drop below freezing, then leave them sealed until spring thaw.
Efficient RV Heating Options: The Cost Benefit Heater Matrix

Matching Heaters To Your Actual Conditions

You want the cheapest solution that won’t fail when you need it most. That’s not weakness, that’s economics. The mechanism here borrows from portfolio theory: diversification reduces catastrophic risk. In RV heating, you don’t pick one heater and hope. You layer systems based on your climate zone, trip length, and fuel access patterns.
Different heaters serve different failure modes. Propane furnaces deliver consistent output but require external fuel. Electric resistive heaters draw heavy amp loads but cost nothing upfront. Diesel heaters run independent of shore power and propane but demand mechanical literacy. Your choice depends on where you travel and how you want to fail.
- Propane Furnace: Thermostat-controlled, efficient down to freezing, requires LP tank refill access. Works in most climates but needs ventilation and annual servicing.
- Electric Resistance Heater: Instant heat, no fuel logistics, but demands 30 or 50-amp service. Useless if you’re boondocking without a generator.
- Diesel Heater: Independent operation, high BTU output, runs on your fuel tank. Adds weight and requires installation expertise. Popular in European RVs, still niche in North America.
- Wood or Pellet Stove: Cheapest ongoing fuel, high heat output, but demands constant refueling and ash management. Space constraint limits use to larger motorhomes.
- Hybrid Systems: Propane primary with electric backup for shore power days. Gives you options but adds complexity and cost.
The real decision: Will you stay plugged in most nights or bounce between boondocking and hookups? Plugged-in travelers can ignore propane entirely and run electric. Boondockers need propane as primary with passive insulation as backup. Mixing your actual usage pattern with heater specs eliminates buyer’s remorse.
Keep Heaters Running Through Winter
Most RV heaters fail mid-season because owners ignore maintenance until the system stops working. By then, the problem has cascaded. Propane furnaces need annual inspections before cold months start, not during them. Diesel heaters clog from water condensation in fuel tanks over months of disuse. Electric heaters accumulate dust inside heating elements.
Schedule furnace inspection in September. Have the technician check the burner flame, thermostat calibration, and ductwork for leaks. Diesel heater owners should drain fuel tanks in spring and refill with fresh fuel each fall to prevent microbial growth and water separation. For electric heaters, vacuum interior fins quarterly and replace inlet filters before winter trips. The single highest-impact maintenance step: insulate all exposed propane lines with foam pipe insulation to prevent freeze-ups at the tank.
The Real Obstacle Isn’t The Cold; It’s Your Resistance To Understanding Fundamental Energy Transfer
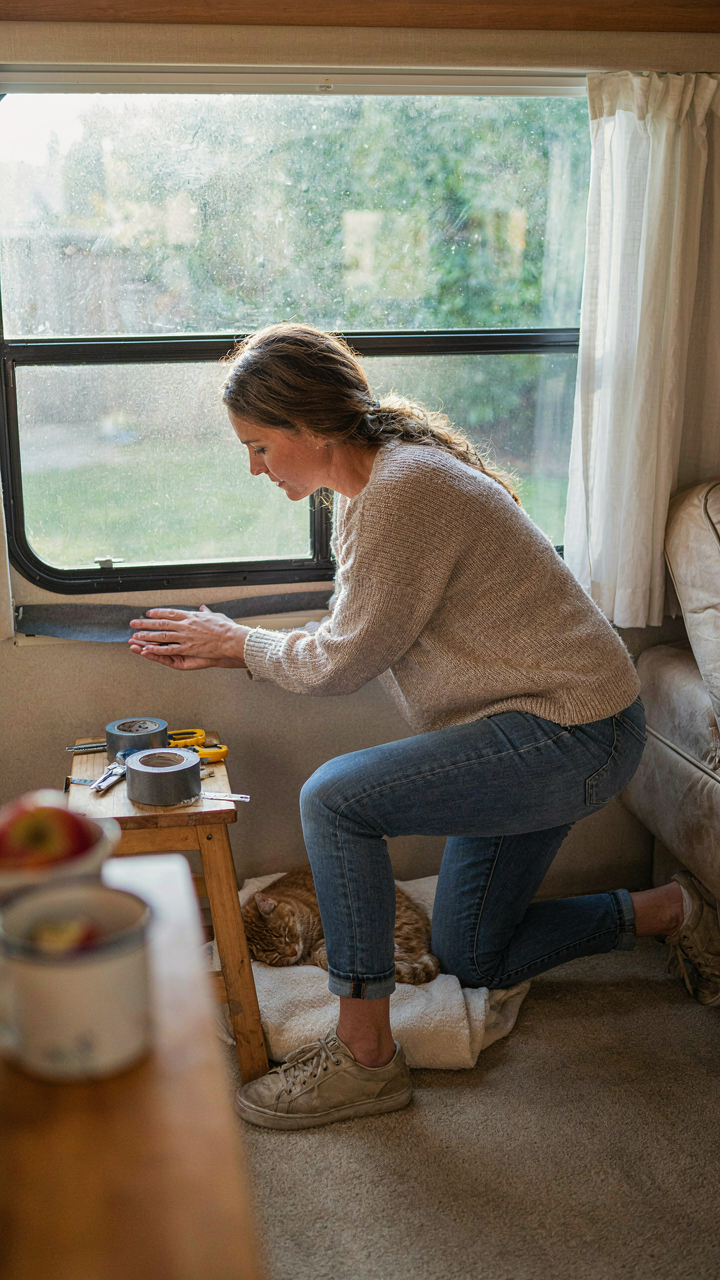
Most RV dwellers waste money on layers of heating solutions when they should focus on blocking heat loss first. Your furnace works harder because you’re letting warm air escape through gaps, poor insulation, and drafty windows. Stop treating symptoms. Seal your RV’s envelope today, starting with the largest heat leak in your space. Once you accept that heating is about retention, not just generation, you’ll spend less and sleep warmer.



