
The “RV Winterizing” Illusion: Why You’re Already Behind
What Most People Get Wrong About Prep
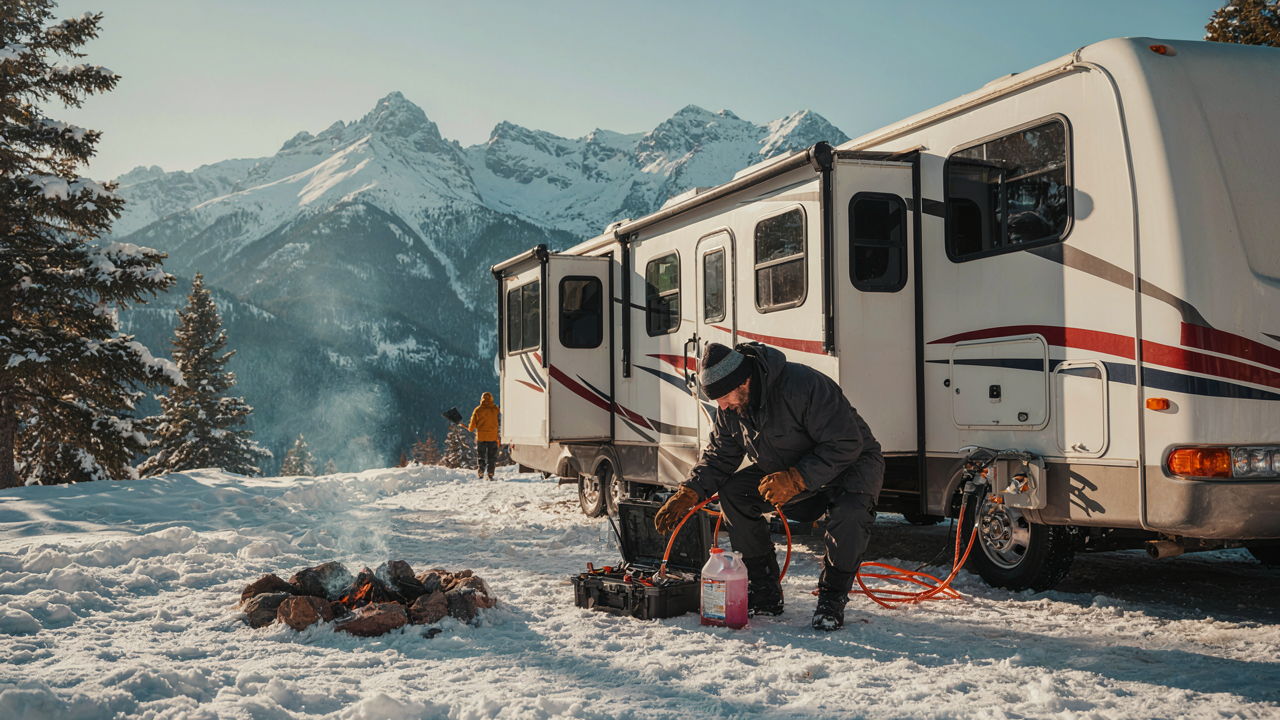
You’re doing this because you’re afraid of a repair bill that costs more than your monthly payment. Most RV owners follow a checklist they found online without understanding what actually breaks when cold hits. The mechanism is simple: water expands when it freezes. It doesn’t just expand a little. It exerts crushing force on whatever contains it. Your pipes, tanks, and lines aren’t designed to resist that pressure.
The real problem isn’t forgetting a step. It’s winterizing after the first freeze has already happened. By the time you’re draining tanks in November, condensation has already formed in fuel lines and engine compartments. Cold doesn’t announce itself. It arrives, and your RV either survives or it doesn’t based on what you did in October.
The Physics Nobody States Plainly
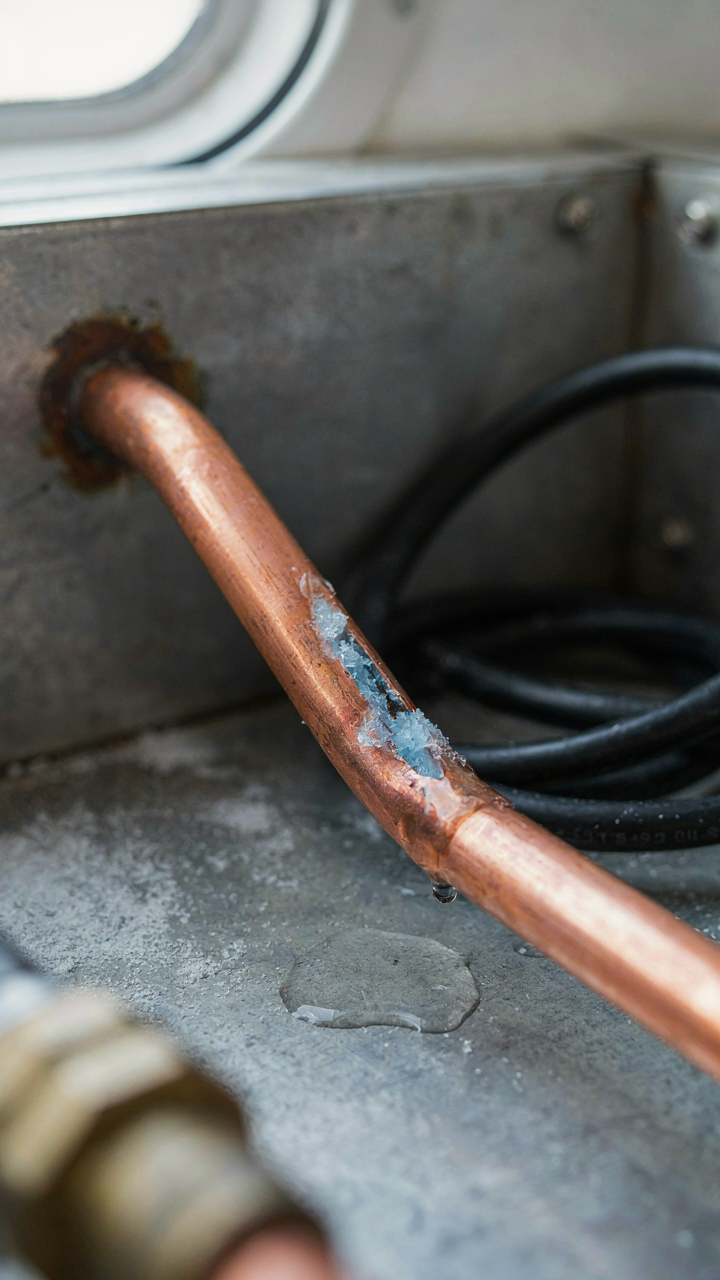
Water’s behavior follows thermodynamic principle: density decreases at freezing point, meaning ice occupies more space than liquid water. Applied to RV systems, this means a water line that’s 95 percent full will rupture when that remaining 5 percent freezes and expands. Most winterization guides mention draining tanks but skip the fact that “drained” isn’t empty. Residual water remains in lines, valves, and low points unless you force it out with compressed air or RV antifreeze.
Temperature swings matter more than absolute cold. An RV exposed to days of freezing nights followed by warming days creates freeze-thaw cycles that stress seals and connections. Each cycle forces water deeper into crevices where it refreezes. This is why RVs stored in moderate climates with variable temperatures often suffer more damage than those in consistently cold regions. The real work starts before the first hard freeze, not after.
The Fluid Evacuation Protocol: No Drops Left Behind
Draining Every System: Tanks, Lines, And Appliances

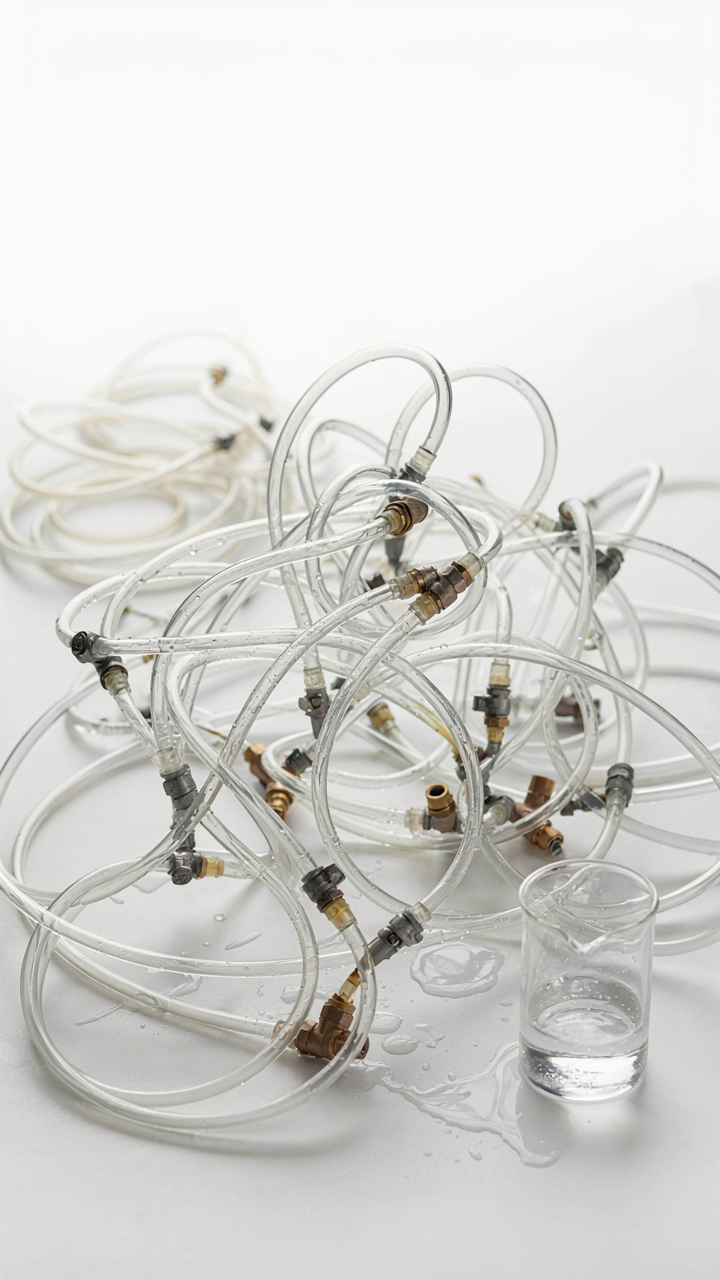
You’re afraid of a burst pipe destroying thousands of dollars in infrastructure. That fear is rational, but most people drain wrong because they treat all systems as identical when they’re not. Water expands roughly 9% when frozen, and confined water has nowhere to go except through your walls and seals. The mechanism is hydraulic pressure. You need to drain freshwater tanks, gray tanks, black tanks, toilet lines, shower lines, sink lines, and every appliance that holds water. Start with the freshwater tank using the low-point drain valve. Then open all faucets, both hot and cold, and let gravity work. Open the toilet and flush until the line runs dry. Move to gray and black tanks, using their dedicated drain plugs. The order matters because air needs to replace water as it leaves, and rushing this step leaves pockets that freeze.
After tanks empty, you face a harder problem: residual water trapped in low spots throughout your plumbing. Blow out the lines using compressed air at 30-50 PSI, starting from the freshwater inlet and working through every fixture. This is non-negotiable. Standing water kills your RV in winter. Purchase or rent a compressor with an air release regulator to avoid blowing seals. Some people skip this step because it feels optional. It’s not. Compressed air forces out what gravity cannot reach, and that’s where freeze damage actually happens.
Bypass The Heater, Protect Your Investment
Water heater bypass valves exist for one reason: winterization fluid is toxic and you don’t want it circulating through your potable water system. Think of your heating system like a circulatory loop. Without a bypass, RV antifreeze runs through your heater’s core and back into the tank, wasting antifreeze and contaminating water you’d use next season. Most RVs come with a three-valve bypass system built into the connections, but many owners don’t know it exists or how to engage it. Locate the bypass valve assembly near your freshwater tank and water heater. You’ll see three ball valves. To activate bypass mode, close the valve that feeds the heater and open the two that divert flow around it.
If your RV lacks a built-in bypass, install one before adding antifreeze. This is a straightforward plumbing job if you’re comfortable with PEX or copper fittings, or hire a tech to do it in under an hour. Once bypass is active, pump your RV antifreeze through the freshwater inlet using a pump kit designed for this purpose. Run antifreeze through every line until it appears at each faucet and fixture. This step protects your heater from unnecessary chemical exposure and ensures your potable system flushes clean when you reopen in spring.
Antifreeze Application: The Unsung Hero Of RV Winterization Tips
Which Antifreeze Actually Works

You’re worried about a burst pipe costing you thousands. That fear is rational, but most people choose antifreeze based on price or what’s sitting on the shelf, which is backwards. Think of antifreeze selection like load-bearing architecture: the wrong material fails under pressure, and water expansion at freezing temperatures is pure physics you can’t negotiate with.
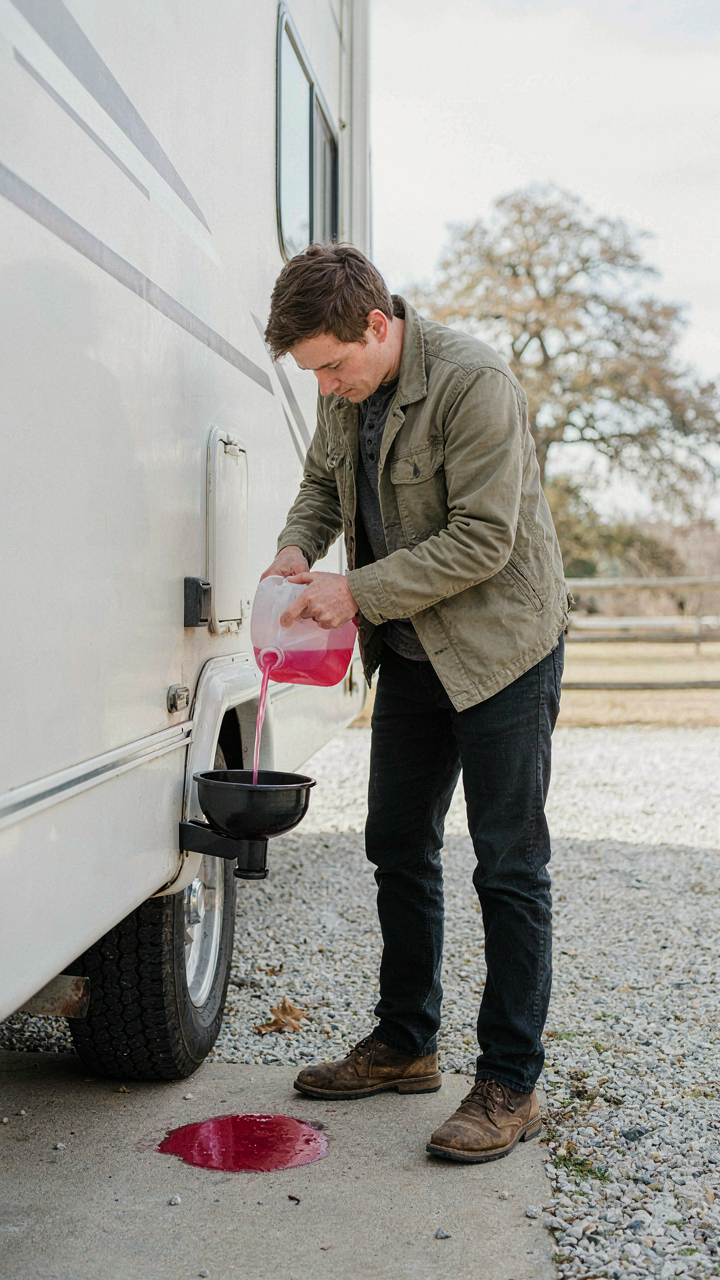
RV antifreeze comes in two categories that matter: propylene glycol and ethylene glycol. Propylene glycol is non-toxic, safer around pets and kids, but costs more and flows slower through tight plumbing. Ethylene glycol is cheaper, flows faster, and reaches lower temperatures, but it’s poisonous. The real mechanism: glycol lowers the freezing point of water while raising its boiling point, preventing both ice formation and vapor lock in your lines. Pick propylene for closed fresh water systems where taste and toxicity concern you. Pick ethylene for black and gray tanks where poison isn’t an issue. Never mix them. Use only RV-grade antifreeze—automotive antifreeze will damage your water system seals.
Getting Antifreeze Into Every Corner
The common advice here is incomplete: people say “run antifreeze through the system” without explaining distribution strategy, which is why winterized RVs still freeze. Antifreeze must reach every line branch, every trap, every low point where water sits and expands. Gravity alone won’t do this.
You bypass the water heater first by closing its inlet valve and opening the bypass—this prevents wasting five gallons of expensive antifreeze. Then you pump antifreeze through the city water inlet using a hand pump or by running the RV’s water pump while drawing from an antifreeze container. Watch each faucet—hot and cold—until antifreeze flows out pink or purple. Do the toilet next, running antifreeze through until it appears in the bowl. Pour antifreeze directly into each drain trap and the P-traps under sinks. The mechanism that stops freeze damage is complete saturation: antifreeze in every conceivable pathway means no pocket of pure water left to crystallize and rupture your lines.
Power Down: Protecting Your Electrical Grid
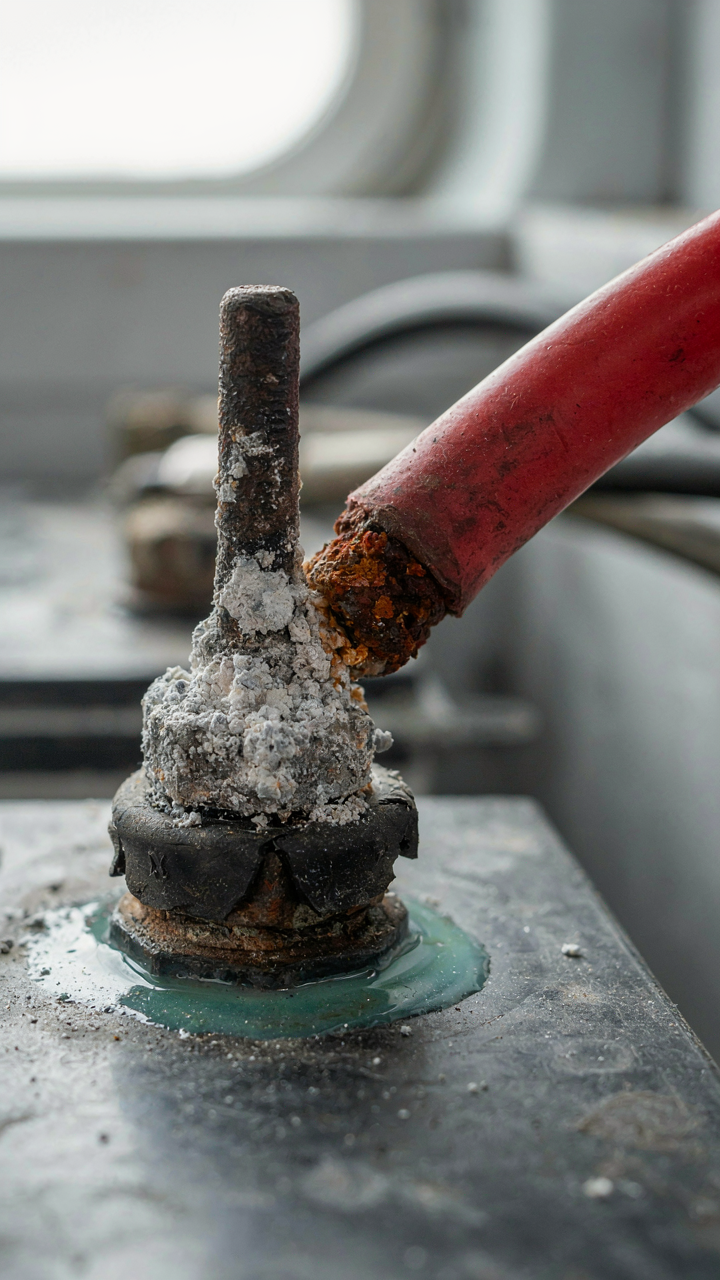
Battery Removal And Maintenance: Beyond Disconnection

You’re worried about coming back to a dead battery in spring, but that’s not actually what kills RVs during storage. The real mechanism is sulfation, which is electrochemistry in action: lead-acid batteries self-discharge and stratify when idle, and the lead plates crystallize into a state they can’t recover from. Disconnection alone stops parasitic draws but doesn’t prevent sulfation. You need to remove the battery entirely and store it on a concrete floor in a cool, dry space.
A removed battery also eliminates the risk of freeze damage if your storage location hits sub-freezing temps. Most RV batteries are rated for ambient storage, but the chemical reaction that produces voltage slows in cold and stops altogether if electrolyte freezes. Check the battery’s state of charge with a multimeter before storage. A fully charged battery resists freezing better than a discharged one. Store it away from metal objects that could create a short circuit, and check it once monthly during off-season to ensure it hasn’t dropped below 12 volts.
Appliance Shutdown: Preventing Parasitic Drains
Everyone says to disconnect the shore power and you’re done. That’s lazy advice. Shore power disconnection stops external draws, but your RV’s internal systems still consume power through the coach battery: propane detectors, carbon monoxide detectors, circuit breakers with indicator lights, and some refrigerators draw 1 to 3 amps continuously even when powered down. Over three months of storage, those drains empty a battery completely. The mechanism here is that every component with a standby mode or an LED is a small but persistent leak.
Turn off every breaker in your electrical panel individually. Kill the propane detector specifically. Empty the refrigerator, leave the door propped open to prevent mold, and switch it to the off position, not just the lowest setting. For any appliance with a digital display or indicator light, assume it’s consuming power. Your furnace’s thermostat board, your water heater control, your slide-out actuator all draw power in standby. Methodically audit what draws power and shut it down by breaker, not by remote control or the appliance’s own switch.
The “How To Winterize An Rv Camper” Storage System
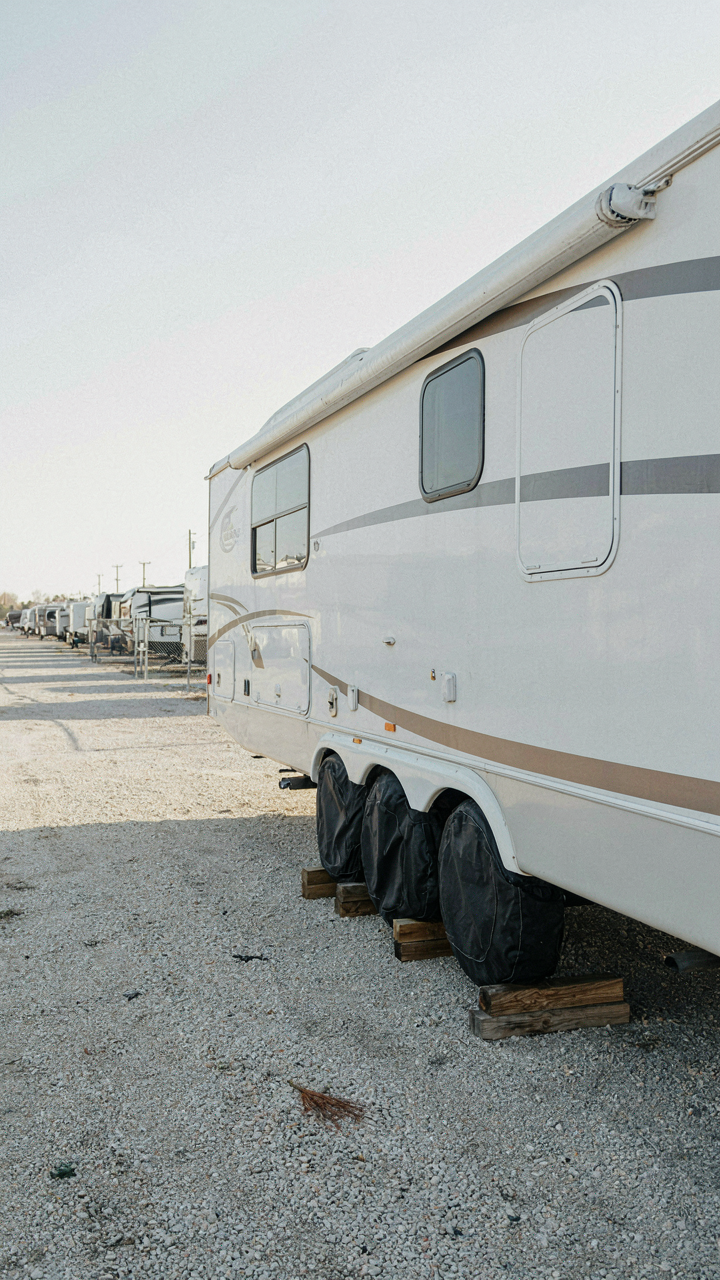
Tire Care: Preventing Flat Spots And Degradation

You’re worried about coming back in spring to find your tires ruined. That fear is rational, but most people address the symptom, not the cause. Tires degrade under three conditions: weight, time, and temperature variance. Storage creates all three. The mechanism is simple: static load on a single contact patch, combined with ozone and UV exposure, causes the rubber to harden and crack. You can’t eliminate weight, but you can rotate the load.
Inflate tires to the manufacturer’s maximum PSI before storage, not the standard operating pressure. This reduces the contact patch and distributes load more evenly across the tire’s structure. Move the RV every four to six weeks, even just ten feet, to shift the weight zone. If you can’t move it, place jack stands or leveling blocks under the frame to lift weight off the tires entirely. Cover the tires with opaque tarps to block UV and ozone. Check pressure monthly because stored tires lose air regardless of condition.
Rodent Entry: Sealing And Deterring
The common advice is to set traps and place poison. That treats the symptom. Rodents don’t invade because they’re hungry. They invade because your RV offers shelter and the entry cost is zero. Close the entry cost before worrying about bait. Rodents squeeze through gaps as small as a dime. They target engine bays, wheel wells, and areas under slide-outs where gaps naturally form.
Walk the perimeter and seal every opening with steel mesh or caulk. Rodents can gnaw through rubber, plastic, and foam. Steel mesh stops them cold. Pay specific attention to where water, gas, and electrical lines enter the RV body. These are the primary invasion routes. Dryer vent openings, roof vents, and exhaust outlets need screens rated for pest prevention. One-eighth inch mesh works. After sealing, remove food sources entirely. Empty all cabinets and storage compartments. Rodents will leave if shelter offers no payoff.
Internal Affairs: Preparing Your Winterize RV Travel Trailers Interior

Clean Before You Store

You want to believe your RV will sit undisturbed and emerge perfect. It won’t. Mold doesn’t care about your timeline. The mechanism is simple: organic matter plus moisture equals decay. Food residue, fabric dust, and pet hair become fuel. Remove them first.
Strip the interior completely. Wipe down cabinets, countertops, and walls with a dry cloth. Vacuum every corner, including under cushions and behind appliances. Wash all bedding, curtains, and upholstery before storage. Empty the refrigerator and freezer entirely. Any forgotten crumb becomes a mold colony by month three. This isn’t optional work that improves results. It’s the prerequisite for results at all.
The Desiccant Protocol
Think of moisture control through the lens of military logistics: you’re denying the enemy supply lines. In an RV, moisture is the enemy. Air circulation stops it. Desiccants absorb it. Without one or both, condensation builds inside walls and cabinets.
Install desiccant containers in every enclosed space: cabinets, closets, under sinks, the bedroom. Silica gel, calcium chloride, or molecular sieve products all work. Don’t rely on a single unit in the center. Moisture distributes unevenly. Pair desiccants with cracked windows or roof vents to allow minimal air exchange without inviting pests. Check desiccant saturation every two weeks during storage. When saturated, replace or regenerate them per the manufacturer’s protocol.
The “Rv Winterization Guide” Checklist: Applying Military Strategy

Assess Your Threats Before Action

You want this section because you’re afraid of expensive damage you can’t see coming. The real mechanism is borrowed from military operations: before deployment, commanders conduct a threat assessment. In RV winterization, your threat assessment means identifying what actually fails in cold storage. Water in the plumbing system freezes and expands, cracking lines and tanks. Diesel fuel gels. Batteries die. Seals shrink and crack. You’re not winterizing everything equally. You’re prioritizing what kills an RV fastest.
Start by documenting your RV’s current state. Check the freshwater tank level, the gray and black tank contents, and whether any water sits in the lines. Walk the exterior sealing—look for gaps around vents, windows, and compartments where moisture enters. Test your battery voltage. Note which systems you actually used last season. This isn’t busywork. You’re gathering intelligence on what needs protection in your specific unit, not following a generic script that assumes every RV has identical vulnerabilities.
Learn From Last Season’s Mistakes
The common advice here is to “document everything for next year.” That’s too soft. What you actually need is a failure log: what went wrong last time, where it failed, and why your previous winterization missed it. Military operations call this a post-mission debrief. In RV terms, it’s the difference between repeating the same winterization routine blindly and fixing the actual weak points in your process.
Pull your notes from last spring when you opened the RV. Did lines freeze despite antifreeze? Did mold grow in the closed-off interior? Did the water heater drain completely, or did sediment block the valve? Each failure points to a procedural gap. Maybe you didn’t run antifreeze long enough. Maybe you sealed a vent when you should have left it cracked for ventilation. Maybe you stored the RV in a location with worse wind exposure than you realized. Record the specific temperature range during storage, the humidity, and any visible damage when you reopened it. Use this data to adjust your winterization sequence for the next cycle, not as motivation, but as tactical adjustment.
Exterior Defense: How To Winterize Your Camper Against The Elements
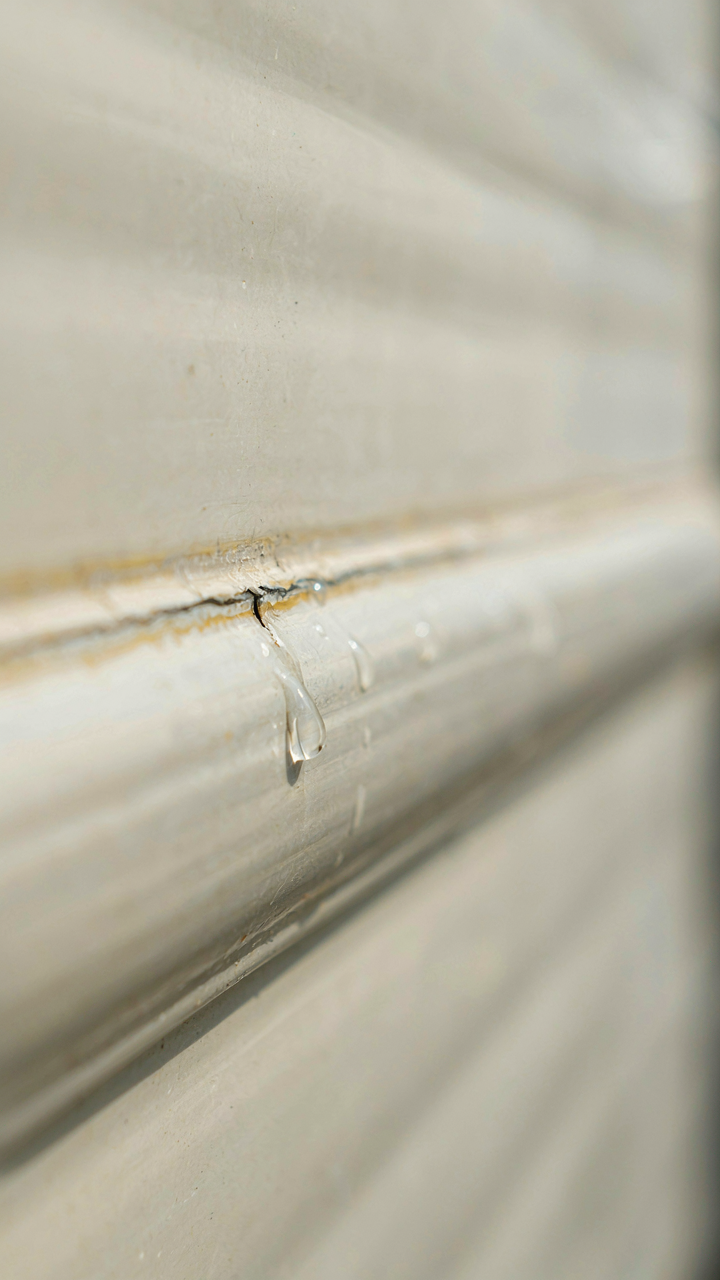
Seal Every Seam Before Winter

You care about this because a $40,000 RV becomes a $4,000 problem the moment water finds a gap. Think of your RV’s envelope like a military defensive perimeter: one breach compromises the entire position. Water doesn’t trickle in politely. It migrates sideways along seams, saturates insulation, and freezes, expanding and cracking internal structures. Most owners catch this after damage spreads.
Start with the roof. Inspect every seam, vent, antenna base, and skylight for cracks or separation in the sealant. UV breaks down polyurethane caulking in two to four years depending on sun exposure. Replace it before winter with fresh marine-grade sealant rated for RV use. Don’t use interior caulk outdoors. Pay attention to the seams where the roof meets the sidewalls and where slide-outs connect to the body. These areas flex and fail first.
Check The Underbelly For Entry Points
Rodents don’t wait for permission. They exploit gaps, especially where plumbing, electrical, and propane lines penetrate the undercarriage. A single opening smaller than a pencil diameter becomes a highway. Winter storage creates the perfect environment: shelter from predators, access to insulation for nesting, and protection from harsh weather outside.
Crawl underneath with a flashlight and seal every visible gap around penetrations. Use one-part expanding foam rated for exterior use, then trim and cover the foam with metal flashing or hardware cloth. Rodents chew through foam alone, so the metal barrier is non-negotiable. Pay special attention to the belly pan seams and any areas where previous repairs created irregularities. This step takes two hours and prevents thousands in damage to wiring, plumbing, and interior insulation.
Beyond The Basics: Advanced How To Winterize Your Rv Tactics
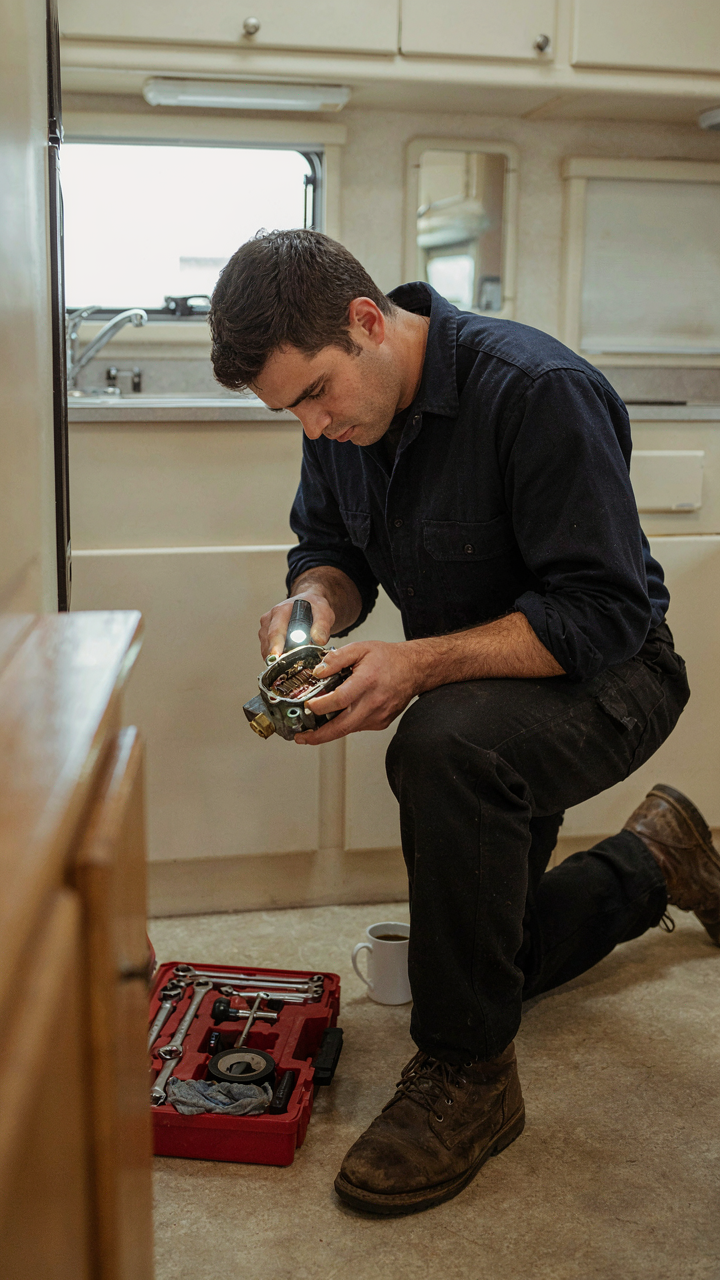
When Appliances Demand Individual Protocols

You’re reading this section because you want to feel like you’ve covered everything, but the real fear is that one overlooked system will fail and cost you thousands. Here’s the mechanism: most RV appliances sit dormant in cold for months, and their individual vulnerabilities aren’t the same. Treating them identically wastes effort on what’s already protected and skips what actually breaks.
Refrigerators need specific attention because coolant can separate and fail to re-circulate if you restart the unit too soon after storage. Drain the water lines completely, run the fridge empty for 24 hours before shutdown, then prop the door open to prevent mold and seal degradation. Water heaters require sediment removal before freezing because mineral buildup traps moisture and creates corrosion pockets over winter. Flush the tank thoroughly, switch the bypass valve to “winterize” mode if your RV has one, and inject antifreeze through the water heater inlet specifically, not just the main system.
Furnaces need the propane line isolated and the combustion chamber cleared of condensation that forms from temperature swings. Run the furnace on a dry day, let it cycle completely, then shut off the propane at the tank and bleed the line. Toilets use different antifreeze concentrations than freshwater systems because the black tank needs stronger protection against bacterial breakdown of waste. Never mix RV antifreeze types or concentrations across different systems, the chemical incompatibility creates sludge that clogs valves.
Tailoring Winterization To Your Actual Setup
Every RV is not built the same, and winterization guides that pretend otherwise cost you money through unnecessary steps or missed failures. Think of your RV’s layout like a military supply line: each route has different exposure and different failure points depending on where it sits and how it’s configured. A basement model with tanks underneath suffers more freeze risk than a raised model with interior tanks. A rig stored outdoors takes hail and temperature swings that a covered storage rig doesn’t face.
Identify whether your water lines run through insulated walls or exposed cavities, your propane tanks sit above or below the frame, and your holding tanks live inside heated bays or exterior compartments. Exposed tanks need higher antifreeze concentration and additional insulation wrapping. Interior tanks in heated bays skip extra wrapping entirely. Slide-out rooms pull the weathersealing outward when retracted, creating gaps that demand foam sealant or air dams you wouldn’t need on a standard box. If your furnace vents through a roof penetration, that vent collar needs caulk inspection because freeze thaw cycles crack sealant faster than static cold. Document your RV’s specific configuration before storage season, then adjust your antifreeze concentration and insulation strategy to match the actual exposure your rig faces.
The Recommissioning Fallacy: Why Spring Is Just Another Winterization
Don’t Rush The Spring Thaw
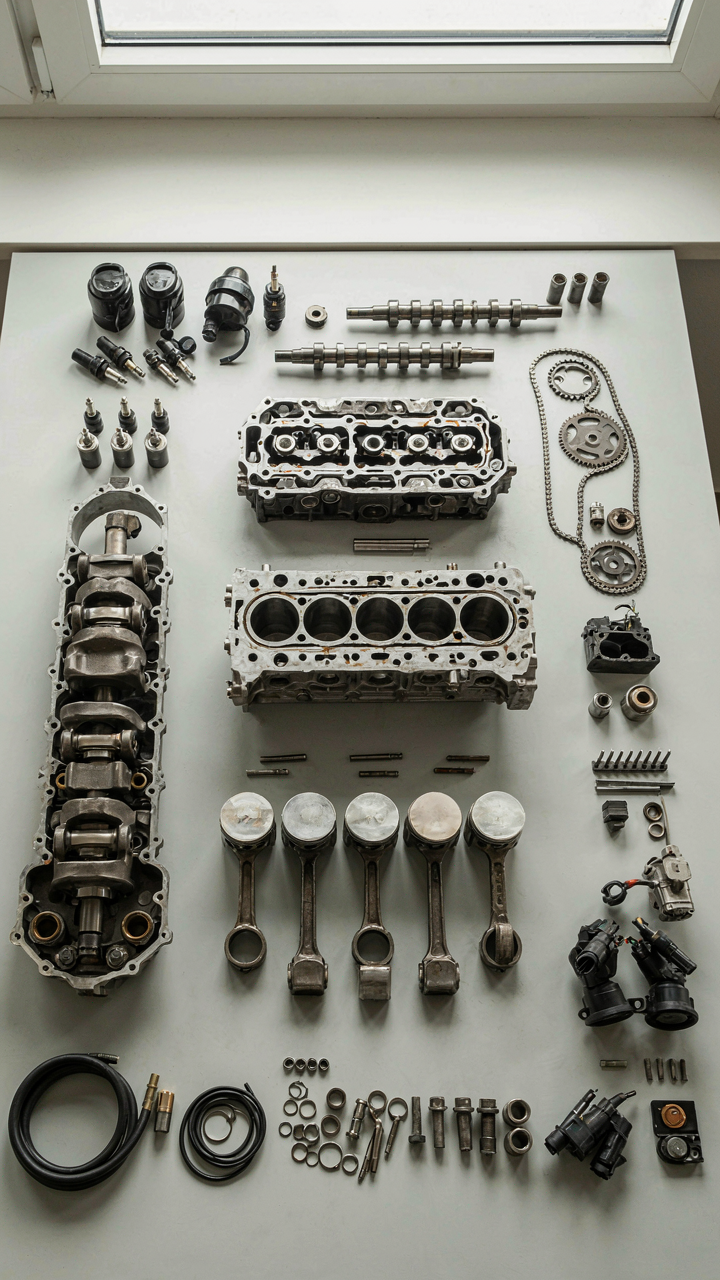
You want to believe that winterization is a one-time event so you can forget about your RV until warm weather returns. It isn’t. Spring recommissioning is winterization in reverse, which means it demands the same systematic attention or you’ll pay for shortcuts in system failures.
The common advice treats spring like a simple flip of the switch. Wrong. You winterized to prevent freeze damage and bacterial growth. Reversing that process means flushing antifreeze from every line, reintroducing water slowly to depressurize seals, and testing systems that have sat dormant for months. Rushing this creates air locks in fresh water lines, spins up contaminated holding tanks, and catches you stranded when an engine won’t turn over because fuel stabilizer gummed the injectors. The mechanism is simple: dormancy creates opportunity for corrosion and chemical separation. You need to reverse it methodically.
System Checks Post Storage Integrity
Think of your RV like a battery that’s been in storage. Battery integrity verification in electrical engineering requires load testing under specific conditions, not just checking if power exists. Your RV’s systems need the same staged reactivation protocol.
- Propane system pressure test: Pressurize lines and listen for hissing at connections. Seals weaken over winter dormancy. Any leak means replacing fittings before use.
- Fresh water lines for blockage: Open all faucets and let water run for 30 seconds each. Air pockets and mineral deposits settle during storage and restrict flow.
- Black and gray tank sensors: Pour water into each tank and monitor sensor readings on your panel. Sensors corrode or stick in cold storage and give false readings.
- Engine oil and coolant condition: Check levels and look for color changes. Darker engine oil or cloudy coolant signals moisture contamination during sitting.
- Battery voltage and load: A multimeter reading of 12.6V means nothing if the battery can’t hold voltage under draw. Test it with headlights on.
- Slide out mechanisms and seals: Operate slide outs fully extended and retracted twice. Cold shrinks rubber seals and stiffens mechanisms. Movement restores function.
The risk isn’t that something might fail. The risk is that you won’t know it failed until you’re 80 miles from a service center. Every system check is a decision gate: pass or repair before departure. Test under load, not in idle mode, because that’s how your RV actually operates.
The Real Cost Isn’t Winterization; It’s Your Complacency
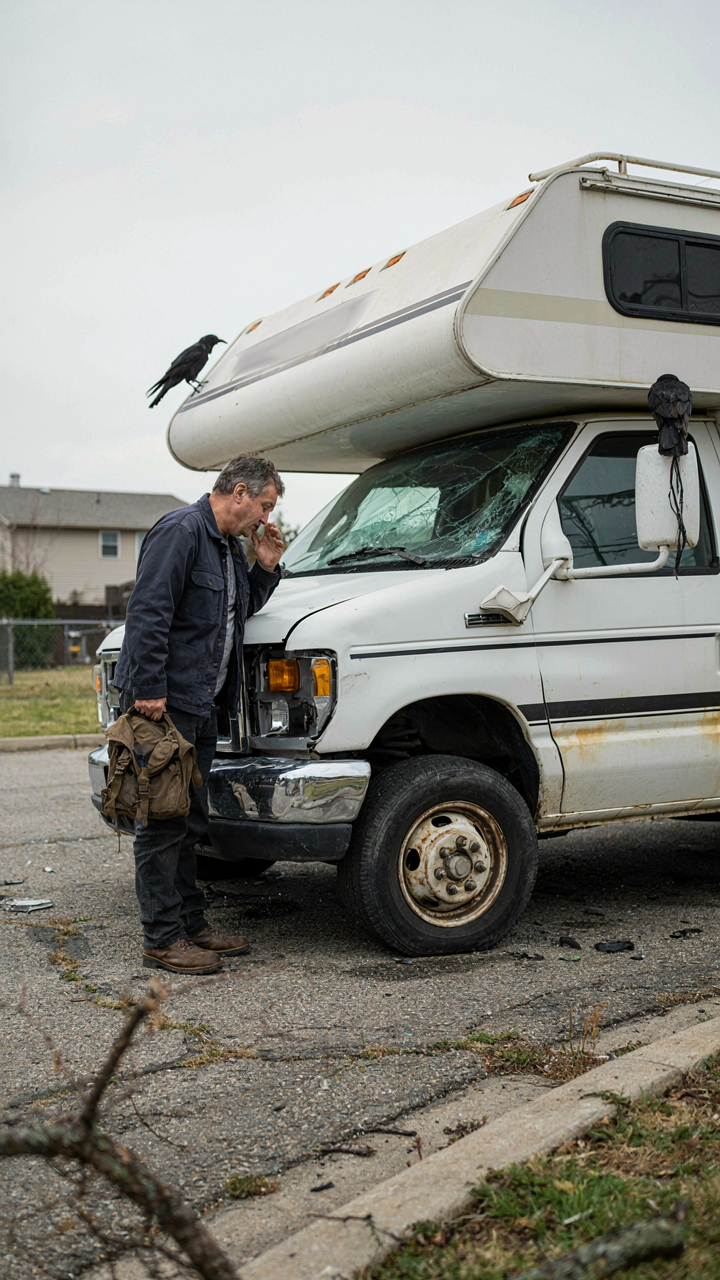
Most RV owners skip winterization because they think “nothing will happen.” Then spring arrives and their lines crack, tanks freeze, and they’re staring at five-figure repair bills. The mechanism is simple: neglect compounds. Your next action is immediate. Pull out your RV manual today and circle your first winterization task. Do it this week. The difference between a functional RV and a destroyed one isn’t knowledge, it’s the person who actually moves.



