
Beyond Antifreeze: The Thermodynamic Truth Of RV Winterizing
How Heat Actually Leaves Your RV
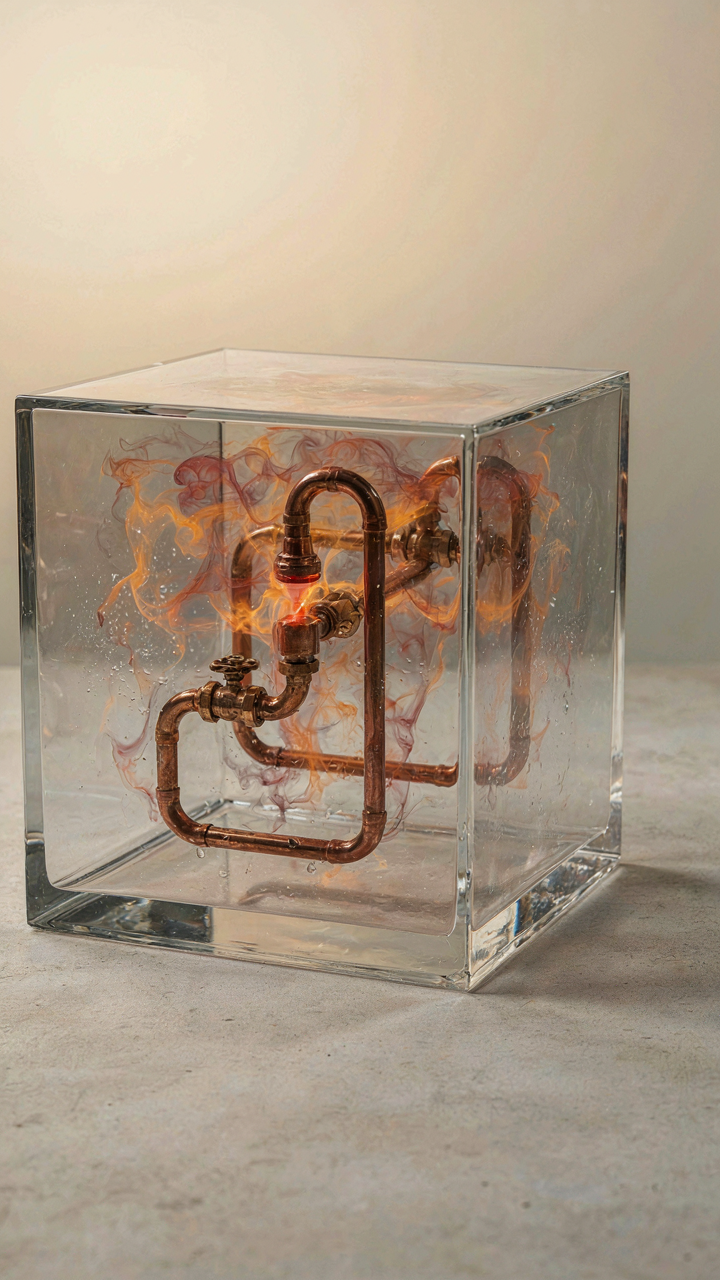
You want antifreeze because you’re afraid of the bill, not because you understand what kills pipes. Here’s what actually happens: heat moves in three ways, and your RV bleeds energy through all three simultaneously. Physics calls this conduction, convection, and radiation. In an RV, conduction is your metal frame stealing warmth straight into the cold ground. Convection is moving air cycling heat out through gaps and vents. Radiation is infrared energy just vanishing into the night sky. Stop thinking about keeping warmth in. Start thinking about blocking the three pathways heat uses to escape.
Most RV winterizing advice fixates on pipes and ignores the thermodynamic reality: your rig is a metal box designed to leak energy. Conduction happens fastest through aluminum sidewalls and the steel frame touching earth. Convection accelerates through open vents, gaps around slide-outs, and understorage access panels. Blocking these three pathways matters more than any additive you pour. Your heating system can’t overcome poor thermal boundaries. Seal gaps first, then add supplemental heat. This sequence inverts what most owners do.
Building Heat That Stays Put
Thermal mass is not insulation. This distinction destroys most winterizing plans. Insulation slows heat loss. Thermal mass absorbs and releases heat over time, maintaining stable temperatures when your furnace cycles off. Water has the highest thermal mass of any practical RV material. A 55-gallon drum of water inside your rig absorbs furnace heat during the day, then radiates it back at night when interior temperatures drop. This stabilization prevents the wild temperature swings that crack pipes and strain your heating system.
The mechanism works like this: your furnace heats both air and the thermal mass simultaneously. Once the furnace shuts off, the mass continues radiating warmth, slowing the temperature plunge that triggers freeze risk. Without thermal mass, your interior can drop 10 to 15 degrees in minutes after heating cycles off. With it, the drop compresses into an hour or more. Locate dense materials near water lines and tanks. Position thermal mass where radiant heat from sunlight hits it during daylight. This passive strategy reduces furnace runtime by 20 to 30 percent while stabilizing pipe temperatures.
The “RV Winter Living” Protocol: Your Rig Is A Microclimate
Seal Every Opening Like Your Heating Bill Depends On It

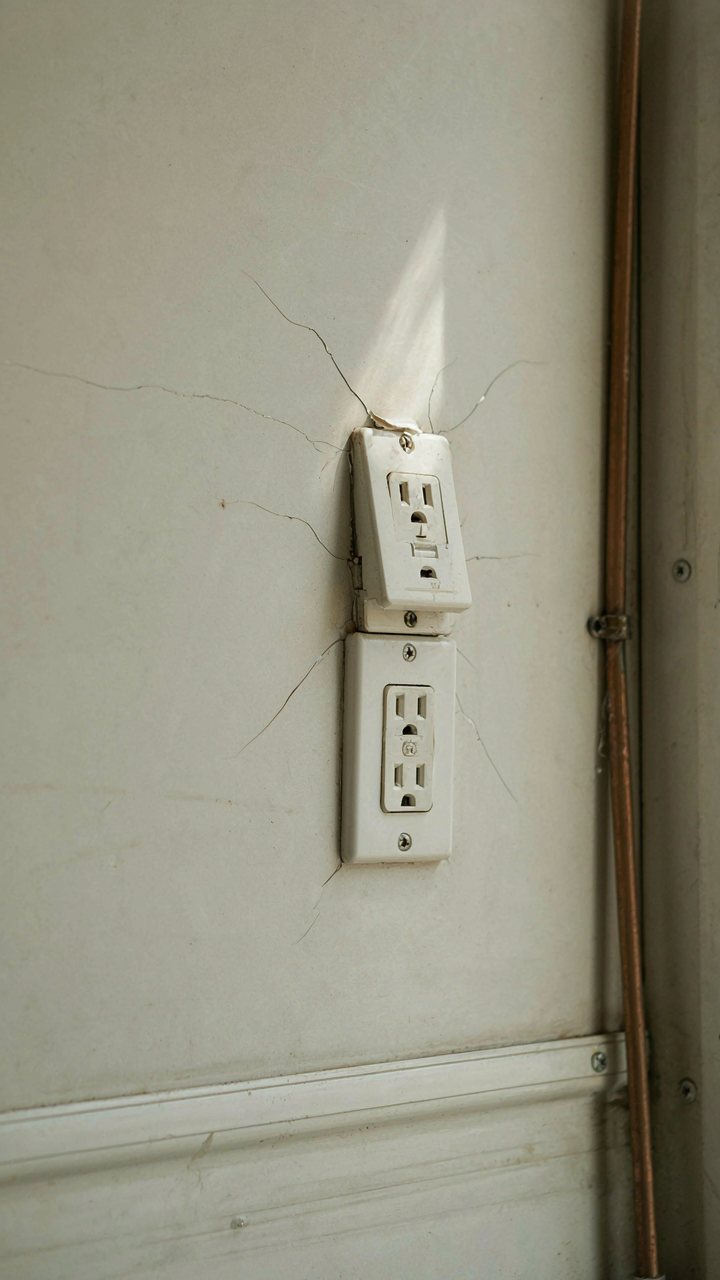
You want to believe your RV heater is doing the work. It’s not. The real problem is that your rig bleeds heat through gaps you can’t see. Every penetration—electrical outlets, water lines, cable conduits, vents—acts as a thermal leak. You’re heating the outside air, not your living space. The mechanism is thermodynamic equilibrium: heat moves toward cold until pressure equalizes. Seal the leaks first.
Start with the obvious holes. Remove outlet plates and pack the cavities with foam sealant. Wrap water supply lines entering the rig with pipe insulation, then seal where they pass through the wall with expanding foam and a vapor-tight caulk. Don’t use silicone alone; use marine-grade sealant rated for -40 degrees. Check every roof penetration for cracking or gaps. A 1-inch opening in winter costs you more heat than an active heater can replace.
Control Moisture Before It Freezes Your Plumbing
The common advice is to just run your furnace. Wrong. Your furnace creates the problem. Heating air reduces its relative humidity, so residents compensate by cooking, showering, and breathing more moisture into the rig. That moisture migrates to cold surfaces—tank compartments, exterior walls, windows—where it condenses. When that condensation freezes, it blocks vents and forms ice dams in your freshwater and greywater lines. You’ve created a humidity trap.
Use a dehumidifier with a drain line that runs outside. Position it near sleeping areas where condensation forms fastest. Open your furnace vent damper slightly to let moisture escape, even in winter. Stack your fresh air intake away from exhaust outlets so you’re not recirculating humid air. Install a small inline humidity sensor in your water compartment. If it reads above 45 percent, run the dehumidifier before bed. Dry air freezes slower than moist air because there’s nothing to freeze.
Winterizing Your RV For Winter: The Energy Debt Principle

Stop Losing Heat Through Weak Spots

You want to avoid the shame of a frozen tank at a rest stop, but that’s not why you’re reading this. You’re reading because you sense you’re bleeding money into cold air and you can’t see where. Thermodynamics calls this heat transfer. RV winterization is debt collection: you locate where your RV is leaking thermal energy and you plug it. The mechanism is simple. Heat moves from warm to cold. Your RV is warm. The outside is cold. Every gap, every thin wall, every uninsulated cavity is a path that heat takes out of your space without asking permission.
Most RV owners stop at foam tape around windows. That’s incomplete. The real losses happen through the roof seam, the floor cavity where plumbing runs, and the thin metal walls between the interior and exterior. Water heater bypass kits, roof membrane repair, and floor insulation upgrades address the actual vectors. You can’t winterize an RV by treating symptoms. You address the structural pathways first.
Capture Every Heat Source You Already Have
Your RV generates heat constantly. You’re generating it. Your appliances are generating it. Your furnace is generating it. The mistake is treating these as separate problems instead of one system. Passive solar means positioning your RV so south-facing windows collect daytime heat. Internal sources mean capturing waste heat from your water heater, refrigerator, and cooking instead of venting it outside.
South-facing windows matter only if you’re stationary or moving deliberately. When they’re available, direct sun reduces furnace cycling by 20 to 30 percent. Beyond windows, seal interior vents that dump heated air outside immediately. Vent fans, range hoods, and bathroom exhaust should run only when necessary. Every minute a fan runs, you’re paying twice: once to heat the air, then again to replace what you just expelled.
How To Keep An RV Warm In Winter: The Bio Rhythmic Method

Body Heat Optimization: Activity And Layered Clothing

You want to believe the furnace will handle everything so you don’t have to think about it. The mechanism is simpler: your body generates heat through metabolic activity, and layering traps that heat instead of letting it radiate into dead air. This is thermodynamics, not motivation.
Movement matters more than most people admit. Sitting still in an RV burns fewer calories and generates less body heat than walking, stretching, or working with your hands. A two-hour work session or sustained activity raises your core temperature by 2 to 4 degrees Fahrenheit without touching the thermostat. Layering works because still air between fabric layers insulates better than any single material. Cotton holds moisture and fails in cold. Merino wool or synthetic base layers wick sweat and maintain insulation even when damp. Middle layers like fleece add air pockets. An outer shell blocks wind if you step outside.
The RV stays warmer when occupants generate heat through scheduled activity rather than passive sitting. Eat before dawn, move for two hours, then settle into the warmest area during the coldest part of the day. This matches your body’s natural temperature curve and reduces furnace load.
Strategic Heating Cycles: Synchronize With Human Patterns
Most people set a static temperature and wonder why they’re uncomfortable and broke. The real pattern is that your body temperature peaks in afternoon and dips before dawn, so heating the RV uniformly around the clock is wasteful and ineffective.
Run your furnace on a cycle that mirrors human physiology instead of fighting it. Heat aggressively from 5 AM to 8 AM when your core temperature is lowest and you’re most vulnerable to cold. Reduce heat from 11 AM to 3 PM when metabolic activity and afternoon warmth reduce demand. Resume moderate heat from 4 PM to 8 PM during the early evening dip. Drop to minimum maintenance heat from 9 PM onward if occupants are under covers. This cycling cuts furnace runtime by 30 to 40 percent while keeping temperatures above the freeze threshold for pipes.

Synchronized heating cycles work because they align RV temperature with actual human need, not arbitrary comfort settings. Set your thermostat to execute this pattern using a programmable controller, or manually adjust it twice daily if your unit has no automation. The point is matching heat delivery to metabolic demand, not sustaining constant output.
Insulating Camper For Winter: The Material Science Of Survival
Where To Invest For Maximum Return
You want to feel smart about your RV without actually doing the math. Here’s the mechanism: R-value measures thermal resistance per inch of material. Heat loss follows a hierarchy in RVs—floor loses the most, then walls, then roof—which means your insulation budget isn’t spread equally. Most people insulate everywhere at once. That’s waste.
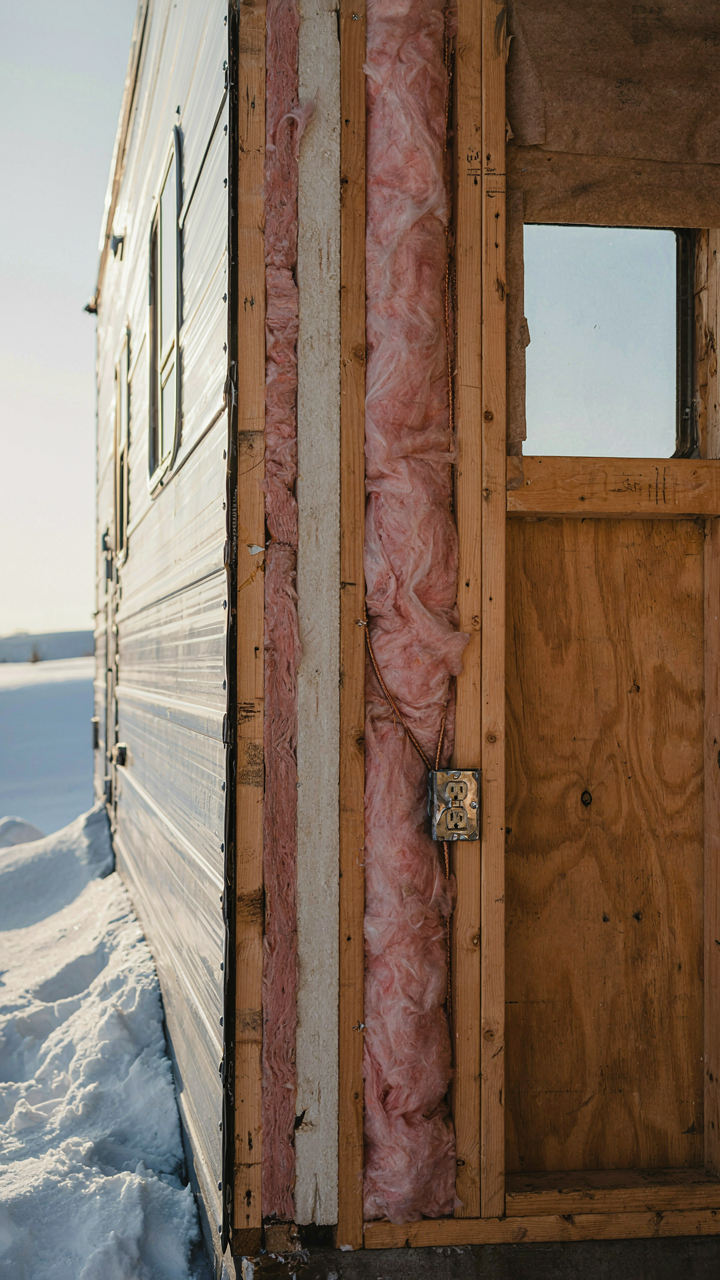
The floor demands priority because ground contact creates a thermal bridge that no amount of wall insulation fixes. A camper sitting on cold earth loses heat faster through the bottom than anywhere else. Upgrade floor insulation first, then address walls where heat escapes faster than the roof. Spray foam in the cavities beats fiberglass batts because it seals air leaks that fiberglass leaves open. The roof comes last—counterintuitive to most, but the physics doesn’t care about intuition.
Common Mistakes And Fixes That Actually Work
People install insulation without addressing air sealing, which means you paid for R-value that never delivers. The real problem isn’t the insulation material itself—it’s the gaps around it.
- Vapor barriers installed backwards: Moisture moves from warm to cold. Install the barrier on the warm side of insulation or you trap condensation inside the cavity. This destroys R-value and rots wood structure.
- Compressed fiberglass between studs: Fiberglass loses R-value when compressed. Never squeeze it into tight spaces. Use spray foam or rigid foam board instead where space is limited.
- No air sealing around penetrations: Pipes, electrical outlets, and vents create bypass routes for warm air. Seal every penetration with caulk or foam before insulation goes in.
- Assuming all empty cavities are accessible: Wall and floor cavities in RVs often have internal supports that block proper insulation placement. Inspect before buying materials or you’ll have gaps that look filled but aren’t.
- DIY spray foam applied too thick: Expanding foam that cures improperly creates weak spots. Follow manufacturer cure times and temperature ranges exactly. One mistake ruins the entire section.

Start with a thermal camera or thermal imaging to identify where heat actually escapes from your specific RV. Every camper is built differently. Generic fixes work for generic problems. Your rig needs diagnosis before treatment.
Winterize Camper Travel Trailers: The Redundancy Imperative
Backup Heating Systems Never Rely On One Source
You want to feel safe. That’s the real reason you’re reading this. But safety in an RV isn’t a feeling, it’s a system. Think in military terms: redundancy is your defense strategy. Your furnace will fail exactly when you’re asleep at two in the morning. The mechanism is simple. One heating source creates a single point of failure. When it breaks, you have zero heat and frozen pipes in four hours.
Install a secondary heater before winter arrives. A ceramic space heater rated for RV use costs under a hundred dollars. Position it in the sleeping area where you spend nighttime hours. Run it on a dedicated circuit to avoid overloading your electrical system. Your furnace handles the day shift. The space heater maintains minimum temperature when the furnace cycles off or malfunctions. This overlap prevents the deadly gap between failure and discovery.
Emergency Water Supply And Sanitation Protocols
Frozen pipes mean no water. Most RV owners panic here because they think the problem is the water. It isn’t. The problem is you didn’t establish a protocol before the pipes froze. Have five gallons of fresh water stored in food-grade containers before temperatures drop. Use this for drinking and cooking only. This extends your independence by two to three days minimum.

For sanitation, keep wet wipes and hand sanitizer accessible in every sleeping area. Gray water tanks freeze slower than supply lines because they contain used water with lower freezing points. However, don’t rely on this. Empty your gray tank before it freezes solid, even if it’s not full. Dump your black tank first. Use a heated water hose or bypass gravity drains by pouring heated water down the pipes manually. The protocol is: monitor, empty tanks before freezing, maintain backup water, confirm your backup system works before temperatures drop below freezing.
Heating Tips For RV Winter: The “Thermodynamic Budget” Framework
Living Space First, Storage Second
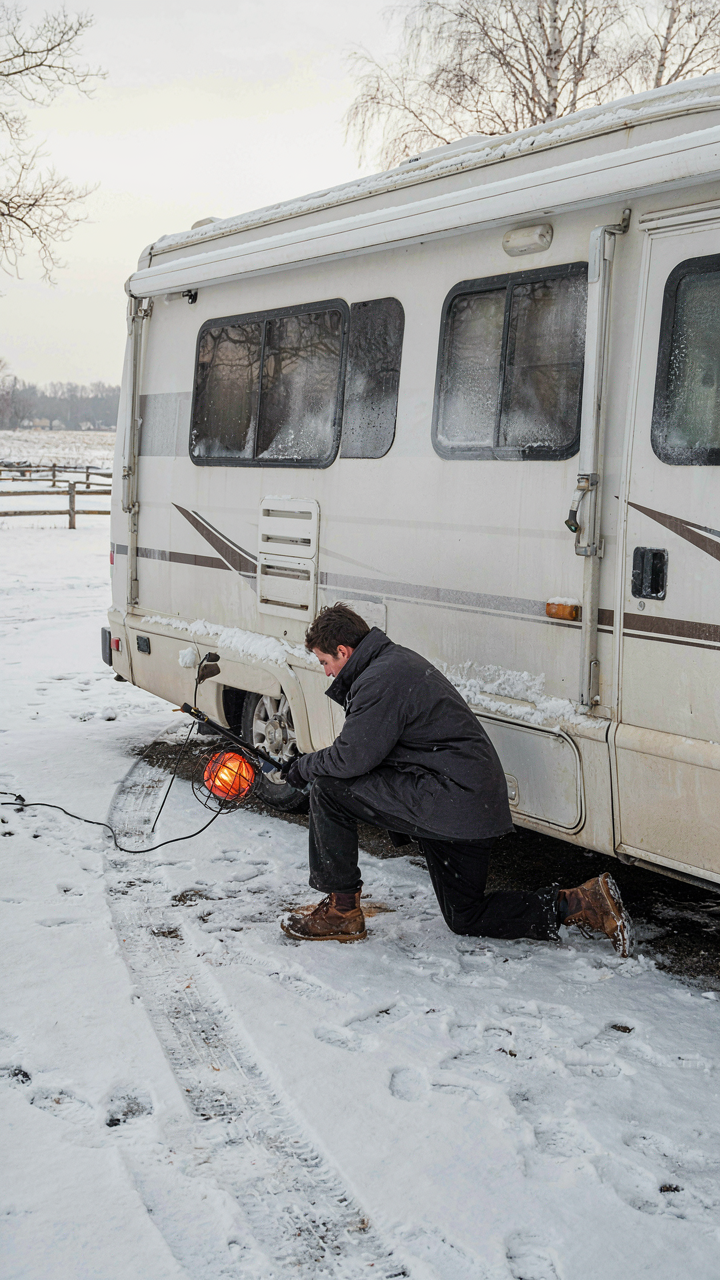
You want to feel comfortable without hemorrhaging money on propane. That’s the real equation here. Thermodynamics calls this “energy allocation”—you funnel heat where it generates the most return. In an RV, that means your sleeping and living zones get priority. Everything else is secondary.
Your furnace burns fuel to maintain temperature. It doesn’t care where the heat goes. If you heat the entire rig equally, you’re wasting BTUs on dead space—cabinets, storage bays, the garage under the bed. Close vents to those zones. Seal them off with insulation or reflective barriers. Your furnace runs less. Propane lasts longer. This is basic resource allocation, not comfort sacrifice.
Propane Versus Electric Versus Wood
Everyone defaults to propane because it’s what’s installed. That’s lazy reasoning. Electric heating costs more per hour but requires no fuel management. Portable propane heaters are cheap upfront but demand ventilation and monitoring. Wood stoves generate real heat but demand constant feeding and ash cleanup.

The real trade-off is time versus money versus safety. Propane furnaces are efficient and set-and-forget. Electric space heaters cost more to run but eliminate freezing risk if your propane fails midwinter. Dual heating matters: run electric as your primary heat, reserve propane for backup or extreme cold. This redundancy prevents the situation where a single system failure leaves you frozen. Test your secondary heat source before temperatures drop.
Insulate RV For Winter: The “Systems Thinking” Approach To Pipes
Trace Heat Lines: Electric Heat Tape And Pipe Insulation
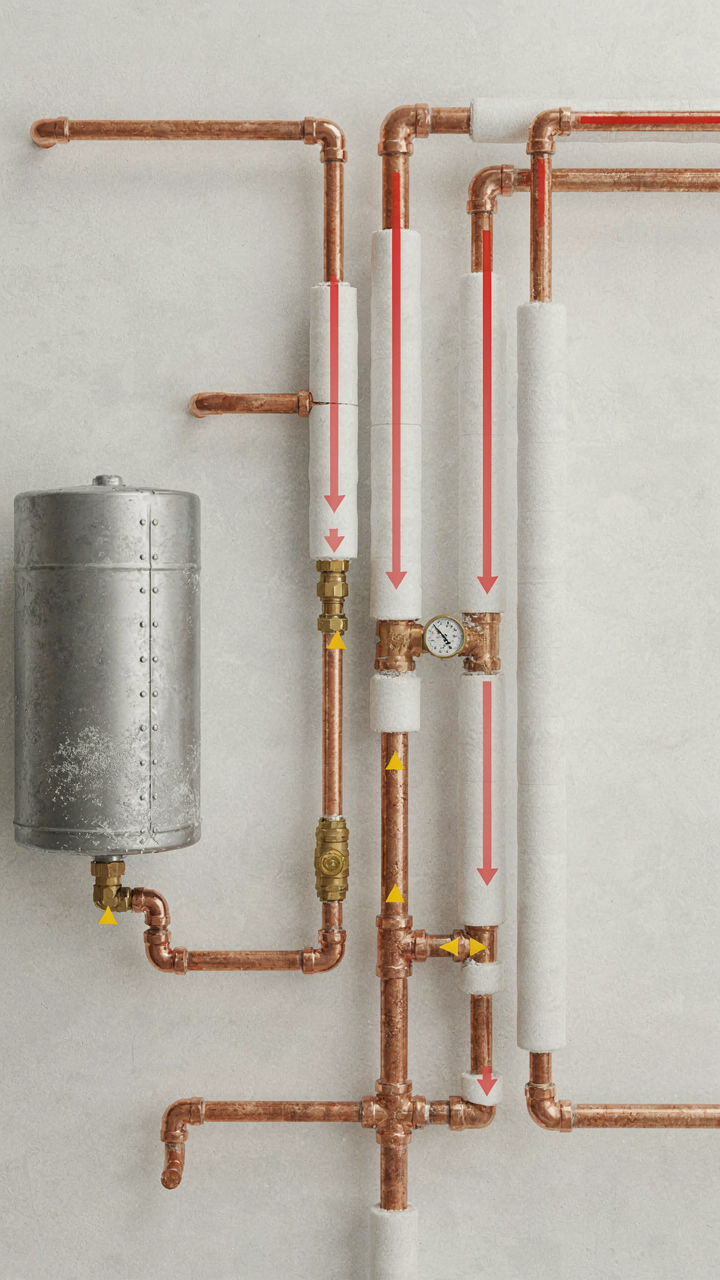
You want to avoid the call. The frozen pipe call. The one where a plumber charges you three times his normal rate because it’s January and your rig is a brick. But the real mechanism here borrows from thermodynamics: heat moves from hot to cold. Your job is to control the gradient. Electric heat tape and pipe insulation don’t fight freezing. They slow the rate at which your pipes lose heat to the external air.
Heat tape works by maintaining a minimum temperature when wrapped directly on the pipe. Foam pipe insulation acts as a thermal barrier, extending the time it takes for interior water to drop below freezing. The tape goes on first, then the insulation wraps around it. You’re not preventing cold. You’re managing the speed of heat loss. Install heat tape on all exposed lines under the RV, including the fresh water inlet, gray tank outlet, and black tank outlet. Then cover everything with foam sleeves rated for exterior use. The system only works if you don’t skip sections.
Underbelly Protection: Skirting And Insulated Enclosures
Skirting is underrated because it looks passive. It’s not. Wind beneath your RV creates convection, stripping heat from your tanks and lines at twice the rate of still air. This is thermodynamic liability most owners ignore until it costs them. Skirting blocks air movement. Insulated skirting does that and adds an R-value barrier.

Install skirting to cover the entire underbelly from wheel well to wheel well. Use materials like vinyl skirting with foam backing or rigid foam panels sealed with weatherstripping. The goal is eliminating all gaps where air circulates. Leave access panels for tanks and connections. During winter, the insulated enclosure creates a dead air space beneath the RV that acts as a thermal buffer. Check skirting monthly for gaps, tears, or separation from wind load or settling.
Travel Trailer Winter Living: The Psychological Fortitude

The Cost Of Staying Small
You’re reading this because you’re afraid you can’t handle it. The cold, the tight space, the lack of escape routes. That fear is the real problem, not the temperature. The mechanism is simple: your brain perceives confinement plus discomfort as a threat signal, and threat signals override rational decision-making. You’ll make worse choices about heating, insulation, and pipe protection when you’re panicking than when you’re calm.
Winter in an RV forces you into a compressed feedback loop. Every decision—thermostat setting, vent closure, pipe wrap installation—produces immediate results you can measure. This removes abstraction. You feel exactly what works and what doesn’t within hours, not weeks. Most people never get this data clarity in their lives. Your confinement becomes your fastest teacher.
Know Your People, Build Your Protocol
Stop pretending you need to white-knuckle this alone. The people who winter RV successfully do two things: they gather specific information from people who’ve already survived the exact conditions they’re facing, and they build repeatable systems so they stop making the same small mistakes twice. This isn’t motivation or mindset. This is resource allocation.
Online RV communities, regional Facebook groups, and campground regulars hold the map. They know which pipes freeze first in your specific trailer model, which propane consumption to expect at certain temperatures, and which heaters fail predictably. Ask them directly what broke for them last winter. Then document their answer in a simple checklist you run through before October. The protocol beats willpower every time.
The Real Cost Isn’t Frozen Pipes; It’s Your Assumption That Easy Equals Effective
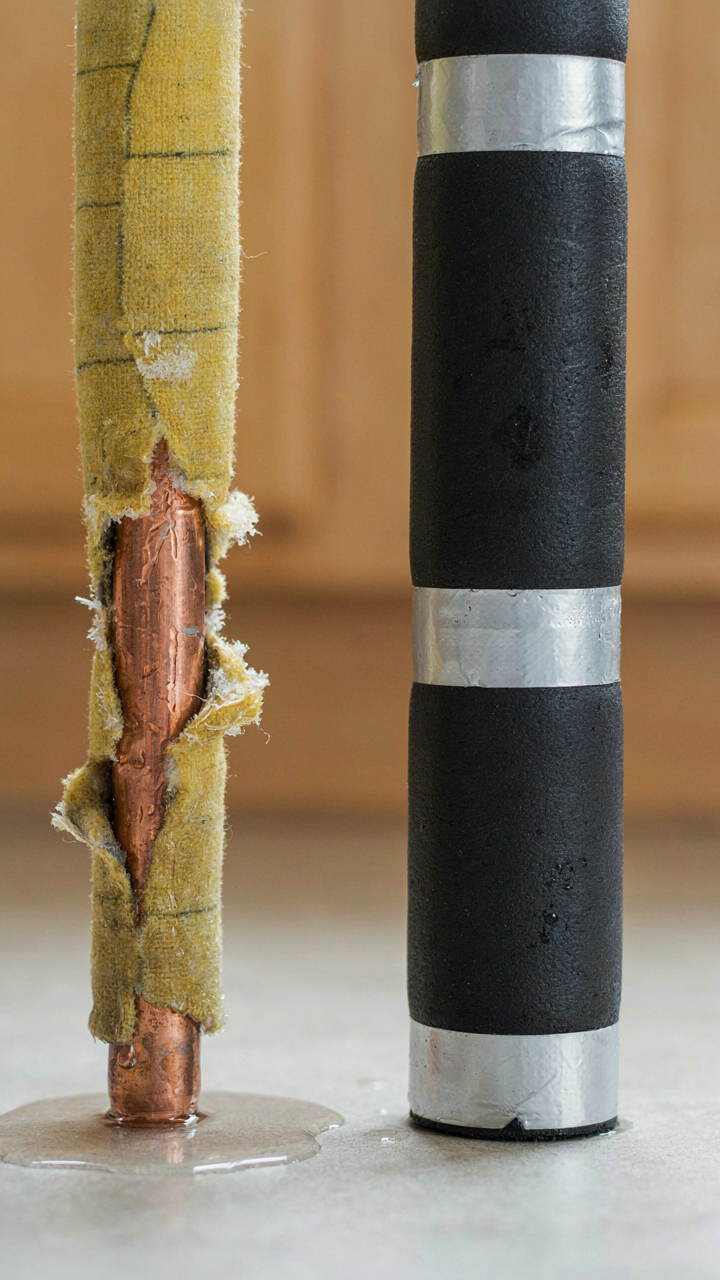
Most RV owners chase the cheapest hack instead of the one that works. They wrap pipes with dollar store insulation and wonder why they’re still thawing frozen tanks in February. The real winter hack isn’t about what you buy. It’s about treating your rig like a system, not a collection of problems. Pick one weak point in your setup today—your water lines, your underbelly, your vents—and fix it right instead of patching it cheap. Your pipes don’t care about effort; they only care about heat.



