
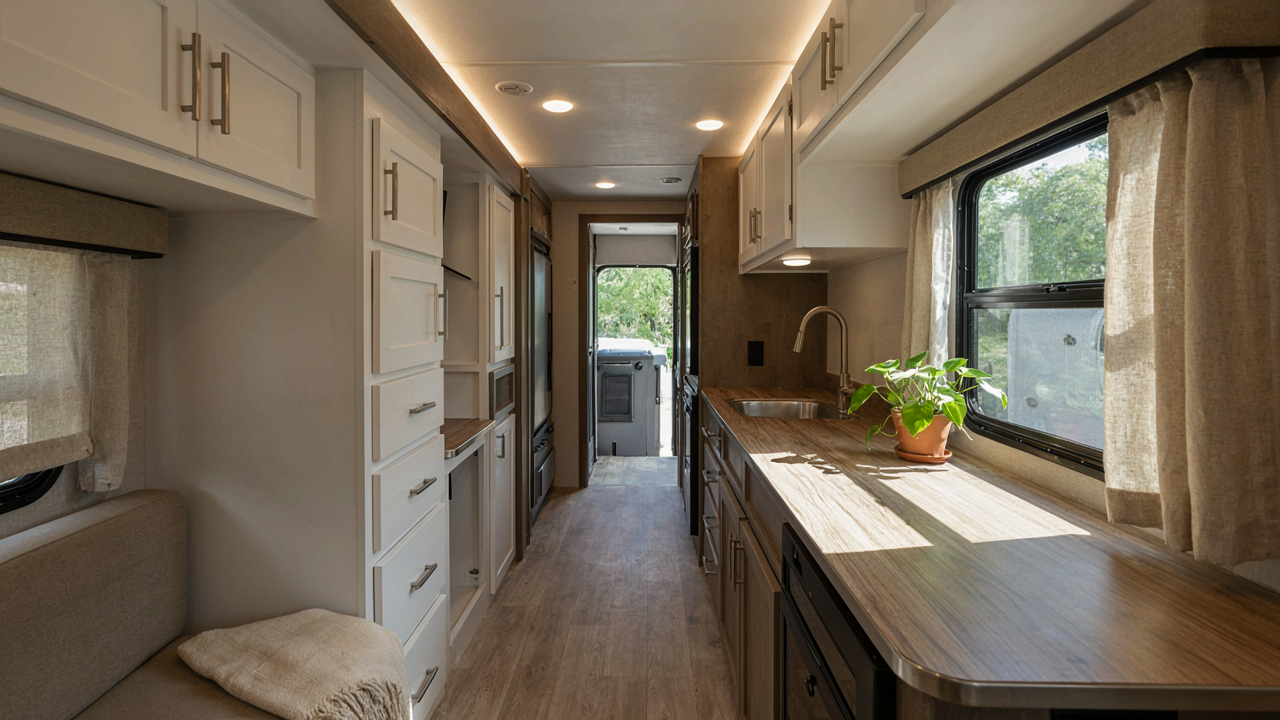
The Prep Or Perish Protocol: Why Surface Ignorance Kills Your Finish
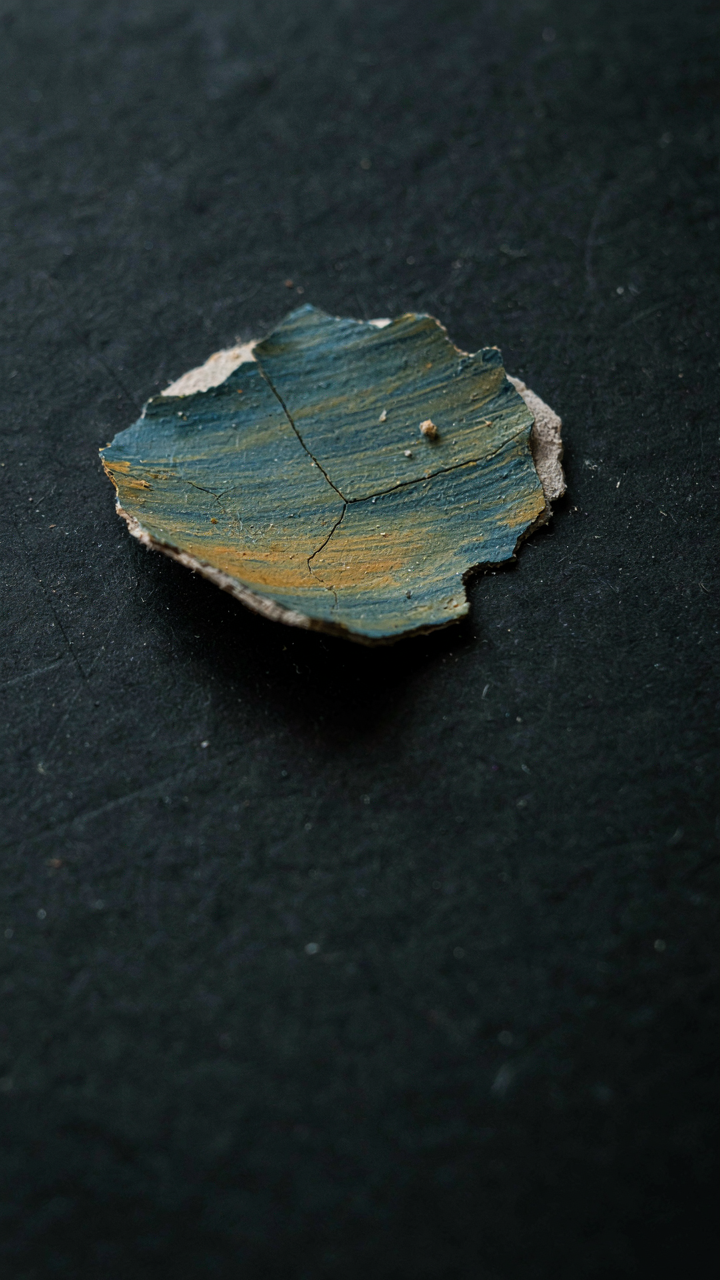
Clean Beyond The Visible Layer
You think prep is boring because you want the transformation to feel immediate, not because it actually is. The reality: paint and stain fail at the microscopic level, long before you see peeling. RV cabinets collect years of cooking residue, dust, and oxidation that create a barrier between your finish and the wood. This isn’t surface grime you wipe away in five minutes.
Start with TSP (trisodium phosphate) or a degreaser rated for kitchen cabinets. Warm water, cloth, get into corners and crevices. You’re removing the chemical bond that grease and oxidation have formed, not just making it look cleaner. Let cabinets dry completely, minimum eight hours. This step determines whether your finish adheres or separates in three months.
Sand To Create Mechanical Lock
Physics calls it mechanical adhesion. Your finish needs texture to grip, not a polished surface to slide off. The common advice says “just scuff it with 120-grit.” That’s incomplete. You need progression: 120-grit to break the existing finish and open the grain, then 150 or 180-grit to create uniform micro-scratches that your paint or stain will anchor into.
Hand sanding RV cabinets takes longer than orbital sanders, but you control pressure and catch edges better. Sand with the grain when possible. After sanding, vacuum thoroughly, then tack cloth to remove all dust. This single step separates durable finishes from ones that fail under RV vibration and temperature swings. Without mechanical adhesion, everything that follows gets compromised.
Prime Time: The Non Negotiable Foundation For Painting Rv Cabinets

Adhesion Primers: Gripping Slick Surfaces

You care about this section because you’re afraid your paint will peel off in six months, exposing the amateur job underneath. Here’s the mechanism: RV cabinets have a factory finish designed to repel water and dirt, not accept paint. Using chemistry borrowed from material science, adhesion primers work by mechanical and chemical bonding. They don’t sit on top of the surface like regular paint. They grip, anchor, and create a molecular bridge between the slick factory finish and your topcoat. Skip this step and you’re counting on friction alone, which fails.
Most primers fail because they’re too thin or the surface prep was rushed. RV cabinets need 100-150 microns of primer to establish proper adhesion. Spray application beats brushing here because it atomizes the primer into finer particles that settle into micro-valleys on the cabinet surface. One coat of quality adhesion primer beats two coats of garbage primer. Apply primer within the temperature range specified on the can, typically 50 to 85 degrees Fahrenheit, since temperature affects cure time and molecular adhesion rates.
Stain Blocking: Preventing Bleed Through
Water stains, yellowed varnish, and old adhesive residue live in RV cabinets. Without stain-blocking primer, these substances migrate through your topcoat and ruin the finish. A stain-blocking primer contains resins that encapsulate existing stains and prevent them from dissolving into fresh paint layers. This is not the same as your adhesion primer. You need both products in sequence.
Apply stain-blocker directly over visible stains or suspicious spots. Let it cure fully before topcoating, usually 24 hours depending on humidity. The primer hardens into a barrier that traps solvents and discoloration underneath. Rush this step and you’ll watch stains ghost through your new finish within weeks, forcing you to sand and repaint. One thorough coat of stain-blocker stops bleed-through cold.
The “Paint RV” Paradox: When Cheap Paint Costs More

Why Urethane Modified Acrylics Win On RV Cabinets

You want to save money, which means you’re probably looking at latex or basic acrylic paint. That logic fails on RVs because cabinets move. Temperature swings, vibration from travel, humidity shifts in enclosed spaces—these forces demand paint that bends without cracking. Borrowing from materials science: RV cabinets need the same tensile strength principle that engineers apply to aircraft fuselages—rigid structures fail under stress, flexible ones survive it.
Urethane-modified acrylics solve this by embedding flexible polymers into a hard acrylic base. The result is paint that expands and contracts with the substrate instead of fighting it. Standard acrylic paint cracks under thermal cycling because it’s too rigid. Latex separates from surfaces because it lacks adhesion chemistry. Urethane-modified acrylics do the work both types fail at, which is why you pay more upfront but don’t repaint in two years. The mechanism is simple: flexibility prevents failure at the molecular bond level.
Application Protocol For Durability
The advice to just “sand and paint” is incomplete and will waste your time. RV cabinets have existing finish coatings that repel new paint if you don’t address them chemically. You need to strip or prime aggressively, not lightly sand. Without this step, adhesion fails within months regardless of paint quality. Sand down to bare material or use a bonding primer rated for glossy surfaces. This is non-negotiable because paint bonds to substrate, not to old finish residue.
Apply urethane-modified acrylic in thin, overlapping coats rather than one thick coat. RV vibration causes thick paint to crack as it cures unevenly. Use a quality brush or foam roller to avoid texture issues that catch dust. Allow full cure time between coats, which typically runs 24 hours, not the 2-4 hours latex allows. The cabinet must fully harden before you move the RV or the paint film ruptures internally. Cure speed matters less than cure completeness—rush it and you’ve wasted the material.
The “No Chip” Clear Coat Strategy For Painted Rv Cabinets
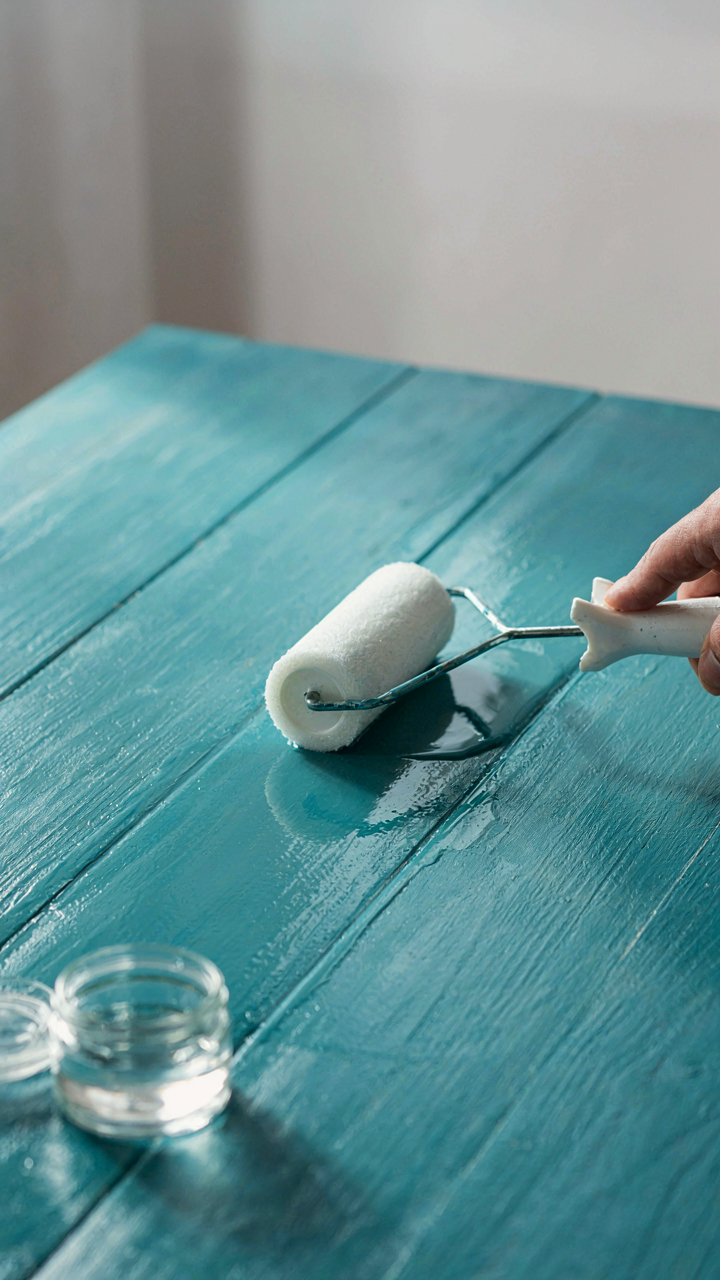
Polyurethane Vs. Polycrylic: Impact Resistance

You want this to last because replacing cabinet doors costs money and time you don’t have. Here’s the mechanism: polyurethane and polycrylic are not interchangeable despite what the hardware store employee tells you. Polyurethane cures through a chemical reaction between resin and hardener, creating a cross-linked polymer network. Polycrylic is water-based acrylic that dries by evaporation alone. This difference matters because RV cabinets absorb impact from road vibration, door slams, and shifting cargo. Polyurethane’s molecular structure survives this stress. Polycrylic flexes and eventually delaminates under repeated shock.
Polyurethane also resists solvents and heat better than polycrylic. RV kitchens generate both. The trade-off is cure time and application difficulty. Polyurethane demands precise mixing ratios and works faster than polycrylic, leaving you a shorter window for brush strokes. If you need forgiving application and don’t mind recoating every three to five years, polycrylic works. If you want real protection that survives the road, polyurethane is the only rational choice for cabinets that take abuse.
Layering For Maximum Protection
The common advice is to spray two coats and call it done. That approach fails because a single coat of clear, no matter the thickness, creates a membrane with one breaking point. Think of it in construction terms: a single wall stud snaps under load, but cross-braced framing distributes that force. Your clear coat needs redundancy. Apply three thin coats of polyurethane rather than two thick ones. Sand with 220-grit between coats to break surface tension and improve adhesion. This creates mechanical interlock, not just chemical bond.
The third coat serves as your sacrificial layer. It takes the micro-damage and UV exposure first. The layers underneath stay intact and transparent. Sand-through only affects the top coat, not your paint color. This matters because cabinet doors live near windows where UV penetrates daily. Without layering, you’re looking at yellowing and clarity loss in eighteen months. With proper layering and sanding protocol, you maintain gloss and protection for five to seven years in normal RV use.
Hardware Upgrade: The Overlooked Durability Multiplier
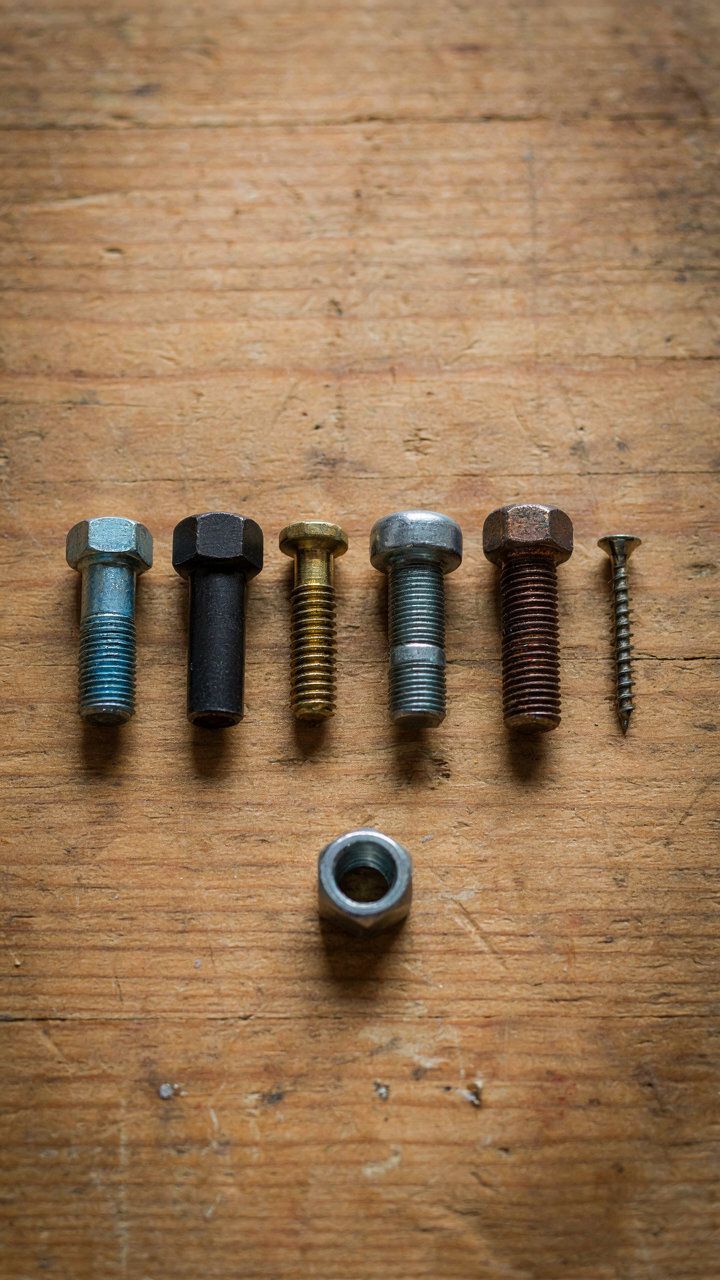
When Hinges Fail Before Doors Do

You want to believe replacing hardware is optional because you’re hoping the doors themselves are fine. They’re not the problem. Mechanical engineering teaches us about fatigue cycles, where repeated stress on a component causes failure long before the material actually breaks. Your RV cabinet hinges experience this daily. Every pothole, every acceleration, every brake application cycles those hinges. Most people ignore this until doors hang crooked, but by then the attachment points have already started failing internally.
RV cabinets take punishment passenger car cabinets never experience. The constant micro-movements from road vibration accumulate into hinge wear that weakens the whole system. Hinges don’t just fall apart suddenly. They develop play, which transfers stress to the door itself, which then stresses the latch, which then forces you to slam harder to close properly, which accelerates the whole cycle. This is why cabinets made twenty years ago sometimes have better doors than three-year-old ones. The original hardware was rated for continuous vibration. Cheap replacement hinges are not. Assess your hinges by opening each door slowly and feeling for resistance changes or clicks. If you feel hesitation at any point in the swing, fatigue has already started.
Attachment Points Are Where Failure Begins
Cabinet doors don’t fail because of the doors themselves. Vibration mitigation in structural engineering means you absorb movement at connection points, not in the structure. Your RV cabinet fails because the mounting bolts work loose, the wood around them compresses, and the whole assembly starts moving as a unit instead of being solid. Nobody talks about this because it’s not visible until it’s too late.
Reinforce attachment points by using larger diameter bolts with lock washers, drilling out slightly oversized holes and filling them with epoxy before re-drilling to spec size, and spacing fasteners closer together to distribute load. Replace any bolt that shows corrosion or visible wear immediately. Check all fasteners monthly during travel season, not once a year. The mechanism here is simple: secure attachment points absorb vibration energy instead of transmitting it through wood fibers, which prevents the progressive loosening that makes doors misalign.
Beyond Paint: Creative Solutions For Rv Remodel Without Painting Cabinets
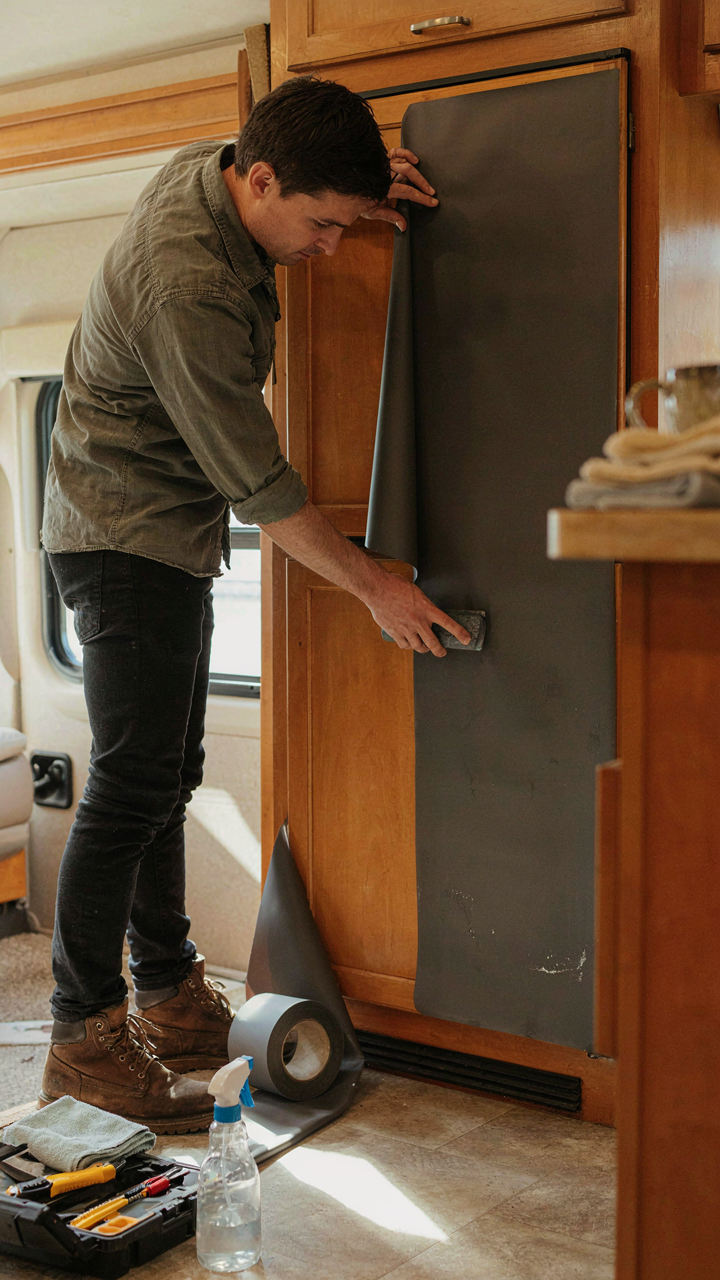
Vinyl Wraps: Temporary And Damage Resistant

You want the transformation without the commitment because reversibility feels safer than permanence. Here’s the mechanism: vinyl wrap works because it’s a film layer that bonds to the cabinet surface without altering the substrate underneath. Unlike paint, which chemically adheres and hardens, vinyl creates a mechanical bond that you can remove cleanly if the RV sells or your taste shifts. The material stretches around edges and contours, handling the dimensional complexity of cabinet doors and frames that paint struggles with in tight spaces.
Vinyl wraps handle the specific damage RV cabinets face: vibration, temperature swings, and humidity spikes that cause paint to crack and peel. The film absorbs movement instead of resisting it. Installation requires surface prep identical to painting—cleaning, degreasing, light sanding—but application is faster and mistakes are forgiving. You can cut and reapply without wasting material. Durability depends on film quality and UV exposure. Marine-grade vinyl lasts 5-7 years in an RV environment, longer if the unit stays garaged or covered regularly.
Fabric Panels: Acoustic And Aesthetic Benefits
Fabric solves a problem painters ignore: sound. In acoustics, absorption is the field principle that matters—hard surfaces reflect sound waves back into a confined space, which is why RV cabinets amplify every rattle and vibration. Fabric panels absorb rather than reflect, deadening the hollow acoustic signature that makes interiors feel cheap. You install fabric-wrapped panels over cabinet doors or frame them separately, creating a visual break that reads as intentional design, not damage repair.
The mechanism is simple: you stretch acoustical or linen fabric over plywood or MDF frames, then mount those frames over existing cabinet doors using adhesive strips or light fasteners. No drilling into the original structure. Fabric choices control aesthetic entirely—linen gives minimal, woven cotton reads warm, technical fabrics stay neutral. Installation takes hours, not days, and produces zero dust. Fabric holds up in RV humidity when sealed properly with a clear finish, and replacement is cheap. This approach works best for single-wall cabinet runs where aesthetics matter more than frequent door access.
How To Paint RV Cabinets Like A Pro: Avoiding Common DIY Blunders

Climate Control Wins The Finish

You’re worried the paint won’t cure right and you’ll have wasted a weekend. Here’s what actually matters: paint cures through chemical reaction, not evaporation. Think of it like fermentation—the environment doesn’t speed up the process, it either allows it or prevents it entirely. Temperature and humidity don’t just affect how paint feels; they determine whether the film hardens at all or stays tacky for months.
RV cabinets fail because people paint in garages at 45 degrees in November. Latex paint stops curing below 50 degrees. Humidity above 85 percent traps moisture in the film and prevents proper cross-linking. You need 50 to 85 degrees and 40 to 60 percent humidity minimum. If your RV isn’t climate controlled during cure time, the paint won’t harden the way it should, and adhesion will fail within weeks.
When Paint Fails, Here’s Why
Most guides blame cheap paint or bad prep. They’re half right, but they miss the real culprits that kill cabinets in RVs specifically.
- Moisture trapped under paint: RV cabinets absorb water from humidity and condensation. If you don’t seal the substrate properly or paint over damp wood, moisture migrates upward and pushes the paint film away from the surface.
- Wrong primer for the material: Laminate and veneer cabinets need bonding primer, not standard primer. Standard primer doesn’t grip these slick surfaces. Bonding primer chemically adheres and prevents peeling.
- Insufficient surface prep between coats: Not sanding between paint layers creates a weak bond. Each coat needs tooth to grip the previous one. Skip this and coats separate under RV vibration and temperature swings.
- Paint too thick on first coat: Applying heavy paint causes sagging and uneven cure. One thinner coat outperforms one thick coat every time. Let each layer cure fully, then sand and apply the next.
- Adhesion failure from cabinet movement: RVs flex and vibrate constantly. Paint on cabinets that move expands and contracts. If the paint film isn’t flexible enough, it cracks and peels within months of travel.
The fix is simple: use bonding primer on laminate, apply thin coats with full cure between each, sand between layers, and only paint when environmental conditions are stable. Most failures happen because people rush the timeline or ignore the substrate material. Neither mistake is forgivable in an RV where movement is constant.
Vintage Camper Remodel: Preserving Character, Not Just Paint

Restore Original Wood The Right Way

You want the remodel to signal you have taste, not just a budget. The real mechanism is this: original wood in vintage RVs holds value because it’s rare now, not because it looks “authentic.” The wood cabinet stock from the 1960s through 1980s was often birch, oak, or pine veneered plywood. Those veneers are thin, maybe one-sixteenth inch, and they’re glued to a substrate that can warp or delaminate if you sand aggressively or flood it with water-based stain.
Strip existing finish with chemical stripper or careful sanding, not pressure washers or aggressive orbital sanders. Test your stripper on a hidden area first. Once bare, assess the veneer condition. If it’s intact but stained or water-damaged, light sanding with 120-grit paper followed by teak oil or water-based polyurethane restores appearance without removing material. If veneer is chipped or lifting, epoxy it back down before finishing. Don’t try to match a stain perfectly across old wood and new patches. Accept the variation as evidence of actual restoration, not cosmetic makeover.
Bridge Old Finishes With Neutrals
Common advice tells you to paint over everything for a cohesive look. That’s wrong when you have good bones. The mechanism here is borrowed from industrial design: constraint breeds character. By keeping some original finishes visible and introducing one neutral tone deliberately, you create depth instead of flatness.
If your cabinets have mixed wood tones or patchy original stain, use a semi-transparent gray or warm taupe on doors while keeping the original finish on the cabinet box itself. This creates a frame effect without lying about the RV’s age. Apply primer first to ensure even coverage over old varnish. Use exterior-grade paint formulated for moisture since RV interiors fluctuate constantly. The boundary between old and new becomes the design element. Your protocol is simple: identify which surfaces tell the story and which are just tired, then refresh only the tired parts with one accent tone.
Stop Treating Your RV Like A Static House. Embrace The Physics Of A Moving Box, Or Watch Your ‘makeover’ Self-destruct
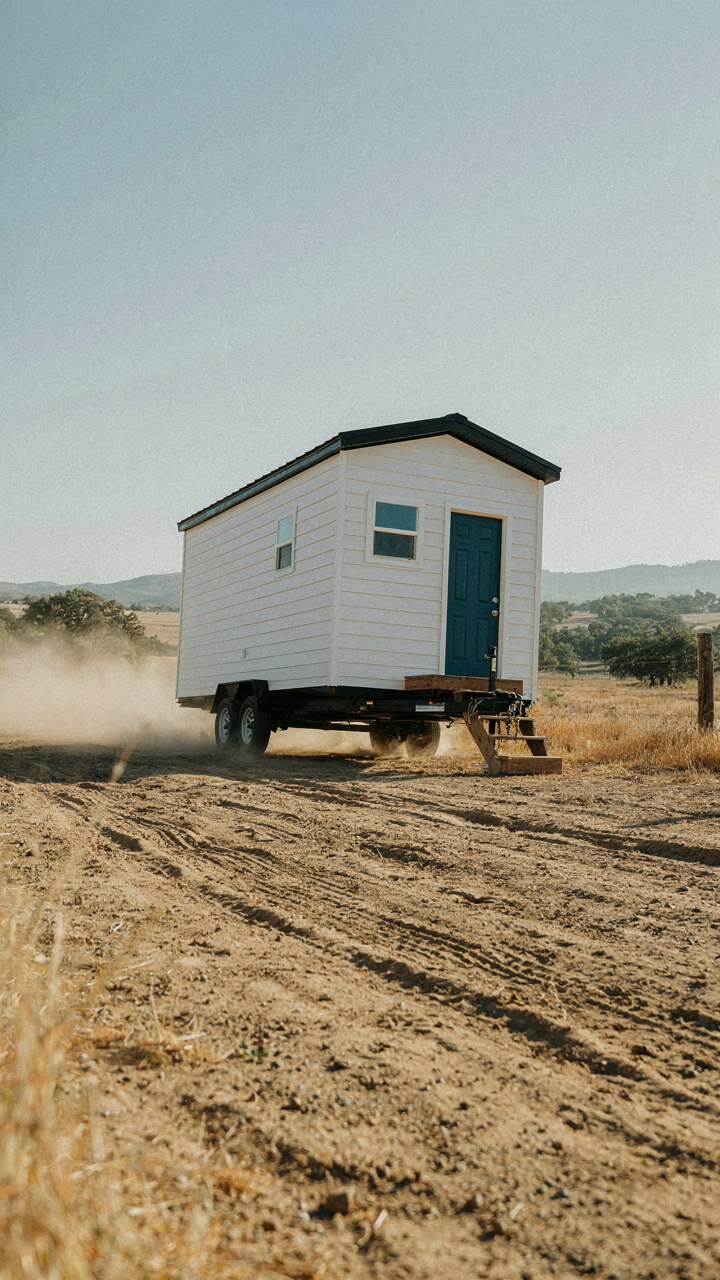

Most people fail their RV cabinet makeover because they think like homeowners instead of engineers. Your rig moves. Vibration is your enemy. Adhesives fail. Hardware loosens. Paint cracks. The moment you accept this, you stop decorating and start building for survival. Pull out your cabinet doors today. Sand one. Secure it with mechanical fasteners instead of glue. That single door teaches you everything. Your RV cabinet makeover succeeds the moment you stop fighting physics and start designing for it.



