
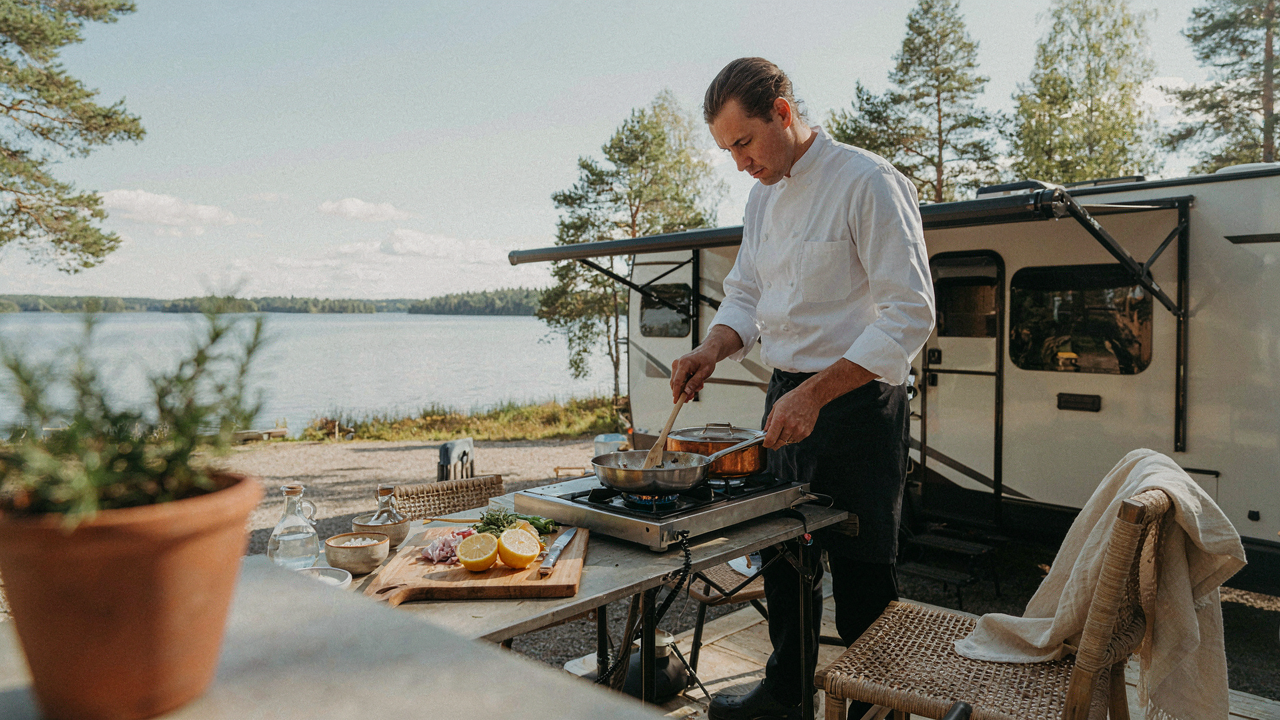
The Minimalist Mindset: RV Outdoor Kitchen Ideas Beyond Gadgets
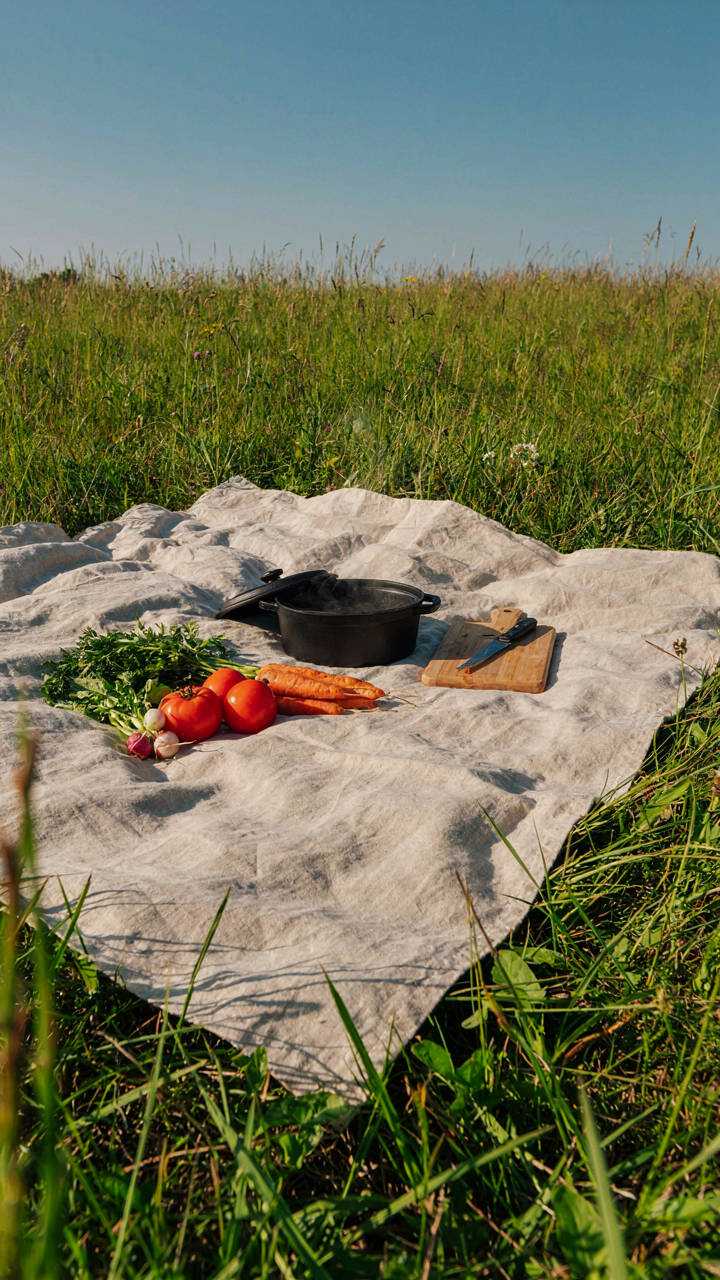
What Your Stove Actually Does
You want to feel like you’ve solved the problem by buying the right gear. That’s not going to work here. Strip away the RV outdoor kitchen marketing and you’re left with five actual functions: heat, contain, cut, mix, and serve. Everything else is theater. Most people confuse tools with capability and end up towing redundant equipment that performs identical work.
Think of this through systems design from engineering. A system fails not from missing components but from poor function mapping. Your RV outdoor kitchen doesn’t need fifteen appliances. It needs those five functions executed reliably. A single burner stove heats. A cutting board and knife cut. One mixing bowl handles prep. A plate serves. The gap between what you need and what you own is pure waste you’re paying to haul.
One Surface, Multiple Roles
The common advice says get a dedicated prep station, a cooking surface, and a serving table. That’s bloated thinking. A single sturdy table with adequate height becomes your prep surface, cooking platform, and plating zone through sequencing, not duplication. One flat surface with good weight capacity outperforms three specialized surfaces collecting dust.
Your constraint is space and weight, not variety of functions. A collapsible table rated for at least two hundred pounds serves every role if you work in sequence rather than parallel. Wipe the prep surface, set it aside temporarily, then deploy your stove on the same table. The friction of movement is lower than the friction of maintaining multiple stations. This is the actual protocol: identify the sequence of your cooking steps, then assign one surface to handle them in order.
The Frictionless Flow Protocol: RV Outdoor Kitchen Organization
Prep, Cook, Clean In Separate Zones

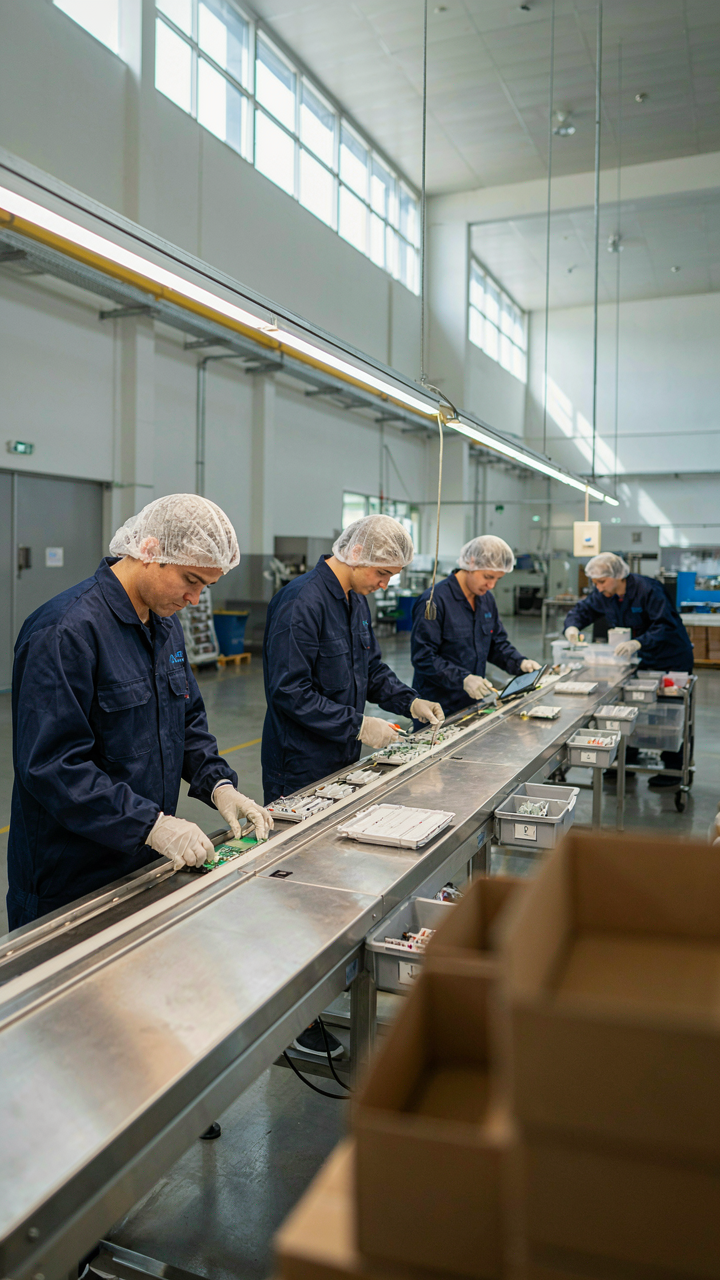
You want your RV kitchen to look intentional so guests think you have your life together. Here’s what actually matters: your hands waste motion every time you move between tasks. Borrowed from assembly line manufacturing, this is the concept of station segmentation—each workstation handles one phase of production before material moves to the next. Your outdoor kitchen needs three distinct zones that don’t overlap. Prep happens in one location. Cooking happens in another. Cleaning happens in a third. No crossover. This kills wasted steps and prevents raw food from contaminating cooked food.
Most RV owners stack everything on one counter and call it done. That’s friction masquerading as efficiency. Your prep zone needs cutting board access, knife storage, and ingredient staging. Your cook zone needs the grill or stove, immediate utensil reach, and heat-resistant surfaces. Your clean zone sits downwind and away from food prep, with water access, soap, and waste containment. Distance matters. If zones sit too close, steam and splatter contaminate other work. If they’re too far, you abandon the system because it takes too long.
Storage At Elbow Height, Not Eye Level
Accessible storage beats organized storage. You reach for tools at shoulder to hip height because that’s where your body naturally works. Lower cabinets collect dust and require bending. Upper cabinets force you to reach or grab a ladder. Middle-height storage—roughly 28 to 42 inches from ground—puts your most-used items in the zone where you grab without thinking. Install your utensil holders, spice racks, and tool hooks here. Everything else goes in secondary locations.
The common mistake is designing for visual appeal first. Instagram-worthy open shelving with matching containers looks clean until you’re cooking in fading light and can’t find your tongs. Mount a magnetic strip for knives at forearm height. Use drawer dividers for utensils so you locate what you need in under two seconds. Store heavy items like cast iron lower to prevent reaching overhead. Keep cooking oil, salt, and frequently used spices within arm’s reach of your cook zone. Your storage system succeeds when you stop thinking about where things live.
Beyond The Counter: Smart Outdoor Camper Kitchen Integration
Anchor Your Setup To What’s Already There

You want your outdoor kitchen to look intentional, like you planned this instead of bolted it together in a parking lot. The mechanism is load distribution. In structural engineering, load distribution prevents concentrated stress from breaking a single point. Your RV’s exterior already has designated mounting points, roof rails, and sidewall studs engineered to handle weight. Use them instead of creating new attachment surfaces.
Most people bolt equipment to whatever looks convenient, which transfers all stress to that single area and eventually cracks the fiberglass or tears the wall. Your RV frame has hitch attachment points, roof-mounted systems, and wall-integrated brackets designed for exactly this load. Mount your grill to the hitch, slide your prep table under existing roof rails, and use the exterior cabinets your RV already has or install new ones into existing stud bays. Stop creating problems where solutions exist.
Materials That Actually Resist Salt, Sun, And Movement
The real issue isn’t weather resistance in theory, it’s material fatigue under the specific stress of movement. Your outdoor kitchen moves. The RV vibrates on the highway. Temperature swings 40 degrees in eight hours. Steel rusts if you use the wrong grade. Aluminum oxidizes. Plastic degrades under UV. Stainless steel, specifically 304 or 316 grade, handles salt air and thermal cycling without degrading. 316 is better if you camp near coasts. Powder-coated aluminum withstands UV better than bare aluminum, but the powder coat must cover all edges or moisture creeps underneath and corrupts the base metal.
Placement matters as much as material selection. Position equipment on the shaded side of your RV when stationary to reduce thermal stress. Keep prep surfaces under cover or use removable panels that collapse when you move. Secure everything that could shift during transit, because vibration loosens connections and cracks sealed joints. Run your grill connections through existing cable runs rather than creating new exterior pathways where water pools and corrodes fasteners. The protocol is simple: choose 316 stainless or powder-coated aluminum, mount everything to engineered points, and create drainage paths so water never sits.
The “No Remodel” Remodel: RV Outdoor Kitchen Hacks
Centralize Your Cooking Zone

You want this section to work because you’re tired of walking back to your RV galley fifteen times per meal. Here’s the mechanism: military operations call this “command and control”—centralizing critical functions into one operational hub reduces decision fatigue and cuts wasted motion. Your RV outdoor kitchen works the same way.
Set up a single prep and cook station outside rather than splitting tasks between your interior galley and exterior surface. This means your grill, counter space, cutting board, and utensil access live in one footprint. You eliminate the friction of moving between spaces, which compounds across every meal you cook on a trip. A fold-out table with clamping legs and a weatherproof storage box underneath turns any campsite into a functional cooking command center in under five minutes.
Keep Supplies Where You Use Them
Most RV cooks store ingredients in their rig and drag them out as needed. That’s logistics failure. Apply supply chain thinking: the faster you access what you need, the fewer failure points exist. Station your high-rotation items—salt, oil, proteins, utensils—within arm’s reach of your cooking zone, not thirty feet away in a cabinet.
Use a wheeled cart or multi-tier stand to hold your most-used ingredients and tools directly at your outdoor station. Keep a separate cooler dedicated to your outdoor kitchen rather than running back to the RV fridge between prep steps. This protocol eliminates the interruption pattern that makes outdoor cooking feel like a chore instead of a process.
Powering Down: Realistic Energy For Camper Outdoor Kitchen

Propane Vs Electric: Assess True Consumption

You want to believe electric is cleaner and easier, but you’re really asking which fuel keeps you cooking without dead weight. Borrowing from thermodynamics, propane and electric cooking represent two different energy density trade-offs: propane packs more BTUs per pound, while electric demands infrastructure you may not have. A typical outdoor grill burner pulls 30,000 to 40,000 BTUs per hour from propane. Your RV battery bank can’t sustain a 5,000-watt electric cooktop for more than minutes without a generator running full throttle.
Propane wins on portability and independence. A twenty-pound tank runs a dual-burner setup for roughly forty to fifty hours of active cooking. Electric works only if you’re plugged in or running a generator, which defeats the purpose of camping. The real mechanism is simple: propane lets you cook anywhere, electric ties you to shore power or fuel consumption you’ll resent. Run the numbers for your trip length and decide whether you’re willing to haul fuel or stay tethered to the campground pedestal.
Solar Integration For Off Grid Cooking
Solar doesn’t power your stove directly, but it extends your electrical reserves and changes what you can actually do. A modest 400-watt solar array charges your house battery bank during the day, freeing up propane for evening meals and freeing up generator hours for tasks that demand high amperage. Most RV outdoor kitchens still rely on propane for cooking heat because solar-to-cooking efficiency is poor, but solar handles the auxiliary load: lighting, water pumps, fans, and device charging that would otherwise drain batteries.
The practical setup ties solar output to battery capacity. Install a 200 to 400 amp-hour lithium battery bank paired with MPPT charge controller and enough solar to recharge it by midday. This lets you cook on propane, run your compressor fridge and lights on solar, and avoid generator noise. The mechanism that makes this work is time separation: you harvest energy during daylight, store it, then use it when you need it. Don’t chase off-grid cooking myths. Stack your systems so propane handles the heavy lifting while solar keeps everything else running silent.
Water Wisdom: Simplified Washing And Waste For Rv Outdoor Kitchen

Grey Water Management Without The Guilt

You care about this because you want to camp without feeling like you’re trashing the environment. Here’s the mechanism: grey water (sink runoff, not toilet waste) breaks down naturally through biology, not magic. Bacteria and soil microbes do the actual work. Most RV owners overthink containment when the real issue is concentration. Dump diluted grey water on bare ground away from water sources, and the ecosystem handles decomposition. Concentrated dumping in one spot creates problems. Spread it out.
The practical setup requires one thing: a grey water tank that holds what your outdoor sink produces during a trip. Most portable outdoor kitchen setups generate 10-20 gallons daily depending on usage. This tank should sit lower than your sink drain so gravity does the work without pumping. When you break camp, you empty it at an approved dumping station or spread it across an appropriate area following Leave No Trace principles. The tank itself costs 30-80 dollars and handles seasonal trips without failure.
Dishwashing Systems That Actually Work
Portable dishwashing isn’t about owning more stuff. It’s about workflow efficiency applied to your camp kitchen. You need three things stacked in order: hot water supply, wash surface, and drainage. This eliminates inefficiency before it starts.
- Propane Water Heater: A compact on-demand heater (2-3 GPM output) runs on your RV’s propane and delivers 100+ degree water instantly. No waiting, no heating pots over fire.
- Collapsible Sink Basin: Holds 5-10 gallons, folds flat for storage, and sits on your outdoor kitchen counter or camp table. Two-chamber designs separate wash from rinse.
- Spray Rinse Wand: Hand-pump or pressurized models connect to your clean water tank and replace the need for a second person pouring water. Saves 40% of water waste versus bucket rinsing.
- Strainer Insert: Catches food solids before they enter your grey tank, extending tank life and reducing clogging. Empties into a compostable bag.
- Dish Drying Rack: Stainless steel collapsible racks let gravity drain plates back into your wash basin instead of onto the ground. Captures unused rinse water for reuse.
The system works because you eliminate decision-making on site. Hot water comes on demand. Dirty dishes go to one spot. Rinse water gets captured for reuse or directed to your grey tank. No improvisation, no wasted movement. Set it up the same way every trip so your hands know the rhythm without thinking.
The “Buy It Once” Philosophy: Durable RV Outdoor Kitchen Gear
When Quality Actually Saves Money

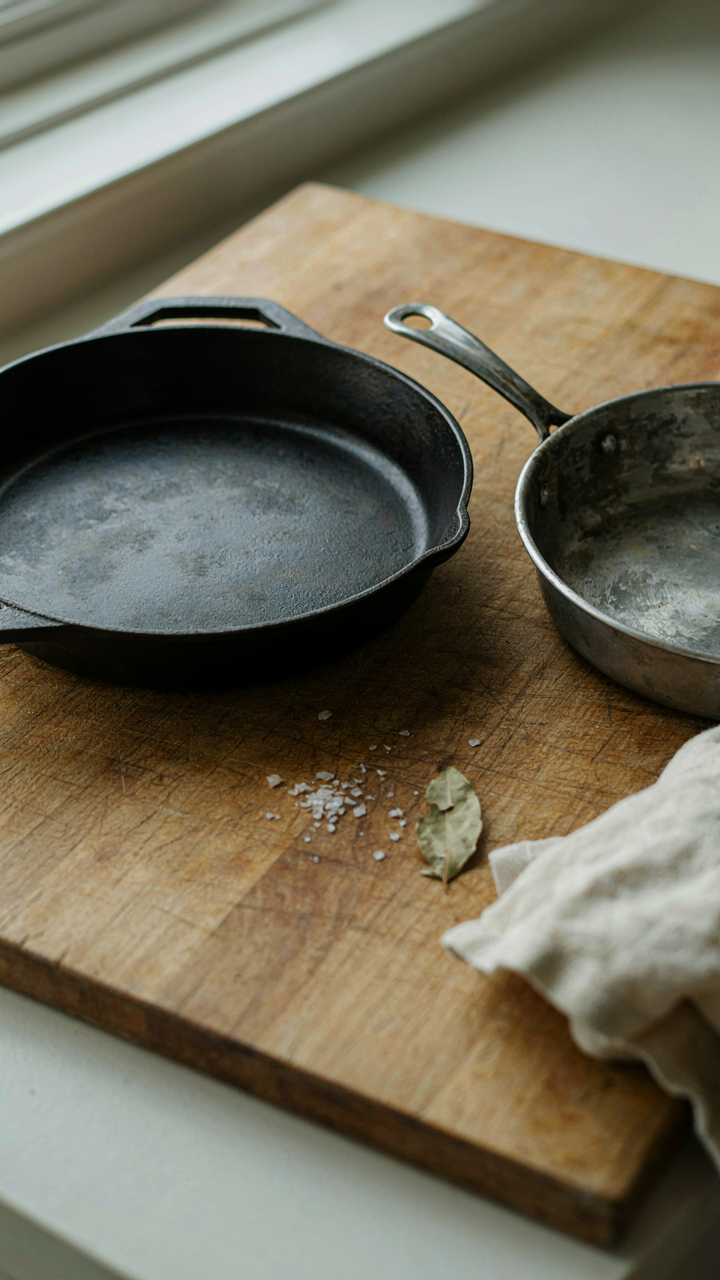
You want to feel smart about spending less upfront. That’s the real tension here. But economics favors the opposite move: cheap outdoor kitchen gear fails in two years, forcing replacement cycles that cost three times more than one solid purchase. The math is simple. A fifty-dollar griddle that warps after fifteen uses costs you money per use. A two-hundred-dollar cast iron surface used for five years costs pennies per use and performs better each season.
Material science backs this. Stainless steel resists salt air and temperature swings better than coated aluminum. Cast iron improves with use. Powder-coated steel holds up longer than bare metal. These aren’t opinions. They’re material properties. The gear you buy determines your actual cost per cooking day, not the price tag alone.
Materials That Actually Survive
Corrosion happens through oxidation and galvanic action. Think of your RV outdoor kitchen as an electrochemical system where dissimilar metals touching saltwater accelerate decay. Stainless steel 304 or 316 resists this process. Aluminum corrodes faster but weighs less. Cast iron requires seasoning maintenance but becomes tougher over time. Powder coating protects but eventually chips, exposing substrate underneath.
Choose materials based on your climate, not aesthetics. If you’re near ocean or salt environments, marine-grade stainless dominates. If weight matters for your rig, anodized aluminum works but demands regular inspection. Your grates, burners, prep surfaces, and storage all need matching logic. The wrong material choice creates a maintenance tax you’ll pay every single trip.
DIY Deletion: RV Outdoor Kitchen Ideas DIY To Remove Complexity
Strip The Built Ins Nobody Uses

You want the outdoor kitchen to feel complete, like you made a smart permanent choice. That’s the trap. Most RV owners bolt in features they’ll never touch, then haul dead weight across state lines for years.
The mechanism is simple: built-in equipment creates perceived value and permanence, so you rationalize keeping it. A slide-out spice rack. A paper towel holder mounted to the frame. Integrated shelving with nowhere to actually store anything useful. These anchor you to a fantasy of how you’ll cook. Strip them.
Mobile Storage Beats Mounted Solutions
Storage systems should move independently from your RV. Portable coolers, rolling carts, and stackable bins solve the actual problem: you need access to gear that changes based on trip length and menu. Mounted cabinets look professional but lock you into one configuration.
Use a modular approach. Buy weatherproof containers sized to fit standard RV storage compartments. Stack them vertically to maximize space without drilling into your rig. When you upgrade your RV or change how you cook, the containers move with you as separate assets, not sunk costs tied to the vehicle. This is the protocol: containerize first, integrate never.
The Future Proof Setup: Adaptability In Your Rv Outdoor Kitchen Remodel

Build For The Cook You’ll Become, Not The One You Are Today

You’re afraid you’ll invest money in gear you won’t use in two years. That fear is rational. The mechanism here is borrowed from systems design: buffering. A modular outdoor kitchen buffers against changing circumstances without forcing replacement of core infrastructure. Bolt-on components beat built-in everything because you upgrade one piece, not the whole line. Gas burner breaks? Swap it. Need more counter space? Add a module. The frame stays. The inefficiency in traditional RV kitchens is they couple components that have different lifespans together in permanent installations.
Your cooking style changes because your trip length changes, your group size changes, your access to resupply changes. A modular setup acknowledges this. Use stainless steel frames that accept interchangeable tops, propane systems with quick disconnects instead of hard solder, and equipment on independent bases rather than welded assemblies. This costs more upfront but kills the hidden cost of replacement. You don’t rebuild the kitchen. You reconfigure it. Test a two-burner setup for a season. Add a griddle the next year if you need it. Remove it the year after if you don’t.
Repair What Breaks Without Rebuilding Everything
The common advice says to buy quality once. That’s incomplete. Quality matters less than replaceability when you’re living in tight quarters. A premium integrated grill that welds to your counter becomes a structural problem when it fails. A standalone grill on a removable cart becomes an afternoon fix. Source components from manufacturers who still produce replacement parts, not boutique builders who discontinue models. Stainless steel boxes with bolted hardware beat powder coat welded frames. One rusts slowly and gets replaced in sections. The other corrodes and forces a full rebuild.
Keep fasteners standard. Use stainless steel bolts, not proprietary connections. Document what you buy with photos and part numbers in a file you actually check before trips. When a burner valve fails at mile 800, you order the replacement before you arrive at camp, not after. Maintenance means knowing exactly what you own and what breaks, then building the kitchen so you can access it without cutting into the structure. Propane runs in quick disconnects. Water lines use Shark Bite fittings. Electrical uses marine-grade plugs. Every connection gets tested before the next trip.
Your RV Kitchen Isn’t Lacking Gear; It’s Burdened By Your Inability To Ruthlessly Simplify

You don’t need a better rv outdoor kitchen. You need to delete half of what you own. Most people treat their outdoor setup like a storage unit instead of a tool. Pick one cooking method. Pick three tools. Pick done. Today, walk to your RV and remove everything you haven’t touched in two trips. The only thing between you and effortless camp cooking is the courage to own less.



