

The Mobile Foundation Fallacy: Why Your RV Floor Isn’t A House

Your Floor Moves When You Don’t See It
You want to believe your RV floor is stable because instability feels like failure. Here’s the mechanism: physics calls it dynamic loading versus static loading. Your house sits on a foundation that doesn’t move. Your RV floor flexes with every mile, every weight shift, every corner turn. The substructure bends. The material bends with it. Most flooring advice ignores this entirely because it’s written by people who’ve never lived in the problem.
Vinyl planks fail in RVs because they’re engineered for homes where the substrate stays still. In an RV, the floor itself becomes a stress test. Adhesives crack. Seams separate. The plank edges lift because the foundation they’re glued to is constantly working. This isn’t a material flaw. It’s a mismatch between what the floor experiences and what the material was designed to handle. You need to account for movement, not pretend it doesn’t exist.
Temperature Swings That Never Rest
Your RV sits in direct sun in Arizona at 140 degrees, then parks in the shade in the mountains at 50 degrees. That’s a 90-degree swing in hours, not days. Thermal expansion and contraction don’t follow house rules. Vinyl expands and contracts more aggressively than wood or tile. The planks grow and shrink constantly. Gaps open up. Materials buckle if they’re installed too tight. Most installers ignore this because they’re trained on residential work where temperature is climate controlled.
Install vinyl planks with quarter-inch expansion gaps on all edges, not the standard eighth-inch. Use floating installation, not adhesive lock-down, wherever the RV design allows. This gives the material room to move without fighting against the substrate. Check the manufacturer’s specifications for that exact plank line because some products have different expansion coefficients. Measure temperature differences in your RV at different times and seasons, then plan your gaps accordingly. This is not optional if you want the floor to last beyond the first year.
Vinyl Plank Deception: Not All “Waterproof” Withstands RV Life
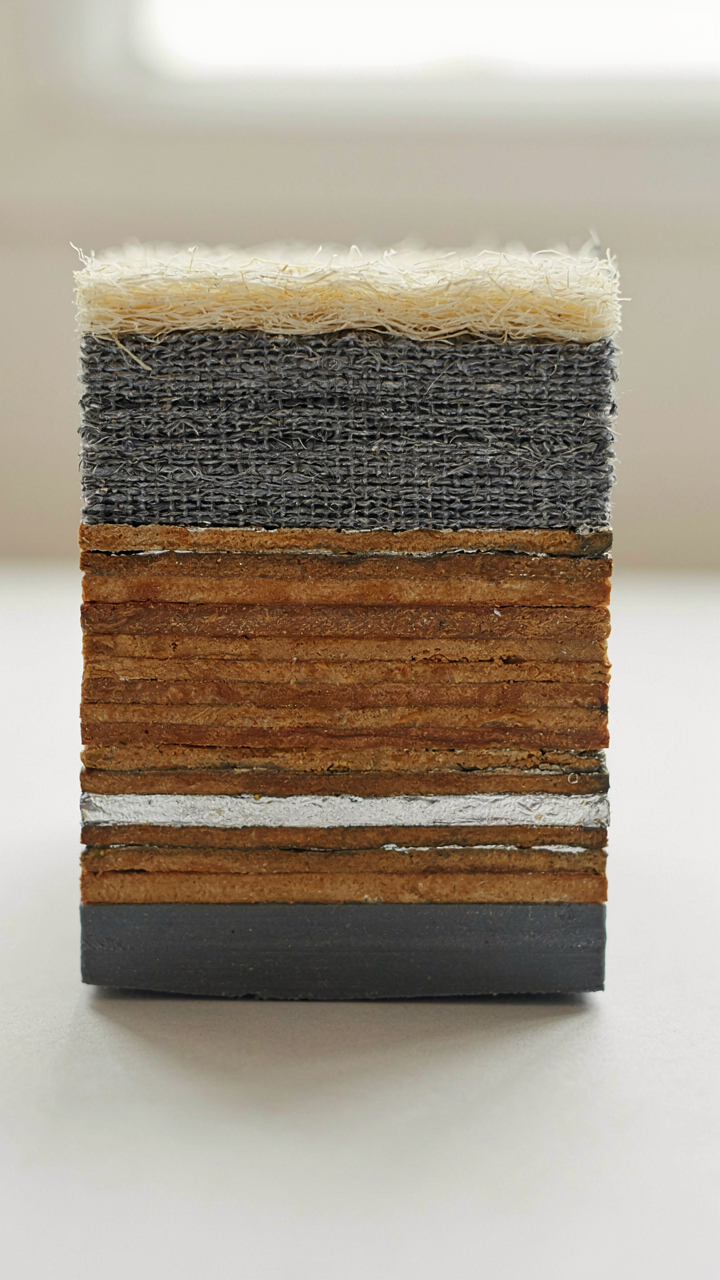
SPC Vs. WPC: Why Core Matters Under Wheels

You want to believe the marketing label because admitting you need to dig deeper feels like wasted time. Here’s the mechanism: in materials engineering, density determines load distribution. SPC (stone polymer composite) achieves this through rigid limestone and polyurethane core. WPC (wood polymer composite) uses wood flour suspended in plastic, which absorbs moisture and expands unpredictably over RV vibration cycles.
SPC holds dimensions stable under constant movement. The limestone aggregate resists the compression cycles your RV floor endures during highway travel. WPC flexes and compresses differently, creating soft spots where planks meet. In an RV, this means your floor telegraphs seams after six months. The choice between these isn’t cosmetic. SPC costs more upfront because it actually survives the environment. WPC fails quietly until you notice your floor moving beneath your feet.
Wear Layer Reality: What Road Testing Actually Shows
The industry consensus says a 20-mil wear layer beats a 12-mil layer. That’s incomplete. What matters is what sits underneath it. A thin wear layer over quality core outperforms a thick wear layer over weak substrate. Real RV owners report that planks with 20-mil layers and WPC cores develop visible traffic patterns in year two. The same owners report 12-mil SPC planks holding color and texture past year four.
Wear layer thickness addresses scratches, not structural failure. Your RV floor fails from water intrusion and dimensional movement, not from foot traffic patterns. The mechanism is simple: moisture enters through seams and expands the core. A thick wear layer can’t prevent that. What prevents it is a sealed, rigid core and properly sealed joints. Test your plank choice by checking what’s bonded beneath the wear layer, not just measuring the top layer thickness.
The Subfloor Inspection Protocol: What You’re Really Hiding
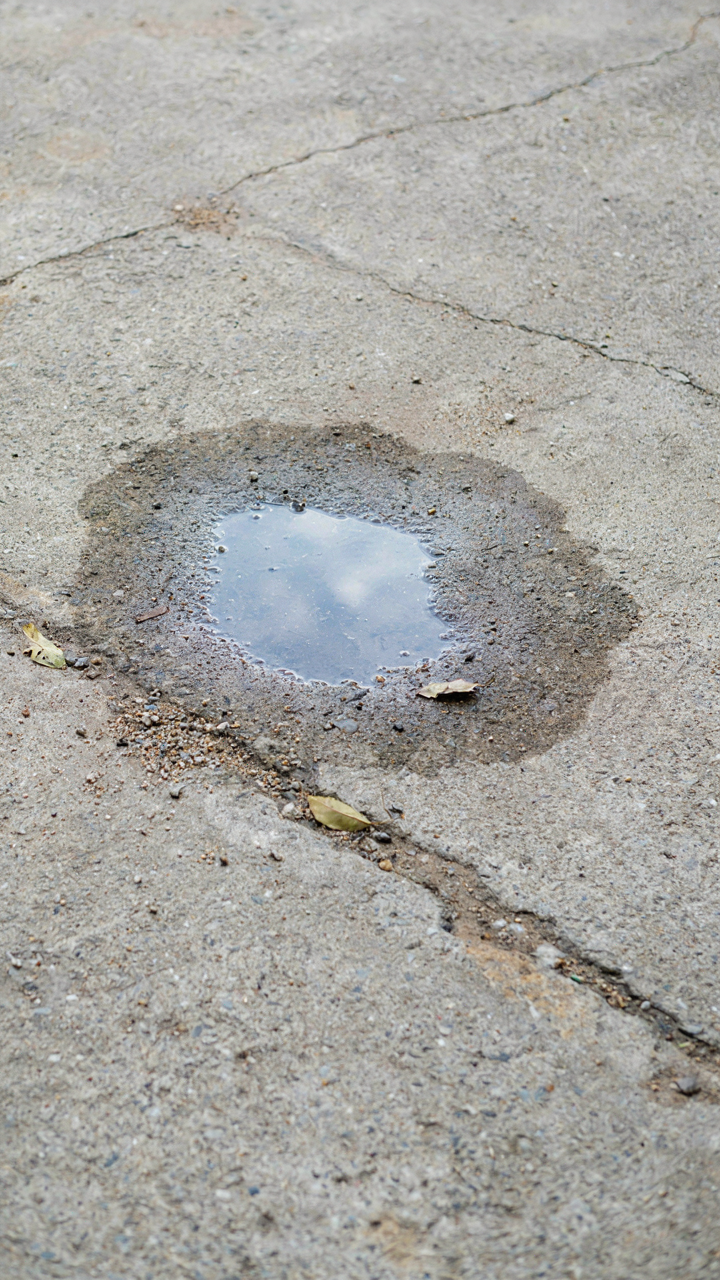
Where Water Actually Lives

You’re doing this inspection because you’re terrified of spending money on vinyl planks that fail in six months. That fear is justified. The mechanism at work here is capillary action, borrowed from material physics: water moves against gravity through porous materials via adhesive forces. Your RV subfloor is a wick. Water doesn’t sit on top waiting to be obvious. It travels horizontally through wood, underlayment, and fiberglass, emerging days later as soft spots and adhesive failure.
Most RV subfloors use plywood or OSB topped with vinyl sheet flooring or linoleum. Underneath runs the aluminum frame and insulation cavity. Moisture enters through roof leaks, window seals, plumbing penetrations, and condensation from temperature swings. By the time you see visible damage, the water has already migrated and compromised the structural integrity of the base layer. You need to find it before it multiplies.
Surface Preparation Demands Precision
The common advice is to sand down high spots and move on. Wrong. Adhesion failure isn’t just about bumps. It’s about contact pressure. Vinyl planks with pressure-sensitive adhesive or click-lock systems need 95 percent of the subfloor surface touching the underside of the plank within a quarter inch tolerance. Any gap larger than that creates a bridge where planks flex, adhesive fails, and water wicks underneath.
Start with a straightedge. Place a 6-foot level or aluminum straightedge across the subfloor in multiple directions. Mark high spots with chalk. High spots over a quarter inch need grinding or sanding down to match the surrounding plane. Low spots need filling with self-leveling cement designed for RV use, not regular concrete patch. This isn’t cosmetic. Uneven subfloors cause 60 percent of click-lock failure within the first year because planks sit on edges, not faces, and the mechanical lock deteriorates under stress.
Adhesion Alchemy: The Glue That Fails And The Bond That Lasts

Why Adhesive Type Matters For Movement

You’re worried the floor will peel up in six months and expose your mistake to anyone who visits. Here’s what actually happens: RV floors flex constantly. Temperature swings, weight shifts, and the frame’s natural bounce create expansion and contraction that kills rigid bonds overnight. Think of this like material science’s concept of shear stress—the force that tries to tear two bonded surfaces apart in opposite directions. Vinyl planks need adhesive that yields with the substrate, not against it.
Polyurethane and SPC-specific urethane formulas handle this movement. Thin-set mortar does not. The common advice to use whatever adhesive is cheapest fails because standard construction glues were engineered for static environments. RV flooring demands adhesive that stretches incrementally with the subfloor’s micro-movements. Pick wrong and you’ve locked the plank down while the floor moves underneath it. The bond ruptures. Air pockets form. Moisture follows.
Surface Prep Determines Everything Else
Primer isn’t optional decoration. It’s the mechanism that creates mechanical grip before chemical adhesive even matters. Clean subfloors get primer. Dirty ones don’t hold anything, regardless of glue quality. Wipe down with a tack cloth or vacuum to remove dust, pet hair, and residue. Then apply the primer specified for your vinyl plank type—most SPC and LVP planks ship with compatibility data that names the exact primer formula to use.
Let primer cure fully. Don’t guess the time. Read the manufacturer spec and add 10 percent for RV temperature variance. The primer creates microscopic anchor points that increase surface area. When adhesive contacts a primed surface, it has somewhere to grip instead of sitting on a smooth, non-porous layer. This step separates floors that last from floors that fail. Miss it and you’ve wasted the adhesive and the planks.
Best RV Slide Out Flooring: The Art Of The Floating Dance

The Compression Problem Nobody Names

You care about this because a failed slide out floor means thousands in repair costs and the humiliation of being stranded with a structurally compromised rig. Here’s what happens: slideouts move in and out thousands of times. Vinyl planks experience compression and expansion cycles that stationary RV flooring never does. Borrowing from materials engineering, think of your slide out floor like a bridge under dynamic load, not a static structure. The planks absorb force on extension, then release it on retraction. Most people install the same luxury vinyl planks they’d use in a motorhome bedroom. That’s the mistake. Slide out zones need material that tolerates repeated mechanical stress without permanent deformation or edge curl.
Standard vinyl planks lose their dimensional stability after 500 to 1000 full slide cycles because they weren’t engineered for bidirectional movement. You need core materials rated for commercial-grade traffic patterns, not residential. Look for rigid core vinyl or engineered luxury vinyl with a fiberglass-reinforced backing. The backing is what actually handles the compression. Without it, your plank degrades invisibly for months, then fails suddenly. Install a transition strip that floats independently from both the slide out and the main floor. This decouples the movement and prevents the planks from being pinched or forced into misalignment when the slide retracts.
Managing Shear And Expansion Gaps
Friction is the hidden destroyer of slide out floors. As the mechanism extends, friction between the flooring and the slide frame creates lateral force. Most installers leave zero gap or undersized gaps, thinking tighter looks better. They’re wrong. Expansion gaps prevent buckling and edge lifting, which makes the floor catch on the slide frame during operation. You need a quarter-inch minimum gap on all edges where the flooring meets the slide frame walls. This isn’t aesthetic. It’s mechanical tolerance.
Use a silicone-based caulk or flexible trim to seal these gaps without creating a rigid barrier. Rigid transitions force the flooring to act as a structural element during slide movement, accelerating wear. The flooring should move freely within its designated zone. Apply the caulk only to the visible edge, leaving the subsurface clear so the plank can shift slightly without mechanical resistance. Check gaps every 12 months of regular use. Vinyl expands and contracts with temperature swings. A properly installed slide out floor maintains consistent gaps year-round, not gaps that tighten and loosen with seasons.
The Camper Slide Out Flooring: Engineering For Lateral Load

Weight Distribution When The Slide Extends

You care about this because a failed slide floor means thousands in repair bills and downtime you didn’t budget for. The real mechanism is borrowed from structural engineering: load path is the route force takes from point A to point B. In an RV slide, lateral load moves sideways as the box extends and retracts, not downward like stationary floors. Vinyl planks must anchor to a substrate that doesn’t flex during that motion, or they delaminate and buckle within months of use.
Most RV flooring ignores this entirely. They treat slide floors like standard cabin flooring. The difference is that a slide floor experiences rolling shear stress every time you extend and retract. The substrate must be marine-grade plywood or composite, not particle board, and it must stay secured to the slide frame at multiple points. Use construction adhesive rated for RVs and mechanical fasteners every 8 inches along the perimeter. The plank itself becomes irrelevant if the foundation moves.
Trim And Transition Without Snagging
Edge finishing determines whether your vinyl planks stay put or catch and tear during retraction. The gap between the slide and the cabin creates a vulnerability—compressed trim can expand and prevent full retraction, while loose trim gets shredded by repeated cycling. Use aluminum trim designed for RV applications, not standard vinyl baseboards from a hardware store. These are profile-shaped to compress without bulging and won’t warp under temperature swings.
Install trim after the planks are fully set, using mechanical fasteners instead of adhesive alone at the transition point. This lets the trim move fractionally with expansion and contraction without transferring stress to the planks themselves. The trim slides must clear the cabin opening by at least a quarter inch on retraction. Check this gap every season—temperature changes shift everything, and a seized slide is expensive to repair.
How To Install RV Slide Out Flooring: The “Controlled Chaos” Method
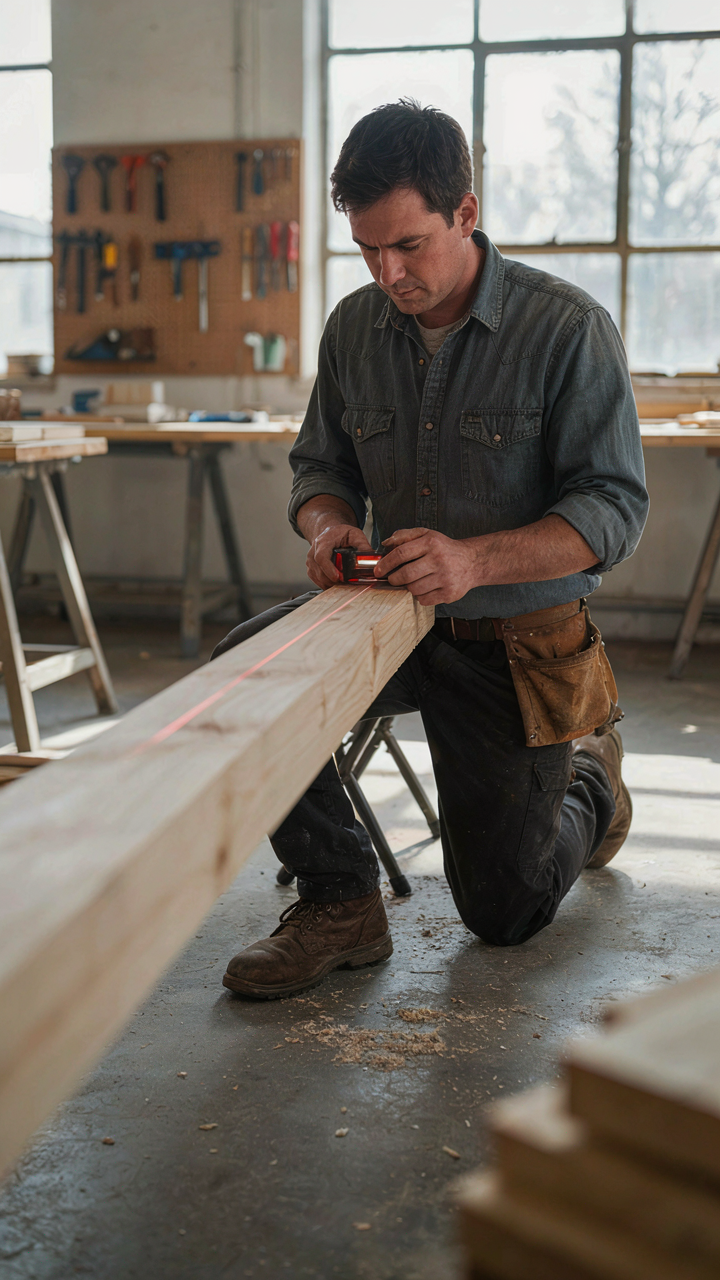
Start From The Slide Out Wall, Not The Center

You want this to look seamless so guests think you didn’t cheap out on your rig. The real reason you care: alignment compounds across distance. One millimeter of error at the starting point becomes half an inch by the time you reach the opposite wall. Borrow from construction tolerancing: your first plank is your datum line, the reference plane everything else depends on. Measure from the slide out wall backward into the RV. This wall stays fixed during extension and retraction, so it’s your only immobile anchor point. Every subsequent row radiates from this line. Measure twice before cutting the first plank. The second plank sets the pattern. If it’s crooked, you’re fighting geometry for the rest of the job.
Slide outs move on mechanical channels. The flooring under it flexes slightly during extension and retraction. Standard RV flooring advice says to install perpendicular to the slide mechanism, but that’s incomplete. Install your planks parallel to the slide direction instead. This lets the floor compress and expand uniformly across the width rather than fighting the movement. Use a laser level to confirm your starting line is truly square to the wall. Eyeballing it will cost you alignment on plank seven. Lock in your datum. Everything else follows from that one decision.
Cut Once, Measure Three Times Minimum
Most people grab a circular saw and go to work. Wrong tool for the job. Vinyl plank demands precision because it’s unforgiving of blade vibration, and a handheld circular saw doesn’t give you that. A fine-tooth miter saw or table saw equipped with a plywood blade cuts vinyl planks clean without chipping or melting the edge from friction heat. Measure your cut length against the actual space, not the measurement you wrote down ten minutes ago. RVs settle and shift. That gap you measured at one end of the slide out might be different at the other end by a quarter inch. Cut planks slightly undersized, then test fit before adhesive. Trimming a quarter inch off is faster than replacing a piece you forced into a too-tight space. Use a speed square to mark cut lines perpendicular to the plank edge. Freehand marks drift and compound across multiple cuts.
Vinyl planks expand and contract with temperature. In cold weather, cut slightly looser. In heat, cut slightly tighter. This is why RV dealers install flooring in climate-controlled shops, not in the field. You’re working in a confined metal box that heats and cools rapidly. Make your cuts in the early morning when temperatures stabilize, then install two hours later. Edge banding matters on visible cuts. If your cut edge faces into the living space, apply edge sealant immediately after cutting. This prevents water infiltration into the substrate and keeps the plank dimensionally stable.
RV Slide Out Floor Transition: Bridging The Unbridgeable Gap
Why The Gap Exists First

You’re worried about this gap because it signals failure. A visible seam between stationary and moving sections feels like your makeover is half-done. Here’s the mechanism: slide-outs move on mechanical tracks that flex and compress under weight. The floor substrate attached to the slide platform rises and falls relative to the main cabin floor. Rigid vinyl planks cannot accommodate this vertical and horizontal movement without splitting or creating pronounced lips that catch feet.
The real problem isn’t the gap itself—it’s that most RV flooring approaches ignore the borrowed framework of flexible coupling design from mechanical engineering. A coupling connects two rotating or moving shafts while allowing minor misalignment. Your slide-out floor needs the same principle: a connector that moves with the mechanism instead of fighting it. Standard transitions fail because they’re installed as fixed barriers rather than adaptive mechanisms.
Movement Creates Stress Concentration Points
Stress distribution in transition zones mirrors how load paths behave in structural systems. When a slide-out retracts, the heaviest point of stress occurs exactly where the moving floor meets the stationary floor. Most installers create a sharp angle at this junction, which concentrates all mechanical force into a single line. Vinyl planks break along these lines within months because the material has nowhere to bend or flex.
The common advice here is wrong: do not install a rigid T-molding across a slide-out transition. Install a flexible aluminum channel with a compressible foam or rubber insert instead. The channel accommodates vertical movement as the slide extends and retracts. The insert absorbs lateral stress that would otherwise transfer directly to the vinyl planks. Secure the channel to the frame itself, not the flooring substrate, so movement happens through the insert rather than through the material.
The Maintenance Neglect Trap: Preserving Your “Permanent” Upgrade

Clean Before Damage Compounds

You installed vinyl planks so you’d stop thinking about your floor. That’s the real reason. But neglecting grit removal turns a five-minute clean into a replacement job. Sand and dirt act as abrasives. They sit between the plank surface and your foot traffic, grinding micro-scratches that compound into visible wear patterns. The floor isn’t failing. You stopped treating it like a surface that needs maintenance.
Vacuum or sweep your RV floor weekly. Don’t wait for visible dirt accumulation. Small particles lodge in seams and under furniture bases where they multiply damage. Use a soft-bristle broom or handheld vacuum without a beater bar—vinyl planks don’t need aggressive agitation. When you mop, use minimal water and a microfiber cloth. Excess moisture pooling in seams causes planks to swell, warping the entire floor faster than grit ever would.
Catch Small Failures Before Spread
Preventative maintenance isn’t about being careful. It’s about supply chain thinking: stop problems at the source before they propagate through the system. A single lifted plank edge, a hairline crack, or a puncture acts like a weak link. Water infiltrates the gap. Mold begins growing underneath. The adjacent planks absorb moisture and start buckling. You now need a section replacement instead of a single plank swap.
- Seam separation: Check where planks meet monthly. Press down on edges. If movement occurs, reapply vinyl plank adhesive according to manufacturer specs or consider glue-down upgrades if planks are floating.
- Surface punctures: Small cuts from dropped tools or sharp furniture feet need immediate attention. Use vinyl plank filler or epoxy matching your plank color to seal openings and prevent moisture penetration.
- Discoloration or staining: Spot-clean spills within hours. Vinyl doesn’t stain easily, but liquids left standing can cause discoloration under the wear layer, signaling deeper issues below the surface.
- Plank warping or cupping: Notice edges curling upward or centers dipping? This indicates moisture beneath the planks. Identify the water source immediately and address ventilation or leak problems in your RV structure.
- Loose glue or clicking sounds: Planks that move underfoot or click when walked on are losing their bond. Secure them before the entire row shifts and creates a domino effect of failures.
Replace damaged planks the moment they show structural failure, not when they become eyesores. Your vinyl plank upgrade only lasts as long as the daily ten-minute maintenance commitment you’re willing to maintain.
Your RV Floor Isn’t Failing Because You Picked The Wrong Color; It’s Failing Because You Ignored Physics

Most people treat their RV flooring like decoration. They don’t. Moisture moves through your rig whether you acknowledge it or not. Vinyl planks work because they block that moisture at the source, not because they look nice. Stop fighting water with prettier materials and start fighting it with barriers. Today, measure your current floor and calculate the moisture points in your RV. That’s where your makeover actually begins. Your floor won’t last longer because you chose well; it’ll last longer because you stopped losing the war beneath it.



