
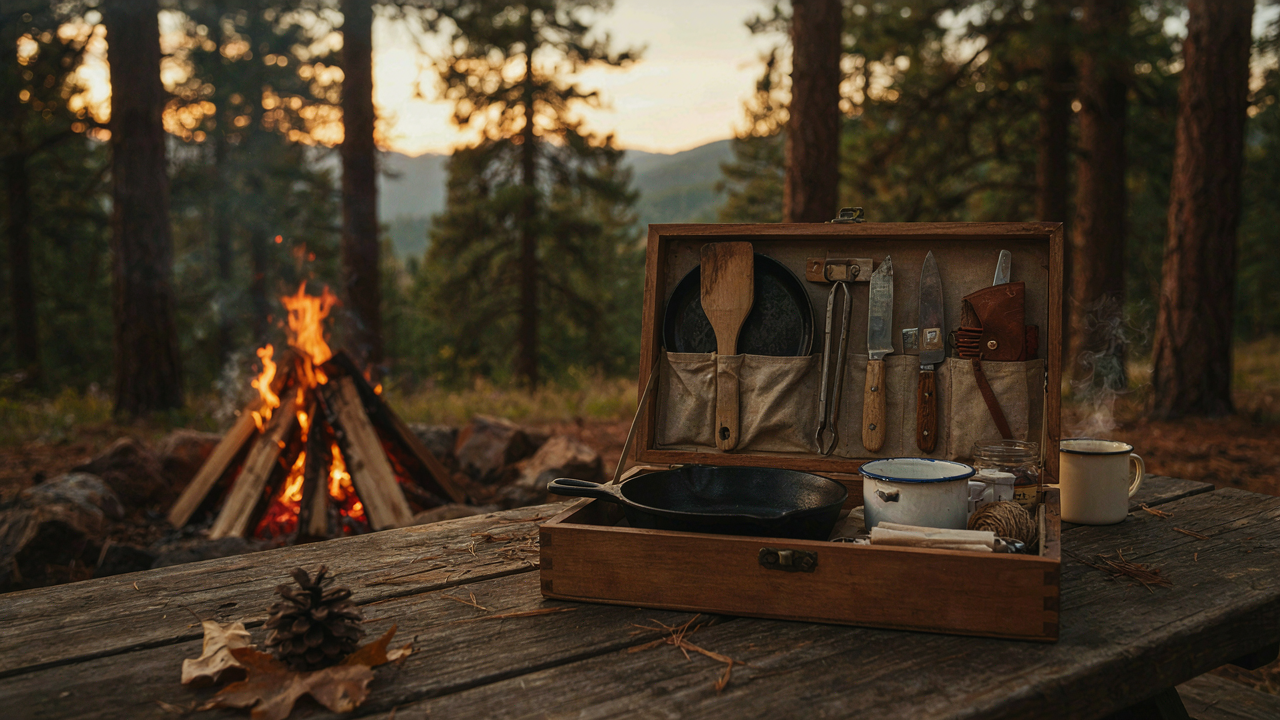
Beyond Pinterest: The True Purpose Of A DIY Camp Kitchen Box
Generic Solutions Fail Where Conditions Change
You want to believe a single setup works everywhere because that feels efficient and smart. It doesn’t. The mechanism at work here is constraint mismatch. In systems thinking, a constraint is the limiting factor that determines output. Your camp kitchen box operates under different constraints at every site: elevation alters boil times, wind direction changes how you orient your stove, ground composition affects stability, temperature swings impact fuel behavior, and water access determines your layout. A box designed for coastal camping at sea level fails in the mountains. One optimized for summer car camping becomes clumsy in winter. Generic solutions average away these variables instead of respecting them.
The real build accounts for modularity within the box itself. This means compartments that hold gear in place under varied conditions, not a static arrangement. Drawer dividers should slide, not lock. Your fuel storage must work upright on flat ground and diagonal on slopes. Cutting boards and prep surfaces need to adjust height, not assume a fixed table. The box itself should be light enough to reposition quickly when terrain demands it. You’re not designing for an ideal campsite. You’re designing for adaptation.
Reduce Choices When Fatigue Sets In
Decision fatigue in the field is real and it compounds fast. By the time you’ve hiked, set up a tent, and managed group dynamics, your cognitive bandwidth for “where is the spatula” or “how do I configure the stove” is already spent. Eliminate decisions, not options. Your box organization should make the right choice obvious without thinking. Every tool lives in one place. Every ingredient container has a label that faces outward. Every burner component nests the same way every time. This isn’t about cute organization. It’s about removing friction when you’re tired and hungry.
The protocol is simple: standardize the order of assembly and breakdown. Write it down. Laminate it. Tape it inside the lid. This becomes your operating manual. When you pack the box, you follow the sequence. When you unpack it, you reverse the sequence. No improvisation. No “where was that thing last time.” The mechanism that makes this work is constraint through design. By limiting how things can fit together, you eliminate wrong configurations before they happen. Your camp kitchen stops being a puzzle and starts being a system.
The “Chuck Box” Deception: What Commercial Options Hide
Price Anchoring Obscures True Cost

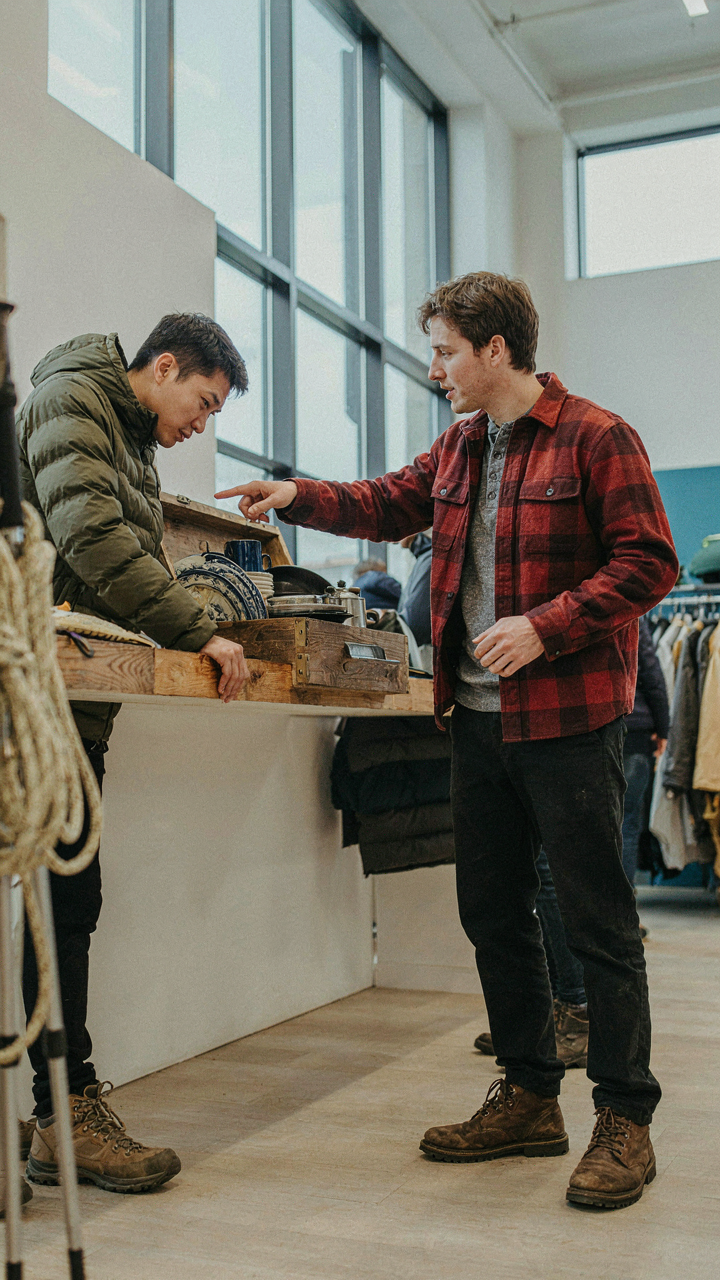
You want to believe a pre-built chuck box saves money because admitting you wasted time researching feels worse than spending extra cash. The mechanism is anchoring: manufacturers set a high retail price, then offer “deals” that still exceed what you’d spend building one yourself. A commercial camp kitchen box runs 300 to 600 dollars. The materials cost them 80 to 120 dollars to source and assemble.
The markup funds marketing, distribution, and retail markup chains. When you buy pre-built, you’re paying for the illusion of convenience, not superior function. Build it yourself and you spend 80 to 150 dollars on materials you choose and control. The real cost difference isn’t 50 dollars—it’s 200 to 400 dollars of pure margin extracted because you outsourced the assembly work.
Aluminum Fails Where Steel Performs
Material science calls this the trade-off between weight and durability. Commercial boxes choose aluminum because it’s lighter to ship and cheaper to stamp into shape. Aluminum dents under camp use and flexes when loaded unevenly, which means your cooking surface and storage compartments shift during transport and setup.
Steel takes the same dents but returns to shape under load. Steel holds weight distribution and keeps drawers from binding mid-trip. Commercial manufacturers hide this choice by calling aluminum “lightweight and modern.” They’re solving their logistics problem, not yours. Your actual camp kitchen box doesn’t move between campsites daily—it sits at your site for a week at a time. Weight matters less than structural stability under use.
The “Adaptive System” For Your Diy Camping Kitchen

Start With Containers You’ll Actually Change

You want a box that feels “future-proof” so you don’t feel stupid upgrading it later. The real mechanism is borrowed from systems design: modularity means decoupling. Each component operates independently. Your diy camp kitchen box shouldn’t lock you into one configuration. Use external dividers, removable trays, and stackable containers instead of built-in compartments glued to the box walls. This costs less upfront and lets you physically rearrange without rebuilding.
The box itself stays constant while the interior adapts. A plywood shell with cleats holds removable wooden trays or plastic organizers. You swap them based on trip length, crew size, or cooking style. Metal rivets or bolts at predetermined spots let you anchor new dividers without drilling new holes. This approach mirrors how commercial kitchen prep stations work: the frame endures, the workflow inside evolves.
Scale The Interior Without Scaling The Box
Stop treating your camp kitchen as a static thing that must handle every scenario. One box accommodates solo backpacking trips and family campouts through proportional internal adjustments, not by buying two boxes. Use shallow trays for minimalist trips, stack deeper containers for group cooking. Nesting utensil holders and collapsible water carriers compress when empty and expand when needed. The box volume stays fixed, but density and configuration change.
A standard 30-inch cooler-style wooden box fits in any vehicle, stays portable solo, yet holds enough for six people with strategic packing. The math works because you’re removing air gaps and unused space, not magically adding volume. Test your configuration once with your actual gear before the trip. Record which containers worked and which sat empty, then build that template into your next trip’s setup.
Ergonomics Of The Outdoors: Applying Human Factors To Chuck Box Plans
Flow State Demands Physical Proximity

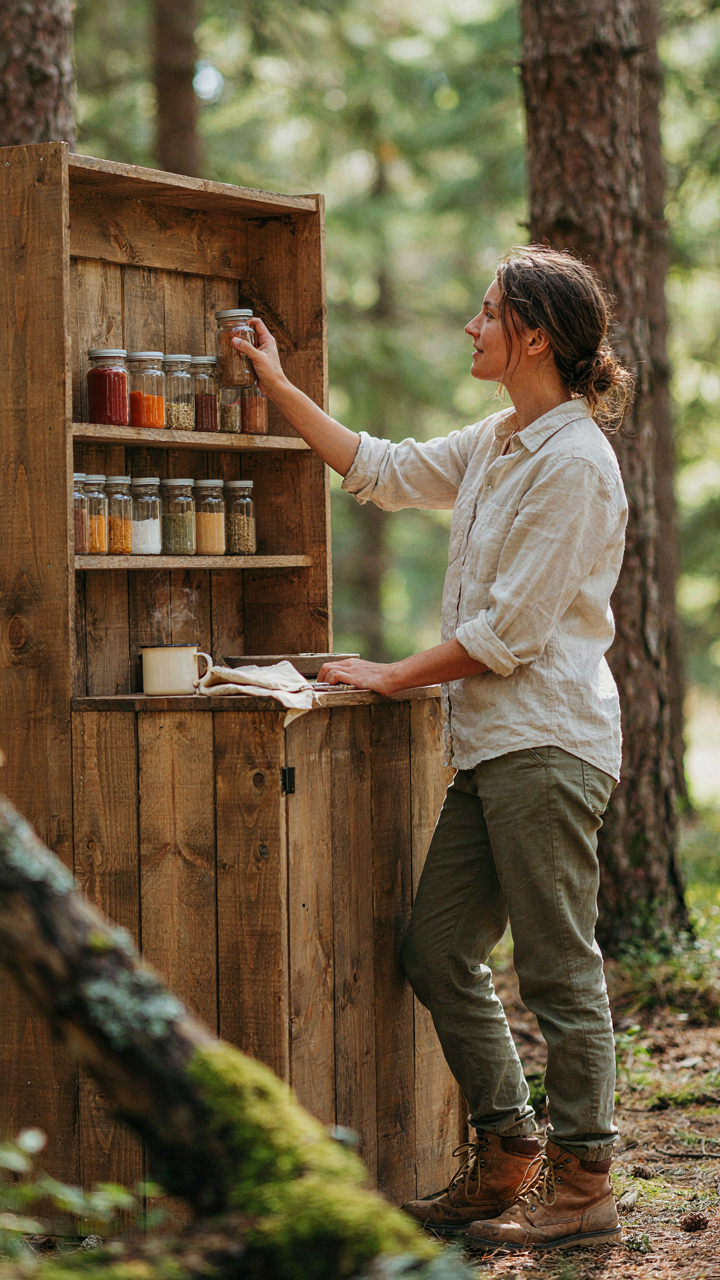
You want this box to make you look competent. The real mechanism is simpler: your body burns energy reaching for things. Human factors engineering—the field that optimizes how people interact with physical spaces—calls this “reach envelope.” Your chuck box’s reach envelope determines whether you cook efficiently or waste motion every time you grab salt.
Standard advice says organize by frequency. That’s incomplete. The actual rule: items you touch simultaneously belong within twelve inches of each other. Your stove setup goes in one zone. Your prep zone goes in another. Vertical stacking matters more than horizontal spread because bending costs more energy than turning your torso. Mount frequently accessed items at elbow height, not shoulder or waist height.
Movement Patterns Drive Layout Direction
Most DIY builds mirror kitchen cabinet logic. That fails outdoors because your body’s position changes relative to the box depending on weather, terrain, and cooking task. Cooking while standing on uneven ground demands different reach patterns than cooking at a fixed stovetop.
Map your actual movement before building. Watch yourself cook at home, then replicate that motion with the box positioned at campsite height and angle. The box shouldn’t force you into asymmetrical postures for more than thirty seconds at a time. Right-hand-dominant cooks need right-side access to primary tools; left-handers need the mirror setup. Test the actual build height and depth with temporary materials before committing to permanent storage sections.
The Minimalist Arsenal Chuck Box Plans Camping Kitchen

What Actually Belongs In There
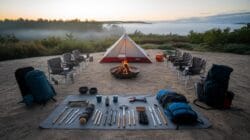
You want permission to buy less and feel smart about it. The real mechanism is constraint. Every tool you don’t bring forces you to solve problems with what you have, which trains faster decision-making than abundance ever will. Most people pack duplicates because they fear a gap in coverage. That gap is where competence lives.
Start by cooking one meal in your actual kitchen using only what fits in a shoebox. Write down what you grabbed. That list is your baseline, not your endpoint. Remove anything you reached for zero times. The survivors are your essentials. Everything else is insurance against a scenario that won’t happen.
Items That Compress Your Space
Borrowing from systems engineering, a chuck box works on the principle of information density: maximum output per unit of input. A cast iron skillet isn’t just a pan. It cooks, bakes, fries, and stores heat. A multi-tool with a blade, can opener, and pliers replaces six single-purpose items. A stainless steel pot with a lid becomes a Dutch oven, a mixing bowl, and a water carrier depending on the hour.
The gap between a loaded box and a functional box is psychological, not physical. You don’t need separate spatulas for eggs and fish. You don’t need four knives. One quality chef’s knife handles ninety percent of camp prep. A silicone bowl collapses flat and replaces three rigid containers. Stack your thinking before you stack your gear: one tool, three functions minimum.
Material Science For The DIY Chuck Box Camping

Weight To Durability Trade Offs

You want your box to last forever without breaking your back hauling it. Here’s what nobody says directly: physics doesn’t care about your preference. In material science, this tension is called the strength-to-weight ratio, and your chuck box lives in that exact battlefield. Steel holds up for decades but costs you effort every trip. Aluminum forgives abuse but dents easier and costs more upfront.
Plywood with birch veneer splits your difference. It weighs half what steel does, handles repeated abuse better than pure aluminum, and costs a third of either option. The grain structure absorbs shock without catastrophic failure. You’ll replace plywood boxes every five to eight years depending on use frequency. That’s not weakness, that’s the trade-off you’re actually making when you choose wood. Steel boxes last twenty years but demand respect during loading and transport, or you damage your vehicle.
Sealing Against Weather And Animals
Common advice says “just paint it.” That’s incomplete. Your box needs resistance on two fronts: water infiltration from above and pest entry from below. Silicone caulk stops the first problem at seams and corners where moisture pools. Exterior-grade polyurethane paint blocks water from soaking into wood grain, but only if you apply it to all six sides, including the bottom.
Pest resistance requires a different mechanism: elimination of gaps. Rodents enter through quarter-inch gaps. Insects follow smaller cracks. Seal your lid gasket with weatherstripping rated for exterior use, not interior foam tape. Install magnetic latches tight enough that nothing wiggles. Store food in metal containers inside the box, not in cardboard or fabric. This single protocol step removes the animal problem entirely, because pests follow food sources, not the box itself.
The “Deployment Protocol” For Your Camping Chuck Box
Setting Up In Under Five Minutes

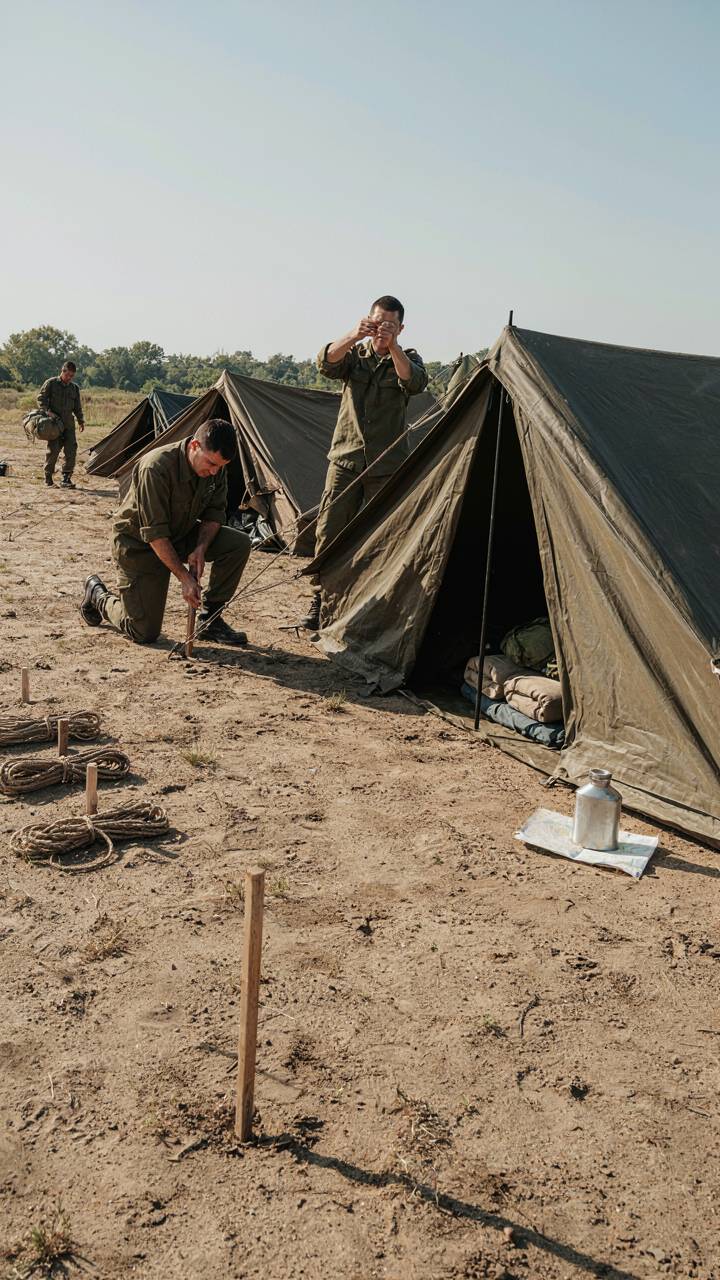
You want to look competent in front of your group, which means you need your box operational before anyone notices you fumbling. The mechanism is pre-positioning: every item lives in a fixed location inside the box, and you only retrieve items in the sequence you actually use them. This isn’t organization for its own sake. It’s a pick-and-place system borrowed from manufacturing logistics. Your chuck box is a workstation, not storage.
Map your workflow before you ever leave home. Identify which tools and ingredients you need first, second, and third. Place those items at the front or top of their designated zones. The rest follows in usage order. When you arrive at camp, you open the box once, pull items in sequence, and close it. No searching. No second trips. No wasted motion.
Keeping Order When Everything Goes Wrong
Most camping advice says “stay organized,” which is useless because camps are chaotic and you’re tired. The real problem is entropy: disorder accelerates once you start cooking. The solution is containment zones with hard boundaries inside your chuck box. Use small containers, dividers, or compartments to segment categories by function, not by item type. When you grab a utensil, it has one place it returns to. When you reach for a spice, it lives in one container.
Designate a “staging zone” on top of your box or directly beside it where used items go temporarily. Never leave utensils, wrappers, or containers scattered across the camp surface. Before you finish cooking, return every item to its exact compartment. You’ve just reset the box for the next meal. The protocol is: use, stage temporarily, return to zone before you sit down to eat.
Customization As A Competitive Advantage In The Camp Kitchen Chuck Box

Match Your Actual Cooking Patterns

You want your box to feel like an extension of your kitchen, not a constraint you resent. The real mechanism here is this: a stock chuck box forces you to work around its layout instead of working inside your real cooking rhythm. Most advice says “organize by meal type” or “group by frequency.” Wrong. You need to organize by hand motion and decision sequence.
Map out a single meal you actually cook outdoors. Trace where your hands move. Identify what you reach for first, second, third. Your box layout should mirror that sequence, not some generic camp cooking template. If you always start with oil and heat before touching proteins, your oil sits front-left and proteins sit center. This isn’t organization theory. This is ergonomic efficiency reducing wasted movement and mental load.
Integrate Gear That Doesn’t Come Stock
Most chuck boxes come with fixed internal dividers and assume you’ll use standard camping cookware. That’s lazy design borrowed from military field kitchens, which prioritize standardization over utility. Your box needs to absorb the specific tools you actually bring.
If you bring cast iron instead of aluminum, you need lower shelving with reinforced support. If you use a propane stove, you need a dedicated bracket and fuel storage separate from food. If you bring a specific cooler size, your ice storage area needs to match those dimensions. Build your internal dimensions around your existing gear first, not the other way around. This eliminates the gap between “what the box was designed for” and “what you actually need it to do.”
The “Evolutionary Loop” For Your Diy Camping Kitchen

Learn From What Breaks First

You want to believe your box is finished. It’s not. The real reason you care about this section is you’re afraid you wasted time building something that won’t hold up. Here’s the mechanism: evolution in biology operates on feedback loops where organisms adapt or perish. Your camp kitchen works the same way. Each trip generates data. What failed? What slowed you down? What stayed unused? This data is worth more than any design theory because it comes from actual use under load.
Document what happens on every trip. Note which organizers shifted, which tools you reached for most, which containers proved fragile. Don’t trust memory. Write it down immediately after cooking, not weeks later. This isn’t busywork. You’re building a real-time instruction manual for refinement. Most people skip this and rebuild the same box twice, which is inefficient.
Constraints Shape What Works Best
Everyone’s camp kitchen exists in a different environment. Your alpine lake setup fails in desert sand. Your river trip box won’t survive a week-long car camping expedition. The constraint itself dictates which modifications matter. Temperature swings, dust infiltration, water access, and cooking fuel availability all change how your box needs to function. You’re not chasing some universal perfect box. You’re chasing fit between the box and the specific terrain you occupy.
Track three variables before your next trip: the environment’s primary wear vector, your cooking style under those conditions, and the time you actually have to cook. A windy beach demands different storage than a shaded campground. A two-hour dinner window demands different prep than all-day cooking. Modify the box in response to these constraints, not to an abstract ideal. Each refinement compounds.
The Real Obstacle Isn’t The Build, It’s Your Willingness To Systematize Freedom

Most people won’t build a diy camp kitchen box because they mistake organization for constraint. They think a system kills spontaneity. It doesn’t. It does the opposite. A real system gives you permission to stop thinking about logistics and start thinking about where you’re going. Today, grab one container. One. Put your cooking essentials in it. That’s your system starting. The box doesn’t limit your freedom, it multiplies it.



